Overview of the tools required
- 2.5 millimetre Allen key
- 4 millimetre Allen key
- 6 millimetre Allen key
- 10 millimetre Allen key
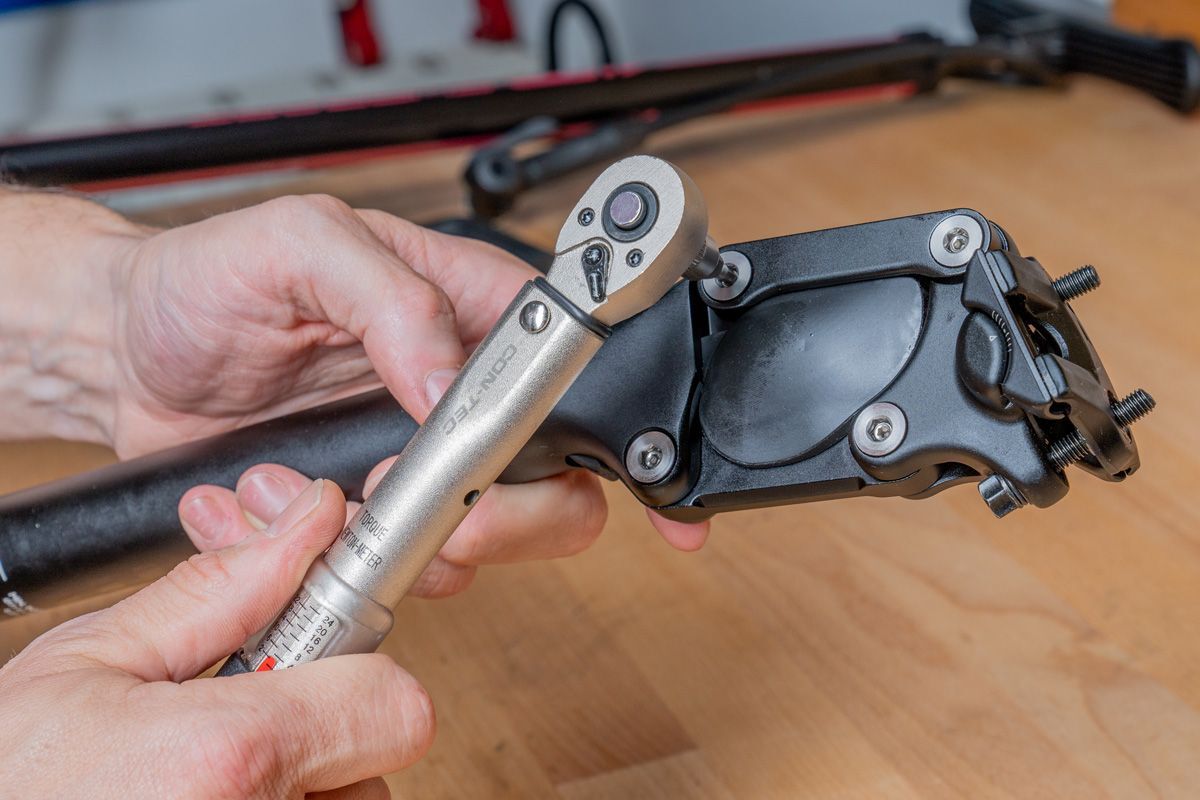
- Torque wrench
The following steps are required:
Step 1: Adjust spring preload
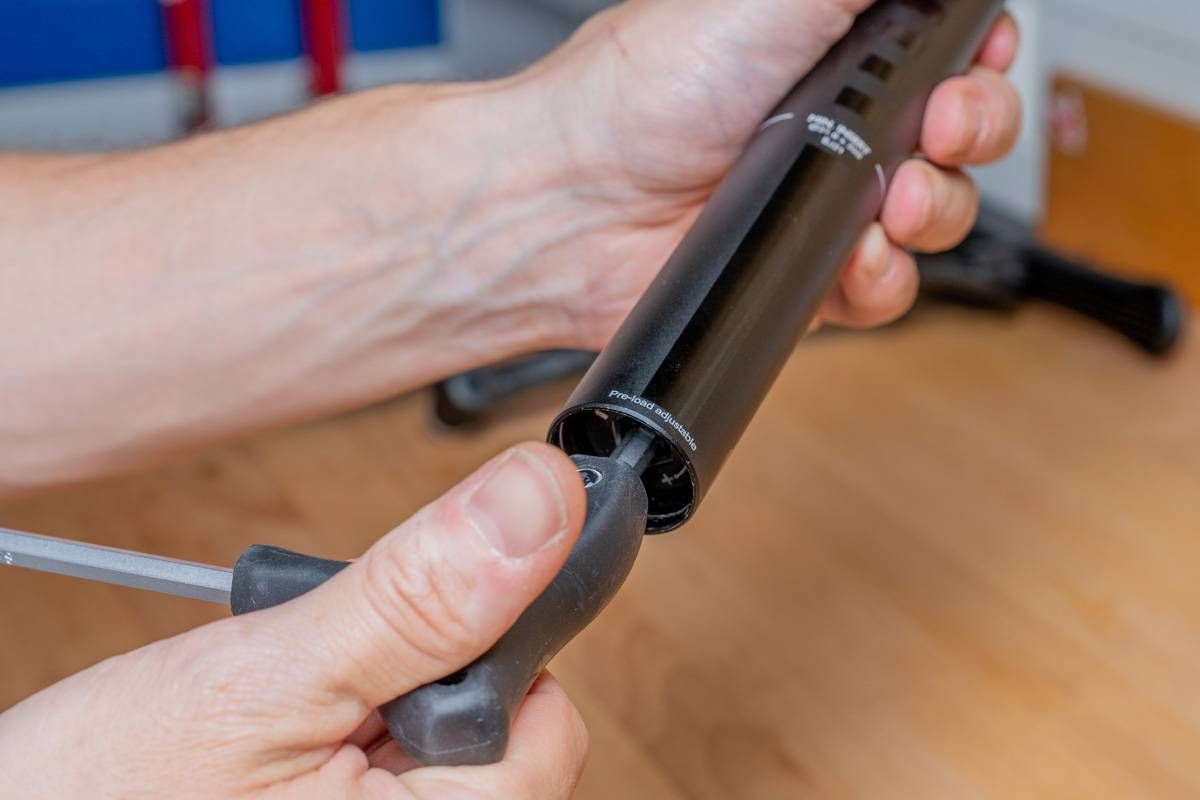
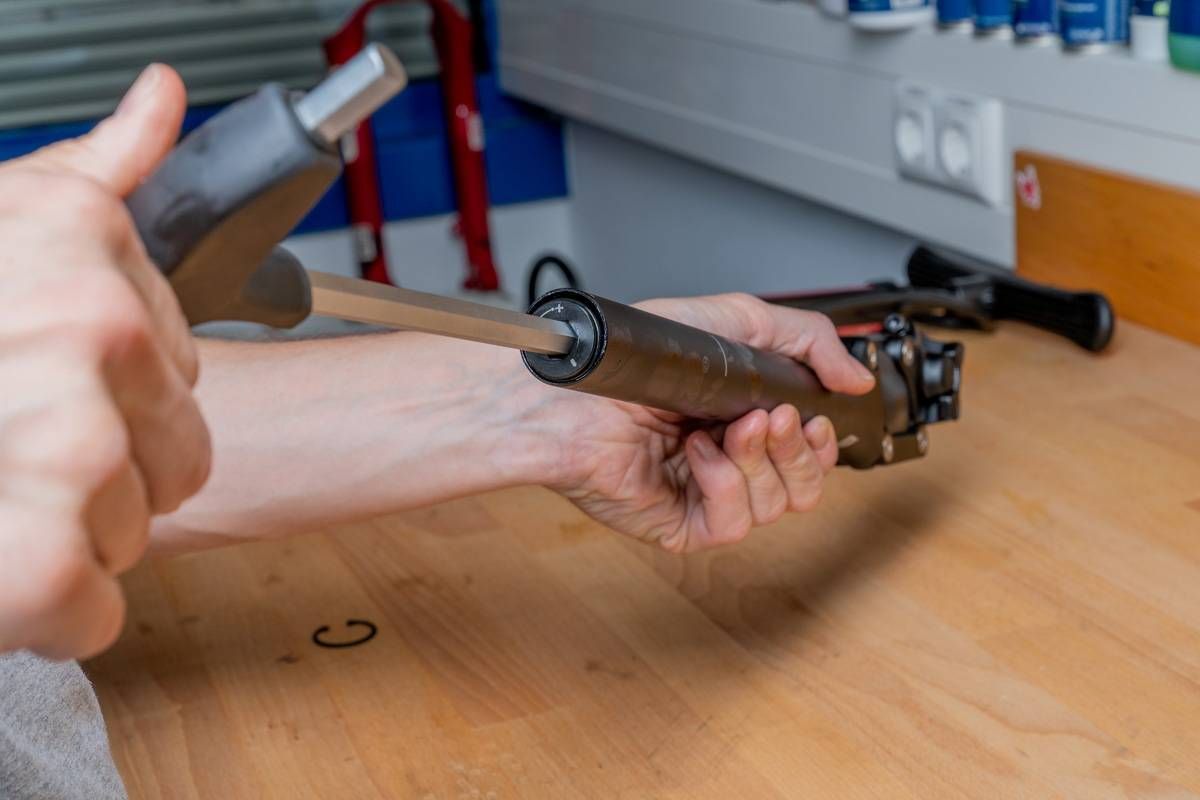
The spring preload can be adjusted at the bottom of the seatpost. It defines the working range of the suspension element. To do this, remove the seatpost from the seat tube if it is already installed, you can leave the saddle installed for the following steps.


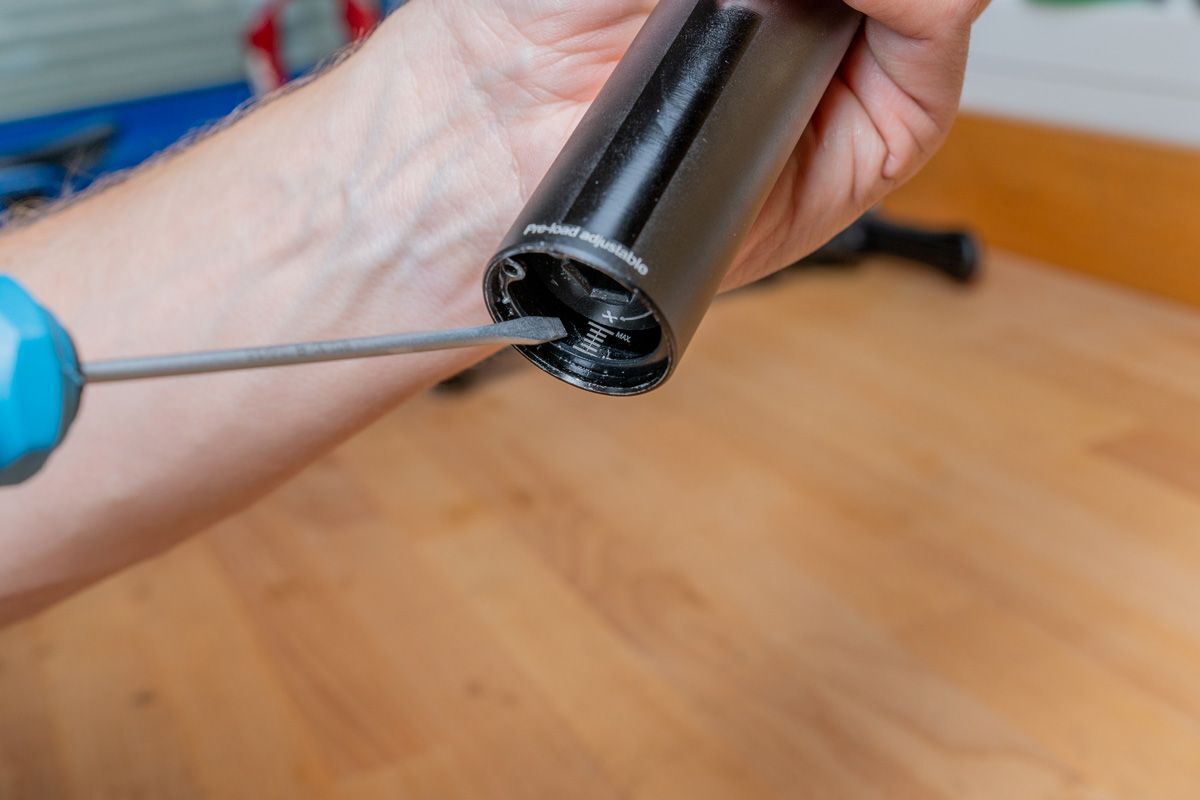
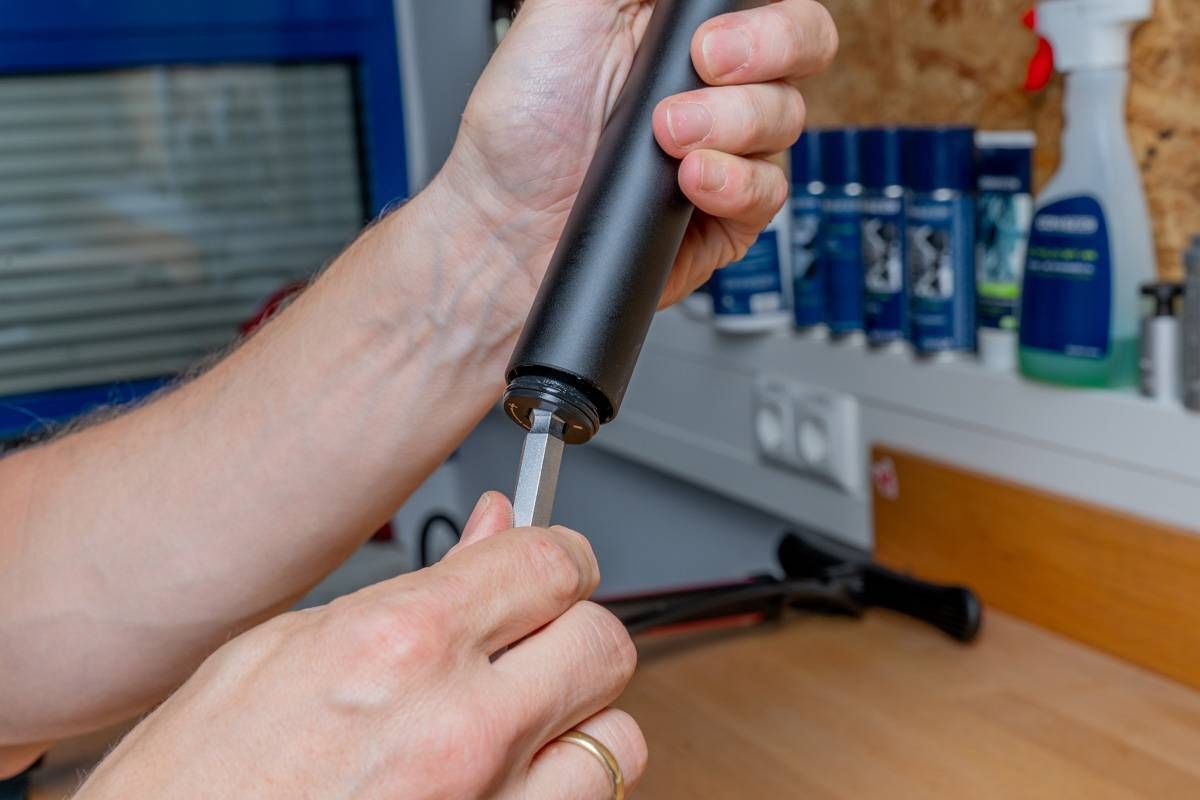
- The locking unit can be disengaged with a 6 millimetre Allen key. The pre-tension bolt can then be adjusted using a 10 millimetre Allen key. When you turn clockwise, the setting becomes softer and counter-clockwise harder.
- The pre-tension bolt must then be secured with the locking unit again.
- Important: It is essential to observe the preload mark inside the seatpost lower tube. The setting must not go under or above the minimum or maximum.

Step 2: Installation of another suspension element
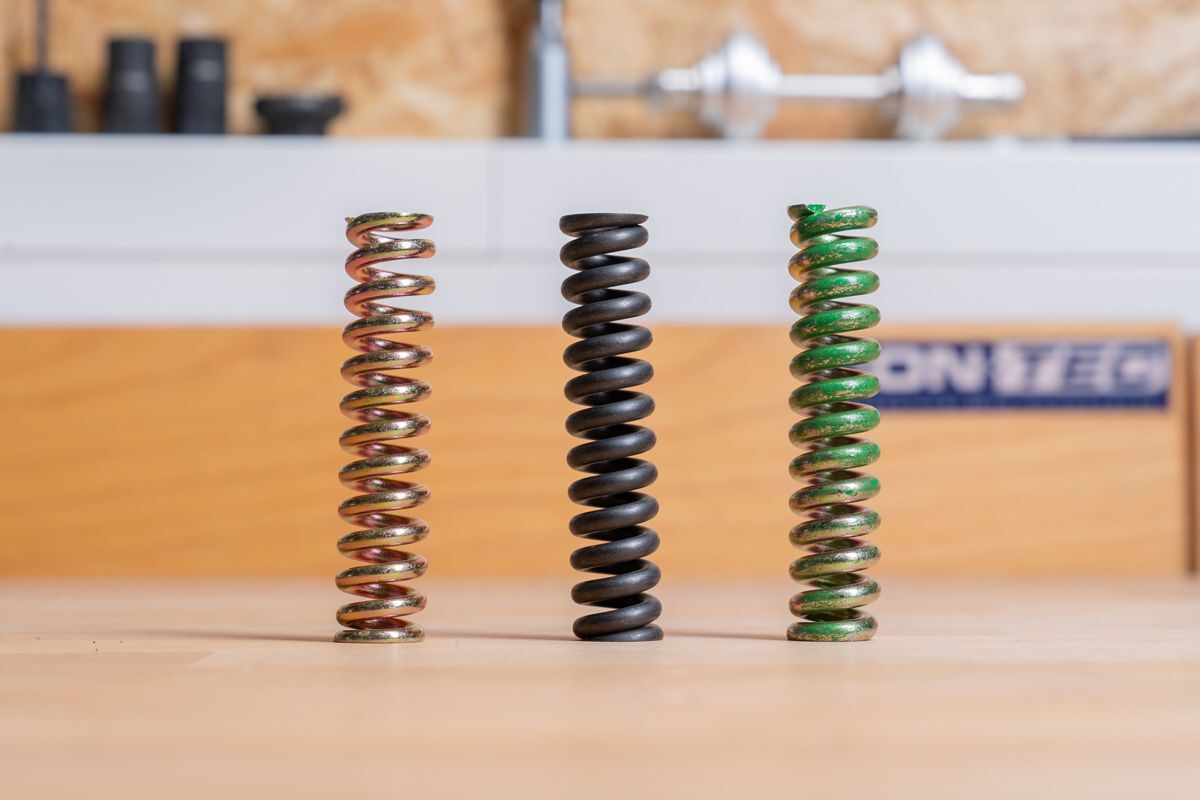
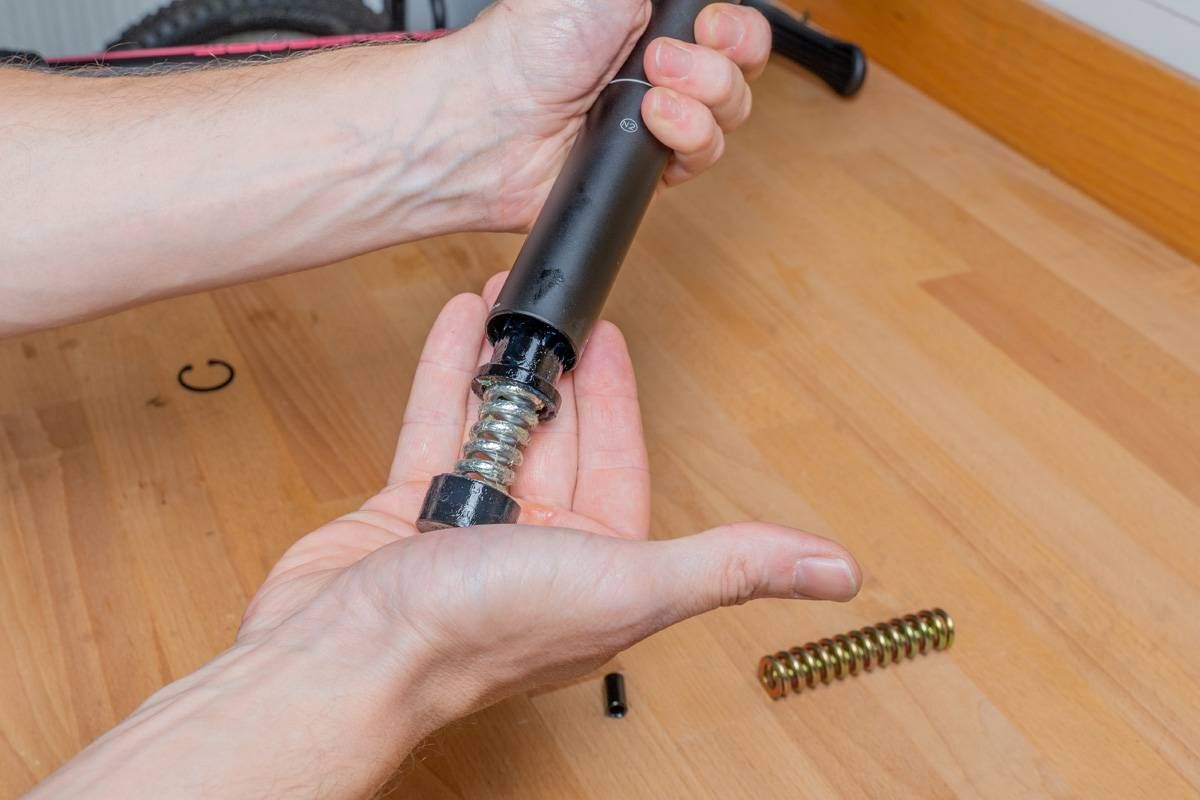


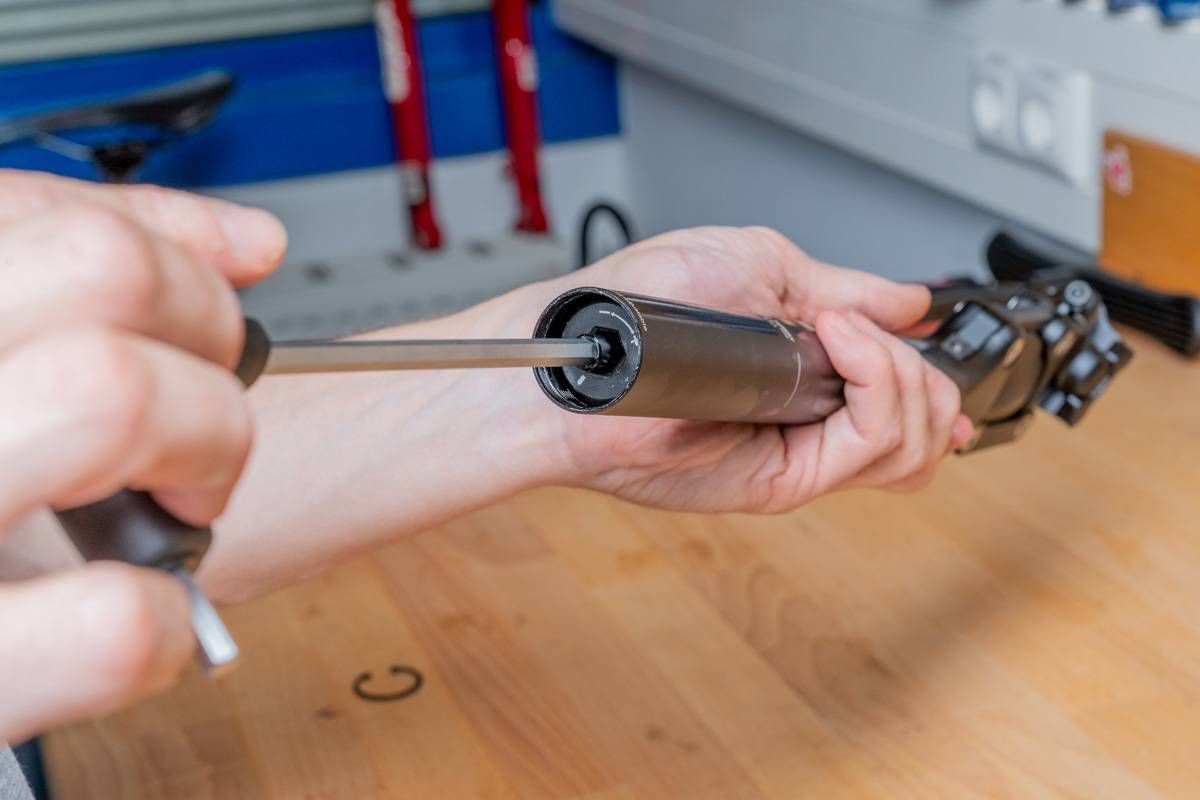

- To replace the suspension element, you must use snap ring pliers to remove the retaining ring from the lower end of the seatpost. Put this aside.
- The locking unit can be disengaged with a 6 millimetre Allen key. The pre-tension bolt can then be completely removed using a 10 millimetre Allen key. You can now also remove the suspension element.
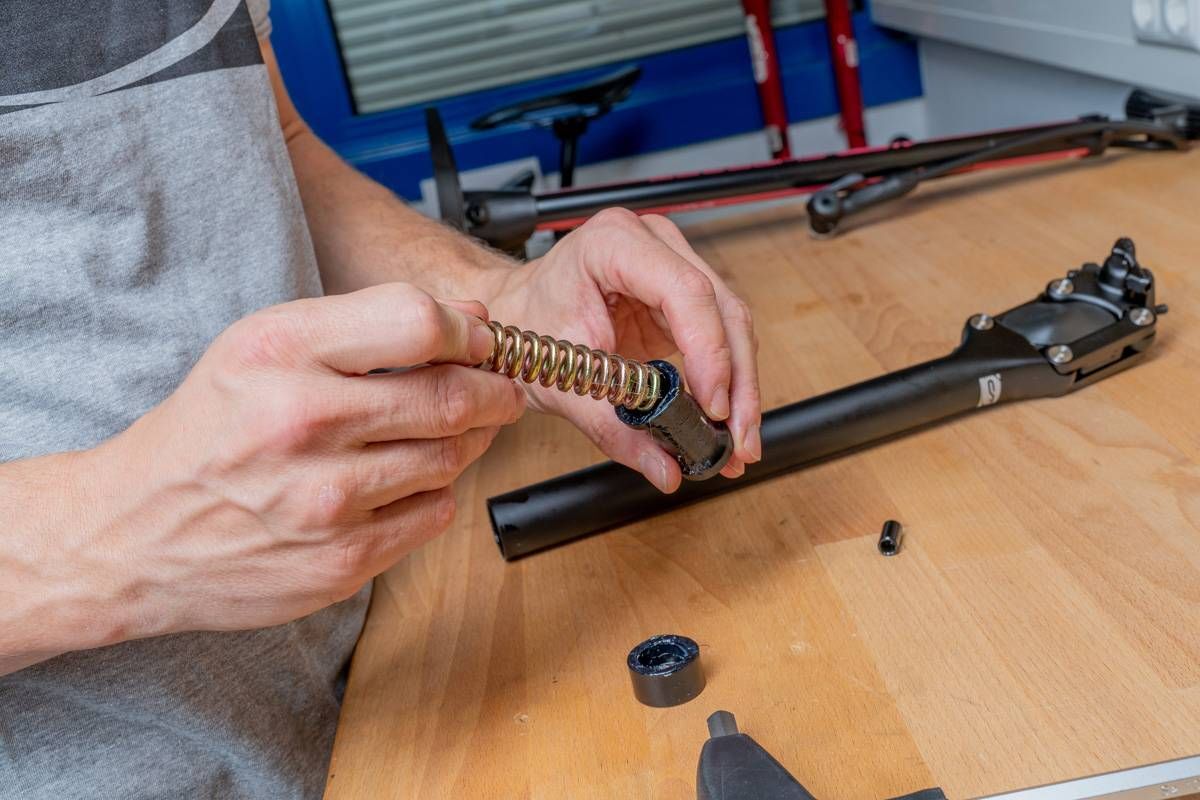
- Insert the new suspension element and screw the pre-tension bolt back in. Turn it to the maximum mark at most. Now reinstall the retaining ring. Now you can proceed with the spring preload adjustment.
- If you have adjusted the spring preload to suit you, screw the locking unit back in. Then install the post back into the frame and fasten it with the specified torque.
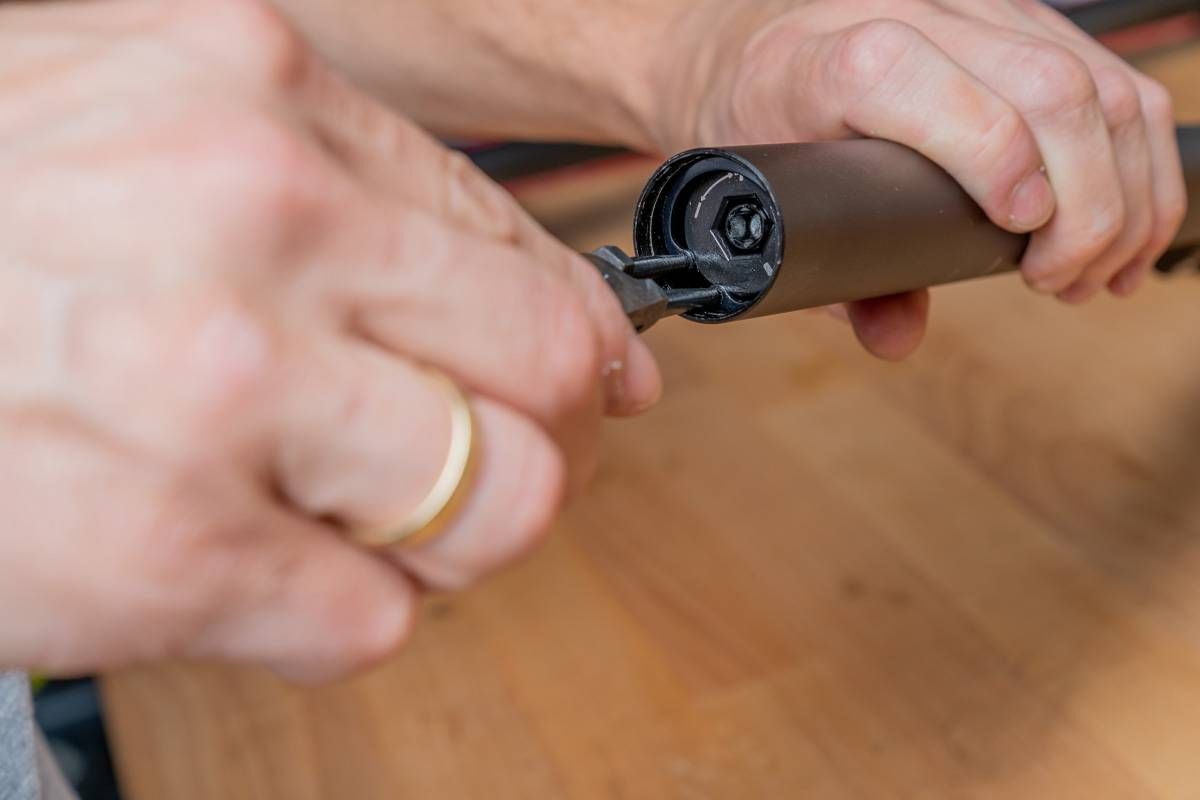
Step 3: Adjust lateral play
After intensive or long-term use, there may be lateral play in the suspension seatpost. This is easy to adjust.

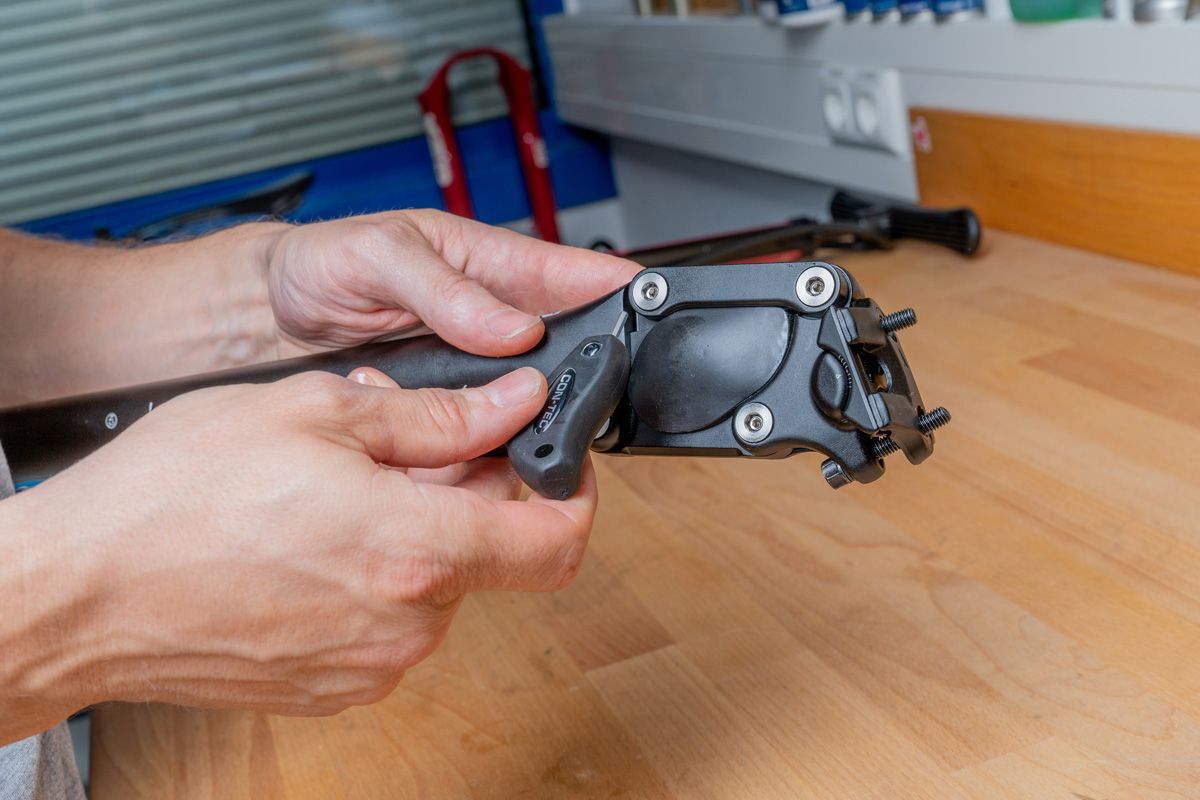

- You can remove the locking unit with a 2.5 millimetre Allen key.
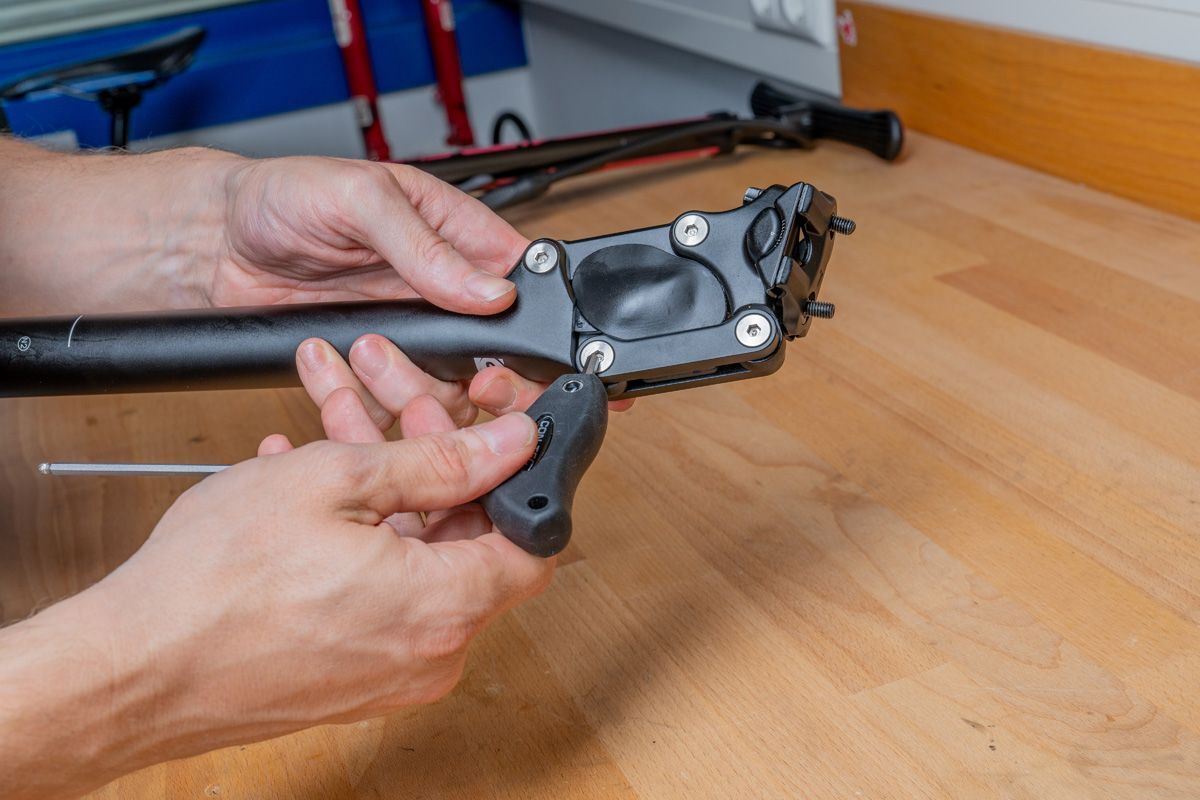
- The bearing can then be carefully tightened with a 4 millimetre Allen key until the play is removed.
- You can then screw the locking unit back in with a 2.5 millimetre Allen key to the recommended torque.
Tune to your individual body weight
To ensure optimal suspension of your seatpost, it must be adjusted to your individual body weight. To do this, you only need to complete one or two steps.
In our CONTEC suspension seatpost, a steel spring softens impacts. The suspension elements are available in different hardnesses that cover different body weight ranges. A medium-hard suspension element is standard. The correct suspension element in combination with the correct spring preload ensures optimal suspension behaviour and thus the best comfort on tour.


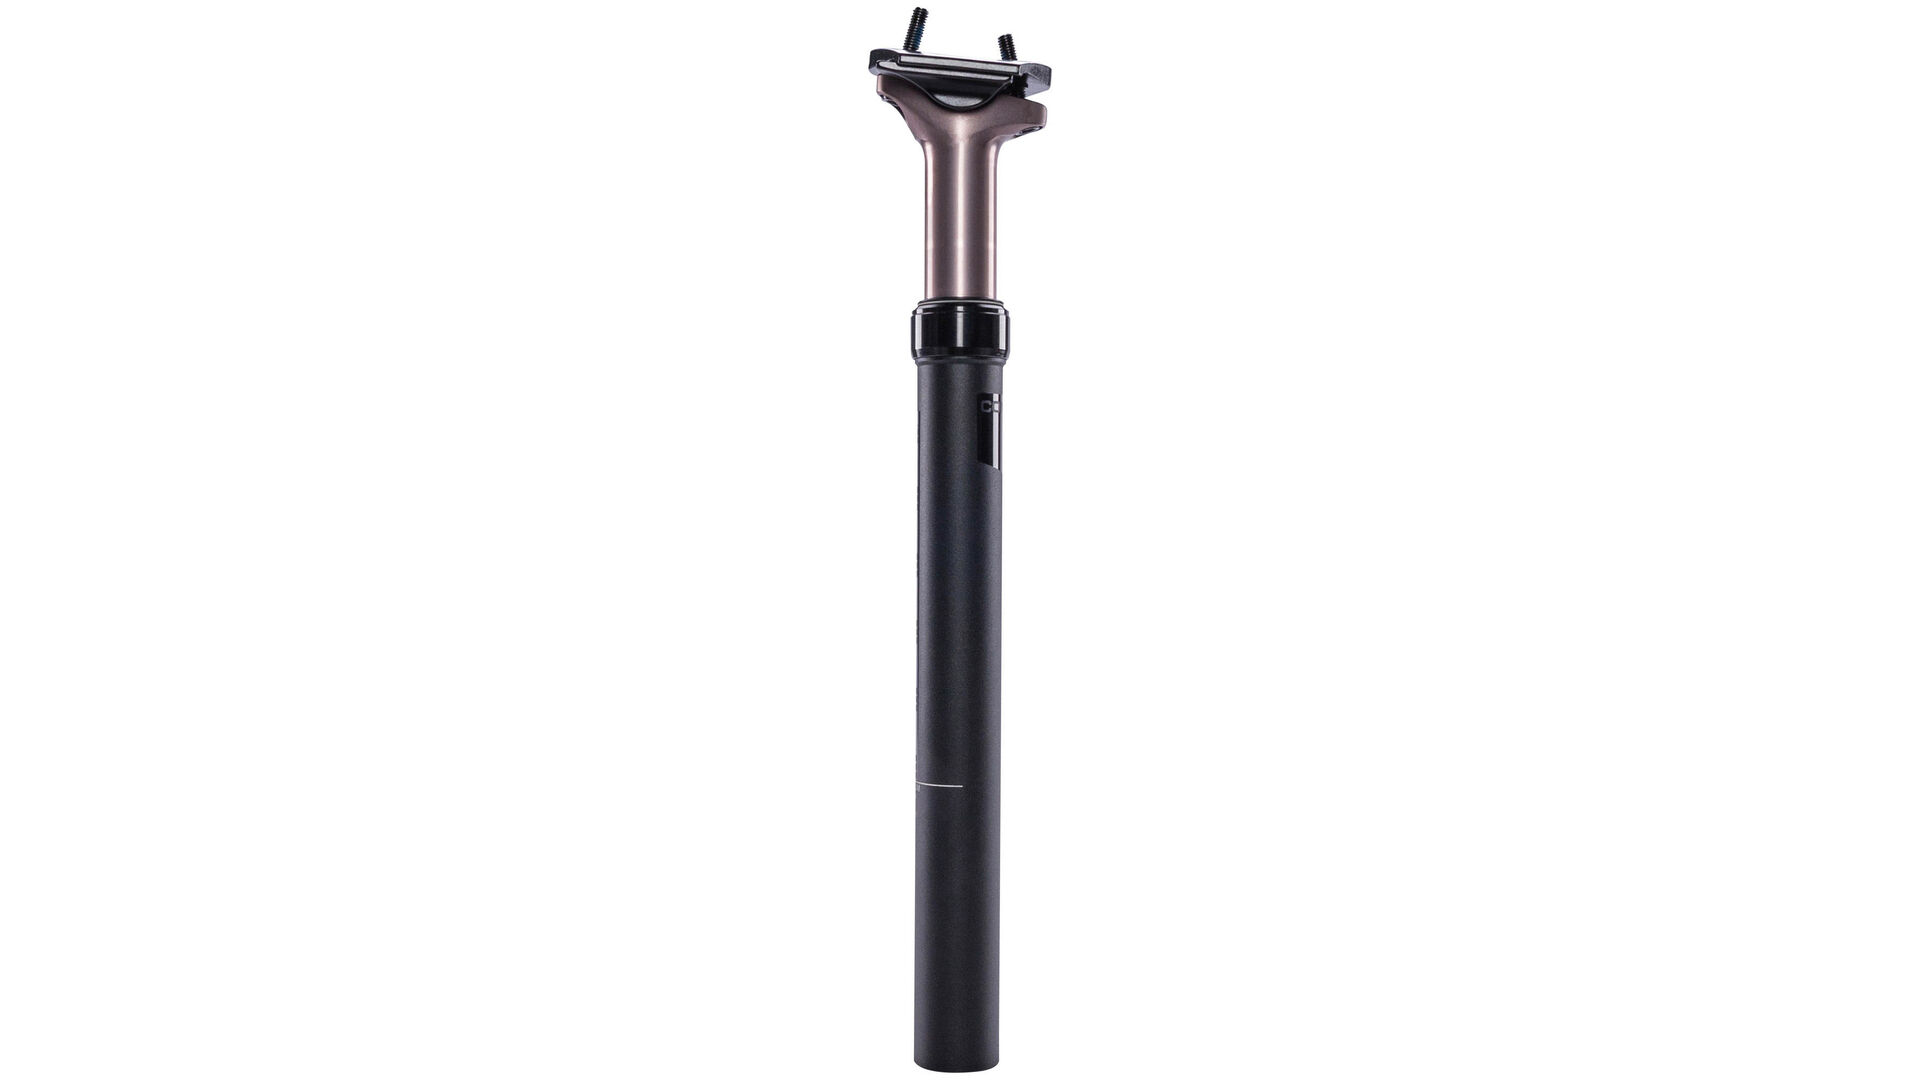
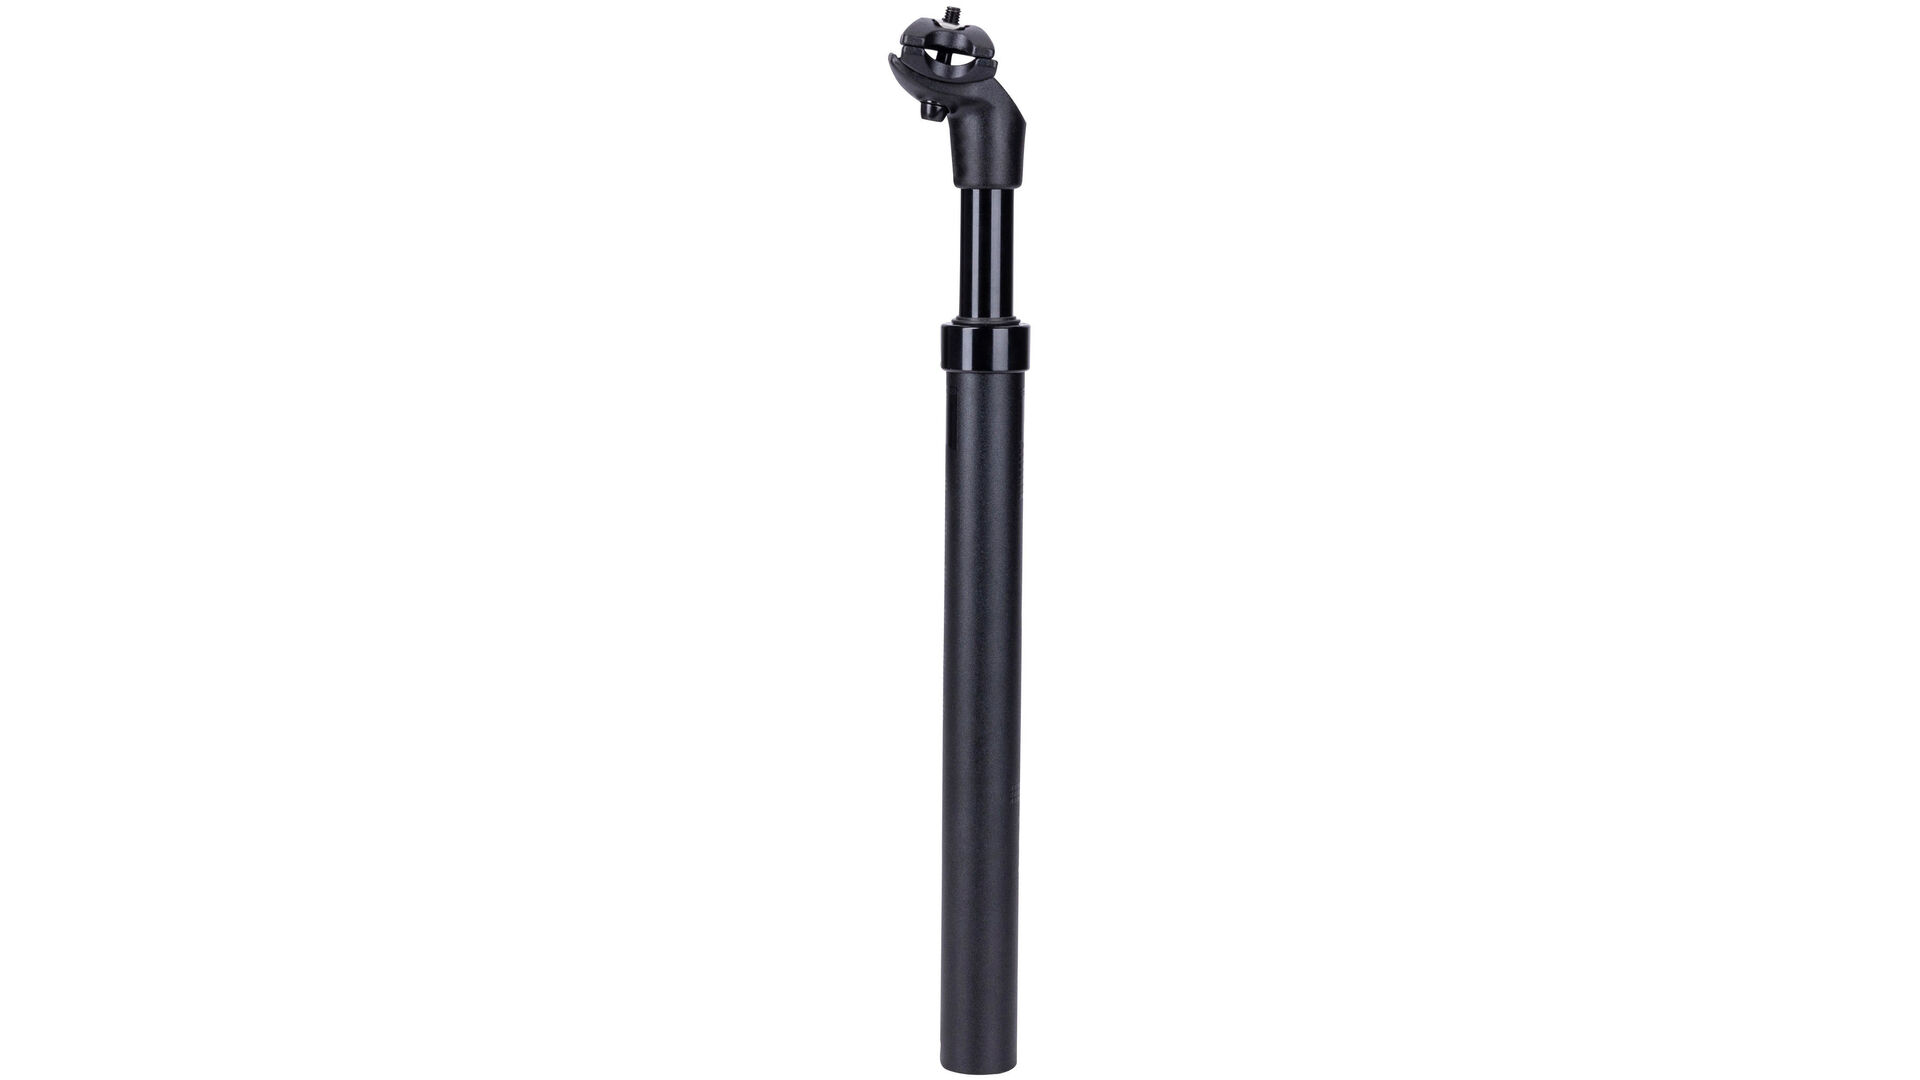
Adjusting a suspension seatpost
With a suspension seatpost, you'll always be comfortable and well-cushioned on the go – but only when it's adjusted correctly. Here you can find out what you need to take into account and how to set up your CONTEC suspension seatpost.
Parallelogramm-
sattelstütze einstellen
Mit einer Parallelogrammsattelstütze bist du immer komfortabel und bestens gedämpft unterwegs – aber nur, wenn sie richtig eingestellt ist. Was du dafür alles beachten musst und wie du deine CONTEC Parallelogrammsattelstütze für dich einstellst, kannst du hier nachlesen.