
How to attach your "Mile Grinder" bikepacking bags
Bikepacking is freedom on two wheels. CONTEC wants to offer everyone the chance to enjoy the freedom of being on their bike. The obvious thing to do has been to incorporate the years of experience in the field of trekking and touring bags into a range of bikepacking bags resulting in the "Mile Grinder" range. Consisting of three different saddlebags, two frame packs and a small cockpit bag. All bags are made of sturdy, durable materials and are fully waterproof. The "Mile Grinder" range means you don't have to worry about the weather. So let's get the bags on the bike and get pedalling into the distance! To ensure that the bags fit properly and that there are no unpleasant surprises after your bikepacking adventure, we will show you here how and where to best attach the bags to your bike.
Rude awakening after your bikepacking adventure?!


Despite the bags being attached assiduously, they will move minimally. As a result, the fastening straps and pockets will rub against the frame. Combine this with fine dust particles or dirt that can be sprayed up during the ride and nasty scratches may occur on the bike. We therefore recommend taping the contact points between the bags and the frame with duct tape or a protective film.
Attaching the "Mile Grinder" saddlebags
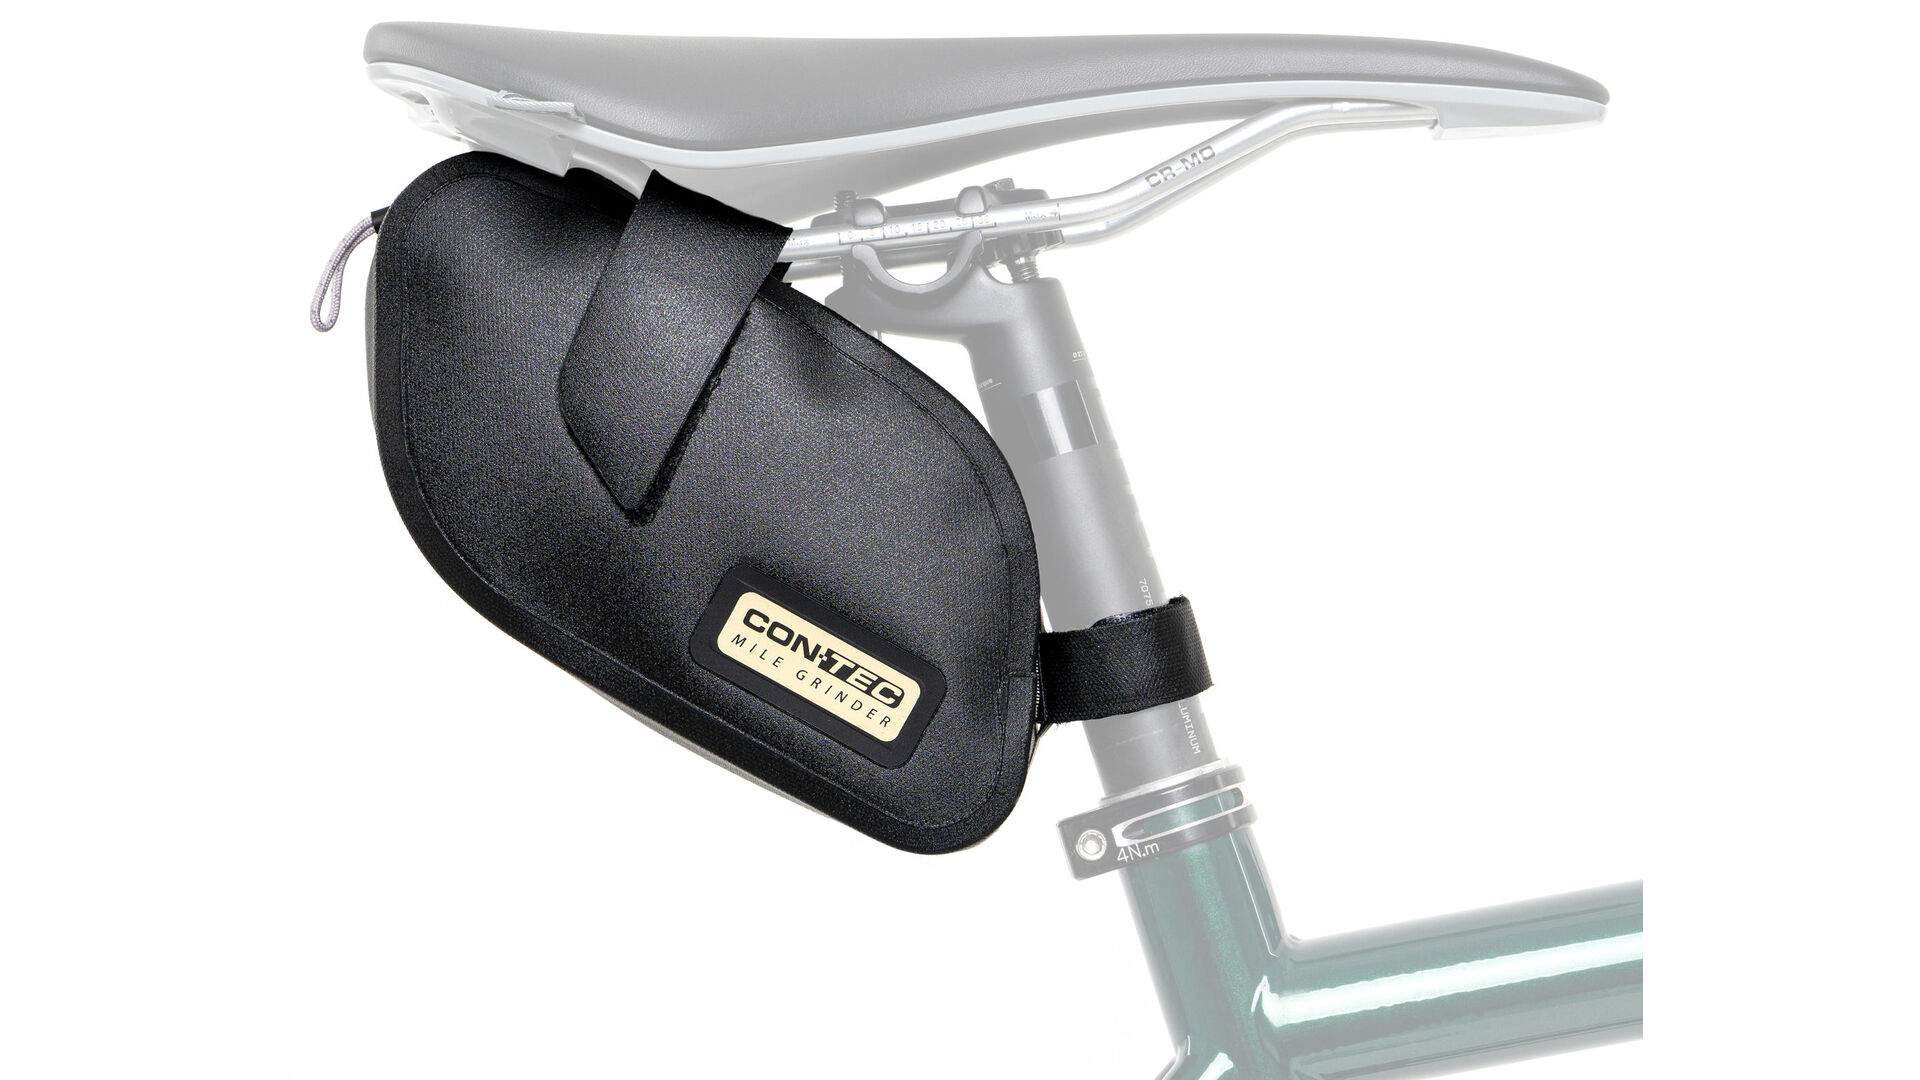
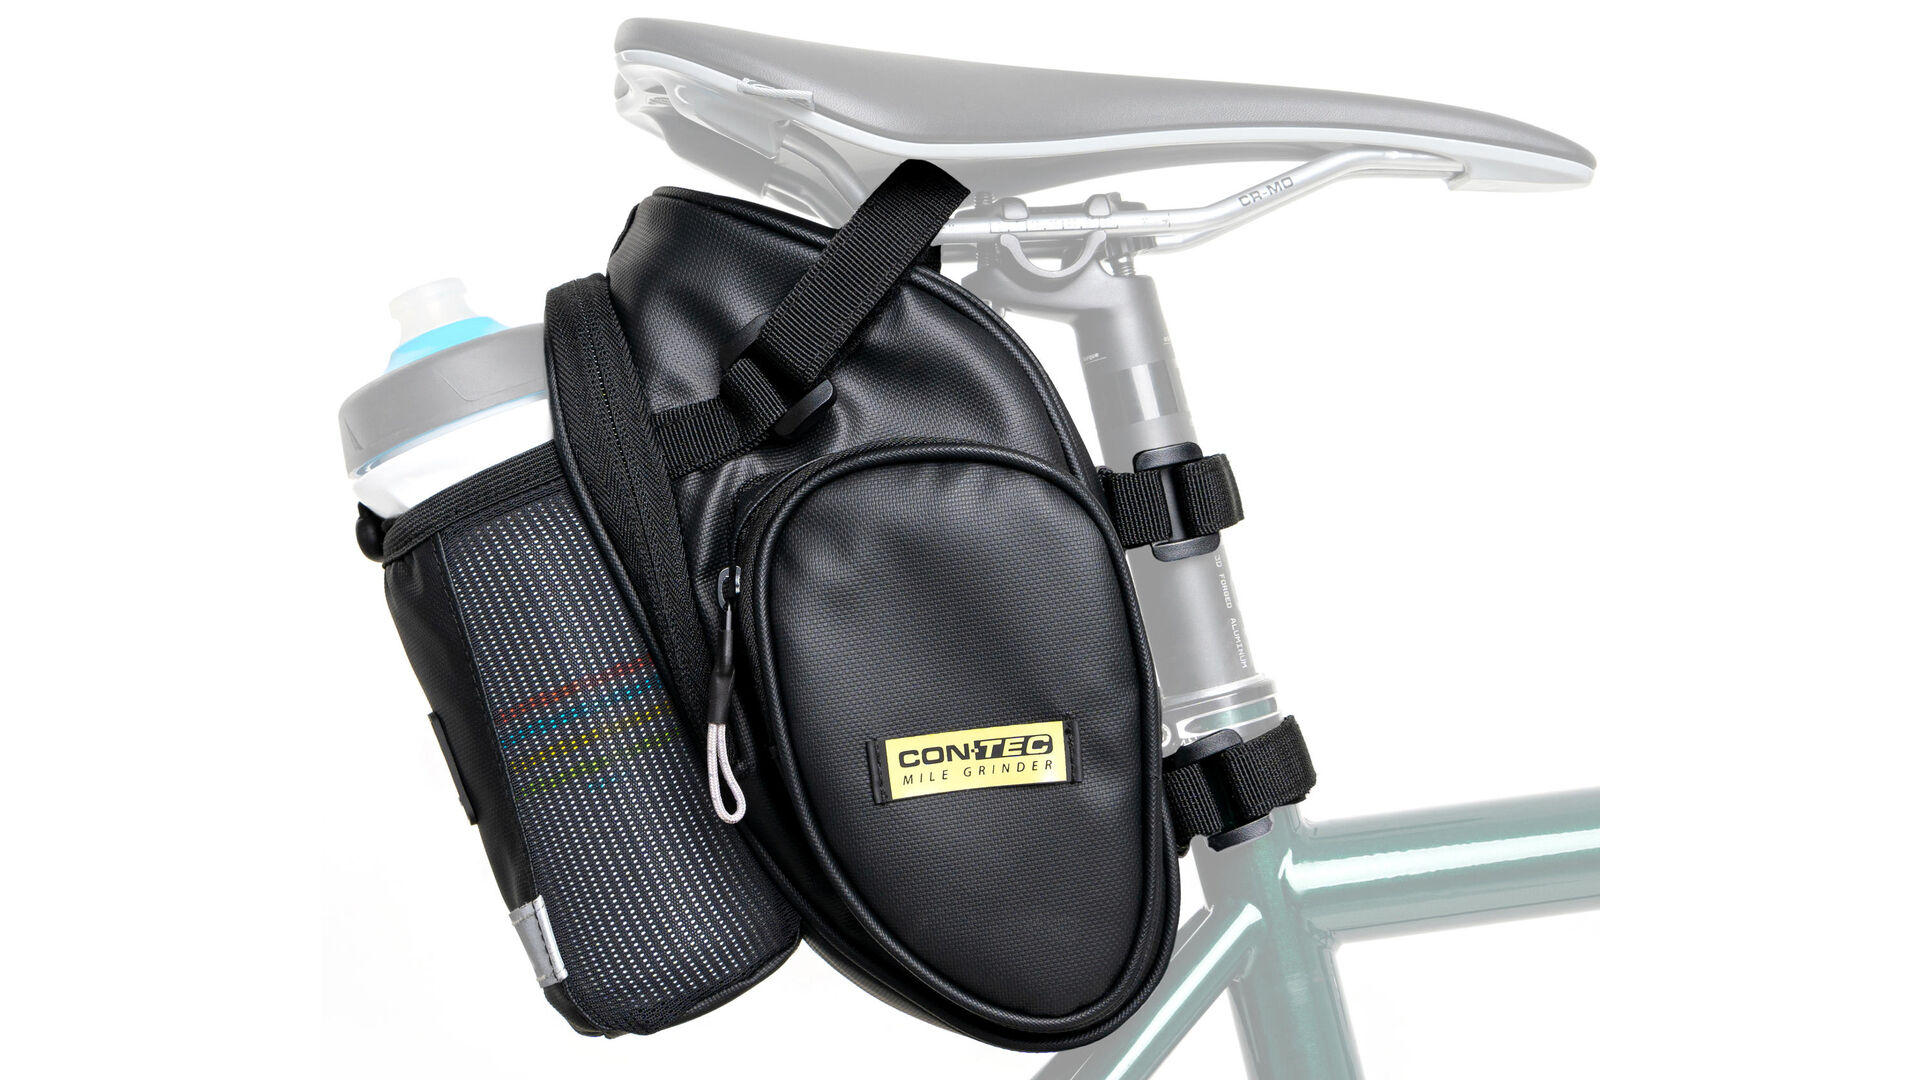
The three saddle bags in the "Mile Grinder" range have some different uses. The smaller bags, the "Tool Bag M" with 0.8 litres and the "Saddle Bag Extra" with 2 litres, are more intended for everyday use for storing puncture repair kits or a wind breaker. With a capacity of 10 litres, the "Saddle Back 10" offers storage space for clothing or a sleeping bag and camping mat on your bikepacking adventure. However, all three use the same fastening principle. The fastening straps run around the seatpost and saddle rails. The best way to do this is to first loosen the straps around the seatpost, then attach the straps to the saddle rails and tighten them. Finally, pull the straps around the seatpost tight again. Now you can see exactly where the bag and straps come into contact with your bike. These contact points are where you should tape.


Attaching the "Mile Grinder" frame packs
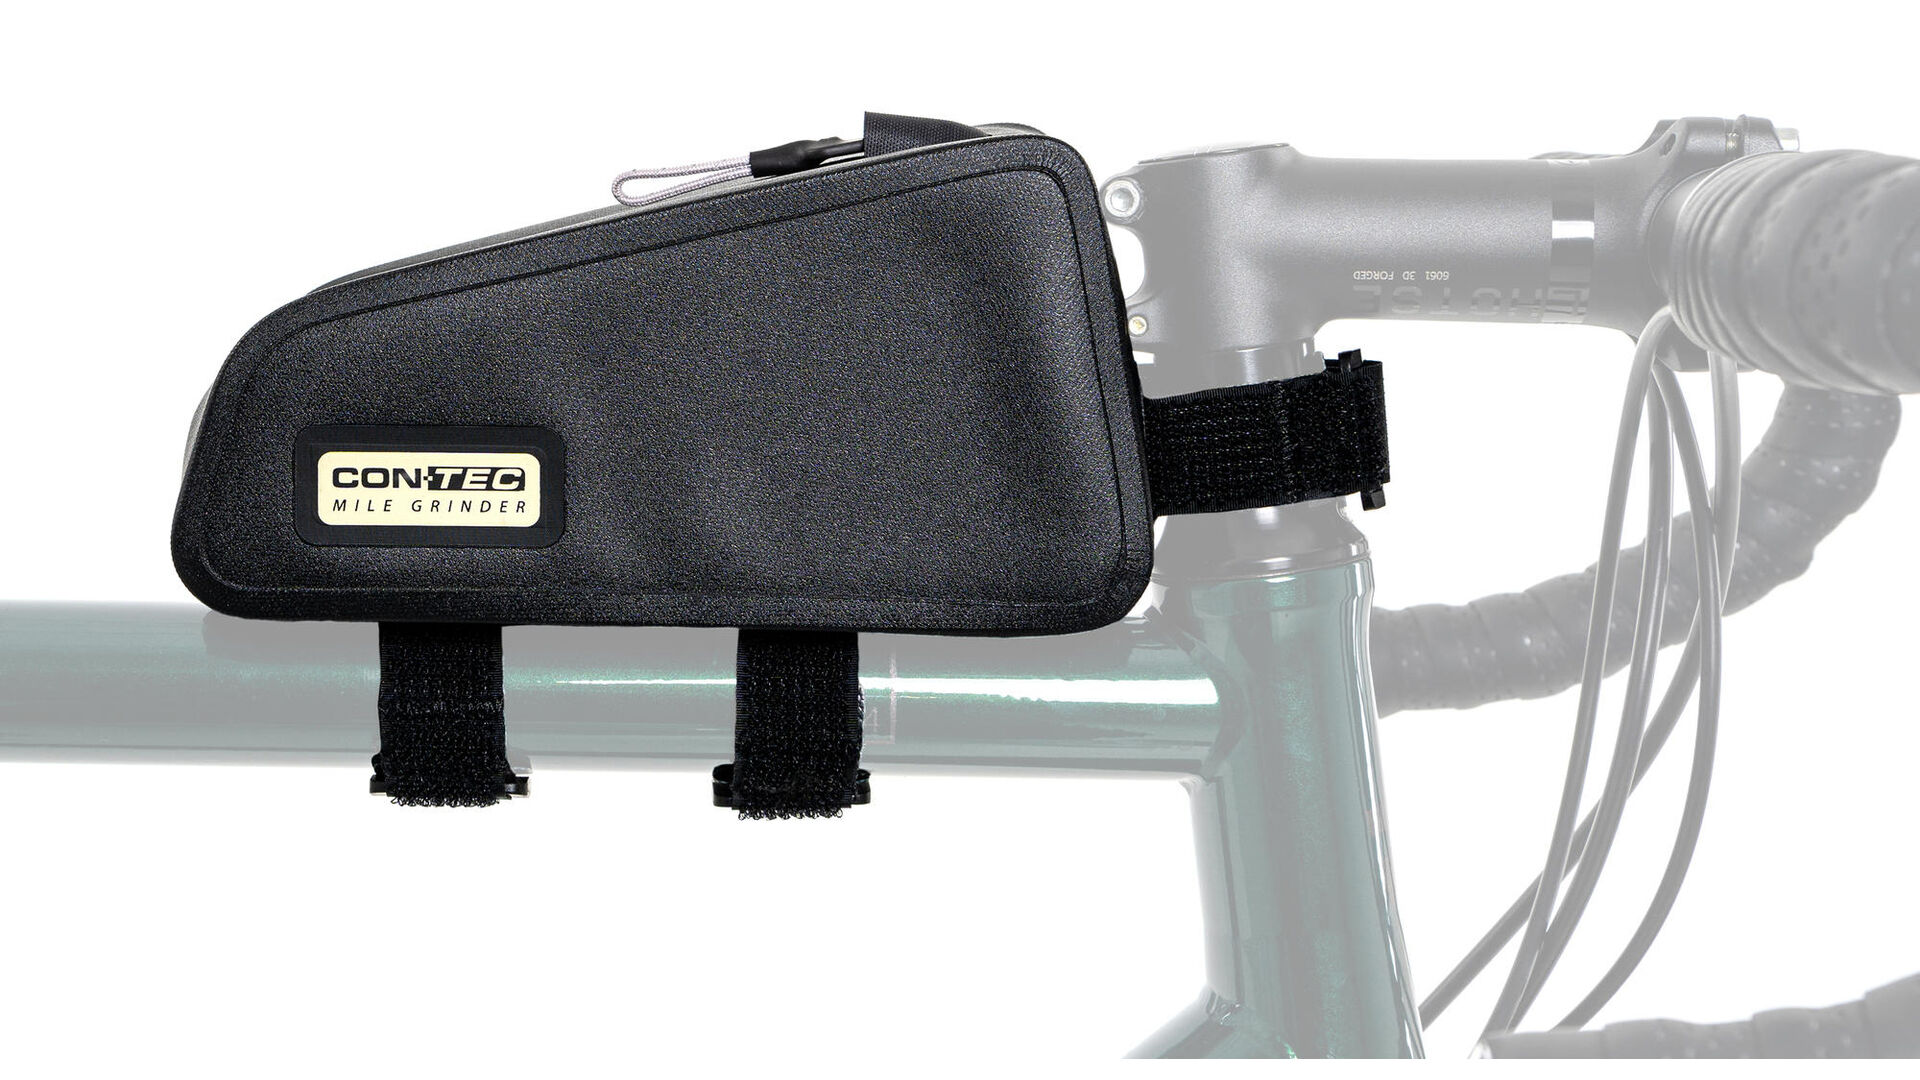
The frame packs from the "Mile Grinder" range can be used for various purposes. With a capacity of 1.2 litres, the small "Top Tube 1.2" is very practical for carrying puncture repair kit or even a mobile phone and wallet. There is even space for energy bars for longer rides. Thanks to its central position, the large "Frame Bag 2.8" is suitable for heavy equipment, such as a small cooking system and a tarp with pegs. Optimised packing dimensions are the prerequisite for all three items of equipment to fit in the bag.
The small "Top Tube 1.2" is attached to the frame with three hook-and-loop fastening straps. Two on the bottom and one on the front. As there are three ways of attaching the two straps under the bag, you can fit "Top Tube 1.2" to the top tube in two different positions. Either with the Velcro strap around the headset or rotated 180° with the strap around the seatpost.


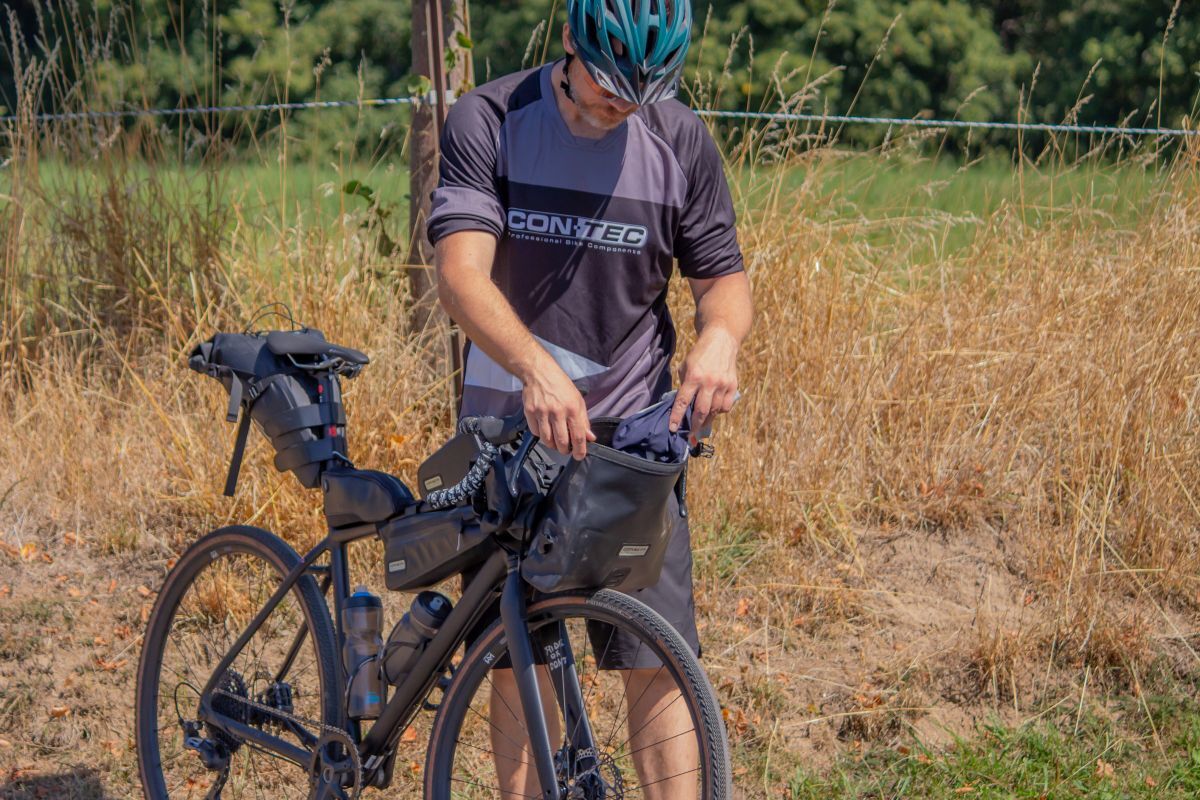
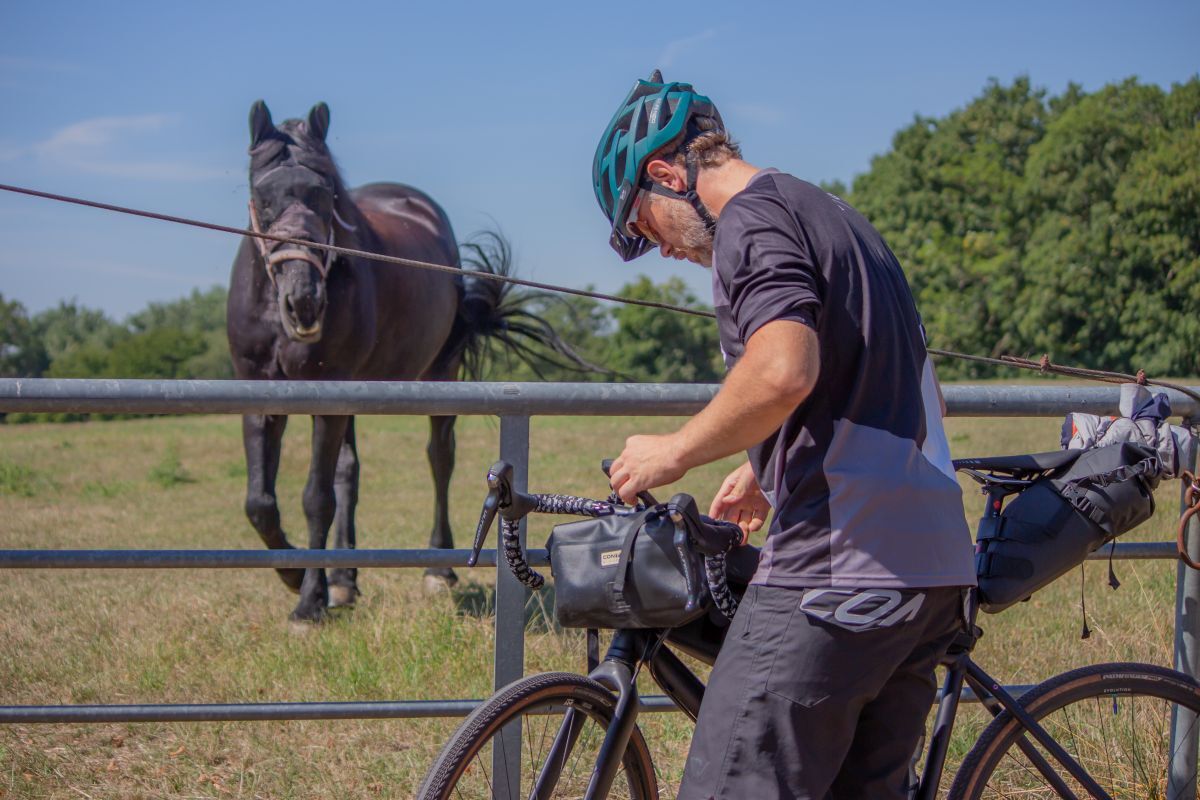
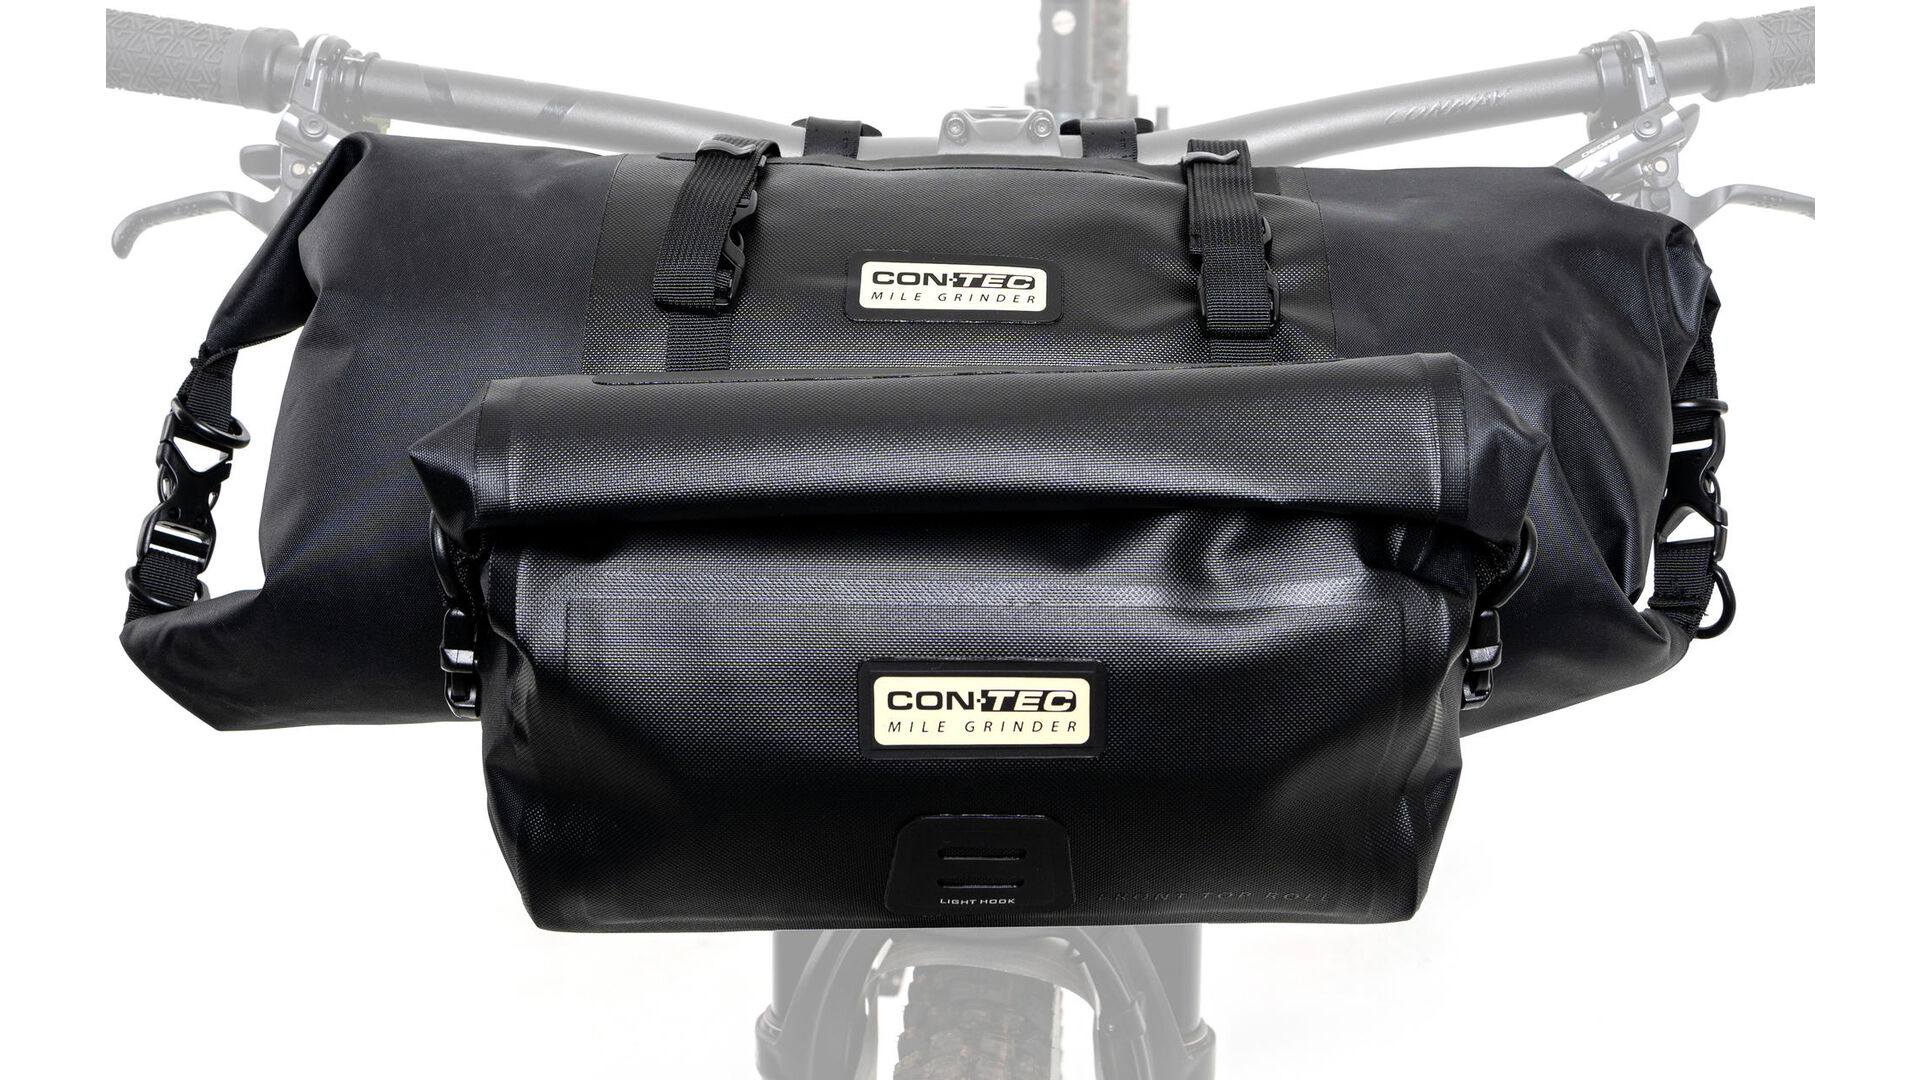
Attaching the "Mile Grinder" handlebar bag

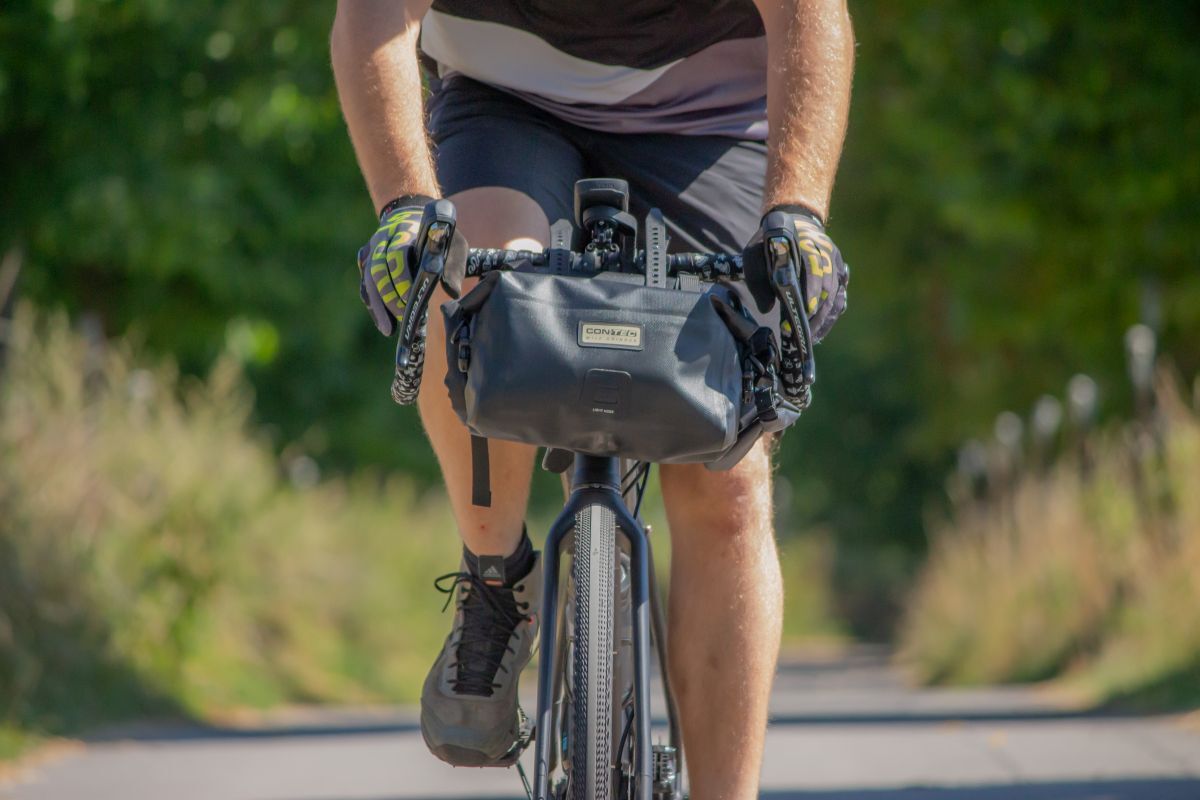
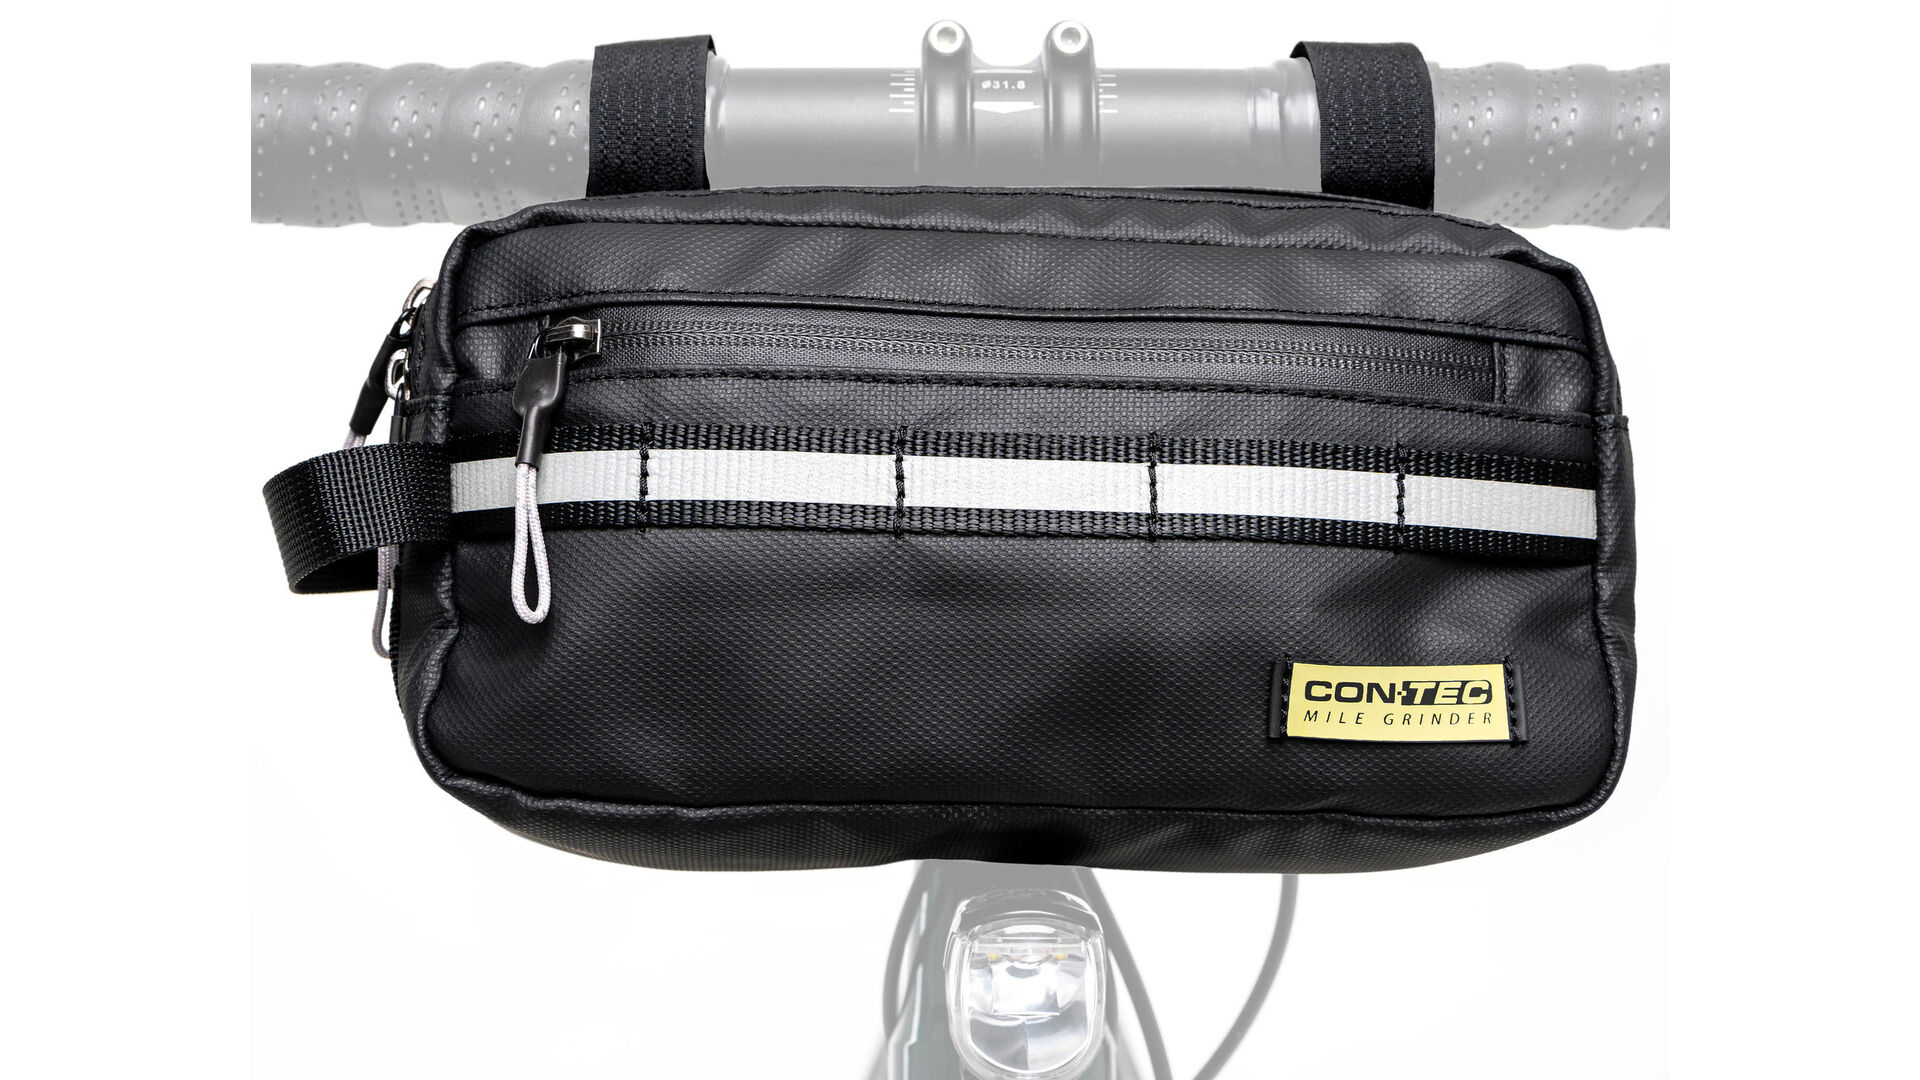
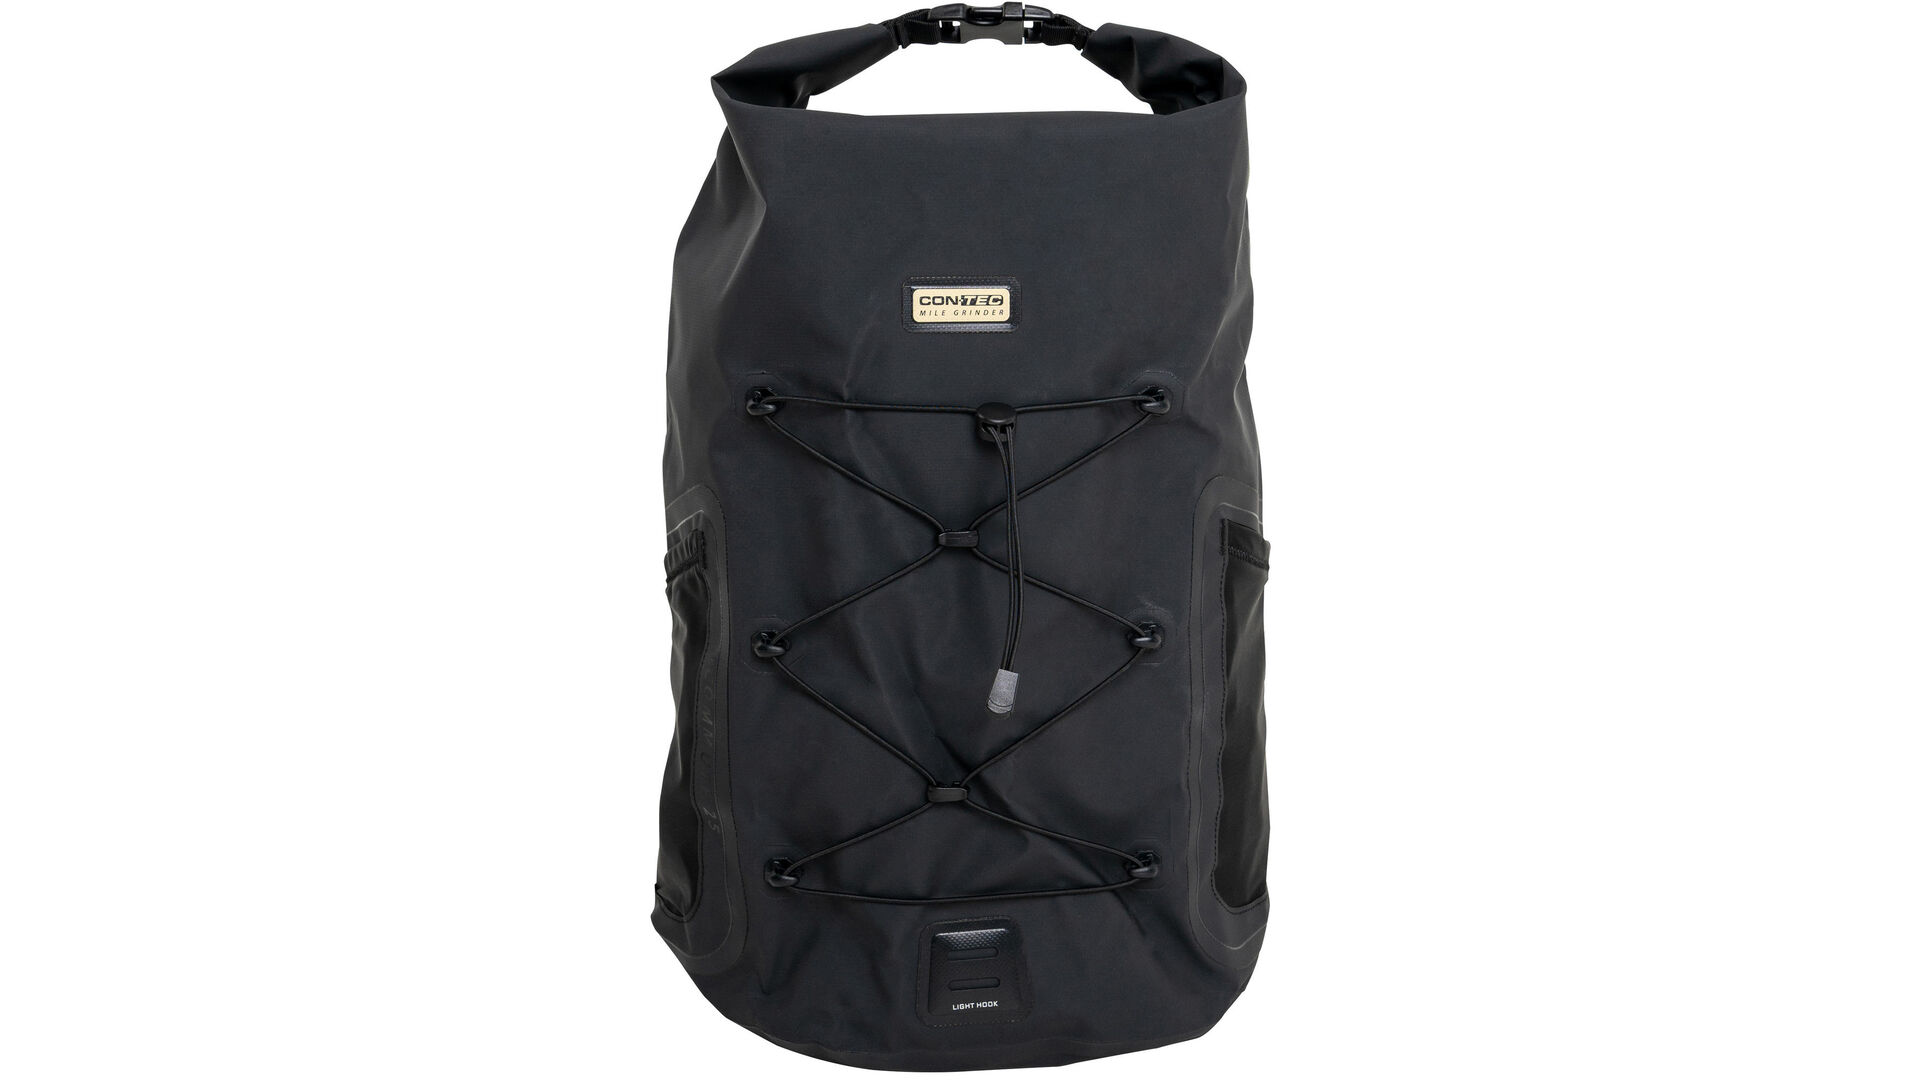
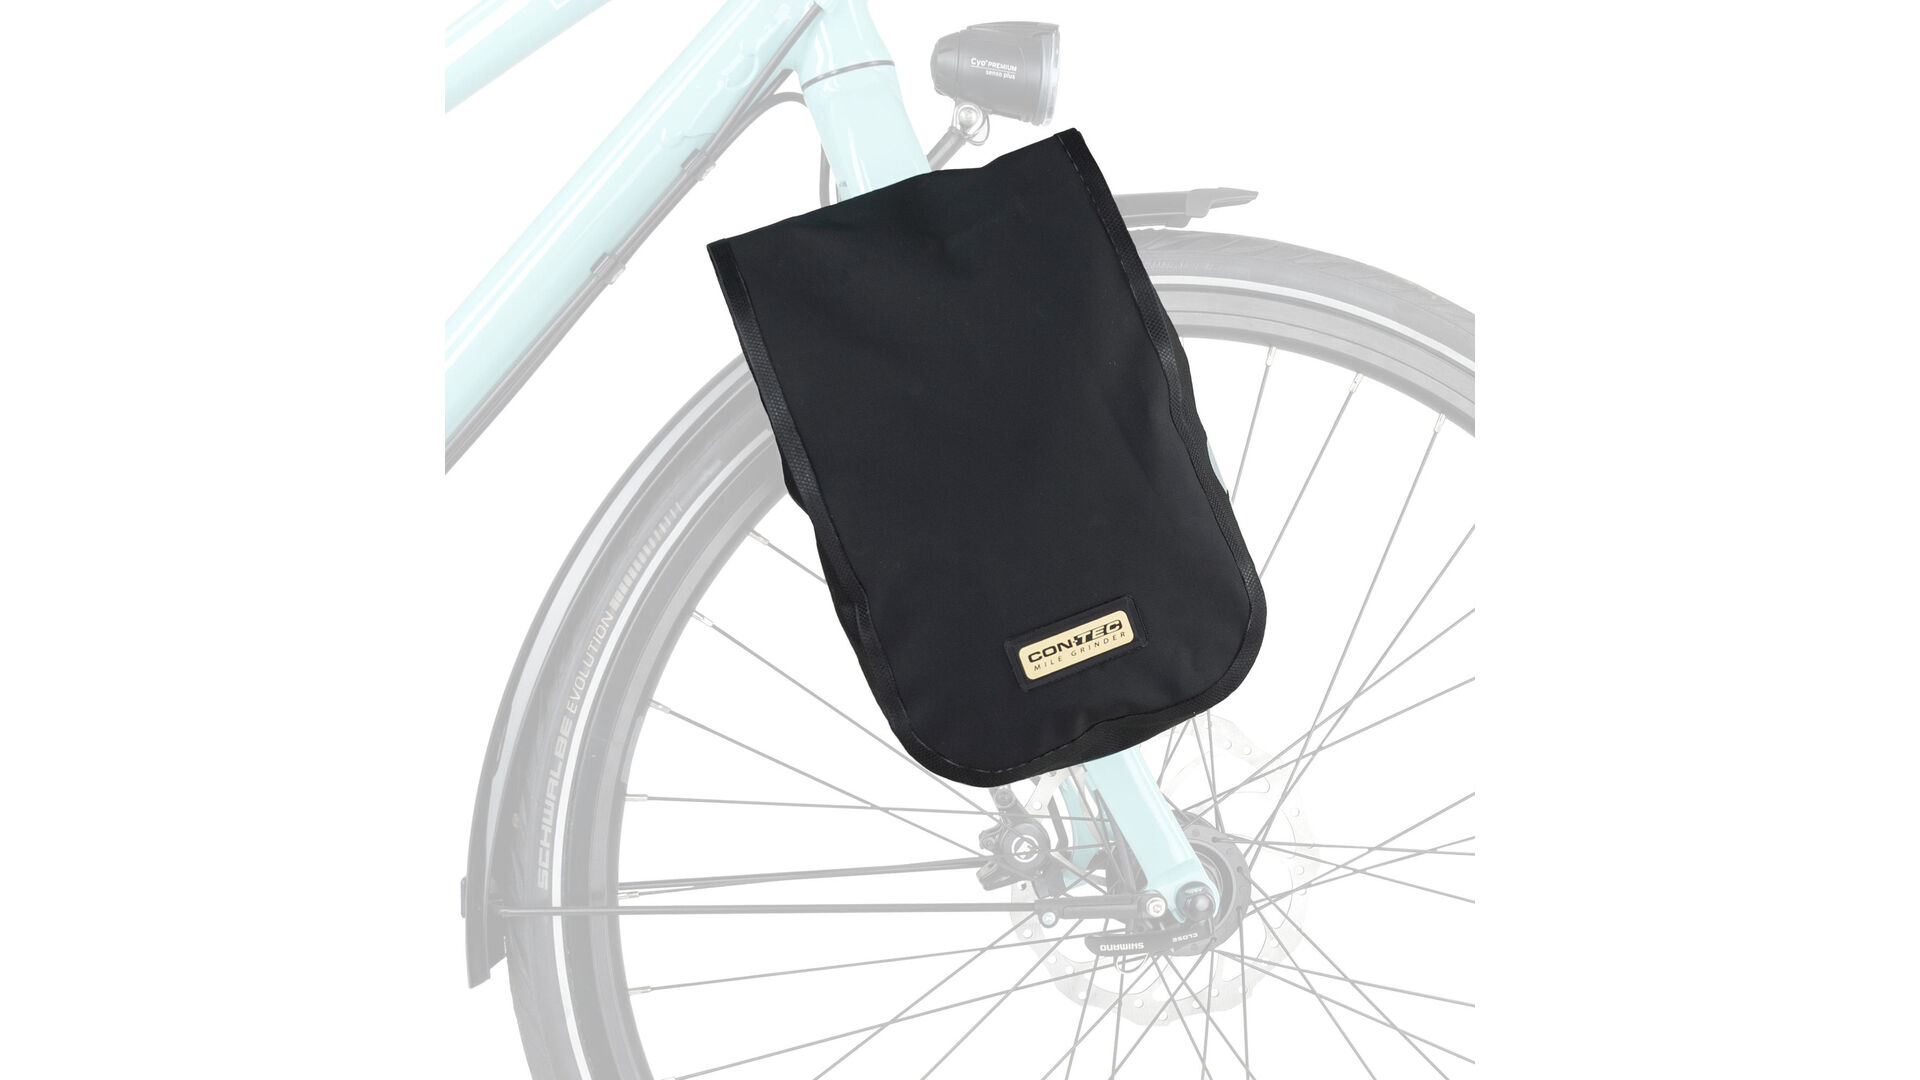
There is only one handlebar bag in the "Mile Grinder" range, the "Front". Actually, the "Front" handlebar roll is also more of a set. It consists of the handlebar roll, which offers a lot of storage space with a storage capacity of 8 litres. Sleeping bag, sleepwear and a camping mat can be stashed in here. The smaller roll-top bag with 4-litre capacity is attached to the front of the handlebar roll. The contents of this bag are always easy to reach. So this is the ideal place for trail snacks, wind protection or glasses. However, it is possible to attach the small bag to the bike without the large handlebar.
As with all "Mile Grinder" bags, the handlebar roll does not require any tools to be attached. You have two plastic straps that you around your handlebars and tie down. A band runs around the headset tube. The bag is attached to the bike at three fixed points and seated securely. The straps with the snap fasteners are intended to connect the two bags together.


Now you've attached all the bags and tape protects your frame from scratches. Now all you have to do is pack and get pedalling. So, it's time to have fun on your next bikepacking adventure.


CONTEC "Mile Grinder" bikepacking range
You want to know more about the "Mile Grinder" bags. We have more information on the bikepacking set here.