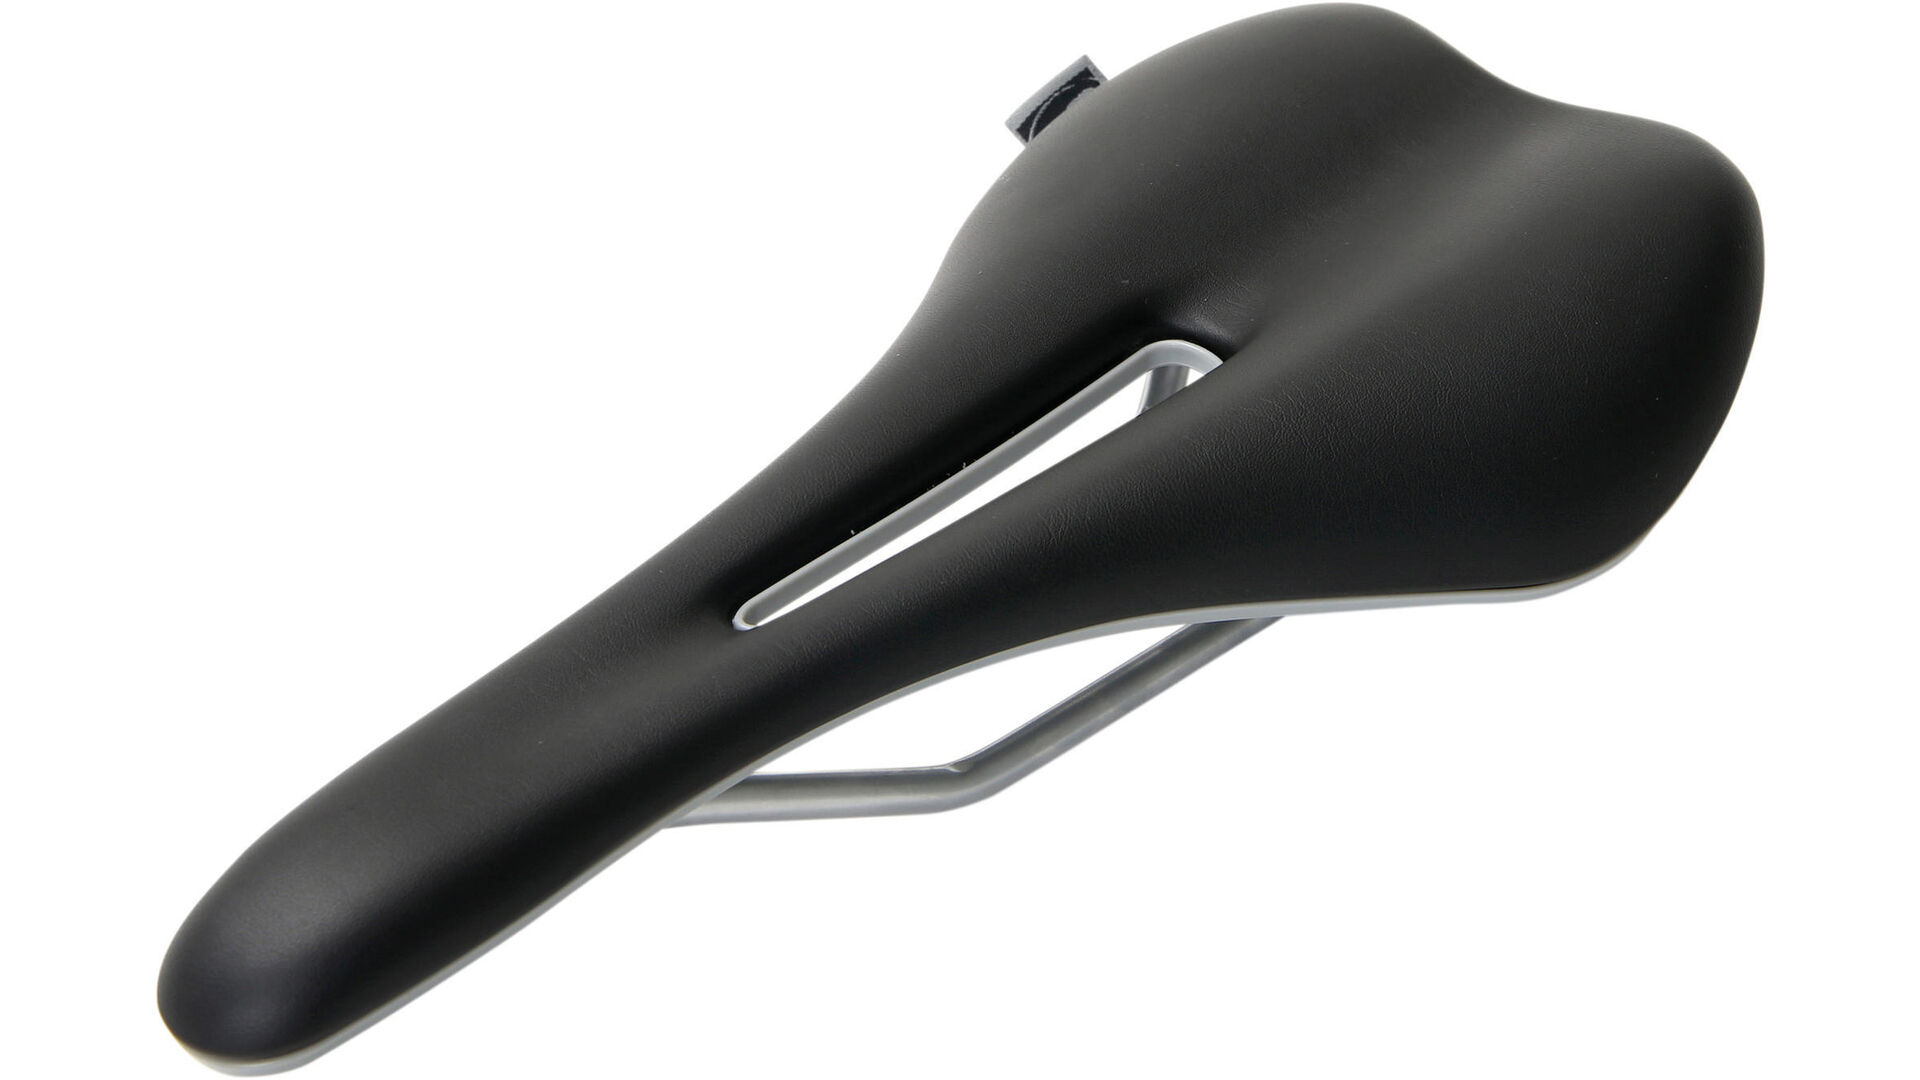
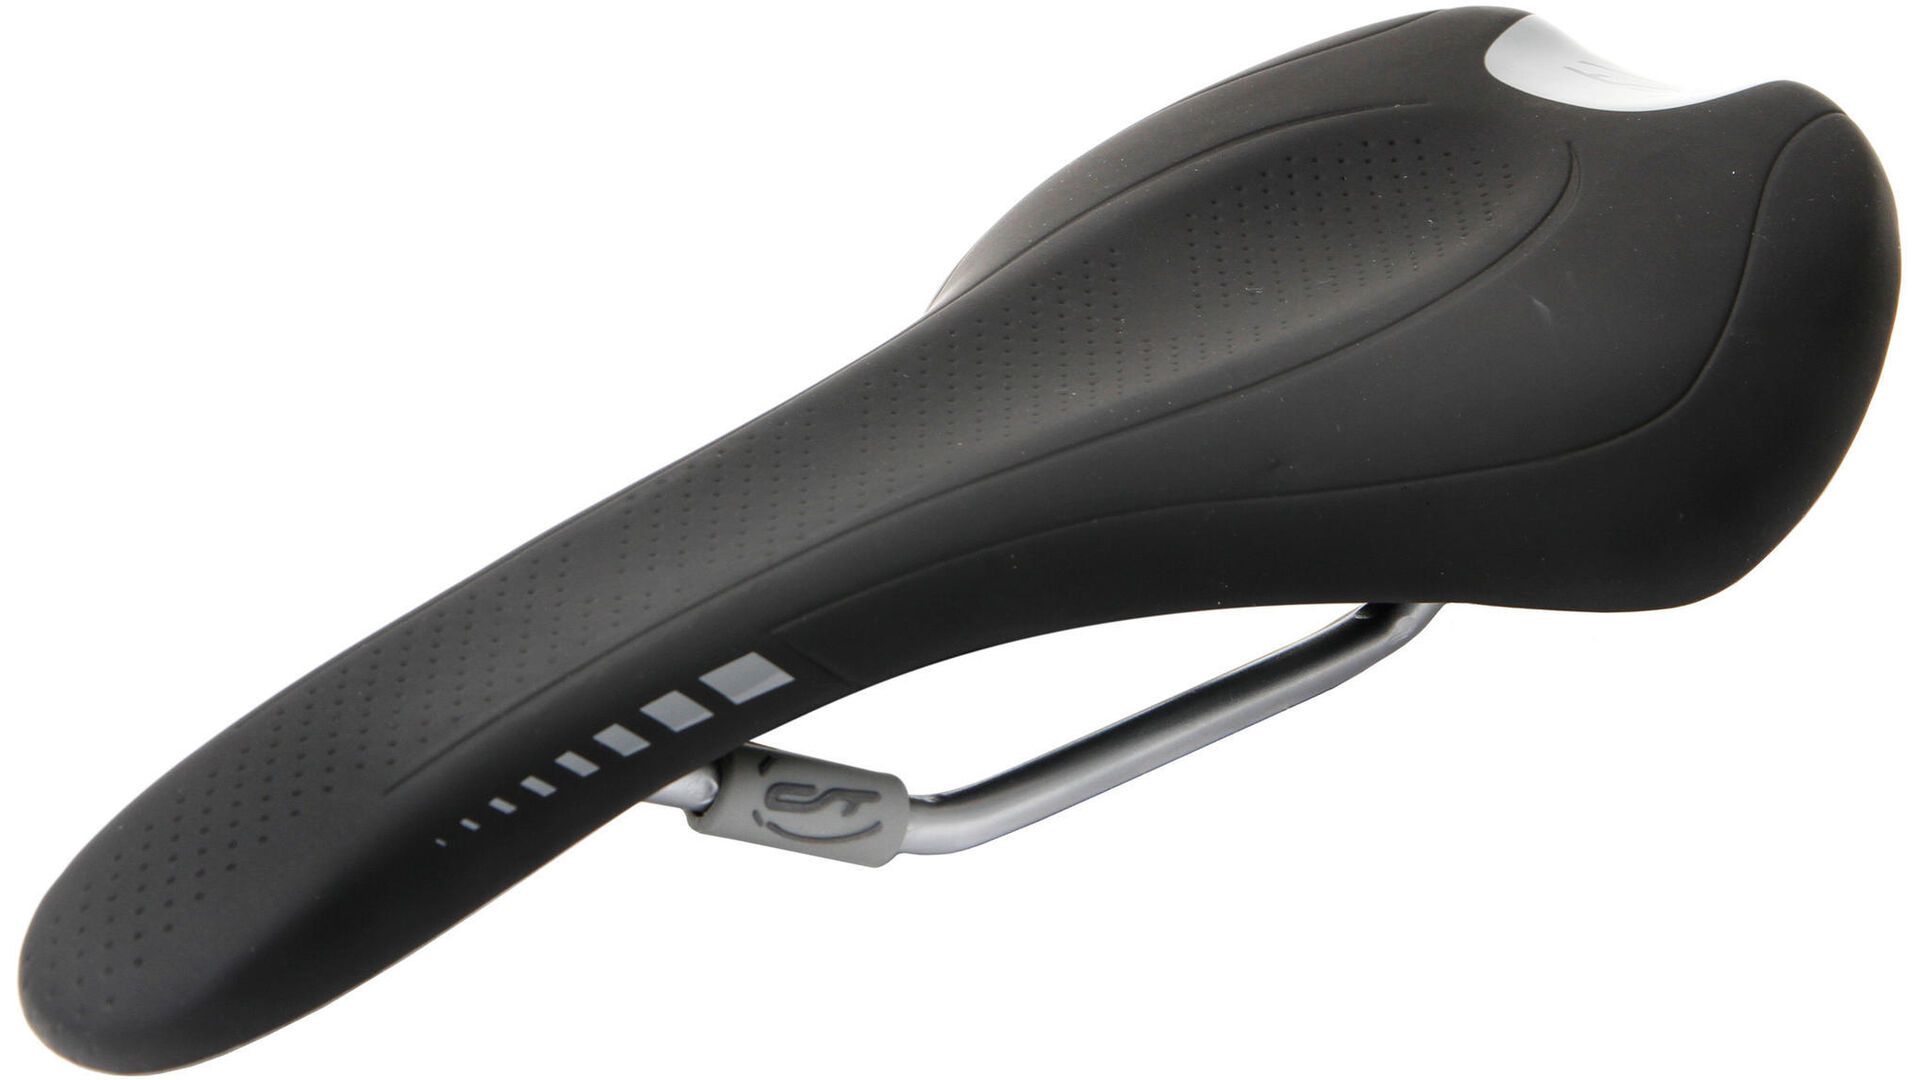
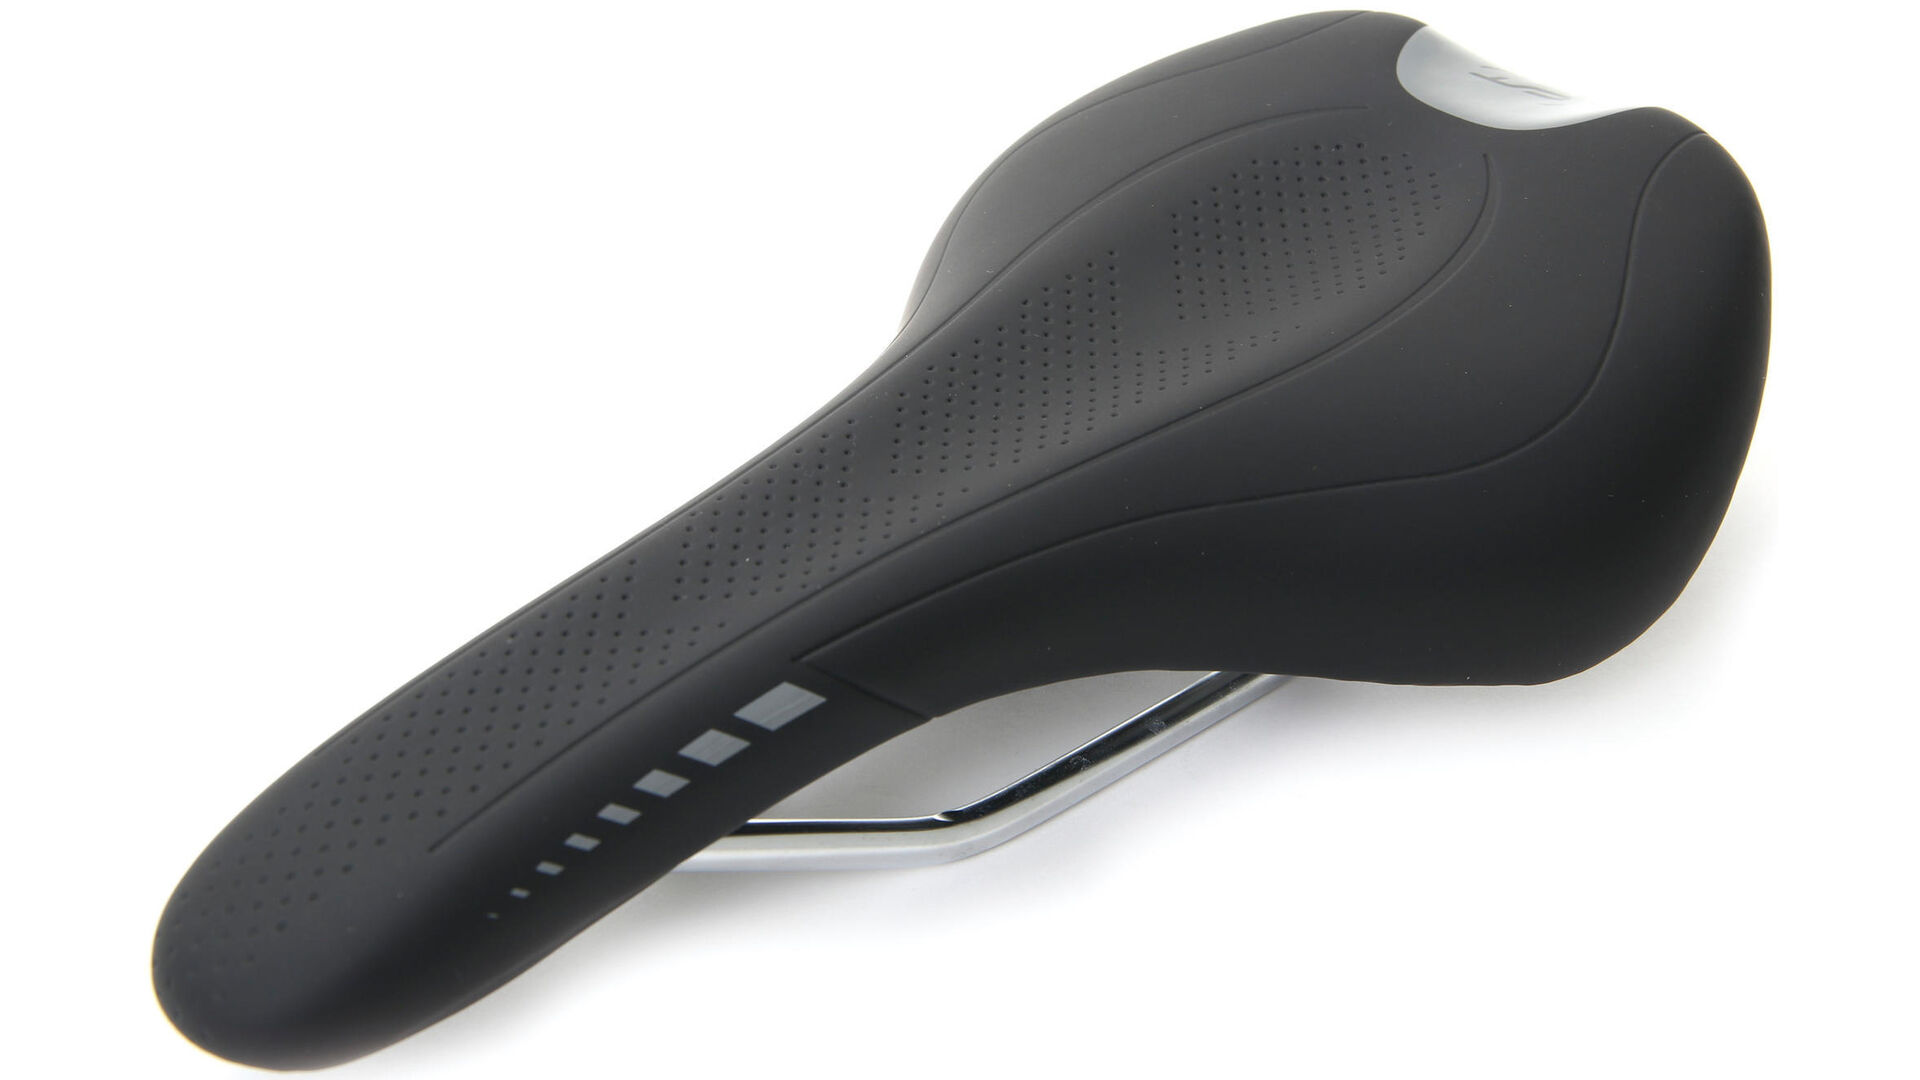
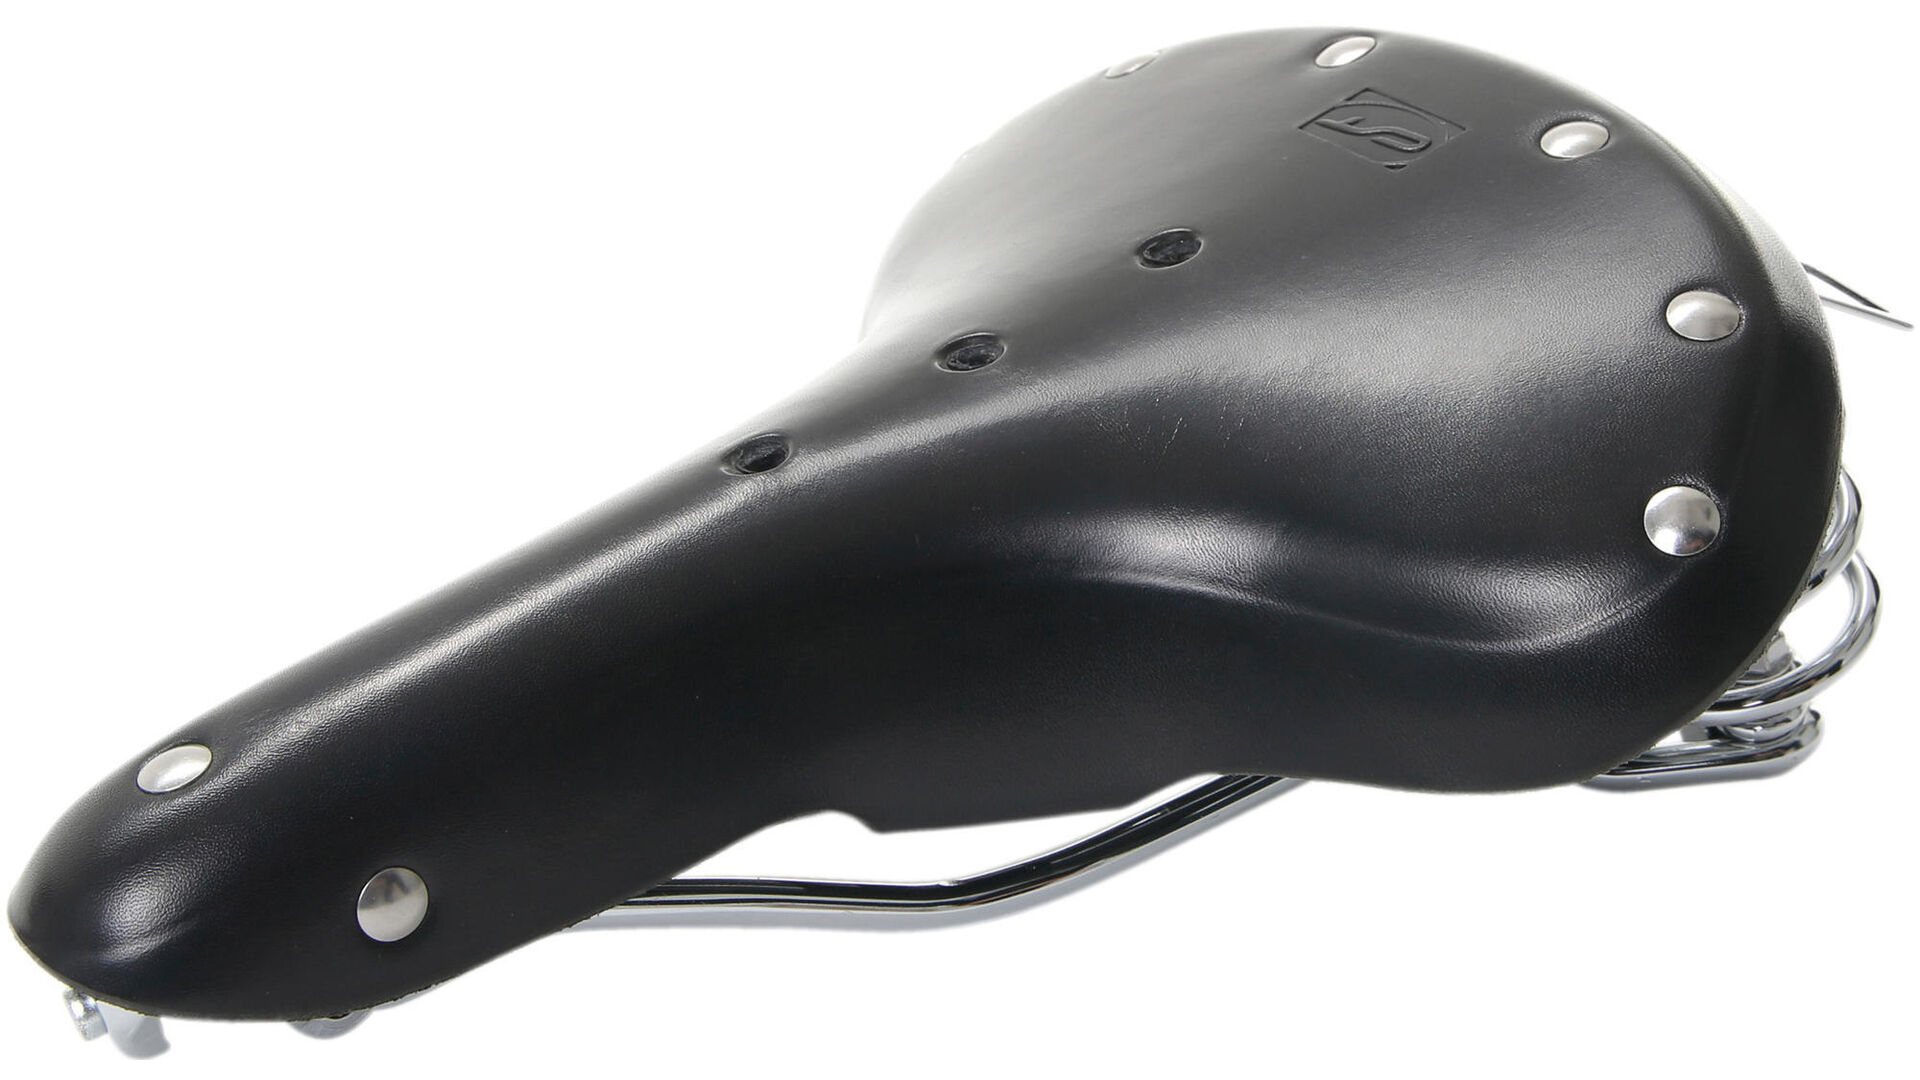
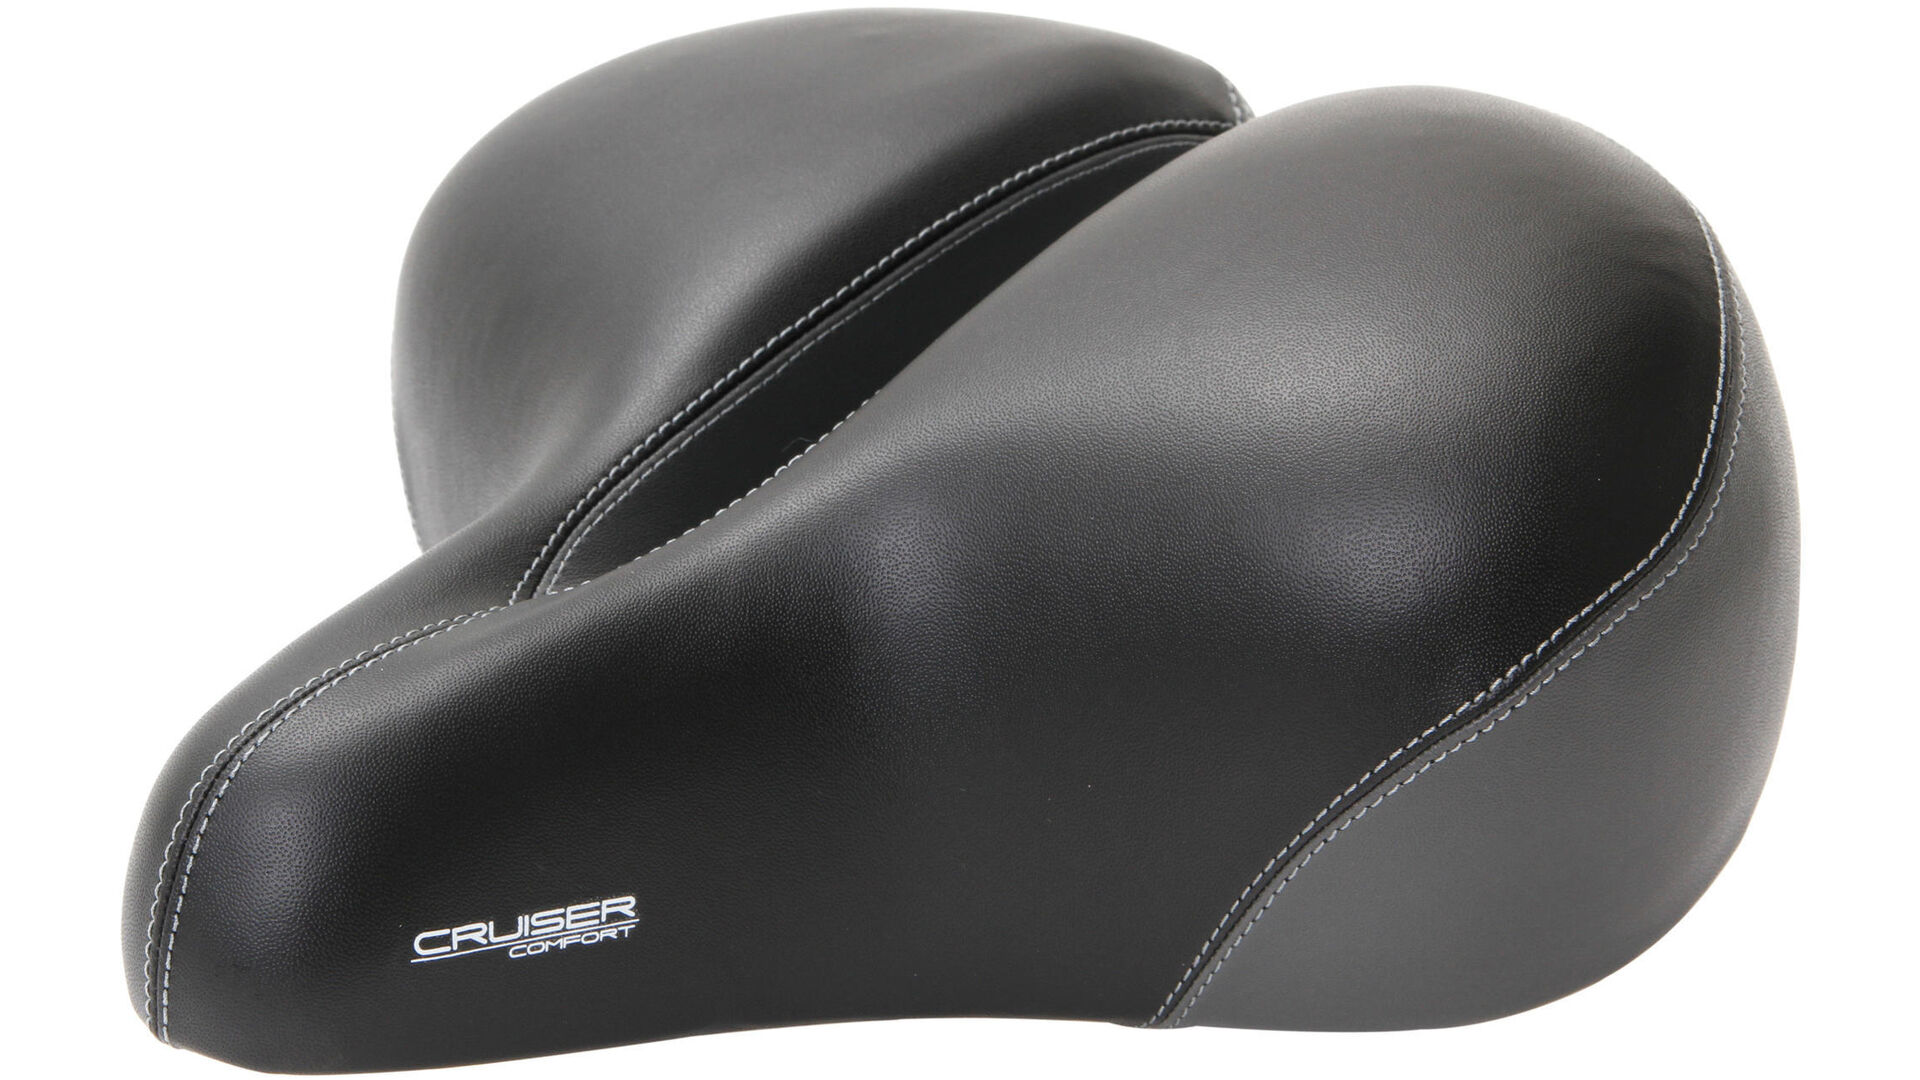
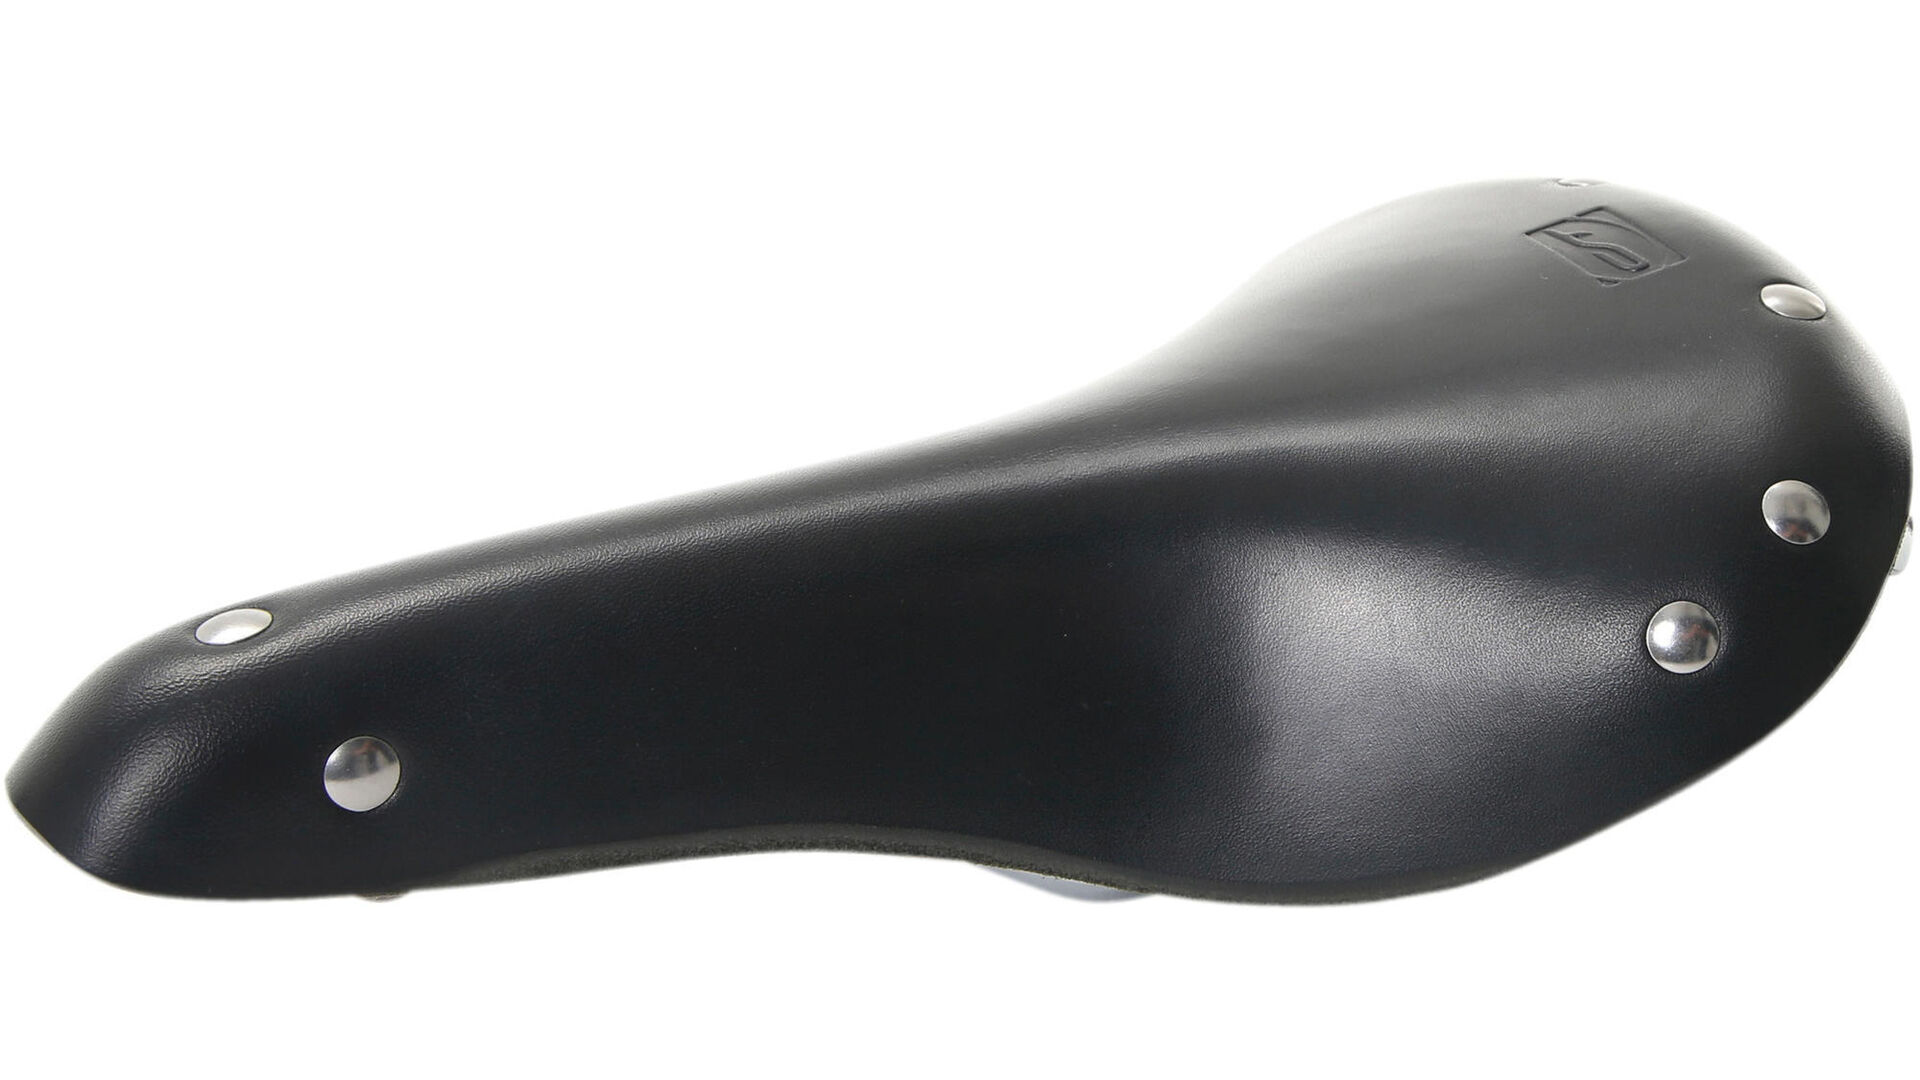
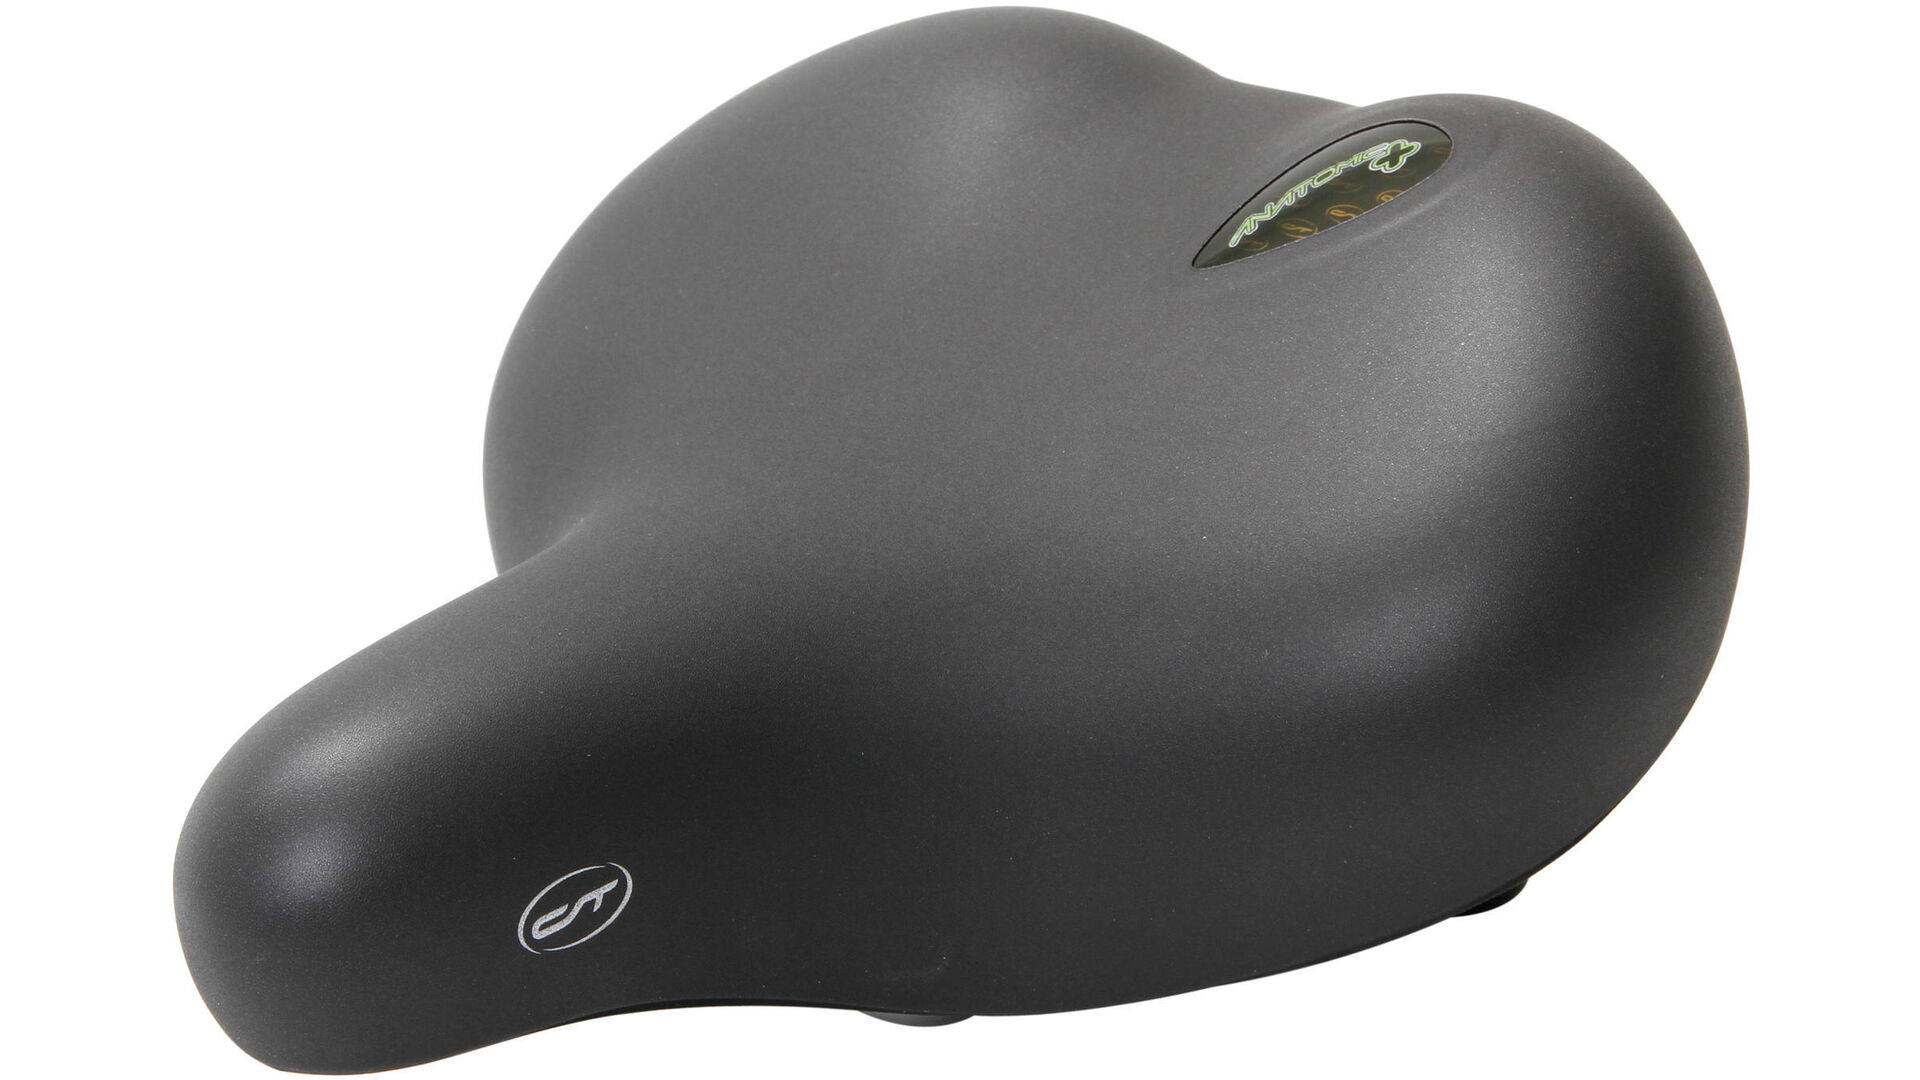
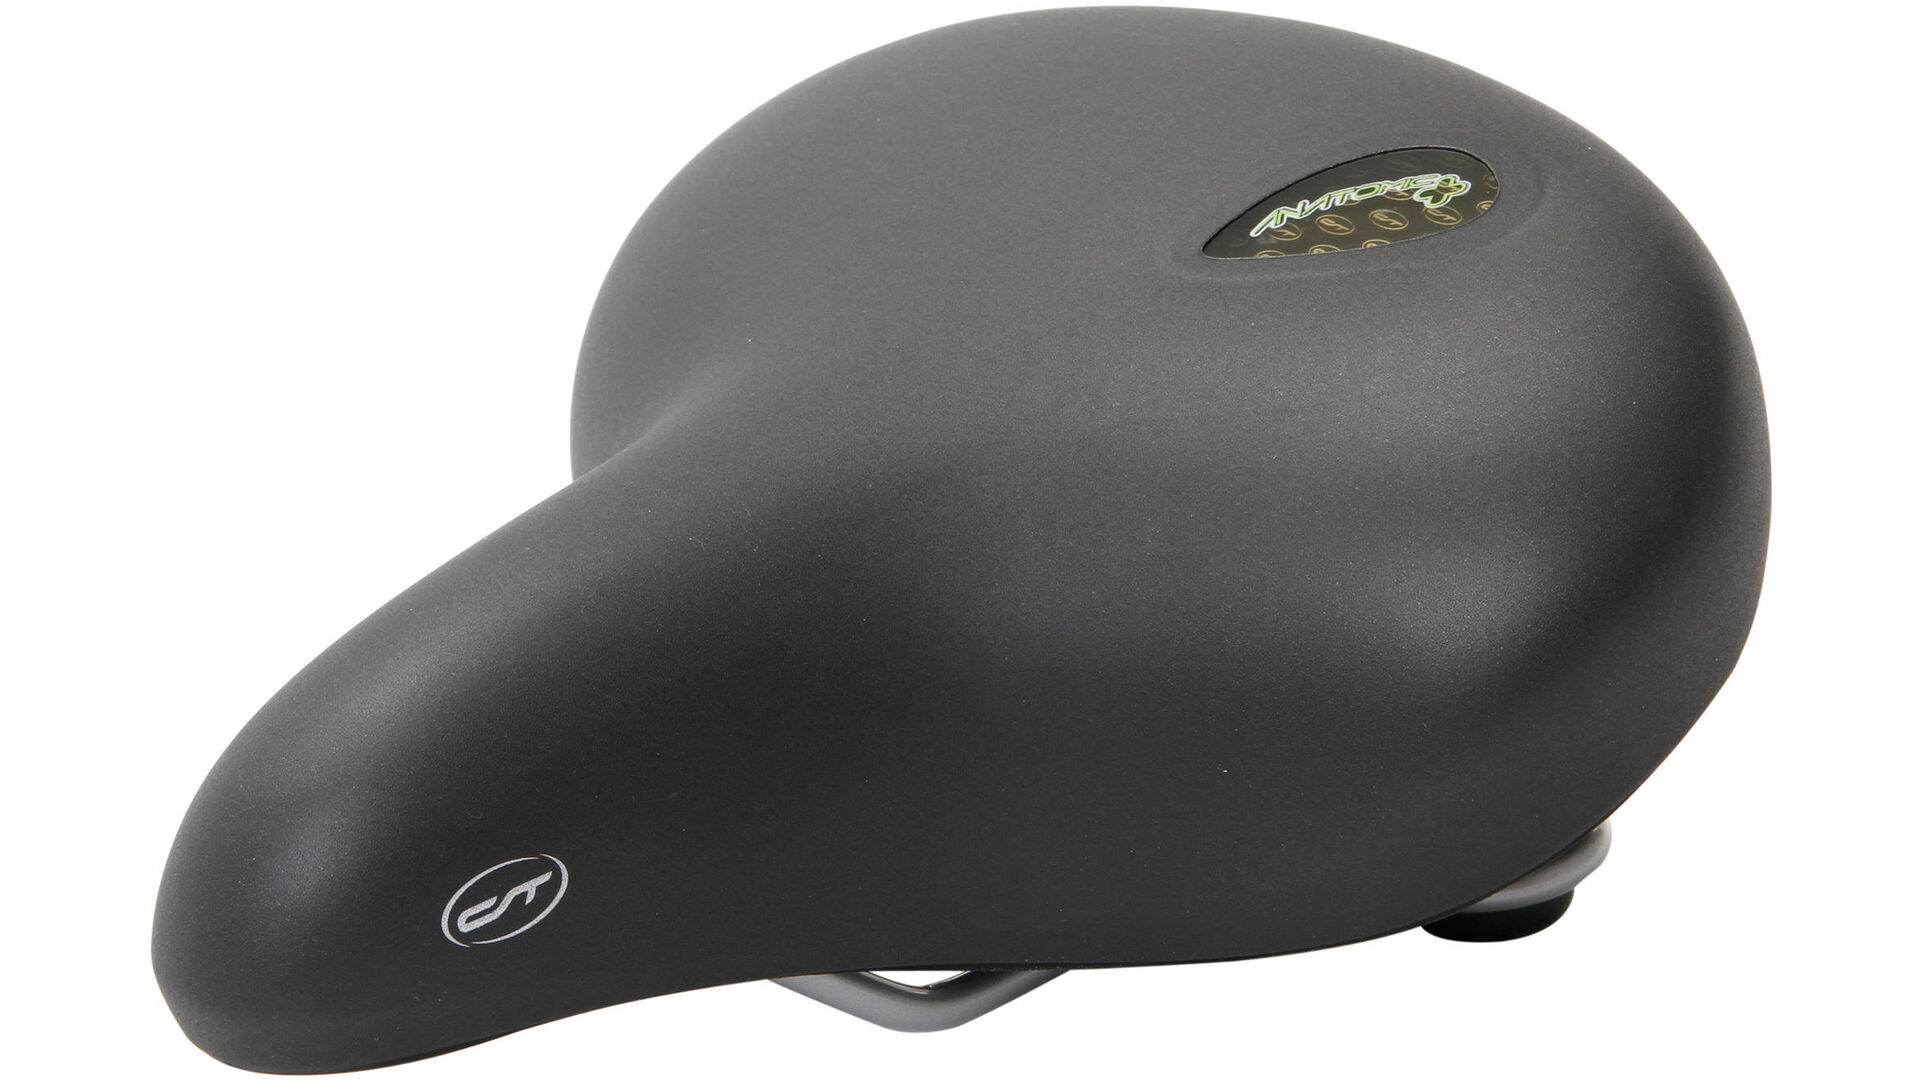
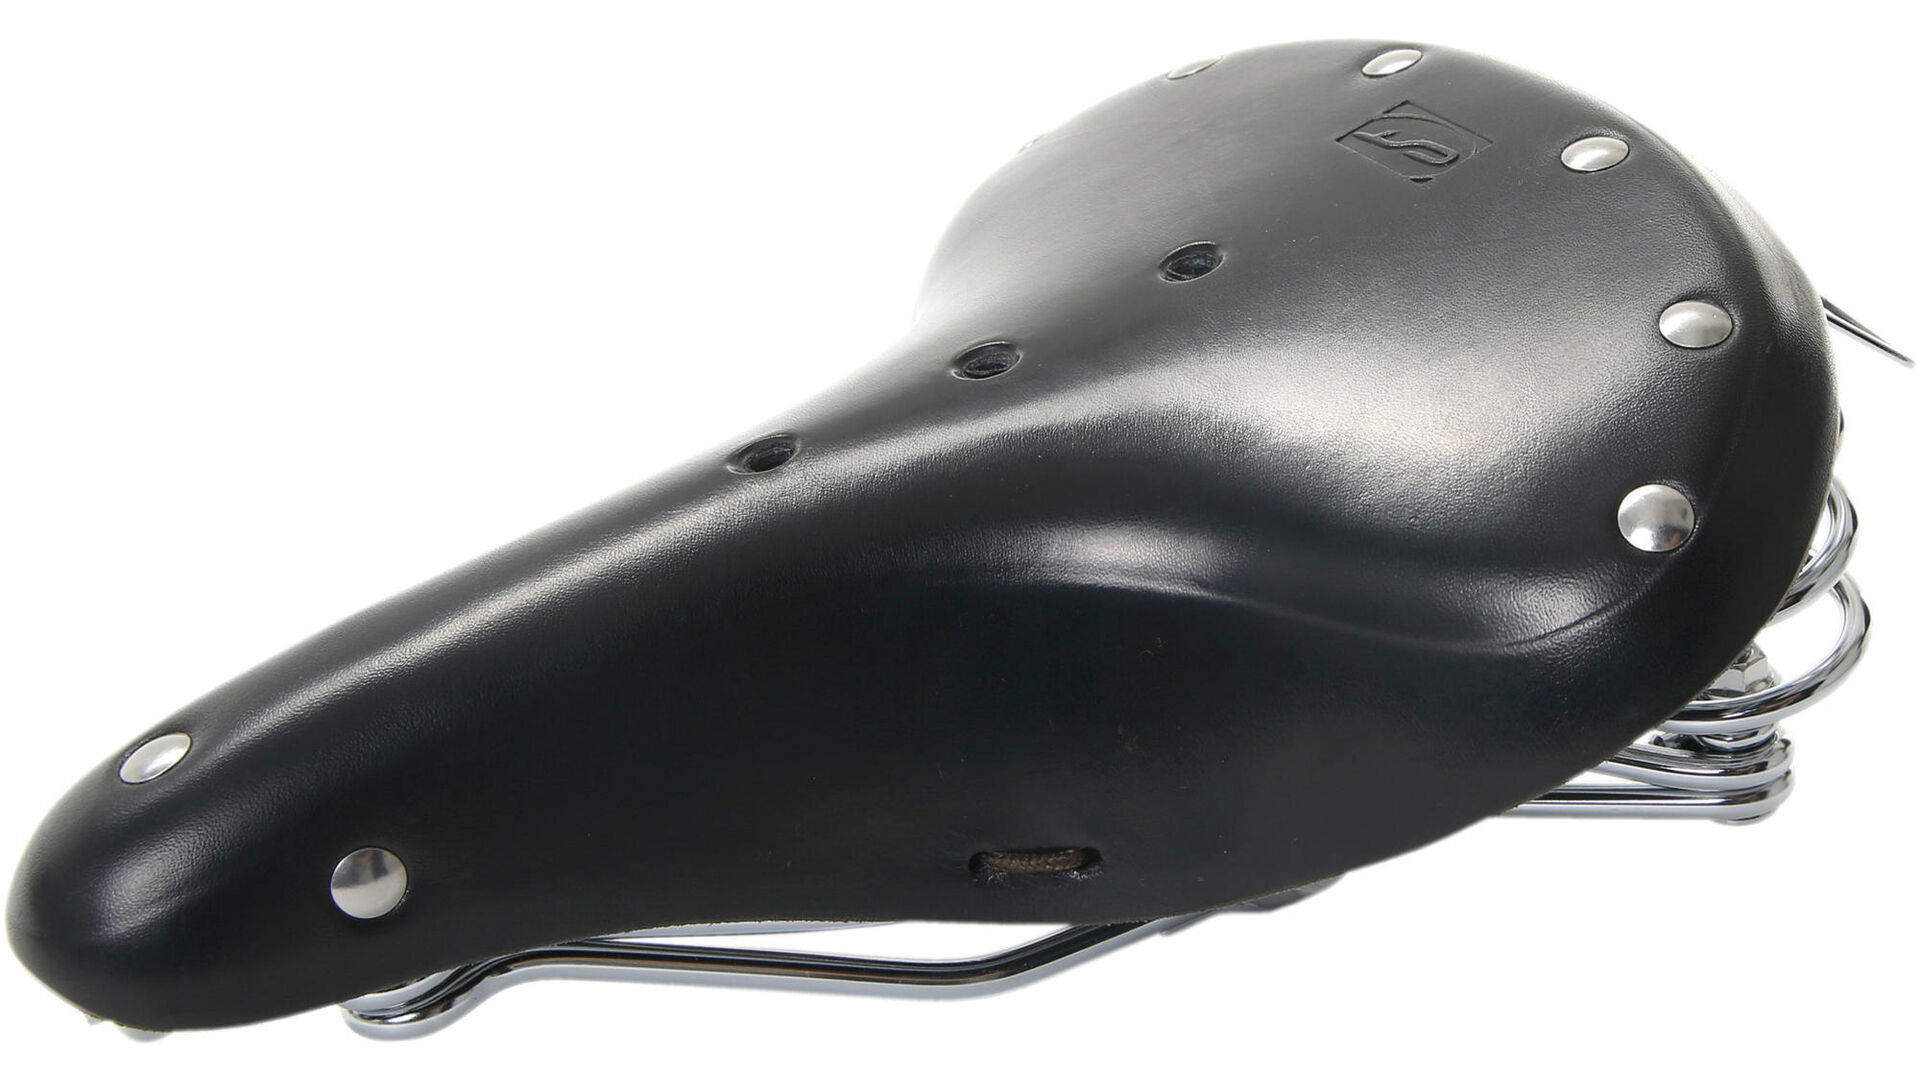
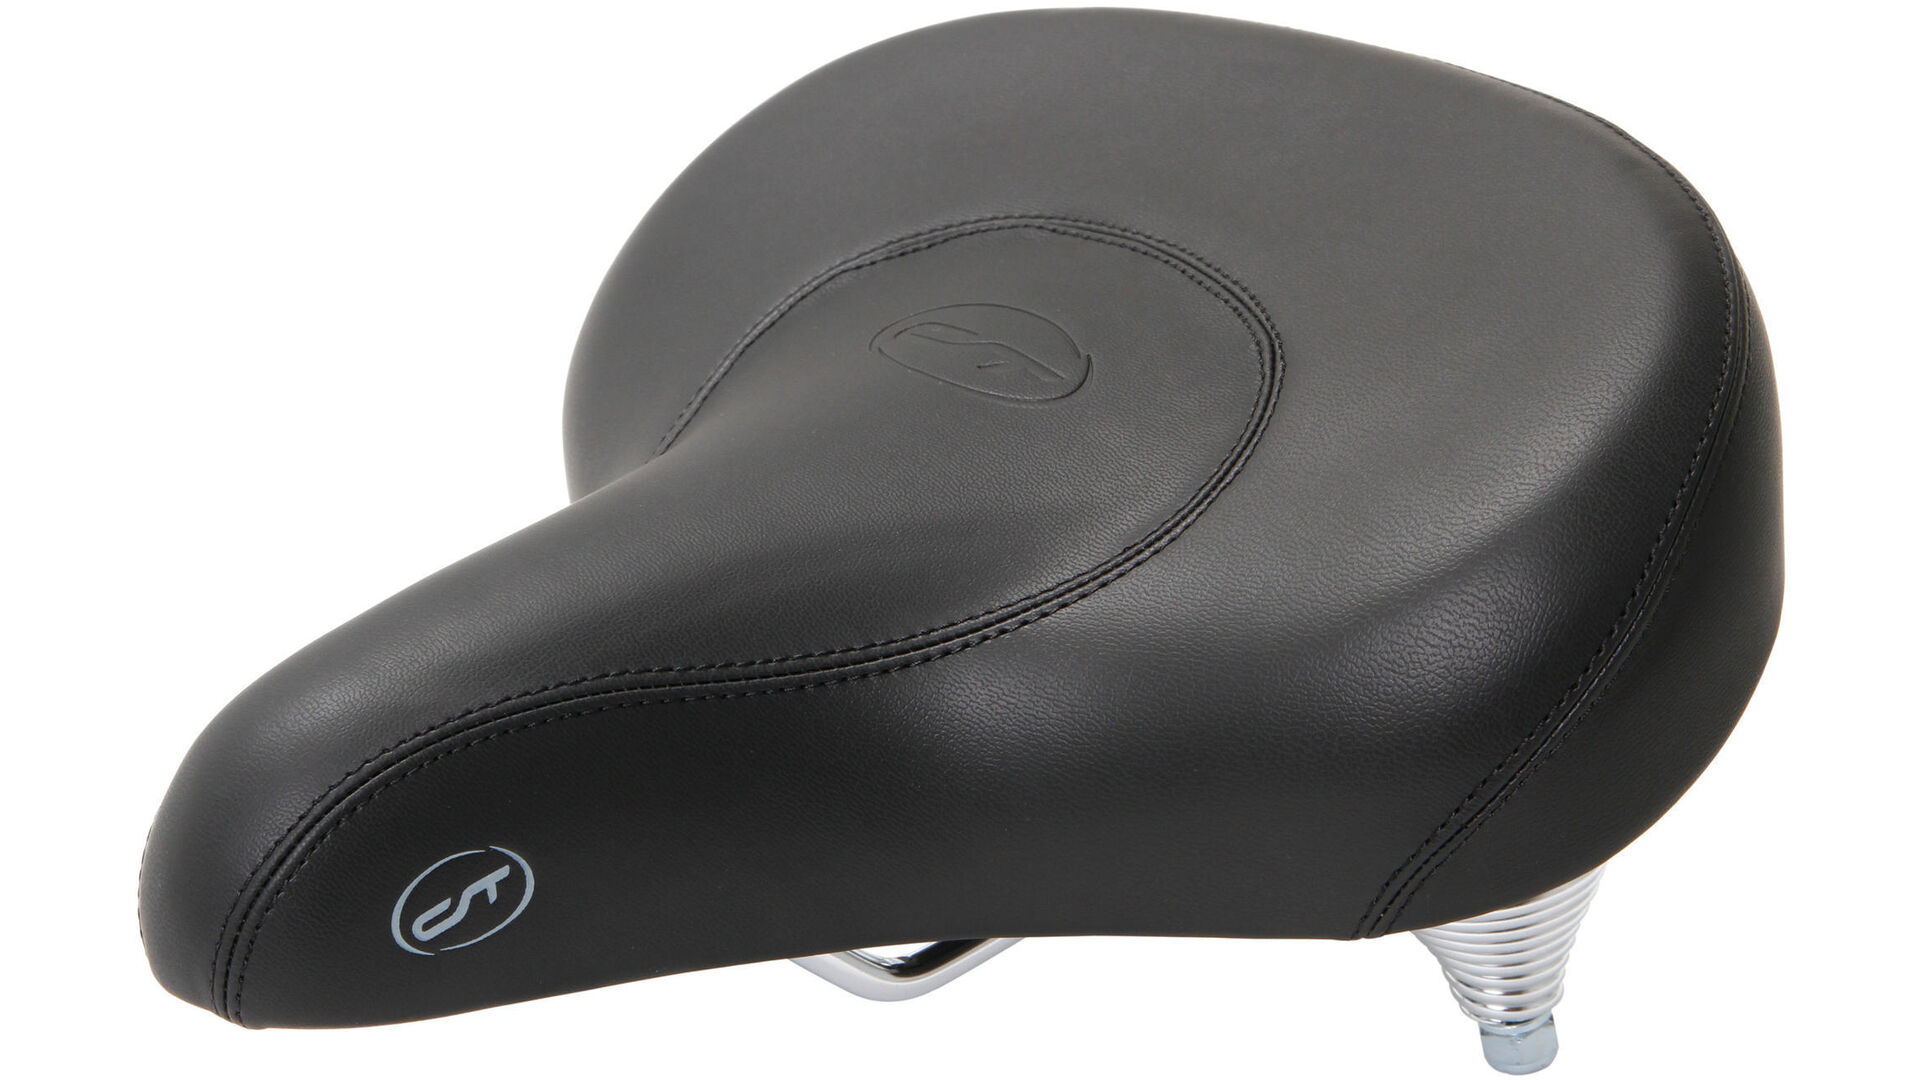
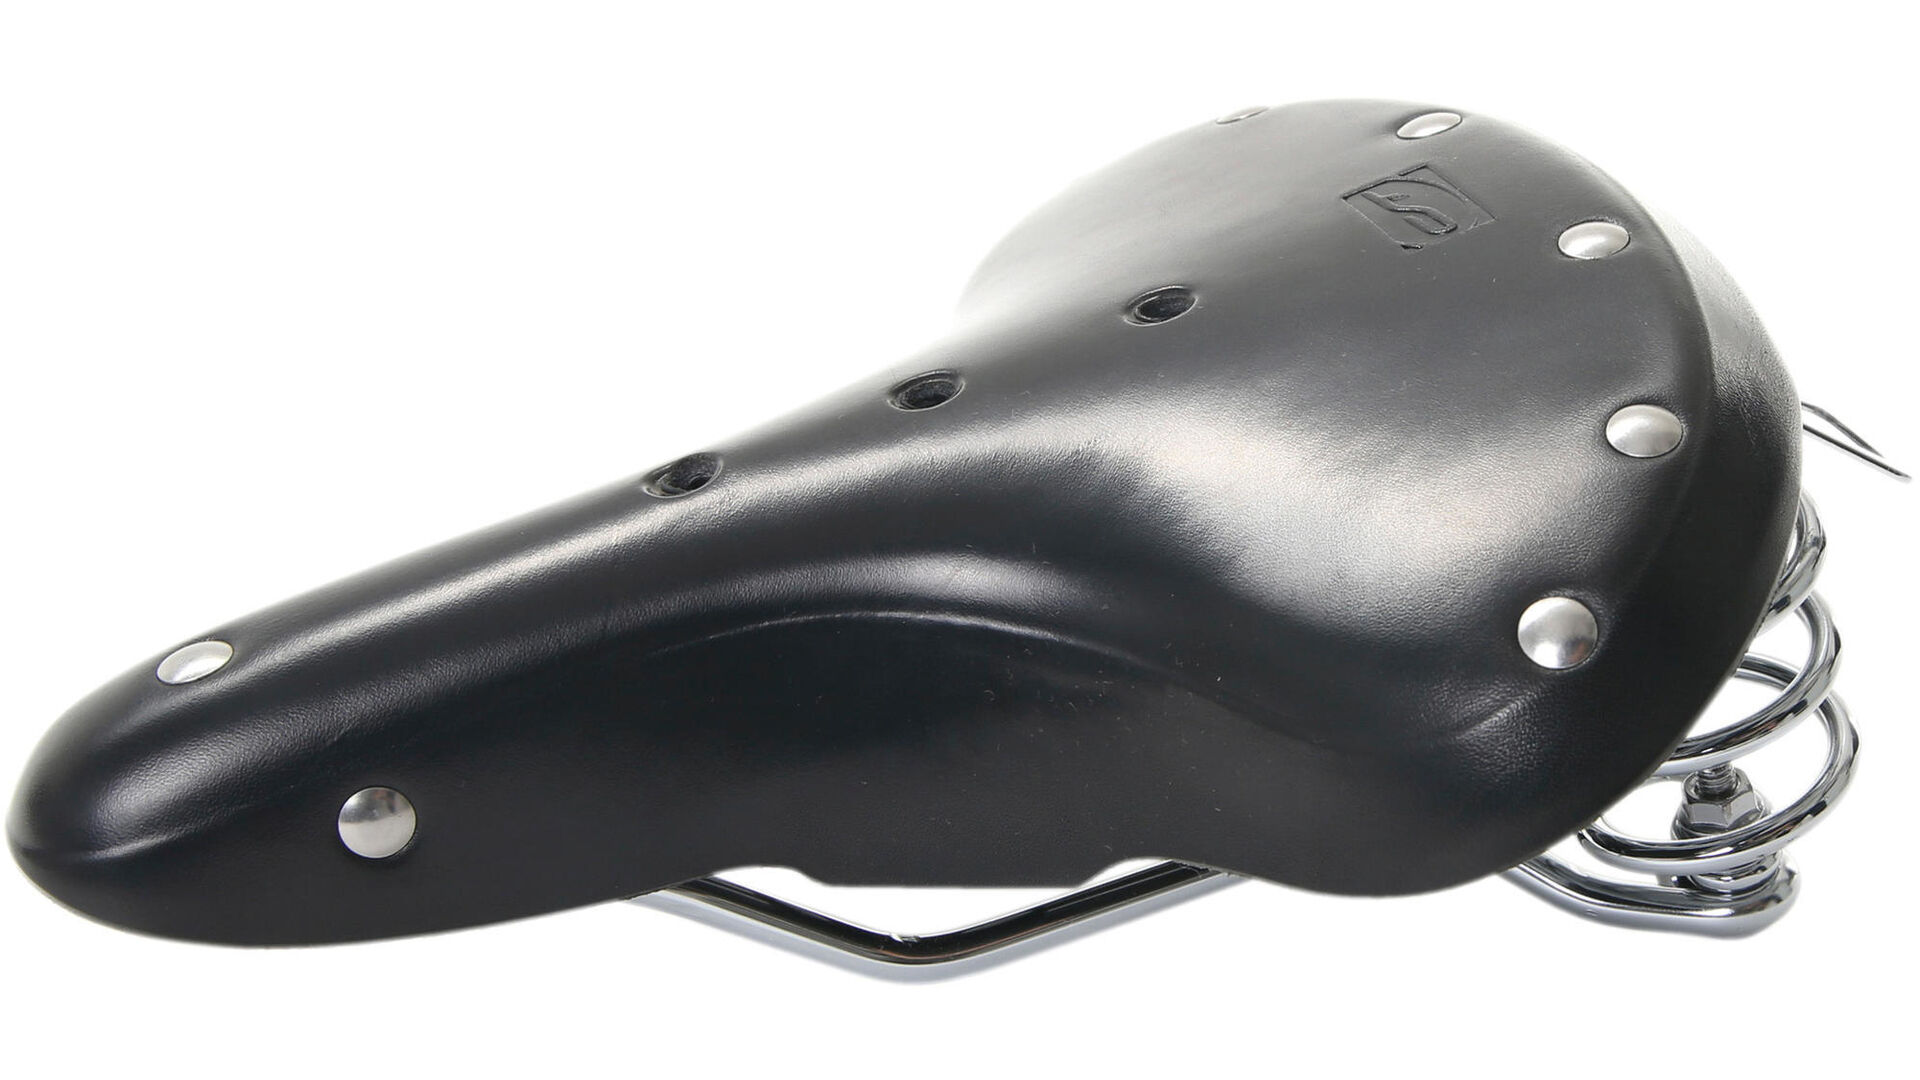
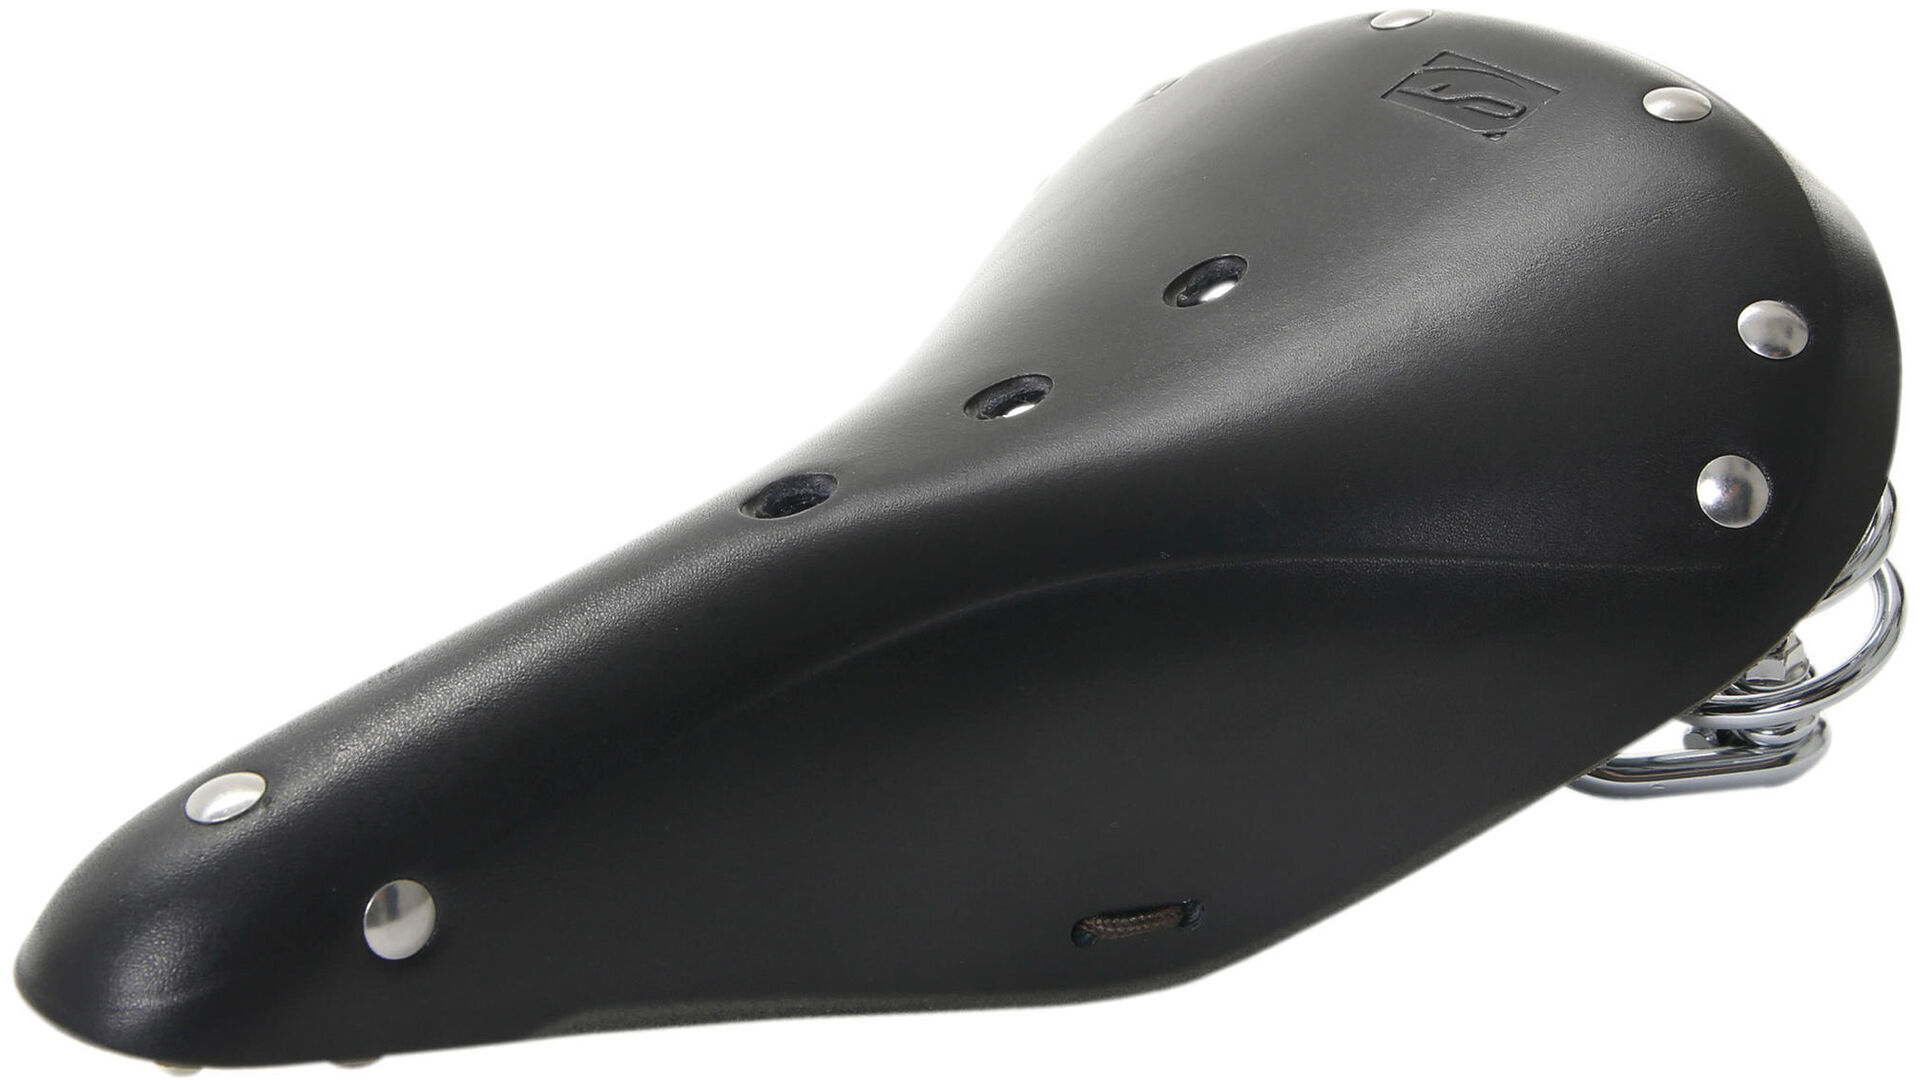
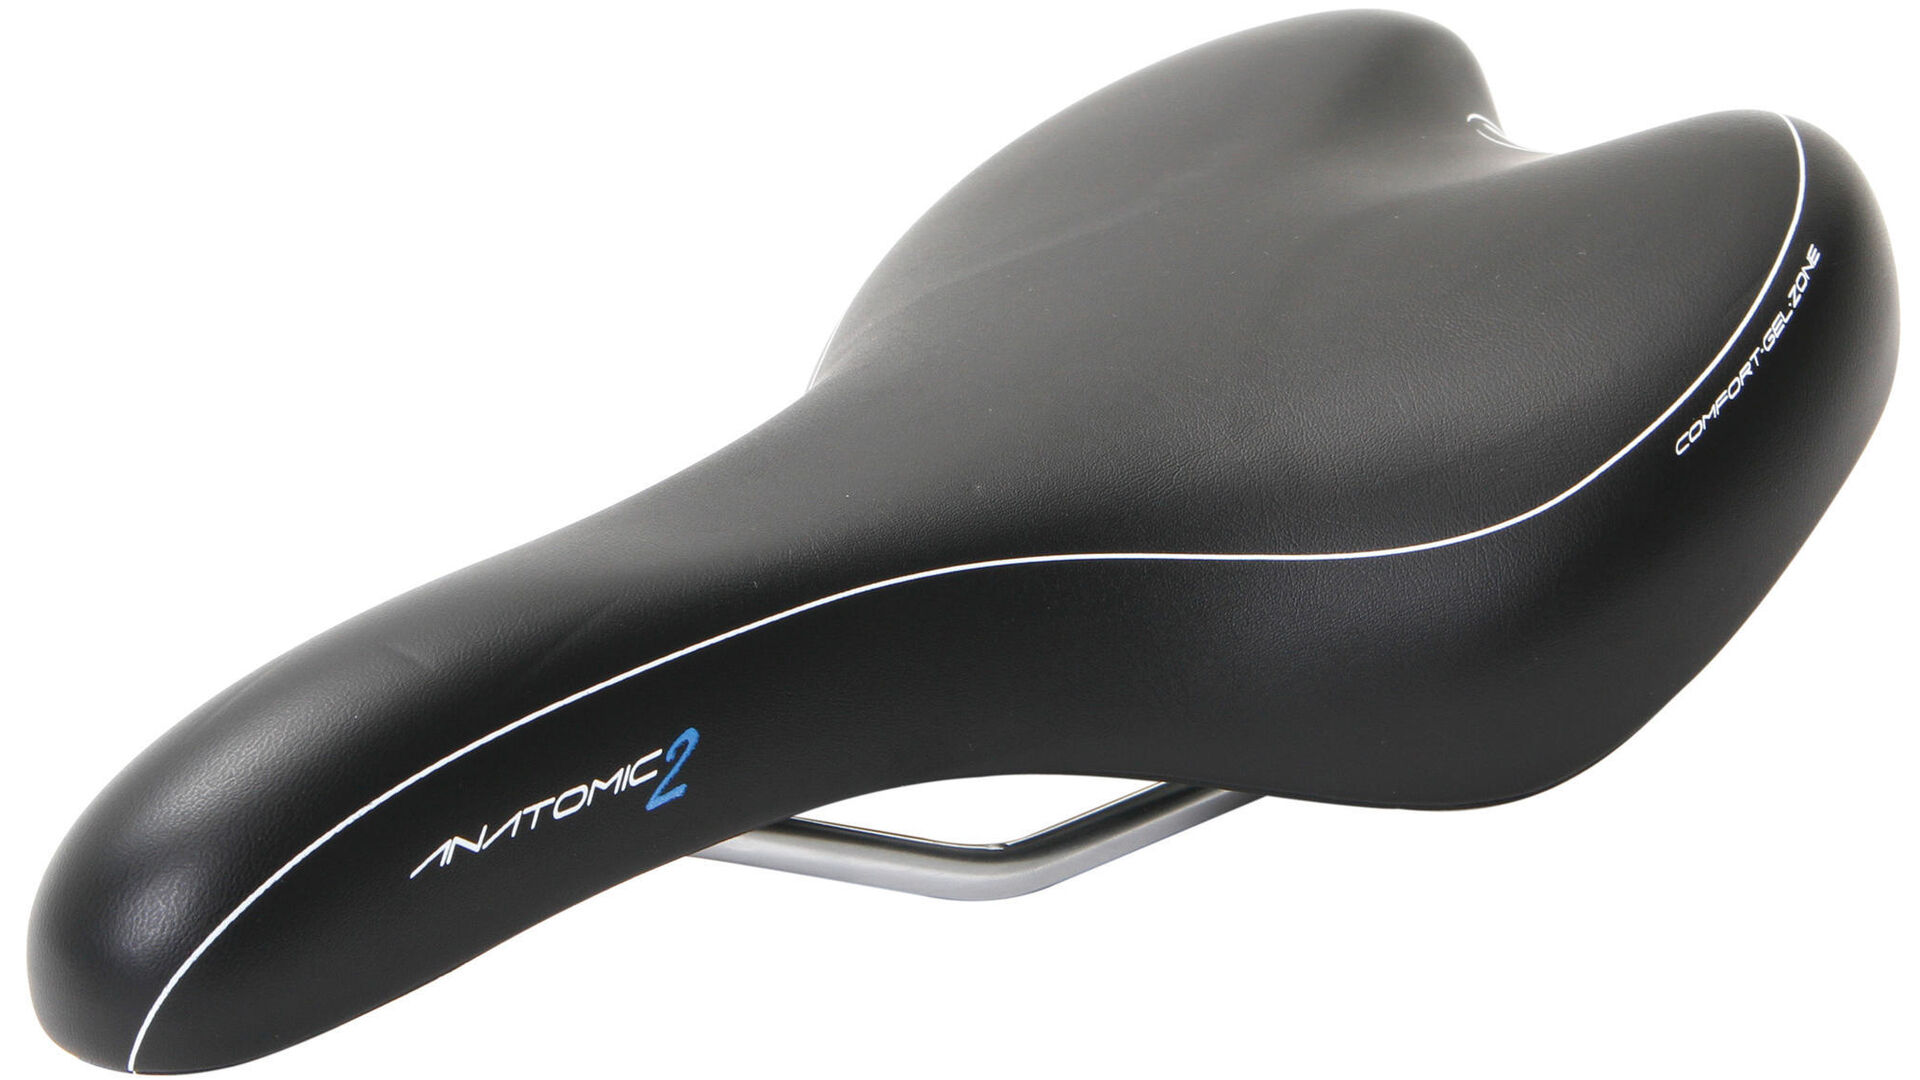
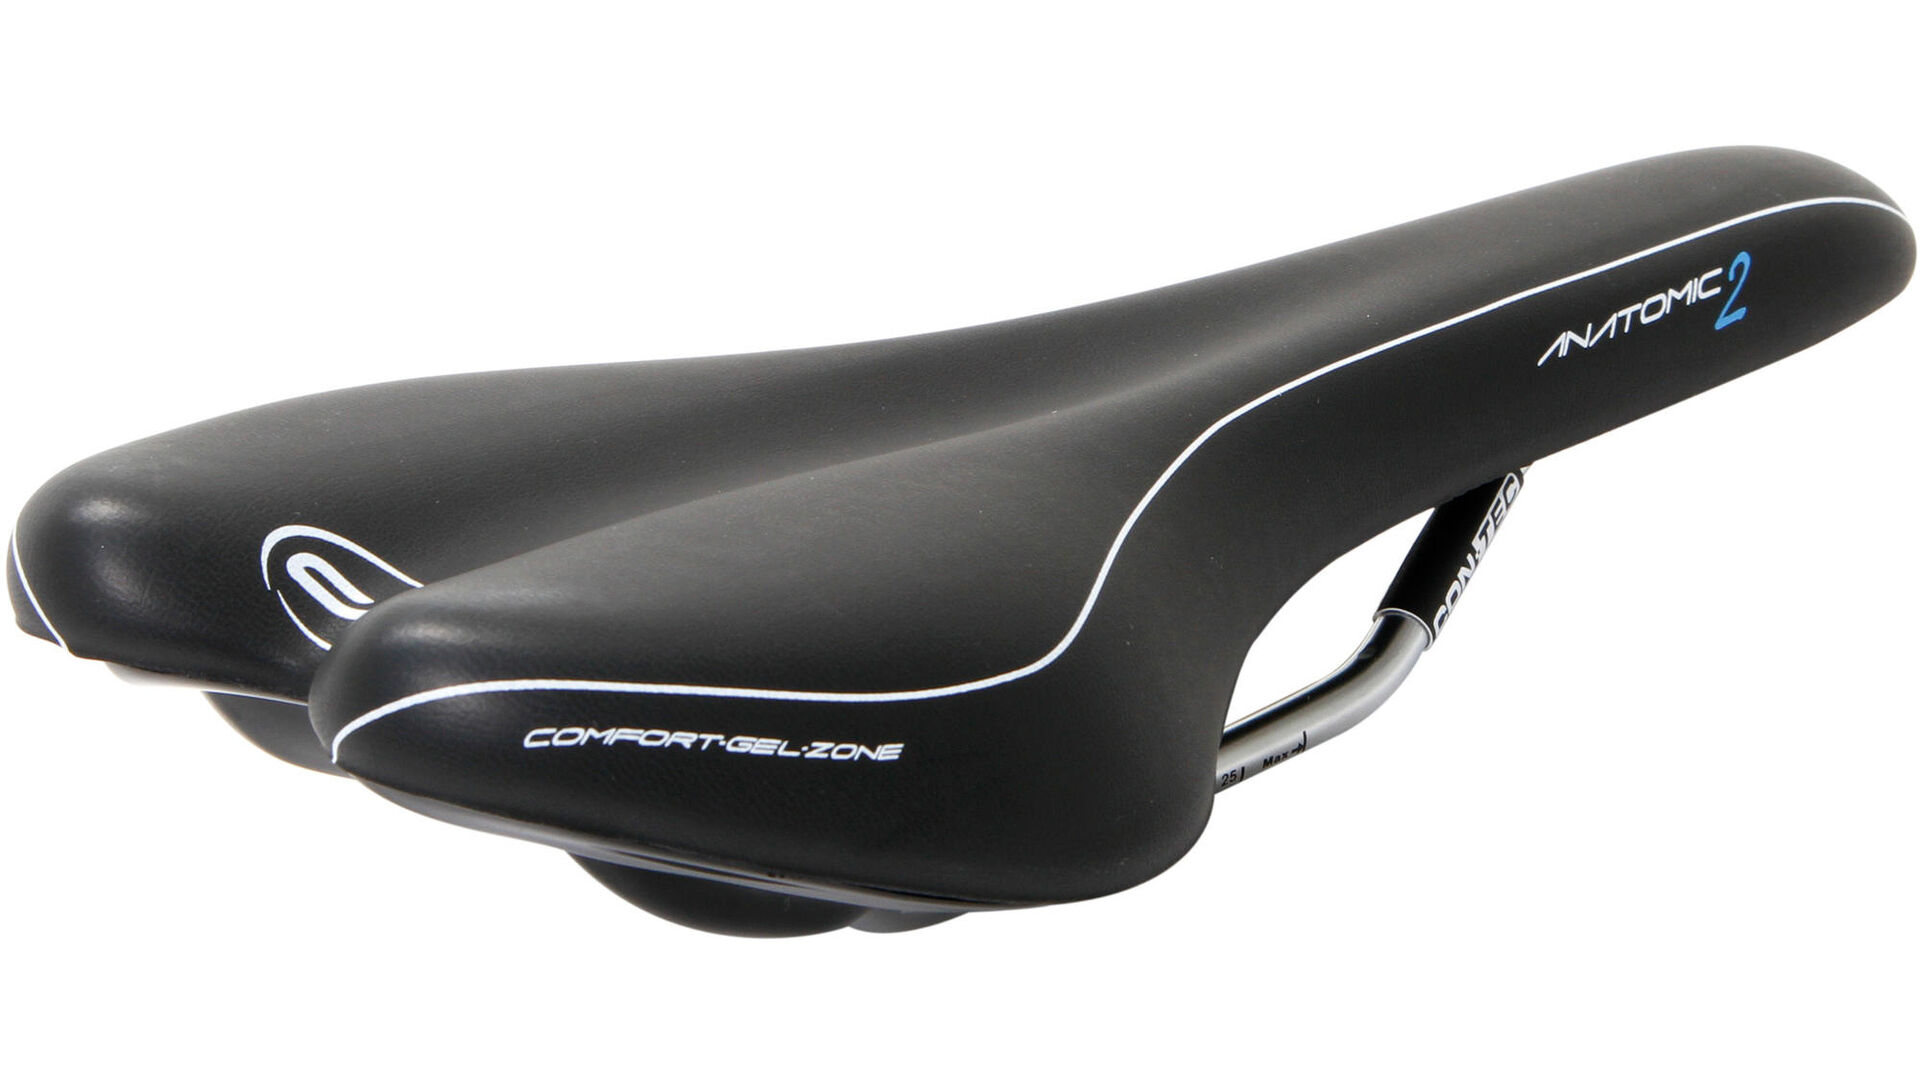
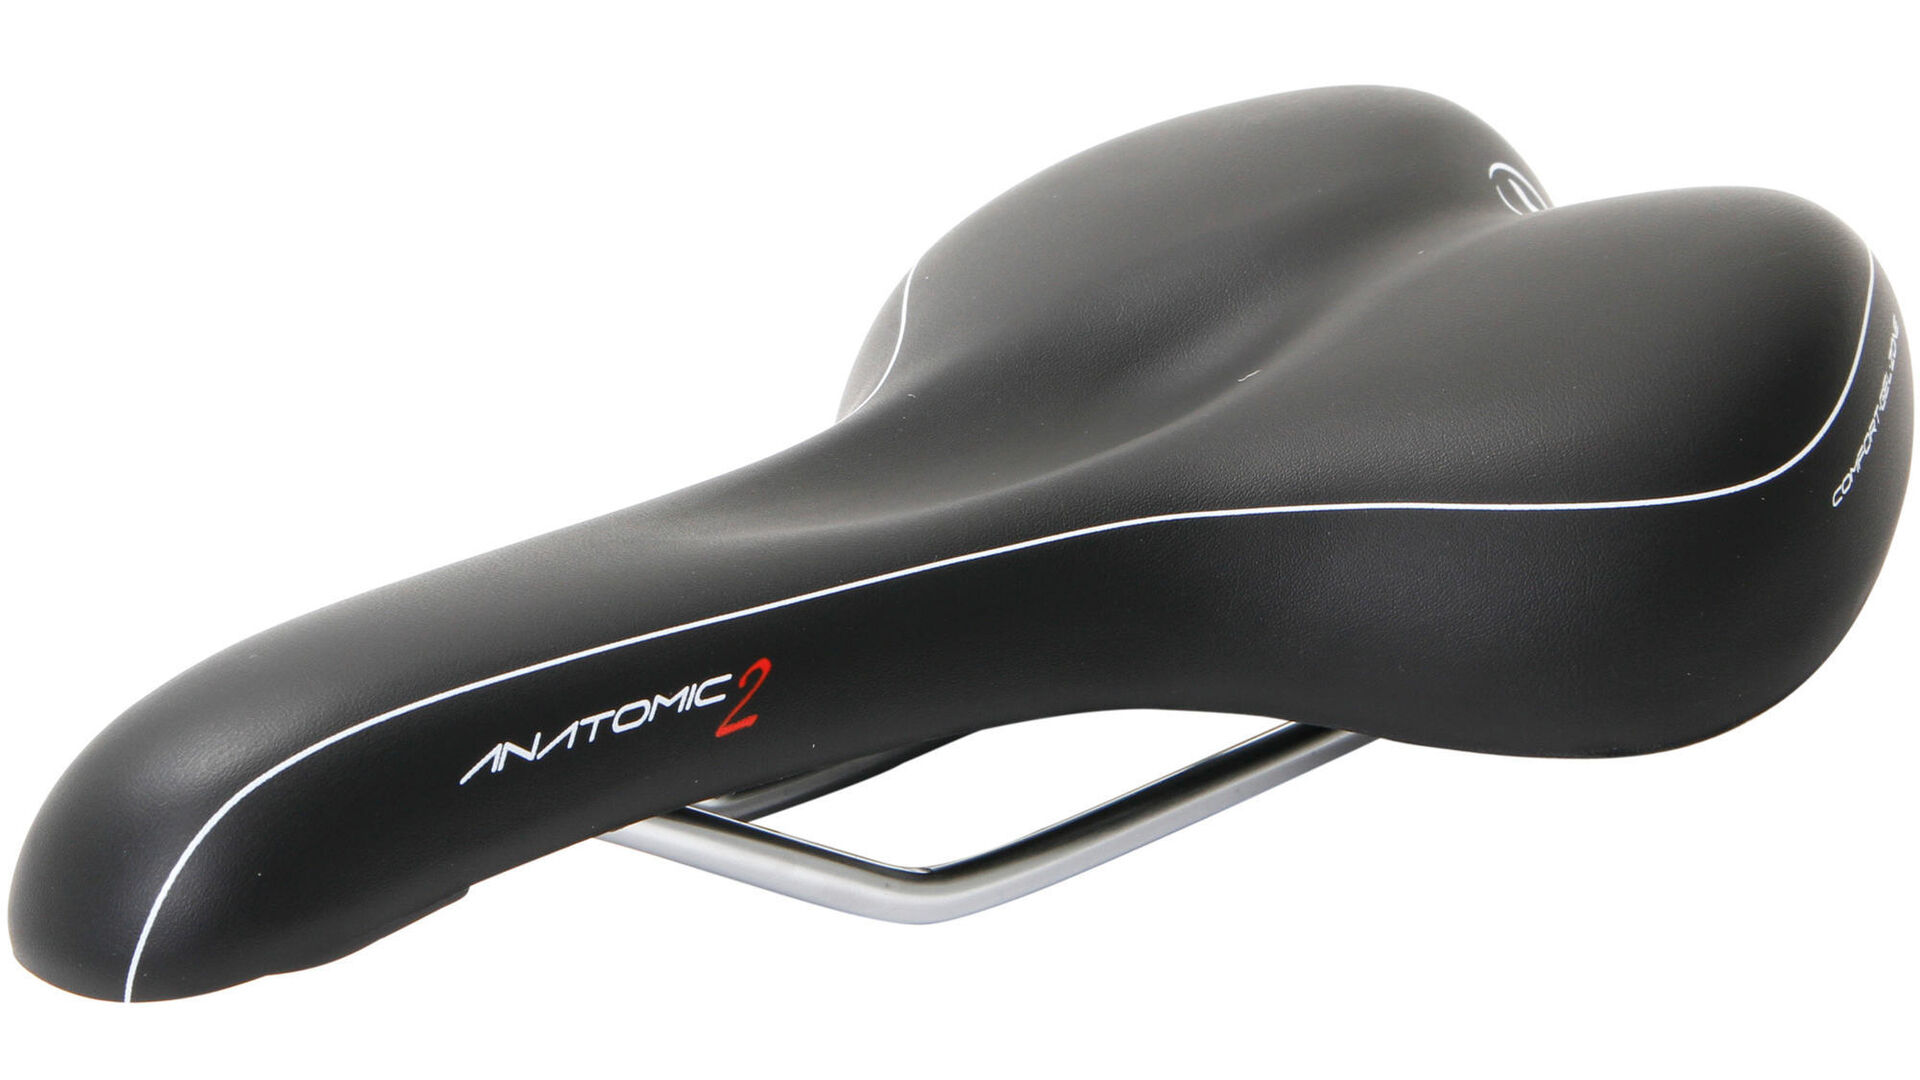
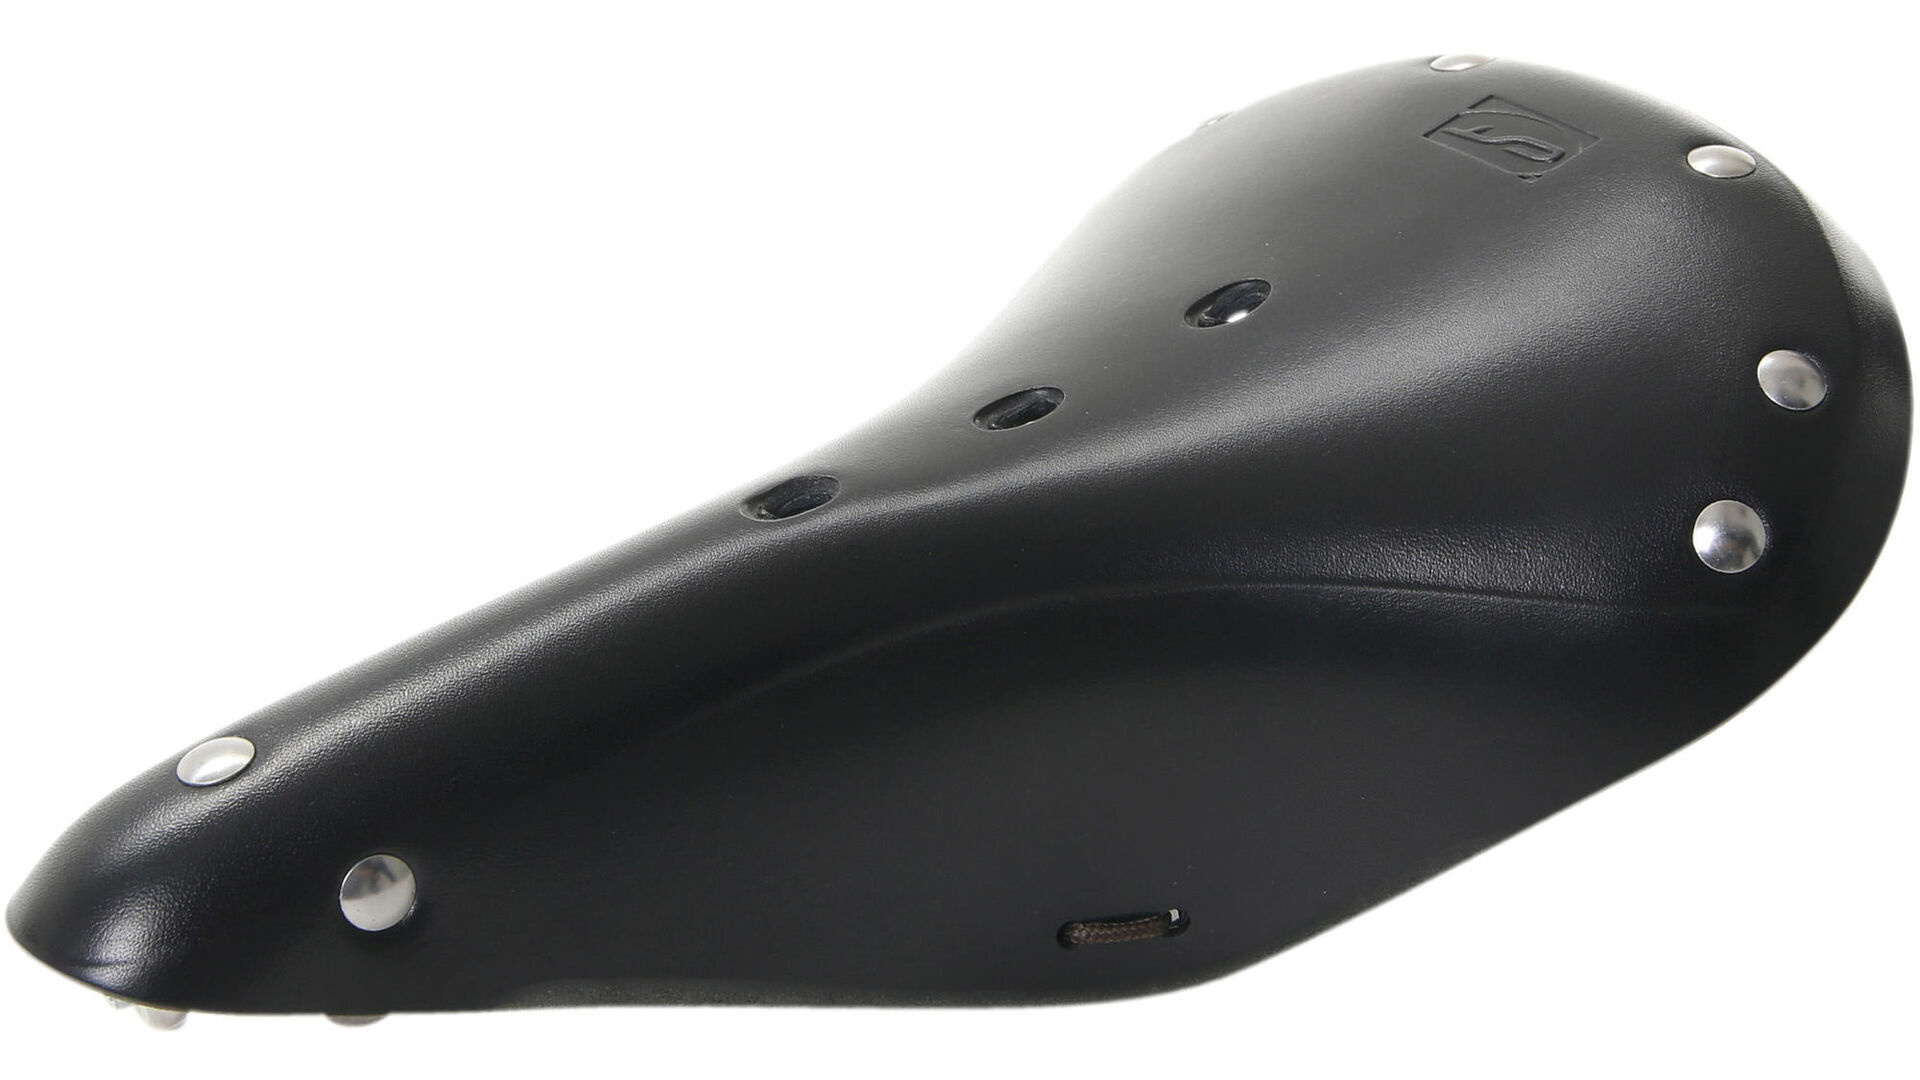
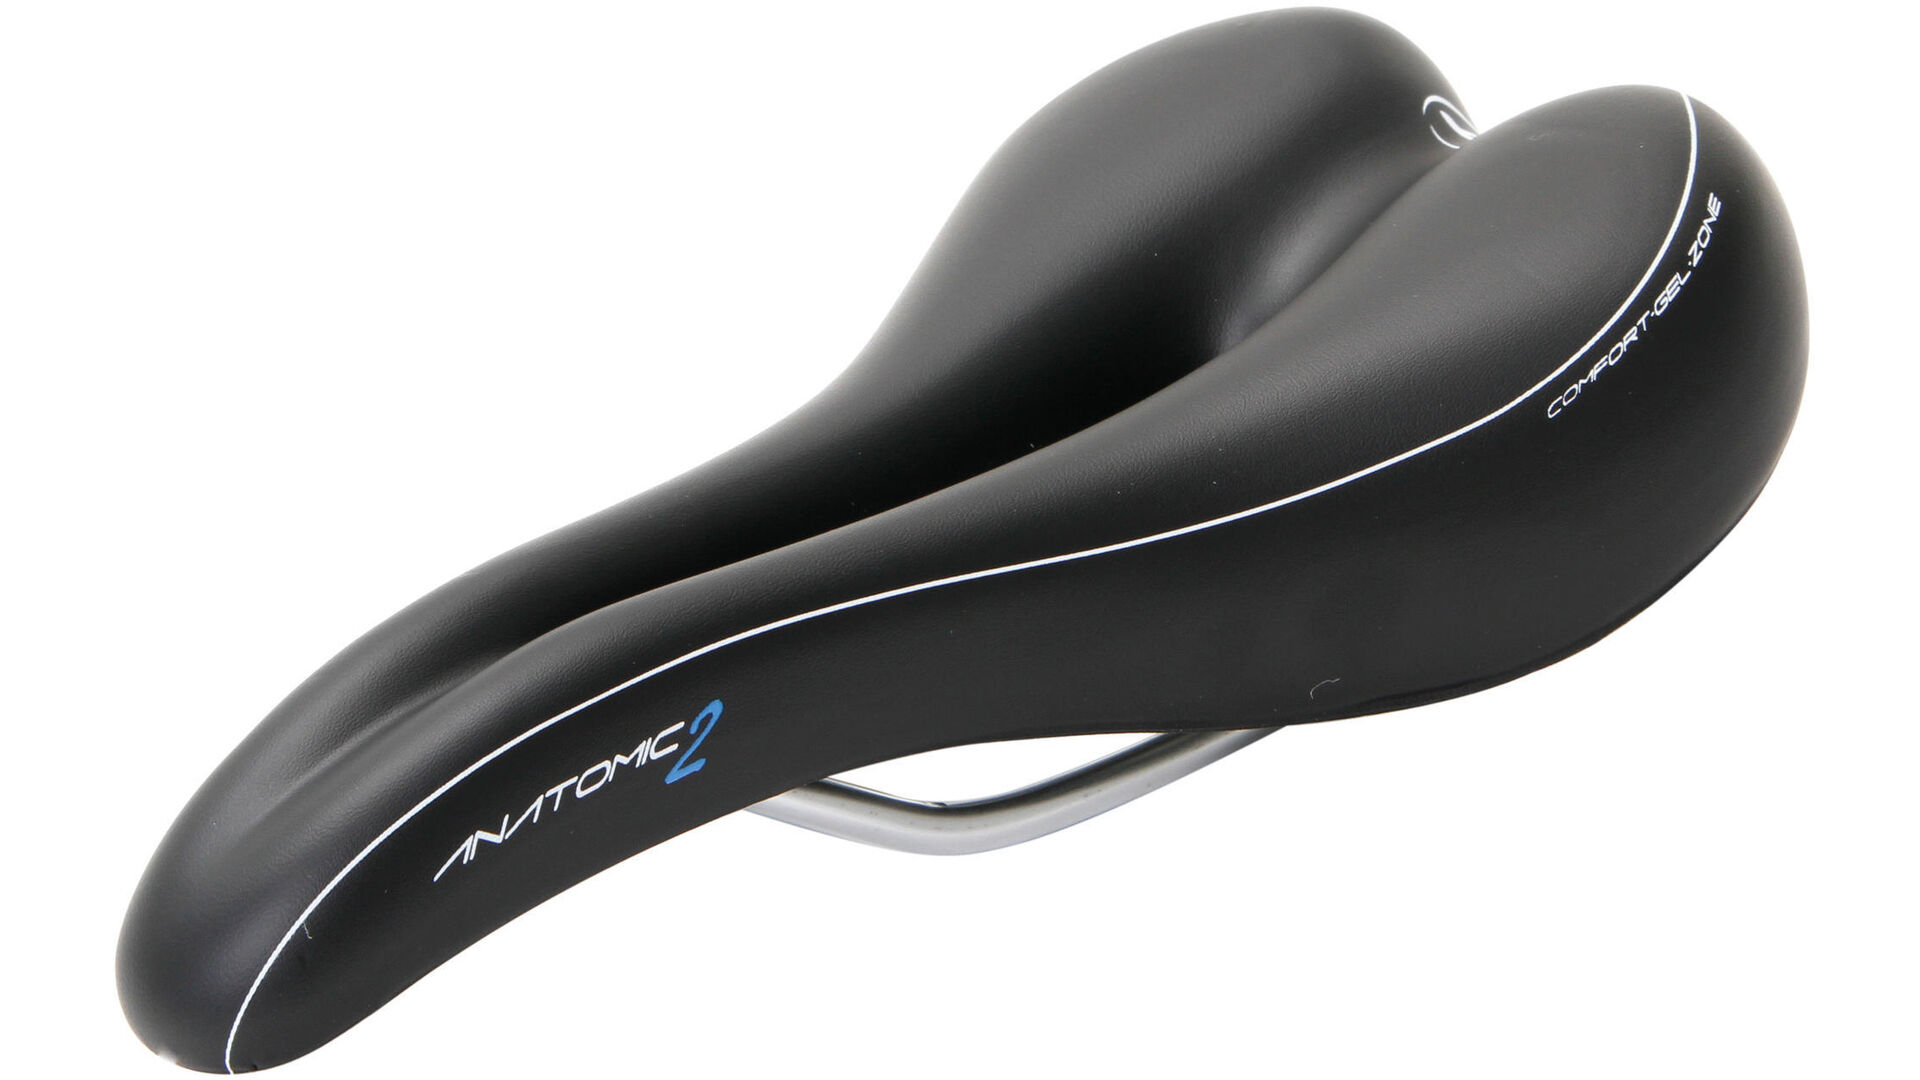
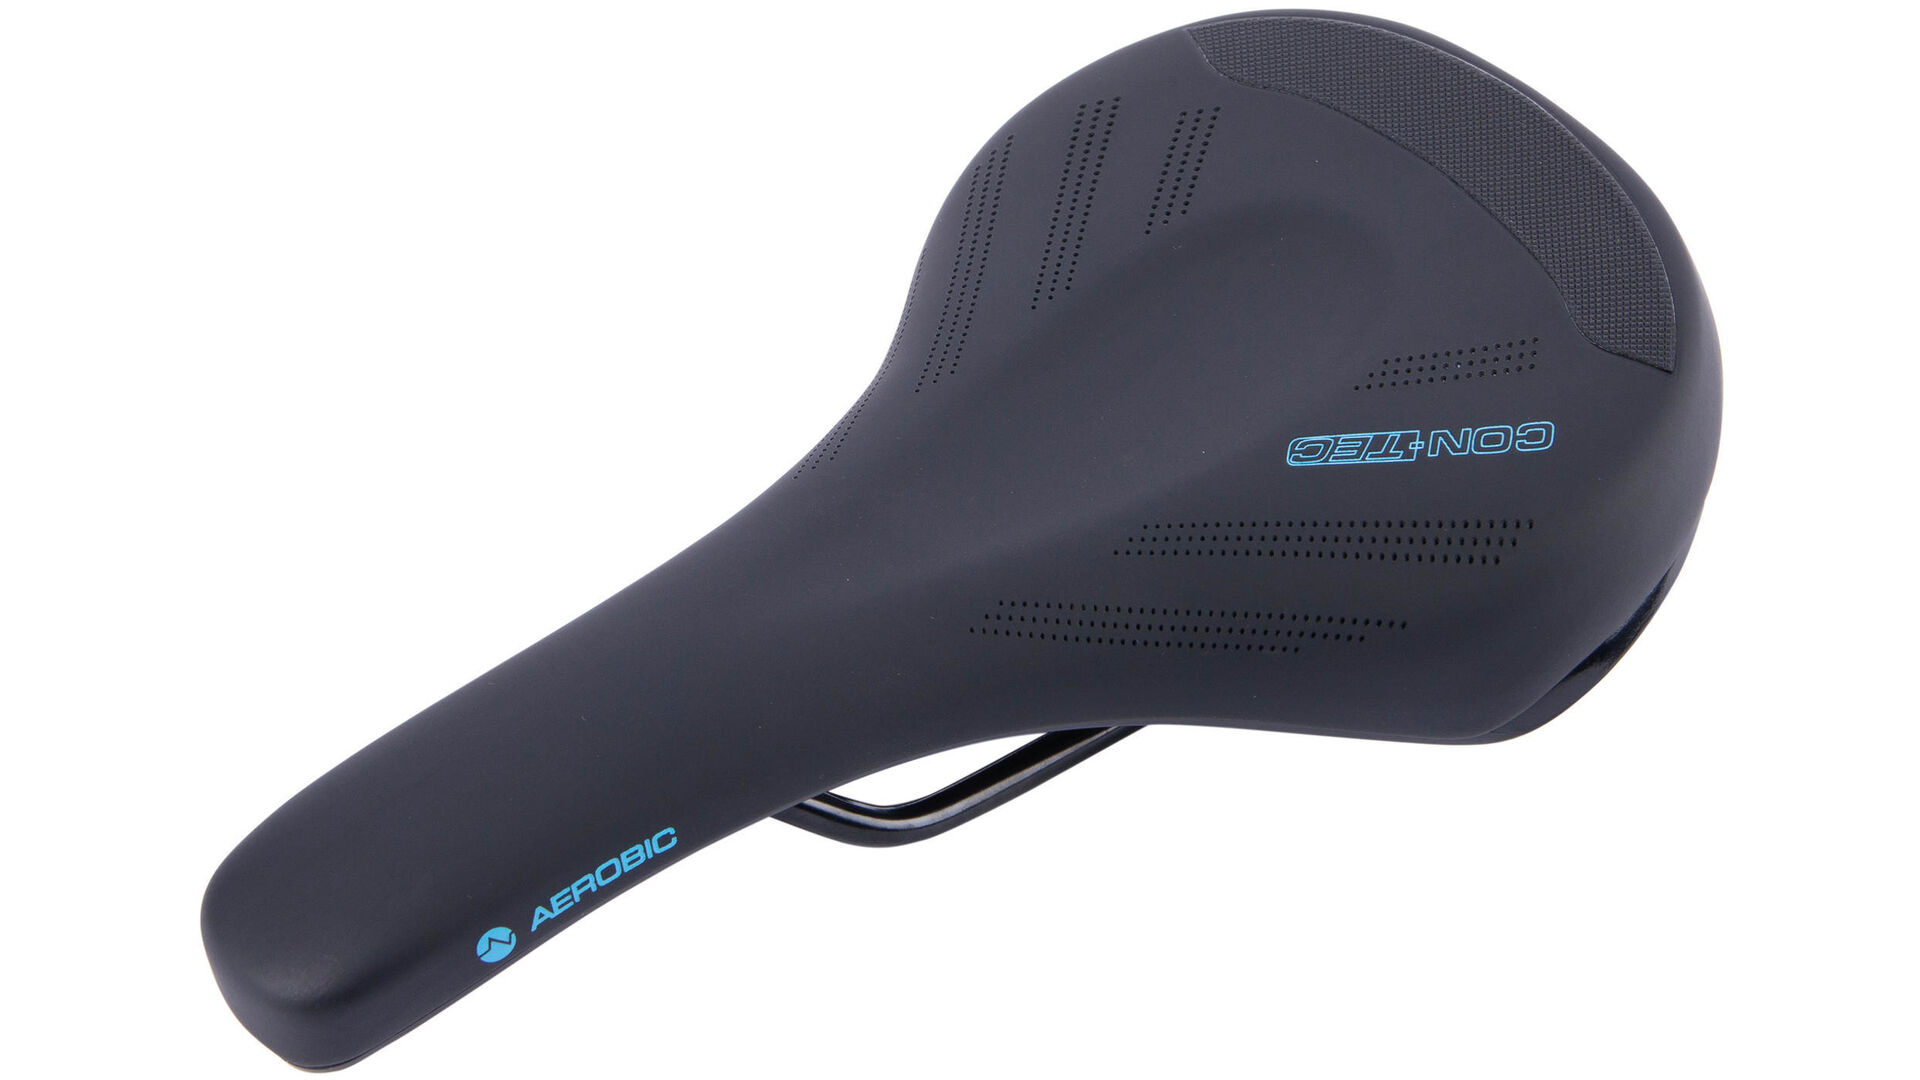
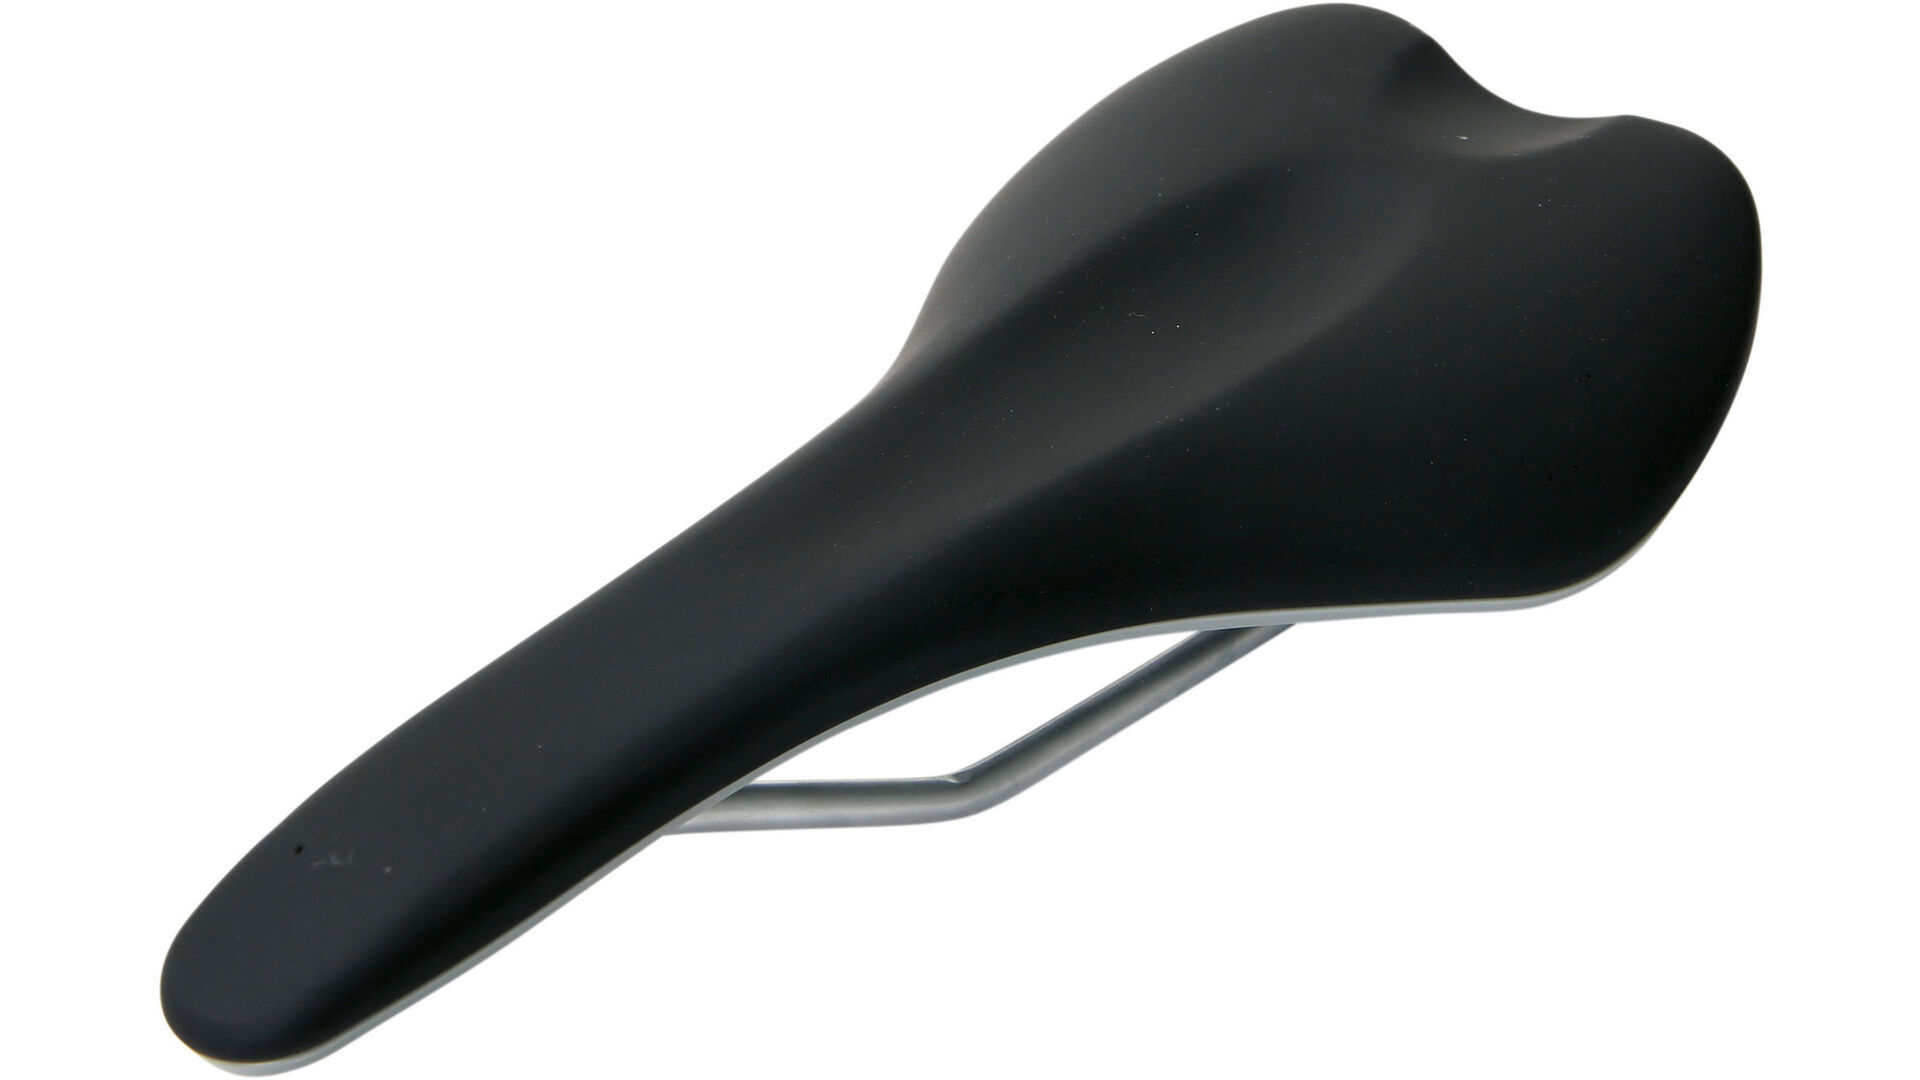
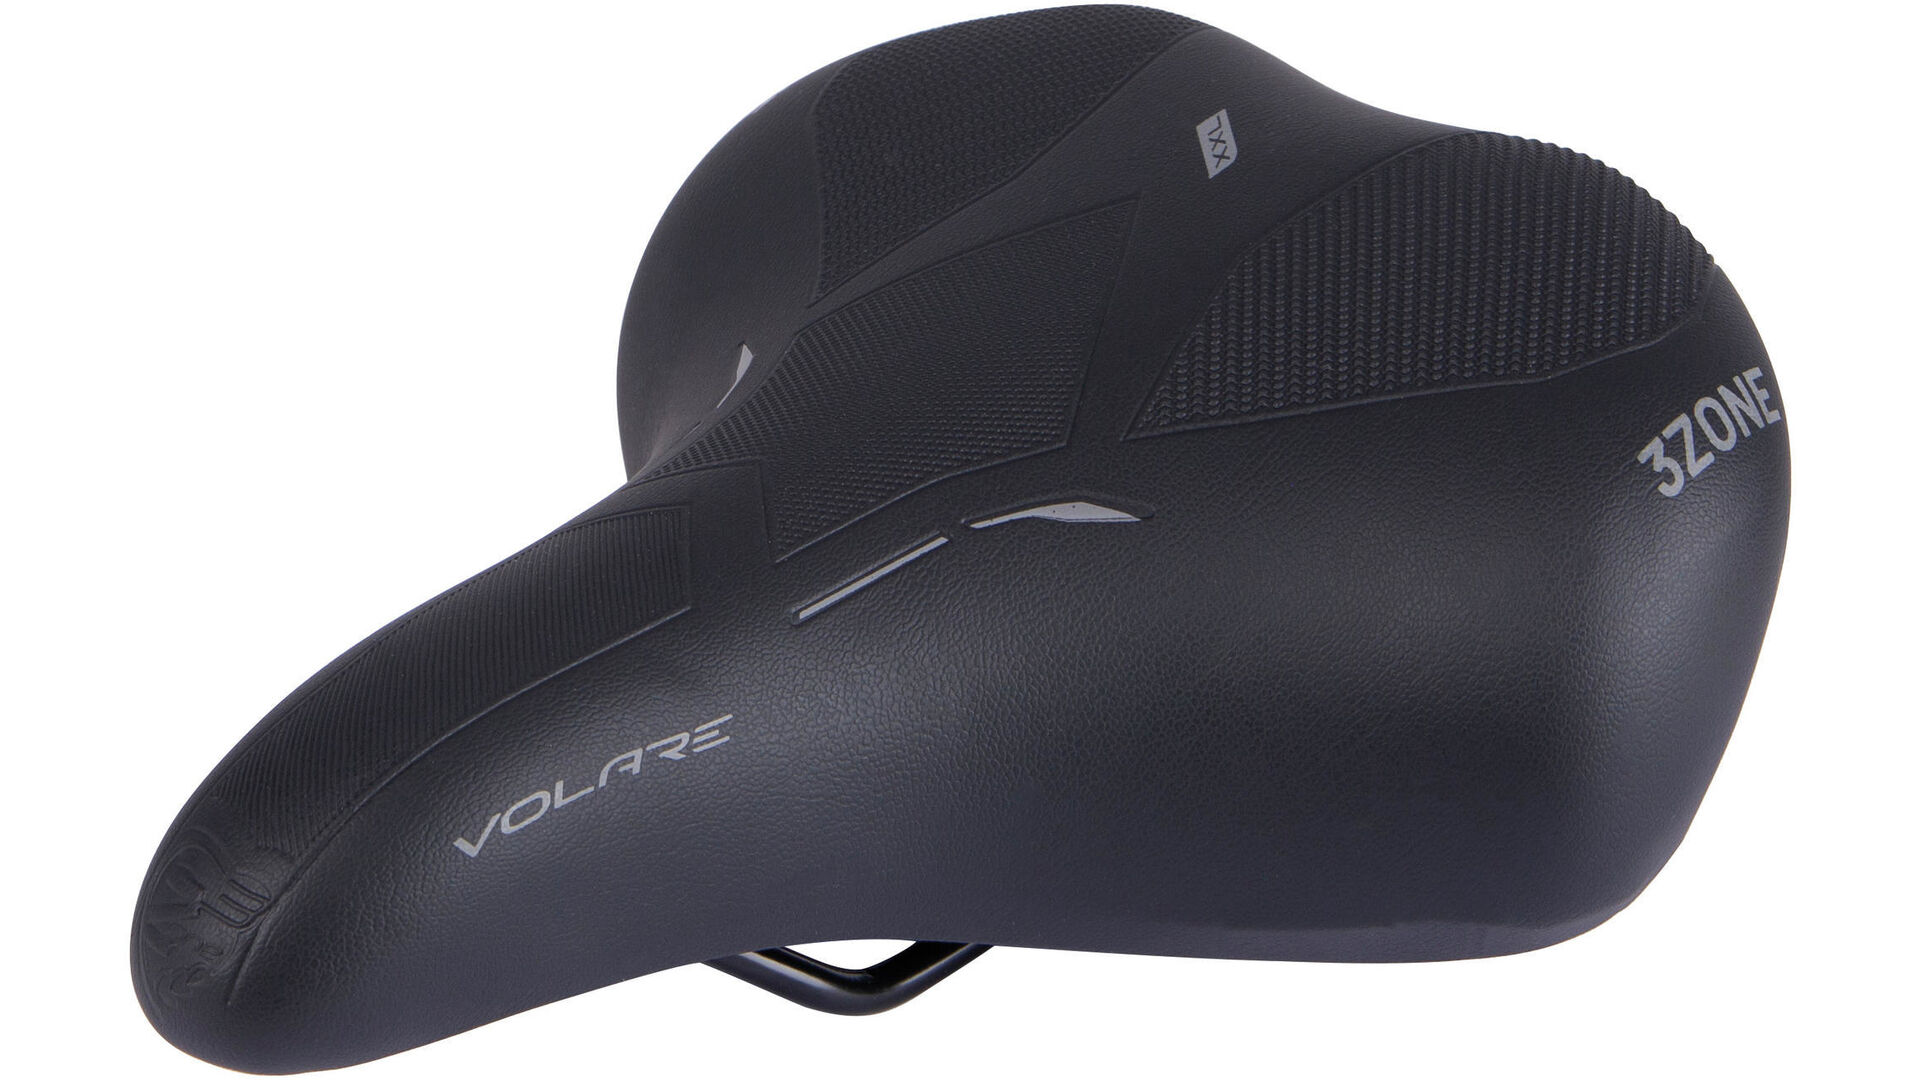
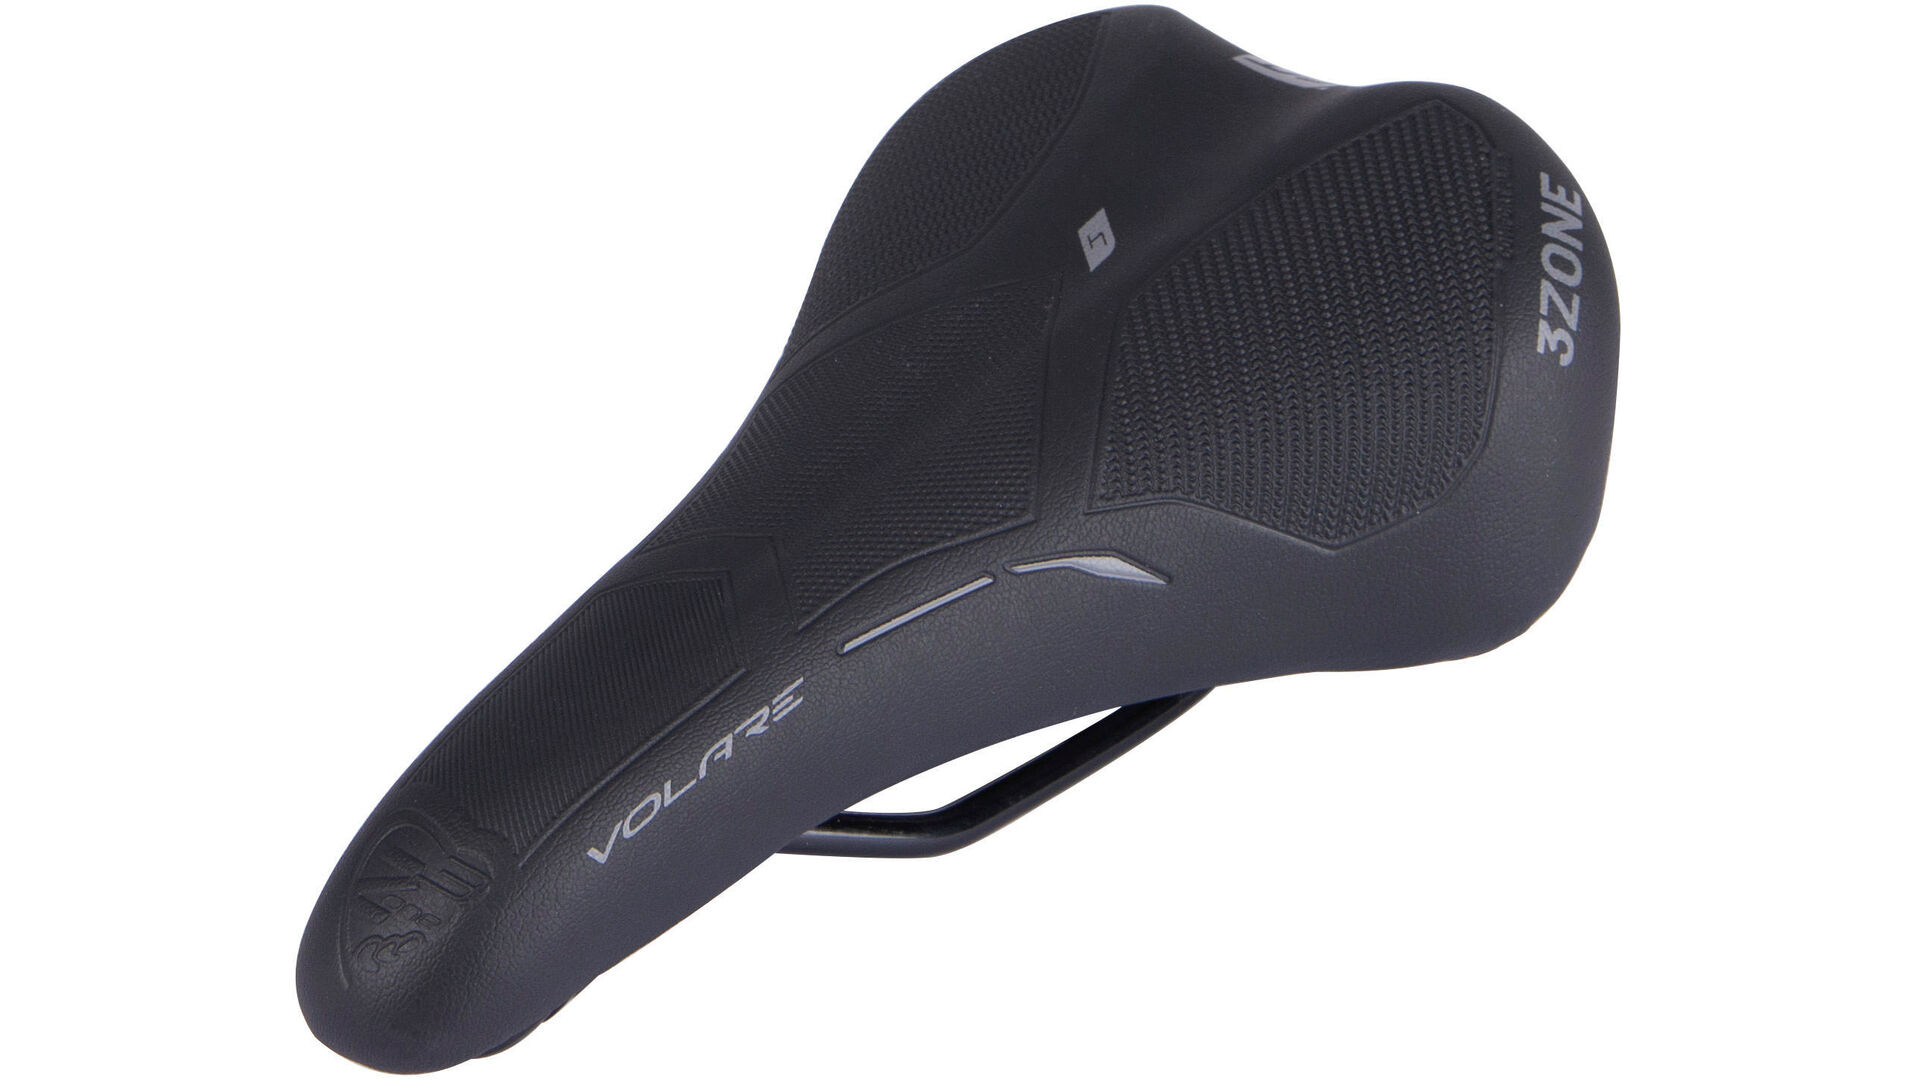
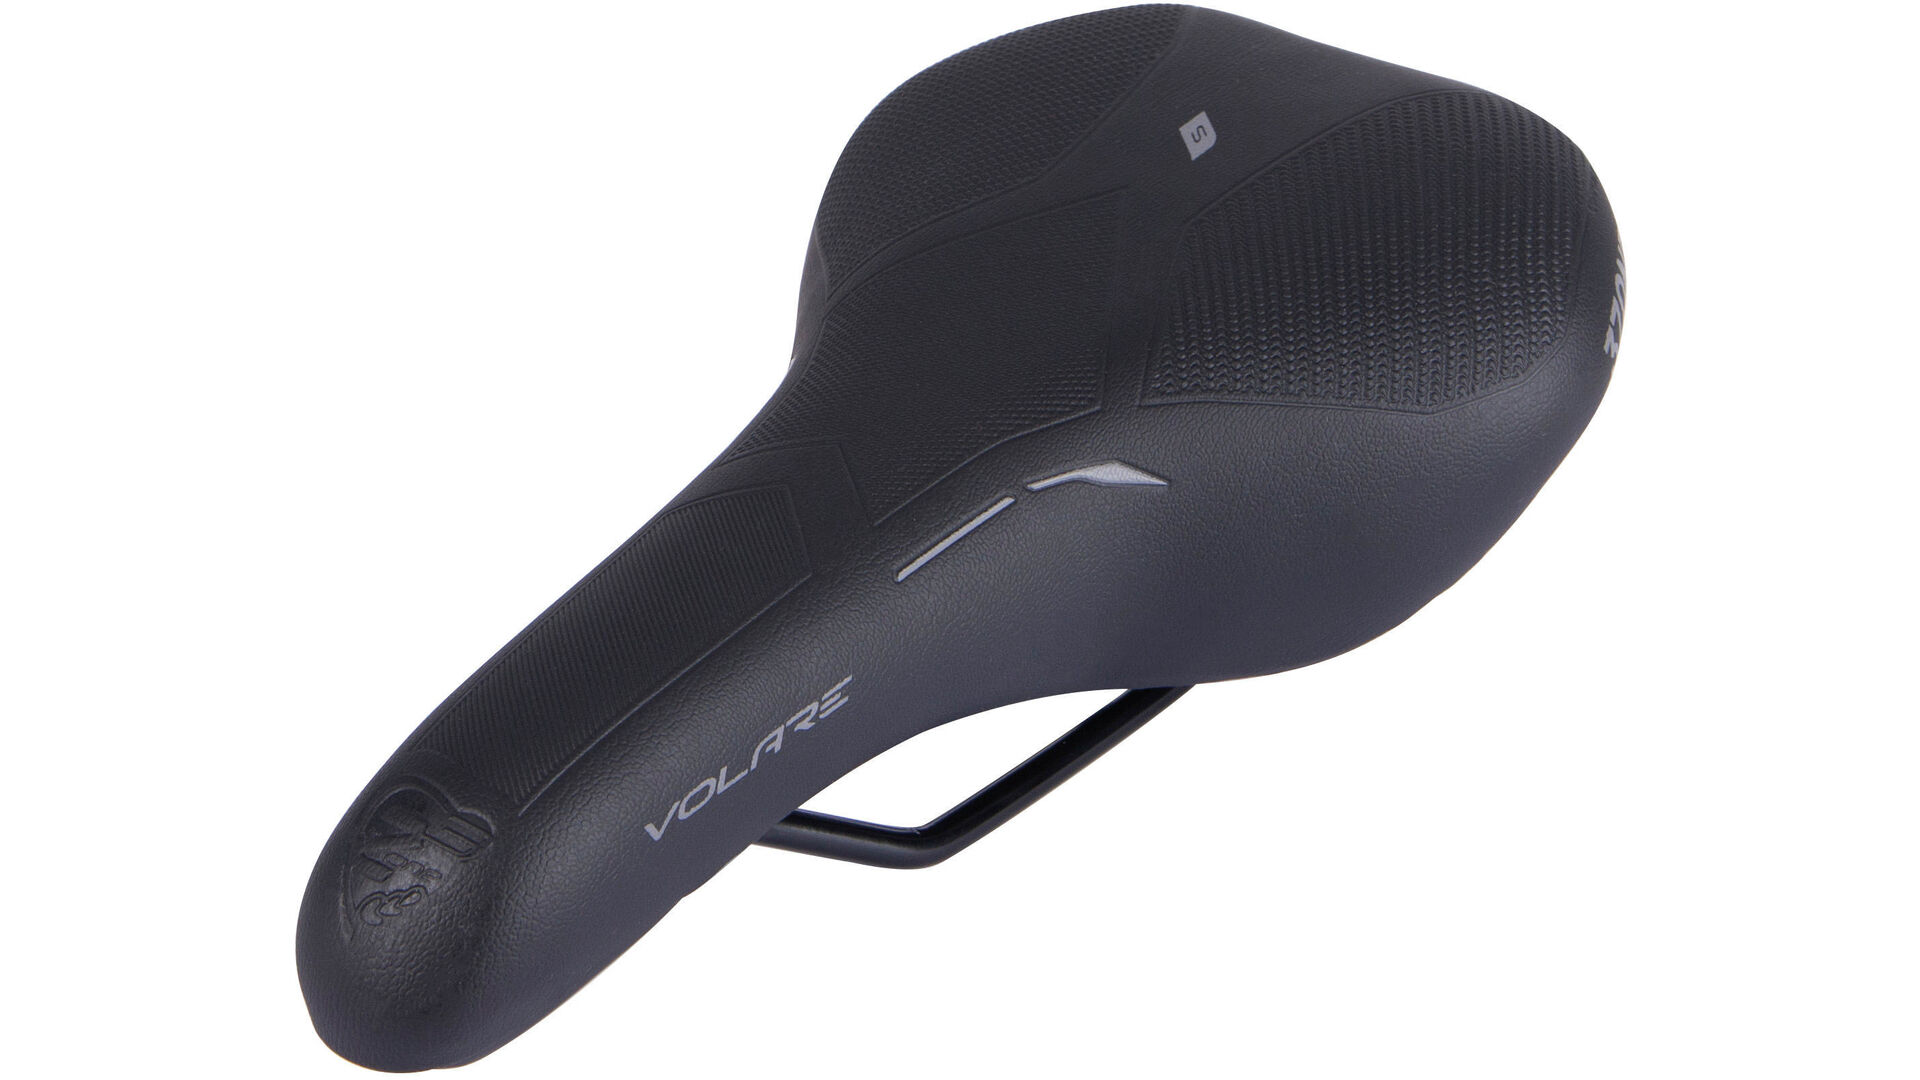
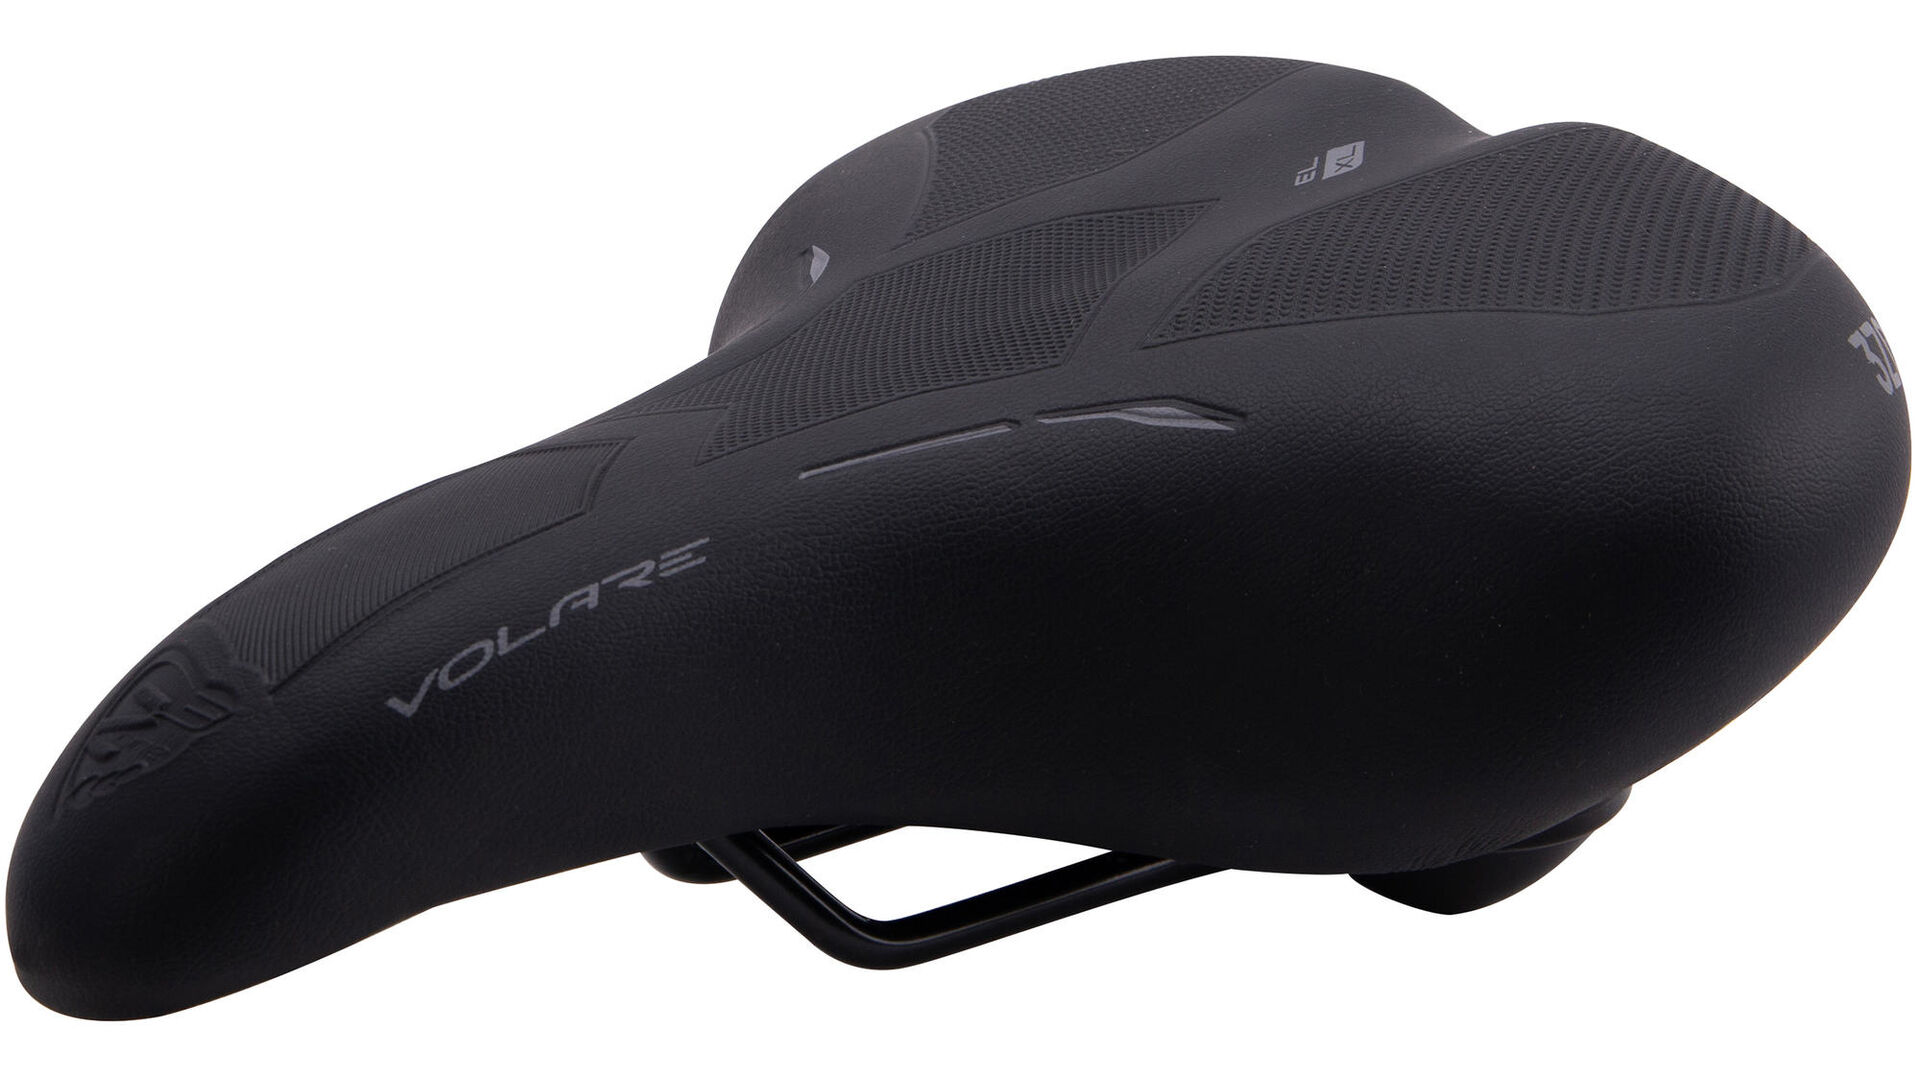
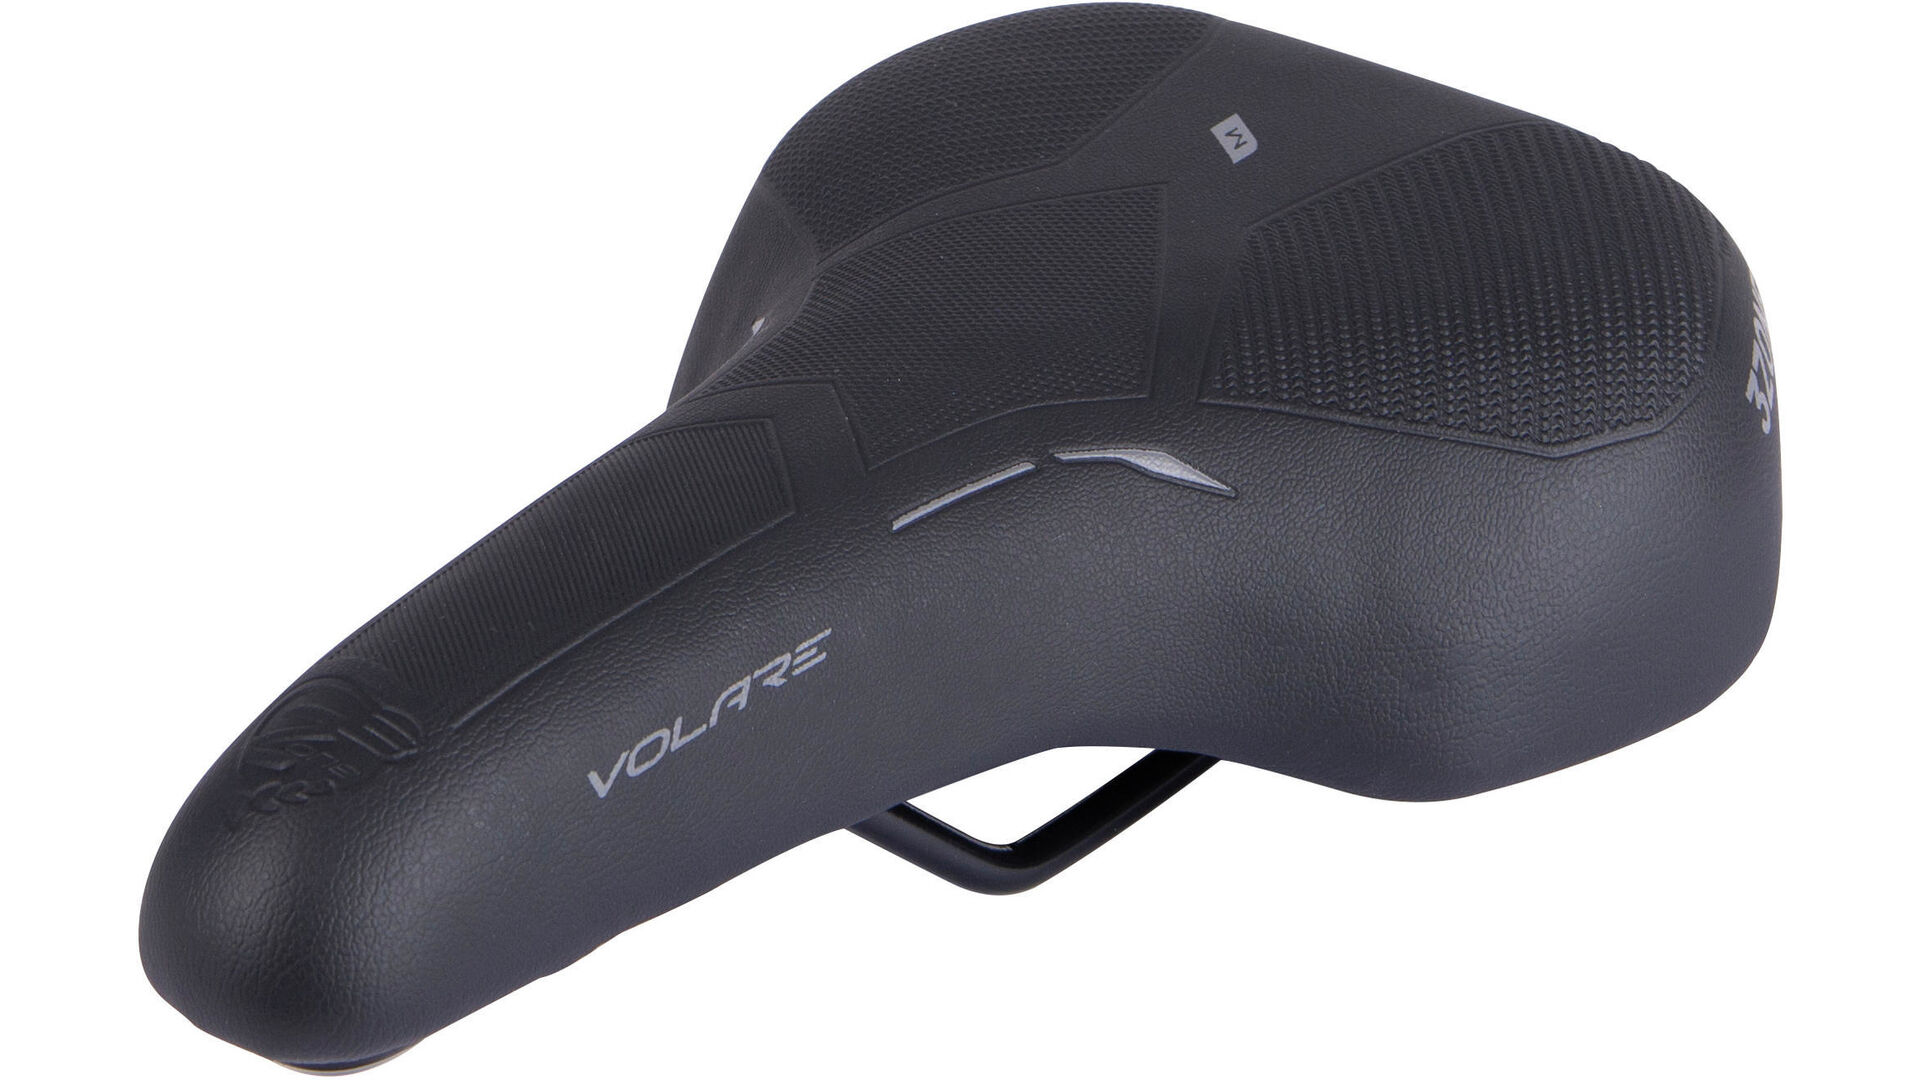
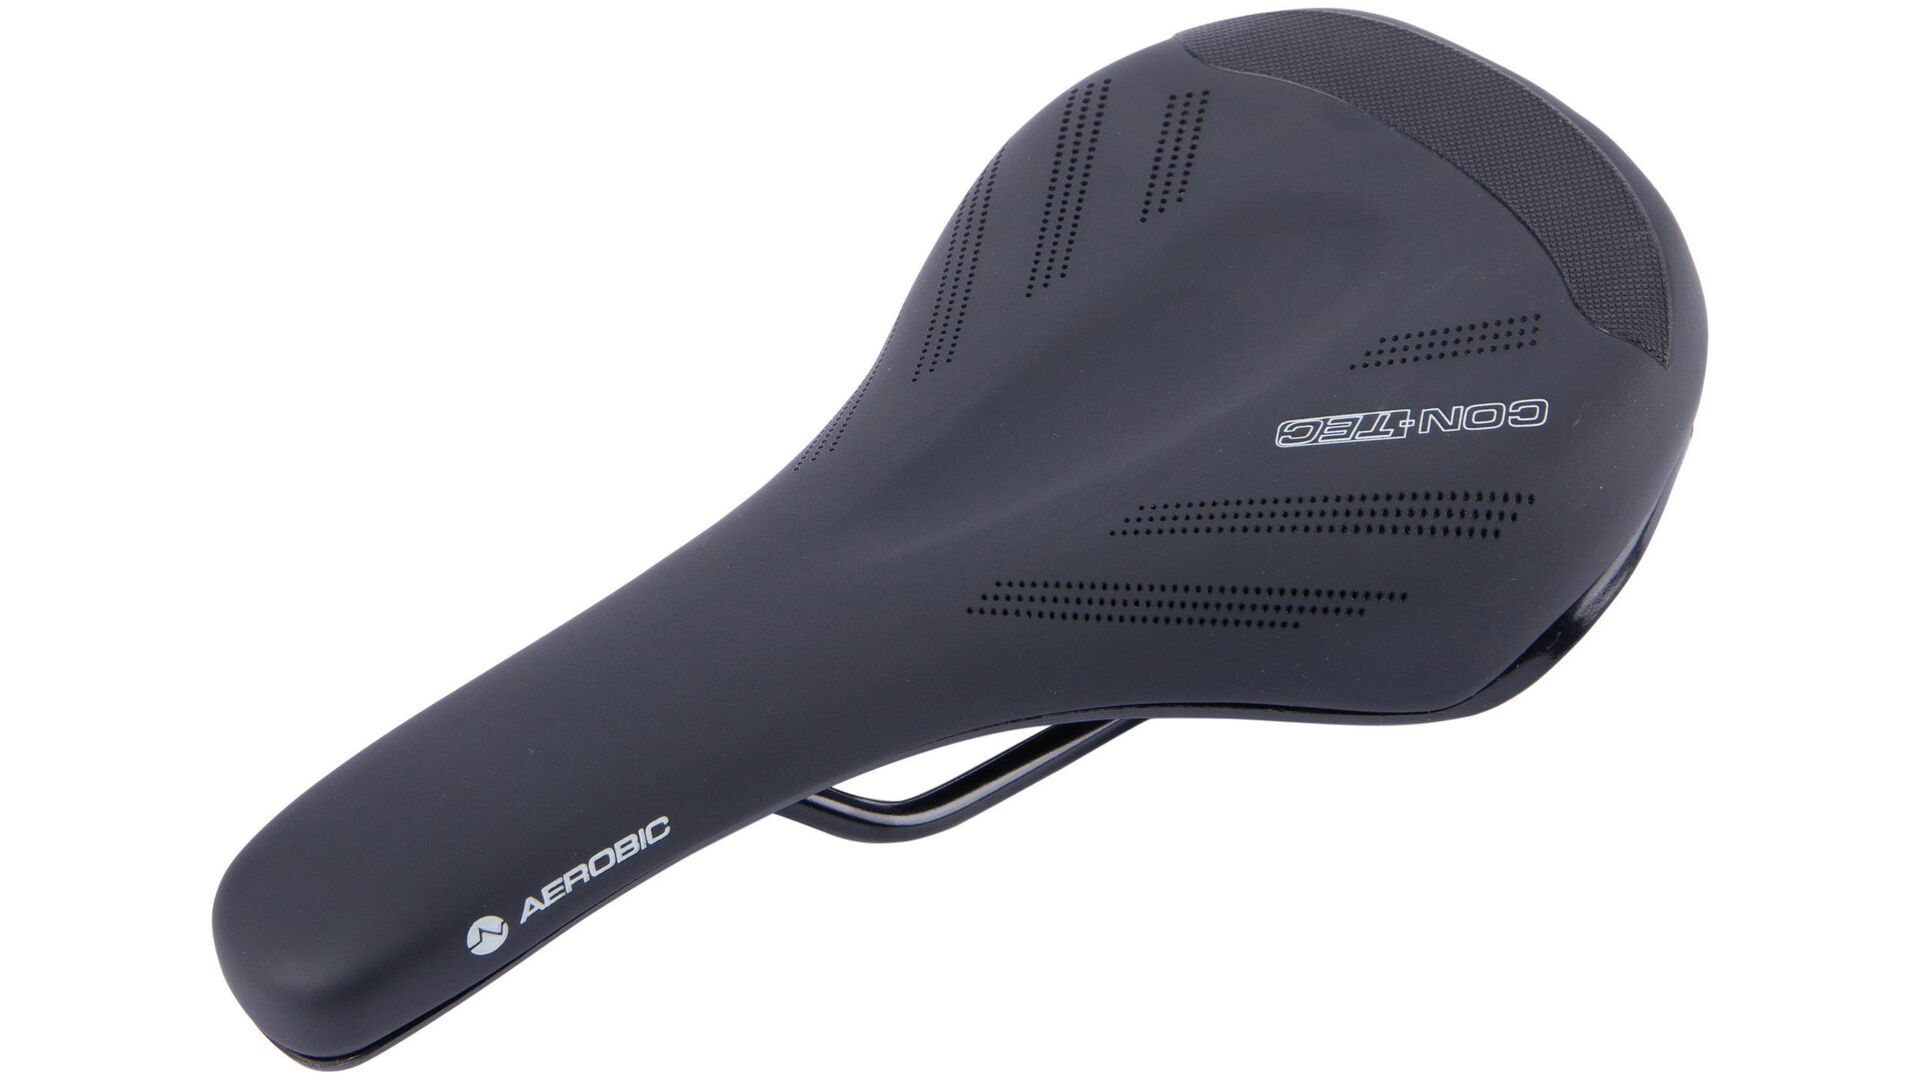
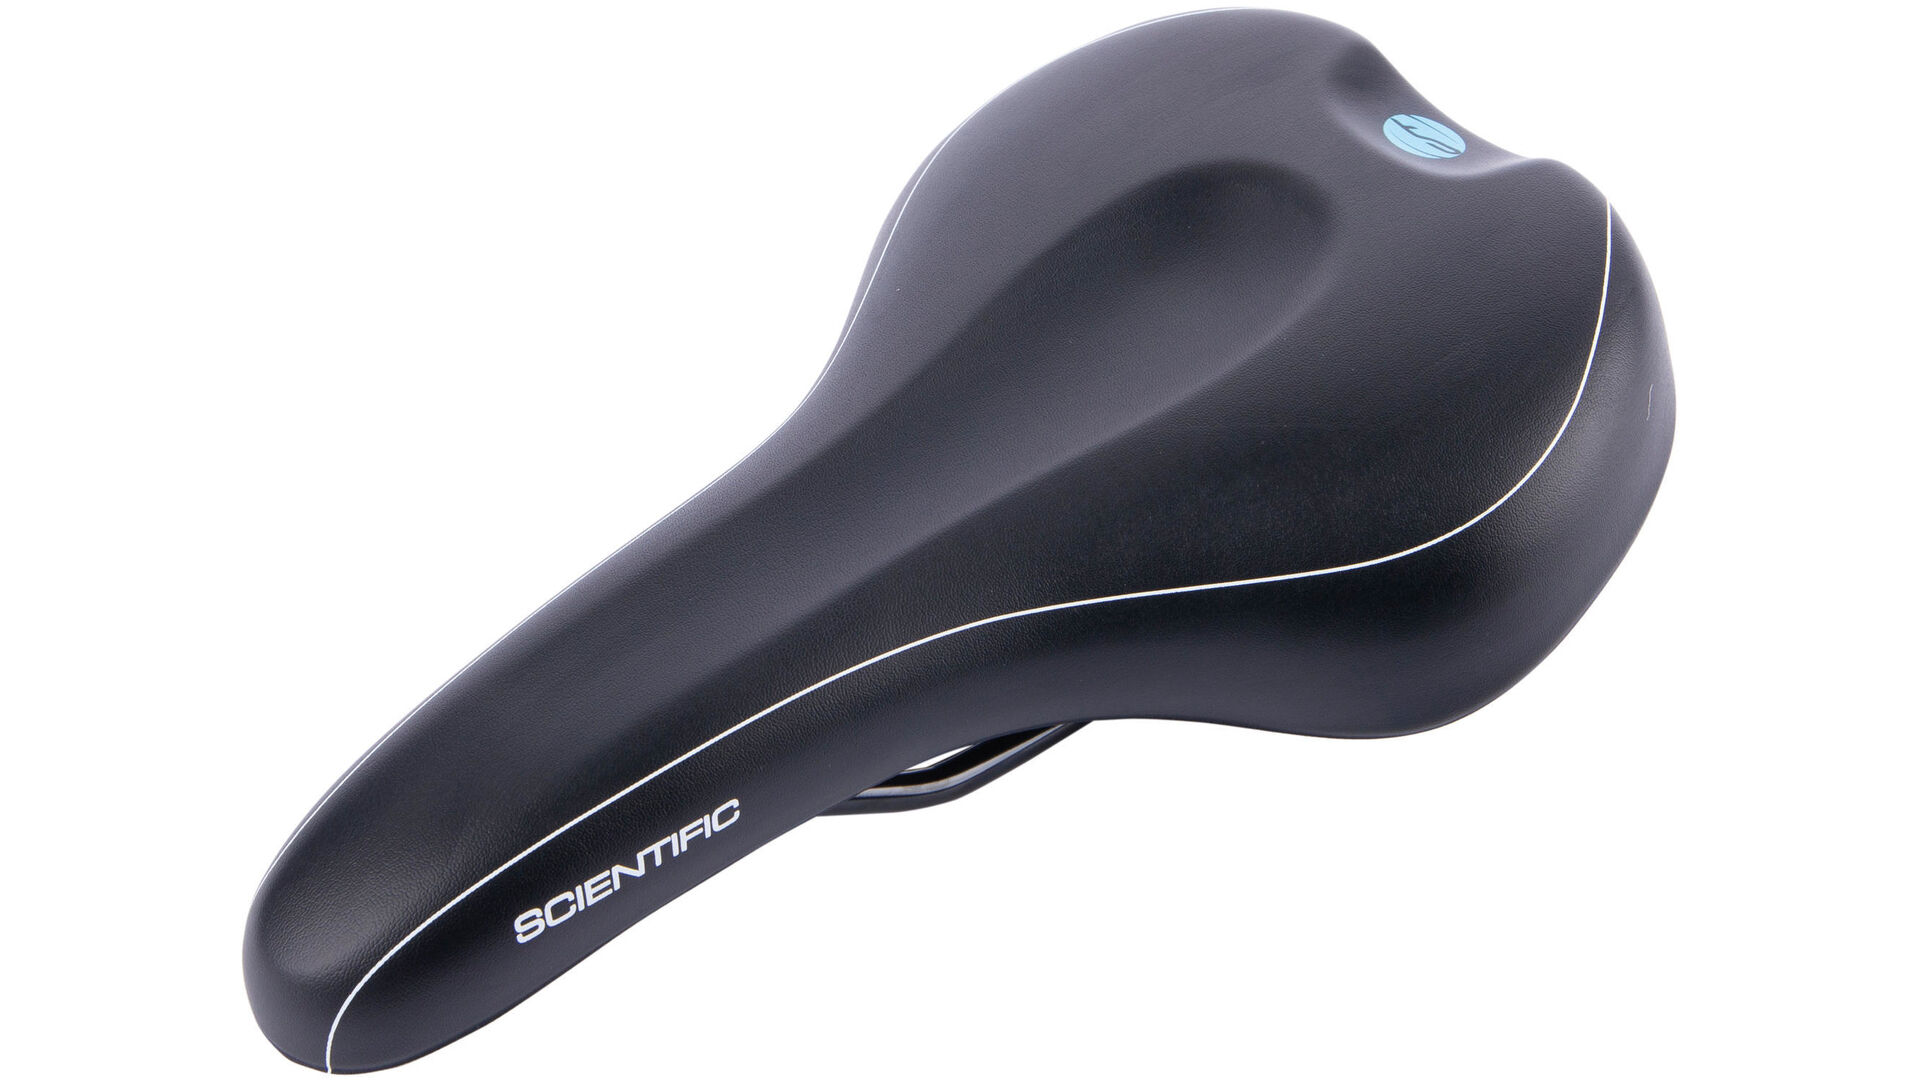
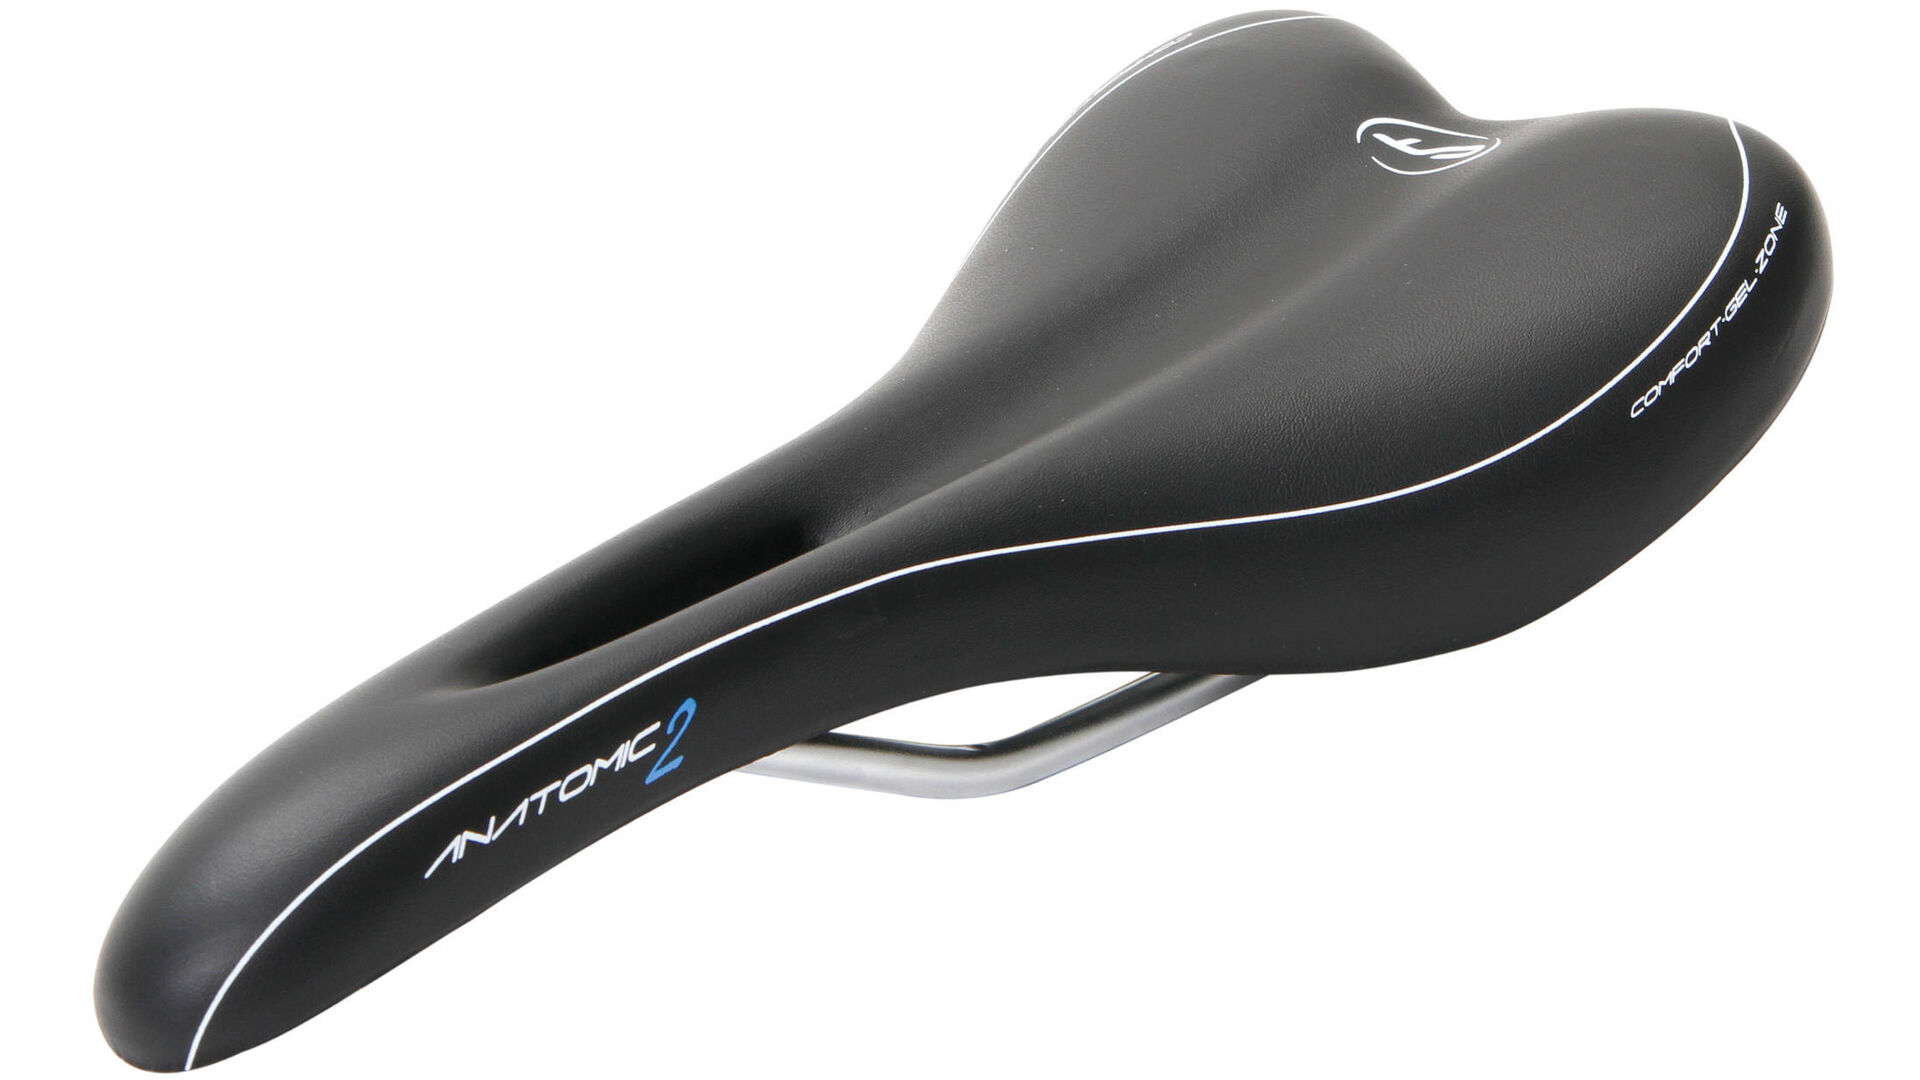
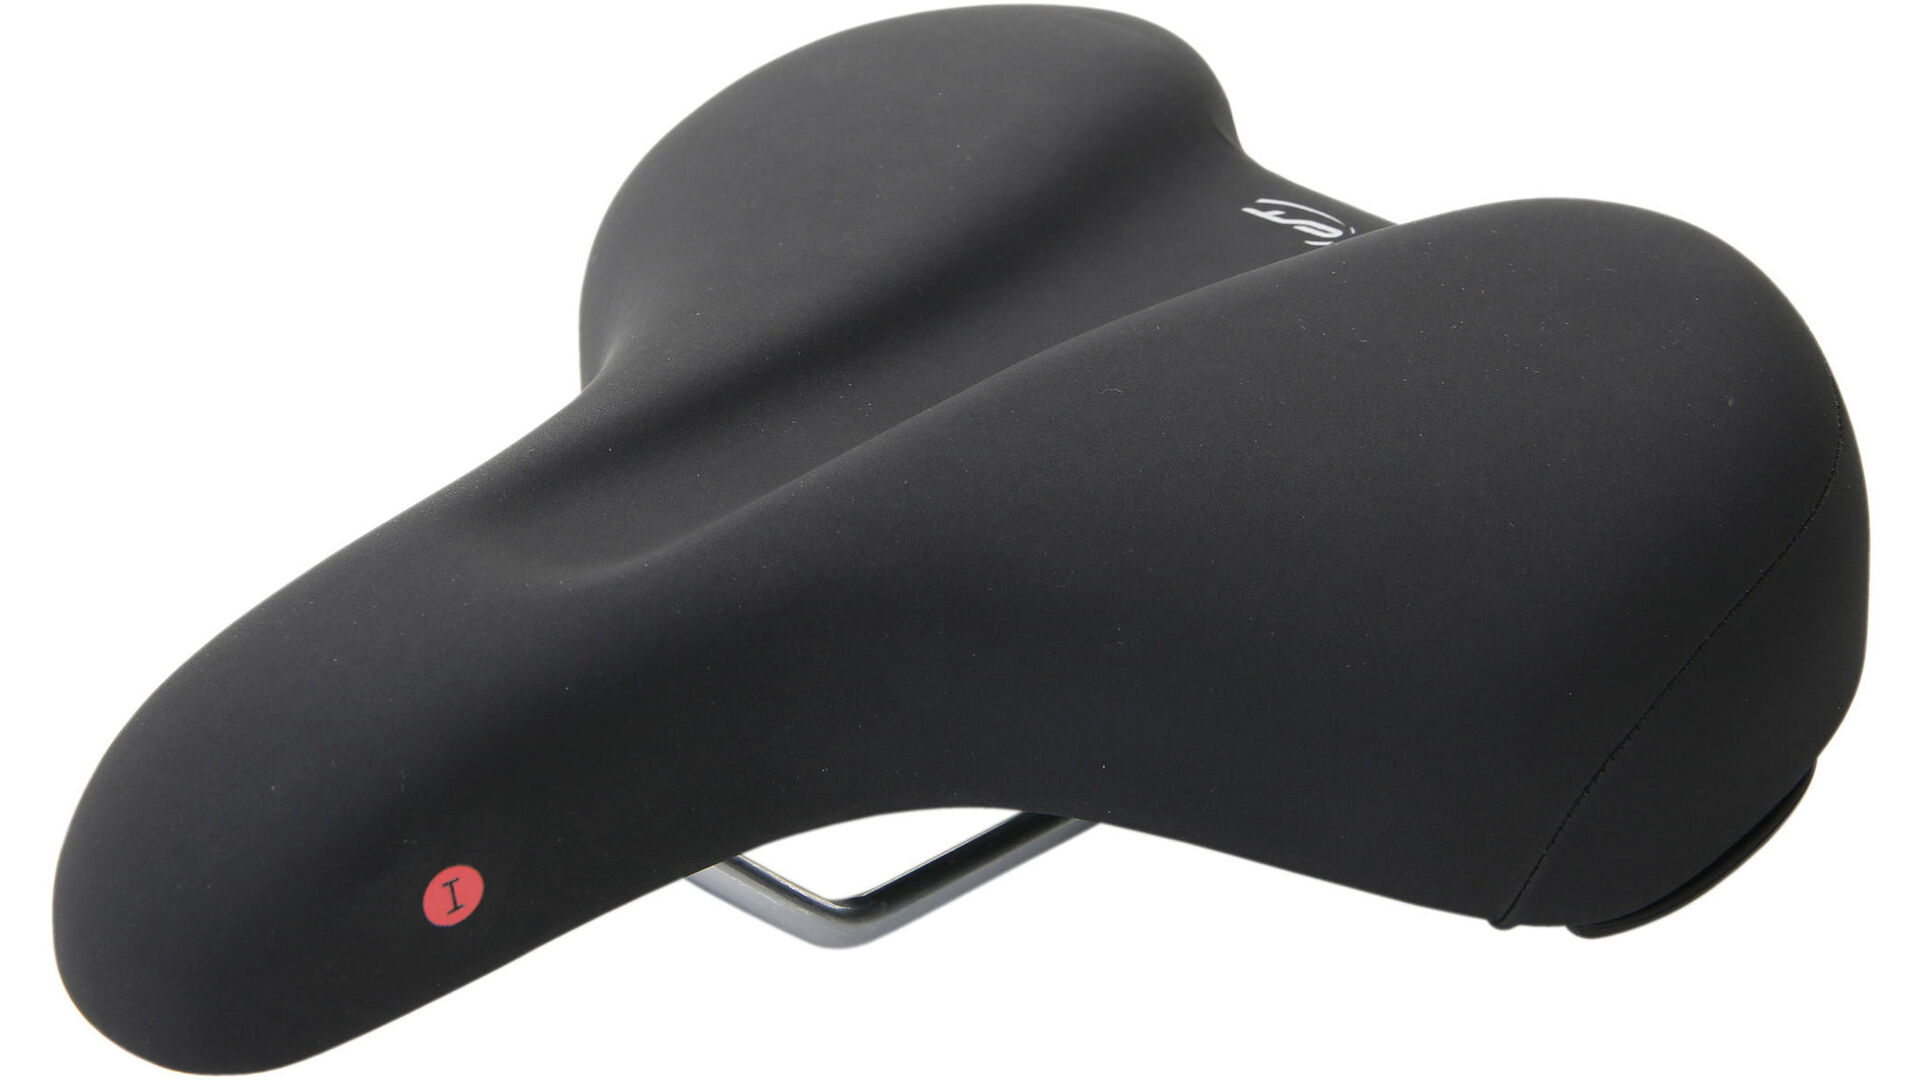
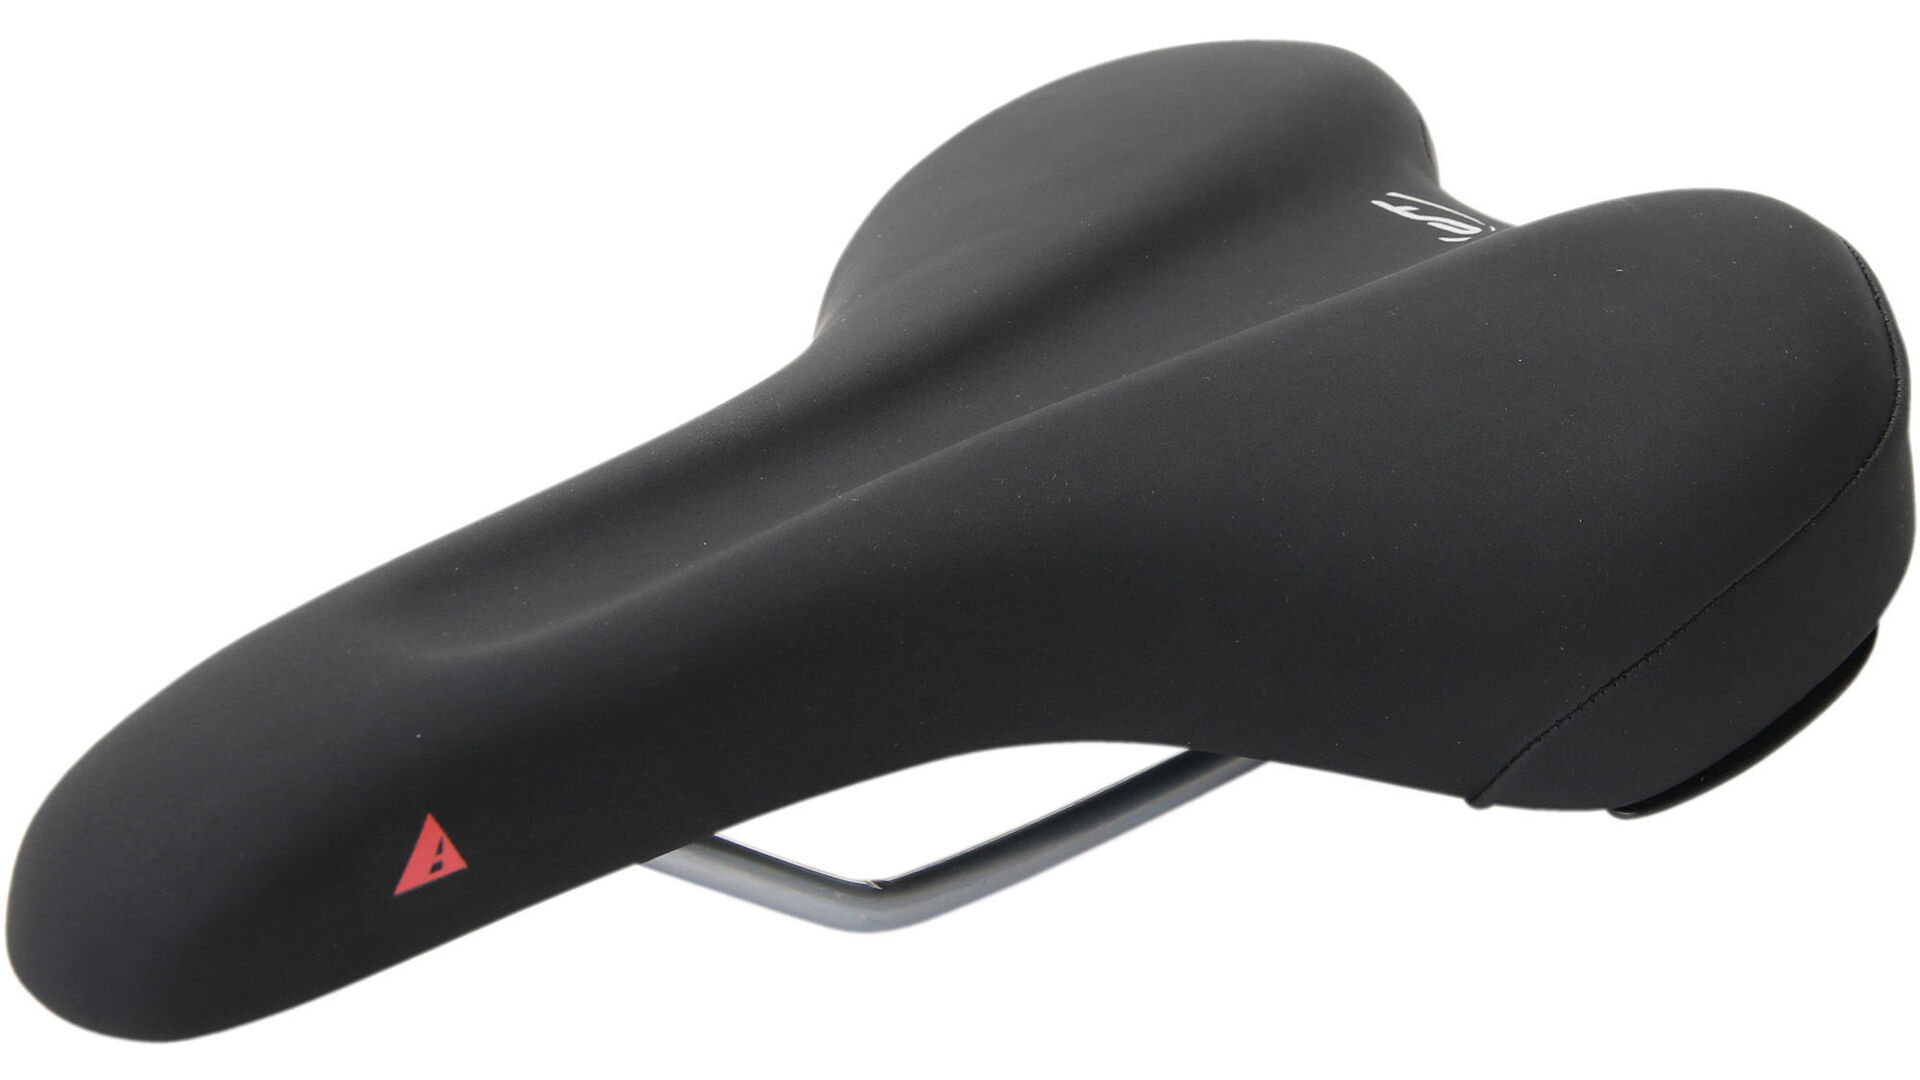
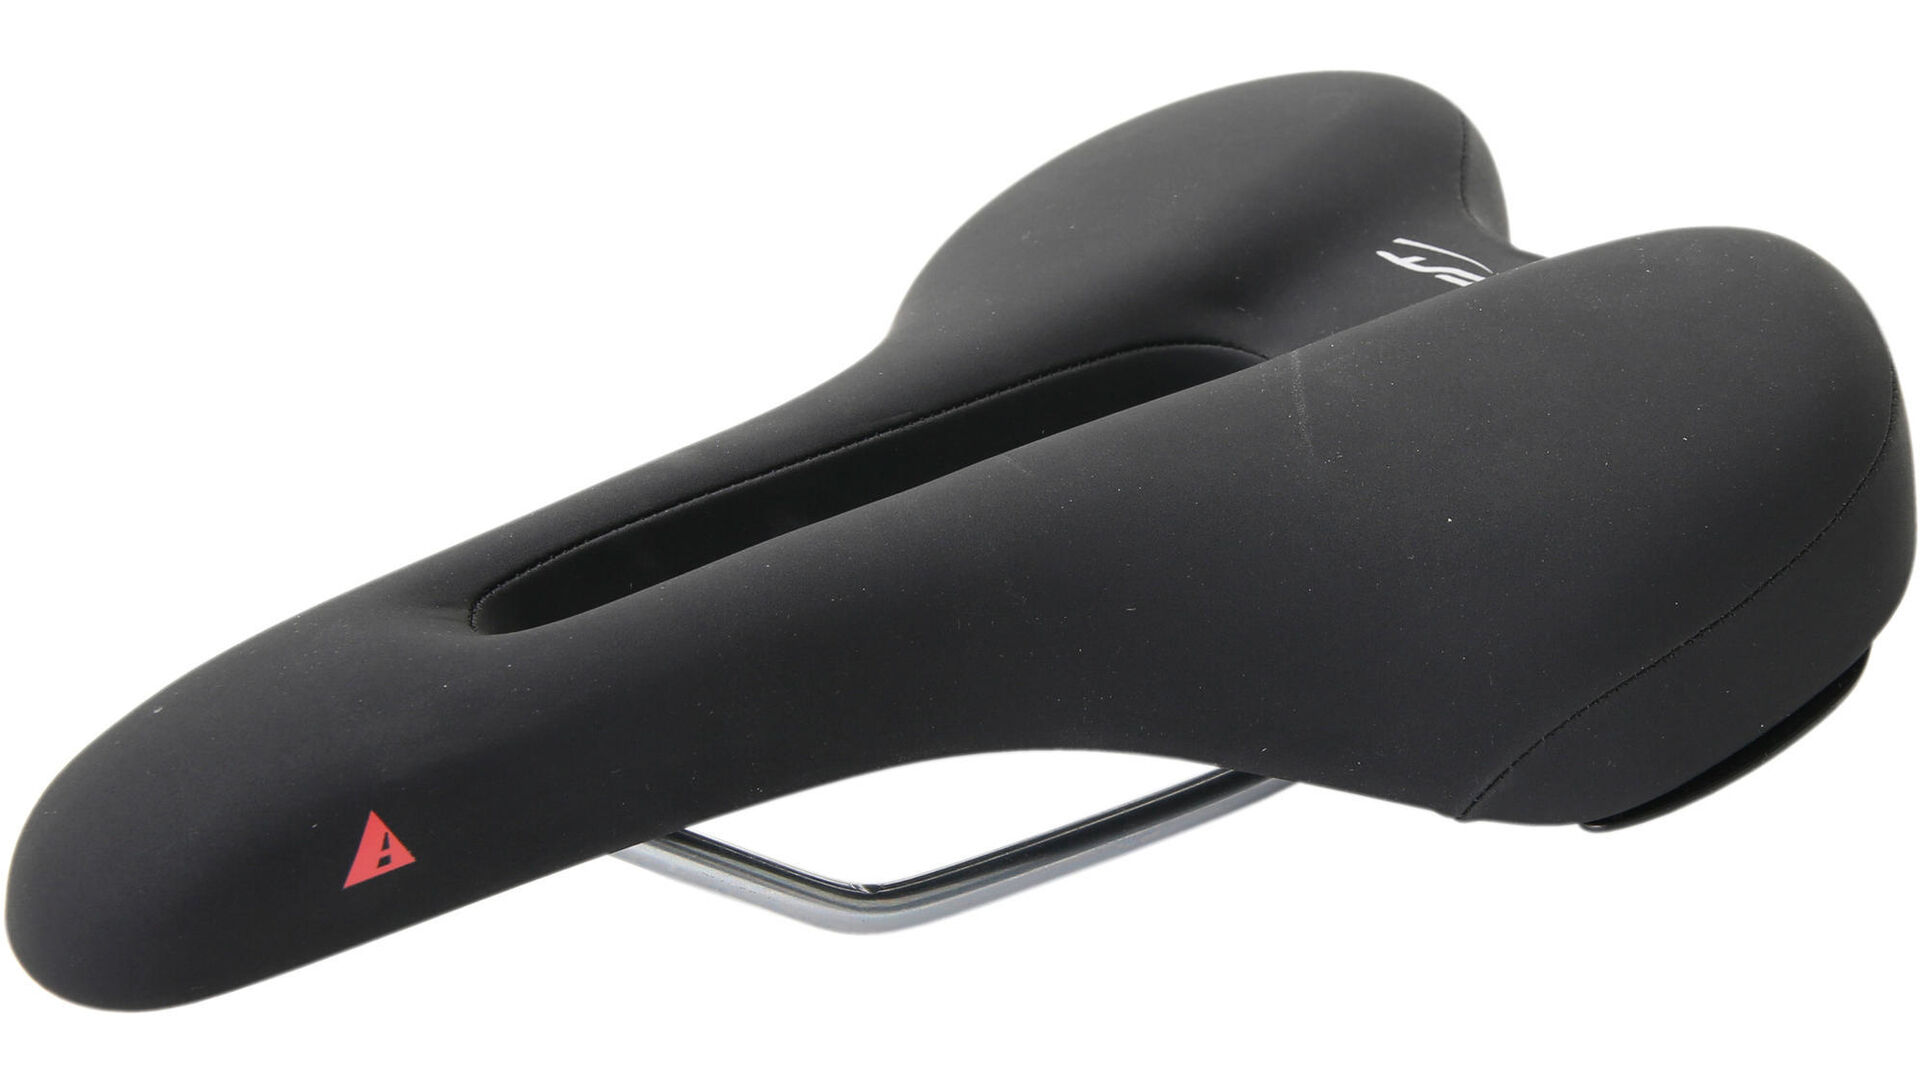
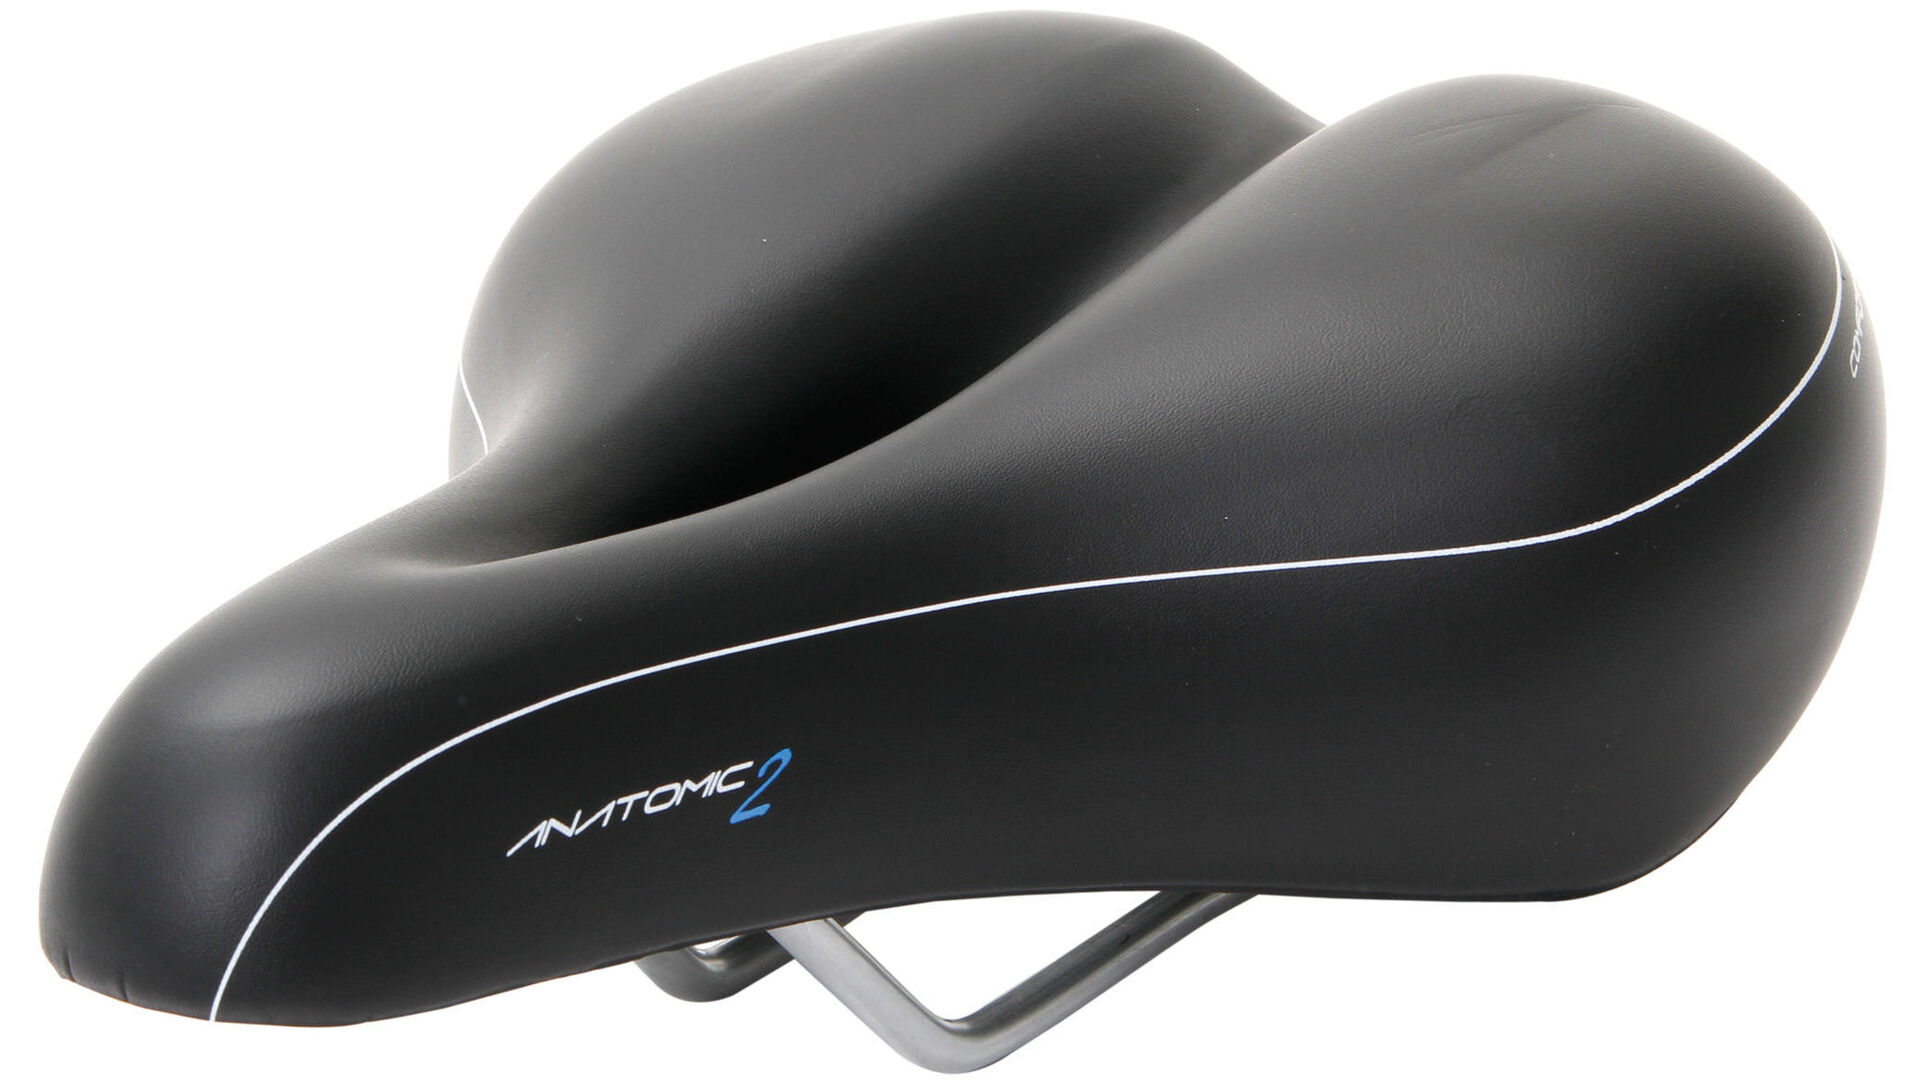
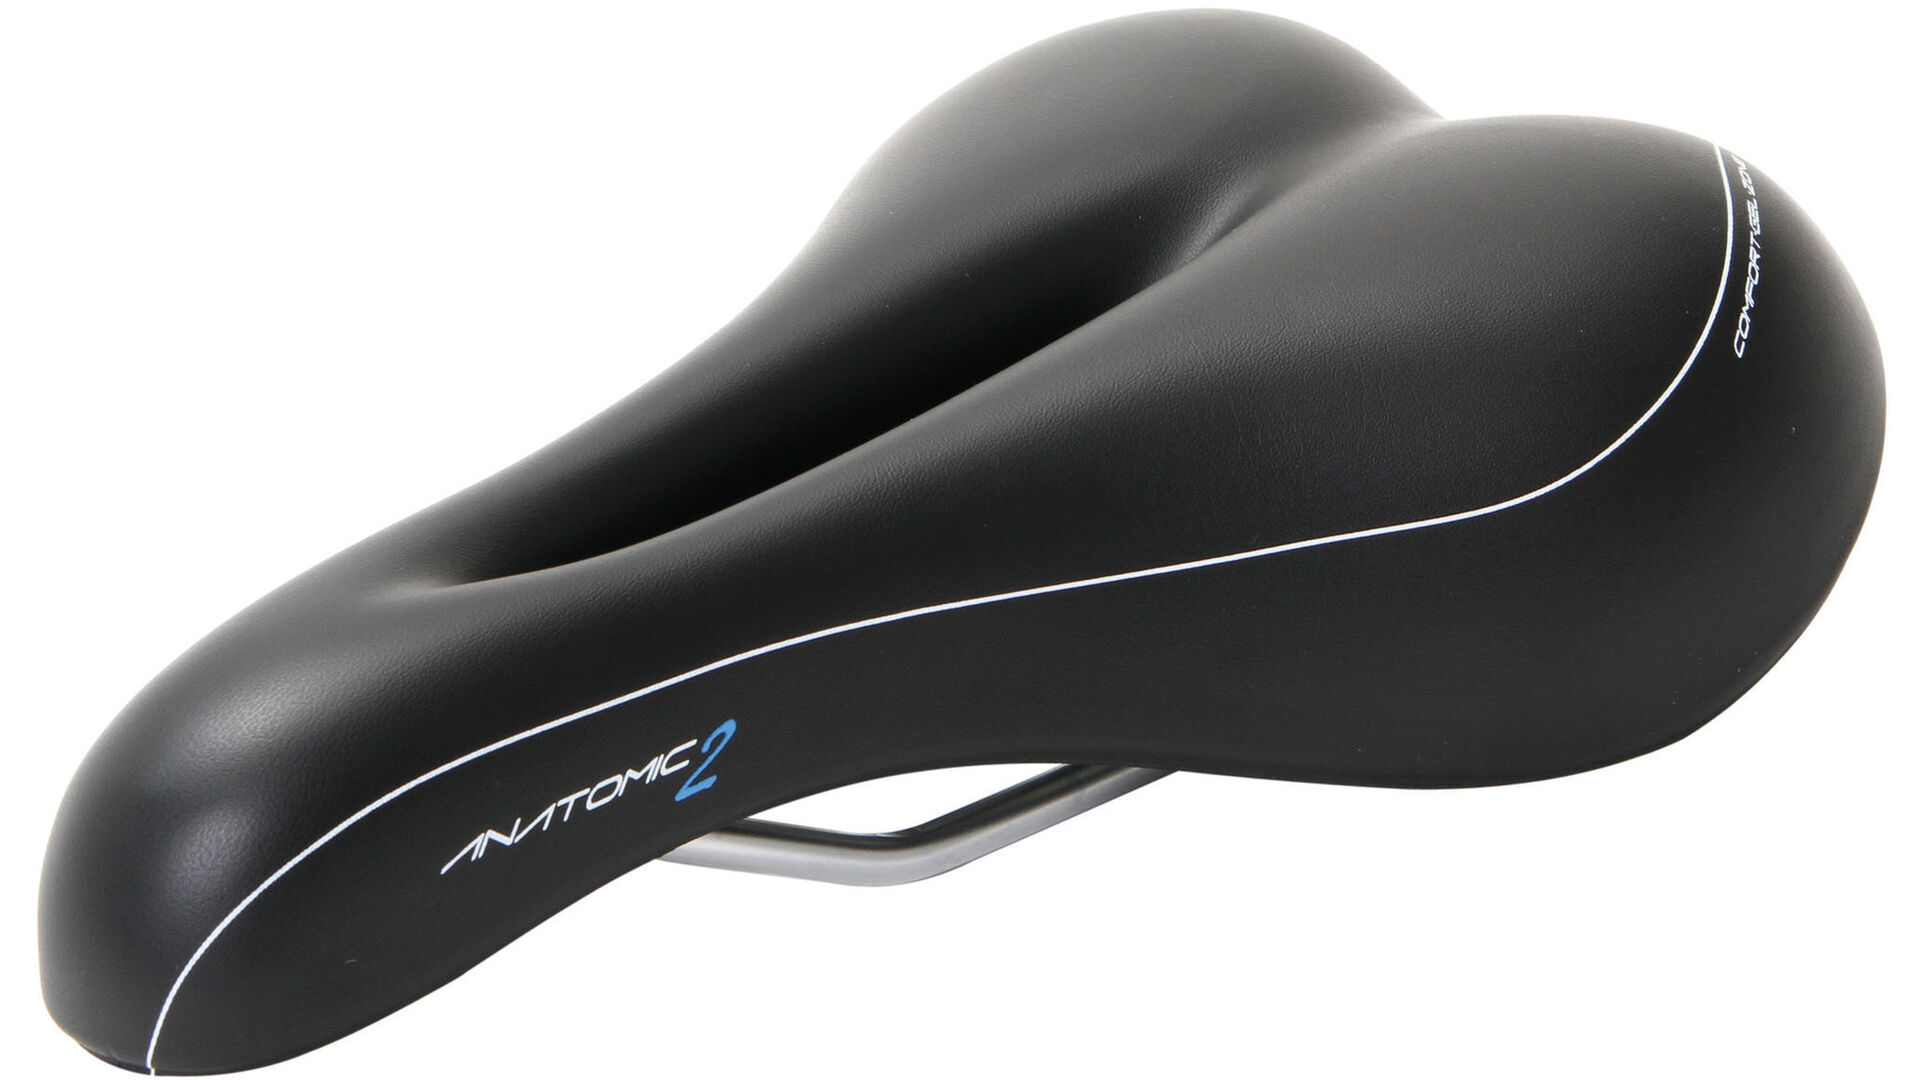
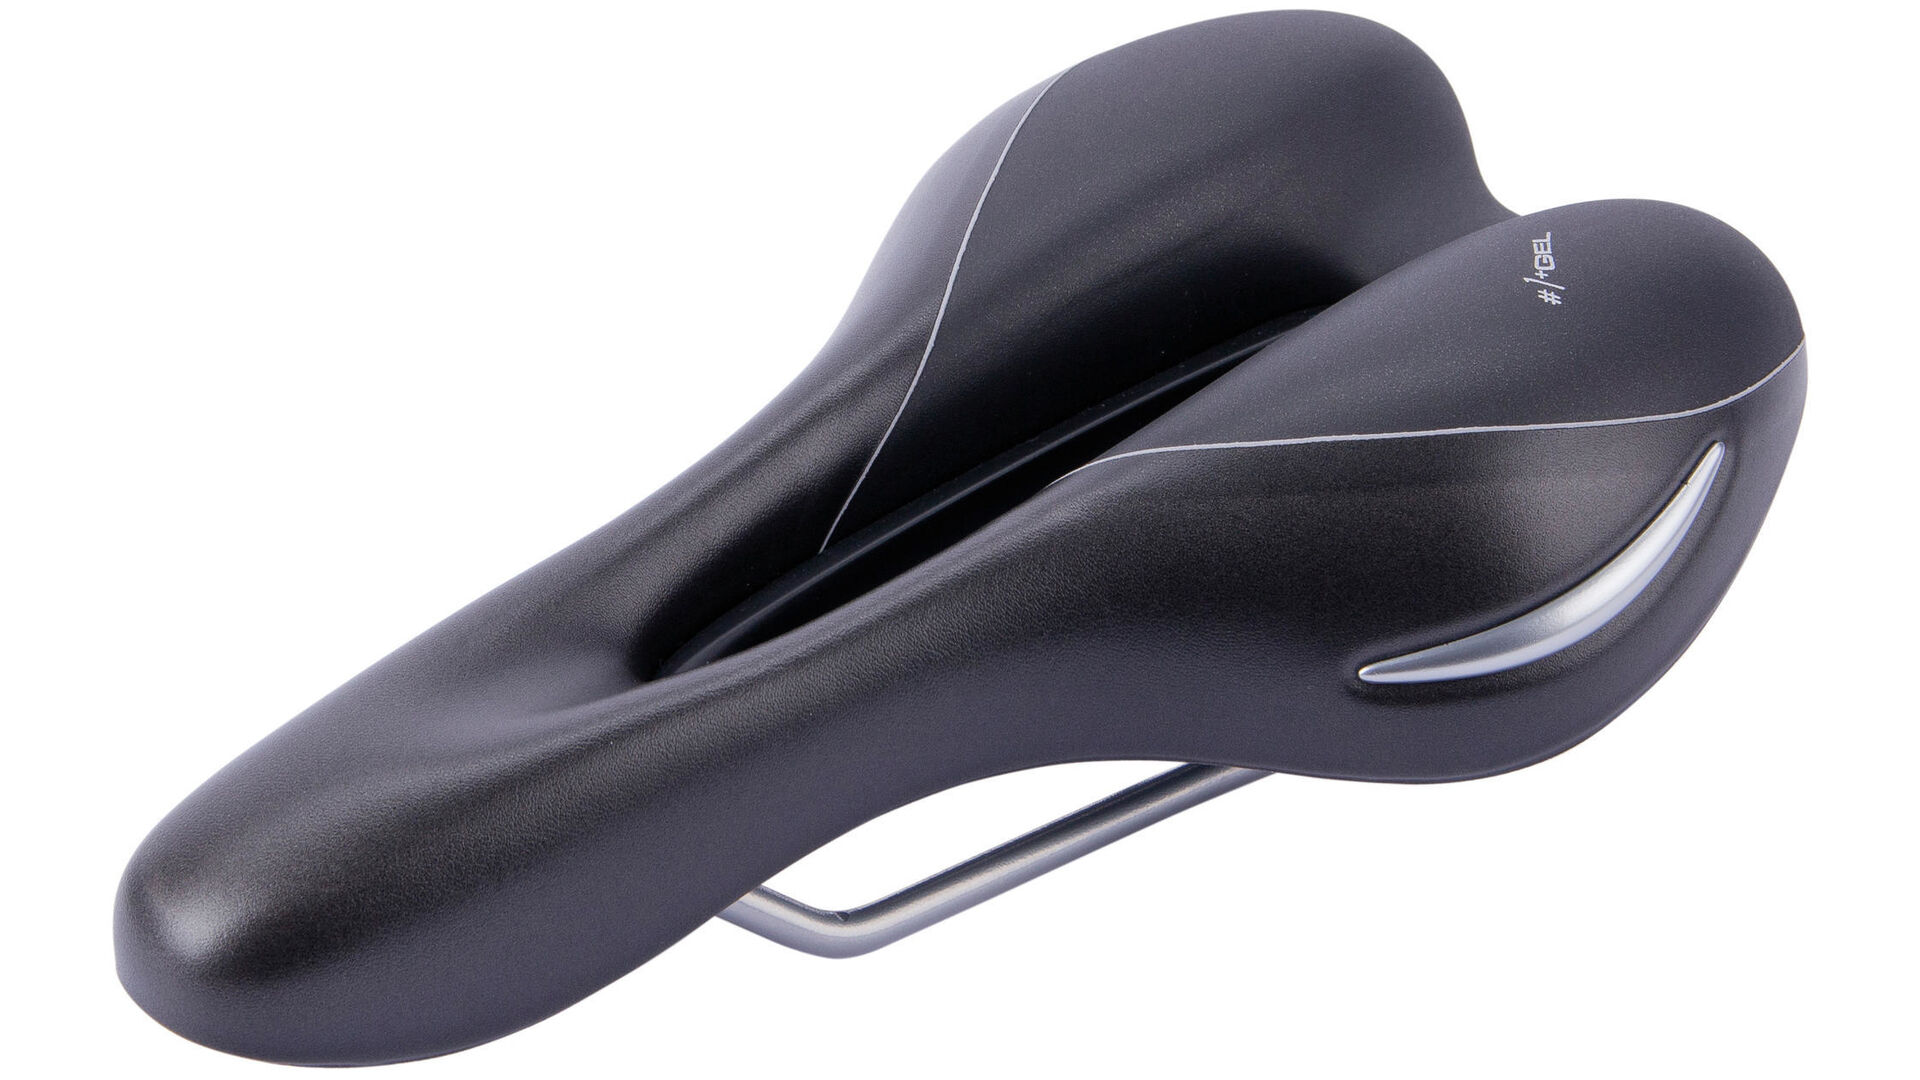
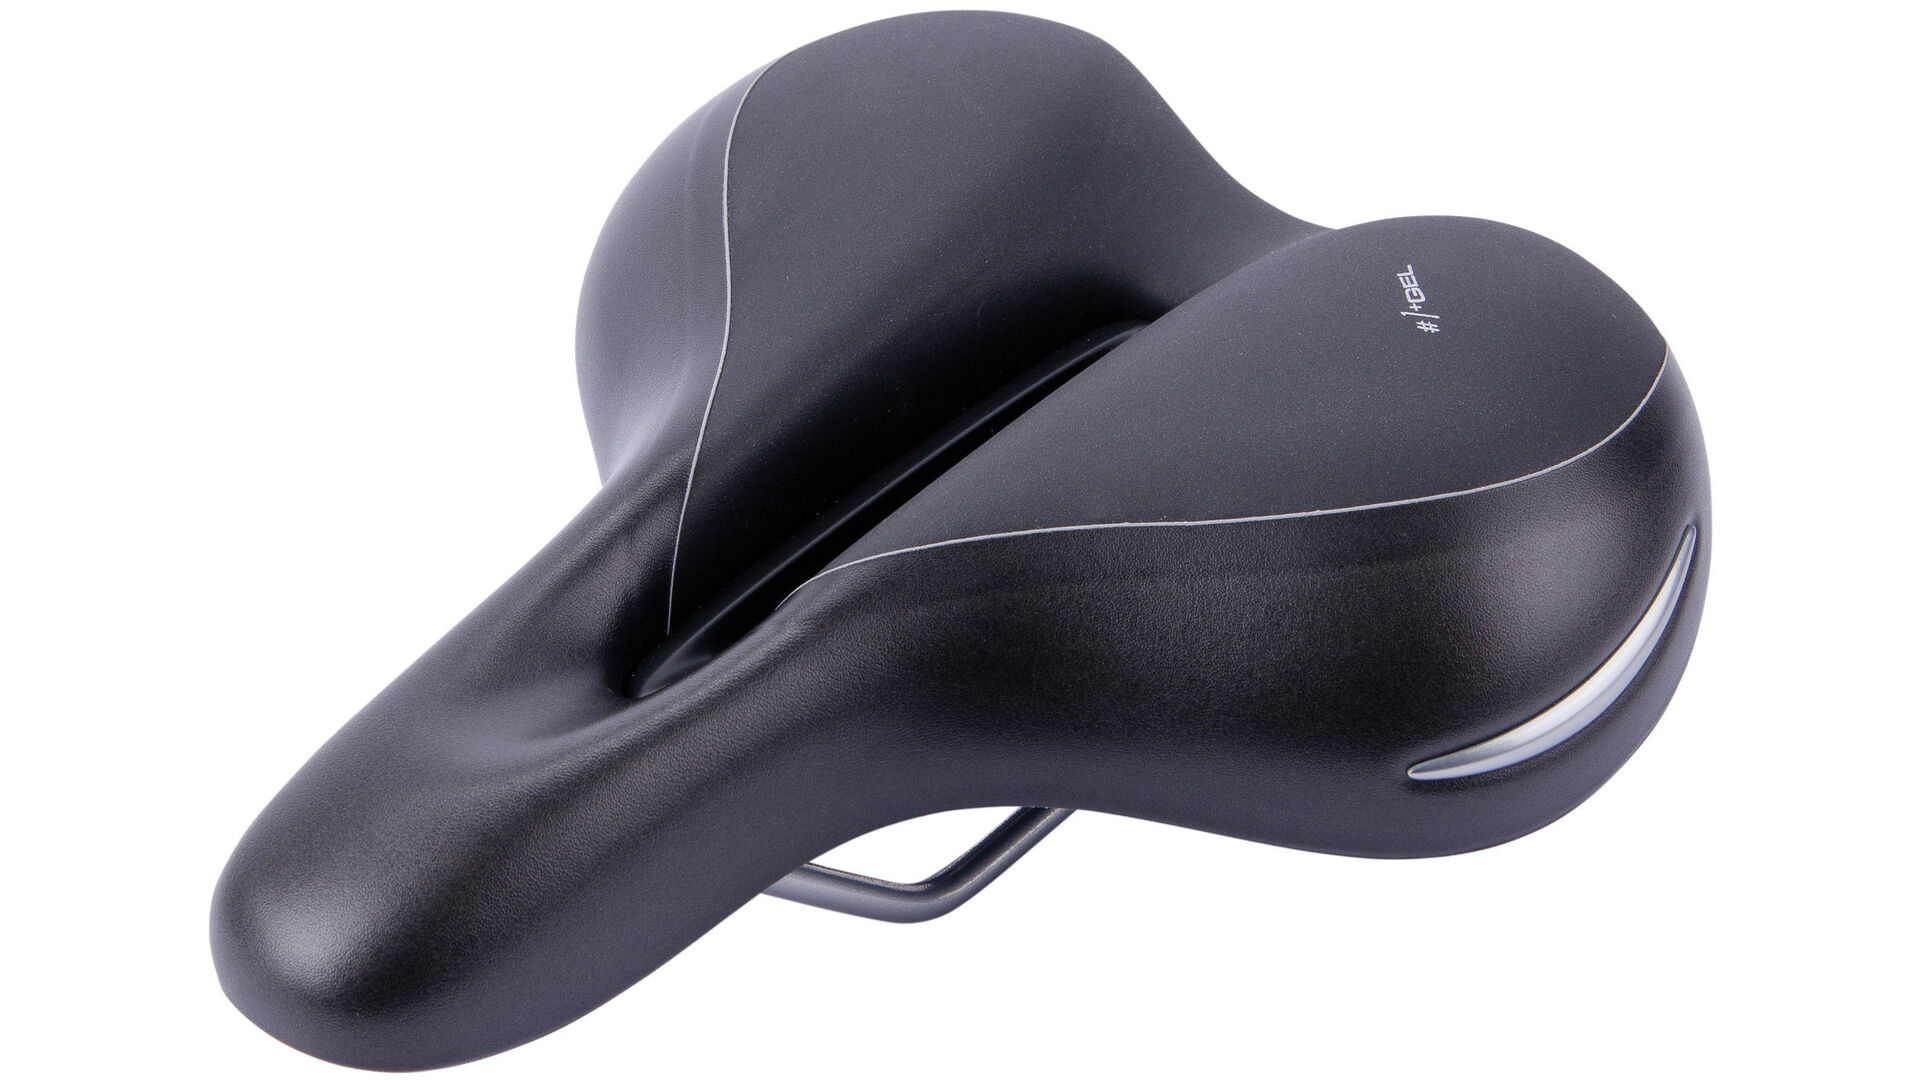
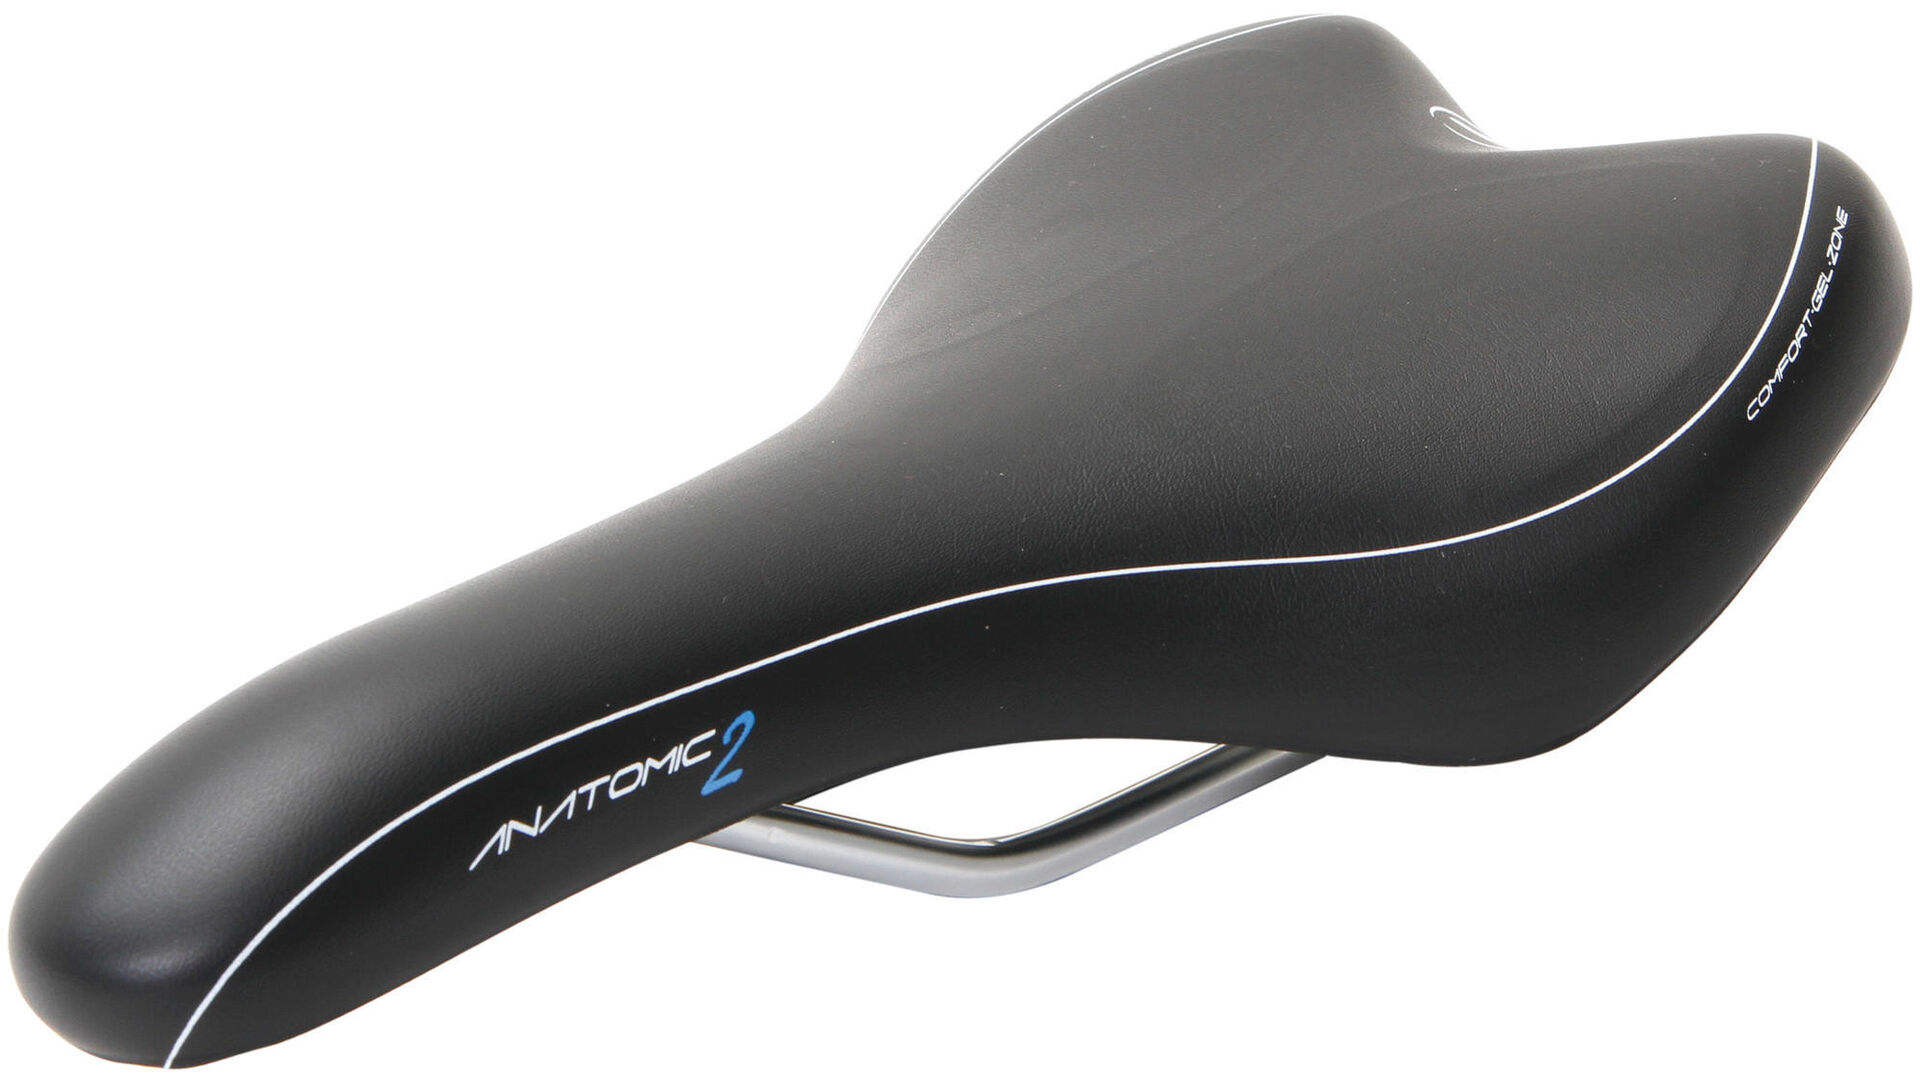
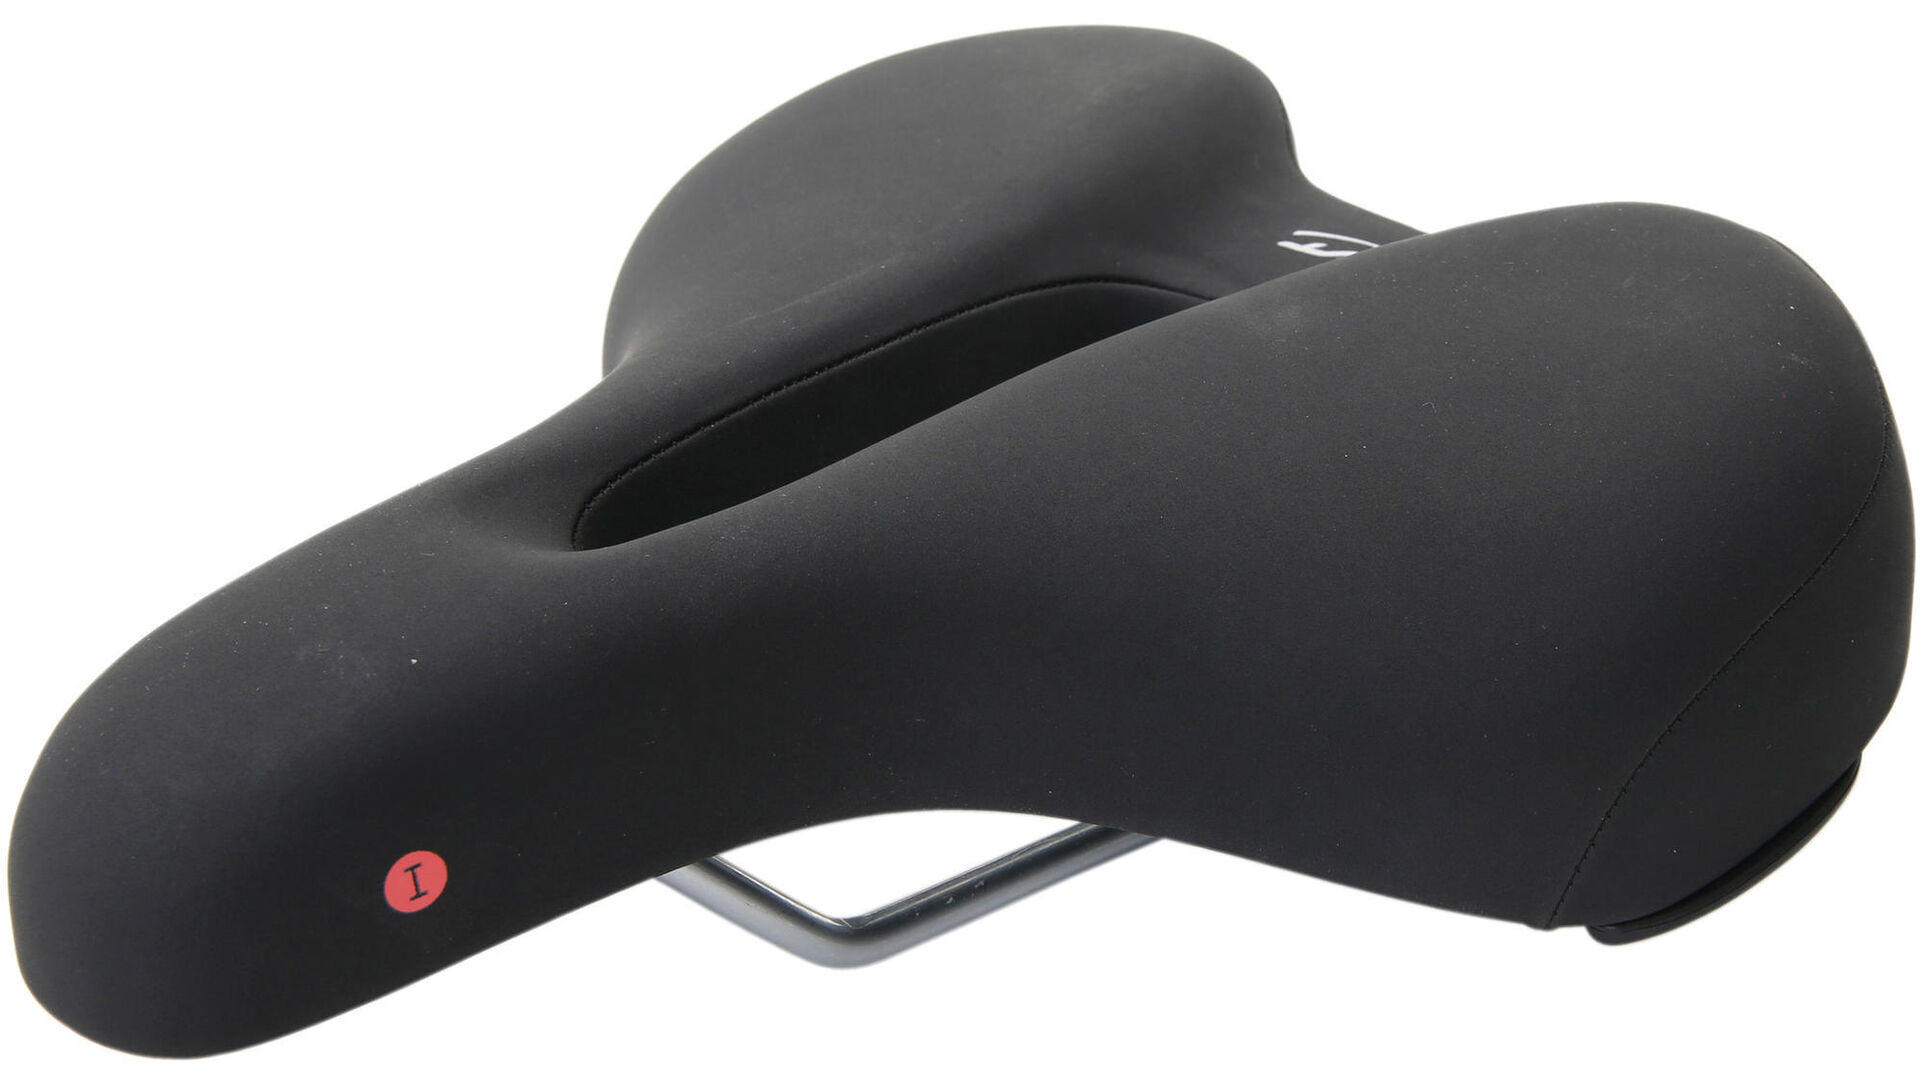
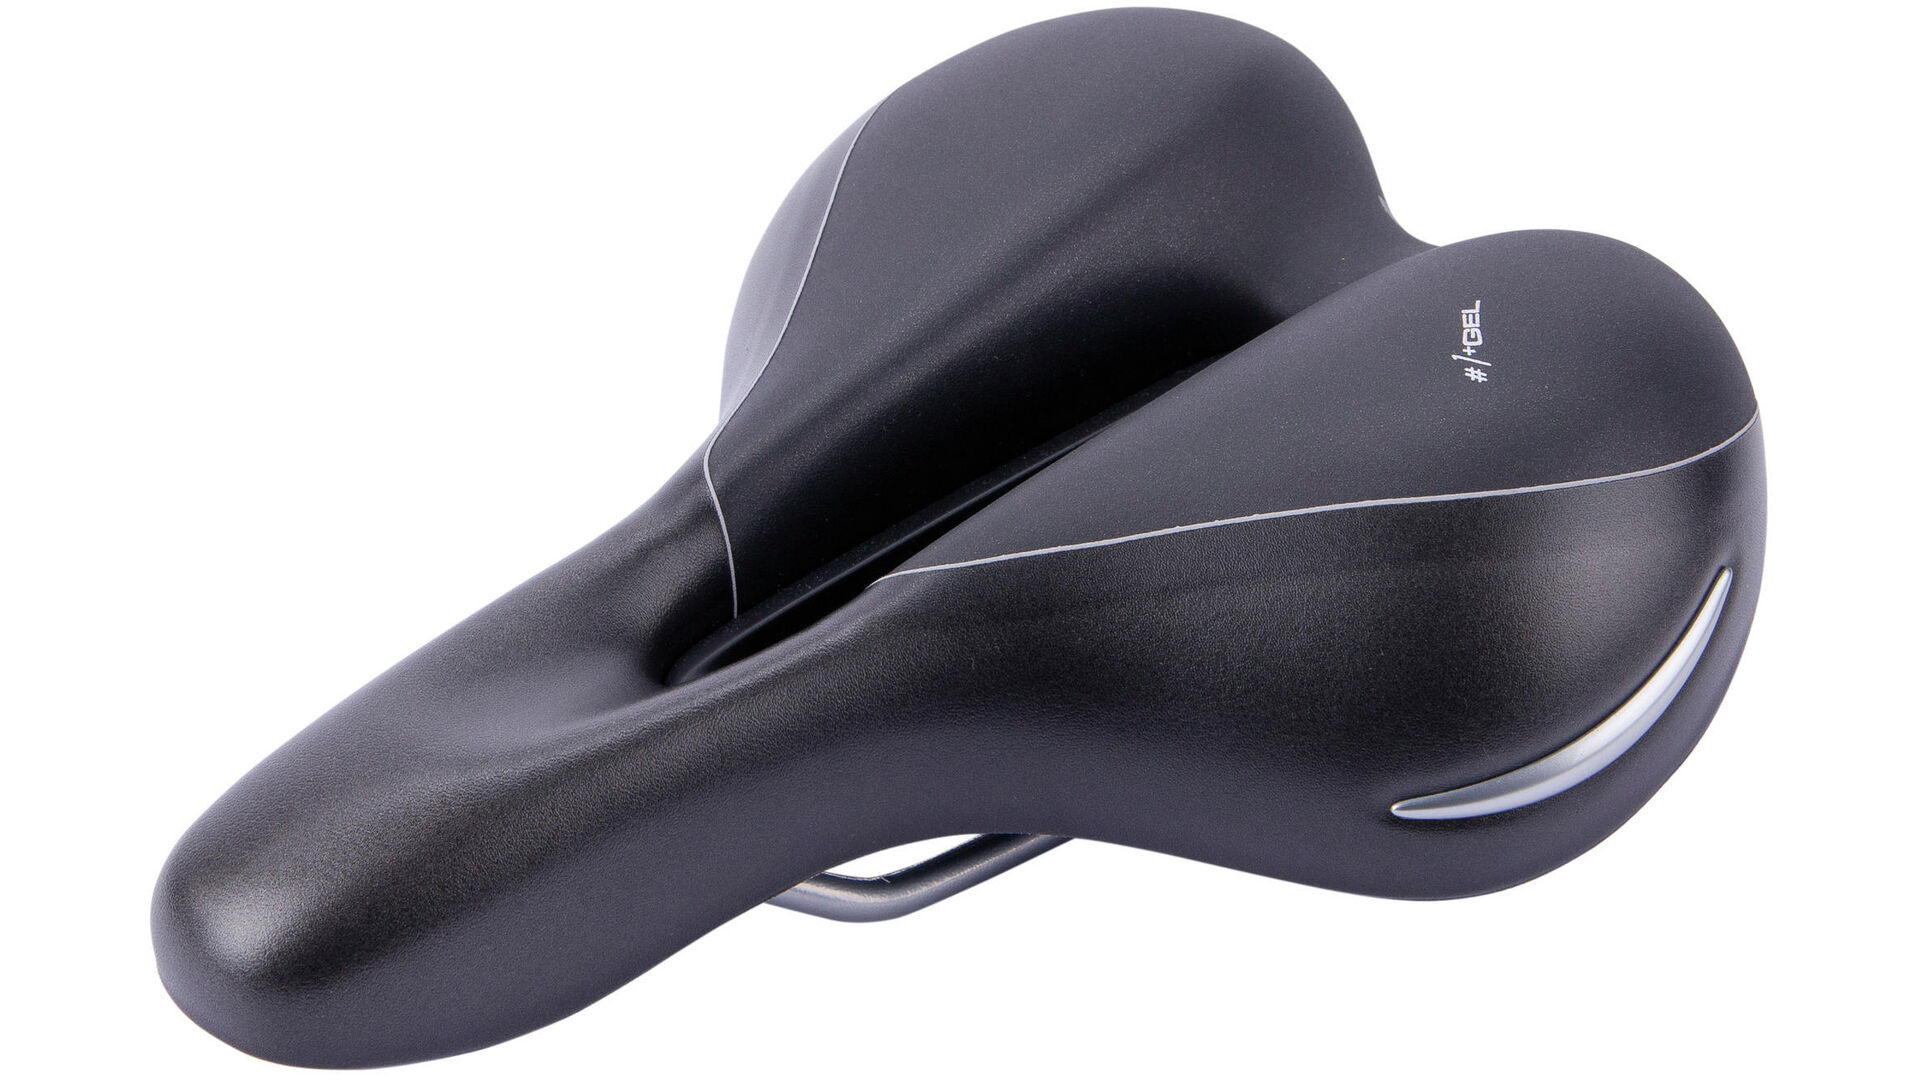
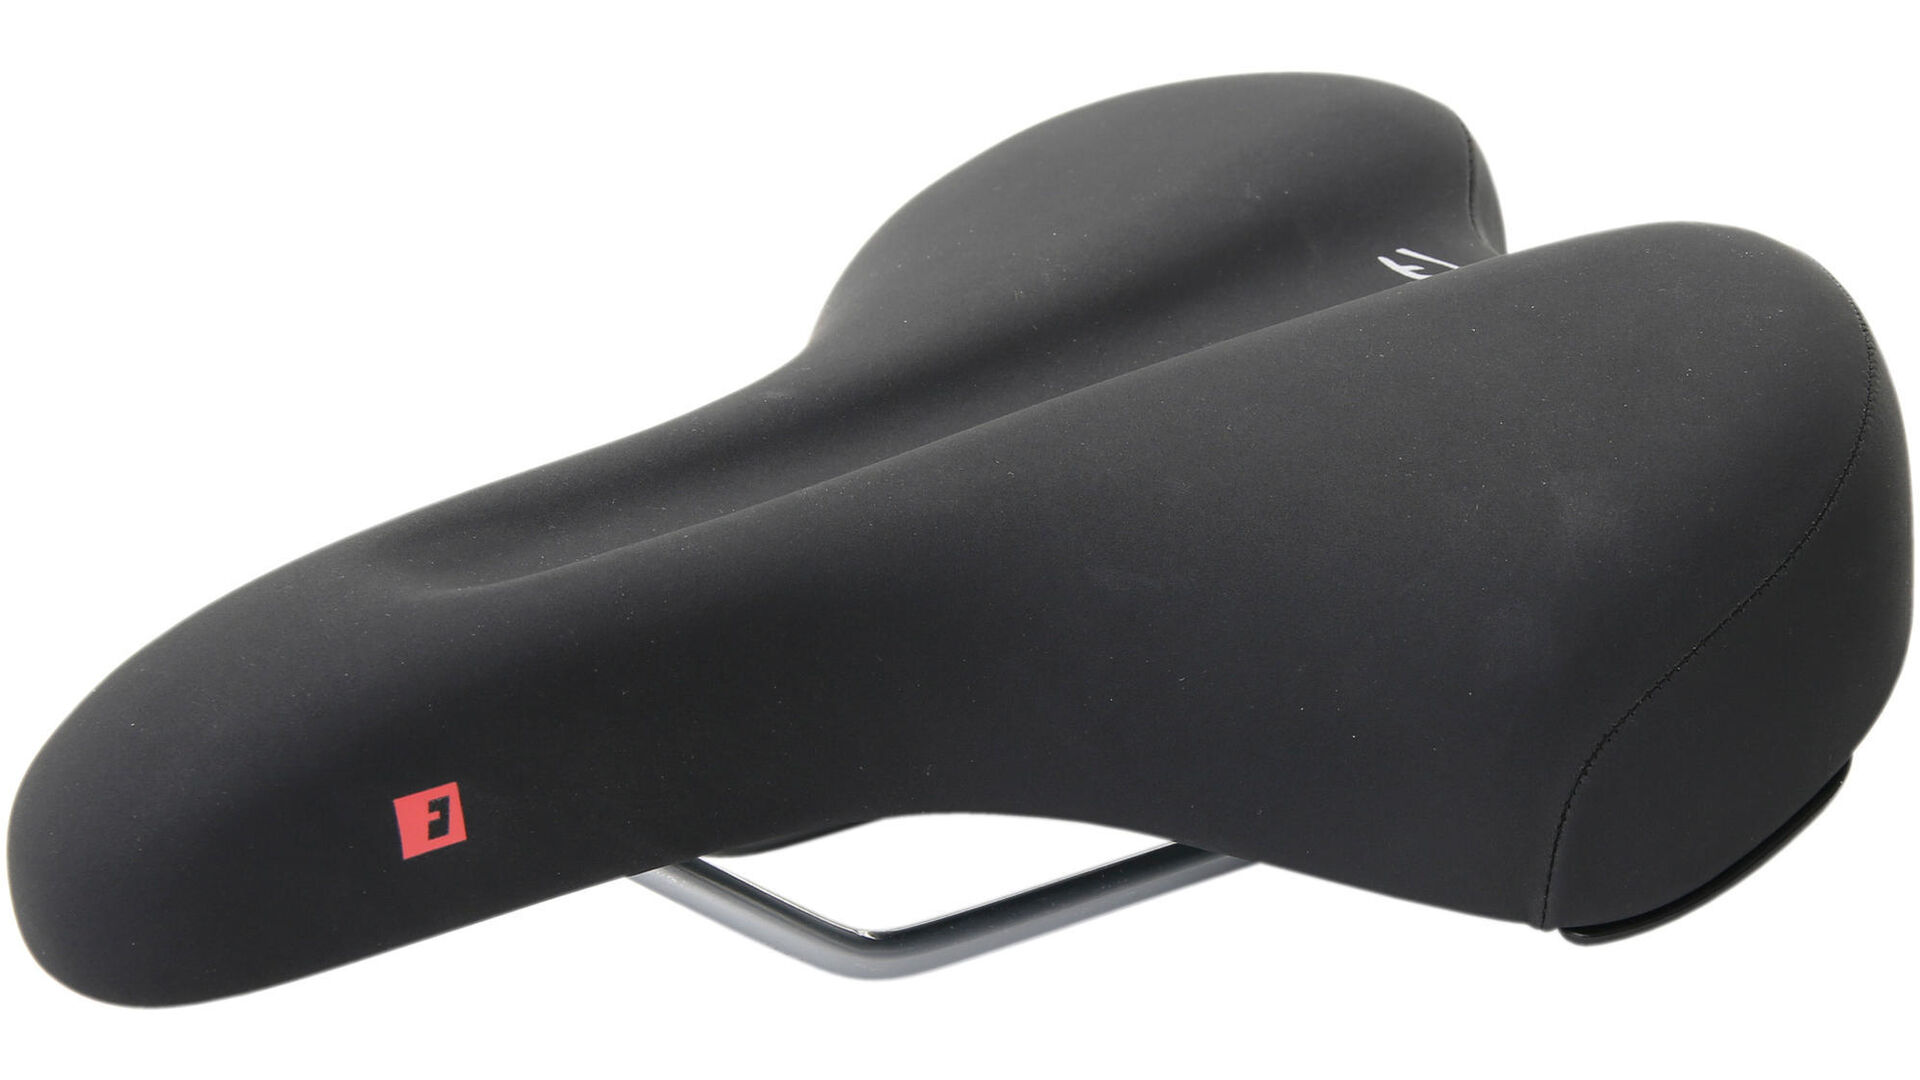
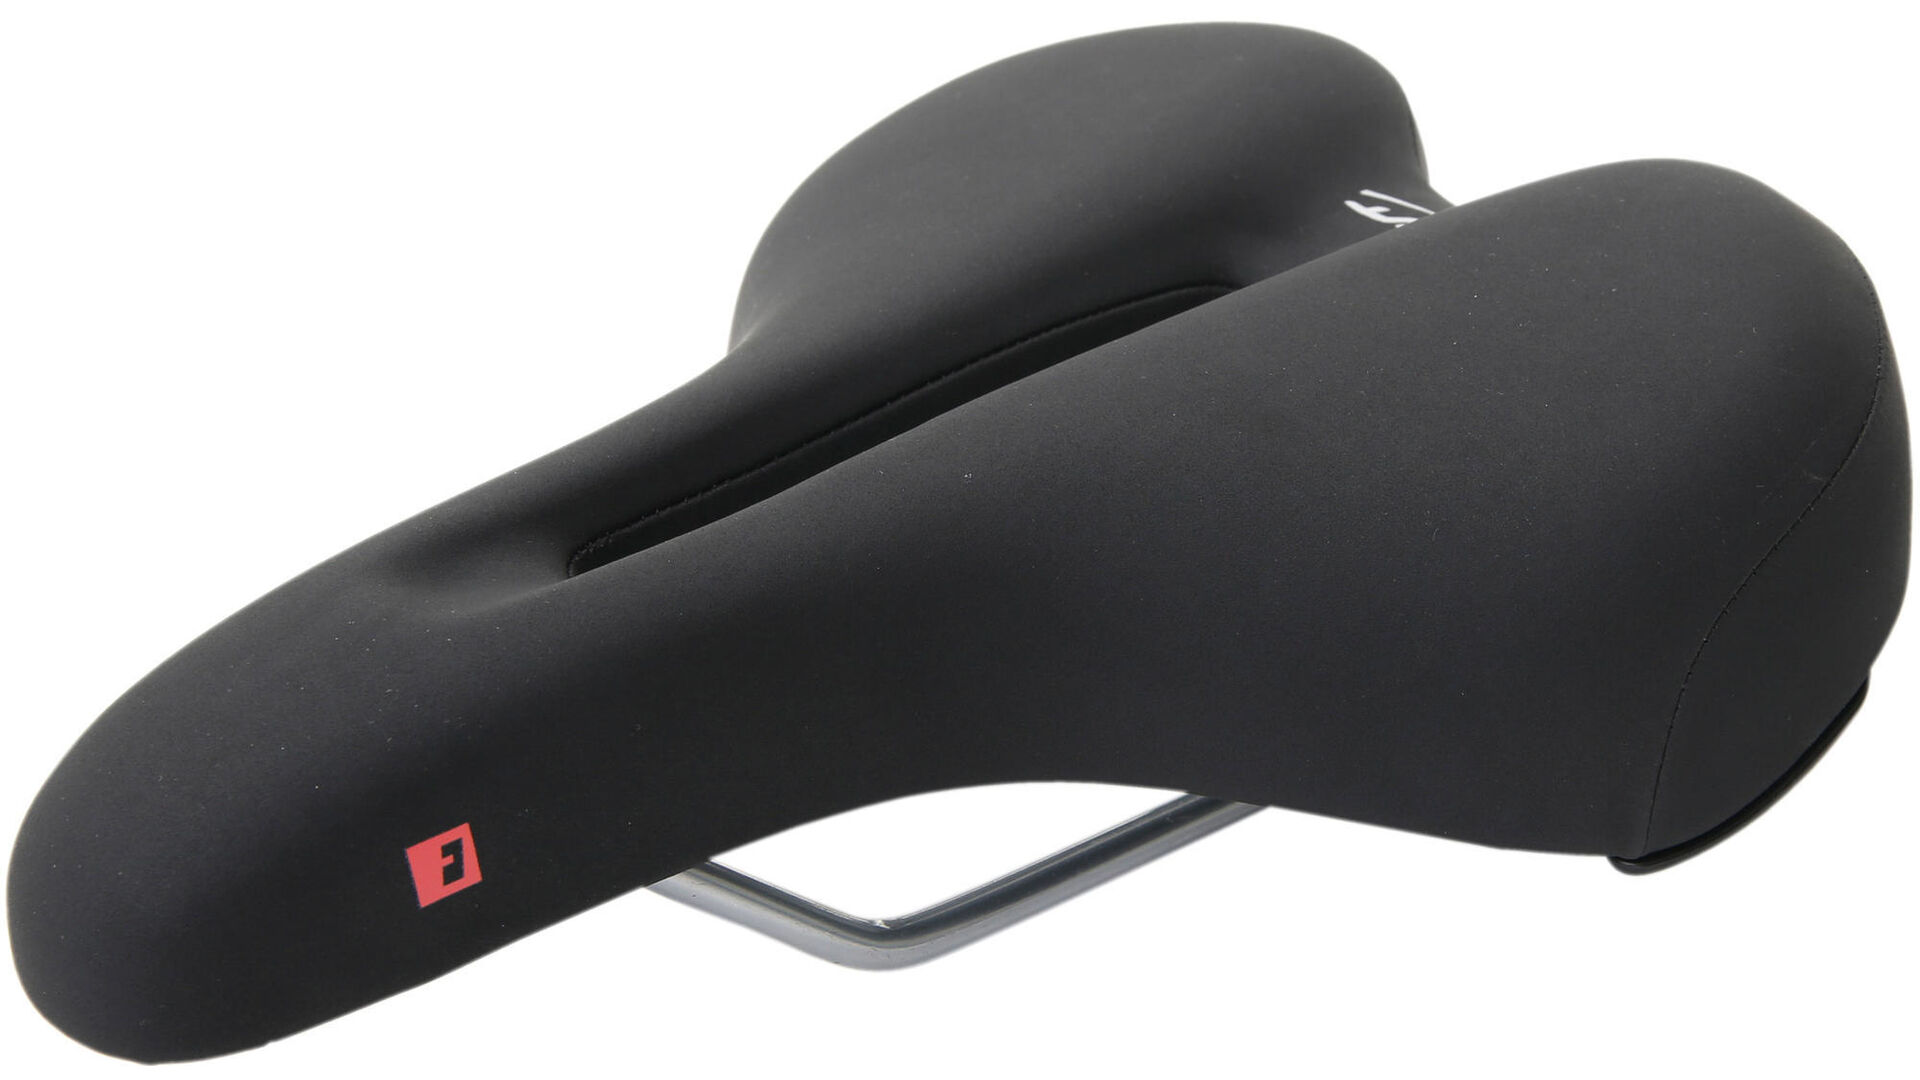
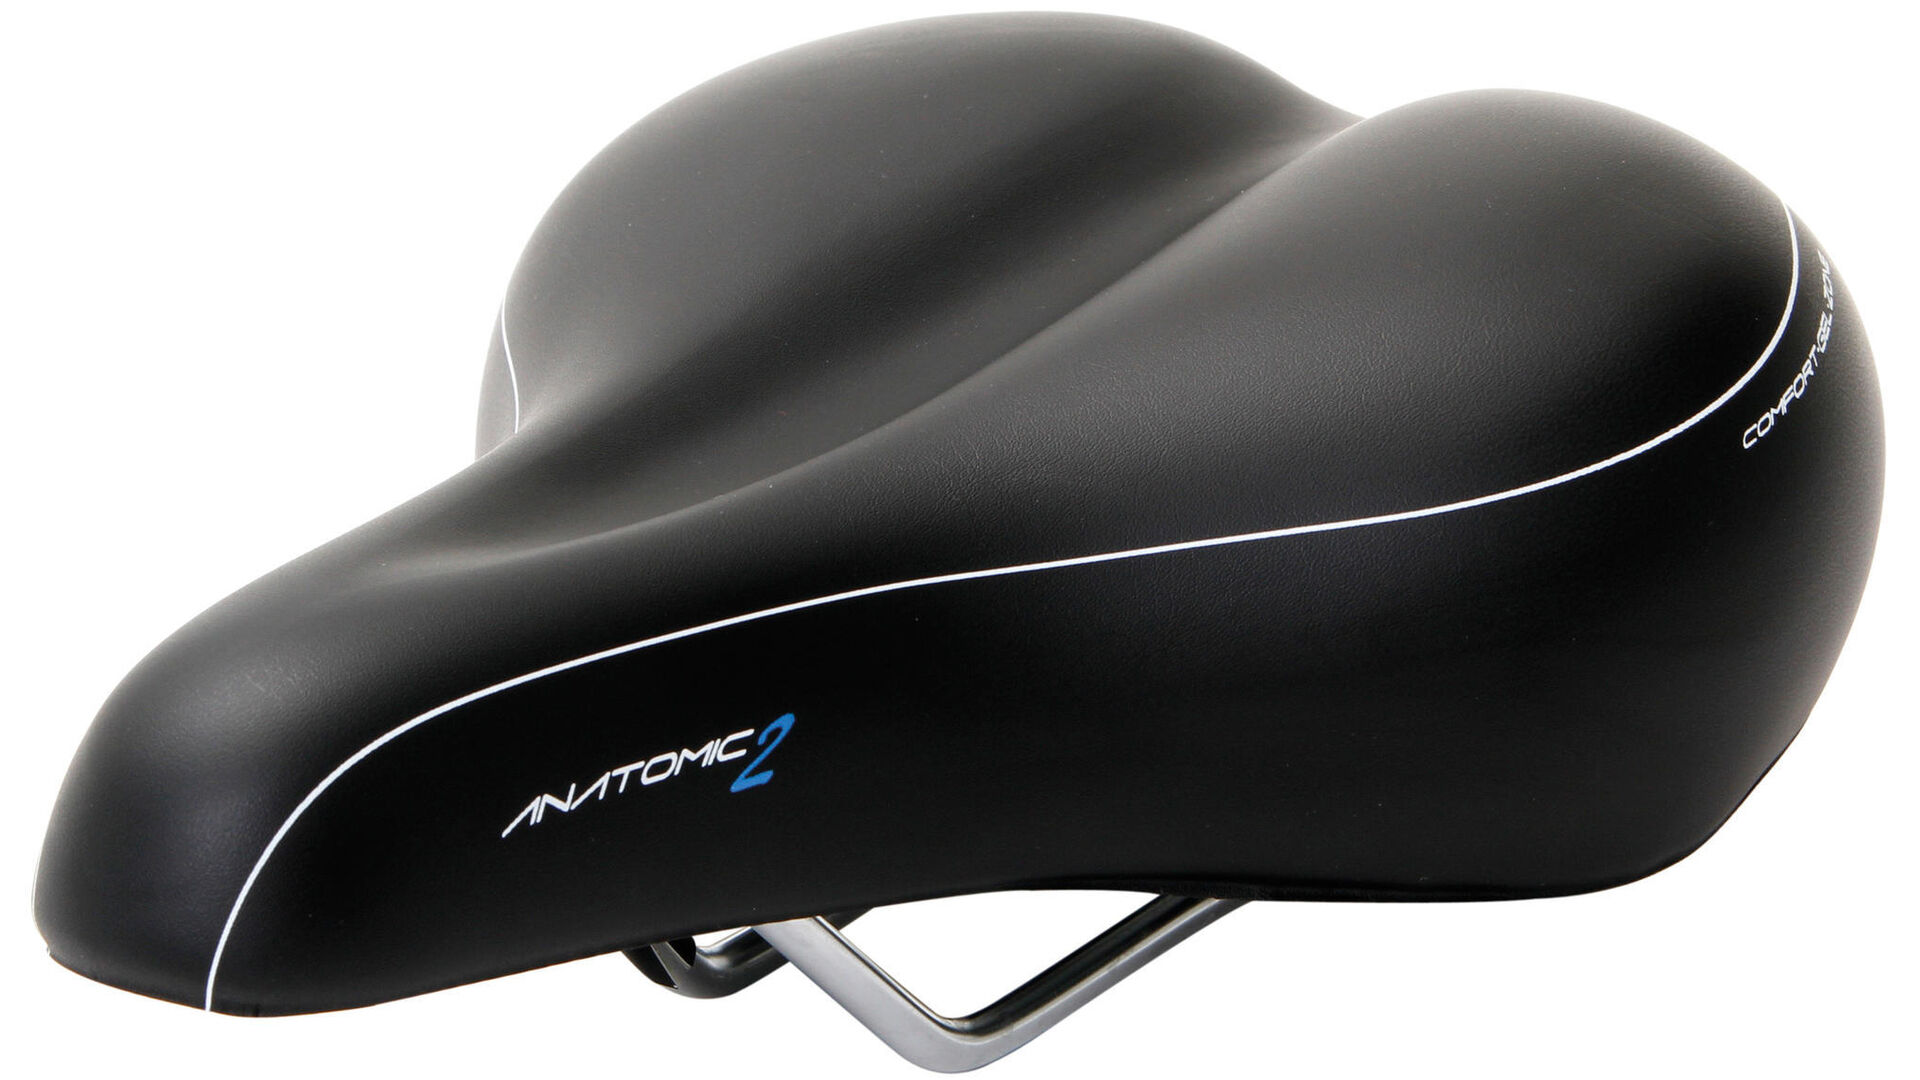
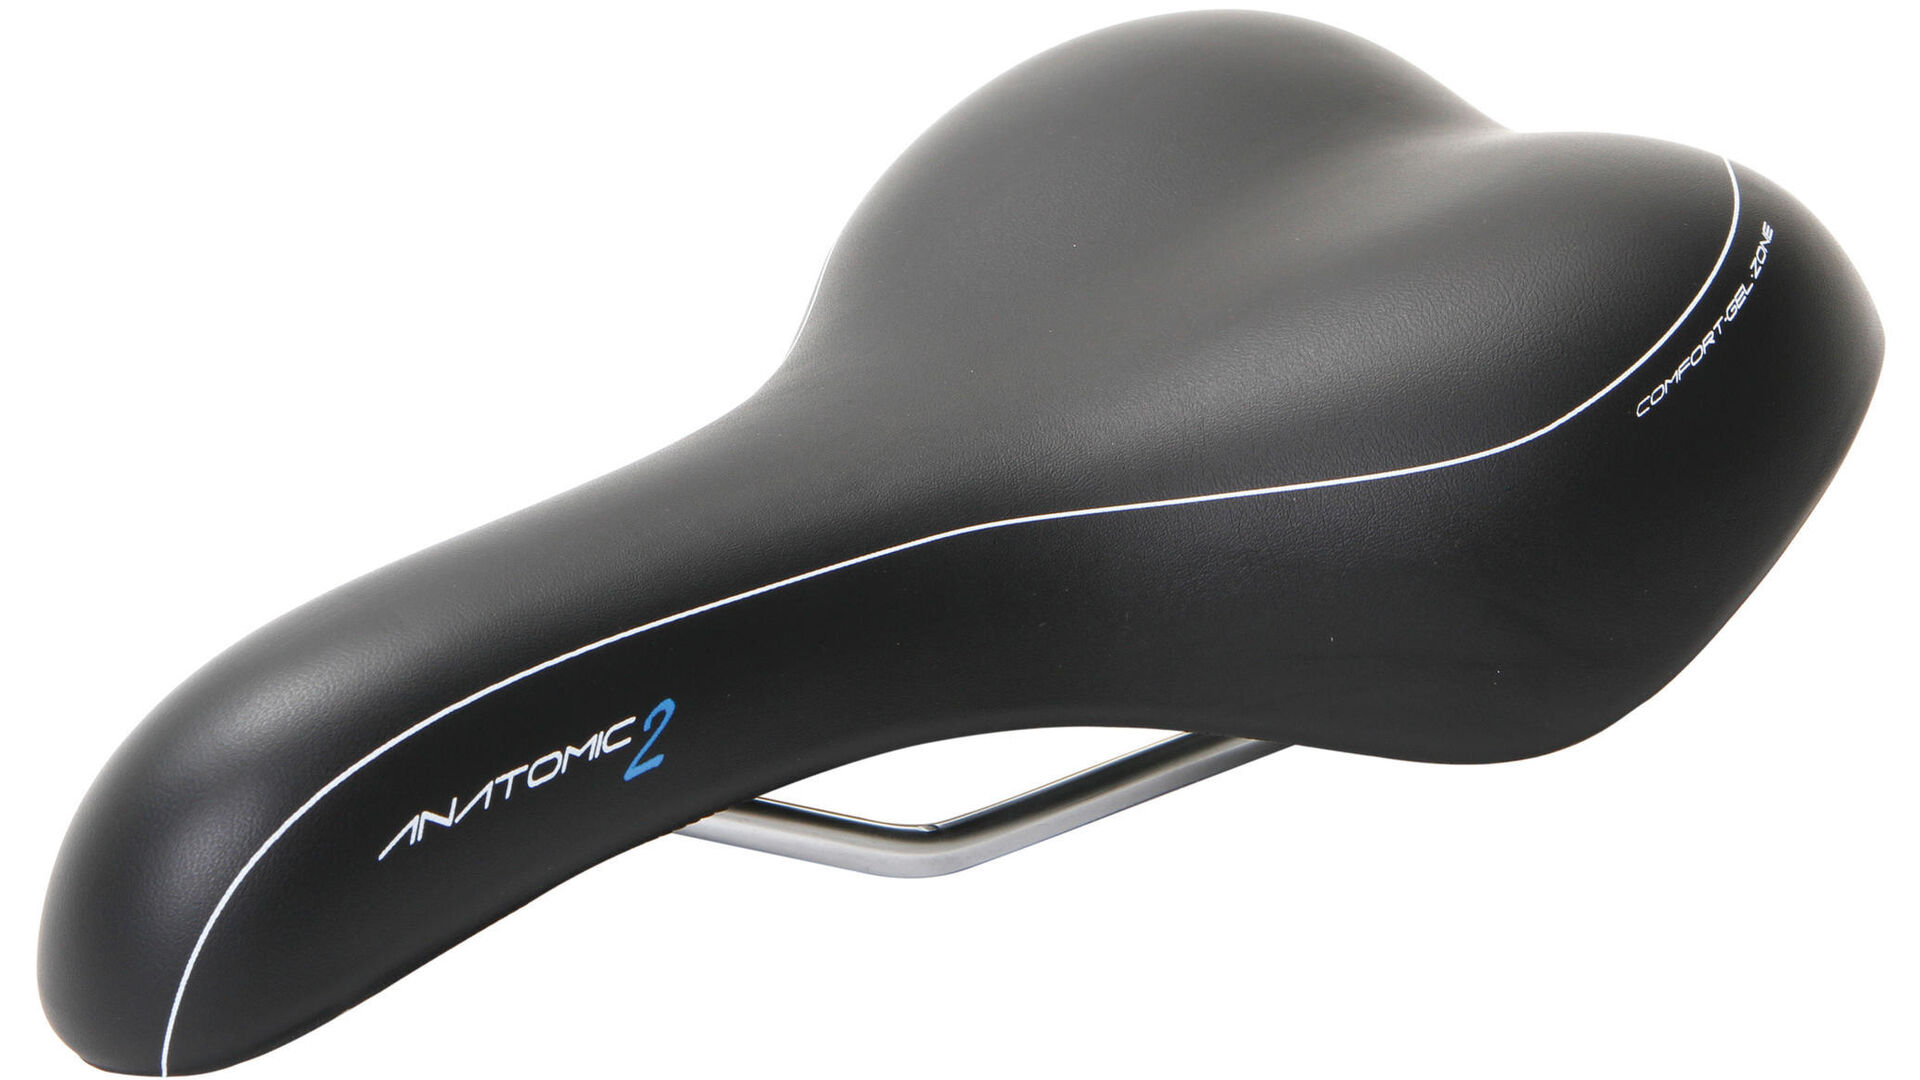
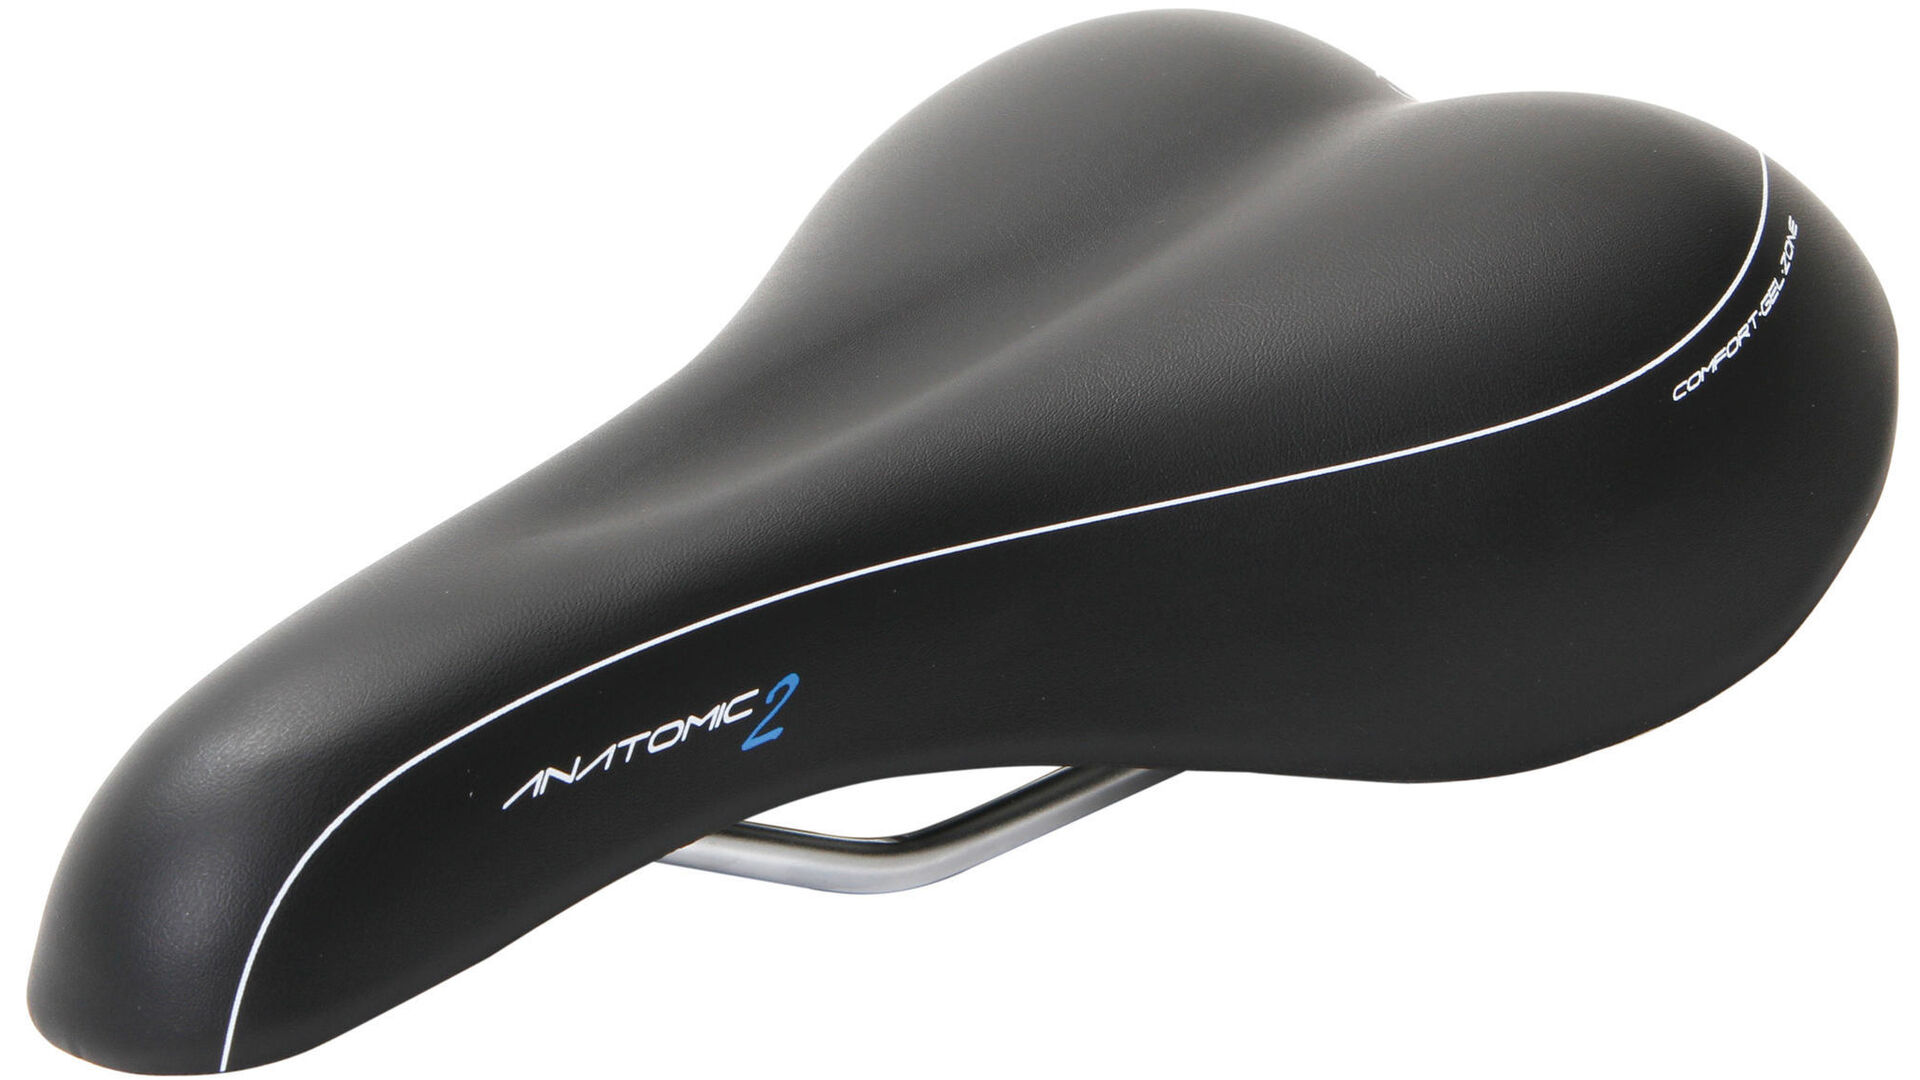
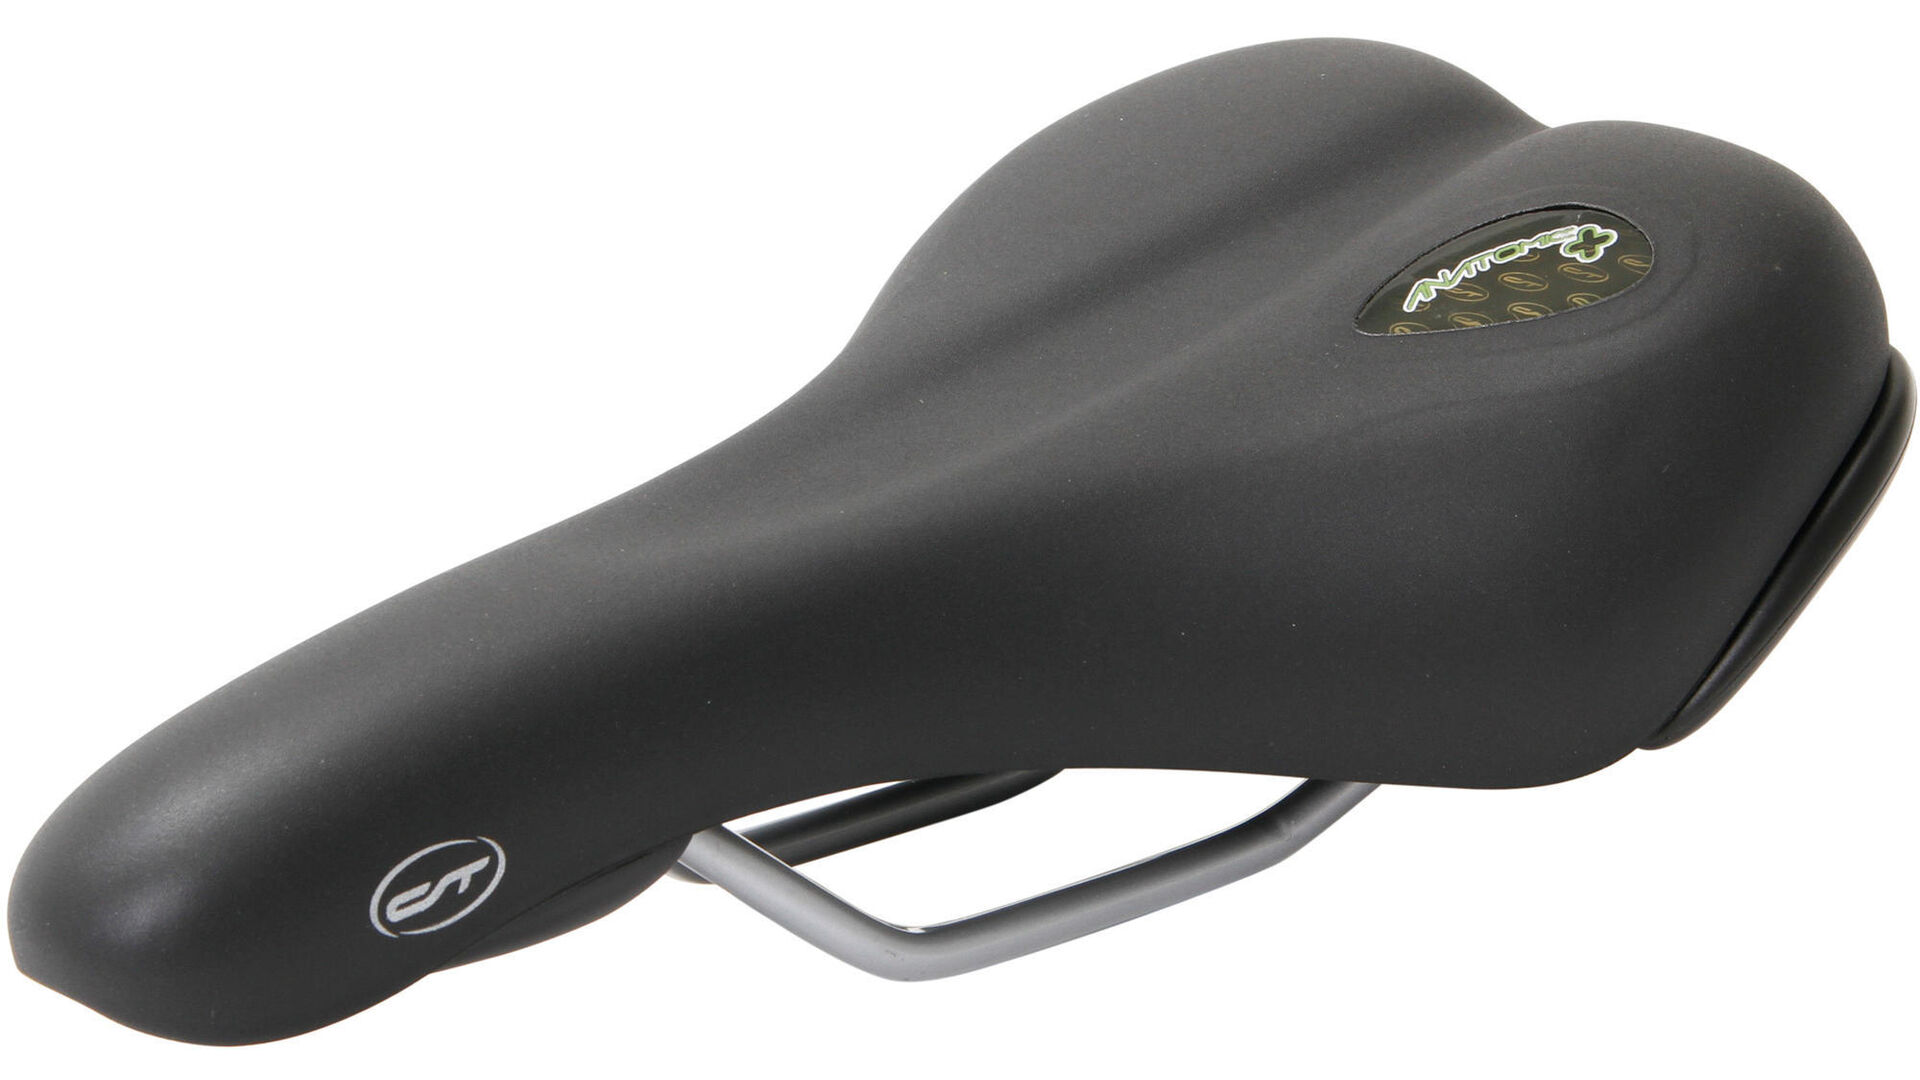
When does a new bicycle saddle make sense?
- After several years of intensive use, even a high-quality saddle can be worn through. In addition, its padding or gel inserts no longer provide the initial comfort. When this happens, it is worth investing in a new model.
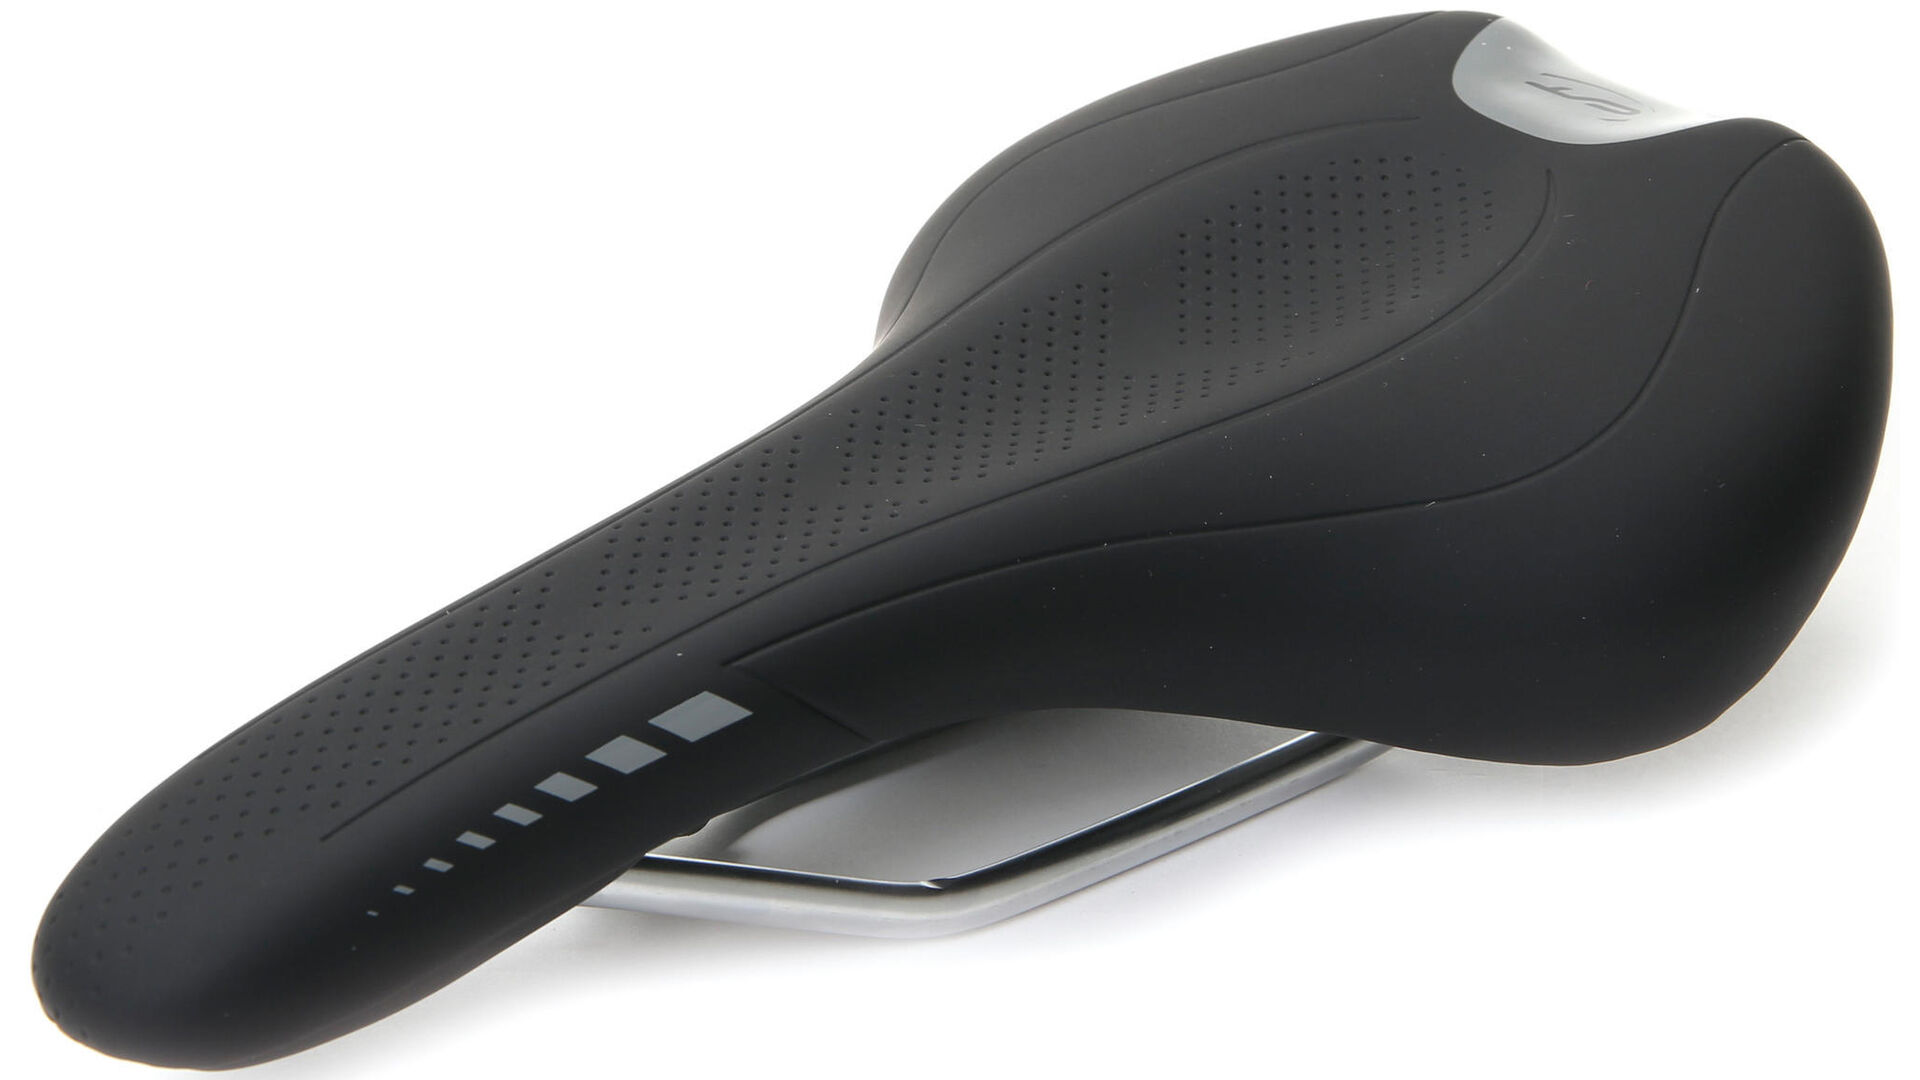
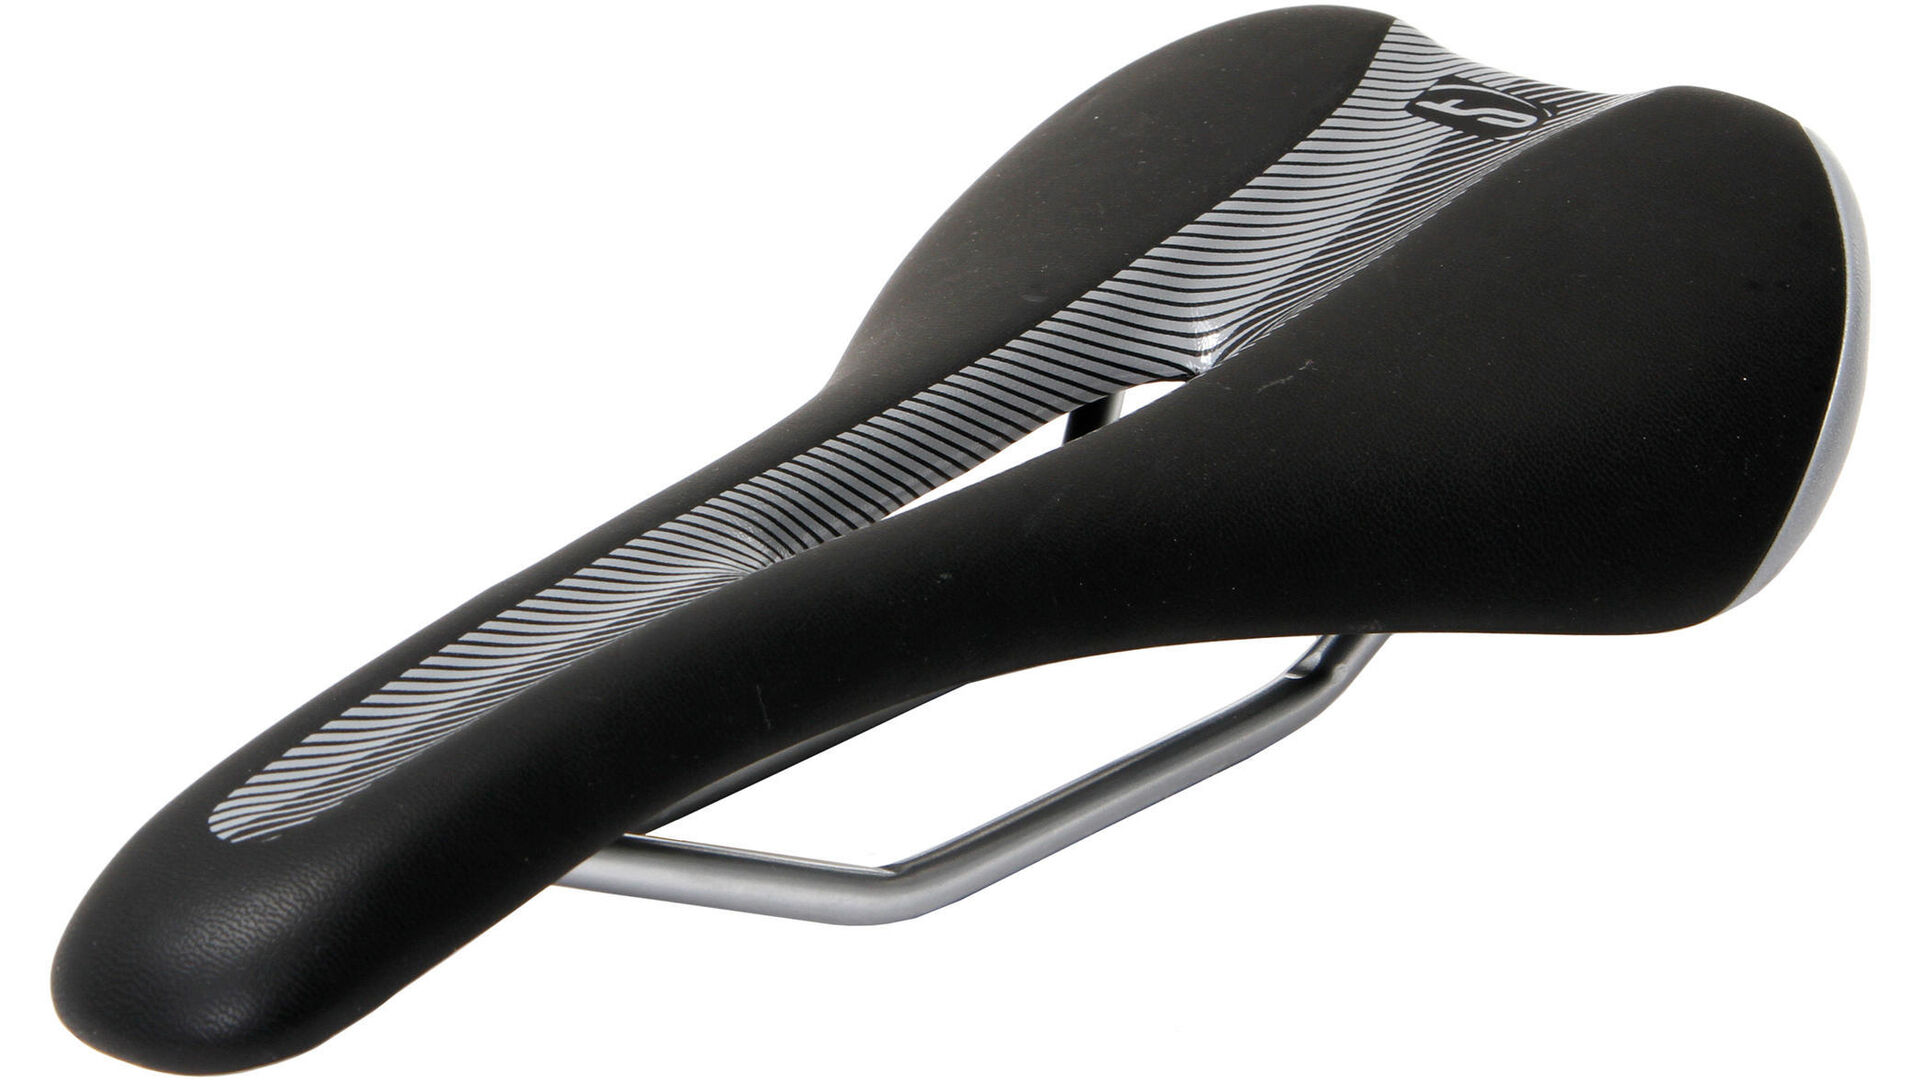
- Sitting issues are a common reason for a lack of riding pleasure on tours. Because the factory-installed saddle on your bike doesn’t fit your behind. A new saddle can be a true miracles! The ideal width for this is best determined by measuring the seat bone distance at a dealer.
- Cosmetic motivation: During long-term use on the bike or mountain bike, on rough slopes and in the terrain, severe weather conditions as well as crashes can get to a saddle. For example, saddle edges and covers get can damaged and look ratty, and a new saddle can revive a bike’s looks.
Different types of seatposts require different saddle installation:
When installing your saddle correctly, you should note that there are three versions of seatposts, each with a slightly different saddle assembly.
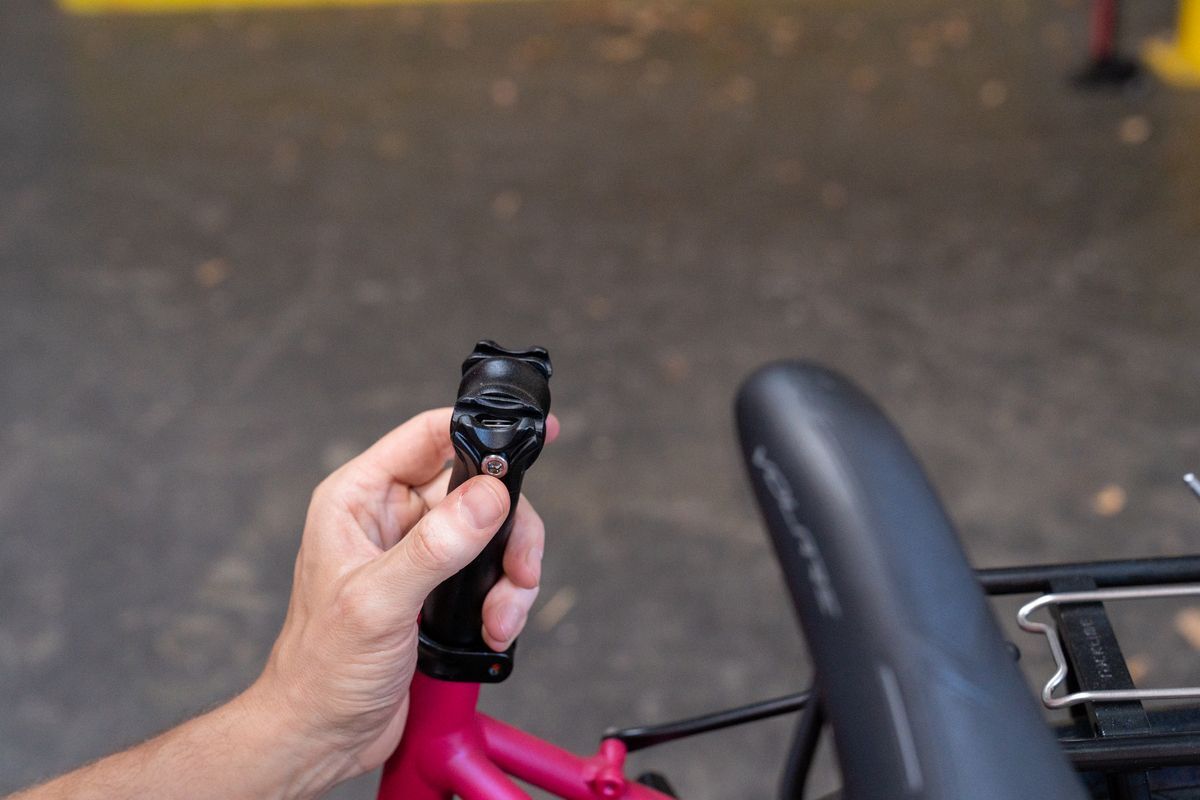
One-bolt seatposts
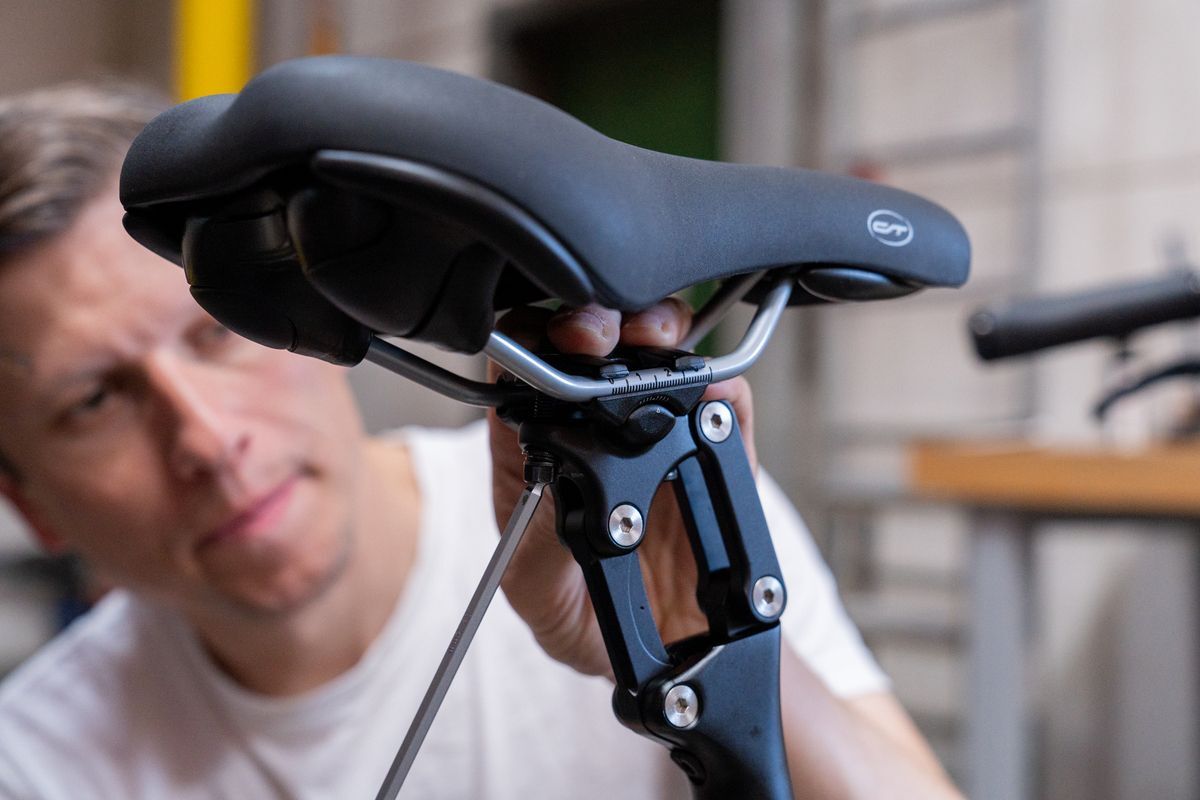
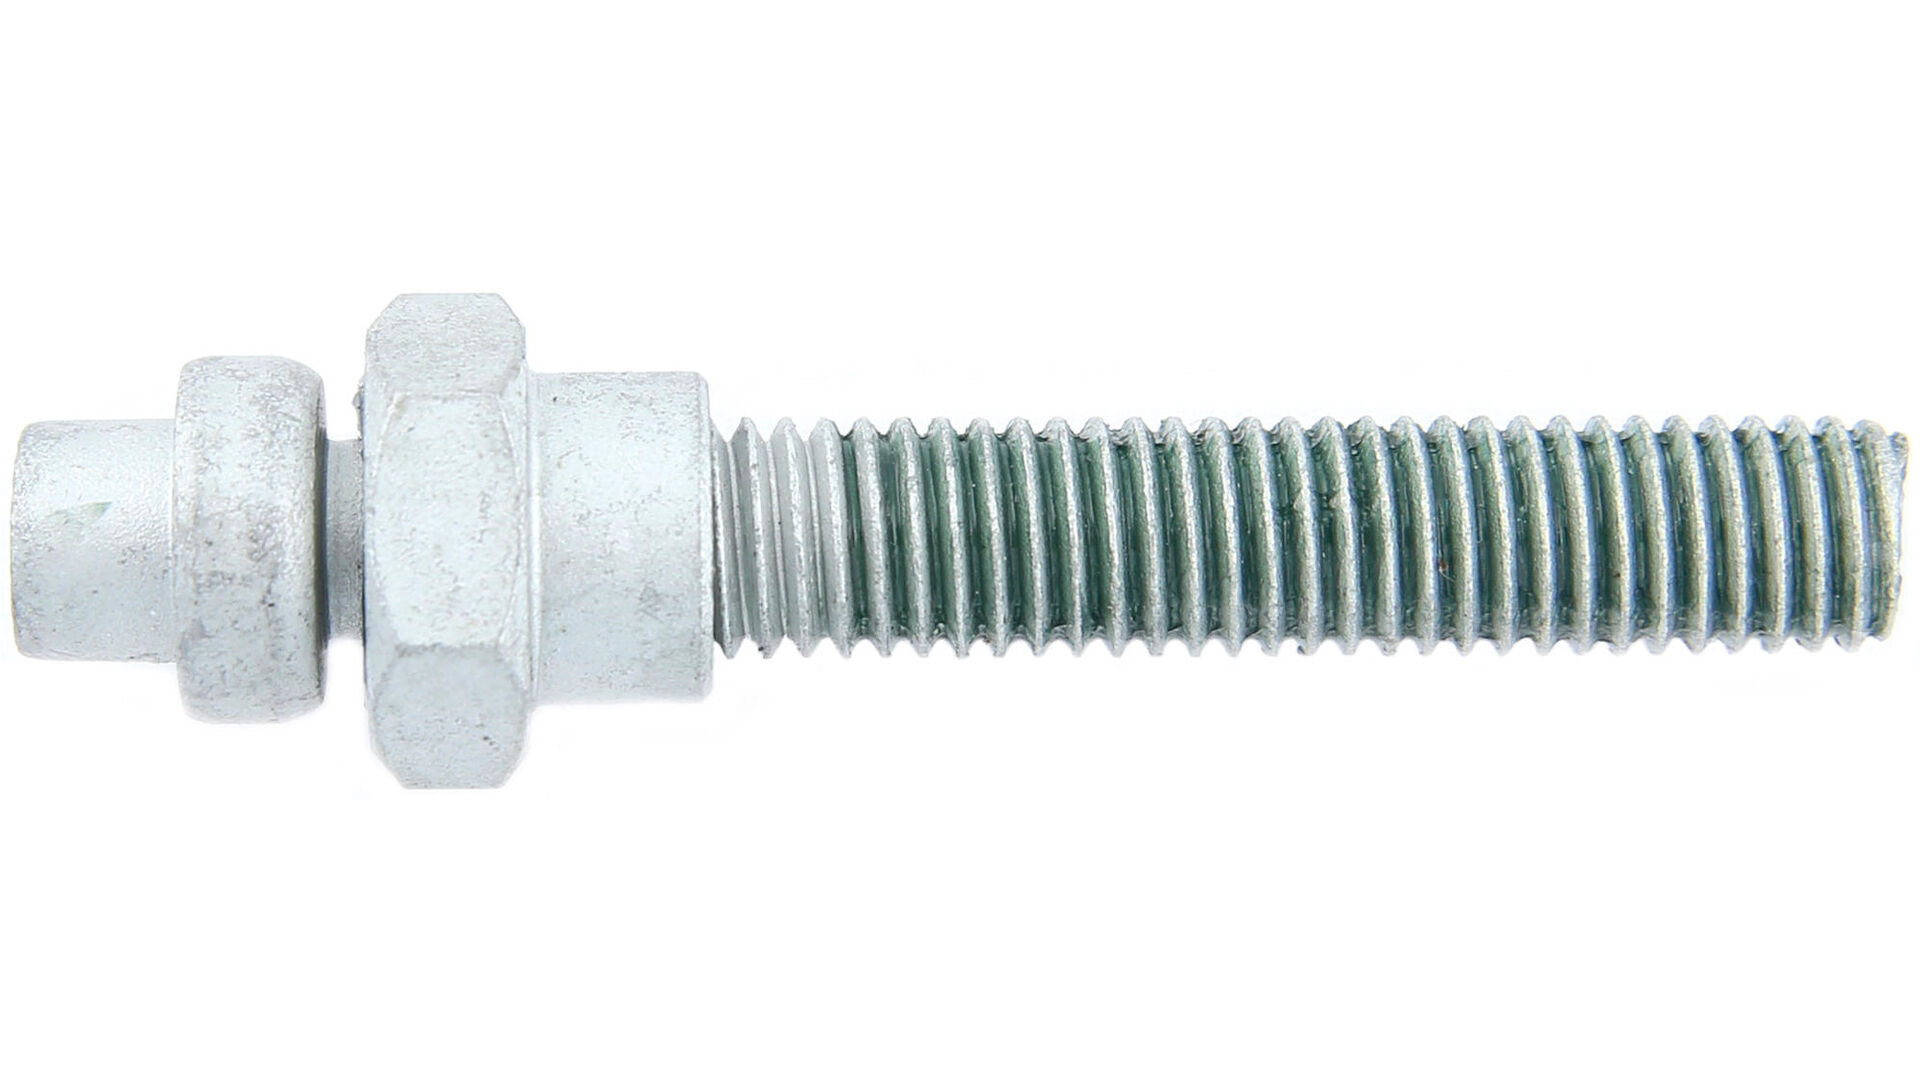
On slightly more expensive road and gravel bikes, as well as on mountain, trekking and city bikes, bike manufacturers usually install a micro-adjustable seatpost. These kinds of seatposts are particularly attractive in terms of price when they only come with one hex bolt that mount the saddle rails with the saddle clamp.
Two-bolt seatposts
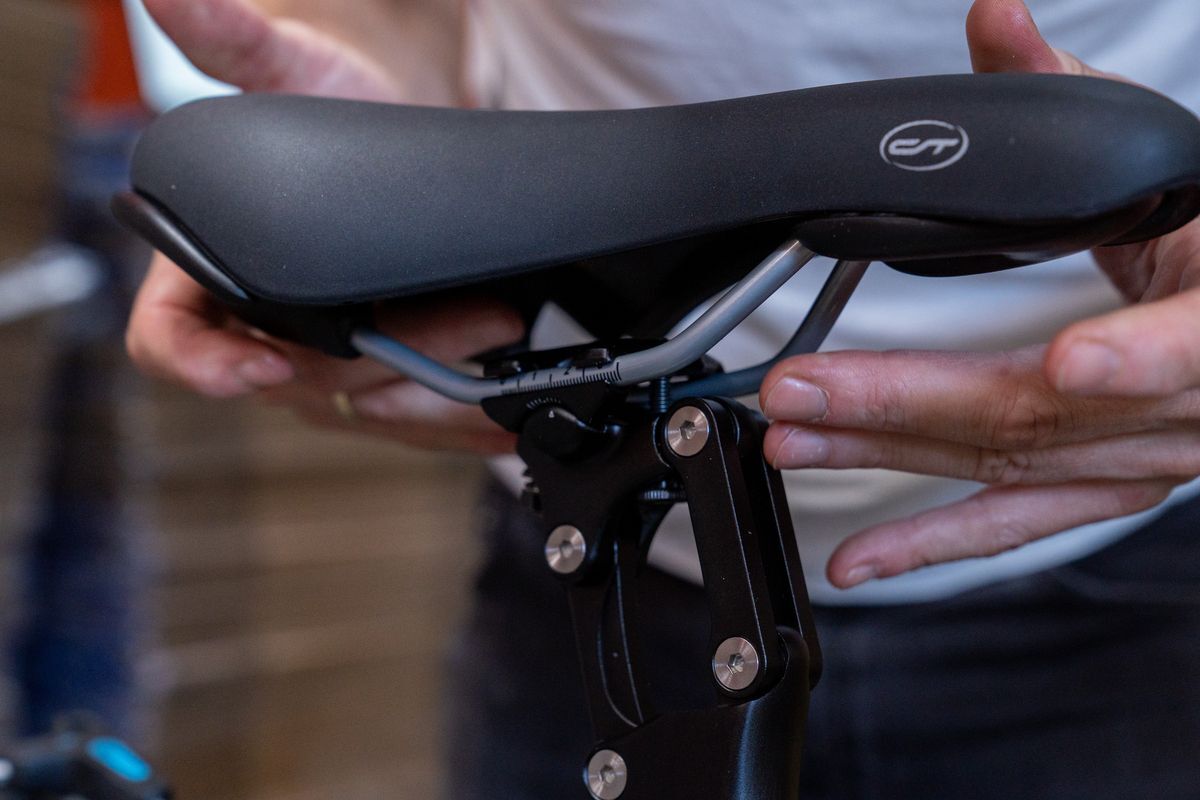
Higher-quality micro-adjustable seatposts have two hex bolts so that the rider can adjust the saddle more precisely.
Plain seatposts
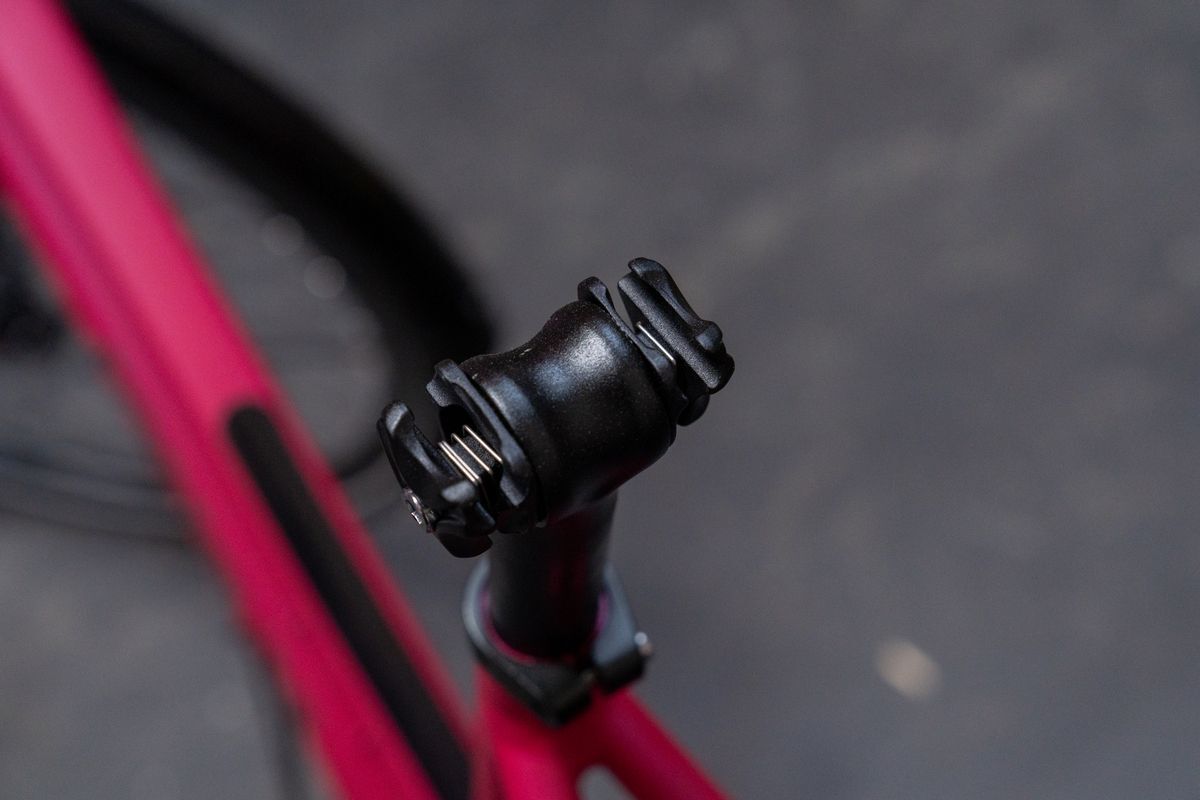
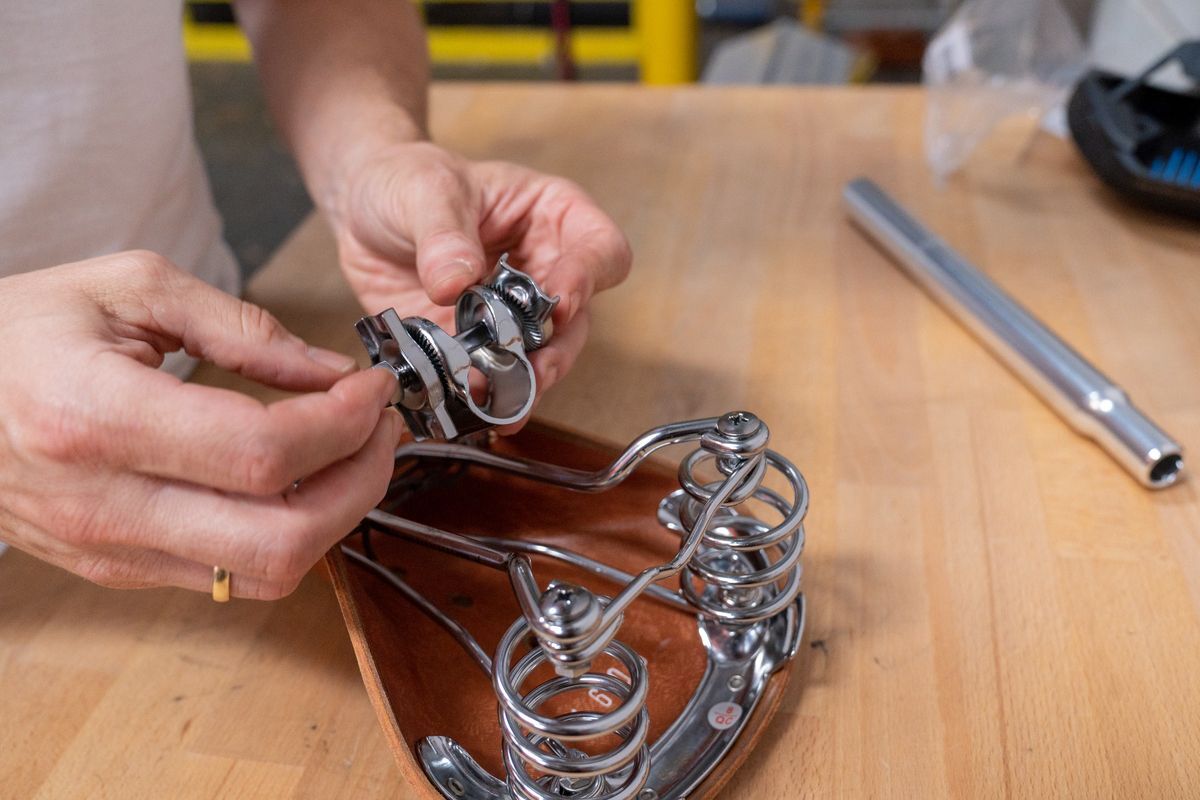
The third common type of seatpost is the classic combination of saddle clamp and plain post, which can be found on older bicycles. A cheap alternative for a retro look, but it is somewhat heavier.
Mounting a saddle on a one-bolt seatpost:
Step 1: Unscrew the clamp bolt
First of all, the saddle clamp bolt must be loosened as far as possible.
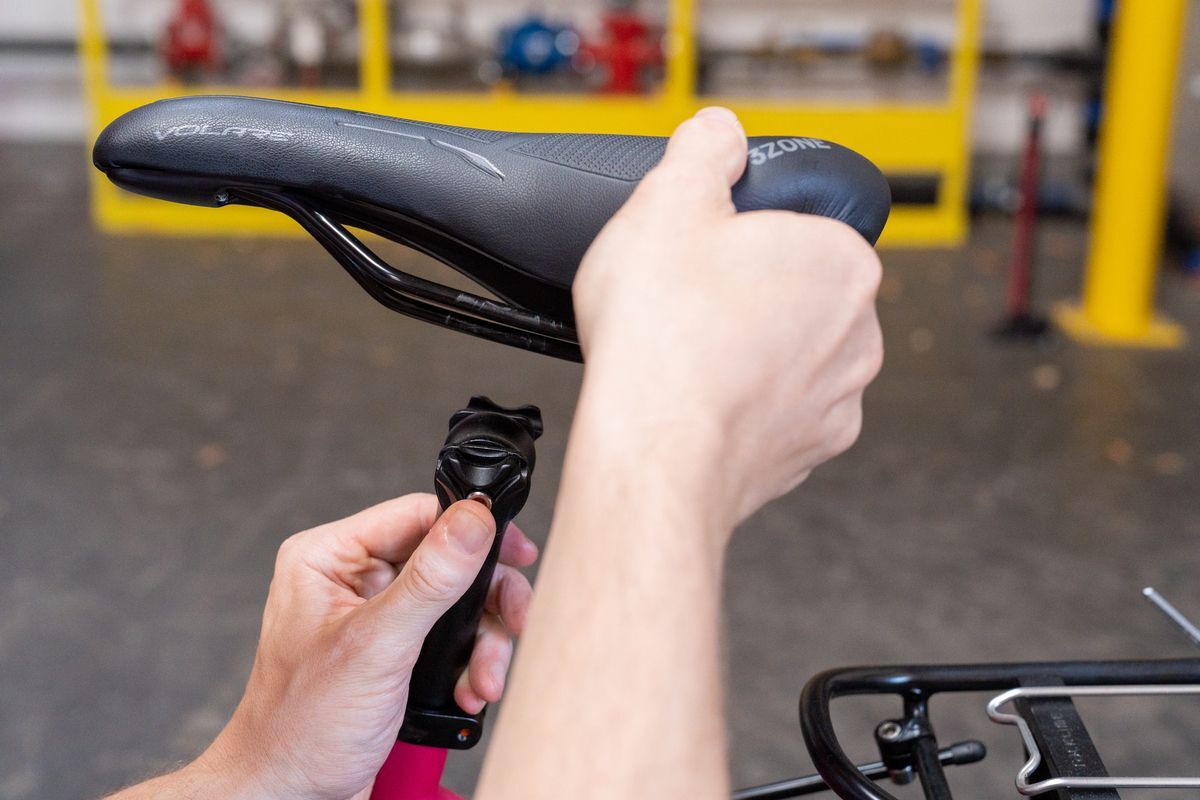
Step 2: Mounting the saddle via the saddle rails
Then thread the saddle rails into the clamp.
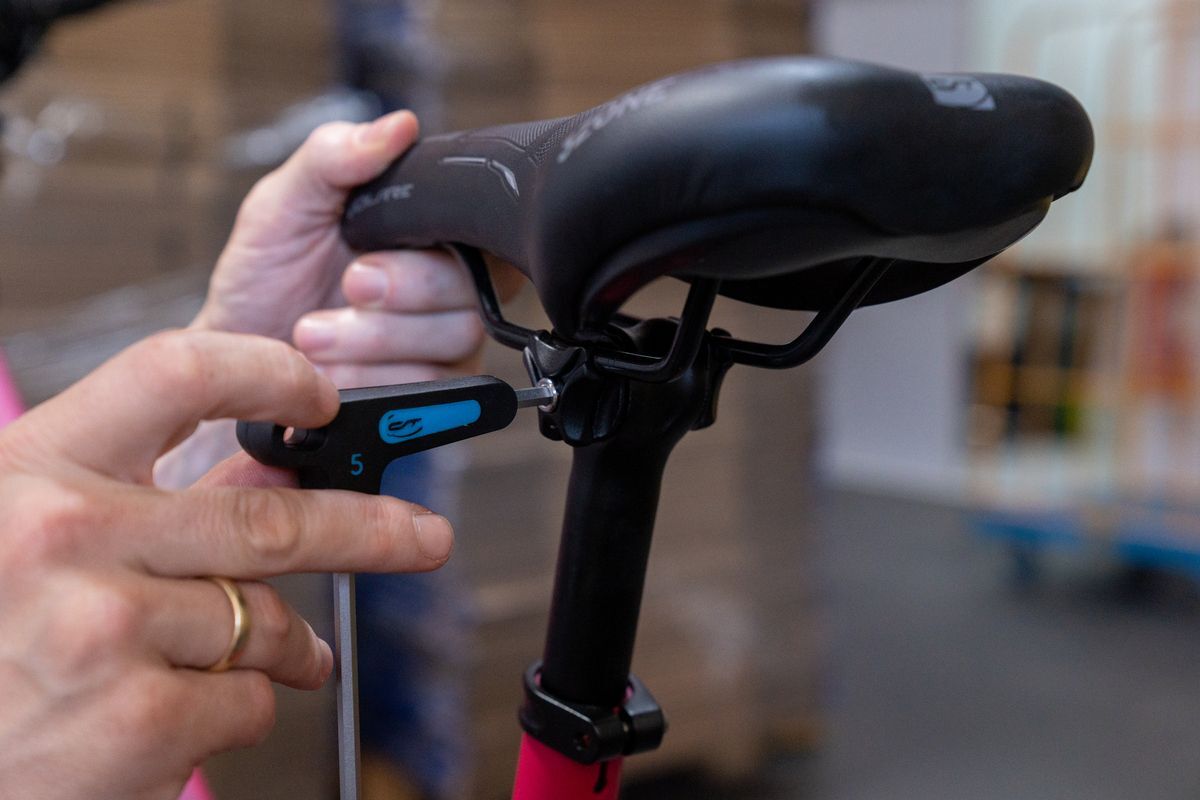
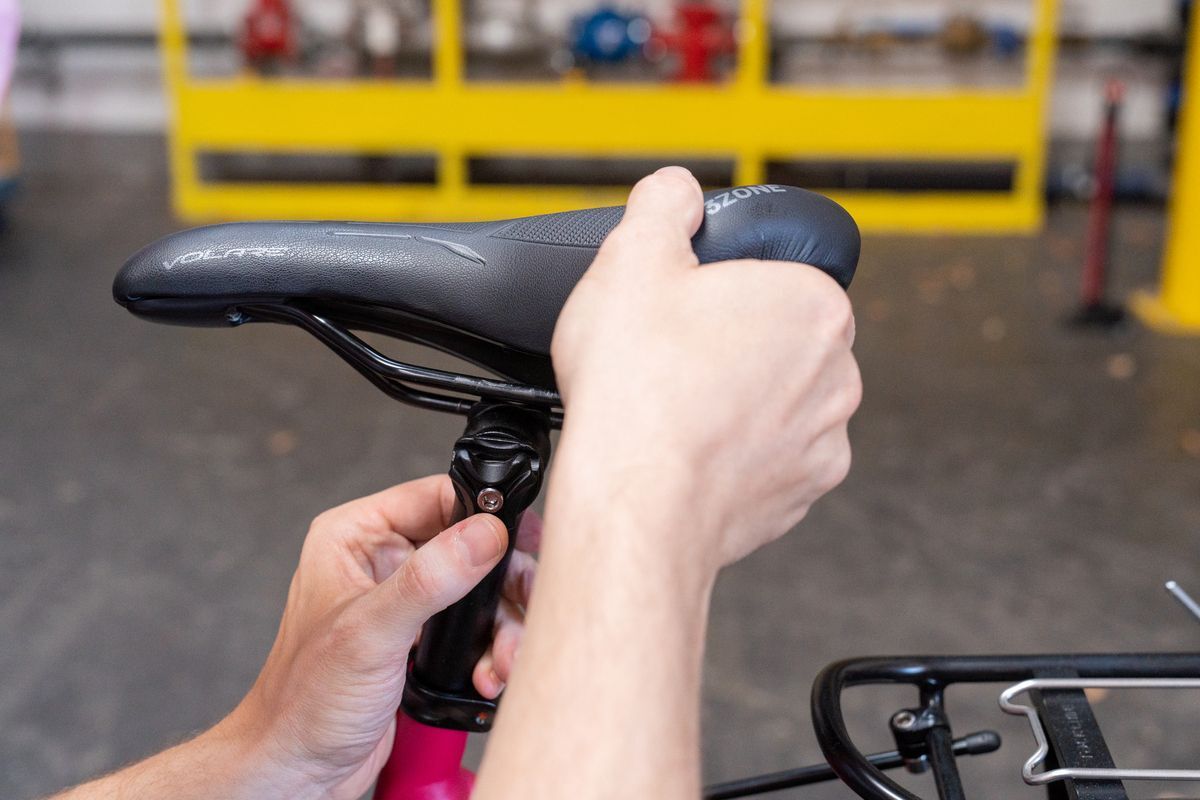
Step 3: Tightening the saddle
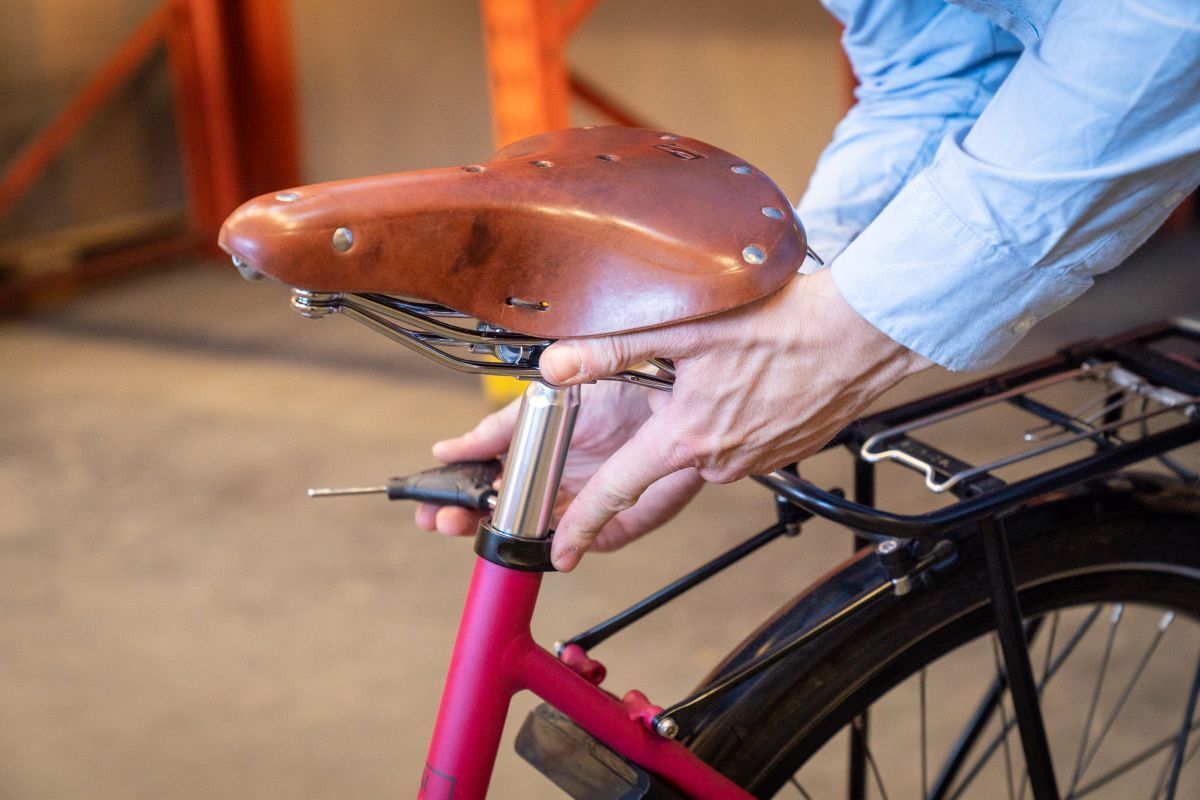
After, hand(!) tighten the bolt using a suitable Allen key. Finally, tighten the bolt – note the maximum tightening torque! – after you have precisely adjusted the saddle for the right ergonomics.
Werkzeug-Checkliste – das benötigst du:
- Innensechskantschlüssel (häufige Maße: 4, 5 oder 6 mm)
- Drehmomentschlüssel
- Maulschlüssel
Mounting a saddle on a two-bolt seatpost:
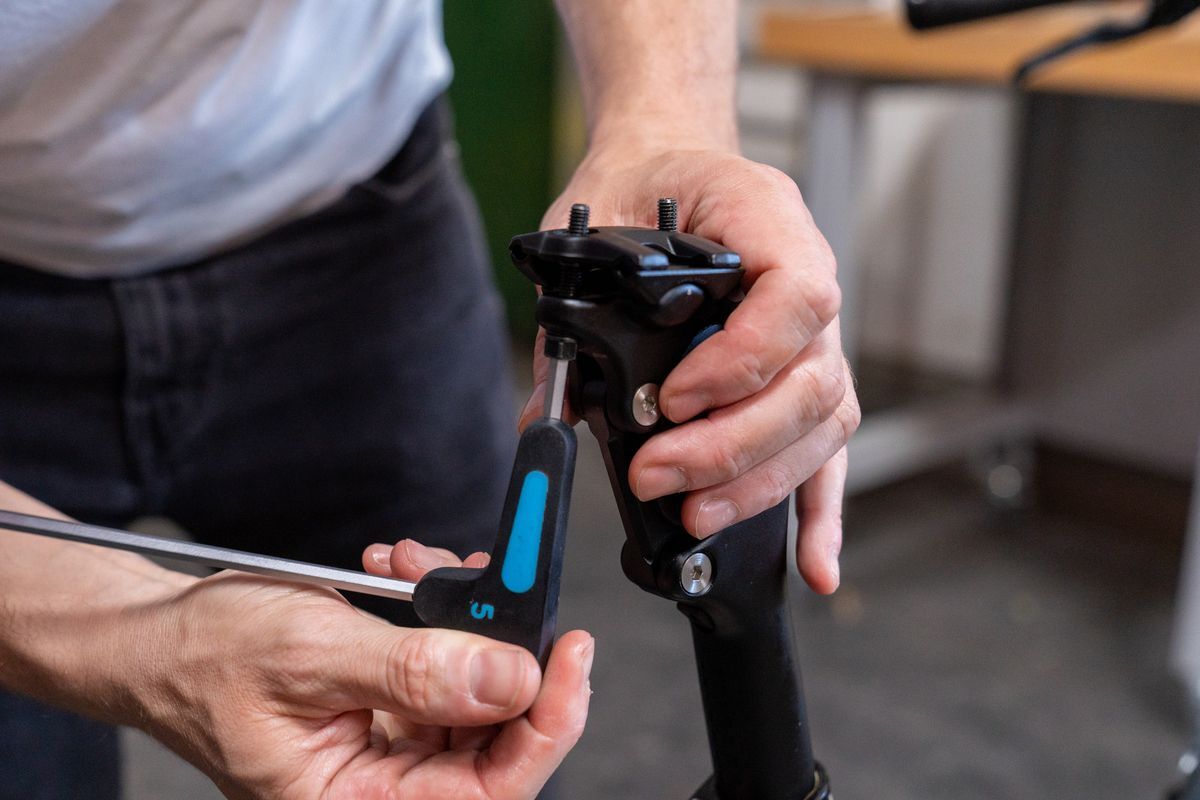
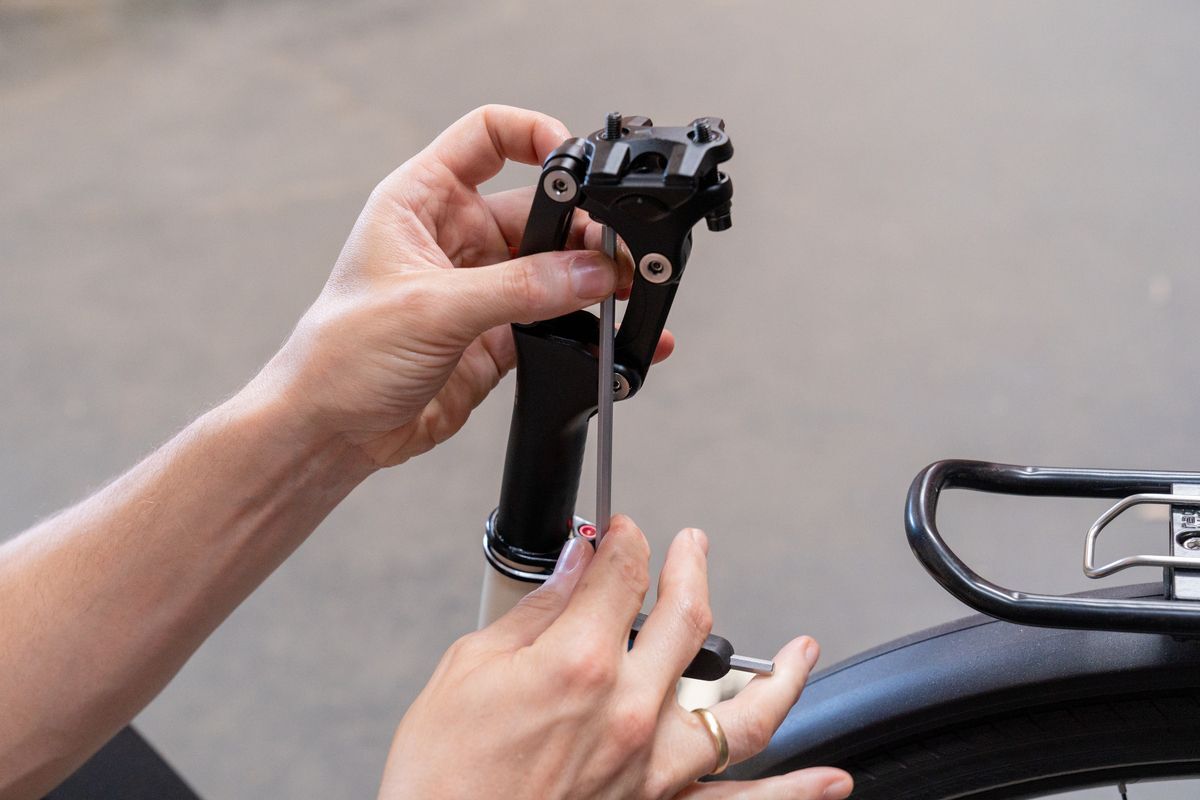
Step 1: Unscrew the bolts a good bit
In order to be able to mount your saddle on a two-bolt seatpost easily, the bolts need to be unscrewed as far as possible. This creates enough space between the clamp to hold the saddle rails.
Step 2: Insert the saddle rails into the clamp
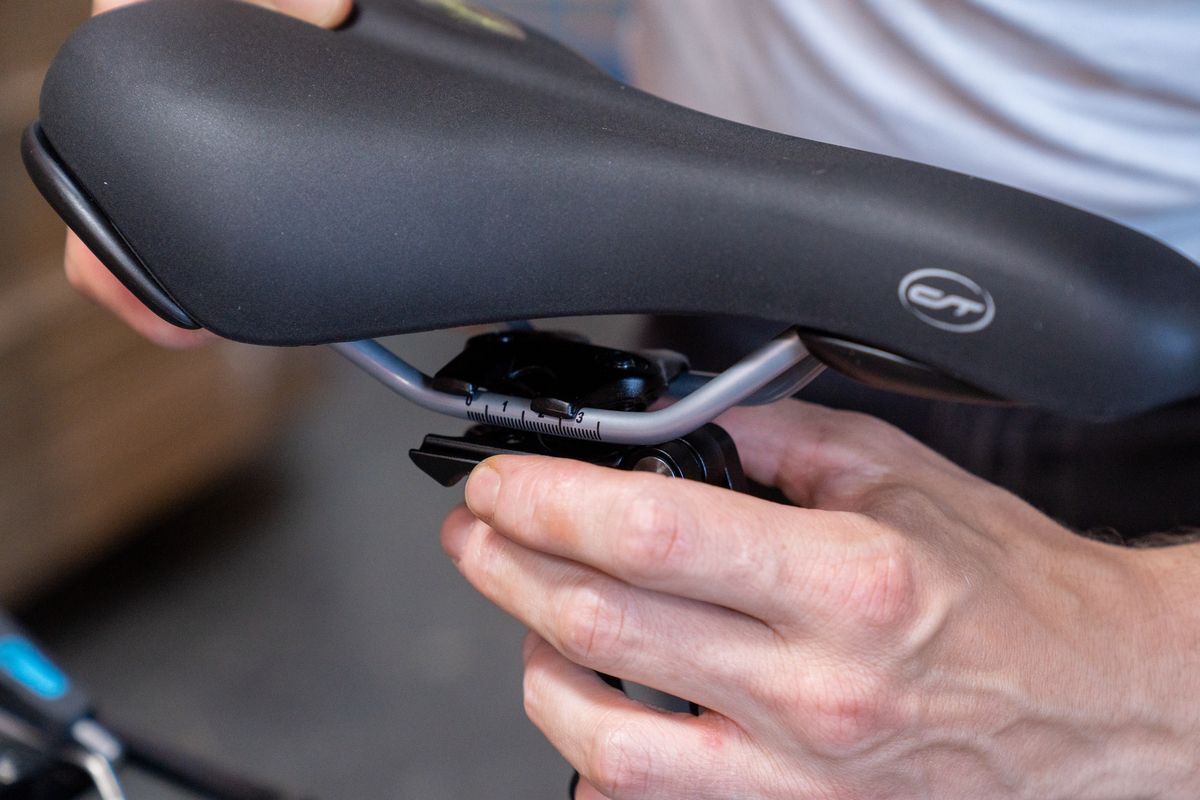
Being careful, insert one side of the rails into the aluminium clamp and then the other side. Note the small arrow on the top of the clamp that indicates the part of the clamp that should be facing forward toward the handlebar.
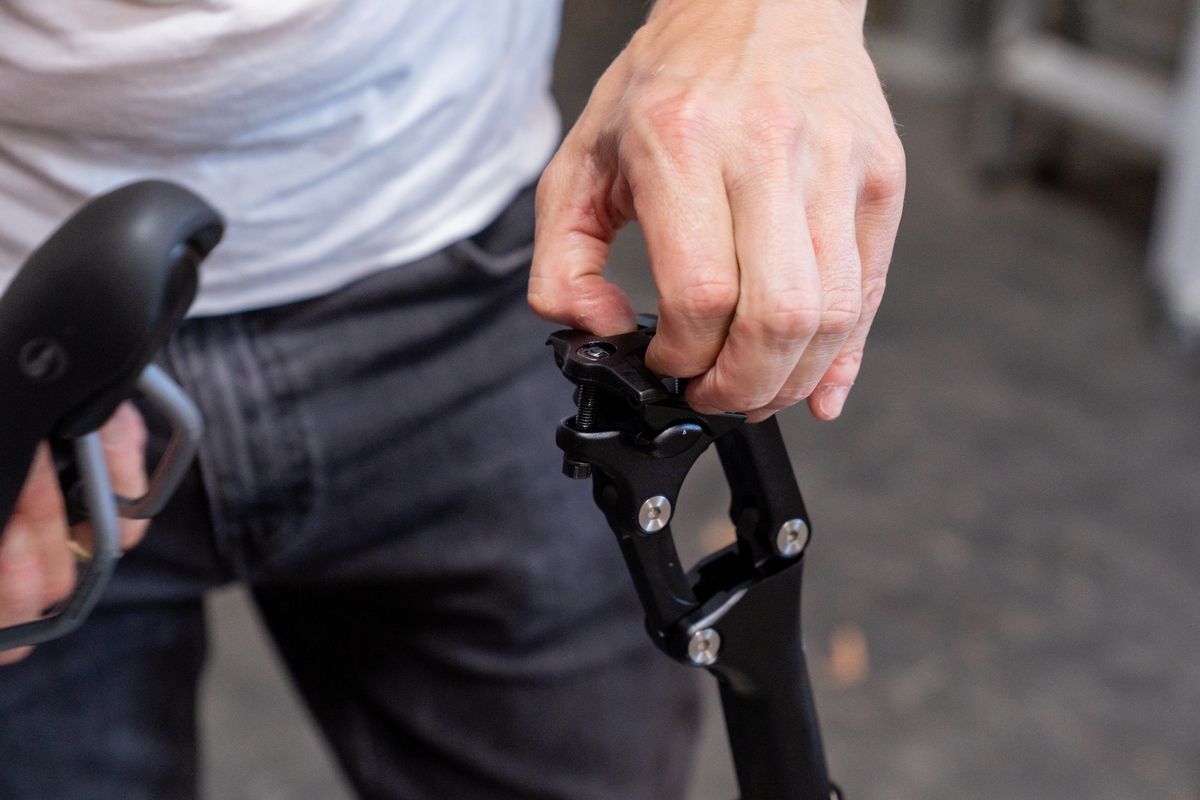
Step 3: Hand-tightening the two bolt
This is how a post with two bolts works: The saddle nose is lowered by slightly loosing the rear bolt and adjusting for the individual ergonomics. The saddle is then tightened via the front hex bolt. For now, it's enough if your saddle is mostly horizontal and the bolts are hand tightened.
Finally and with the correct tightening torque – often this is next to the bolts in Nm – tighten the bolts after ergonomic fine adjustment. You can find out what you need to know here.
Mounting a saddle on a plain seatpost:
Step 1: Loosen the nut on the saddle clamp & insert the saddle rails
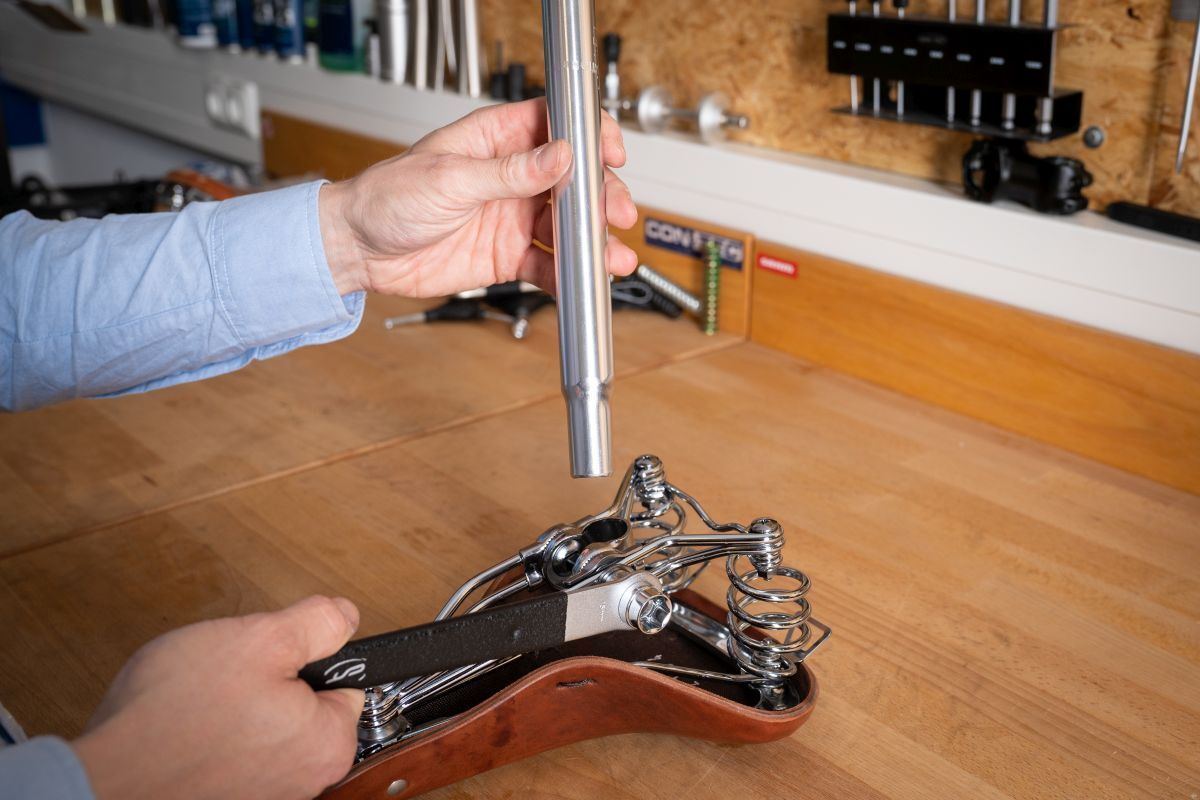
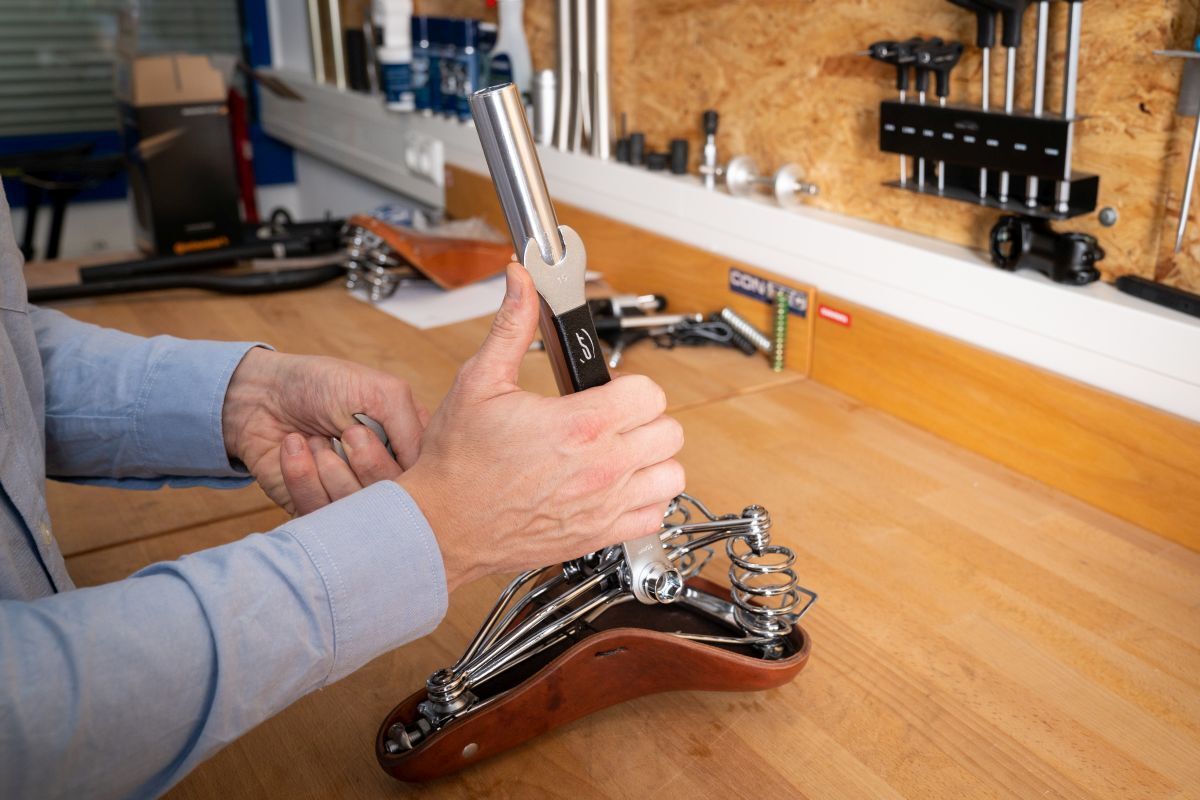
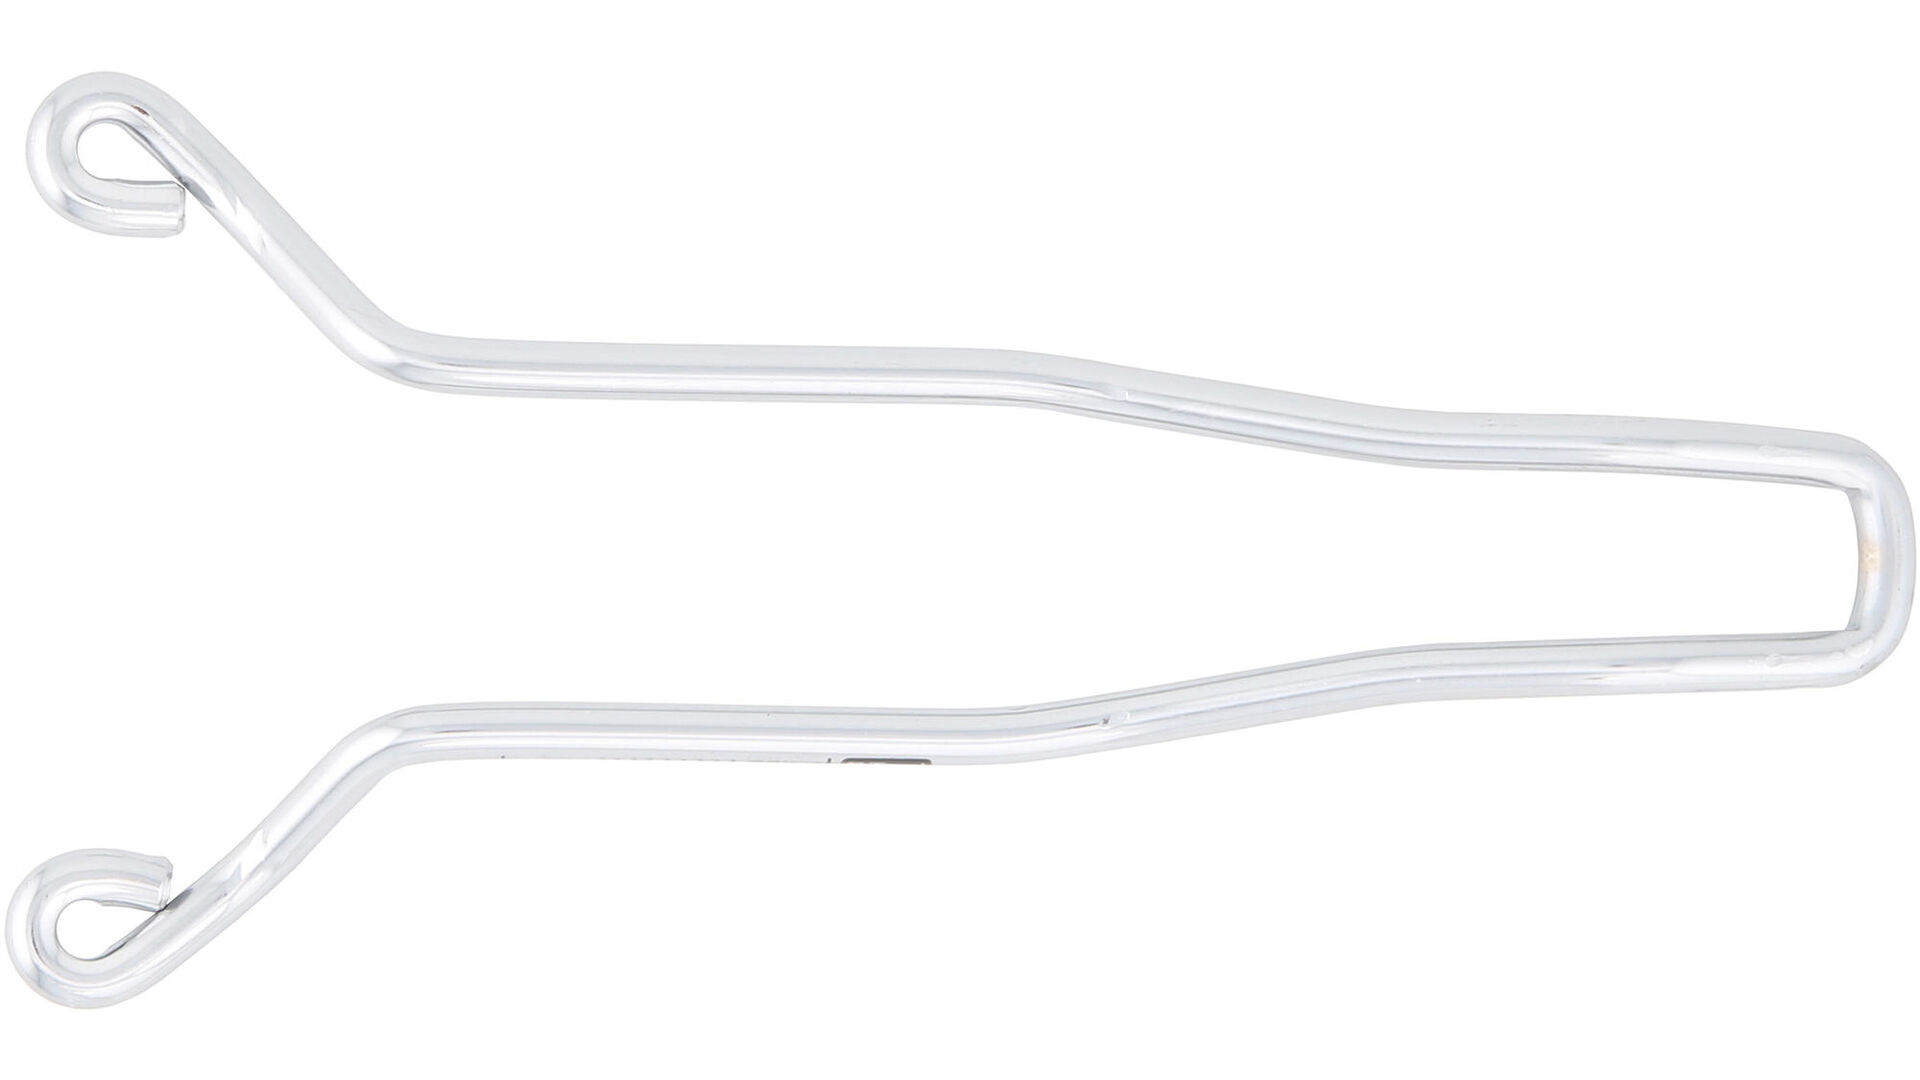
First of all, it is necessary to loosen the horizontal nut of the saddle clamp as far as possible using an open-ended spanner, so that it is very easy to thread the saddle rails of your new saddle into the clamp of the plain seatpost. Now you can position the clamp in the centre of the saddle rails and tighten the horizontal nut of the clamp slightly. The saddle clamp allows you to adjust the saddle angle and position after mounting the saddle completely.
Step 2: Mounting the saddle clamp
Now you slide the upper, slimmer end of the saddle clamp onto the plain post and tighten the horizontal nut of the clamp properly (observe the tightening torque if necessary!). By doing this, the saddle clamp securely holds both the saddle rails and – using the sides – itself to the post.
Step 3: Mounting a seatpost with a saddle attached to the frame
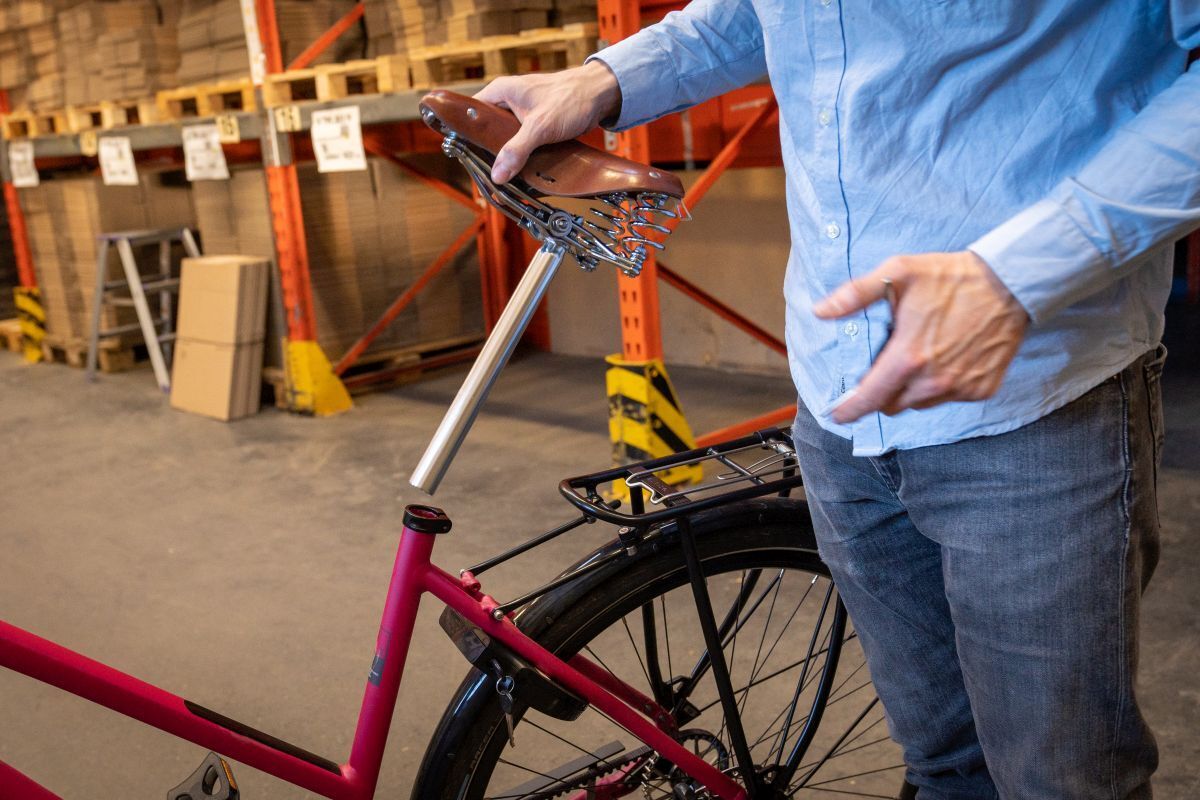
Finally, with the saddle attached, you can slide your post into the frame by slightly turning it and tightening the hex bolt of the seatpost clamp (alternatively, a bolt or a quick release on the frame).

Adjust the saddle correctly
You can find out how to adjust your saddle and sitting position in a different how-to.
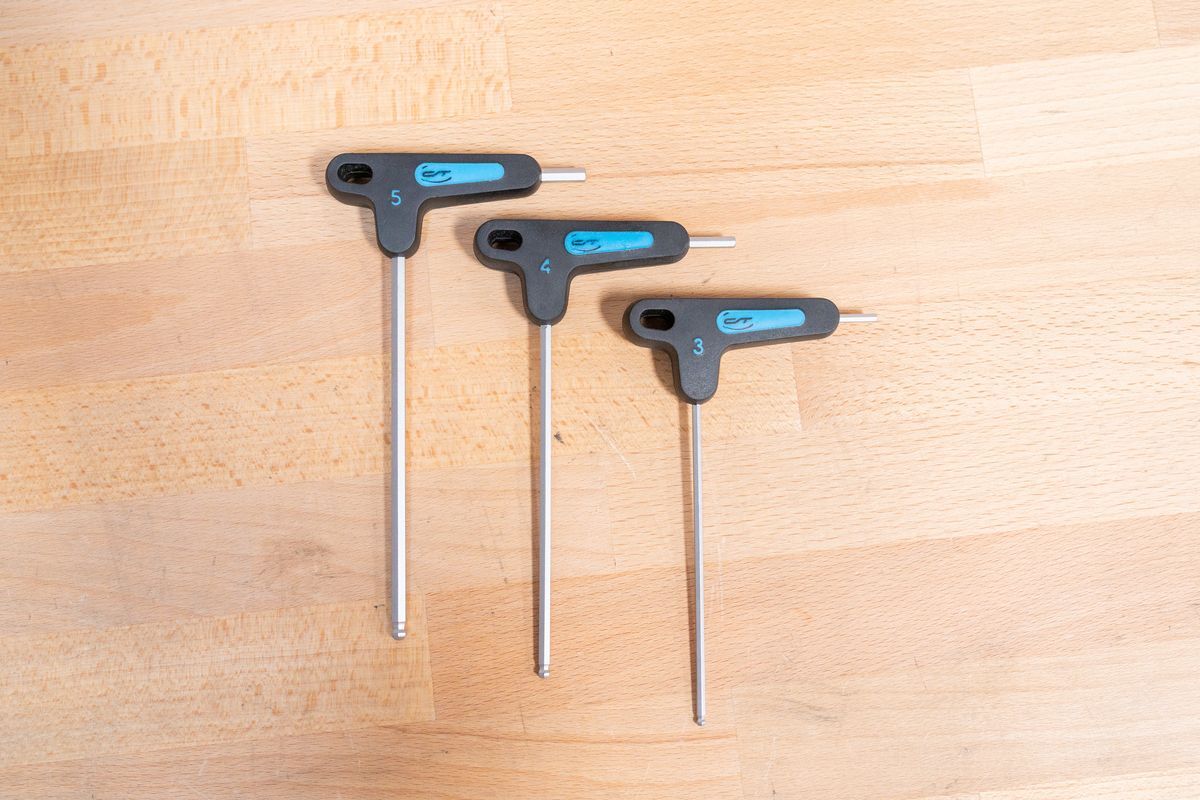
Tools checklist – you need:
- Allen key (common sizes: 4, 5 or 6 mm)
- Torque wrench
- Open-ended spanner
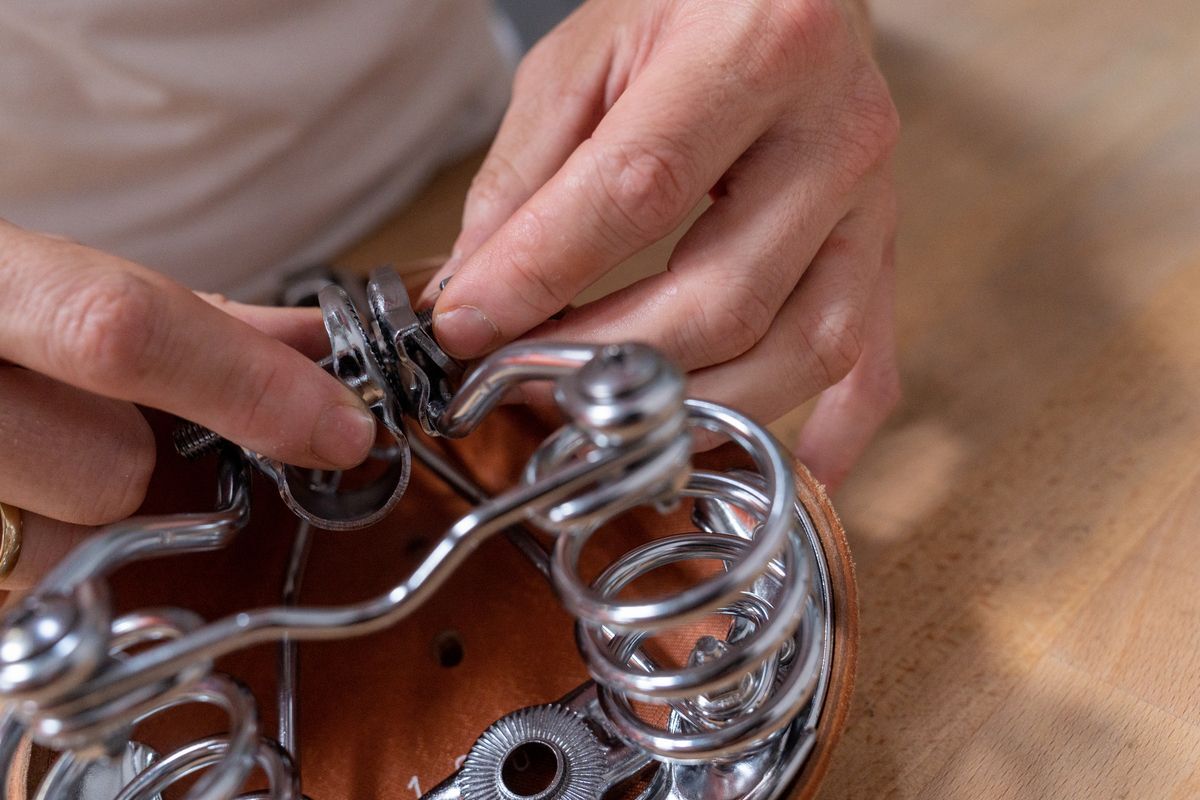
Mounting a bike saddle correctly - straddle the saddle
