
And with that the patching can begin! This simple step-by-step guide makes it easy:
1. Removing the front tyre
2. Removing the rear wheel
3. Removing the tyre
4. Cleaning the tyre
5. Locating the holes
6. Roughening the hole & applying vulcanizing fluid
7. Pressing on the patch
8. Mounting the tyre and tube
9. Installing the patched tyre on the bike


Before you start to patch the bicycle tube, the tyre needs to be removed from the wheel. If possible, do not flip the bike over. The easiest way to do this is to use a bicycle repair stand. On your e-bike or pedelec, remove the battery before repairing and disconnect the motor plug on front / rear motors. The drive system must be switched off for this purpose. Next, open the brakes on the bike. For rim brakes such as V-brakes, simply squeeze the brake arms together and pull the brake cable out of the mount.


After the wheel is removed, push the beads of the tyre together toward the centre of the rim, so that the tyre is released from the rim edge. Then unscrew the cap and the knurled nut / valve nut on the valve so that the bicycle valve fits through the valve hole of the rim. Now the tyre levers can be used: When pushed under the tire bead, tire levers pry the bicycle tyre off of the rim. Make sure you start using the lever on the opposite side of the valve.
Gently squeeze the tyre from the inside with your hands before inserting the new tube. A flat tyre can be the result of stones or thorns that have worked their way through the tyre into the tube. Doing this also allows you to remove dirt from the inside of the tyre. Make sure that the rim tape is undamaged and that the bike tube has not been punctured by the inside of the rim. The rim tape should be in the centre of the rim and cover all the spoke holes completely.
If the hub is attached with a quick-release, open it and turn it slightly. Or if the bicycle tyre is instead attached with bolts, then loosen them with the appropriate wrench. You can now pull the front wheel out of the fork. For dynamo hubs, be sure to disconnect the cable plug before removing the wheel.


To find out where the tube is leaking, it needs to be pumped up. The point on the tube where air escapes is usually noticeable by listening or feeling the air flow. With the sensitive skin on the lips, holes can also be felt well. The safest way to find all the holes in a tube? Just hold the tube under water in a sink or bucket.
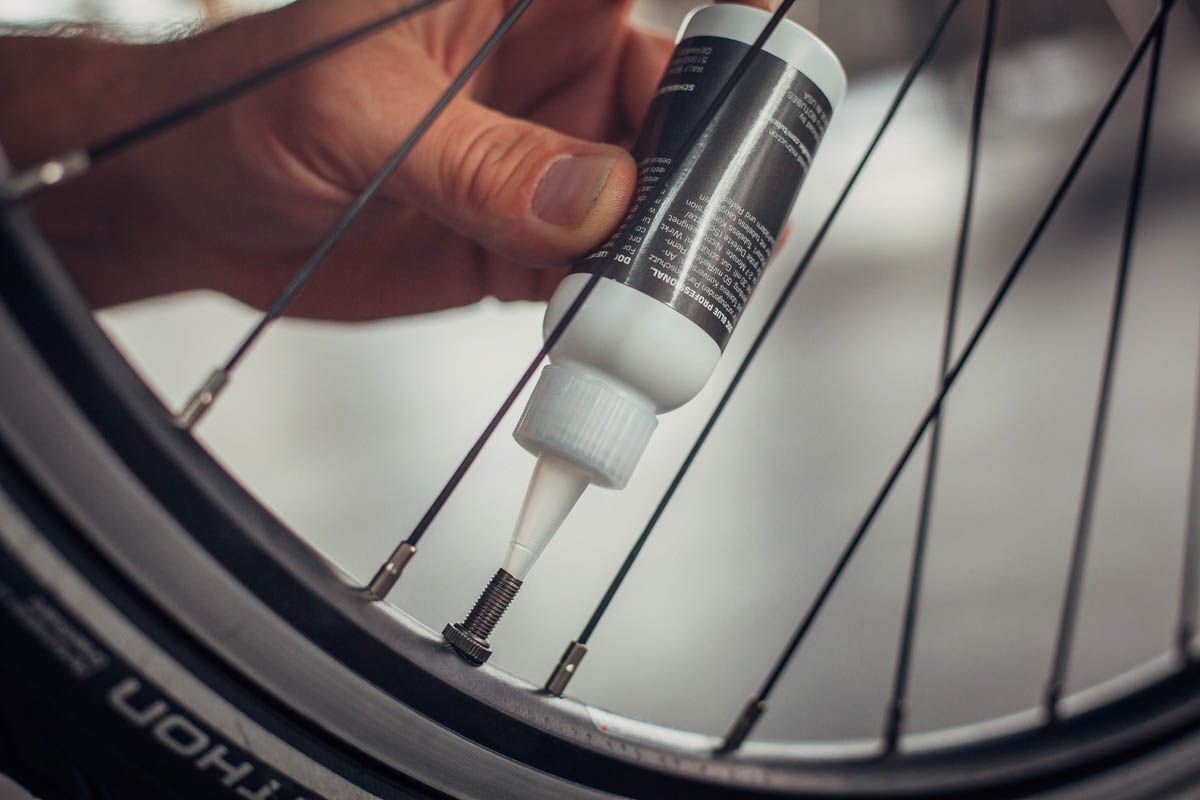
Now the patch comes into play. Take the sandpaper from the patch kit and liberally rough the spot around the hole in the tube. The rubber of the tube should become less smooth to help the patch stick better.


After the waiting time, place the patch over the hole. Make sure to stick the patch directly on the right spot, as subsequent corrections reduce the adhesion of the patch to the bike tube. Press the patch evenly and firmly.
Now the patch should be pressed onto the tube for about 10 minutes. Objects placed on the patch area, such as books or a tool box, exert the necessary pressure during this time. After that, the plastic film can be removed from the patch. If the film can be removed without any problems, the patch is well bonded.


The freshly-patched tube now needs to be mounted on the rim under the tyre. To do this, you should pump the tube up a little so that it can be pushed under the tyre without wrinkles. First, insert the valve through the rim and loosely attach the valve with the knurled nut so that it does not slip out. Then thread the tube on the rim under the tyre.
If you removed the tyre from the rim completely, it is recommended that you insert the patched tube into the tyre before attaching both to the rim.
Check if the patched tube is really sealed by pumping it up again. To determine that there is no air escaping from the tube, dip the patched area under water again. If there are no air bubbles around the patch, the tube is successfully patched and ready to use again.
To get the tube and the tyre back onto the rim, first put the valve back through the rim. From the valve, start to push the tyre evenly into the rim on both sides. If the tyre cannot be mounted by hand, use the tyre levers again.
Make sure that the valve is straight after mounting to the rim. Correct how the tube and tyre sit, if necessary. When you pump up the tube, the tyre should sit evenly on the rim flank due to the air pressure from the inside.


If the bicycle tyre is correctly mounted on the rim, it can be reattached to the bicycle. To do this, put the tyre back into the dropouts. If you have a dynamo hub on the front wheel, don't forget the plug.
Final tips: Preventing a flat tyre on a bicycle
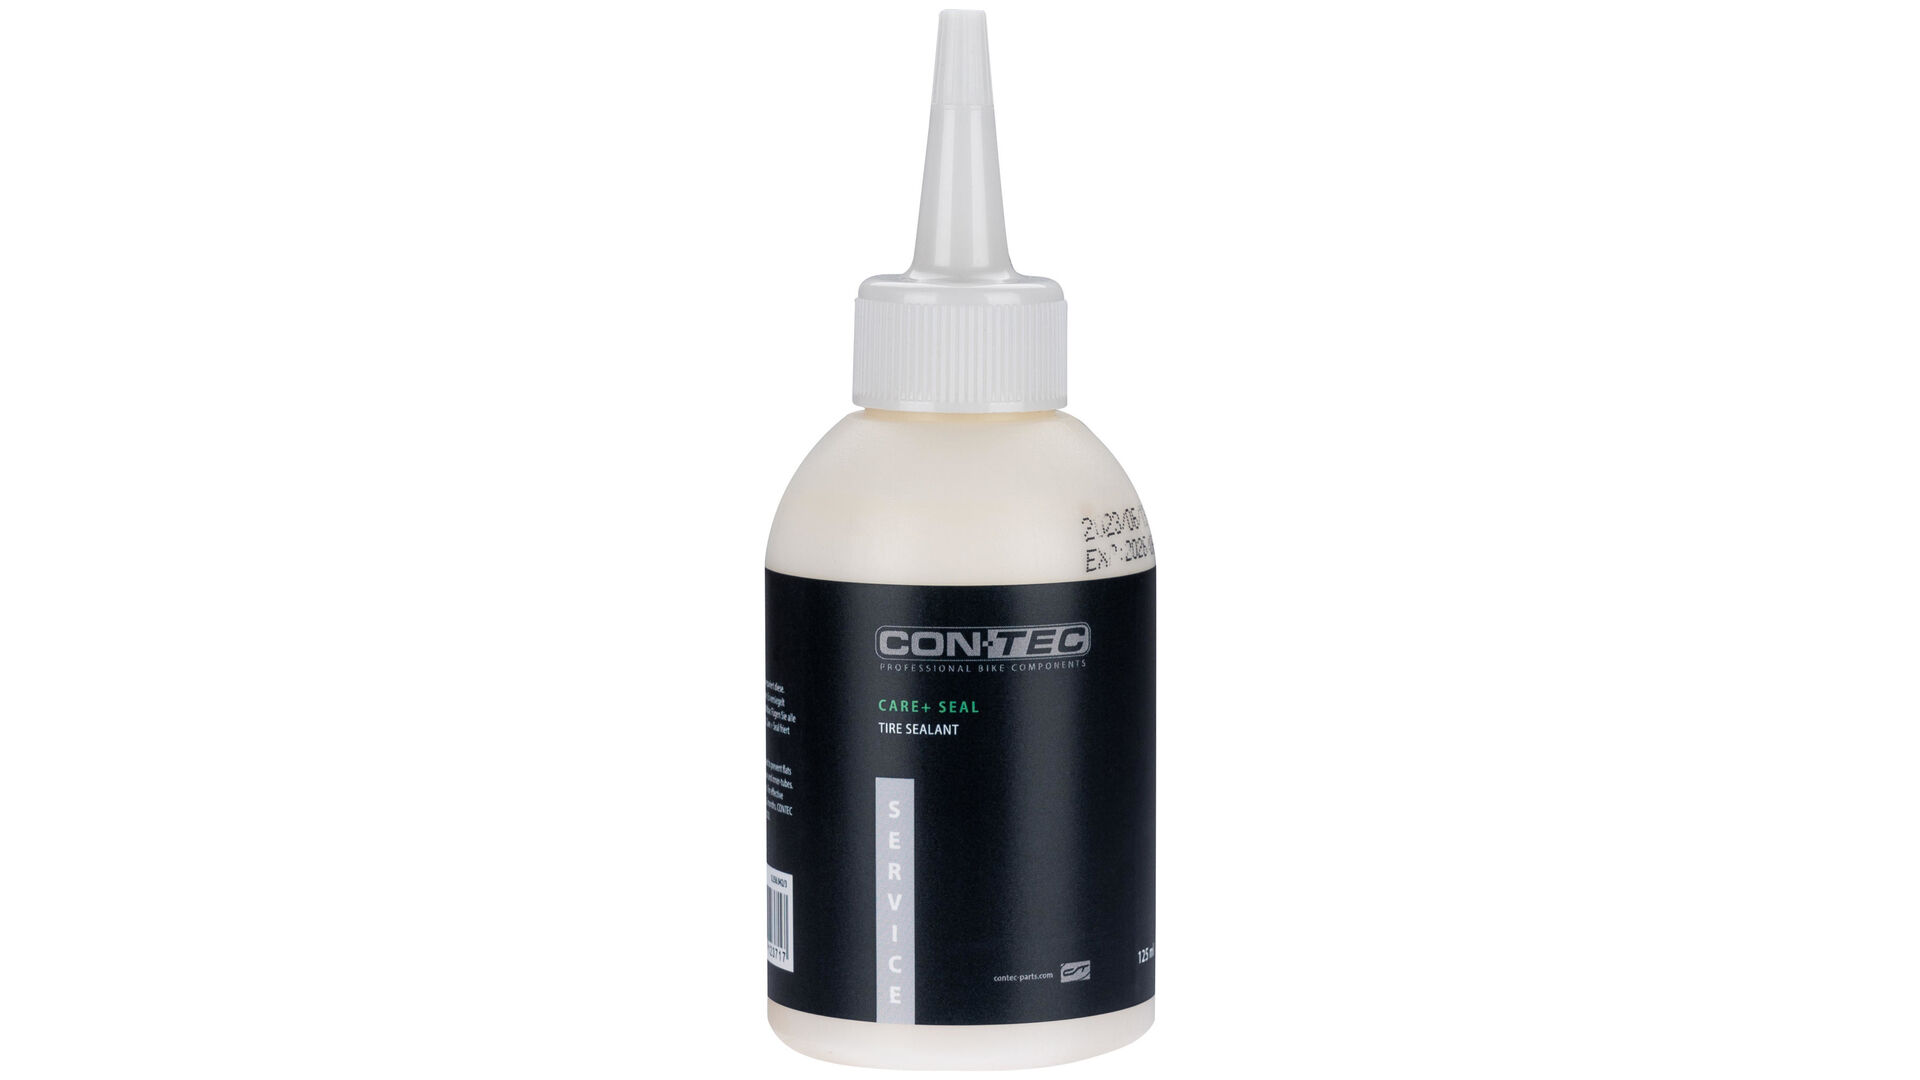
Anyone planning a longer bike tour would naturally like to reach their destination without a flat. For this purpose, there are tyres with a high level of flat protection. Another option is using sealant before the journey. Sealant is actually intended for Tubeless tyres, but it can also be used a preventative measure in tubes. Filled into the bike tube, the sealant stops small tears and holes from leaking so that air stays in the tyre.
Do you already have a flat? A quick remedy on the go is flat spray. Just like the sealant, you fill the flat spray into the bicycle tube via the bicycle valve. Here, the spray reliably seals the hole or crack in the tube. After re-inflating the tyre, the bike tour can continue. However, as flat spray does not stay effective forever, you should patch or replace the bike tube at home.
You can get the sealants and a valve key from your bike dealer. Both sealants are inserted into the tube via the valve. Before you use the valve key to remove the valve core for filling, let the air out of the tube. Then fill the tube with sealant or flat spray. Refer to the manufacturer's instructions on the packaging for the required quantity and shelf life.
The bike is ready for use immediately, but now with liquid flat protection against small holes and tears. One disadvantage of flat spray and sealant: Over time, the fluid in the tyre dries out and clumps. The sealant must therefore be refilled from time to time. You should patch or replace the tube after using flat spray.
Emergency tip: Patch a tube without a patch
Riding your bike and suddenly you have a flat tyre? With a little emergency trick you and your bike will at least get back home. To do this, remove the tube from the tyre as described in the step-by-step instructions. At the defective area, ,you cut the through the tube. Close the two ends with a knot that you pull tight. Now pump up the tube and put it back in the tyre. There is a gap in the tube at the defective point, which means a somewhat bumpy ride, but you can bike home. Once there, the tube must be replaced before the next ride.


To remove the rear wheel, first put or shift the bike chain to the smallest sprocket. This is the easiest way to remove the rear wheel. Of course, the quick-release must be loosened and slightly unscrewed. Now, depending on the model, pull the derailleur back and remove the wheel by moving it downwards. On e-bikes and pedelecs, you can remove the rear wheel the same way.
Caution: When lifting the tyre with the lever, the bicycle tube should not be between the bead and the levers to avoid additional damage to the tube. Now you can pull the bead of the tyre over the rim edge. If necessary, also use the tyre levers. You only need to free-up one side of the tyre bead from the rim, the other side can stay on. This is enough to change the tube and it saves you having to put the tyre back on completely. Starting opposite the valve, pull the bike tube out of the tyre.
Place the inflated tube under water and turn it section for section. For better orientation, start with the bike valve, which serves as the starting and ending point. Bubbles rise at the defective points where air escapes from the tube. Generously mark the holes in the tube with a pen. The generous marking is important because the bike tube contracts when all the air has escaped from it. When the tube deflates, the holes get smaller.
Ideally, a degreaser should be used around the area, so that the patch sticks even better. Use brake cleaner, for example. Then apply the vulcanizing fluid around the hole in the tube. The prepared area on the tube should be larger than the patch. The fluid needs to dry about 5 - 7 minutes until it becomes slightly viscous.


First, shift to the smallest gear to release the tension on the shifter cable. Now disengage the connection between the shifter cable and the hub at the barrel adjuster by slightly pulling on the cable housing. In the case of bicycles with a coaster brake, the connection between the brake arm and the clamp on the left-hand chainstay must also be loosened. For bikes with a rim brake, the brake must be disconnected. You can then loosen the wheel nuts using a 15 mm ring spanner. The chain tension can be loosened by moving the rear wheel in the dropouts so that you can remove the chain from the sprocket. Finally, the rear wheel can be removed from the bicycle.
On bikes with internally geared hubs, slide the rear wheel into the dropouts. By lightly tightening the wheel nuts, lock the wheel into the frame. Make sure the shifter cable and brake arm are aligned correctly. After, attach the shifter cable back to the mount on the hub. This requires a slight pull on the cable housing. Now you loosen the axle nuts again and adjust the chain tension by slightly pulling back the rear wheel. The chain should not be slack, but should not be too tight. Here, also ensure that the wheel is sitting in the frame straight. Tighten the axle nuts "by hand" and bolt down the coater brake arm and the clamp.
On the other side of the wheel, fit the brake rotor perfectly between the brake pads in the caliper. To install the rear wheel, now pull the derailleur back and slide the wheel in. Then close the quick-release by pushing the lever toward the fork or frame, or tighten the wheel nuts. If you first disconnected a V-brake, remember to re-engage the brake and then test for functionality. Check the air pressure again and your bike is ready for new rides with a patched tyre!


Step 1: Removing the front tyre
Step 2: Removing the rear wheel with an internally geared hubs
Step 9: Installing a patched front tyre
Step 9: Installing a patched rear tyre with a derailleur
Step 9: Installing a patched rear tyre with an internally geared hub
Replacing a bicycle tube & patching made easy
When a bike tyre is flat, that doesn’t mean the ride has to end. You can simply change the tube by yourself or patch it and get on your bike again. By the way, you save yourself a walk the workshop and, naturally, money. We will show you how to professionally remove a flat bicycle tyre from the wheel and how to correctly patch the tube so that it is airtight again. After, you can mount the wheel on the bike again and your ready for your next ride!


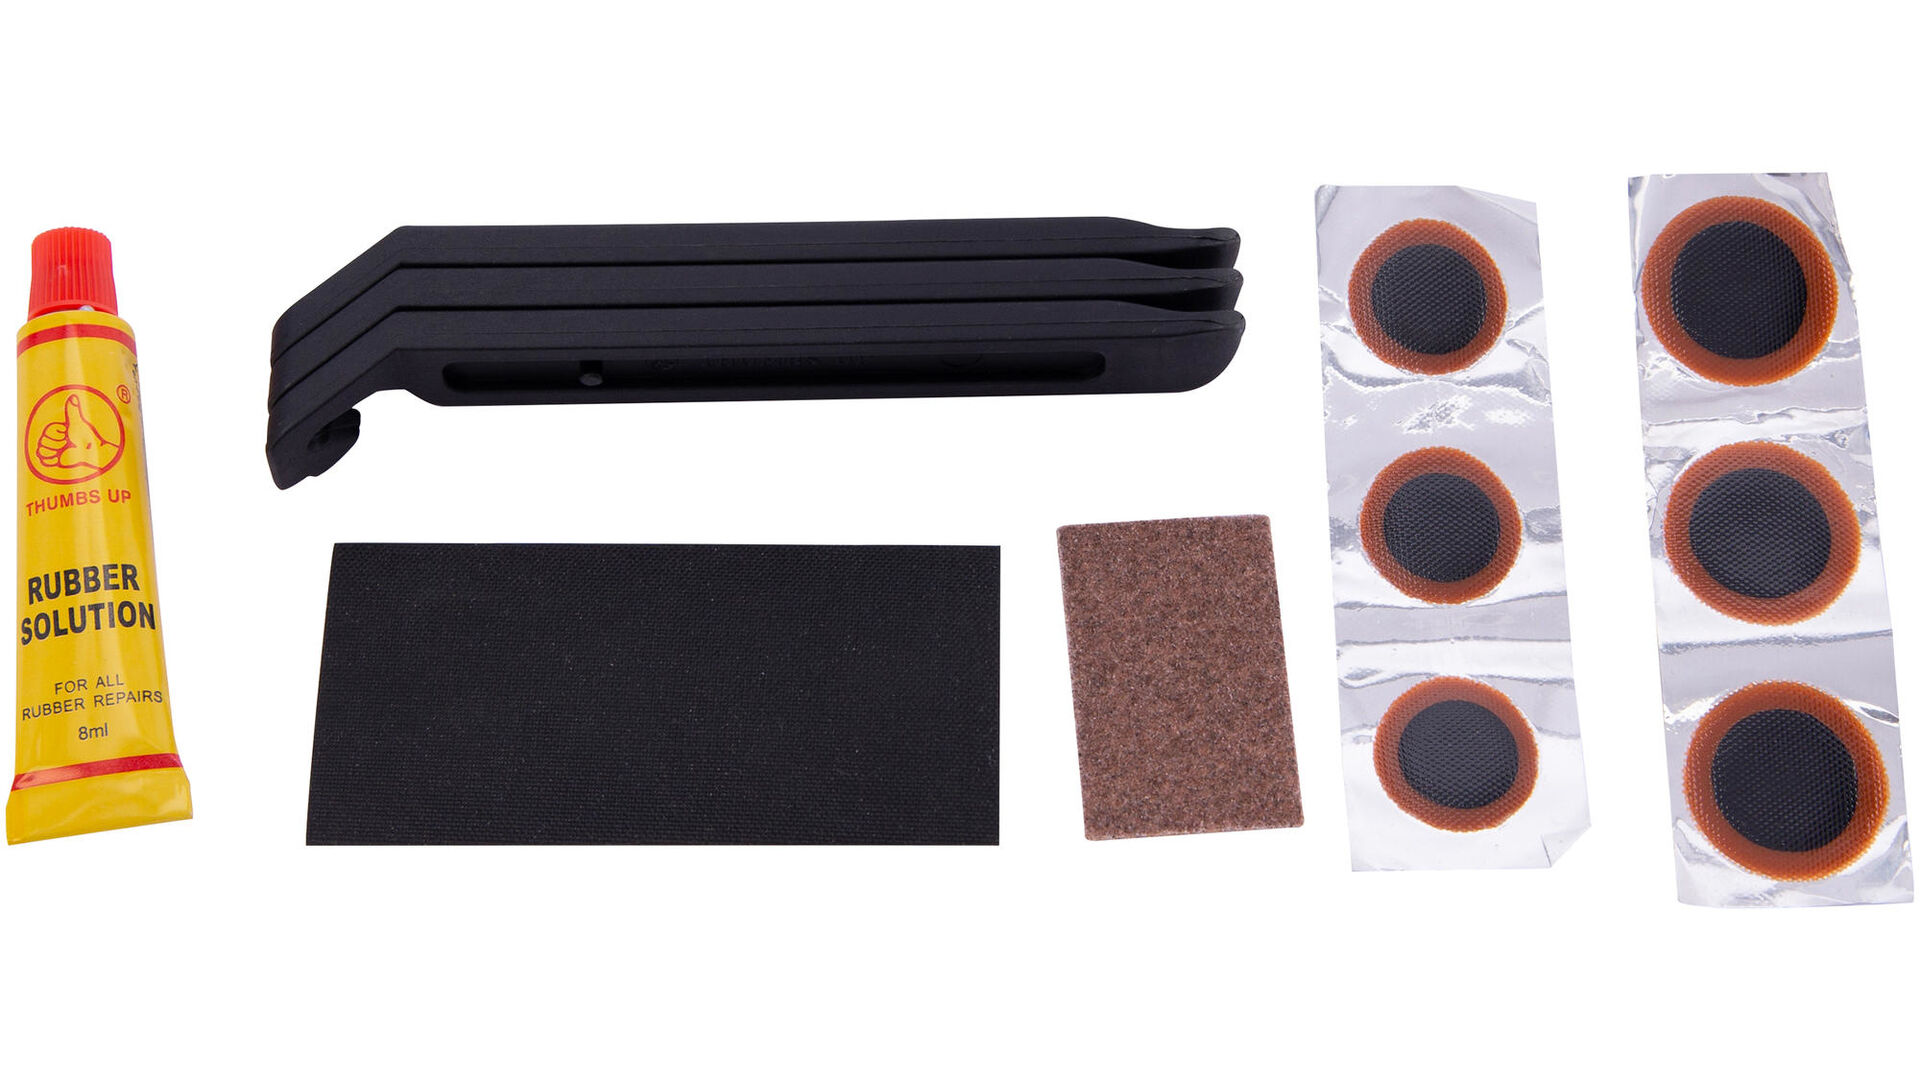
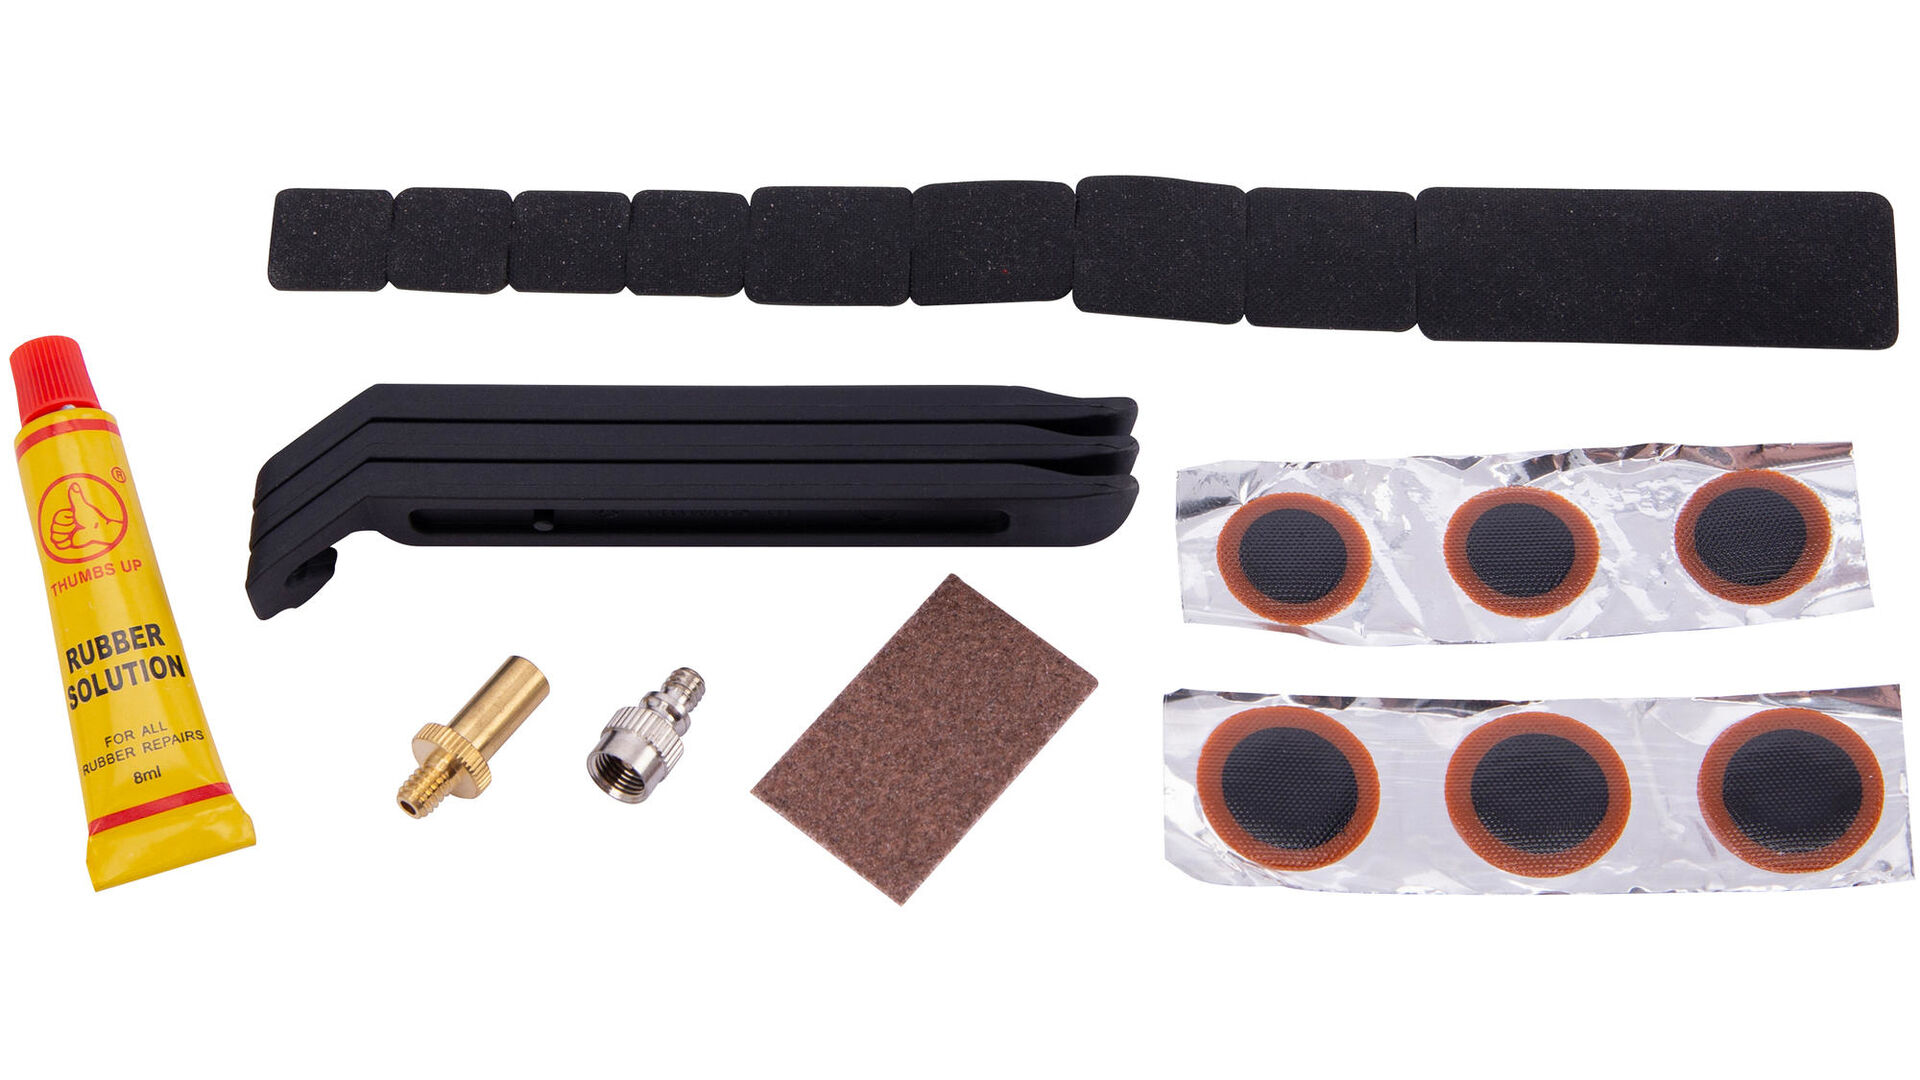

What you need
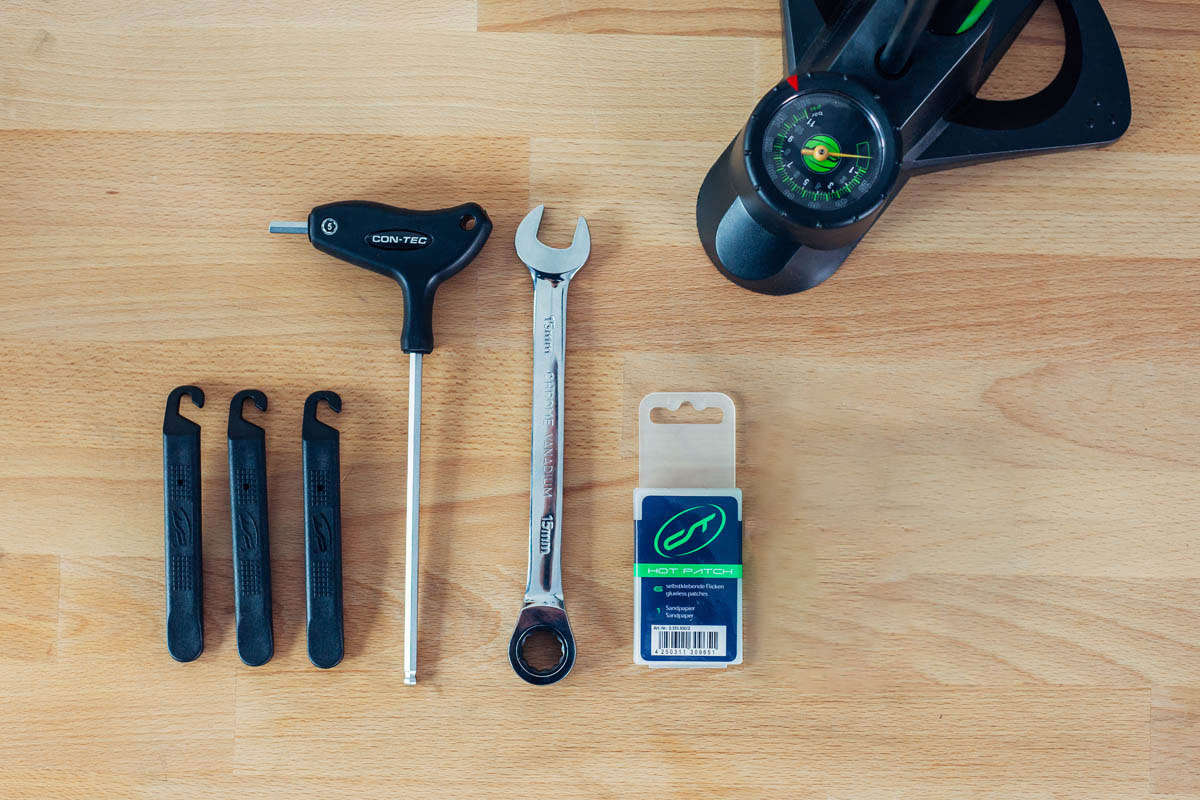
- Bike pump
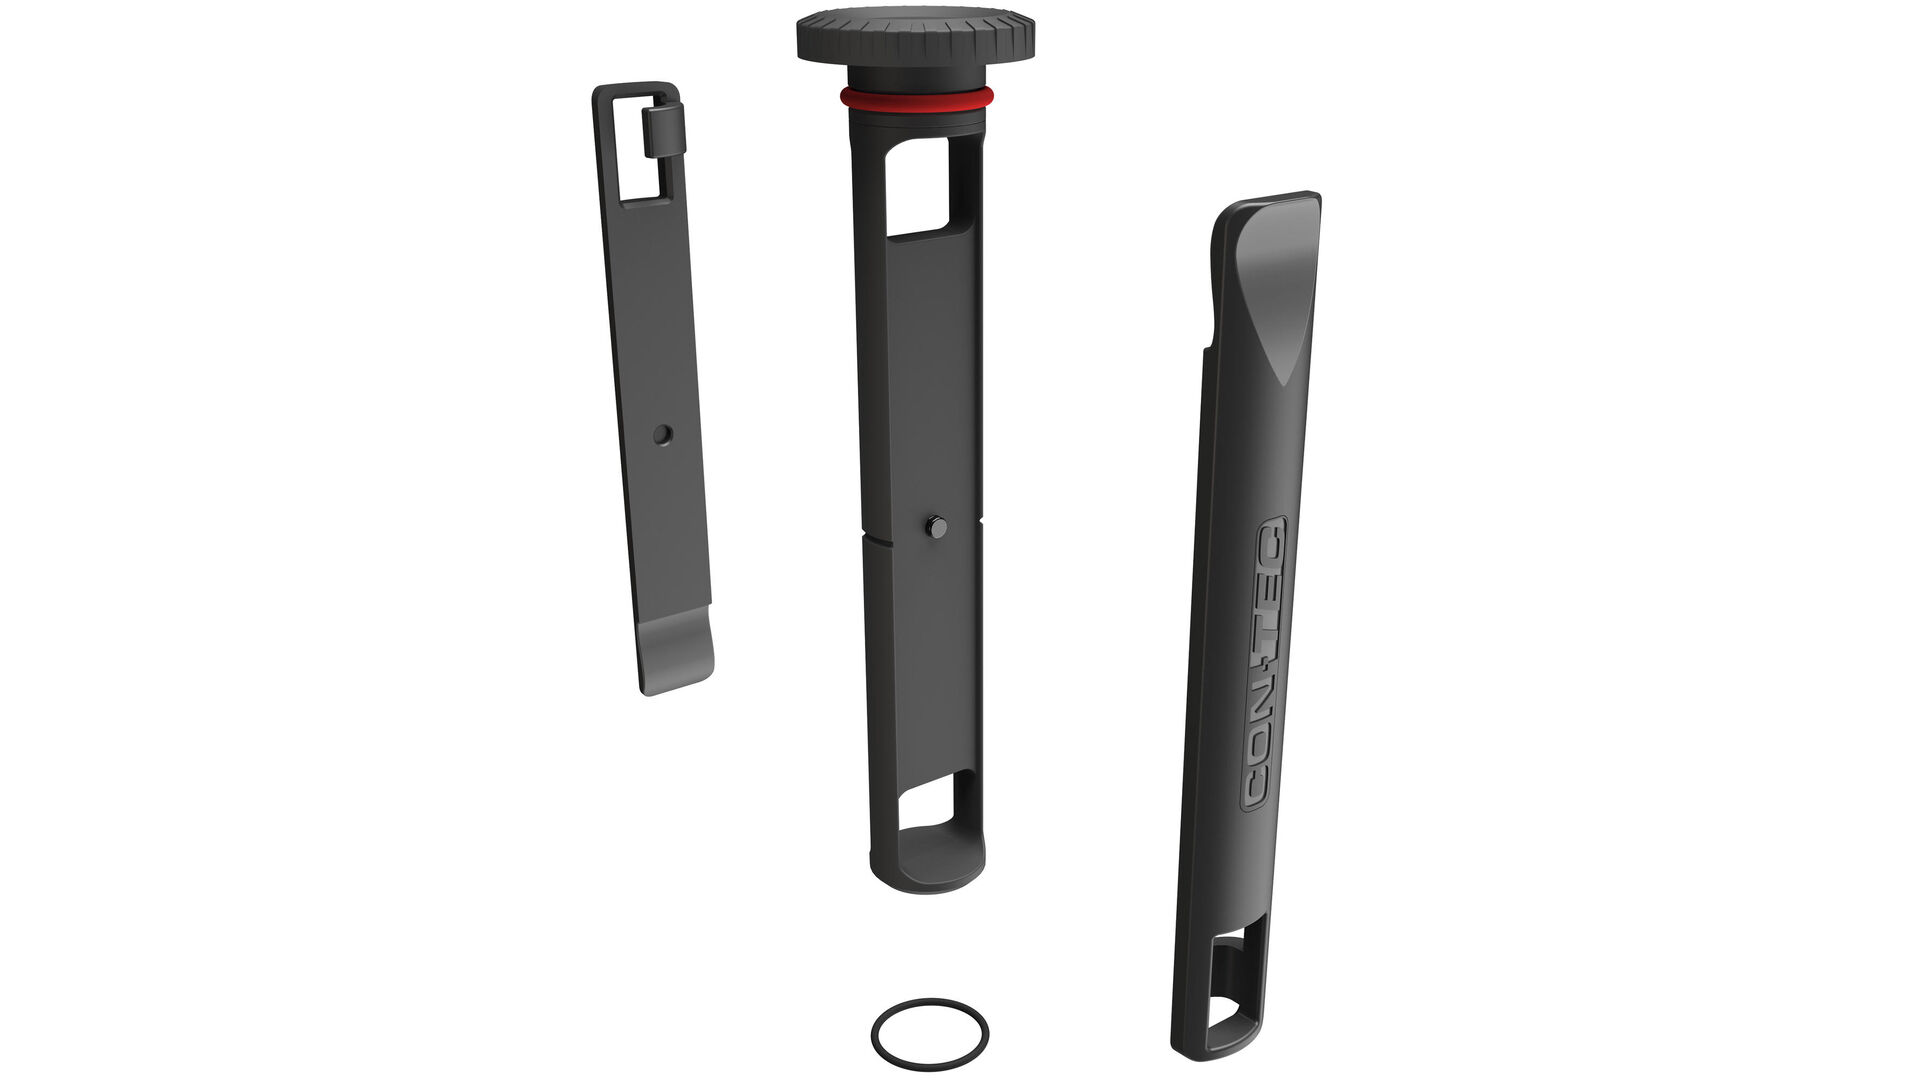
- Tyre lever set
- SW15 spanner / Allen key
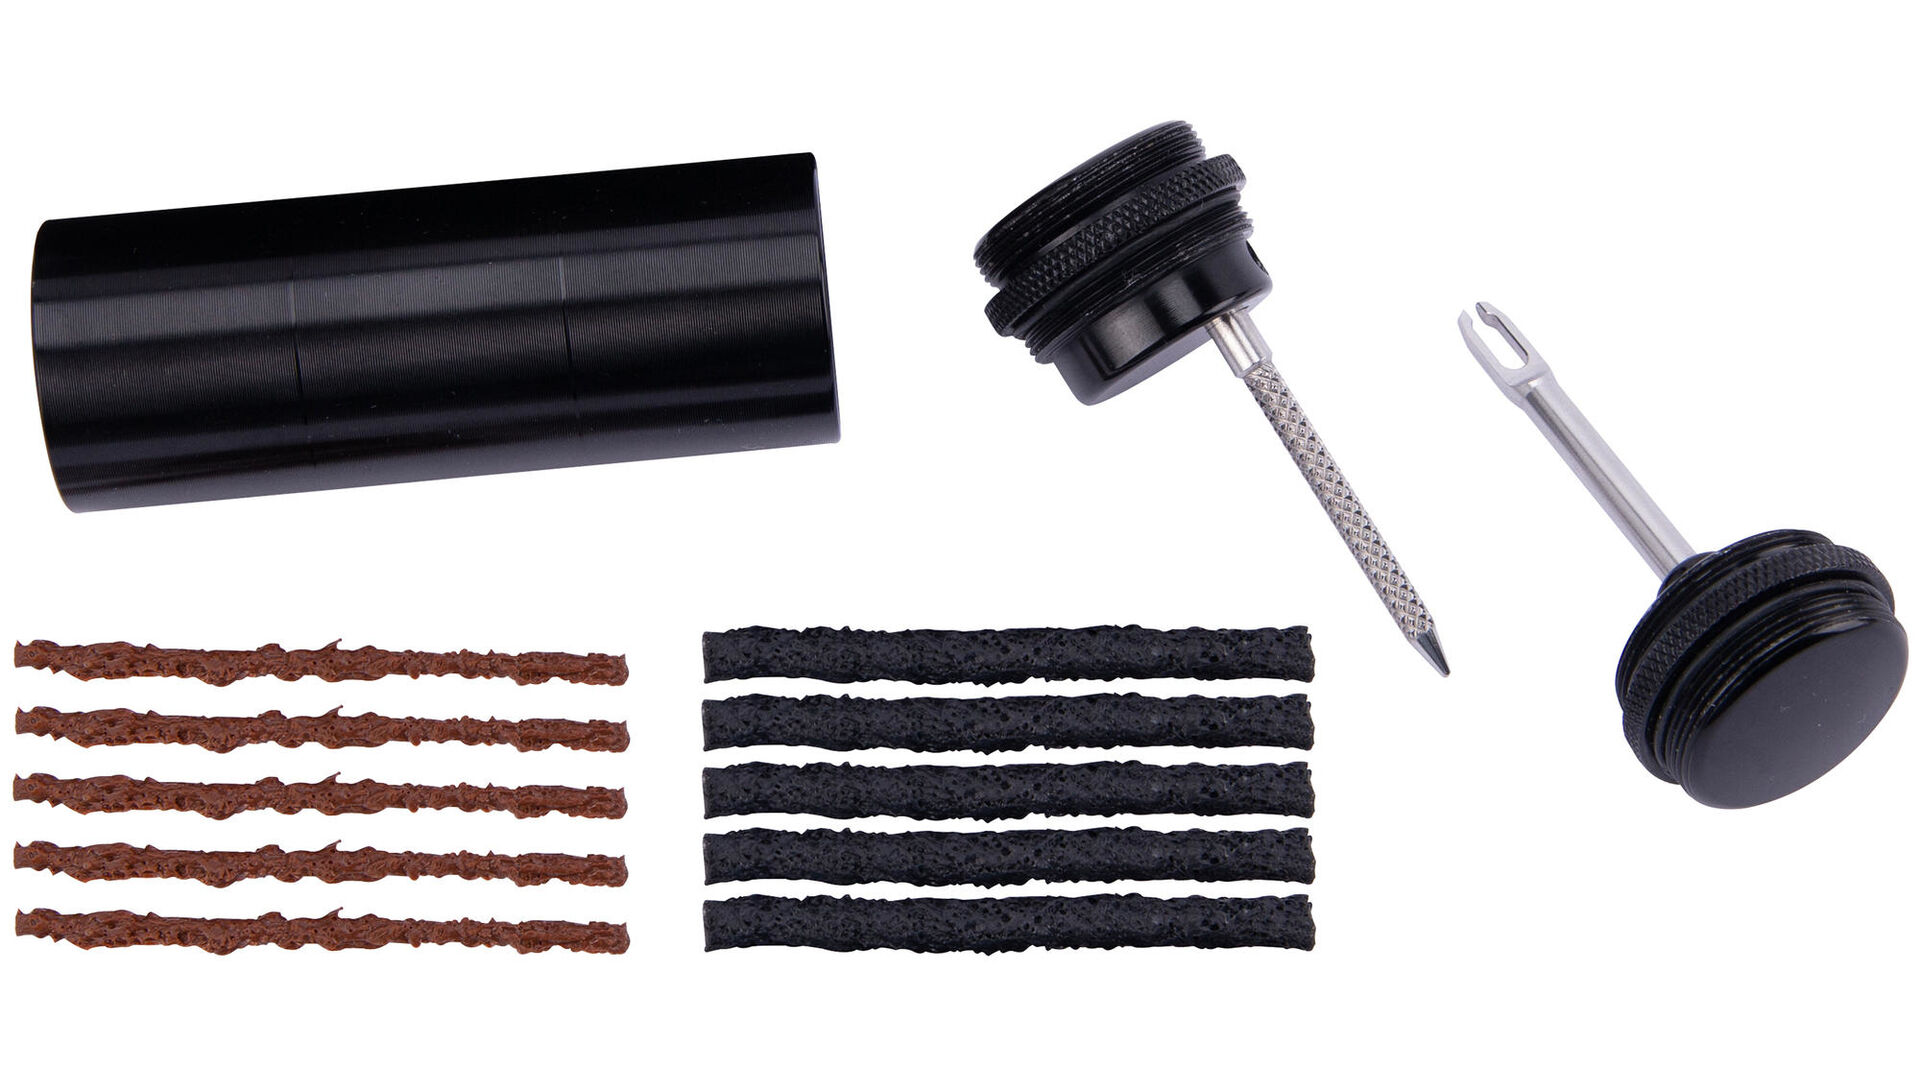
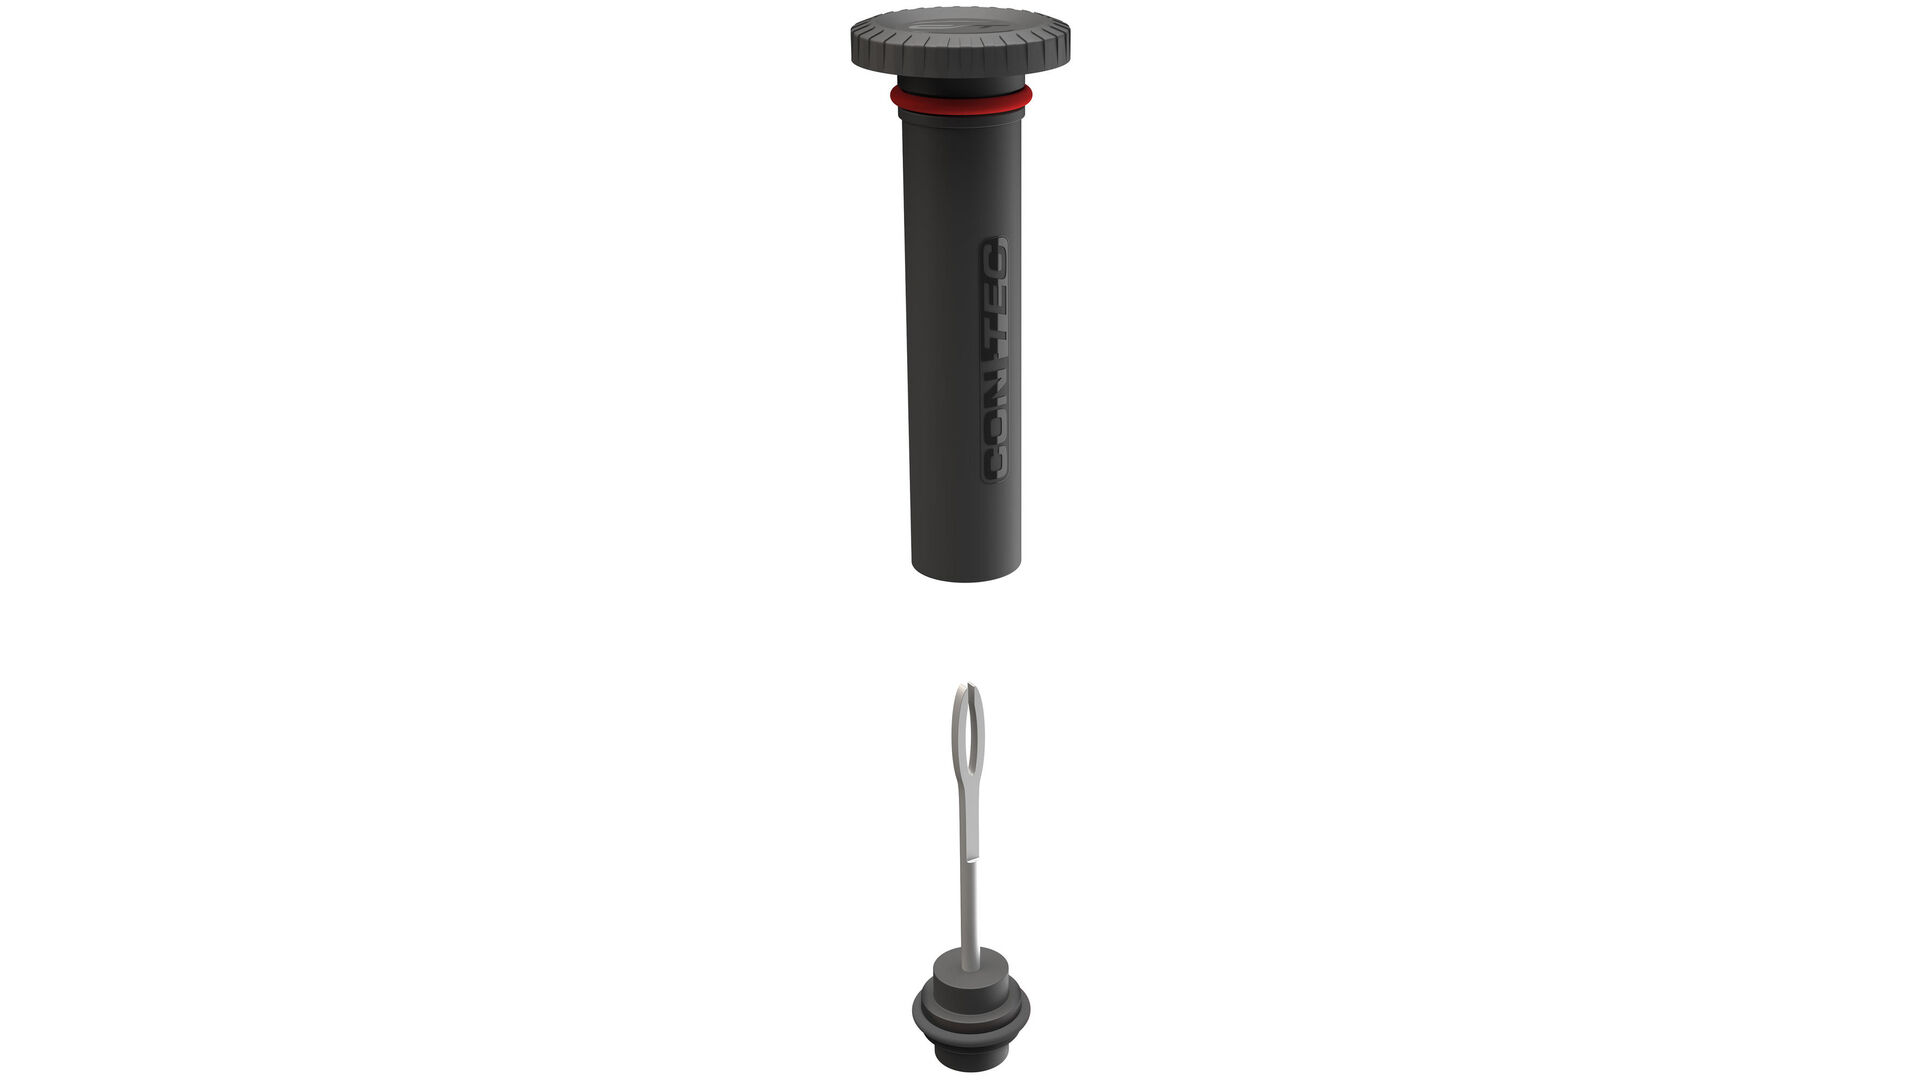
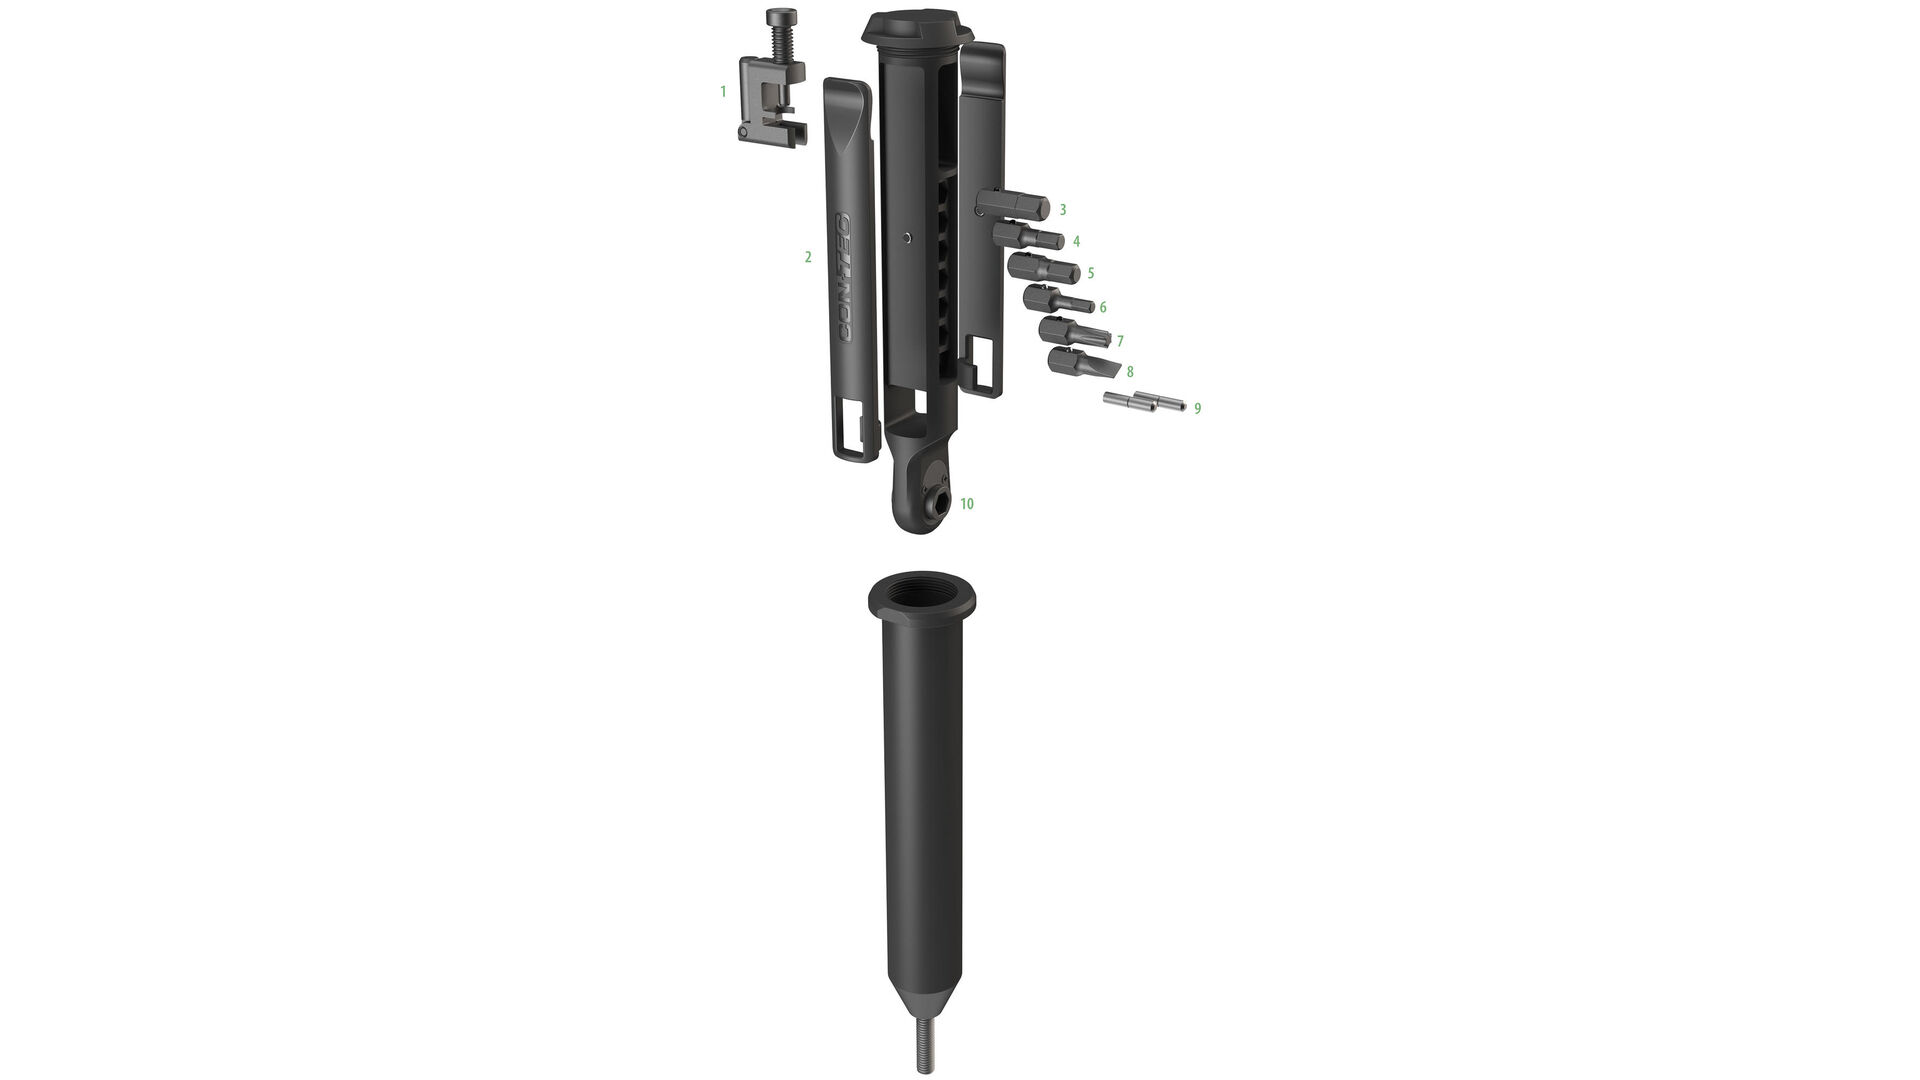
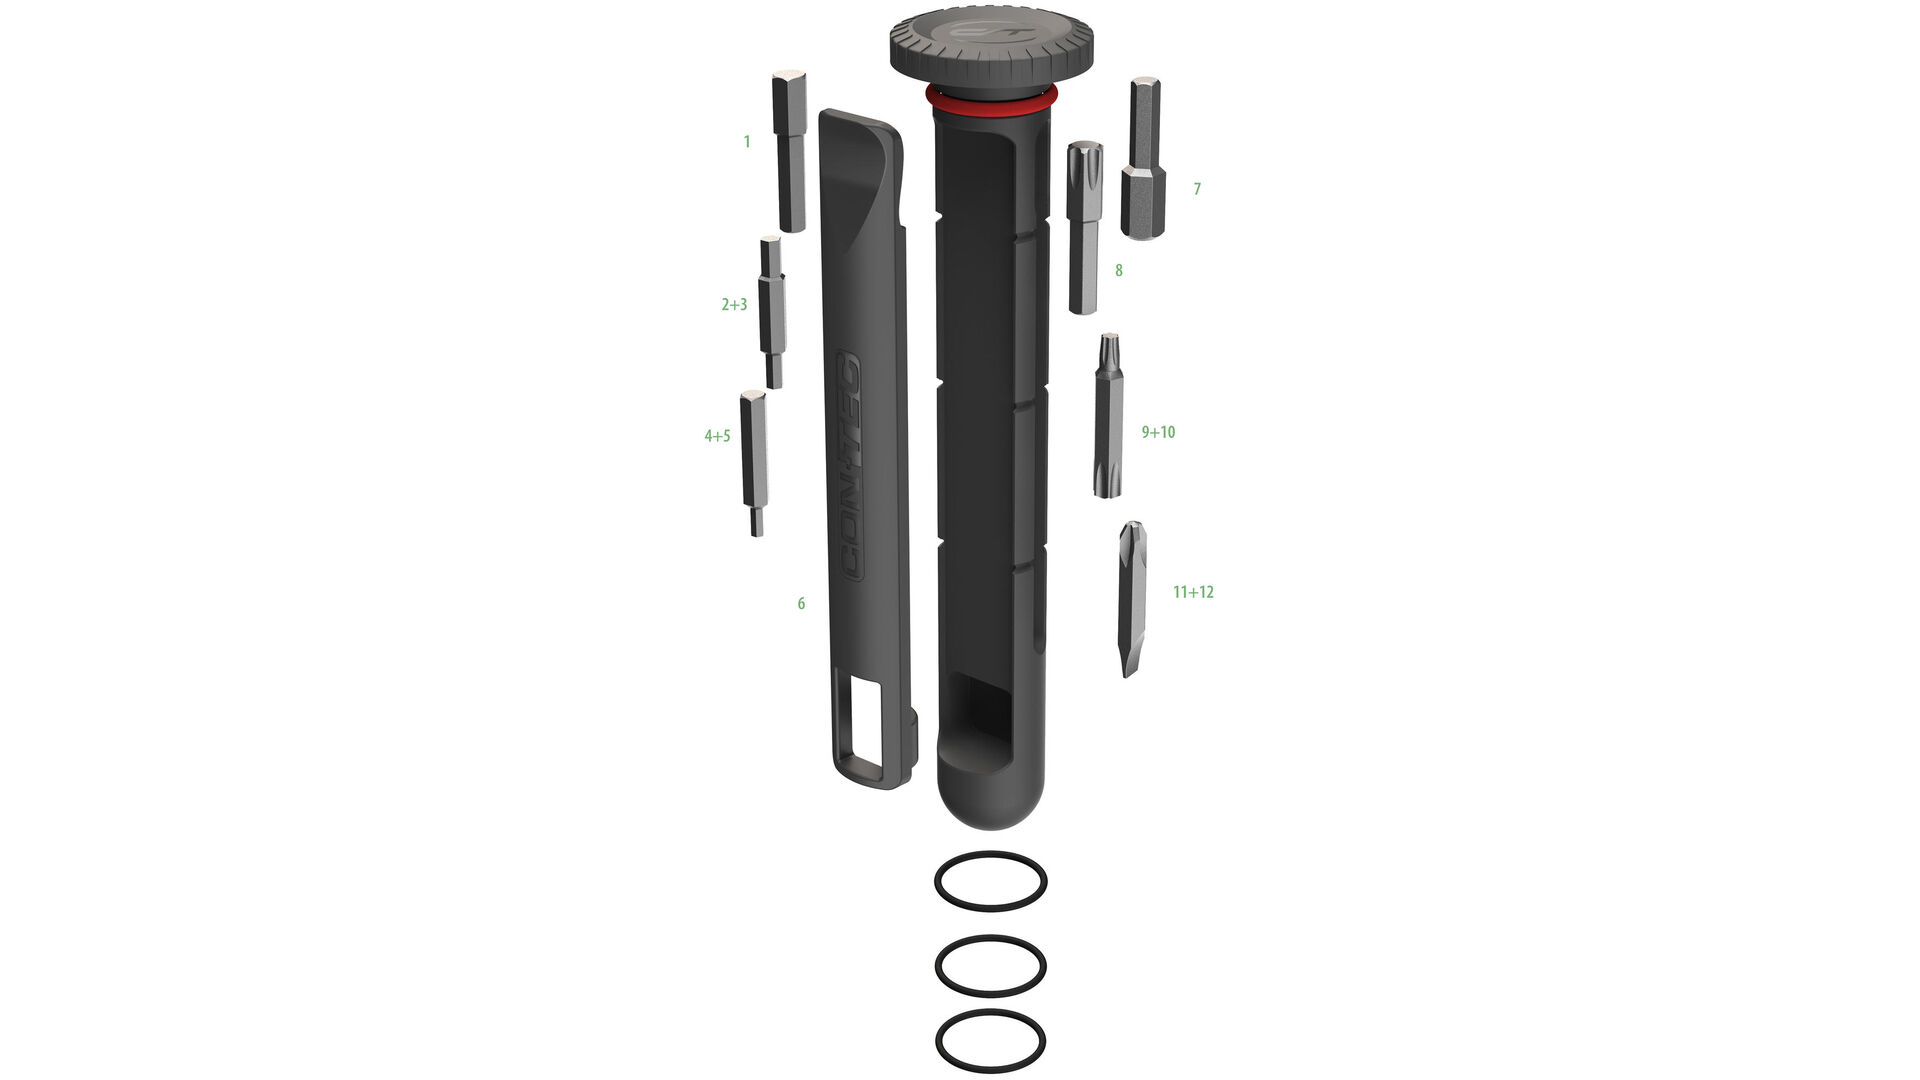
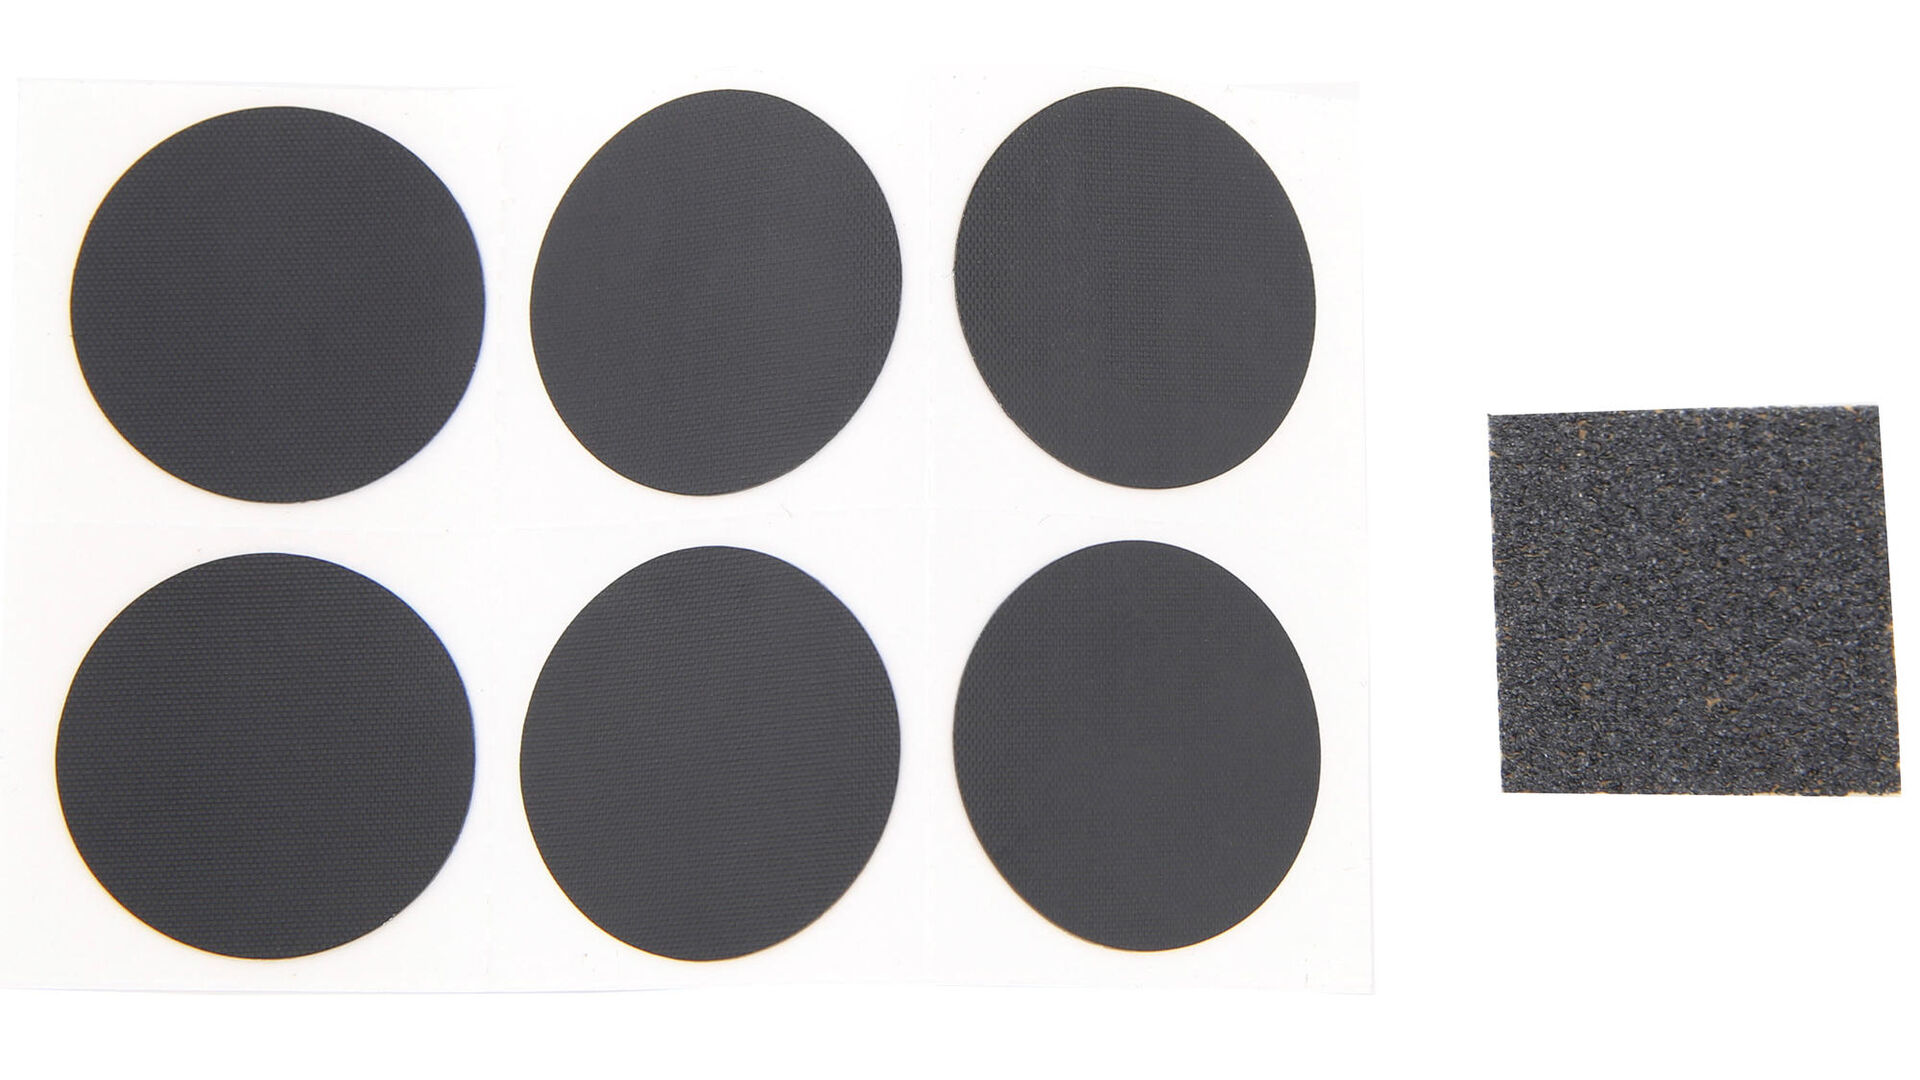
- Patch kit / patch kit with sandpaper, vulcanizing fluid & patches / self-adhesive patches
- Pen for marking the holes

Your tyre is patched and you want to pump it up again? Then check out our post about inflating tyres.

Do you have a rolling pin in the kitchen? If you roll it firmly over the patched area, the patch can be evenly pressed.
If the bicycle tyre does fit into the rim bed despite the air pressure in the inflated tube and tyre levers, help it with soapy water: Rubbed between the rim edge and the tyre, the tyre slips into position for further pumping.