
Replacing a bike chain – when is it necessary?
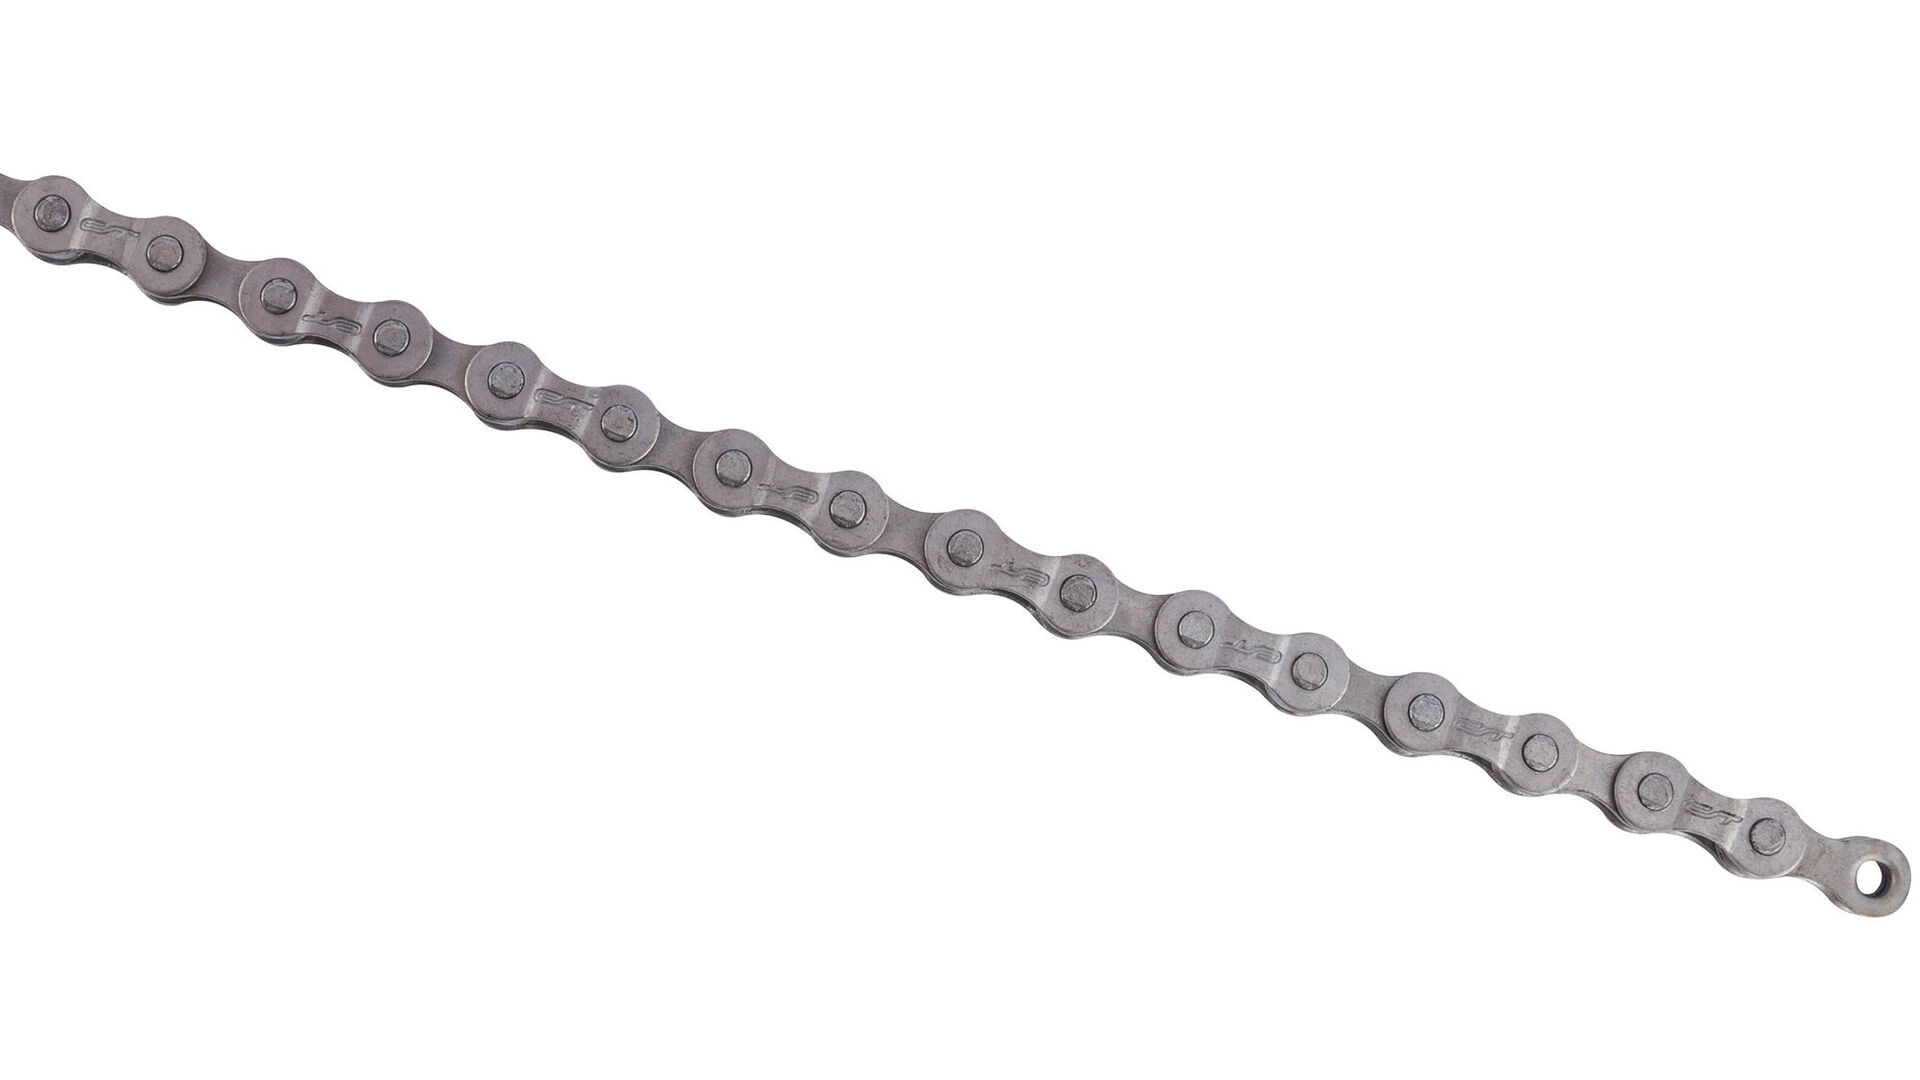
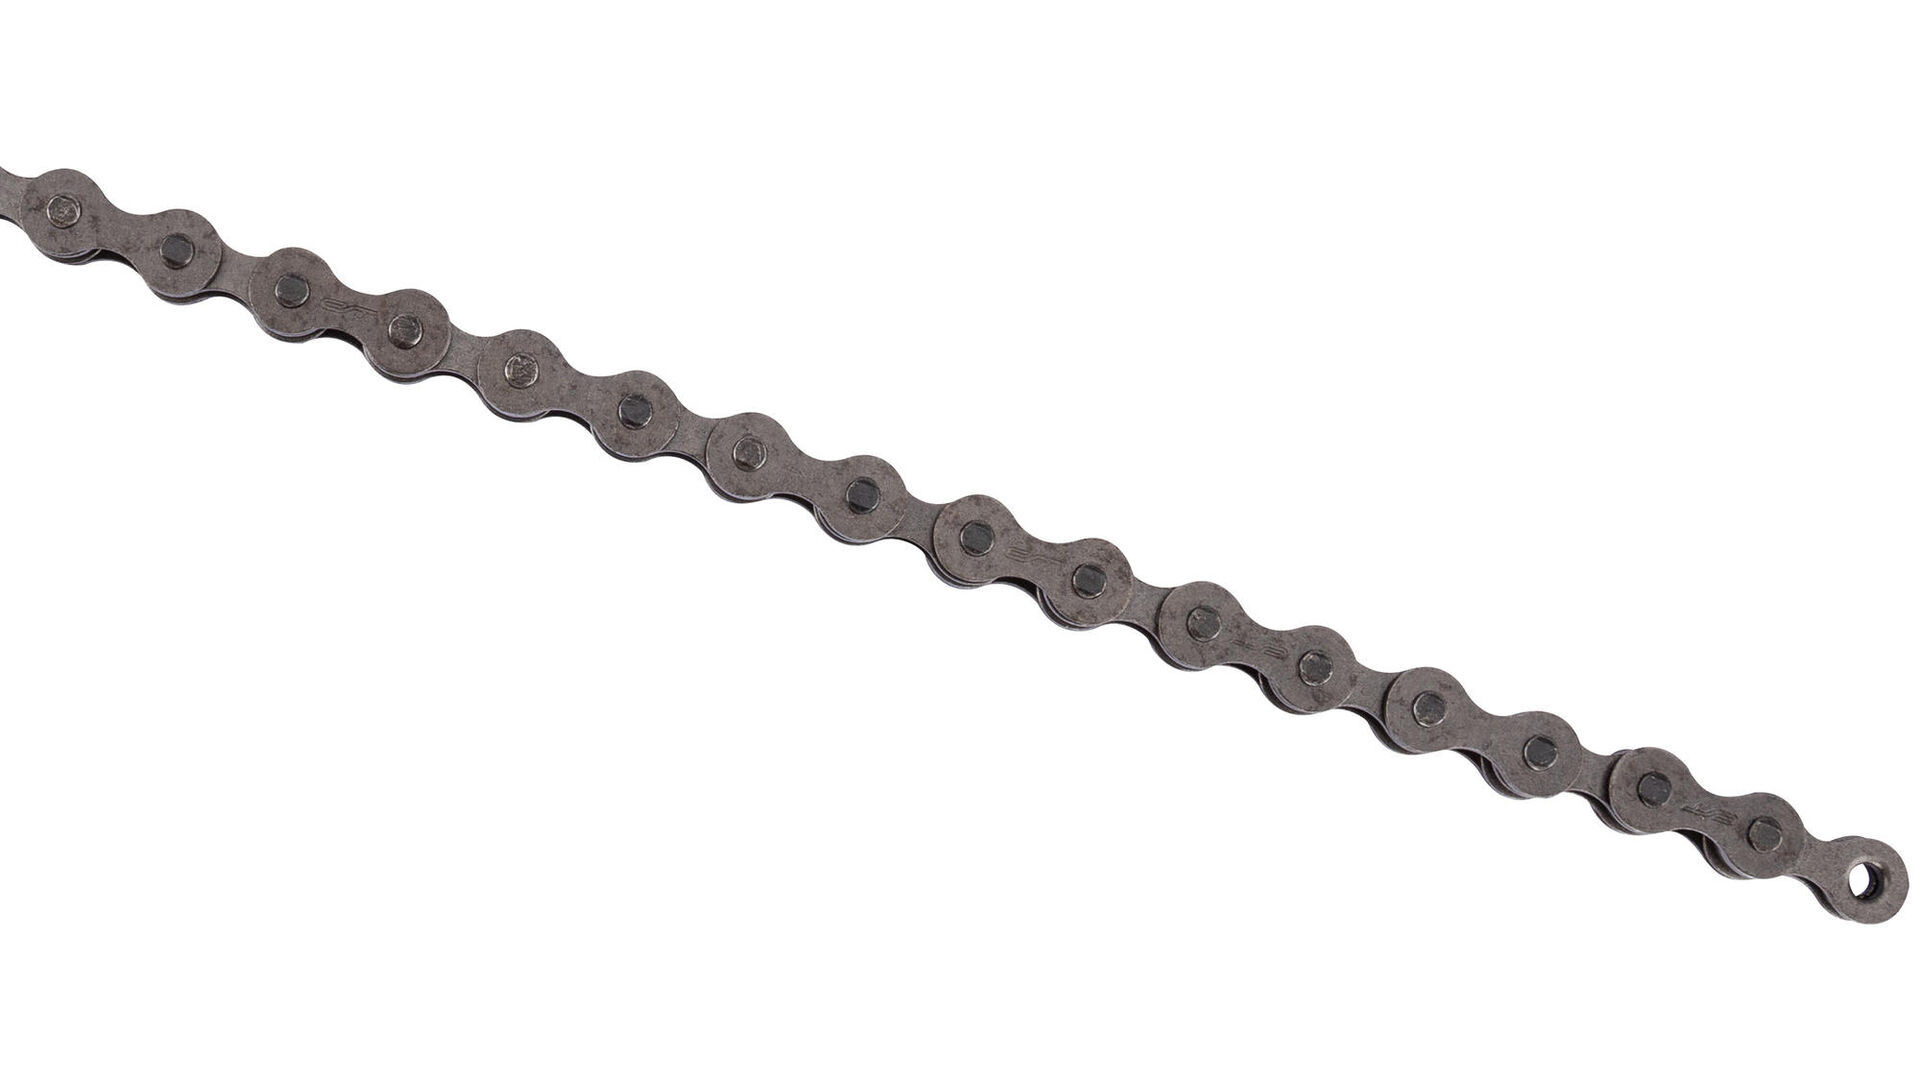
The bike chain is a wear part on the bicycle – because it is under constant stress when pealing. Over time, the chain stretches, and the length of it indicates the wear. If the bike chain drops off the chainring when pedalling, it is time to replace the chain, chainrings or cassette.
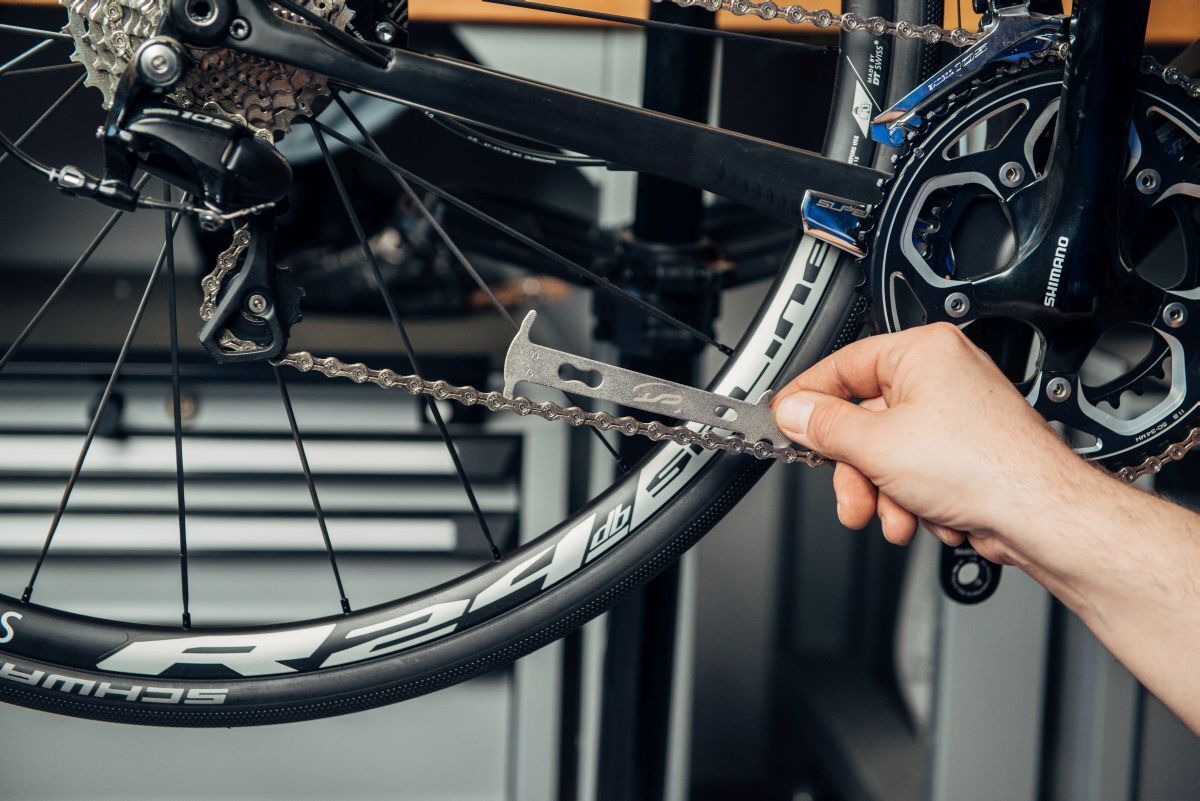
In addition to the visible signs, the degree of wear on the chain can be determined using a chain checker. Once on the chain the checker will either rest on the chain links or get stuck in the links. If the checker completely touches the chain, it is stretched. This means you should replace the bike chain. The stretch of the bicycle chain is also an indicator of the wear on other drivetrain components. So check the wear of the chainrings and cassette.
Replacing a bike chain – step by step
Now we'll show you how to successfully replace the bike chain on your bike, step by step in the video. After, you can read the steps again.
Step 1 – Break (open) the bike chain
Before you can install the new bike chain on your bike, you need to remove the old chain. The chain should not be under tension where ever you decide to break it.
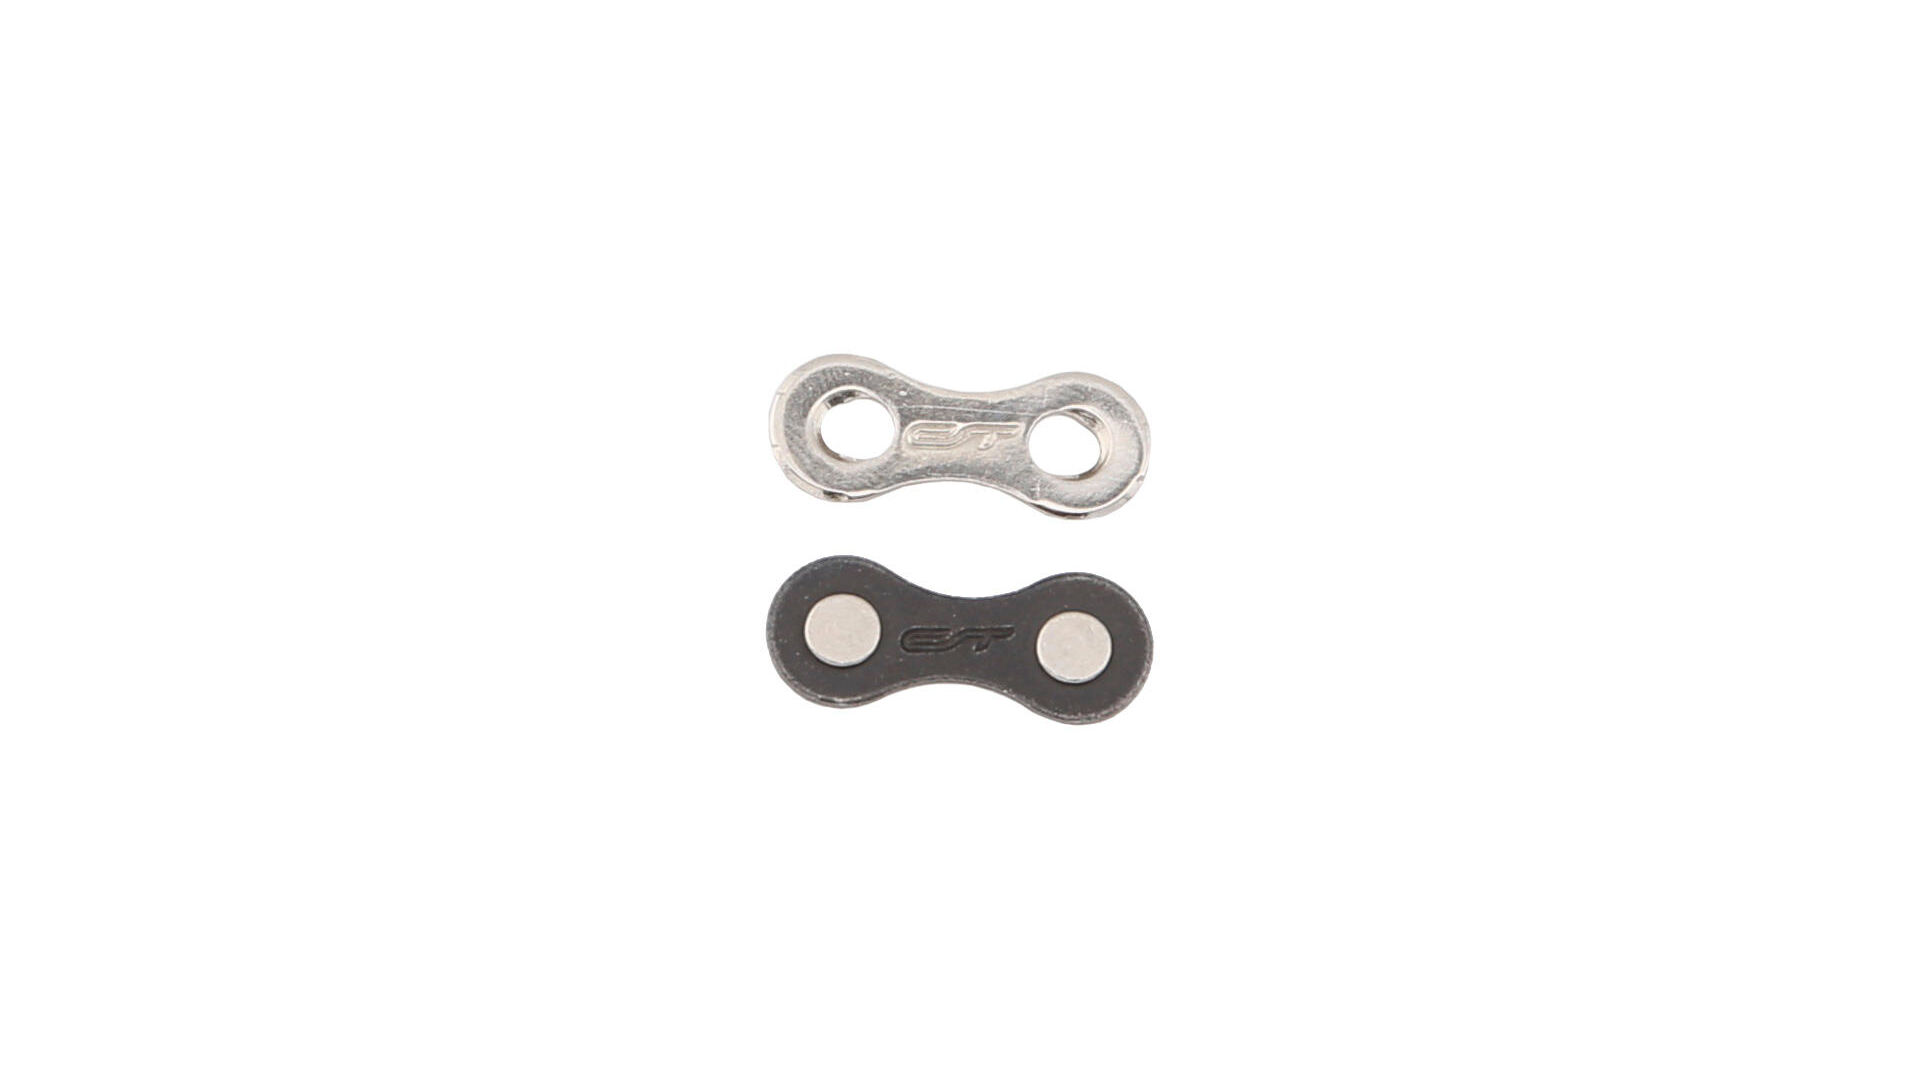
Opening a bicycle chain with a master link:
- Insert the ends of the master link pliers into the chain links to the right and left of the master link and squeeze.
- Carefully open the chain at the master link.
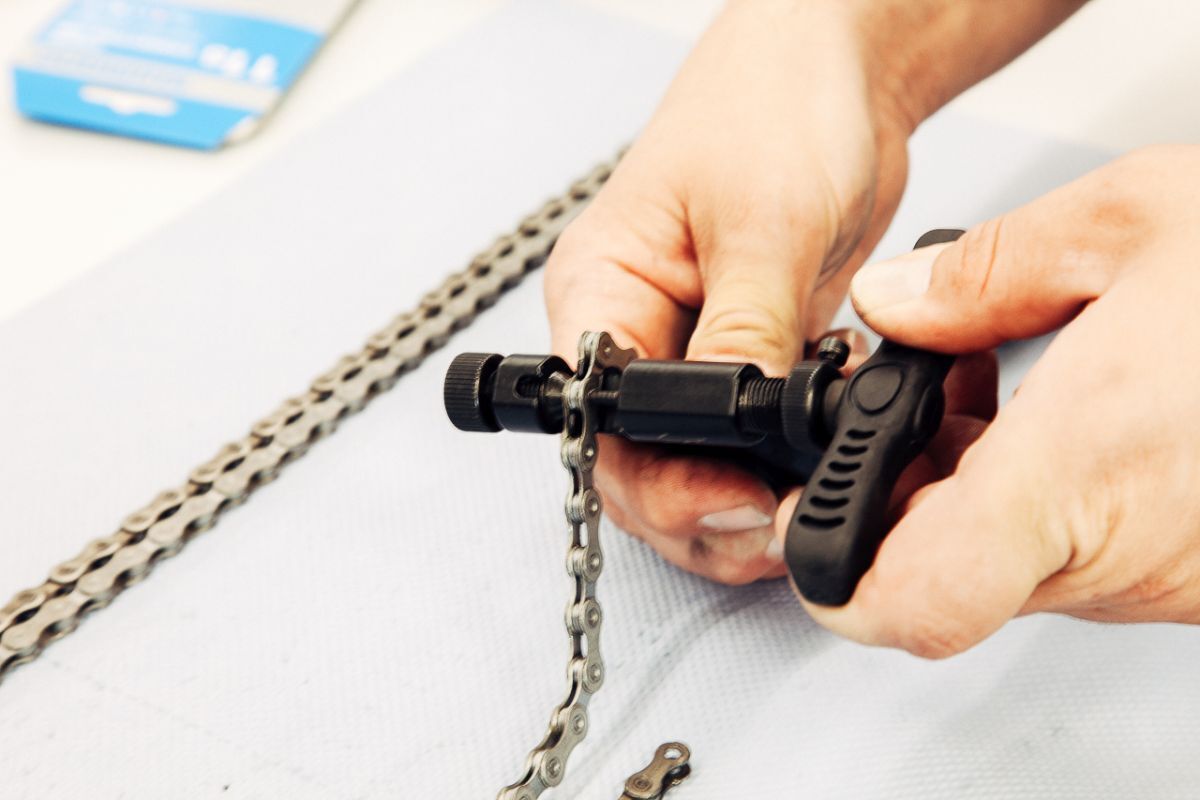
Breaking a bicycle chain without a master link:
- De-tension the chain
- Place the chain in the chain breaker and turn the handle until the pin pushes the chain pin from the chain link.
- Slide the pin out of the outer plate.
- Remove the chain from the chain breaker and pull the chain link apart without the pin.
- Carefully open the chain.
Carefully remove the opened chain from the bicycle.
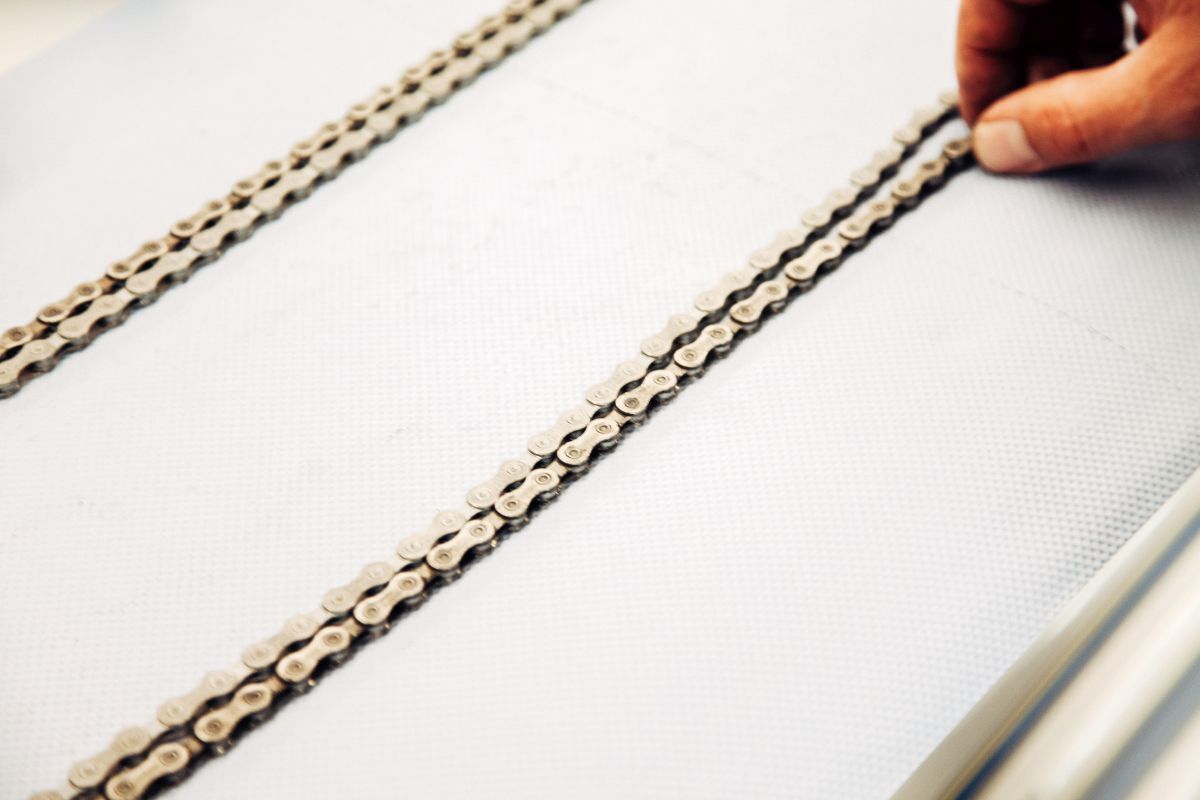
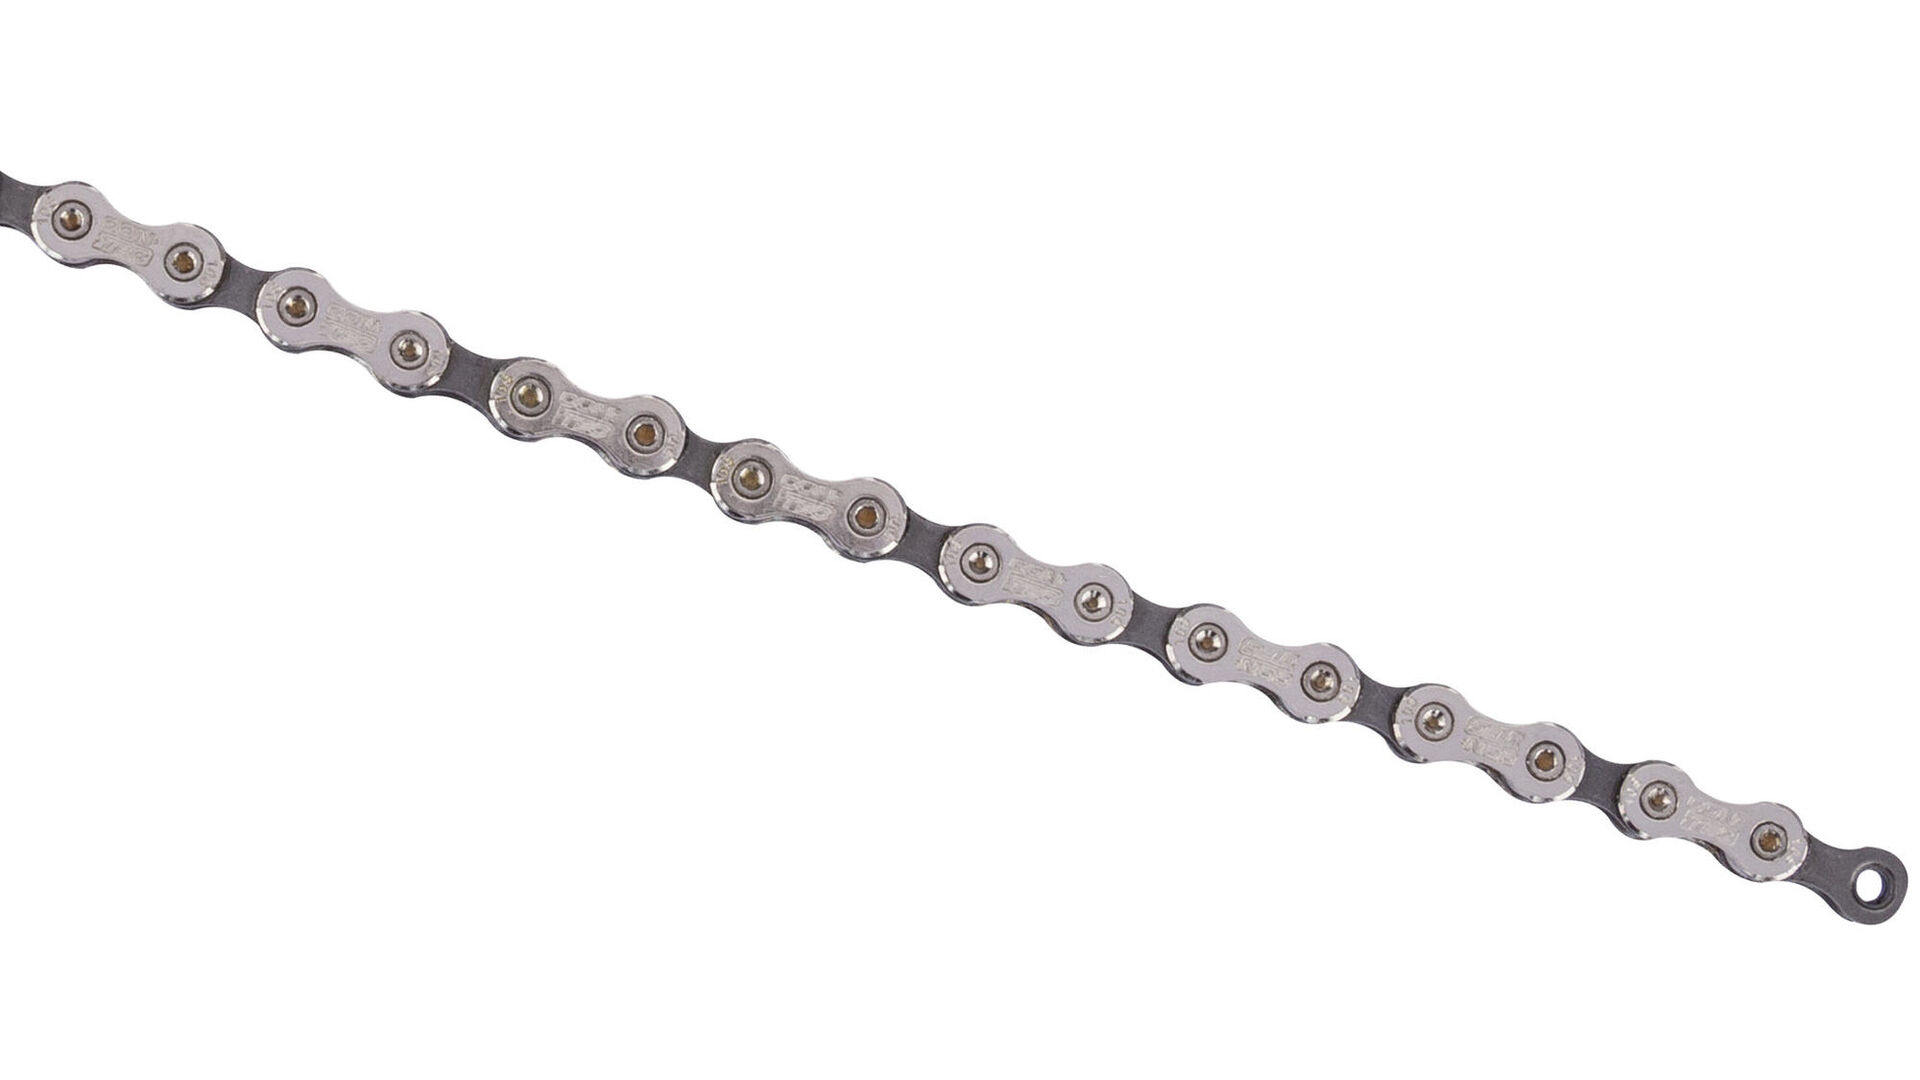
New bike chains have a one-size-fits-all length, so you'll probably need to adjust the length before it goes on your bike.
- The chain links of the old bicycle chain can help. The new chain needs just as many links.
- However, comparing the chain lengths is not enough: The old bike chain has stretched over time.
If the chain length of the new chain is too long for your bike, remove the corresponding number of chain links until the chain has the same number of links as the old one.
- Count the links on the open chain that need to be removed.
- Place the last chain link to be removed in the chain breaker.
- Make sure that the two ends of the chain fit together again: One end of the chain must have an outer plate, the other end must have an inner plate with a roller.
- Screw in the pin on the breaker until the chain pin slides out.
- Remove the chain links.
The new chain can now be put on the bike. Please note: On some models, you will need to observe the chain's direction. Details regarding the direction can be found on the chain itself.
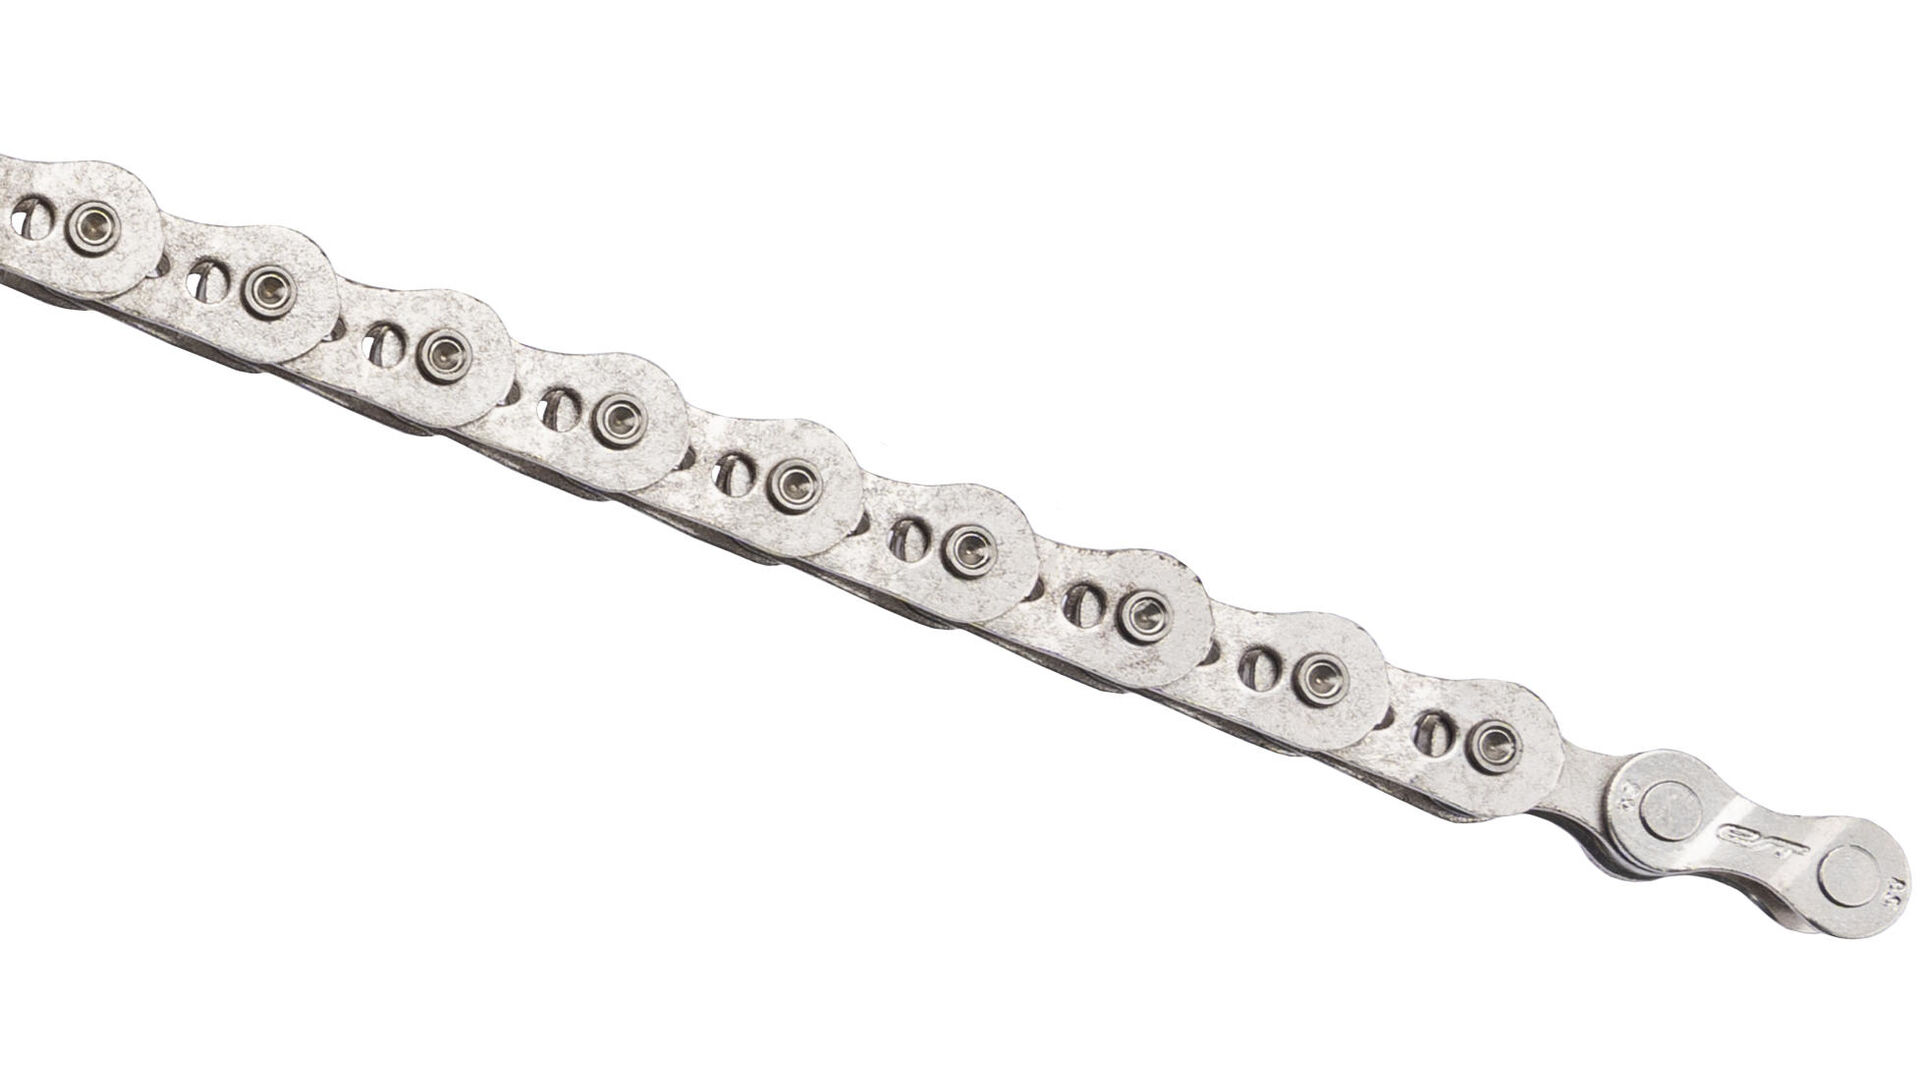
- Bike chain with a master link: Attach the master link to the links at the chain end.
- Chain without a master link: The part of the chain that is to be reattached should be de-tensioned. This can be done with a curved spoke or by leaving the chain off the chainrings and sprockets.
- Put the chain ends together and push the pin into the corresponding hole through the outer plates by hand.
- Place the links into the chain breaker and push the pin firmly into the chain link until the pin guide is completely pushed through.
- Now insert the links into the chain breaker and turn. If the correct position of the pin is found, the resistance will decrease briefly when the chain breaker is turned.
- If the chain can now be moved smoothly, the pin is in the correct position.

- Die Kettenenden zusammenlegen und den Nietstift per Hand in die entsprechende Öffnung durch die Außenlaschen schieben.
- Die zu schließenden Glieder in den Kettennieter legen und den Stift fest in das Kettenglied hineindrücken bis die Führung des Stiftes komplett durchgeschoben ist.
- Lege nun die zu schließenden Glieder in den Kettennieter ein und drehe den Bolzen herunter. Ist die richtige Position des Nietstifts gefunden, lässt der Widerstand beim Drehen des Kettennieters kurz nach.
- Lässt sich die Kette an der genieteten Stelle nun leichtgängig bewegen, sitzt der Nietstift an der richtigen Stelle.

Step 5 – Checking the functionality
- Do the chain links move smoothly?
- Use your fingers to move stiff links around.
- Check the pin: If the pin is not seated properly, move it in both directions until the chain moves smoothly.
- If the stiff chain link still does not move, some chain oil may help.
Care for the bike chain properly
You can prevent bike chain wear with the correct care and careful handling. This will prolong the life of your bike chain and allow you to wait longer to replace it. Find out how to get the best out of your chain now.
Tip 1 – Take care of your chain while riding
You can avoid premature chain wear on any bike ride. For example, ride with a higher cadence in a lower gear instead of shifting early to a higher gear. Because the more you pedal in a high gear, the higher the load on the bike chain.
For bicycles with derailleur drivetrains, take care not to shift into other gears under full load. On a bike with internally geared hub, you have to stop pedalling to shift anyway.
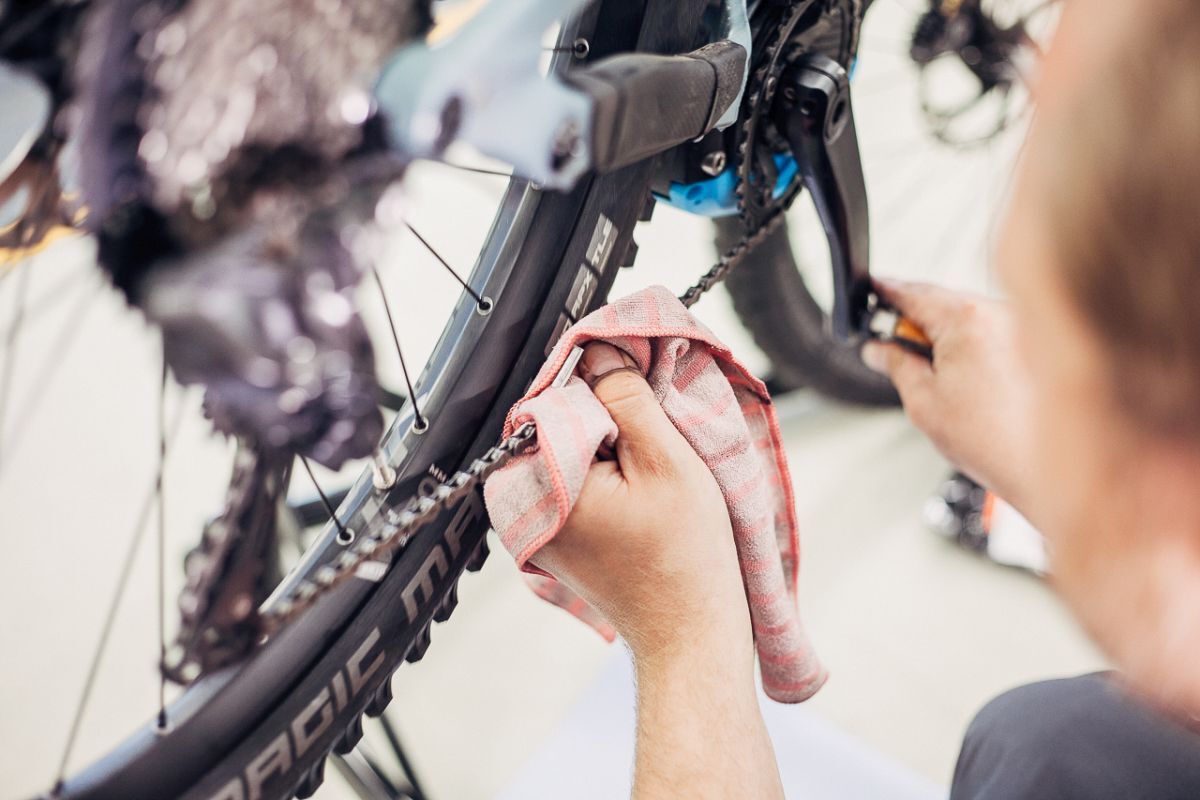
Tip 2 – Clean the bike chain
To prevent chain wear, it helps to keep the bike chain, rear derailleur, front derailleur as well as other drivetrain components clean. Therefore, clean the drivetrain regularly. Chain links, sprockets and derailleurs are spared from wear due to dirt particles such as sand.
With a special chain cleaner and a toothbrush / small brush, you can free the chain from coarse dirt. A cloth will then help with the fine cleaning of the bicycle chain. Remember to also clean chainrings and cassettes with bicycle cleaner and a brush.
Tip 3 – Oil the bike chain
When cleaning the bike chain, grease also comes off the individual components. Therefore, oil chain with chain oil after cleaning. The following applies: Less is more – the bike chain does great with a small amount Chain oil . Too much oil on the chain, on the other hand, attracts dirt – meaning you will have to clean the bike chain again soon.
Tip 4 – Loosen stiff chain links
Dirt can stiffen individual links of the bicycle chain. Stiff chain links run over the sprockets and chainrings, which increases the wear of the affected components. Feel for stiff links in the chain with your hands. Then move the chain link up and down to loosen dirt and stiffness. Some chain oil helps. If chain links are bent, you will need to replace the chain.
With a new bike chain and knowledge of proper care and careful handling, you can now enjoy your next bike rides worry-free!


Replacing a bike chain - this is how it works
Bike chain worn or damaged? Then it's time to replace the bike chain! You can easily replace it yourself with our instructions. Find out how successfully replace the chain here:

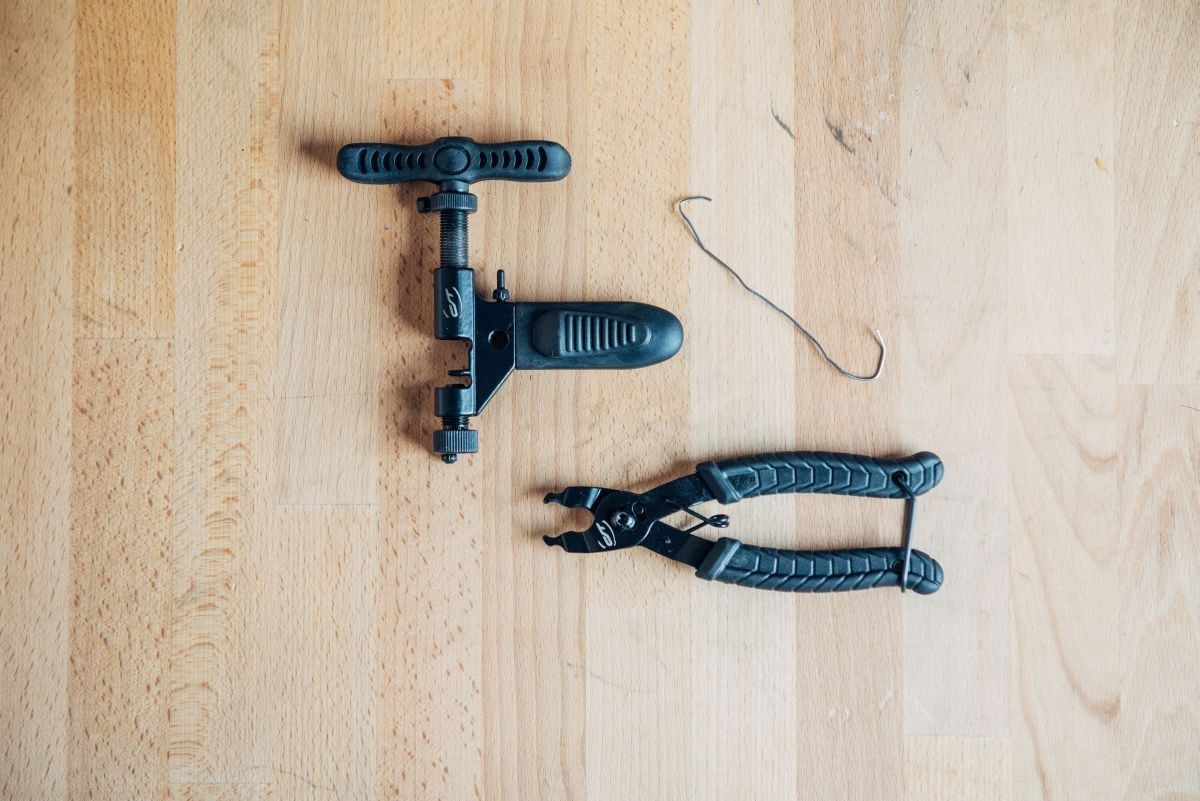
OVERVIEW OF REQUIRED TOOLS & MATERIALS
- New bike chain
- Chain pins
- Chain breaker
- Master link pliers
- Wire (optional)
- Chain oil (optional)
- Repair stand (optional)

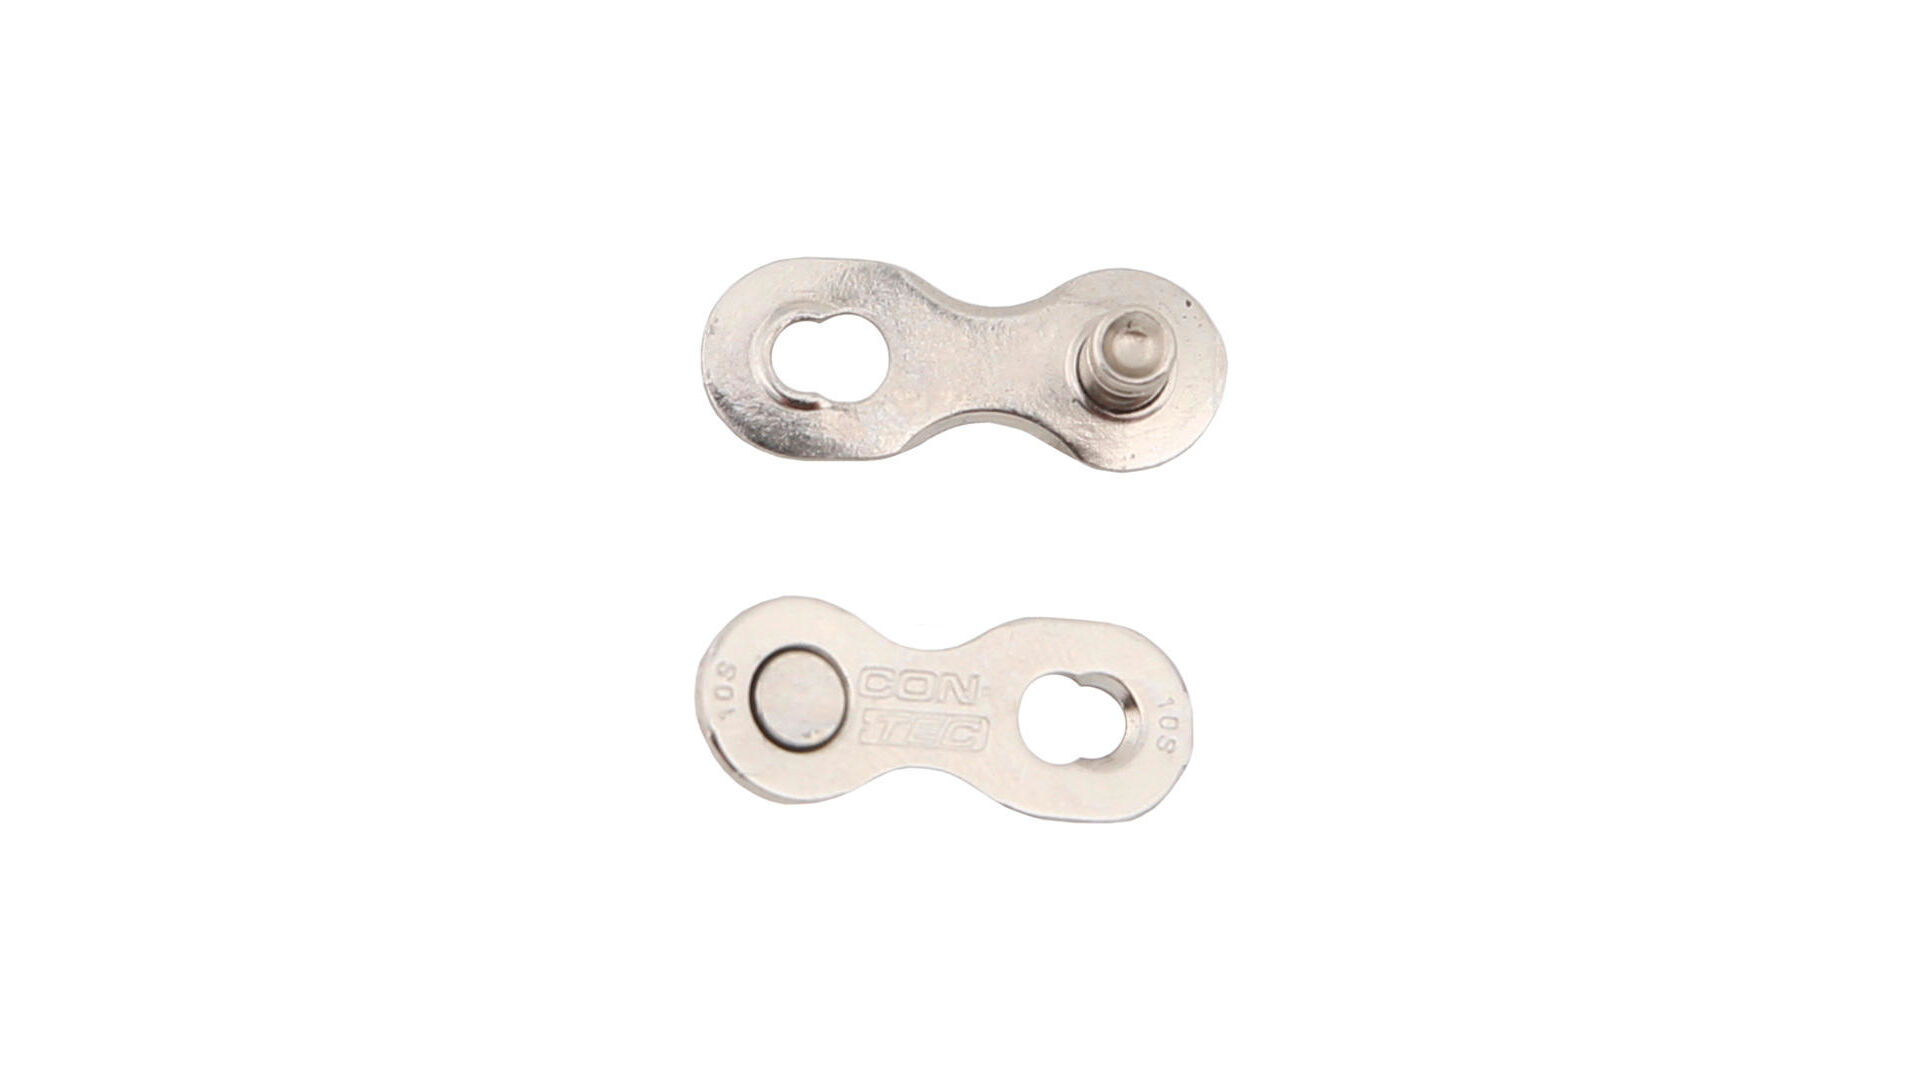
Use a master link
Attach the new bike chain with a master link so that you can open the chain more easily for replacing in the future - especially useful on long tours. Alternatively, you can take a chain breaker and rivet pin with you.