
Replacing a bike handlebar and stem
There are many reasons why you might want replace your handlebar, stem or both: For example, with the width or length is incorrect, or you want more ergonomics. Here we will explain step by step how to correctly install your new cockpit.
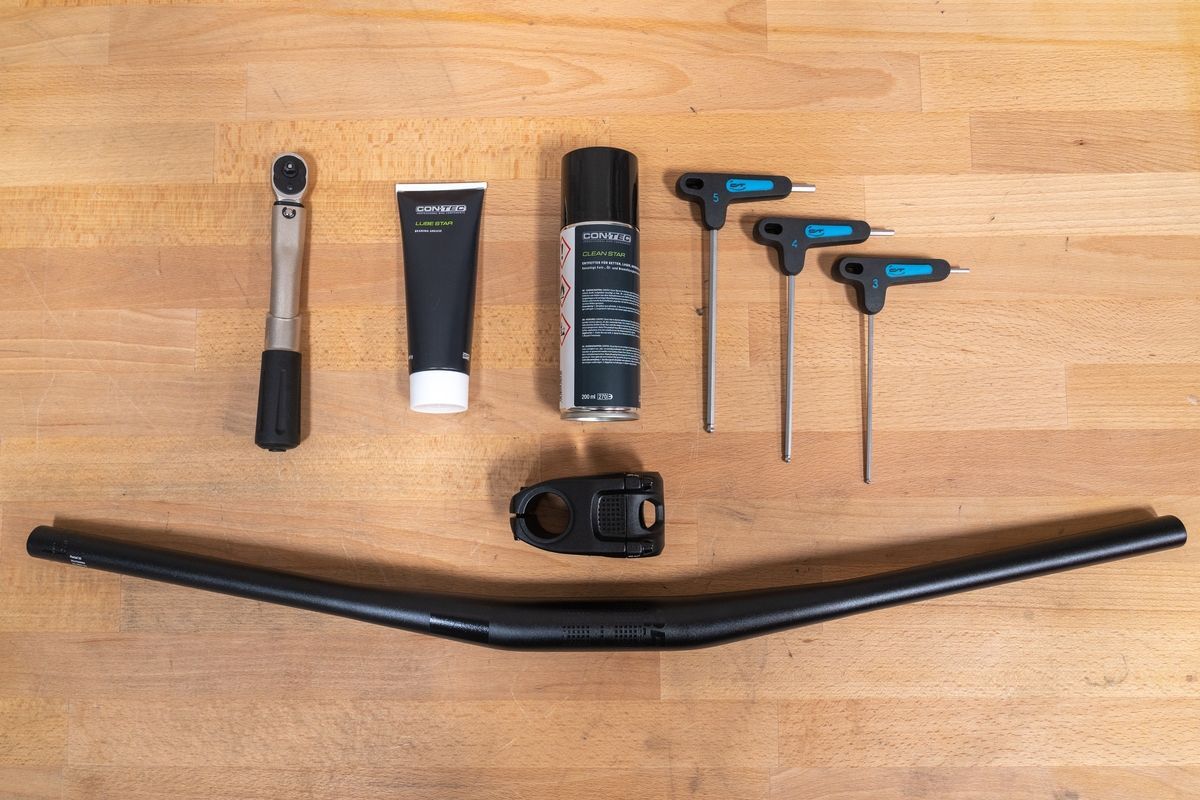
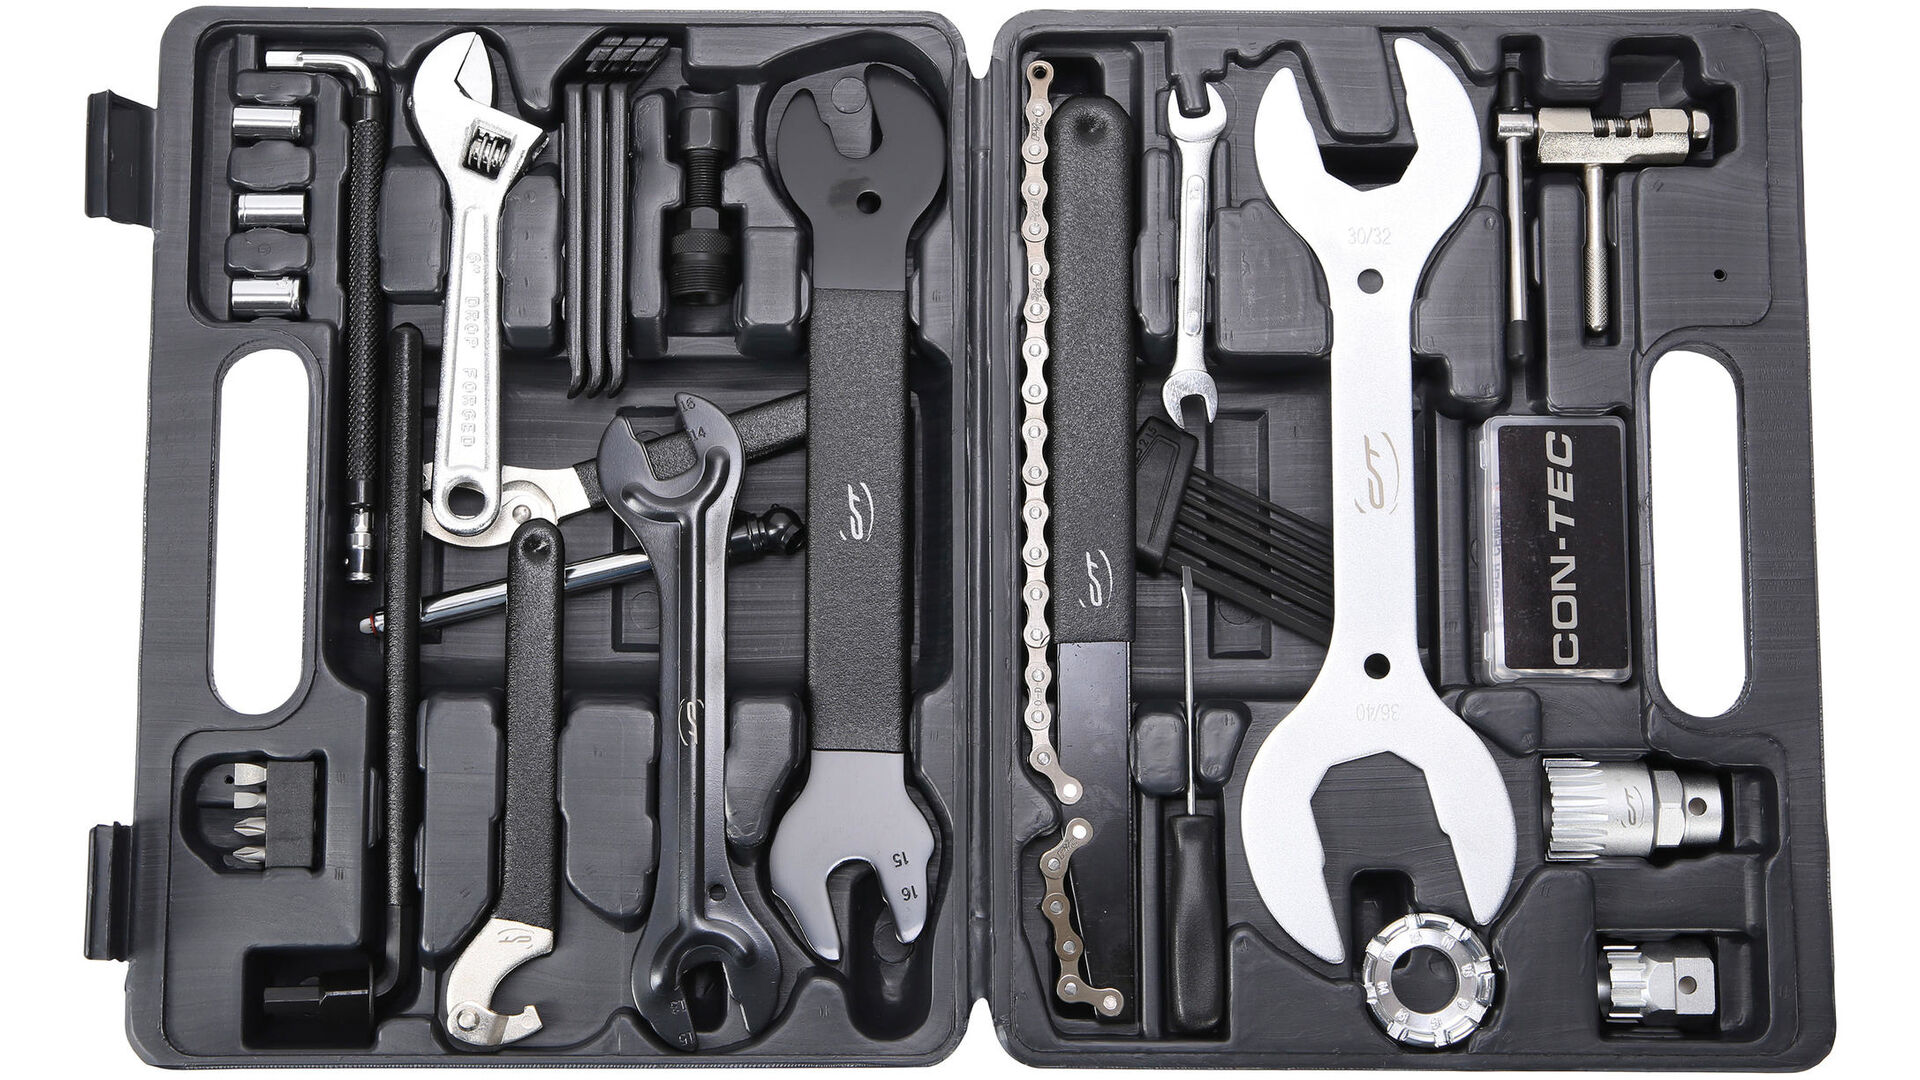
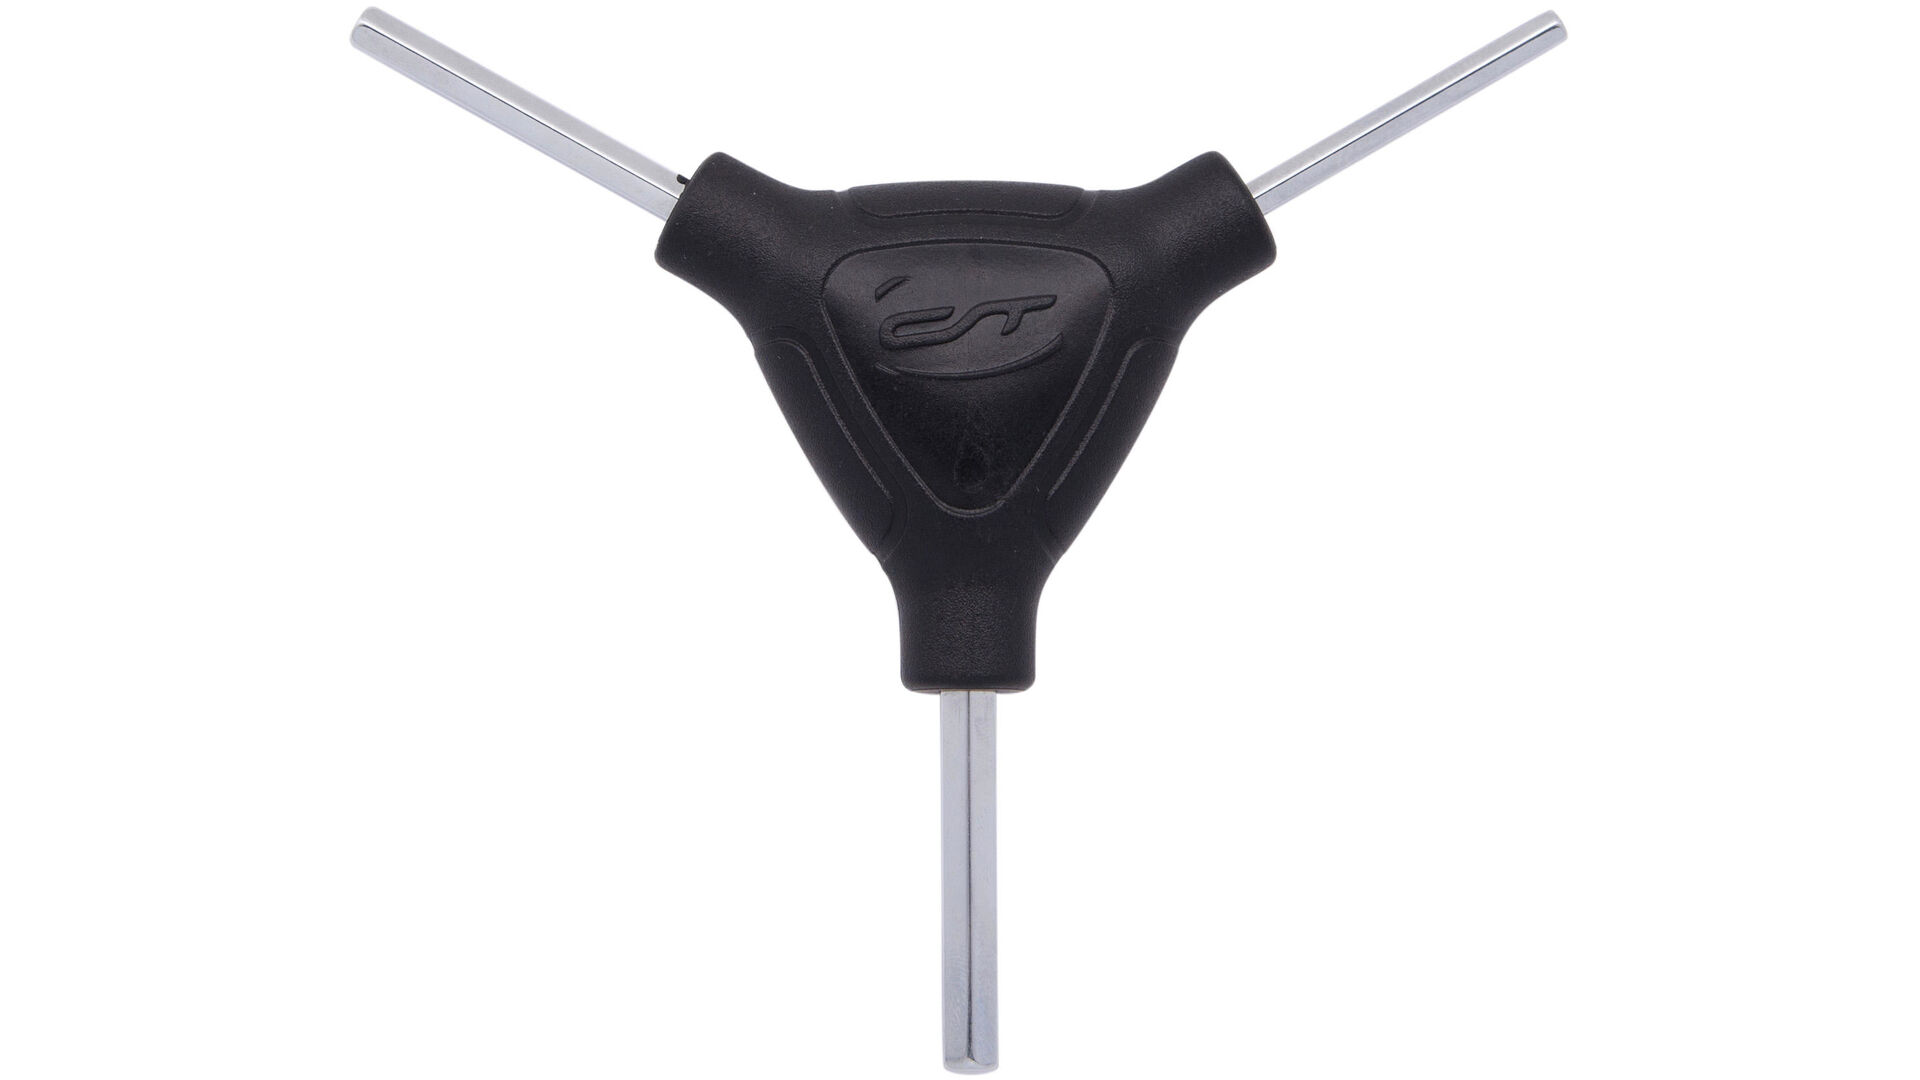
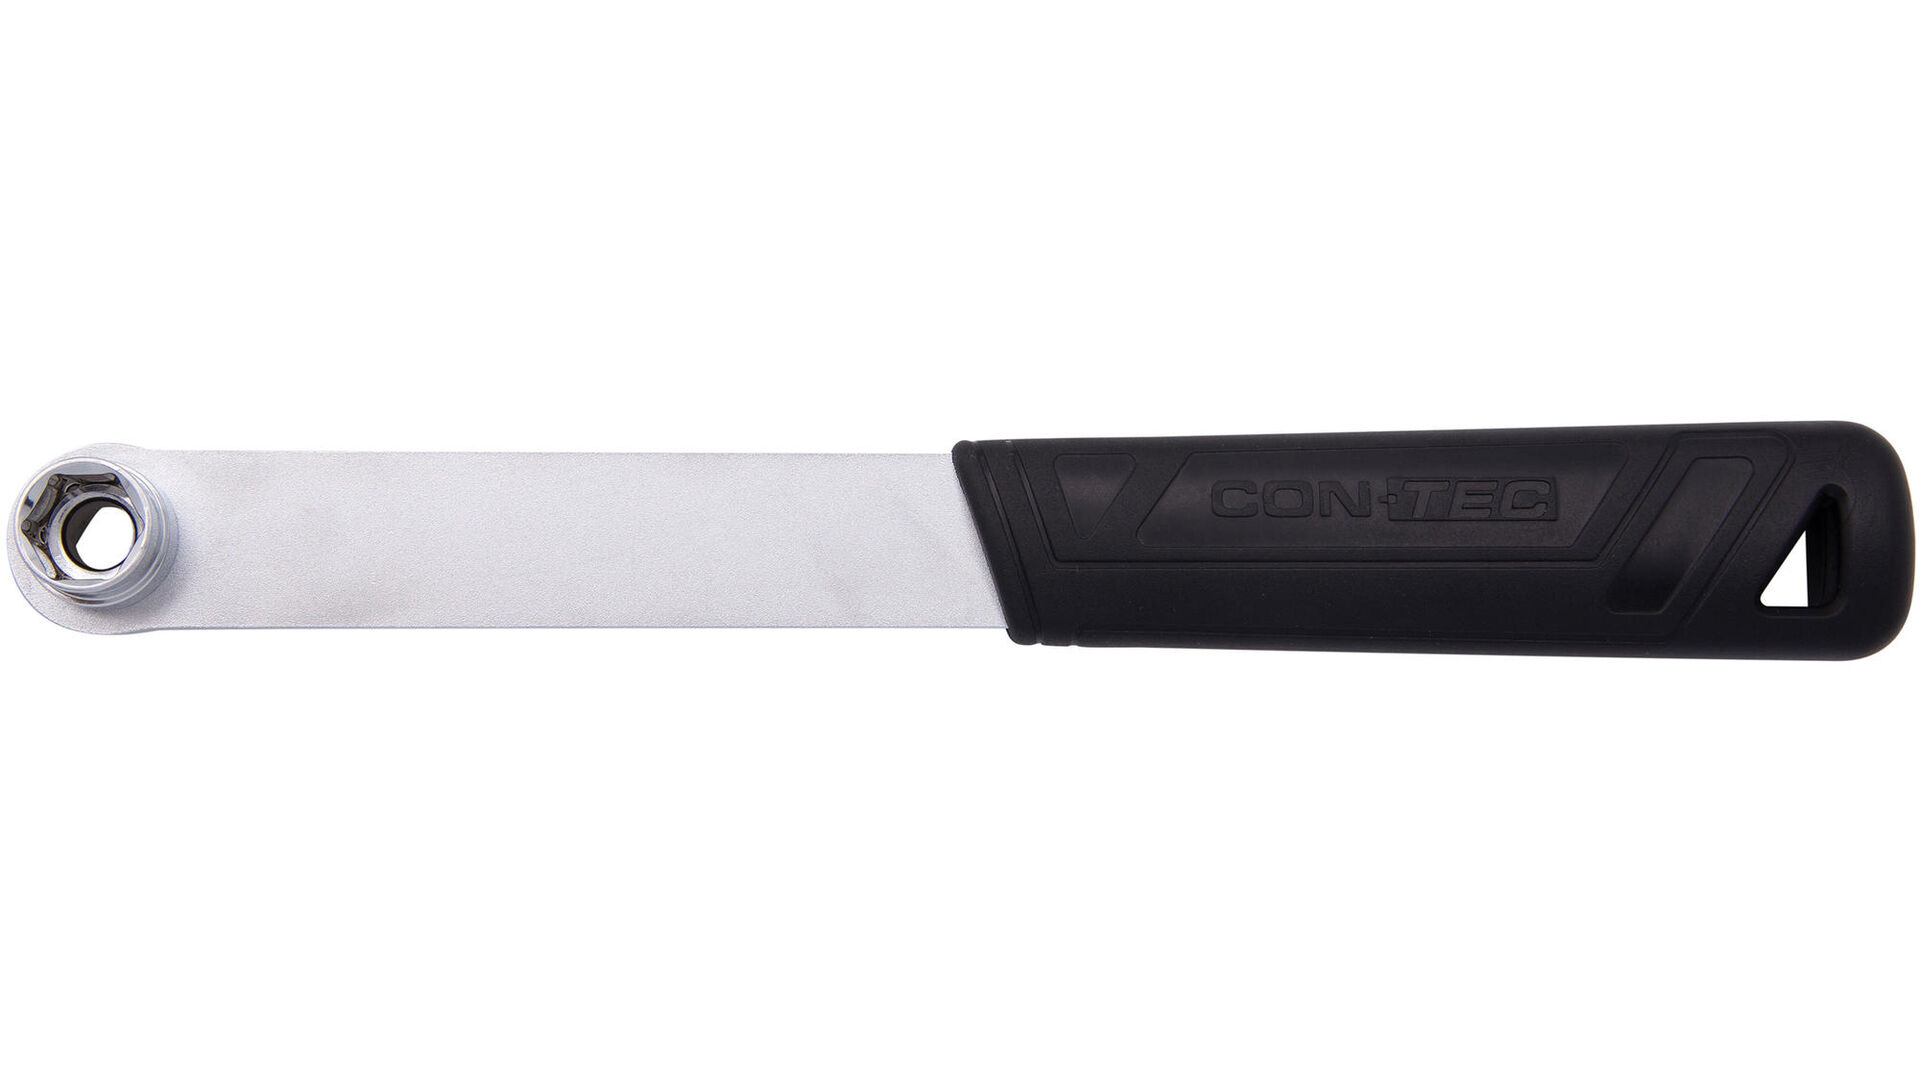
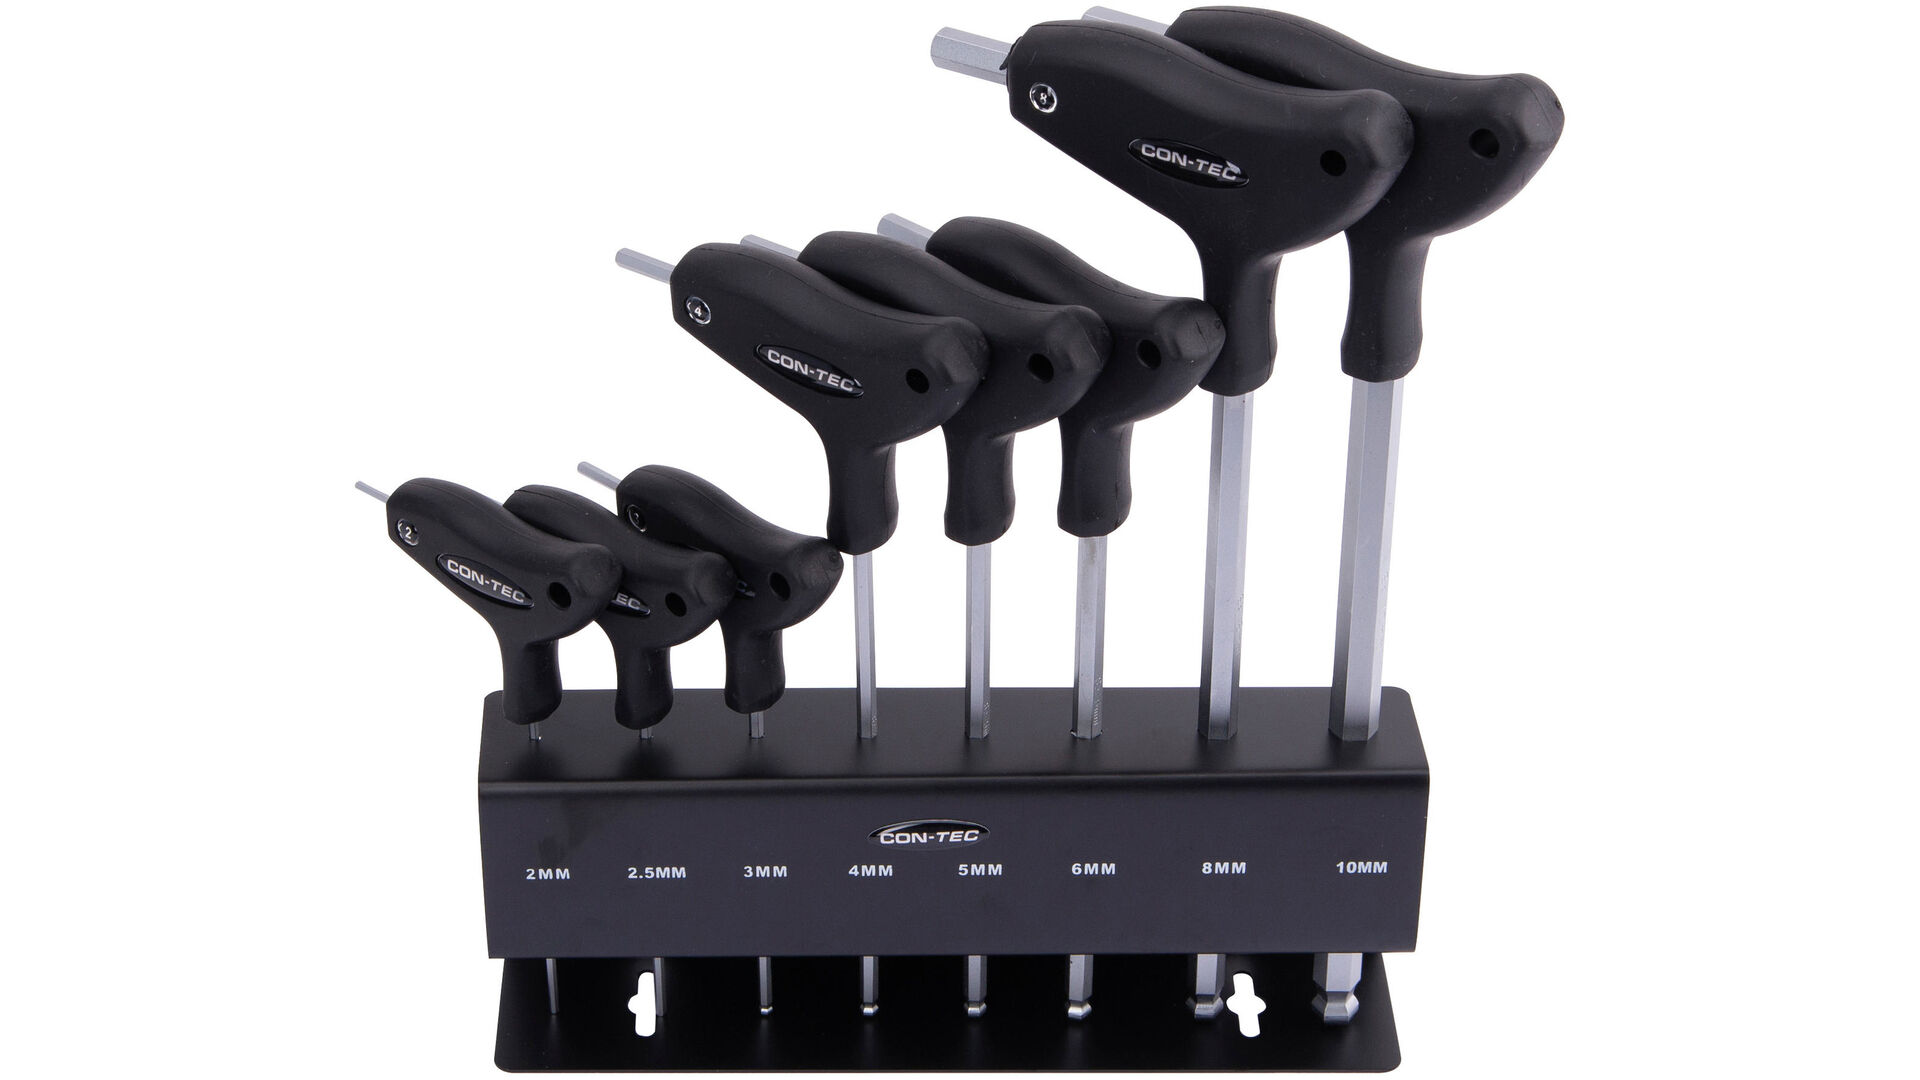
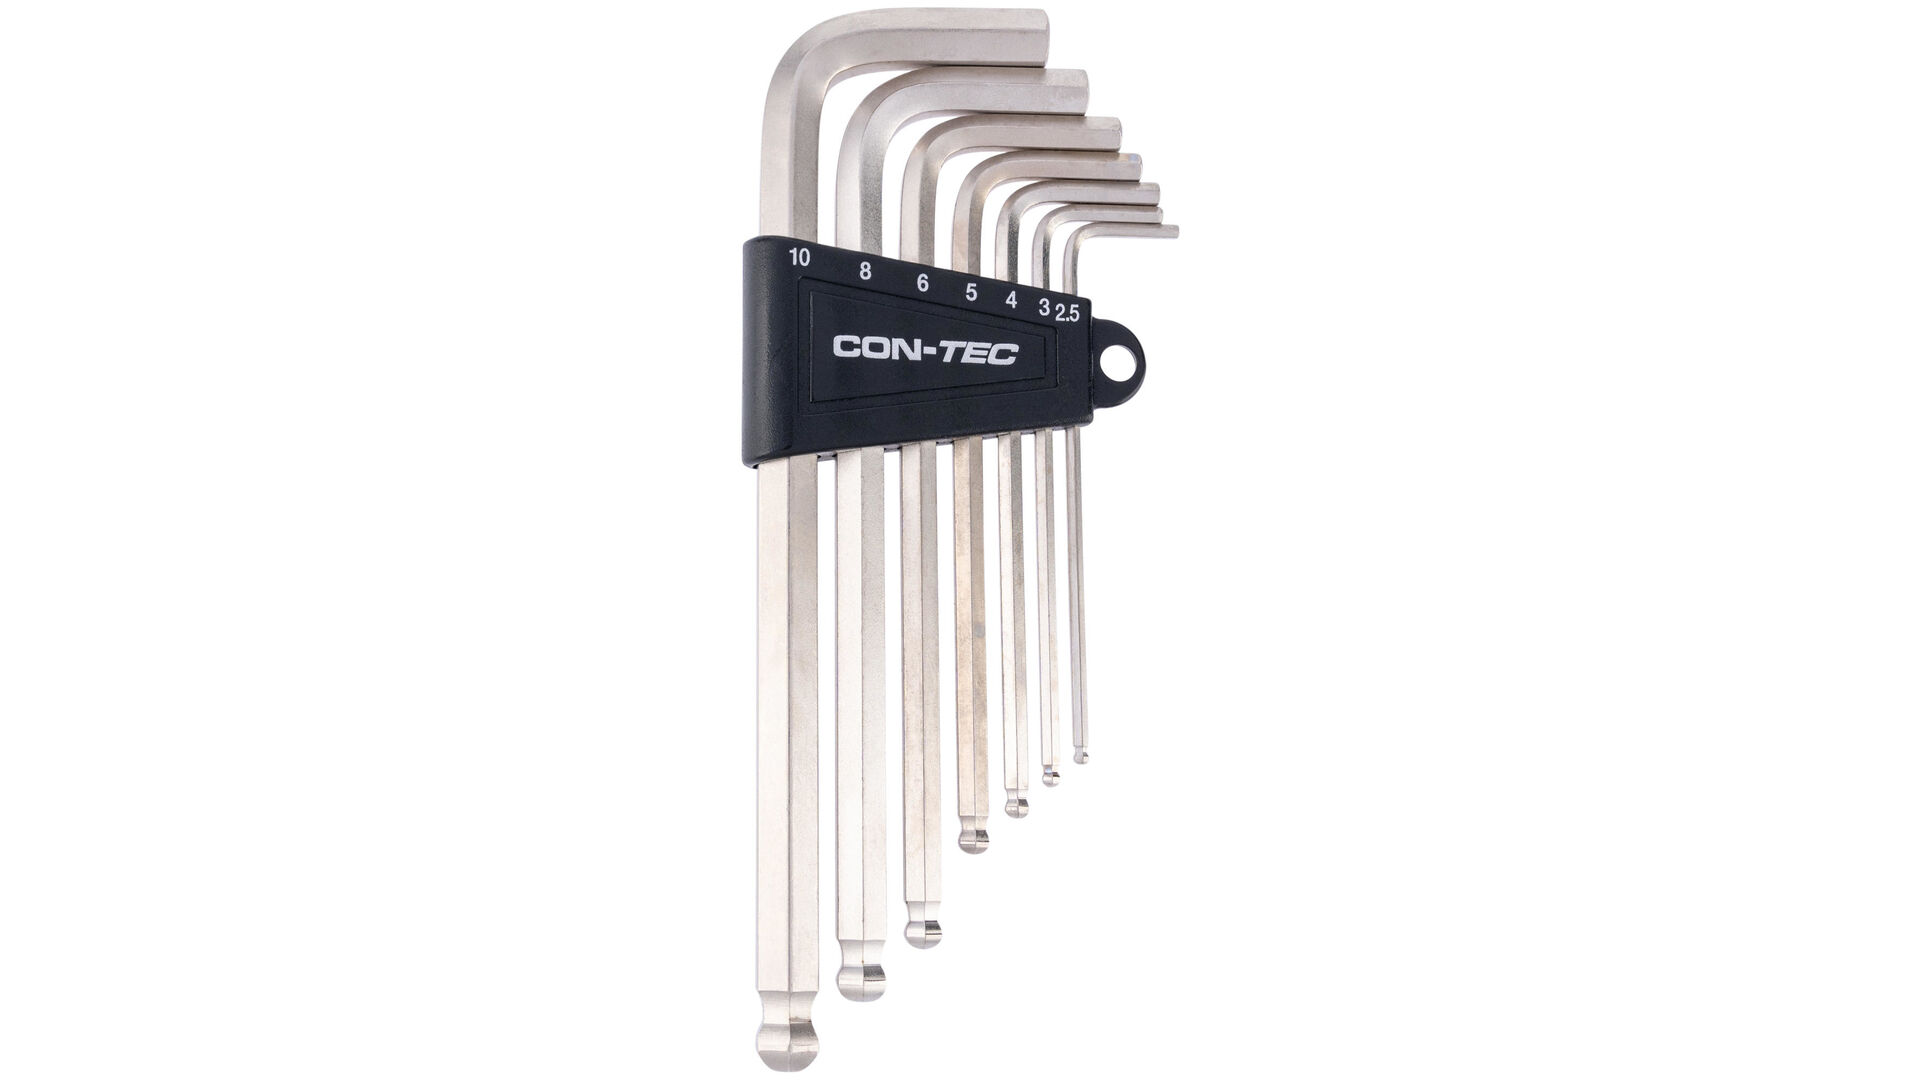
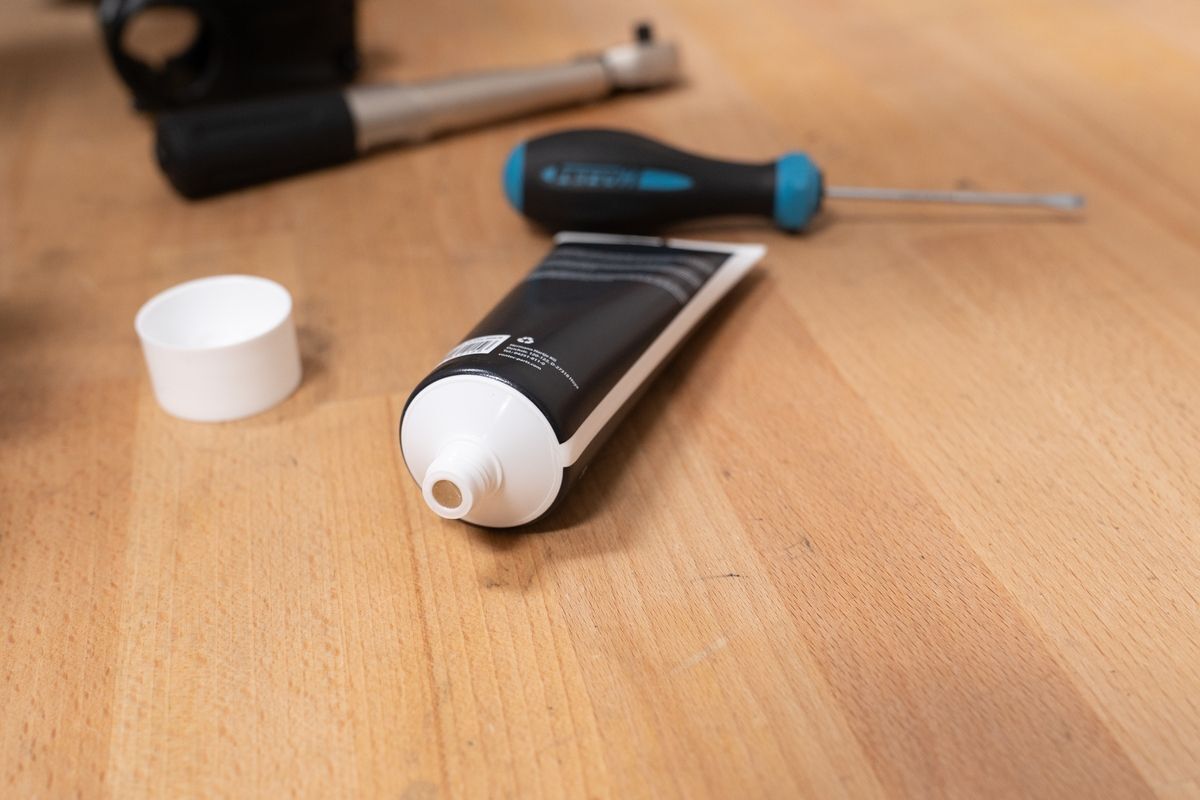
Overview of the tools required
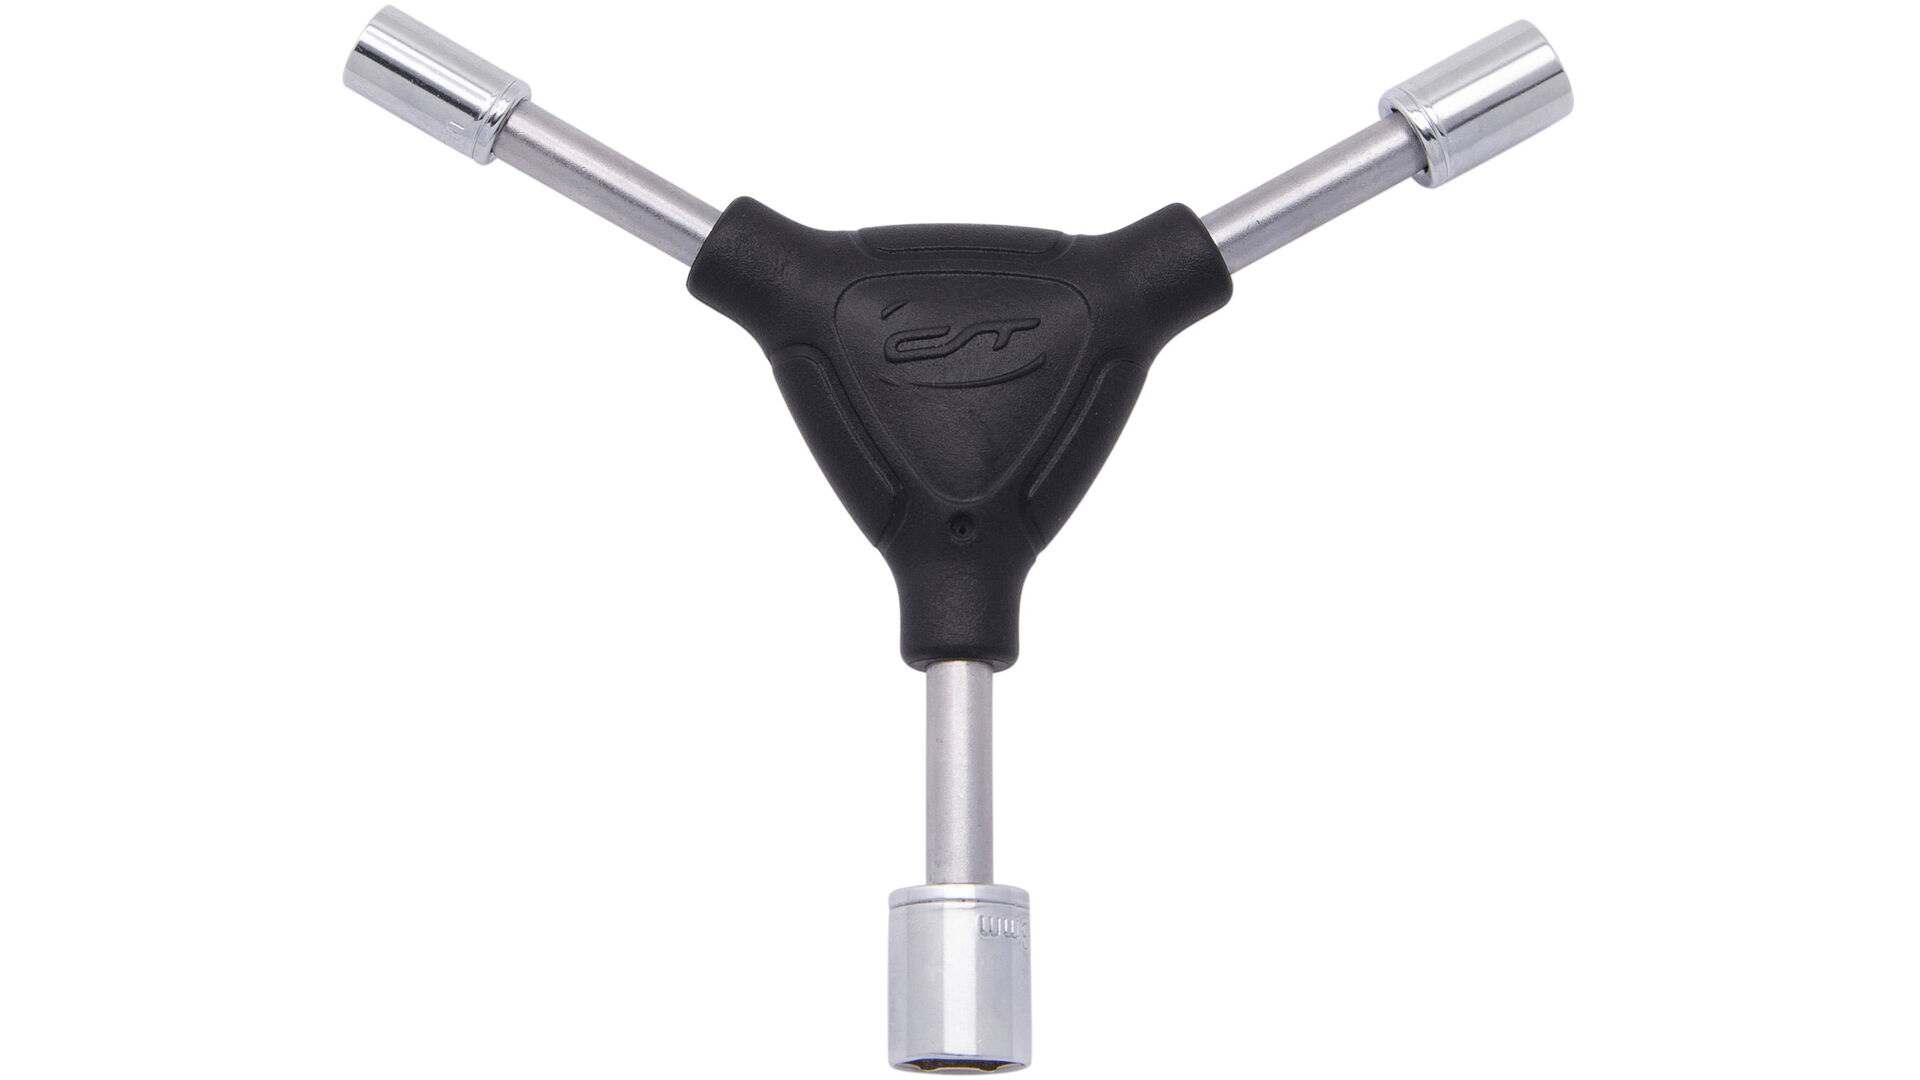
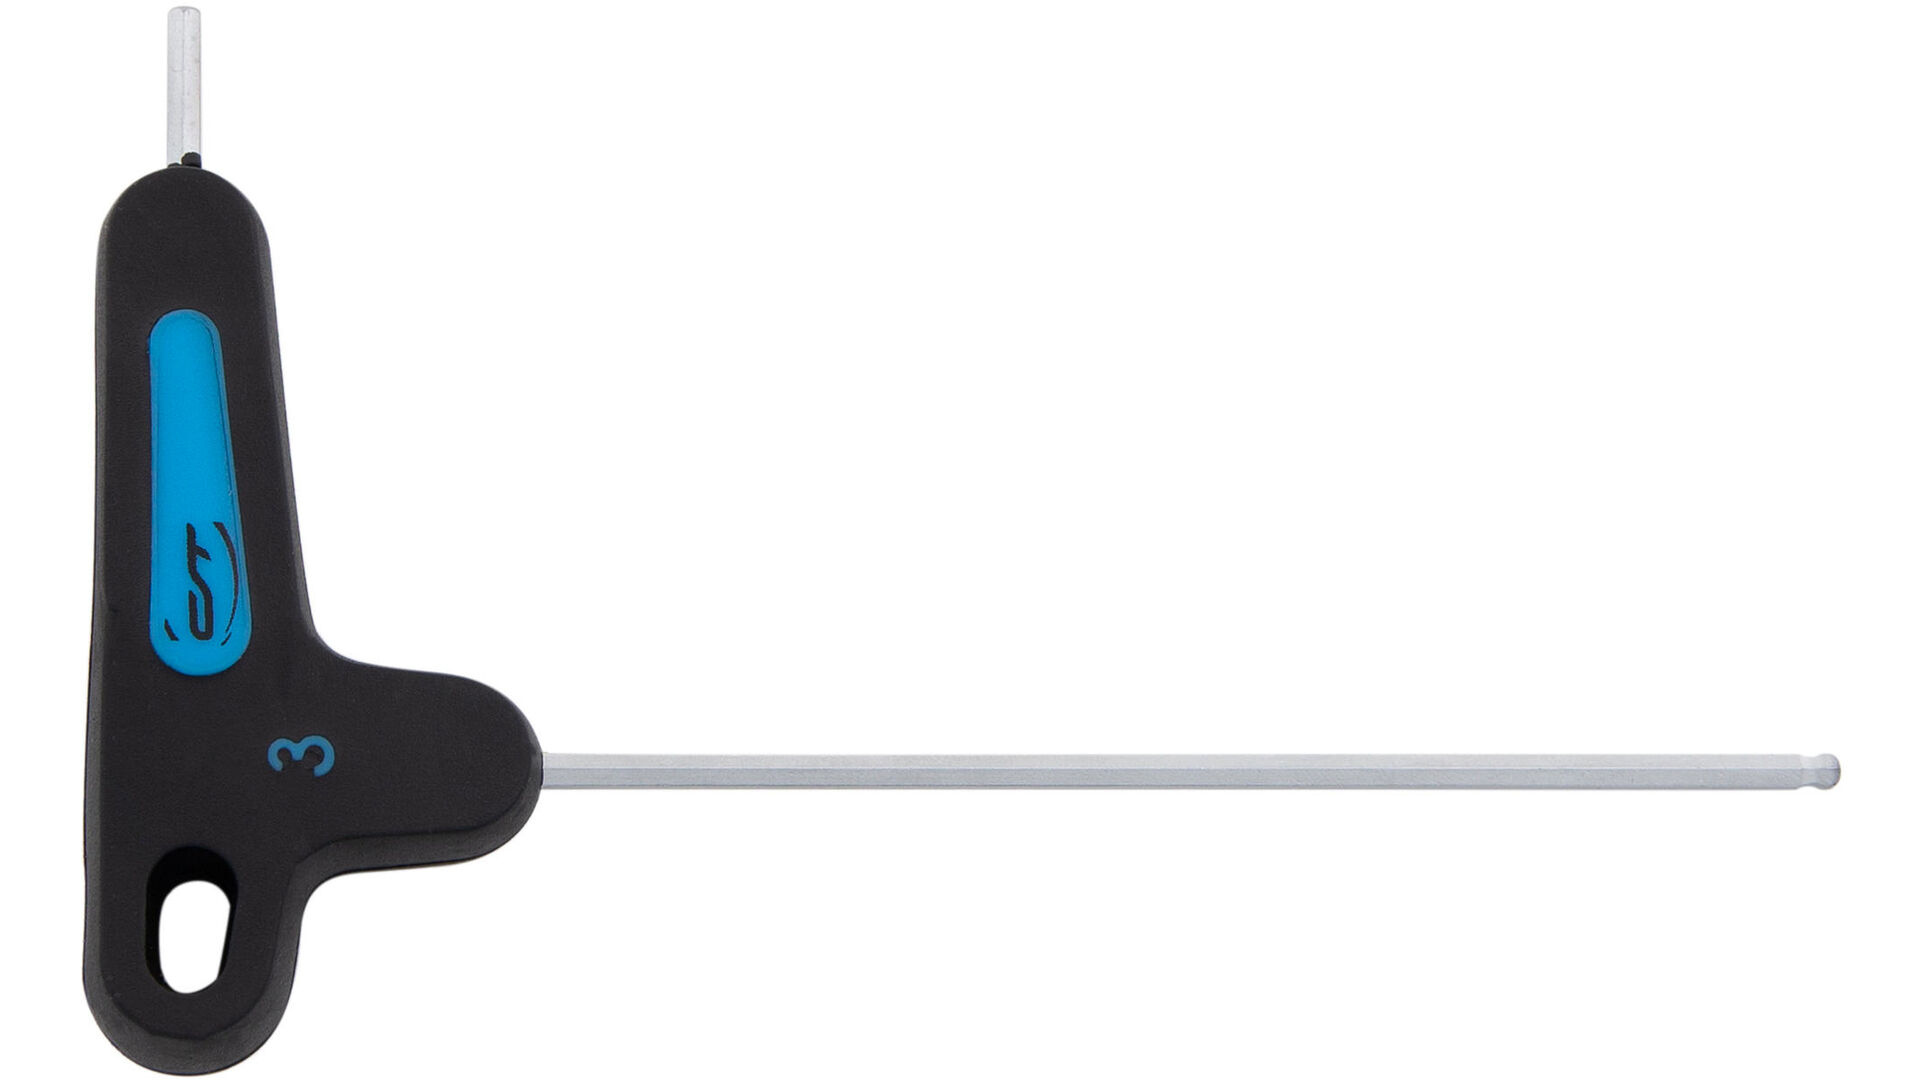
- Hex spanner 4, 5, 6 (depending on the handlebar & stem model)
- Possibly a screwdriver for removing a bell
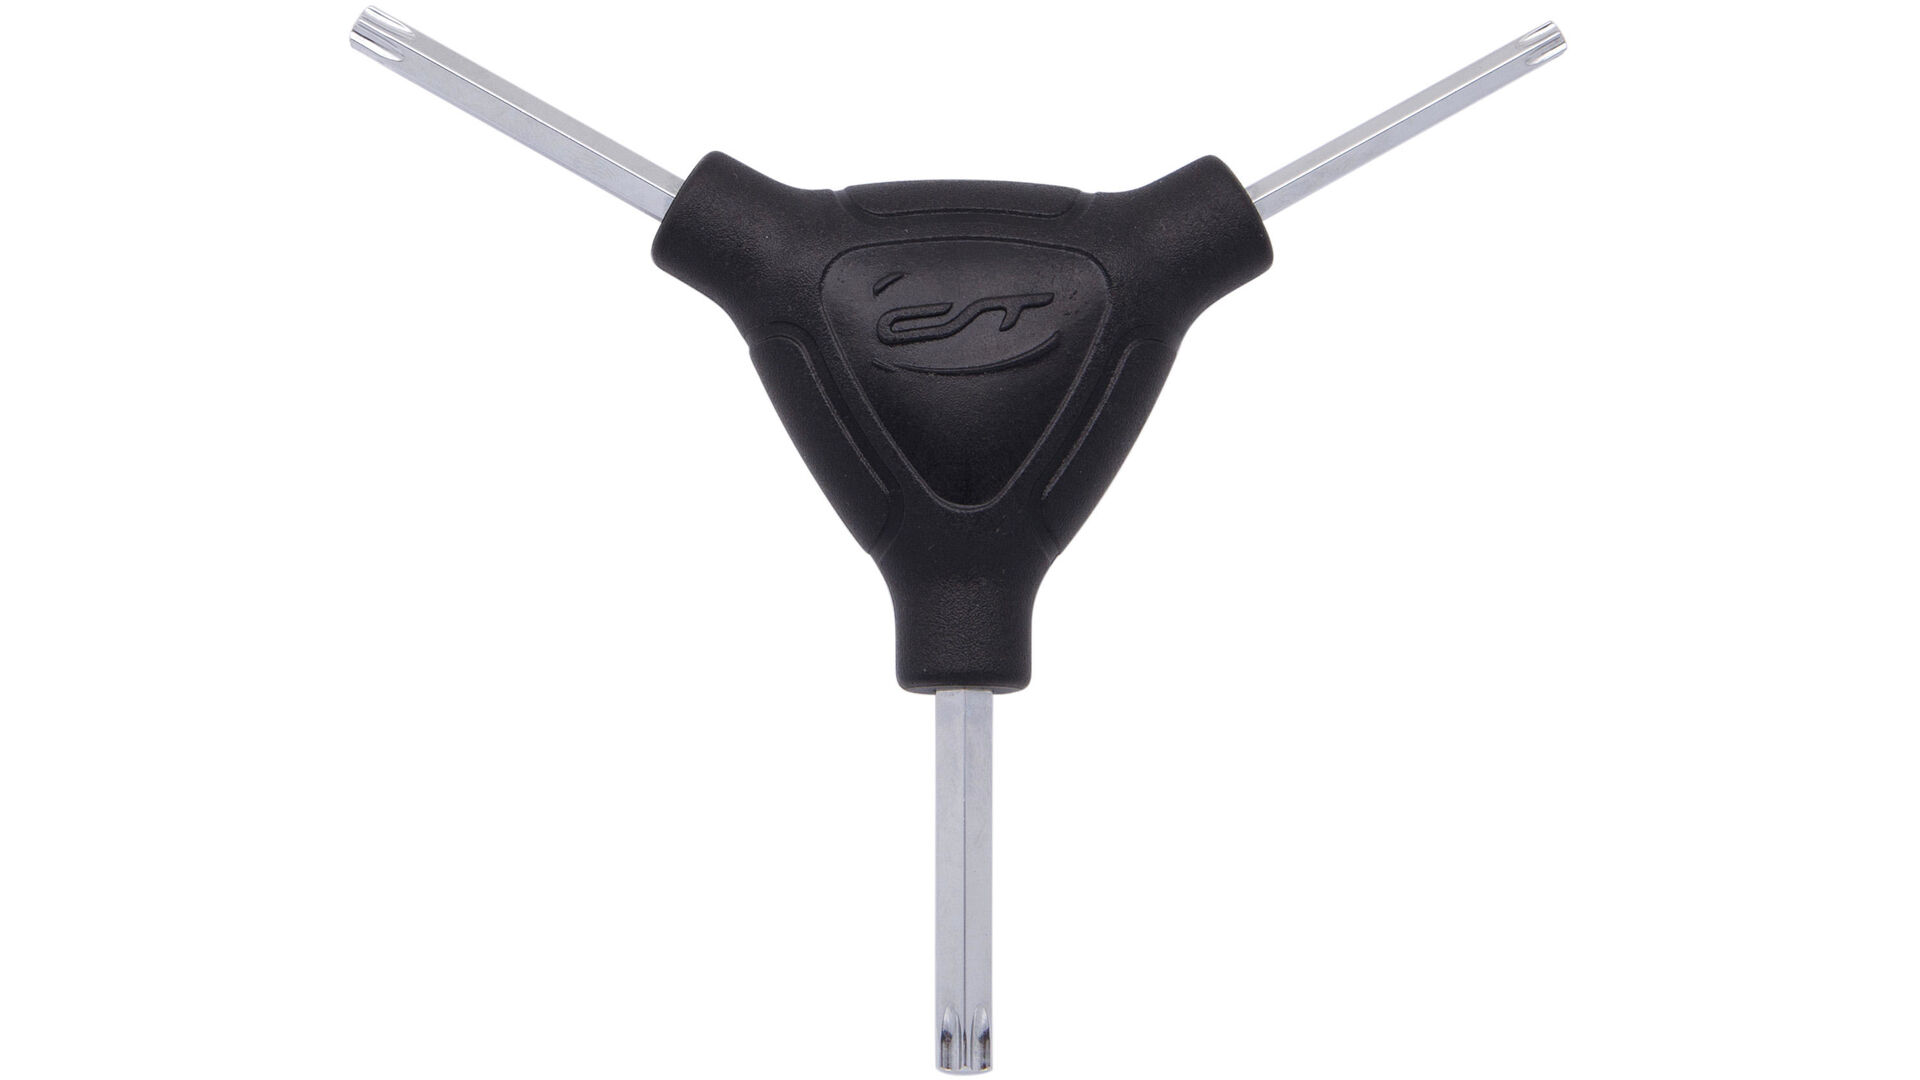
- Possibly a Torx key
- Torque wrench
The following steps are required:
Removing grips, brake & shift levers
Removing the handlebar
Removing the stem
Mounting the stem
Mounting the handlebar
Mounting the stem


Step 1: Removing grips, brake & shift levers
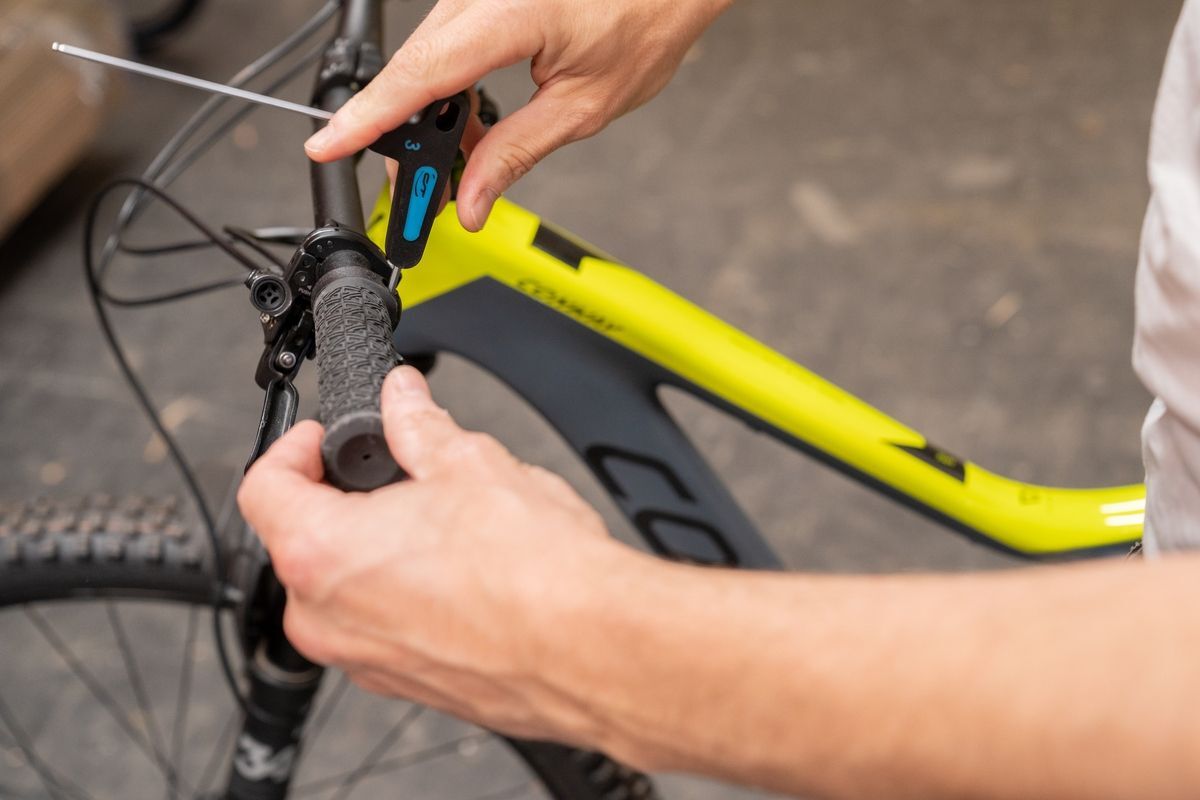
Before you can remove your old cockpit, you must first remove all the other components attached to the handlebar. These include the grips, brake and shift levers as well as possible accessories such as a bell. To do this, loosen all the screws with the corresponding Allen key and then slide each component one after the other from the handlebar: First the grips, then the brake levers and finally the shifters. Make sure that the cables or brake lines do not buckle when they are hanging down.
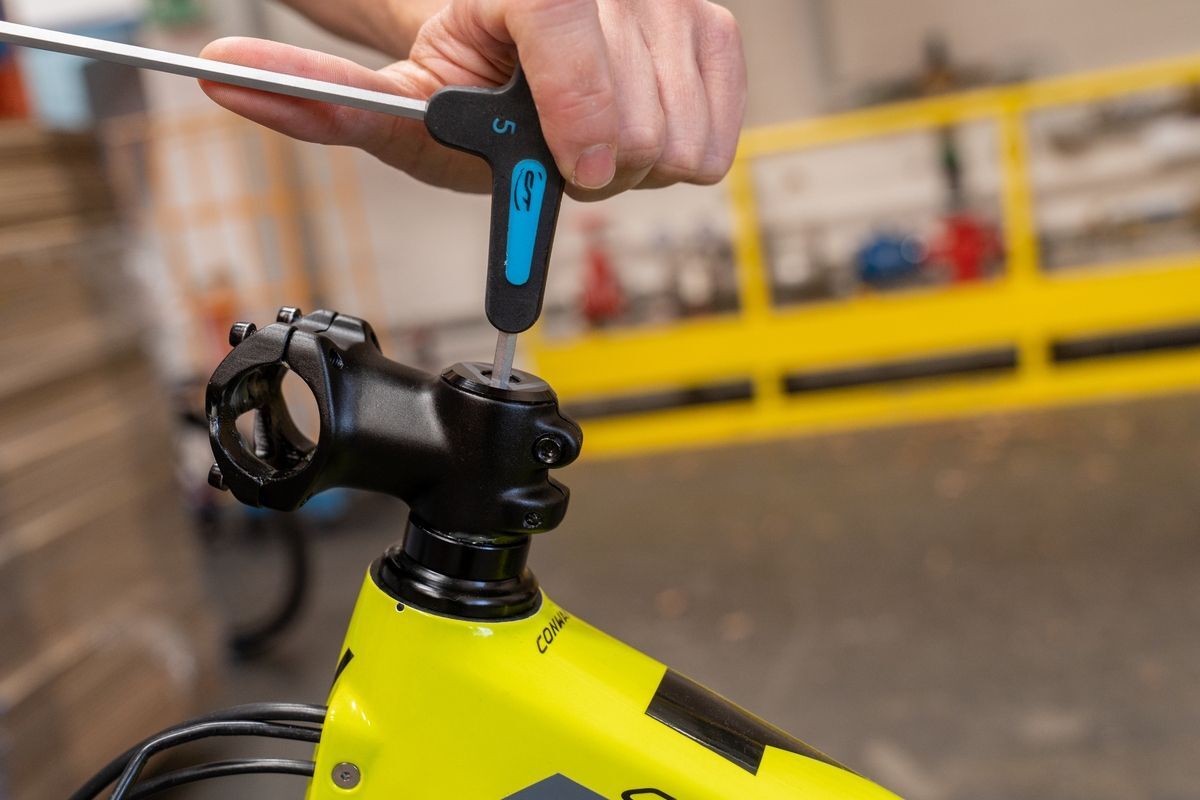
Step 2: Removing the handlebar
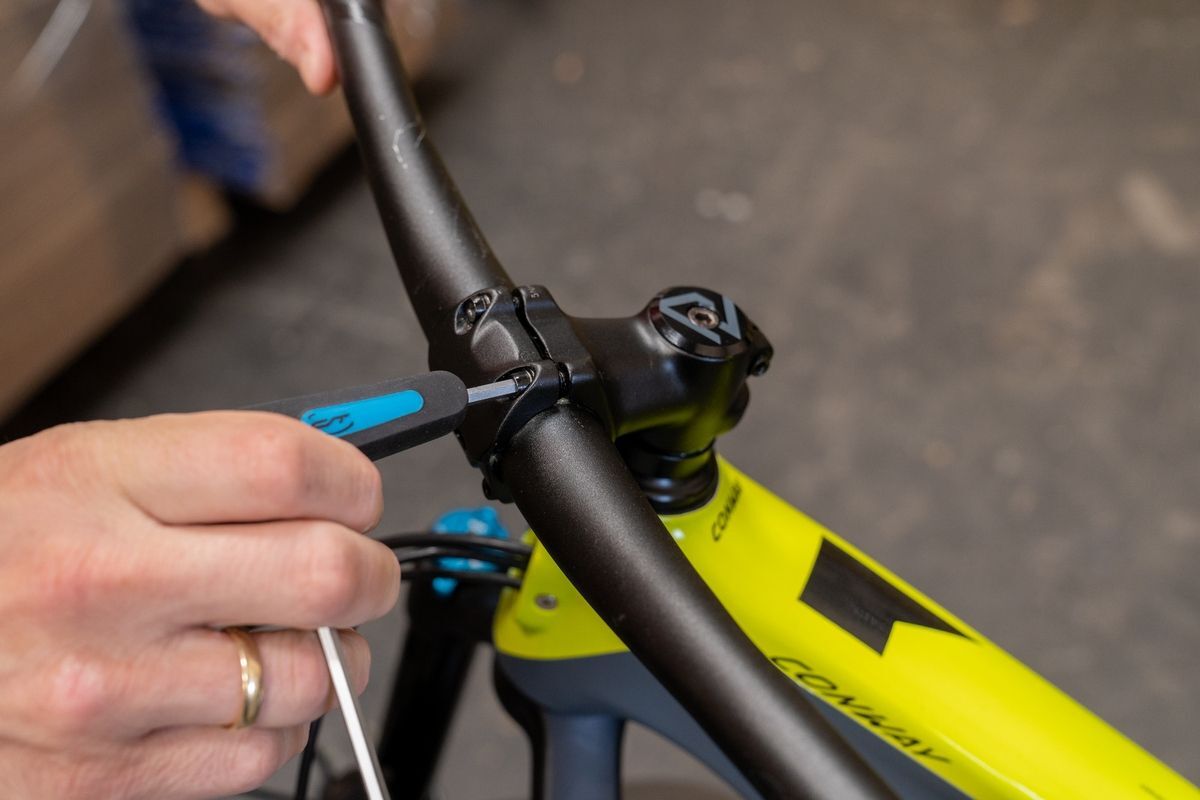
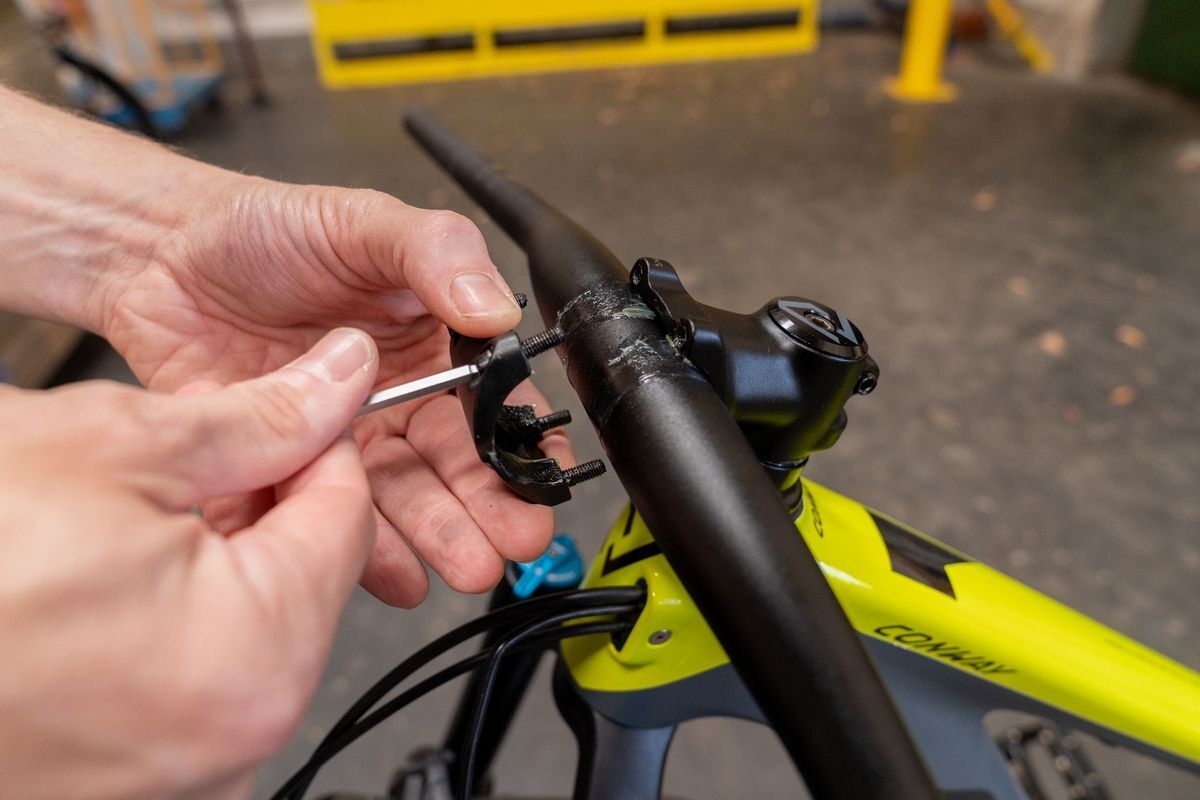
- When all components are removed from the handlebar, you can loosen the bolts on the stem face plate. Screw out one bolt at a time and hold the stem face plate on with the last bolt. This ensure the handlebar doesn’t fall down.
- In some cases, the handlebar fits tightly into the curve of the stem. It can be removed with light pull.
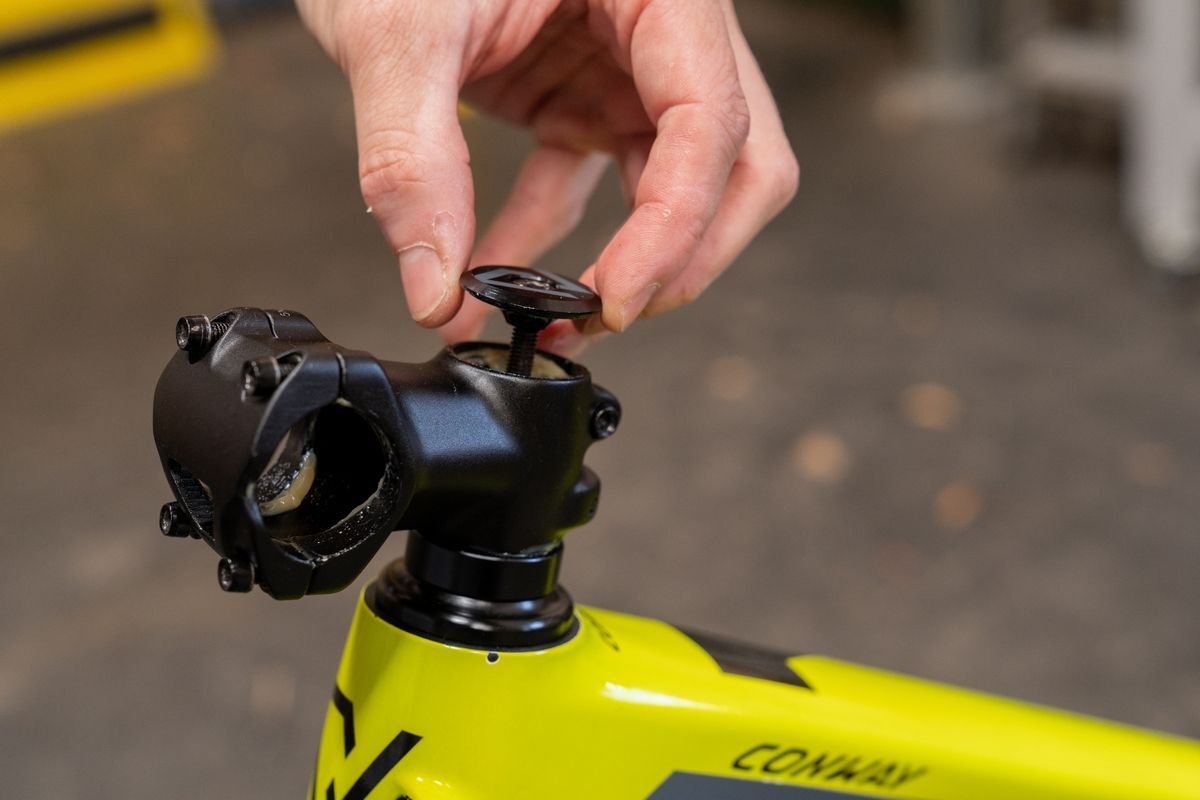
- To avoid losing the stem face plat and its associated bolts, simply screw it back onto the stem after removing the handlebar.
Note:
If you only want to change the handlebar, go directly to step 5..
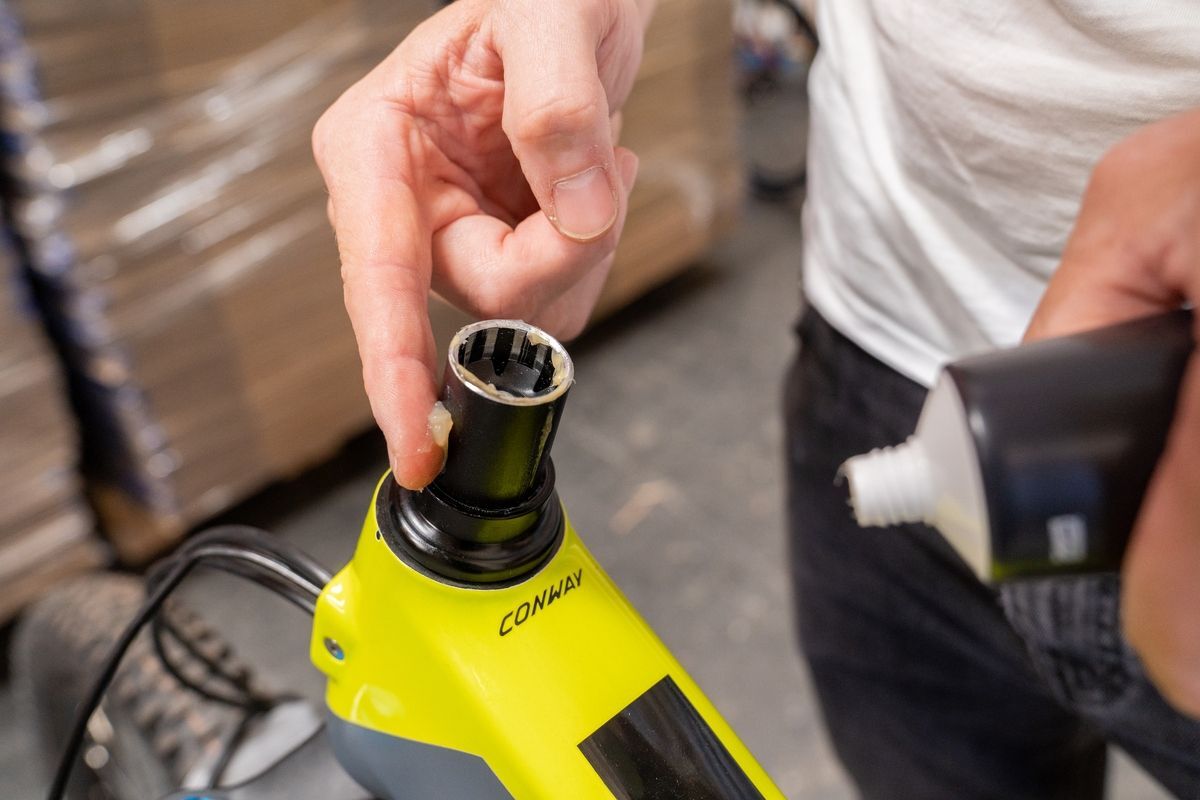
Step 3: Removing the stem

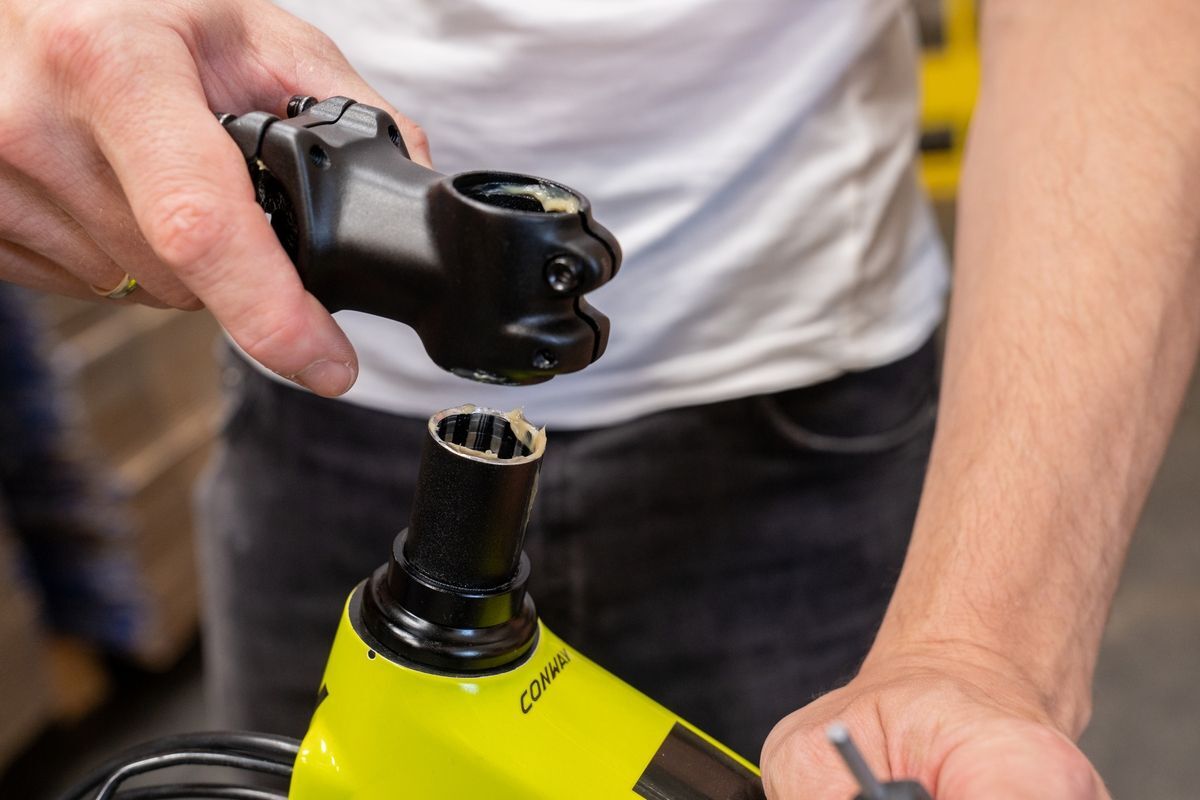
- The easiest way to remove the stem is when the bike is on the ground. The reason: The stem keeps the fork in position – once you remove it, the fork steerer tube is no longer attached and the fork will fall out of the head tube, if the bike is hanging in a repair stand.
- In order to remove the stem from the fork steerer tube, normally you have to loosen three bolts: One on the top and two on the side. The two side bolts clamp the stem to the fork steerer tube and prevent it from twisting to the side. You only have to loosen them, not unscrew them completely.
- The bolt on top is different: it clamps the headset and must be removed completely. Once you've loosened it, you can remove it along with the headset cap.
- Now you can pull the stem (and, if necessary, the spacers) upwards.
Step 4: Pre-assembling the stem
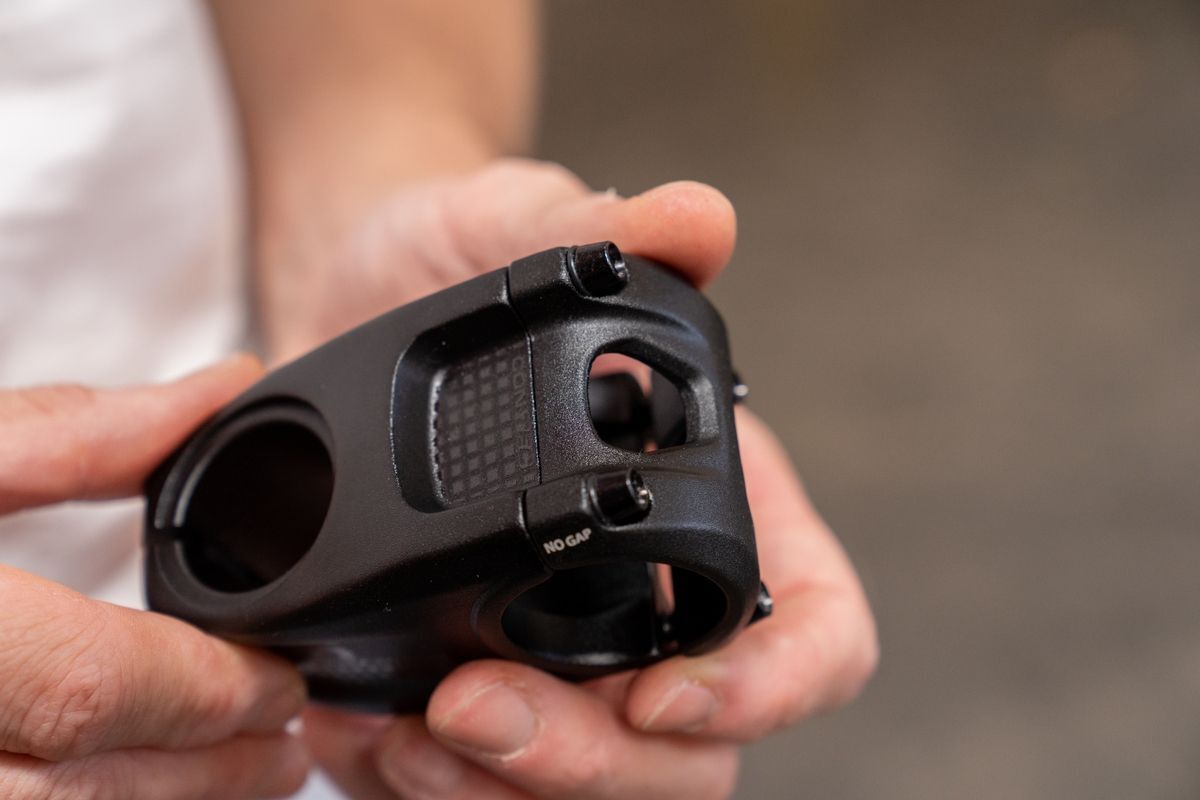


- Many stem models can be mounted from both sides. So you can choose between two angles.
- First, slide the stem from above onto the steerer tube until it hits the headset cap. Push the stem all the way down.
- Now you can slightly tighten the side bolts on the stem to make sure the system is secured and not twisted.
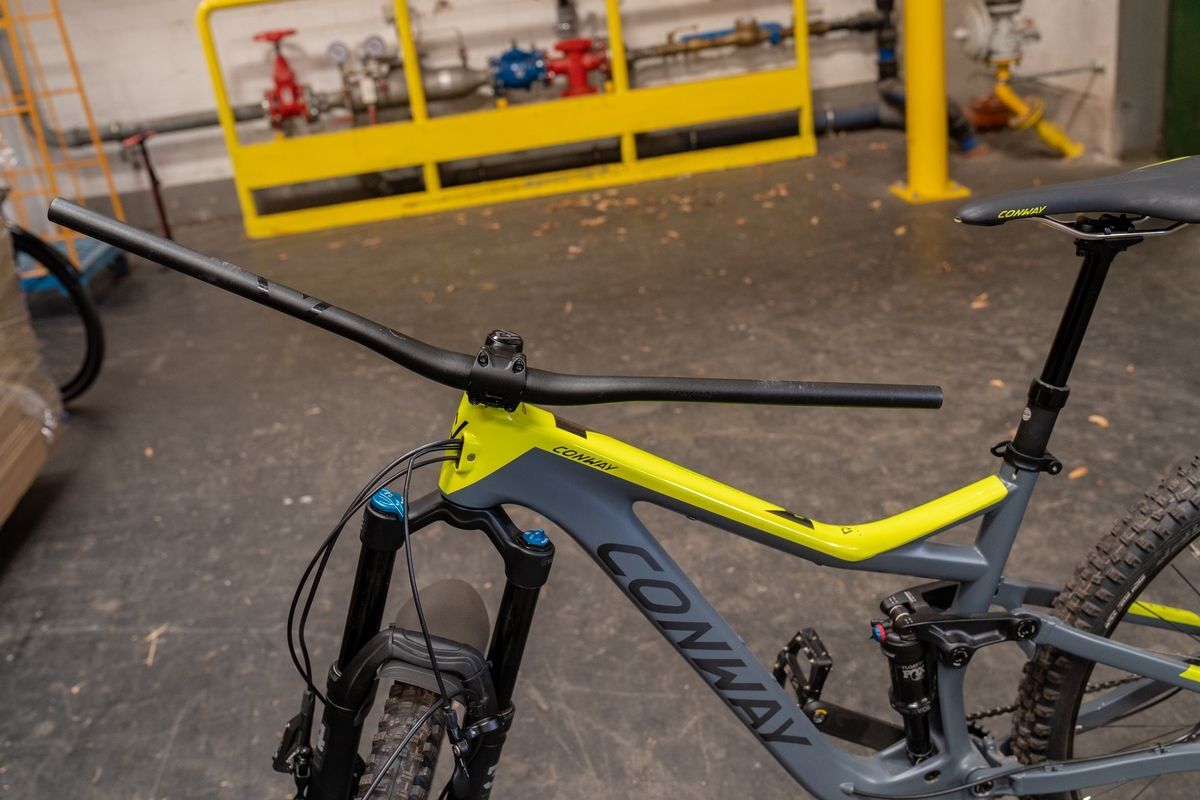
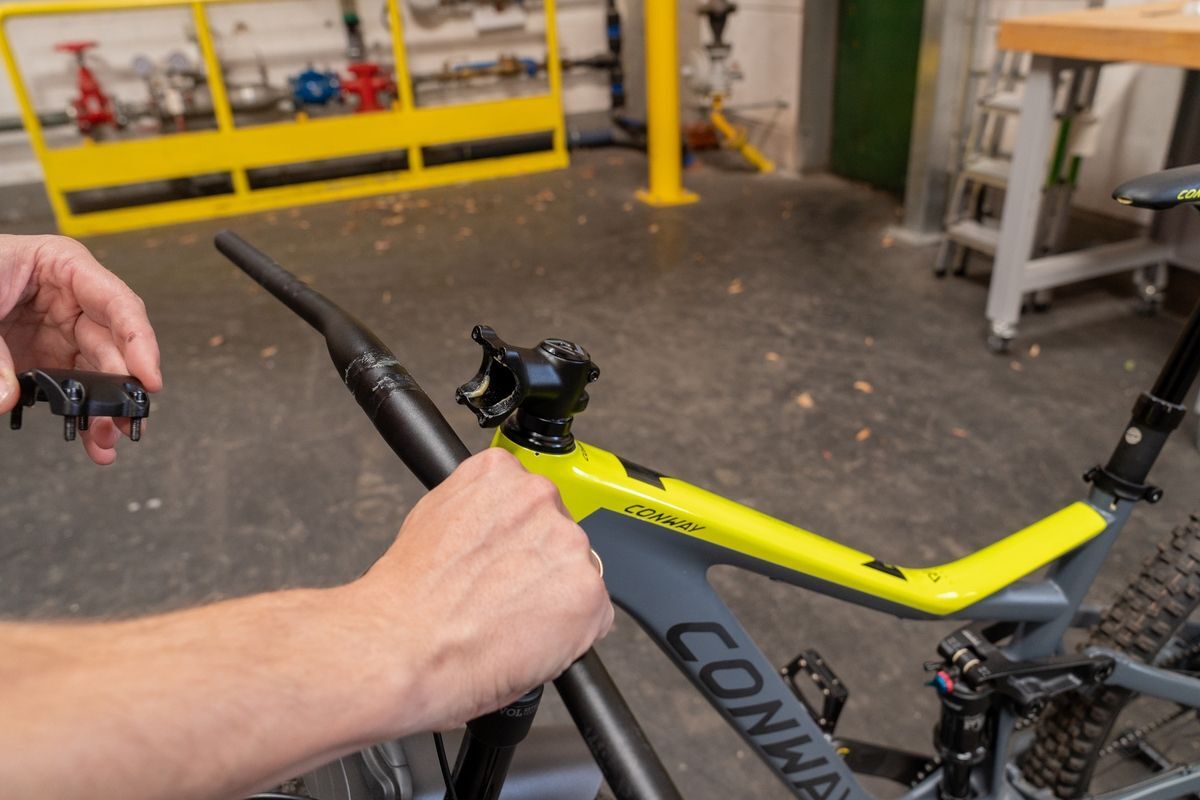
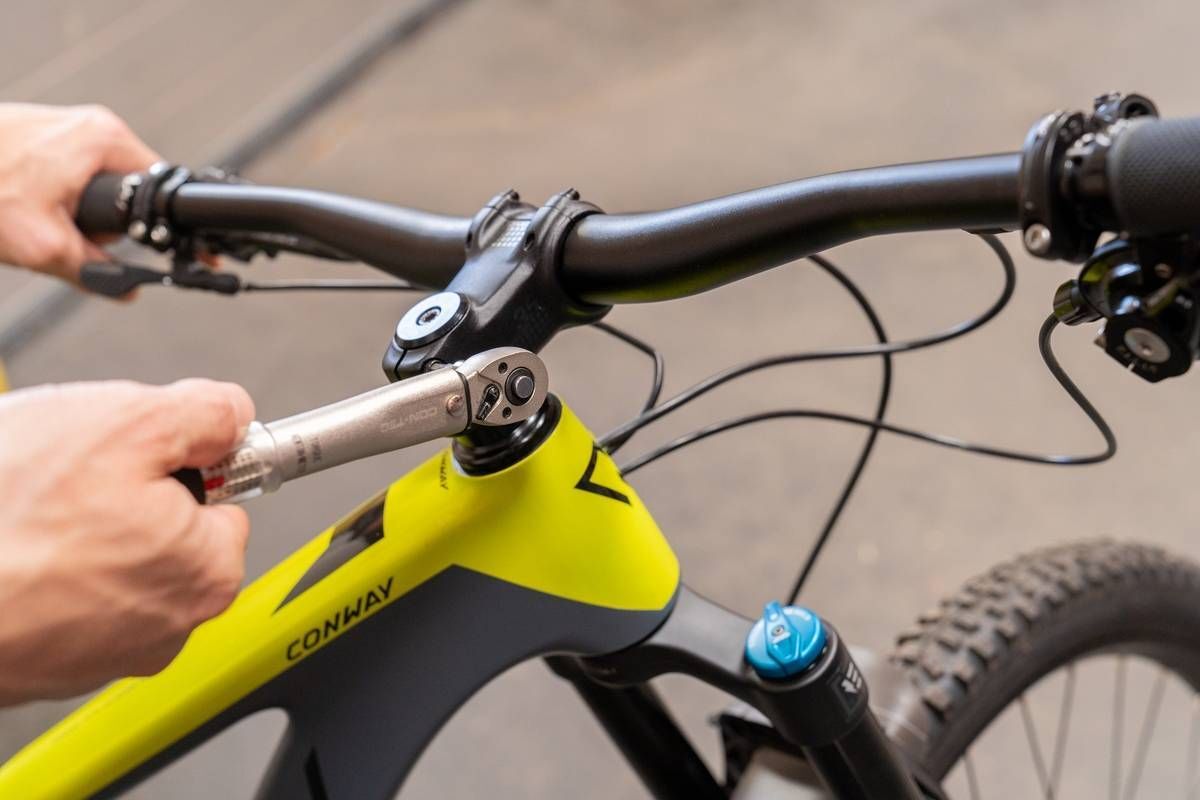
Step 5: Mounting the handlebar
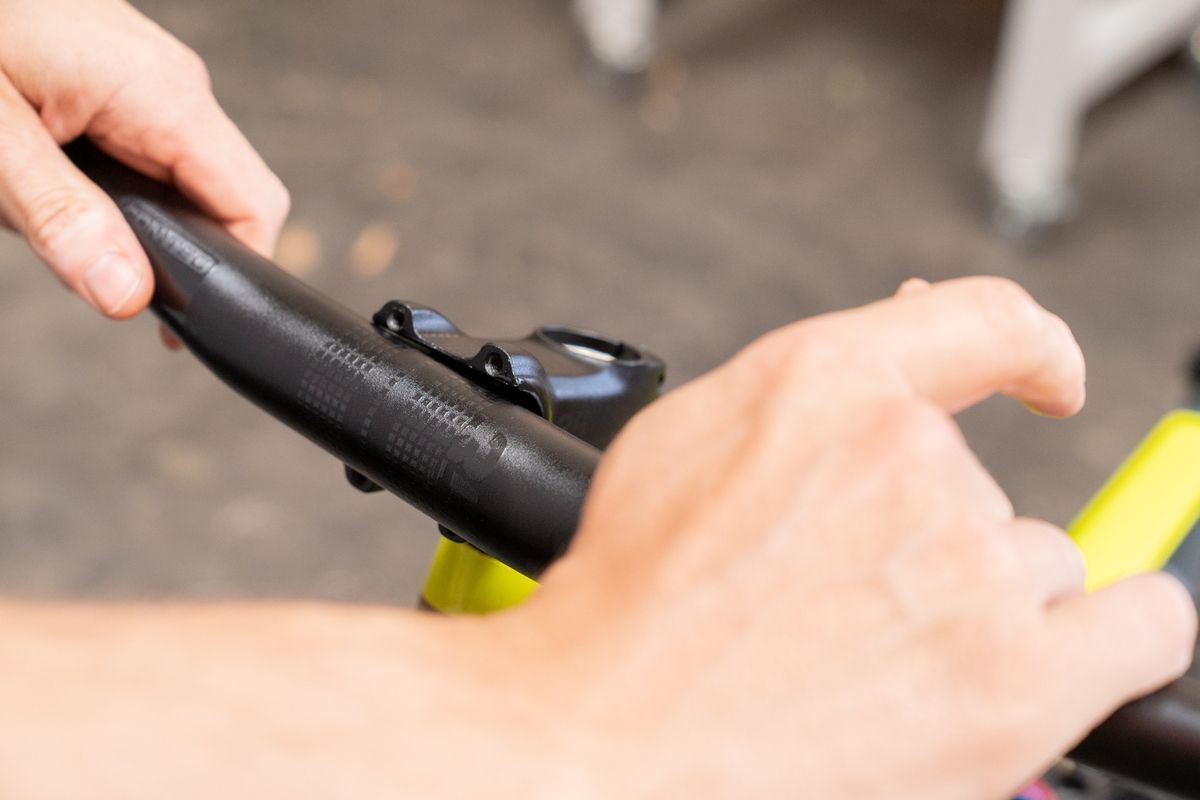
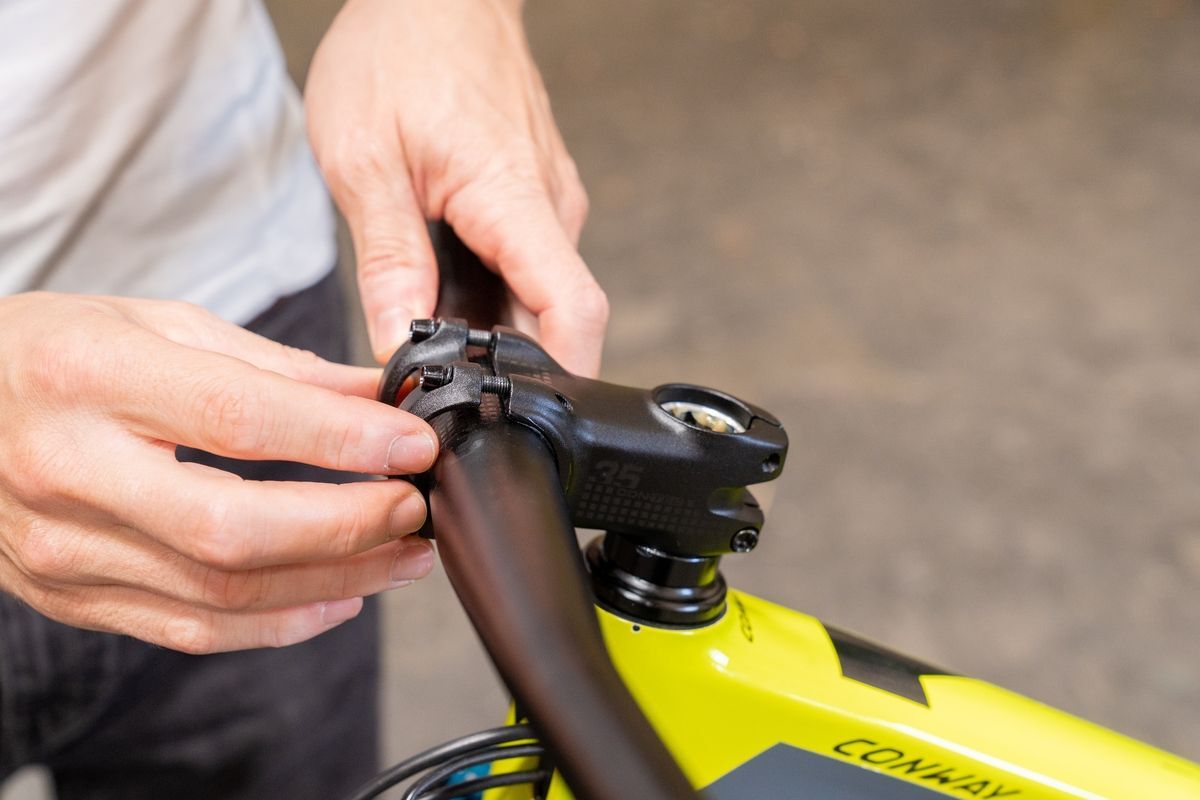
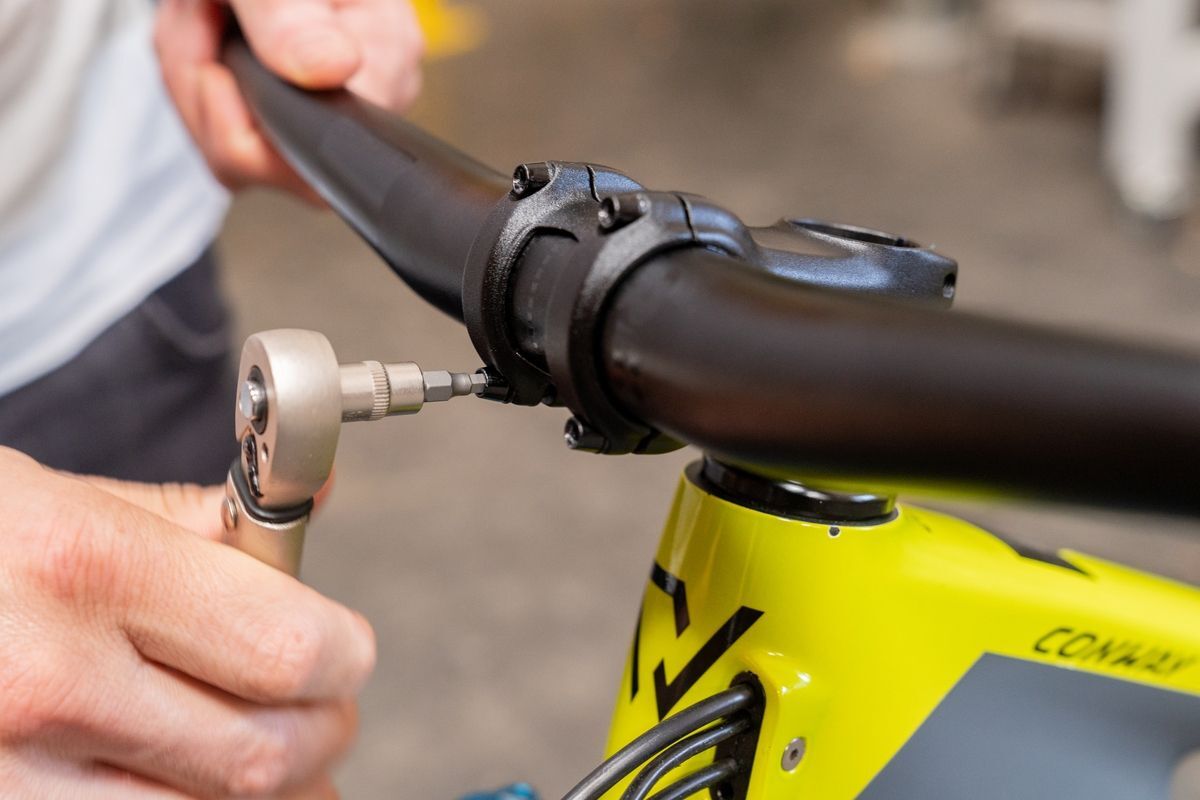


- Completely remove the stem face plate of the new stem, place the handlebar in the stem and place the face plate in front of the handlebar. Now screw all bolts of the stem face plate into the stem until the handlebar is tight but not all the way.
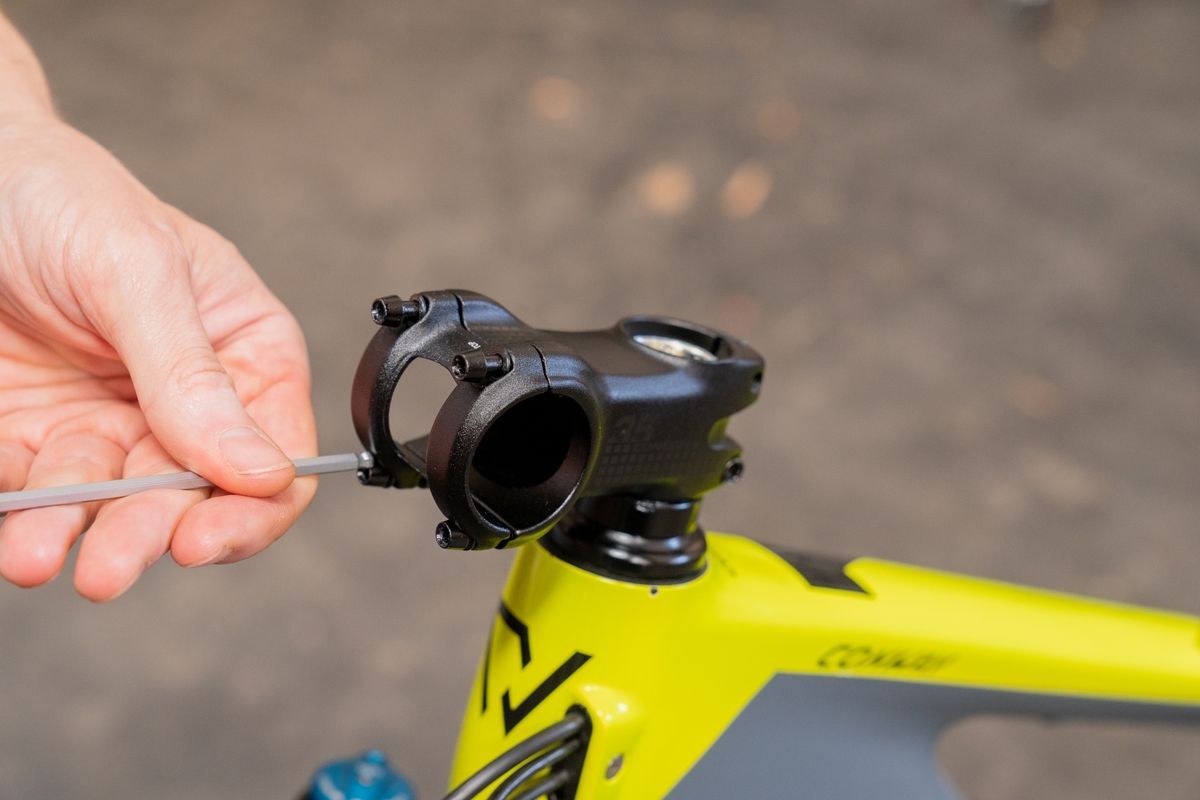
- Now you can align the handlebar horizontally and vertically in the centre. Use the markers on the handlebar for this.
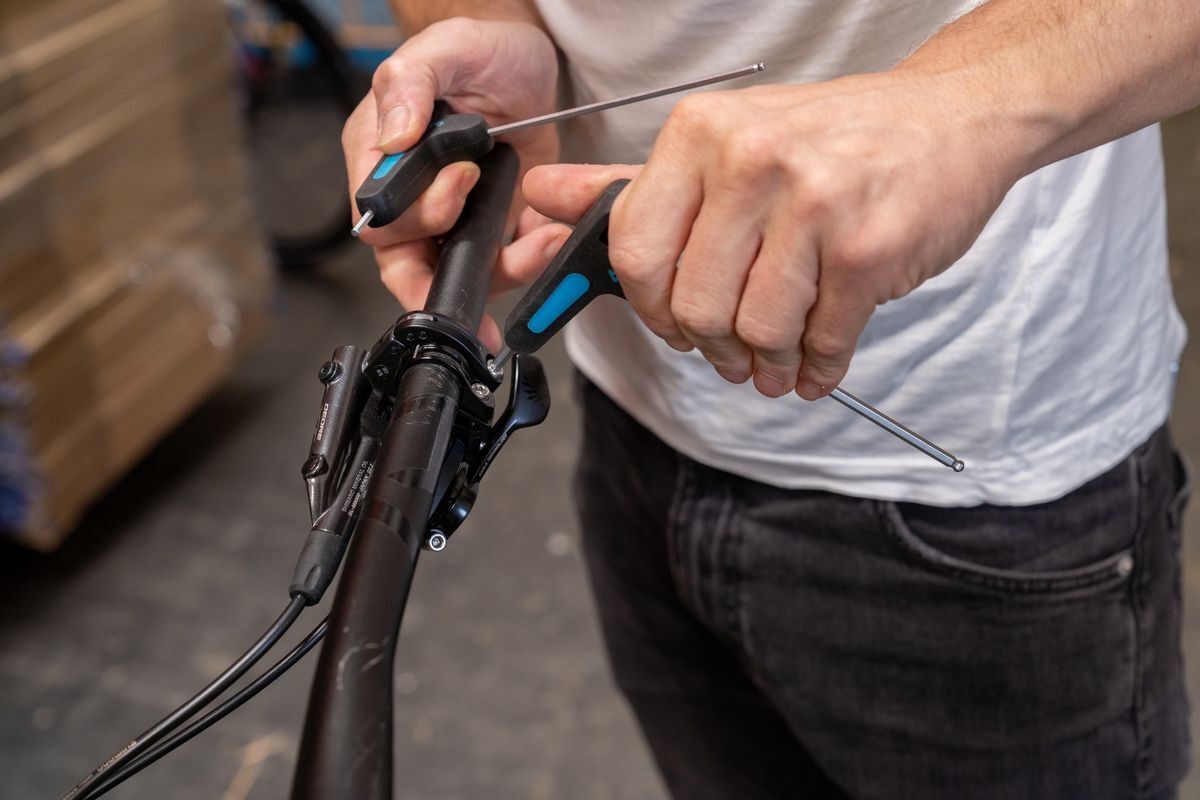
- If it is correctly positioned, tighten the bolts one after the other using the recommended torque specifications. Make sure you're going from one to the other in a criss-cross fashion. This means ensure that all the bolts carry the load evenly. To ensure everything is tightened correctly, look at the gap between stem and face plate. It should be the same size on the top and bottom. Use a torque wrench and note the recommended torque when tightening.
- Now you can install the brake and shift levers and the grips on the left and right side. Make sure that the left and right distances and angles are the same.
Step 6: Mounting the stem

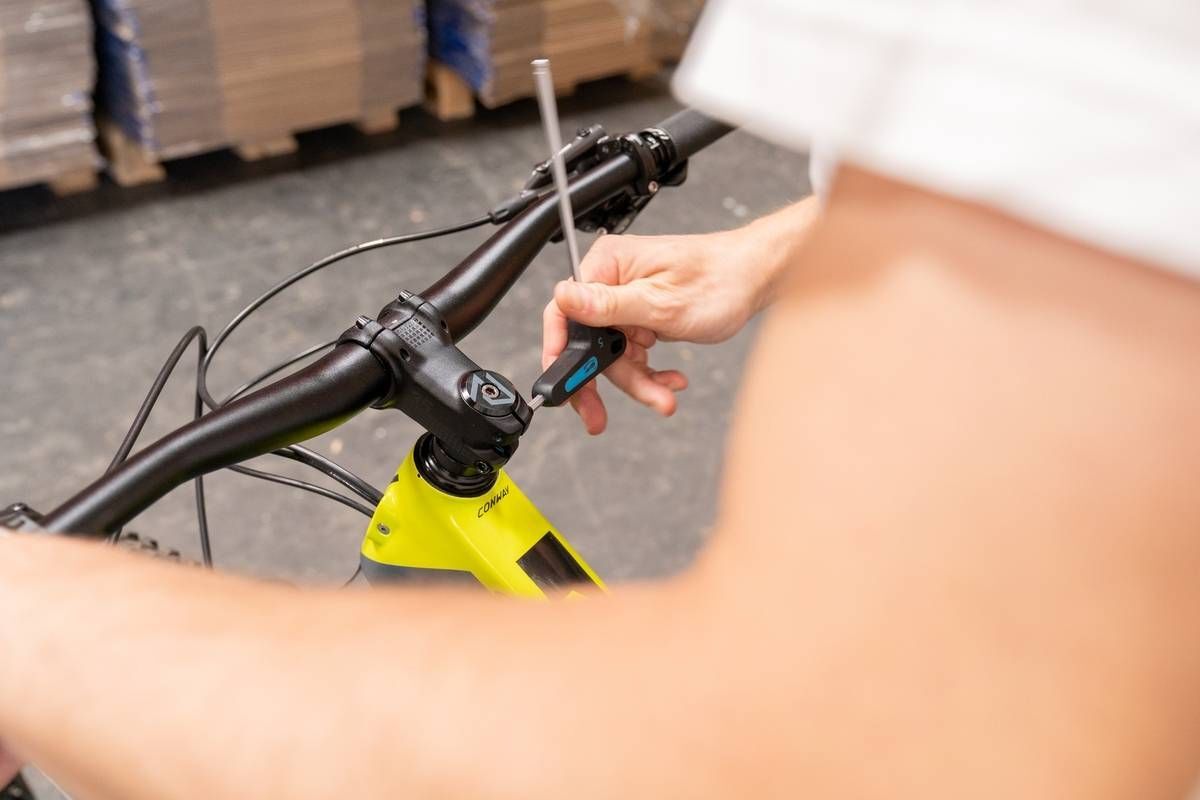
- When the handlebar is assembled, the stem can be easily aligned. To do this, open the side bolts again and turn the stem to the left or right until it is aligned with the front tyre.
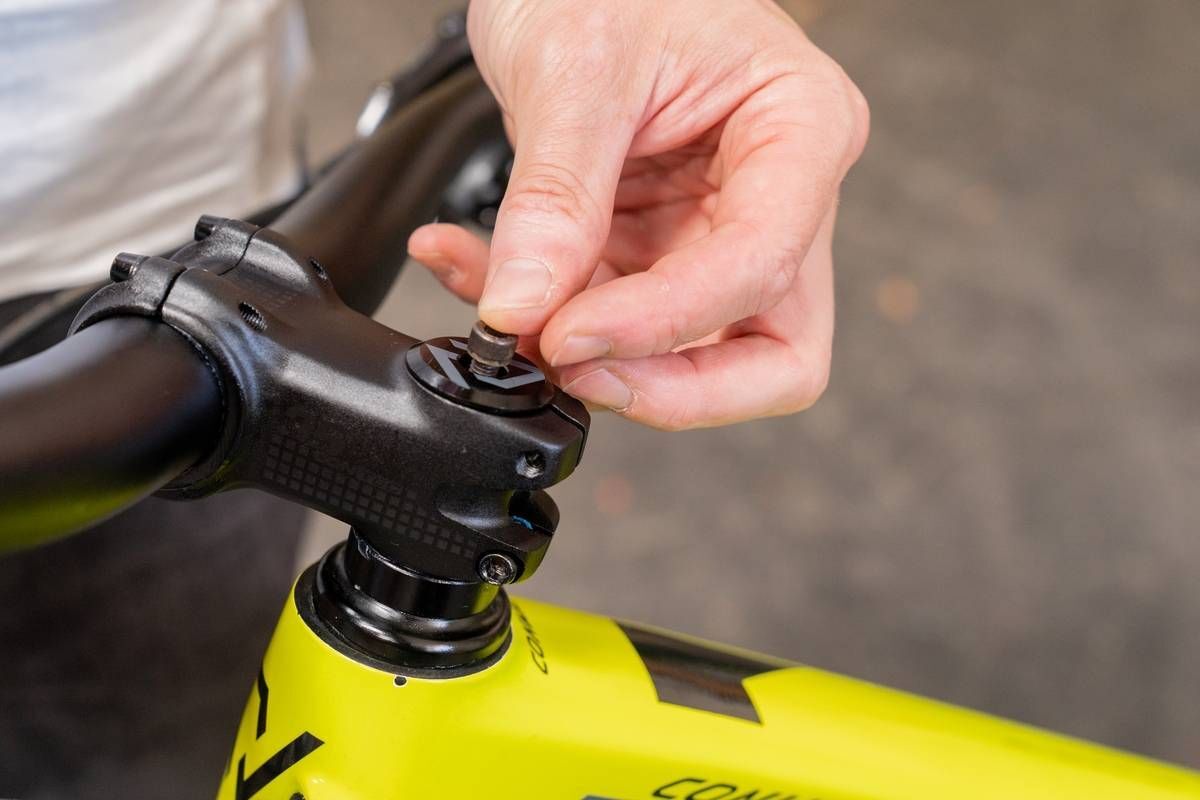
- Now you can install the headset cap (and spacers if necessary). Do not tighten the headset cap fully – but instead only until there is no more play and it can be turned easily. This is sensitive work.
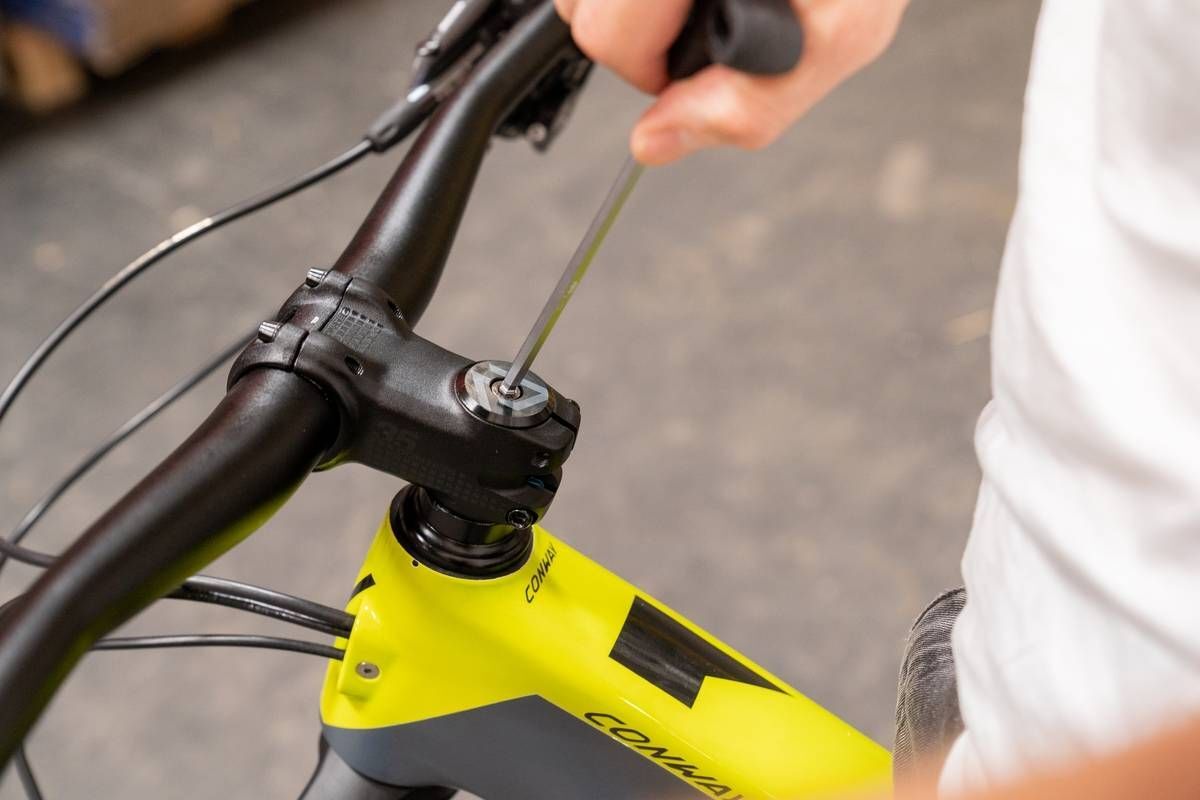
- When the play is gone and the handlebar/stem is straight, you can tighten the two side bolts to secure the stem. Tighten the bolts alternately, use a torque wrench and note the recommended torque values given on the stem.

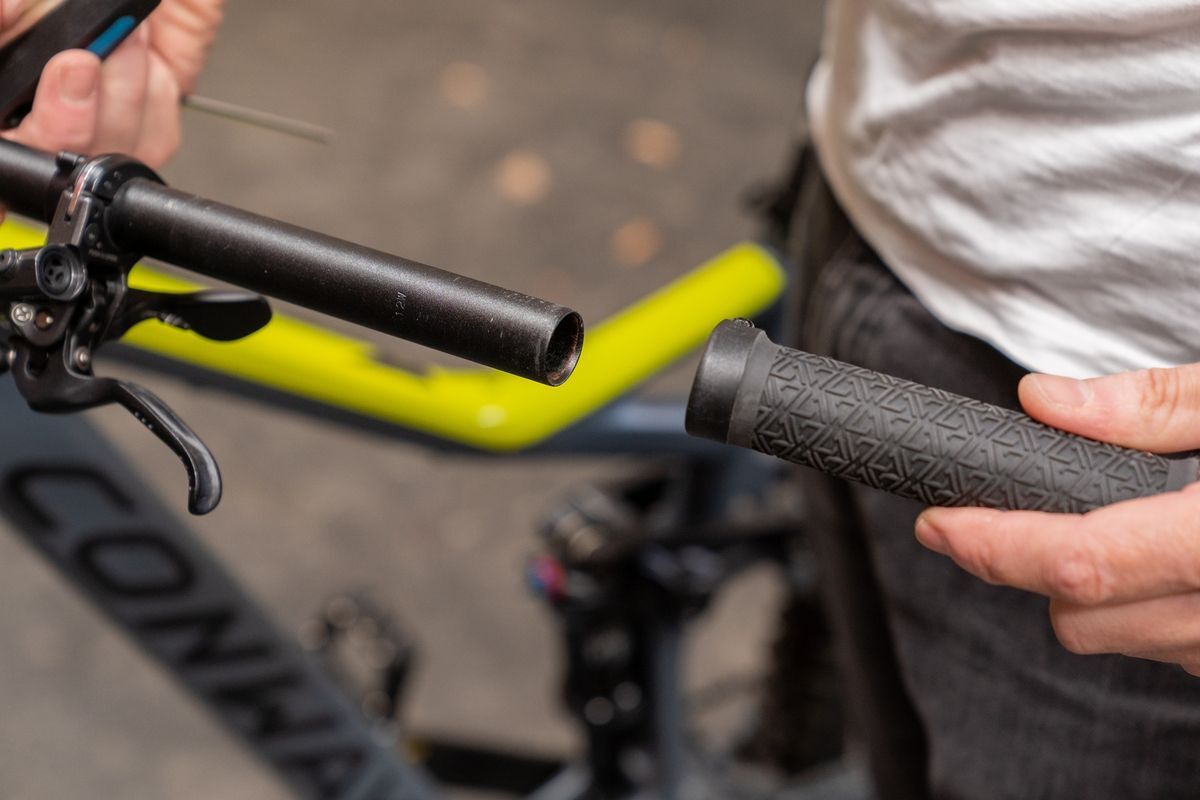
Replacing grips
You want to replace your grips for looks or ergonomic reasons? We'll show you how to change the grips.