Replacing bike grips - get a grip!
When should I replace my handlebar grips?
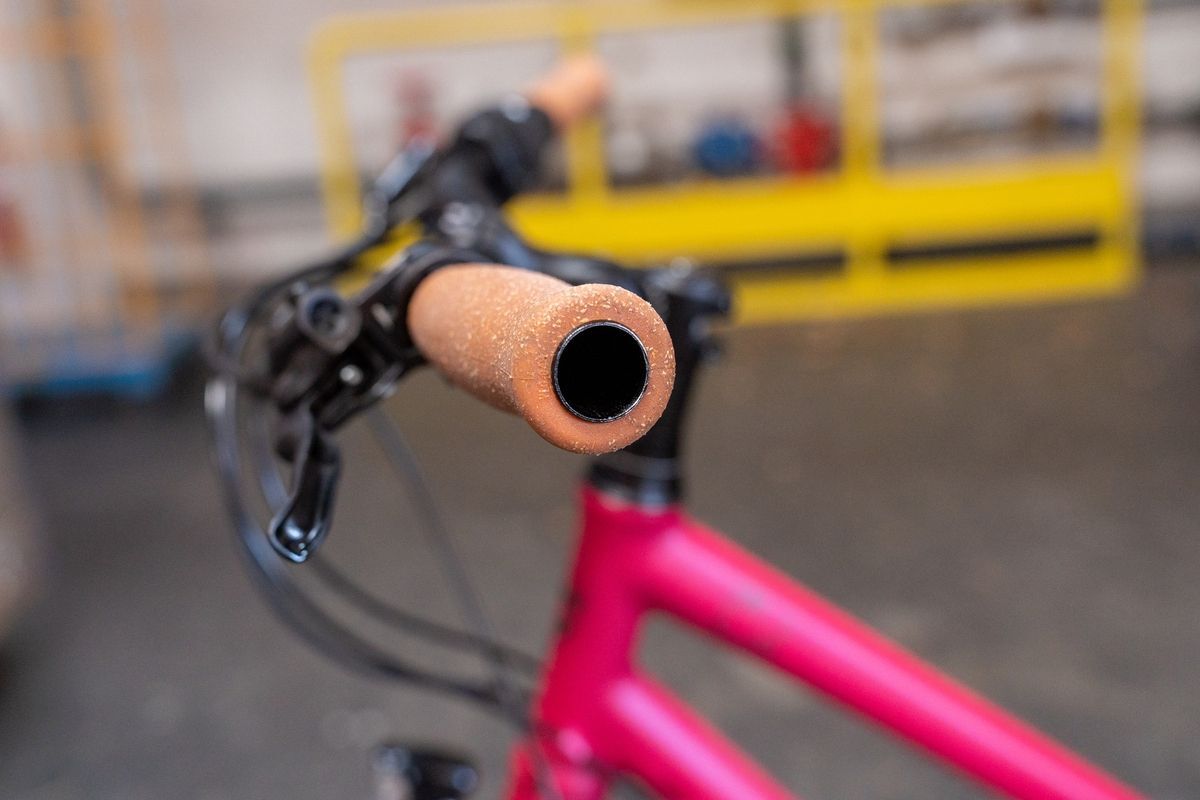
First of all, regardless of use, every handlebar grip is naturally subject to a certain amount of wear and tear. In addition to rubber abrasion, this is accompanied by the wear of the texture applied to the grip, which allows hands to find grip and better control the bike even in wet conditions. If the grip texture is worn, this makes it more difficult to hold on securely, especially when off-road (mountain bike!); and the hand can slide around if more pressure is put on the handlebars. Now it’s time for new grips!
These types of grips are available:
Basically, there are two types of grips for bicycles and e-bikes:
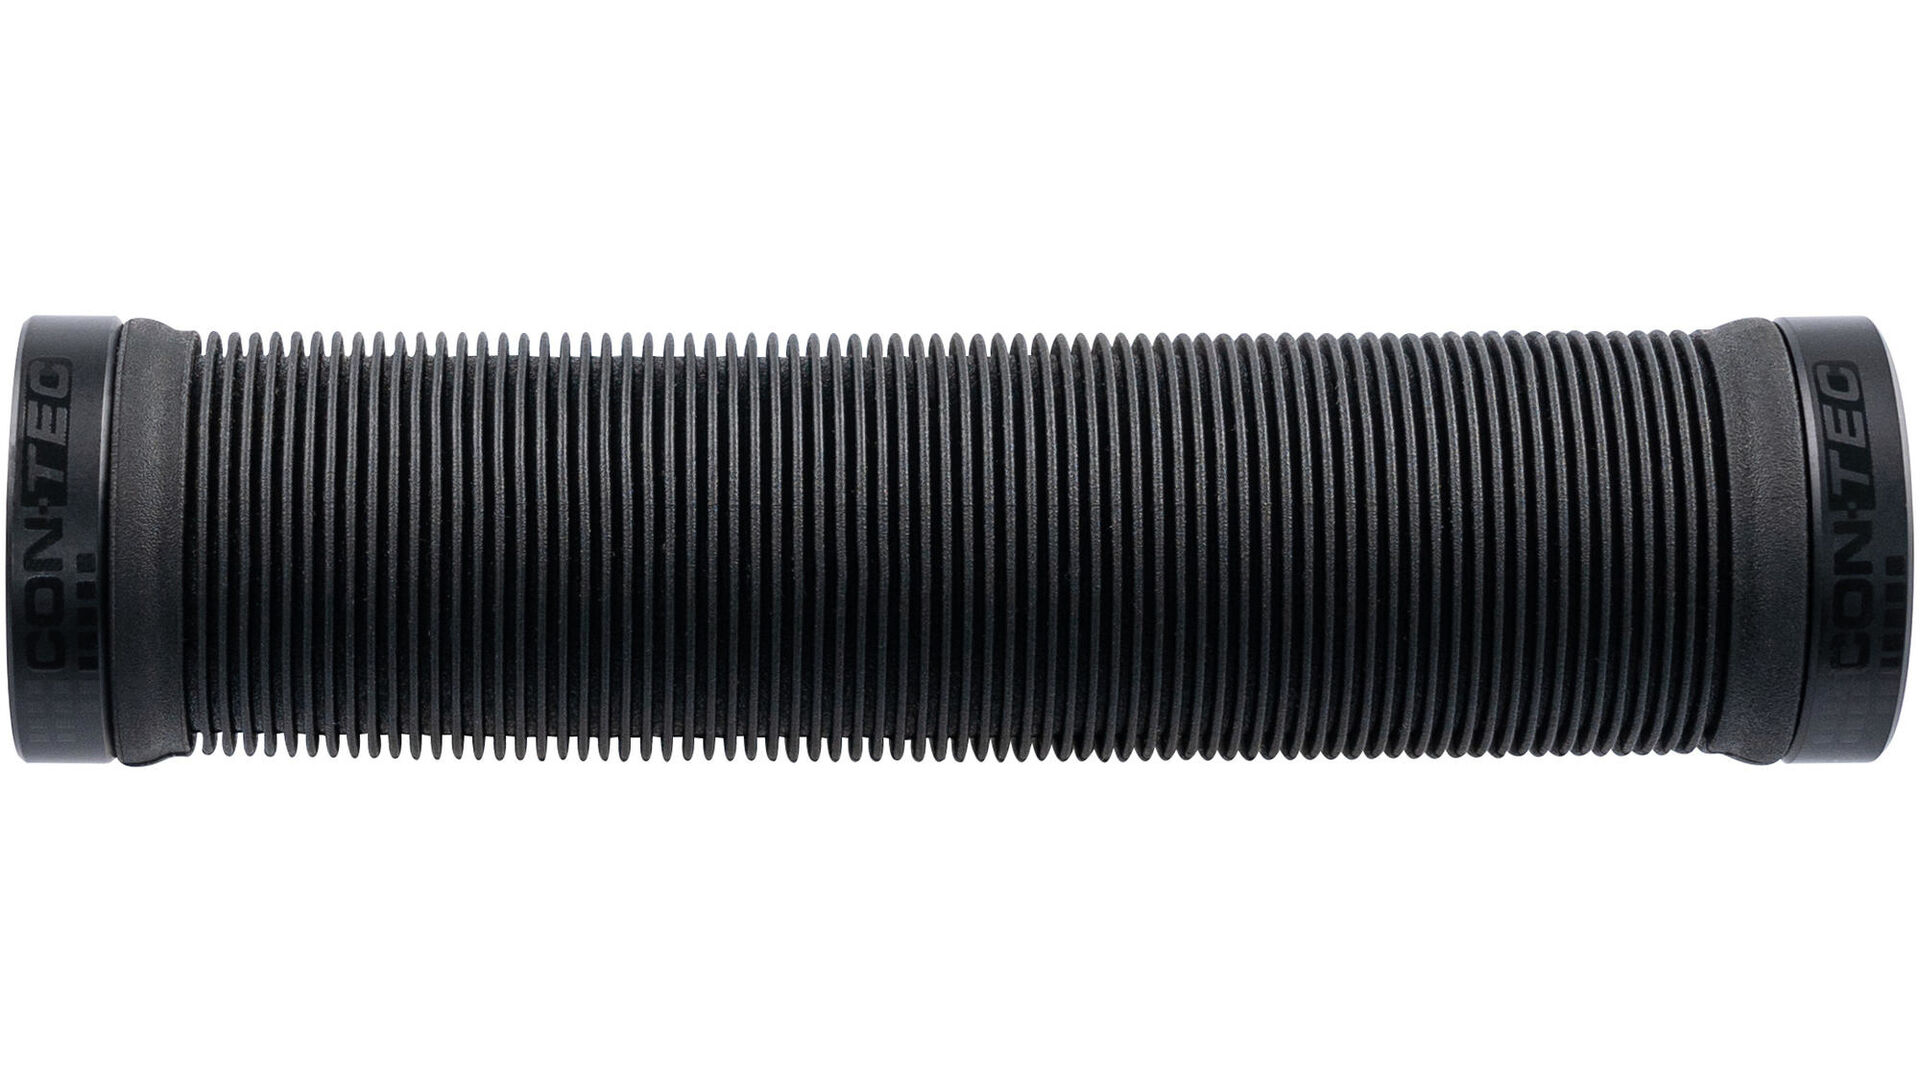
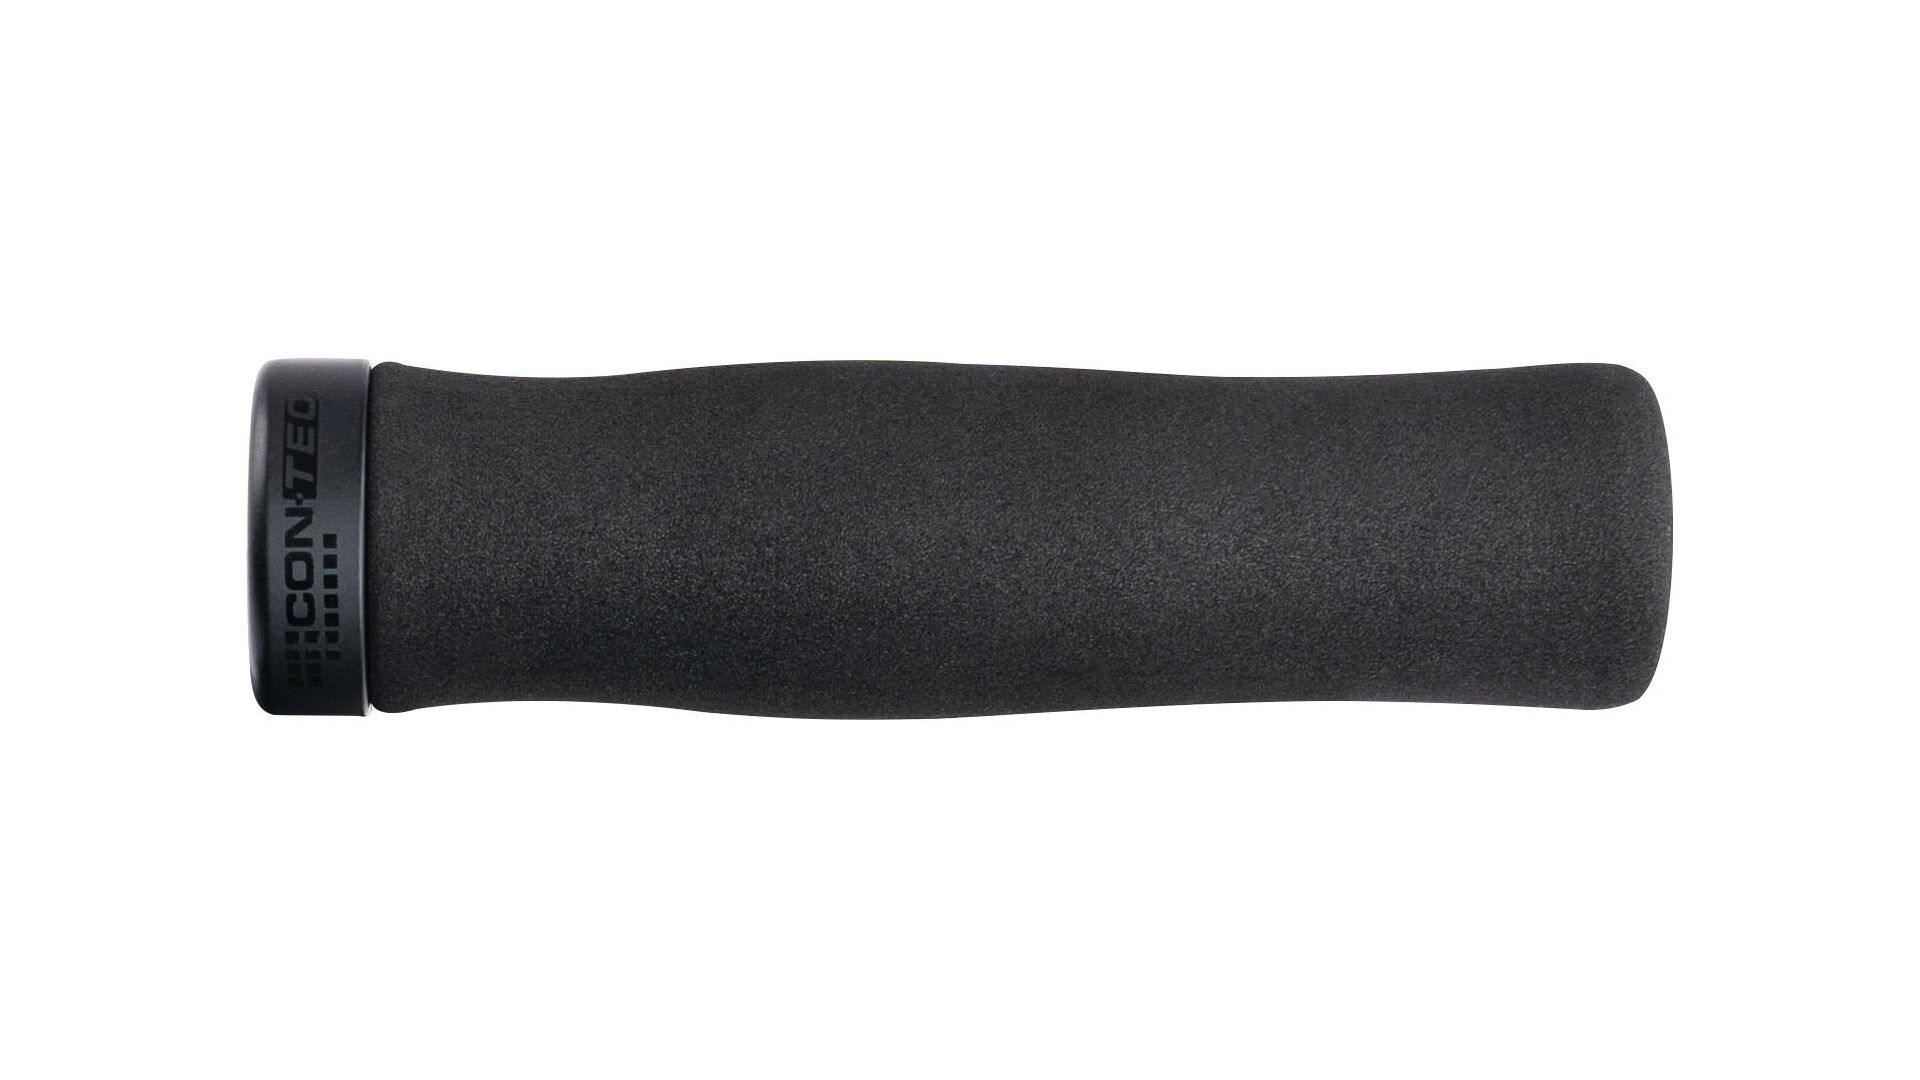
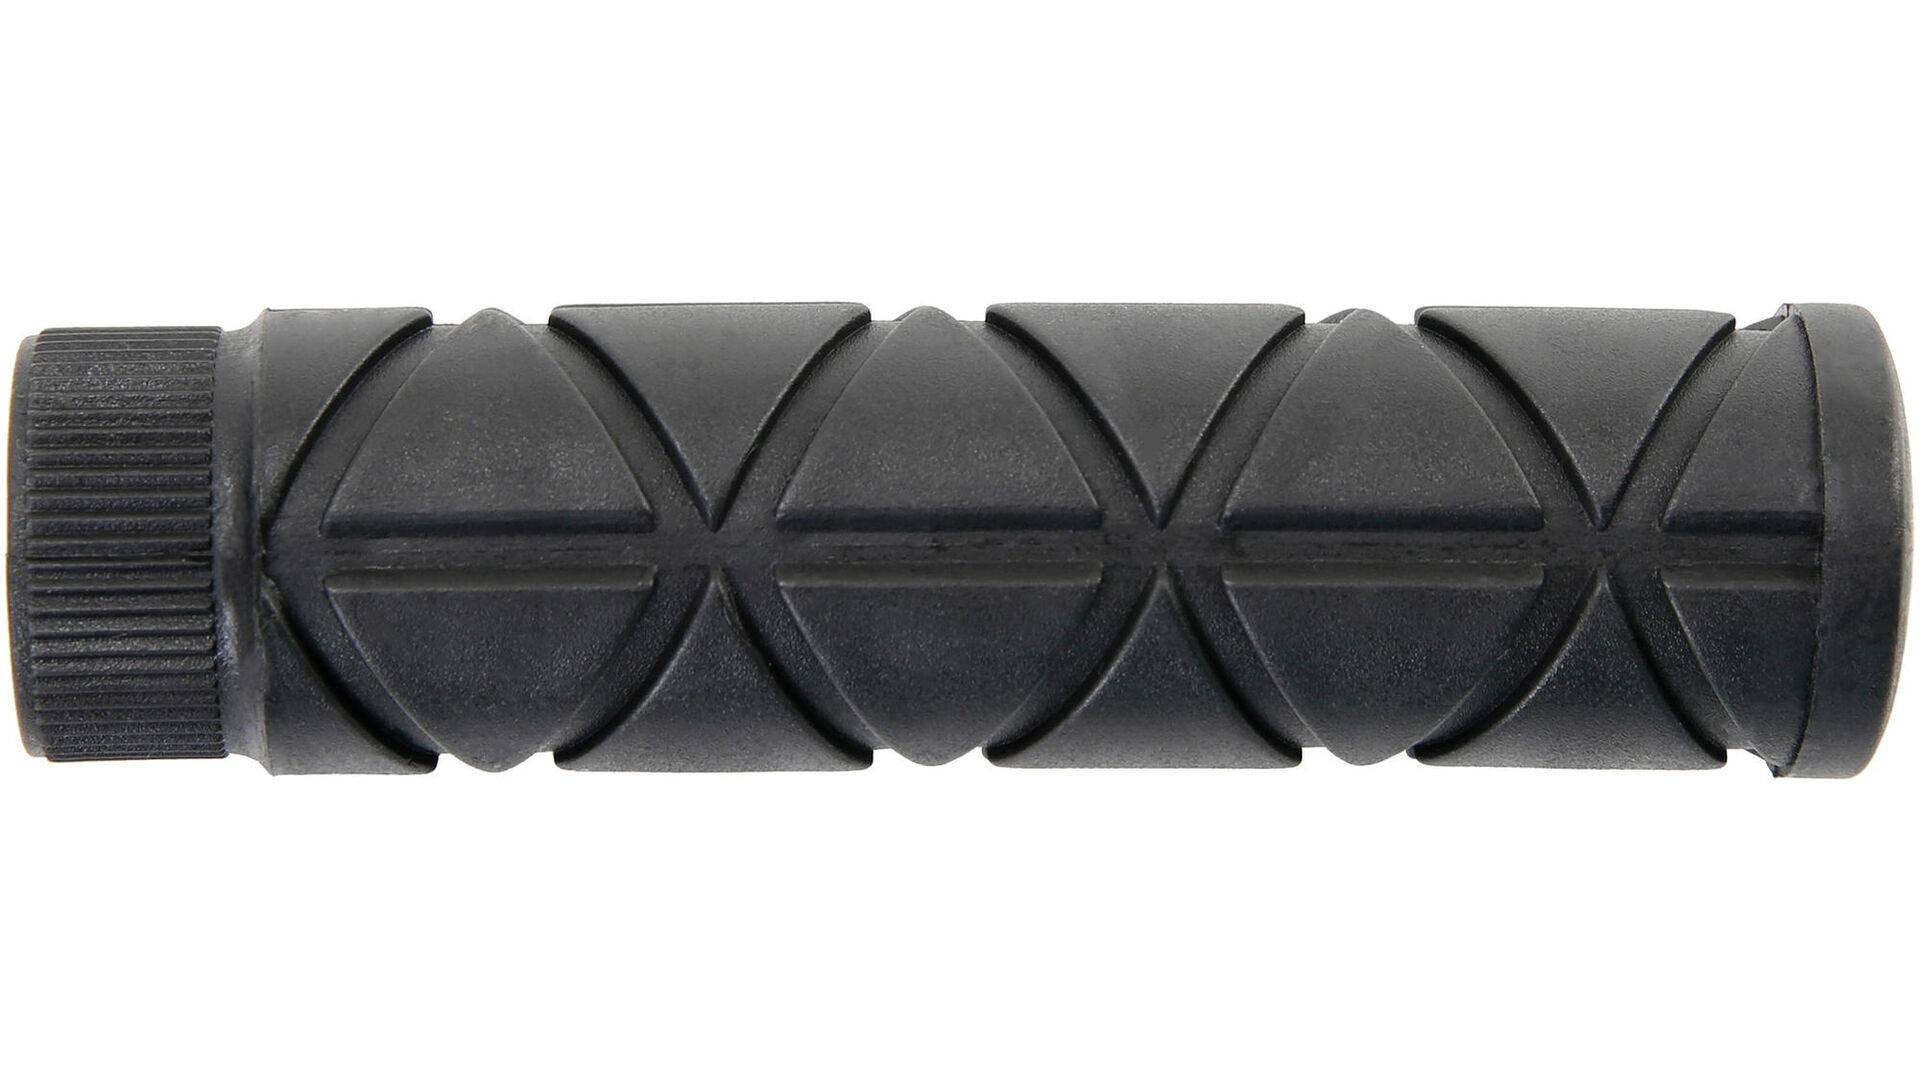
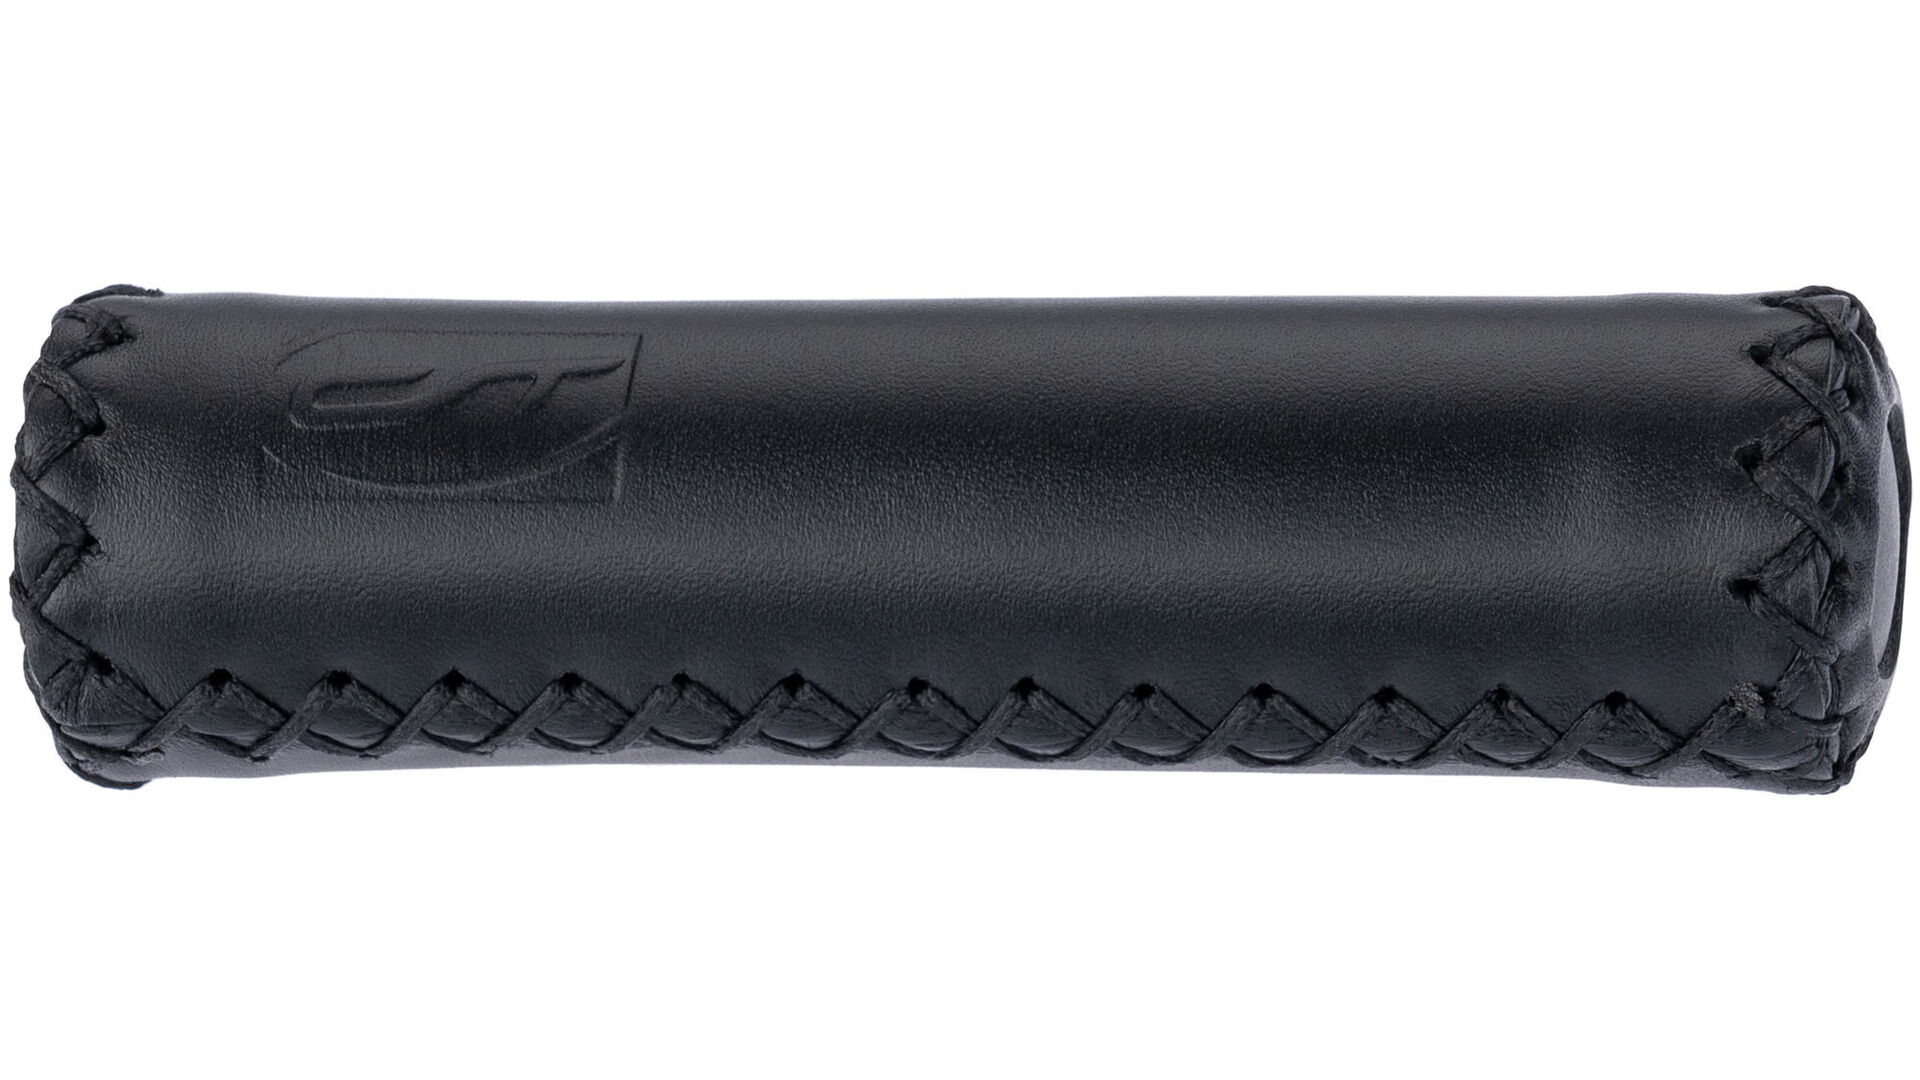
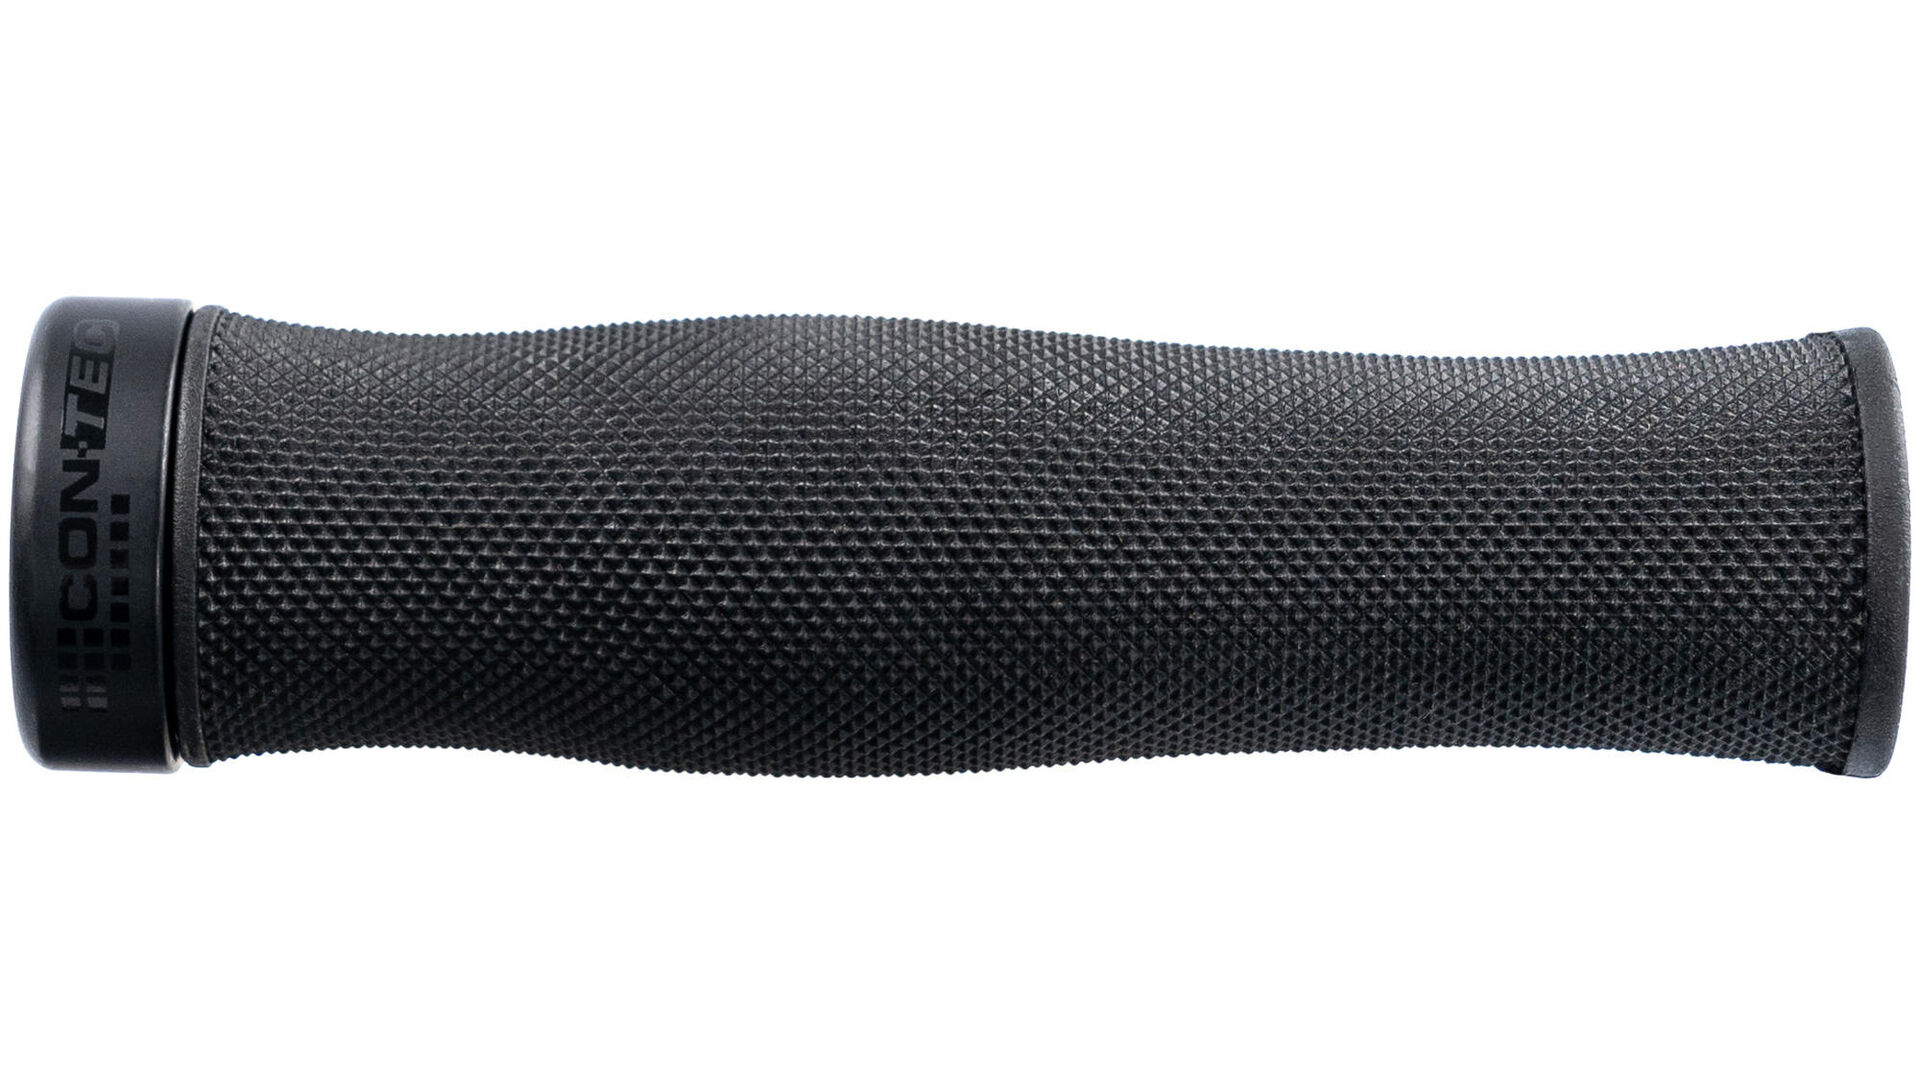
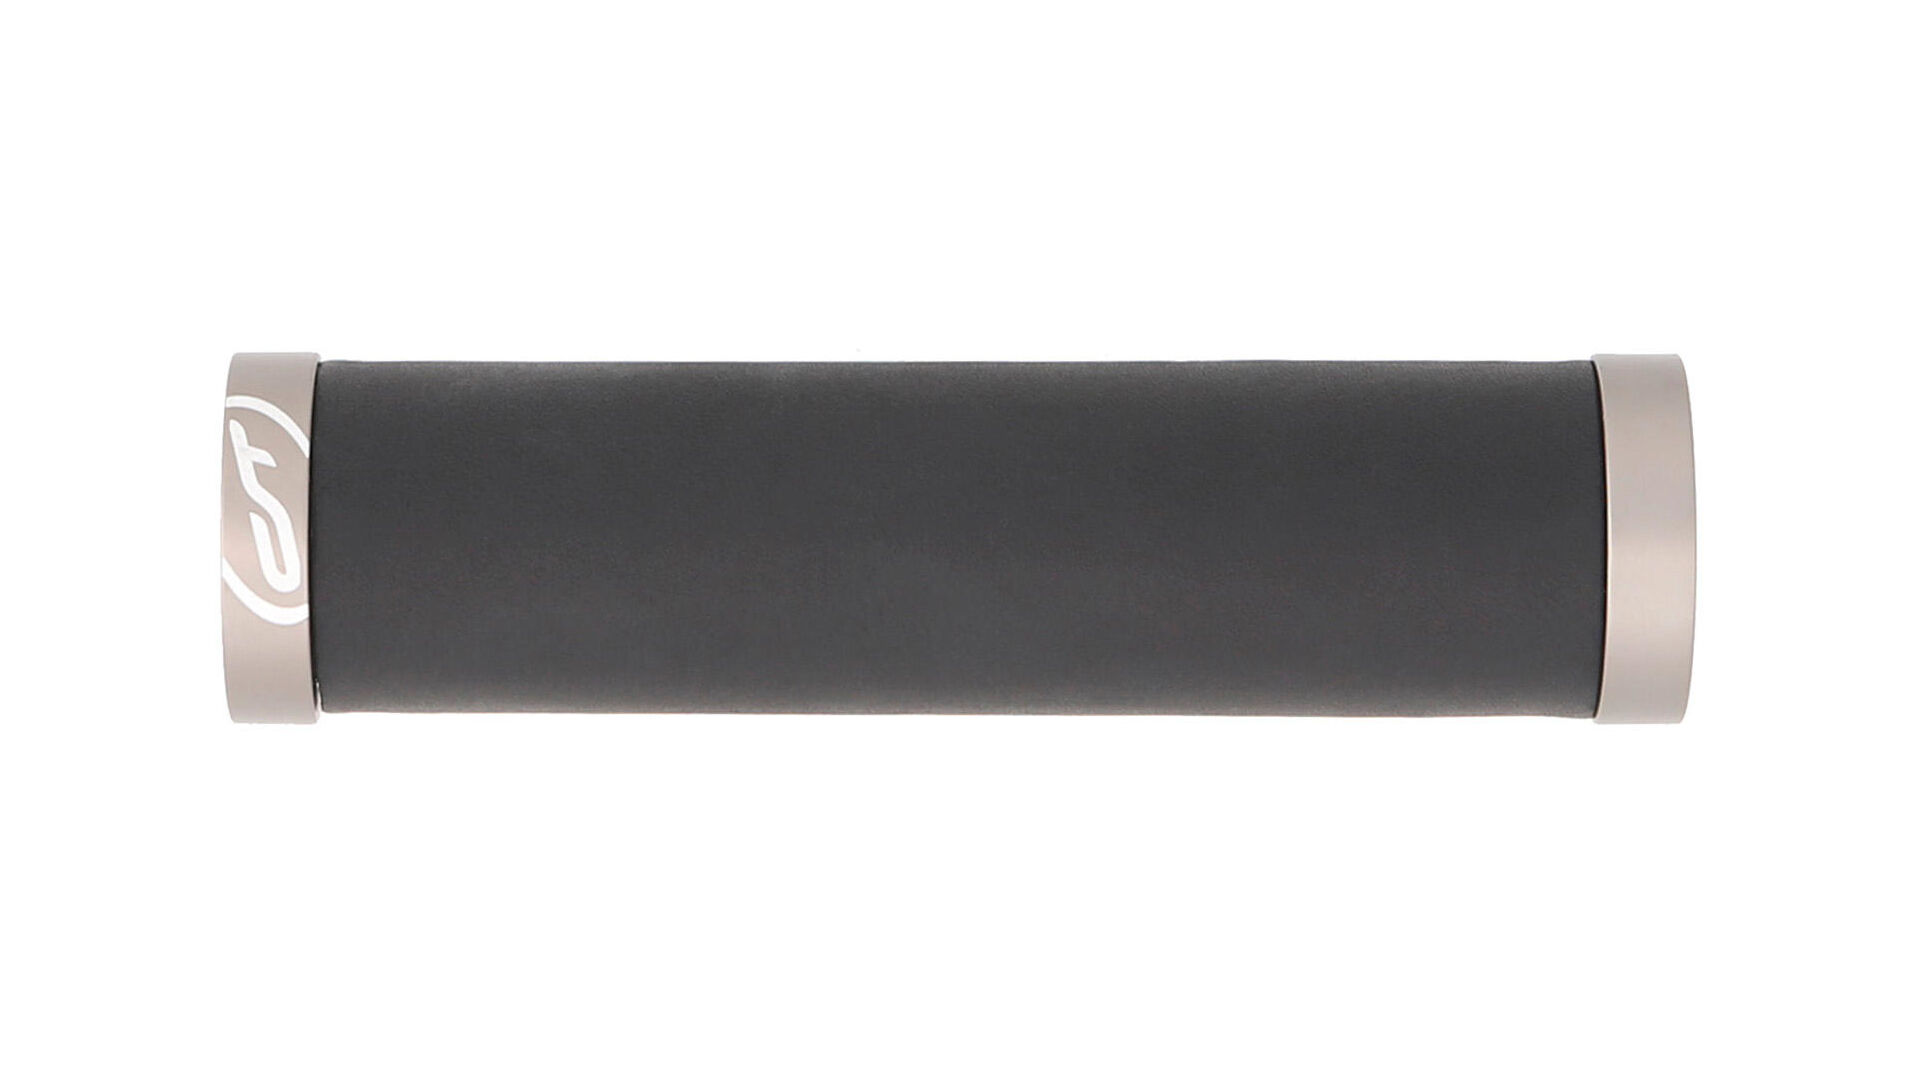
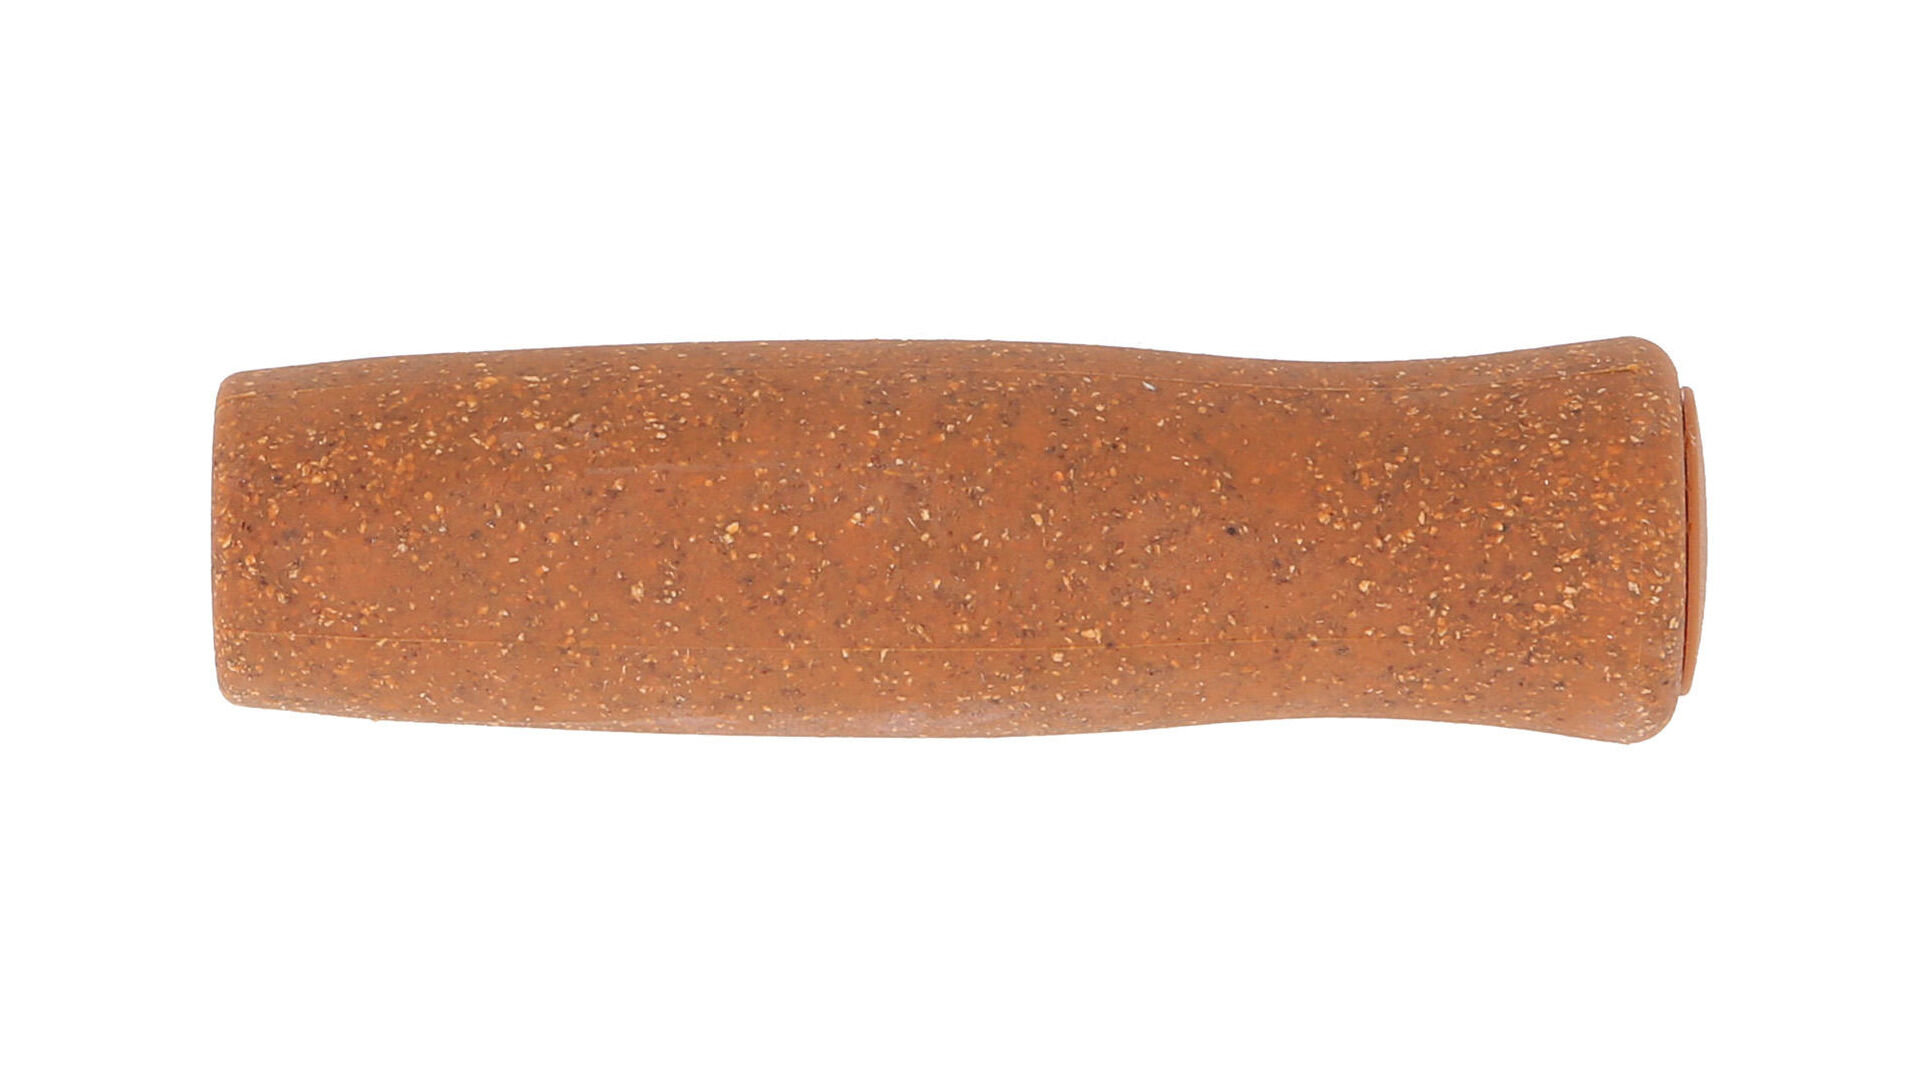
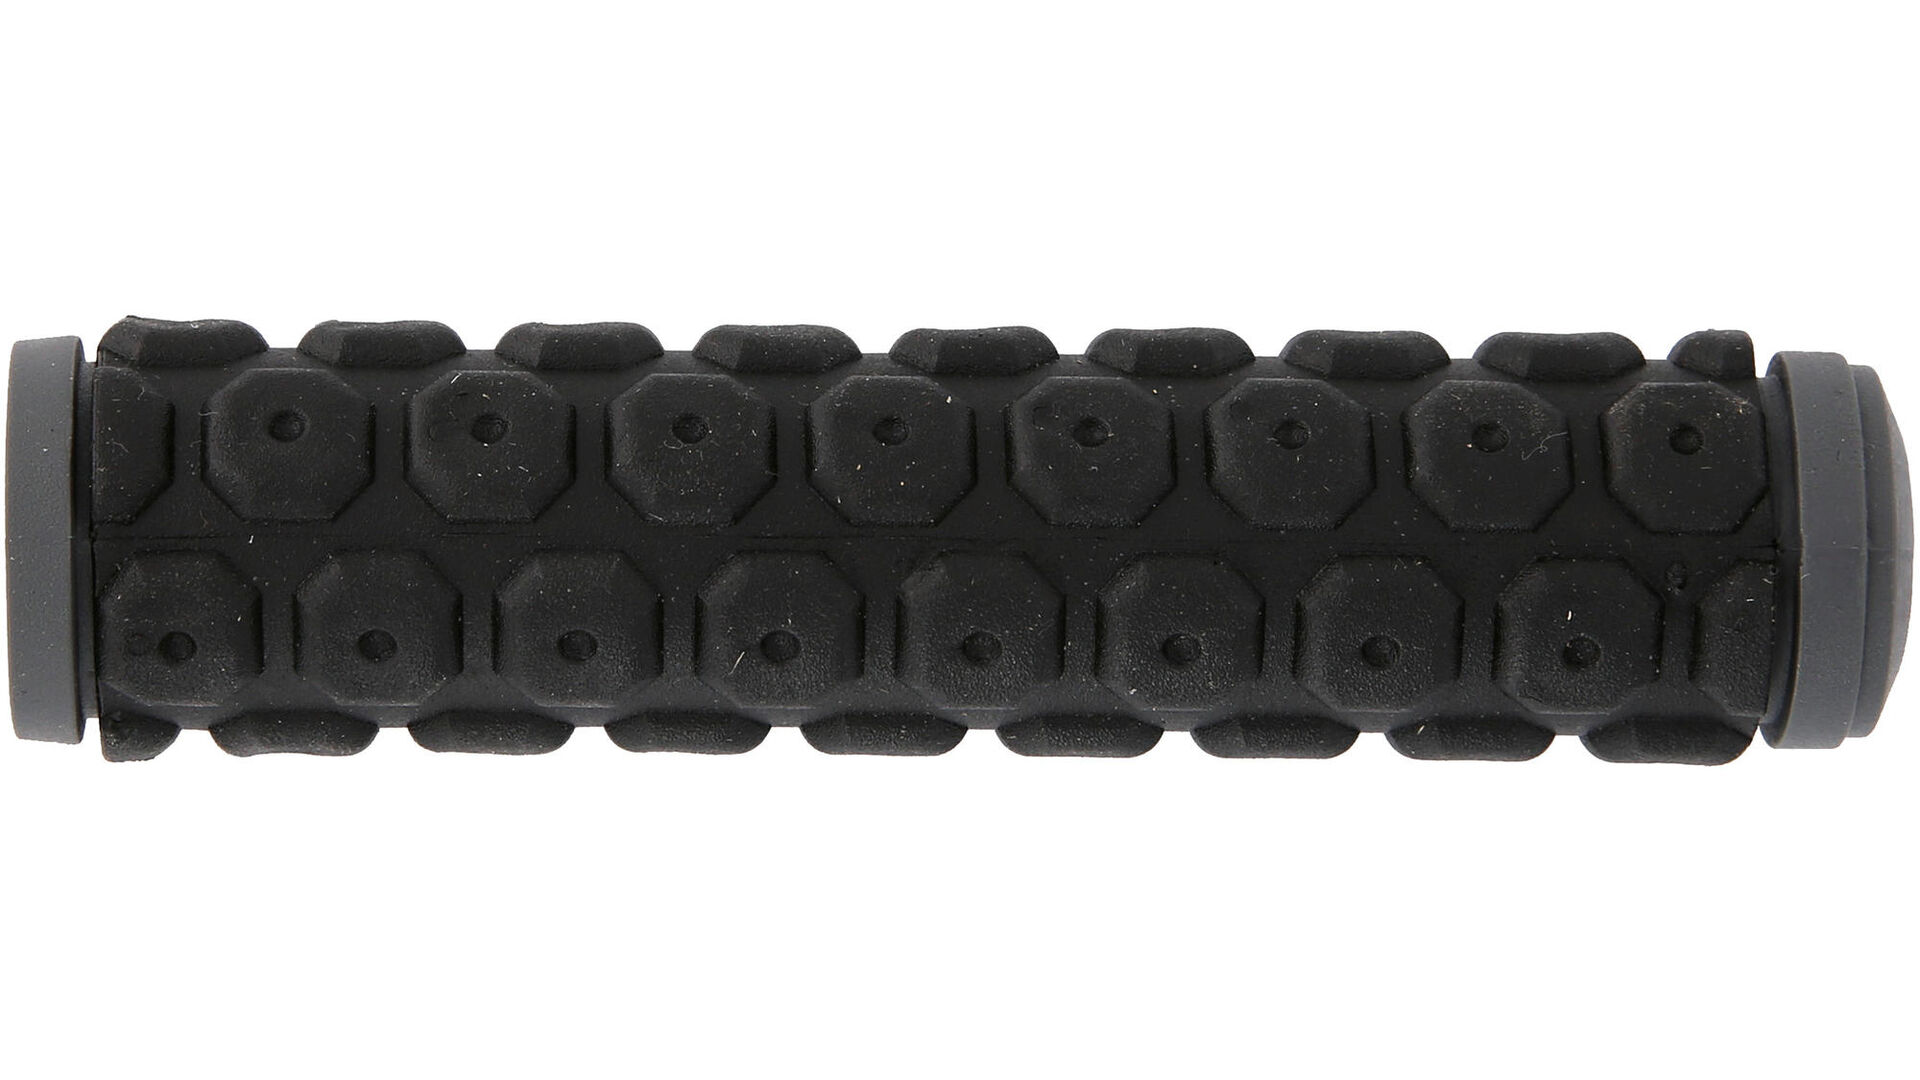
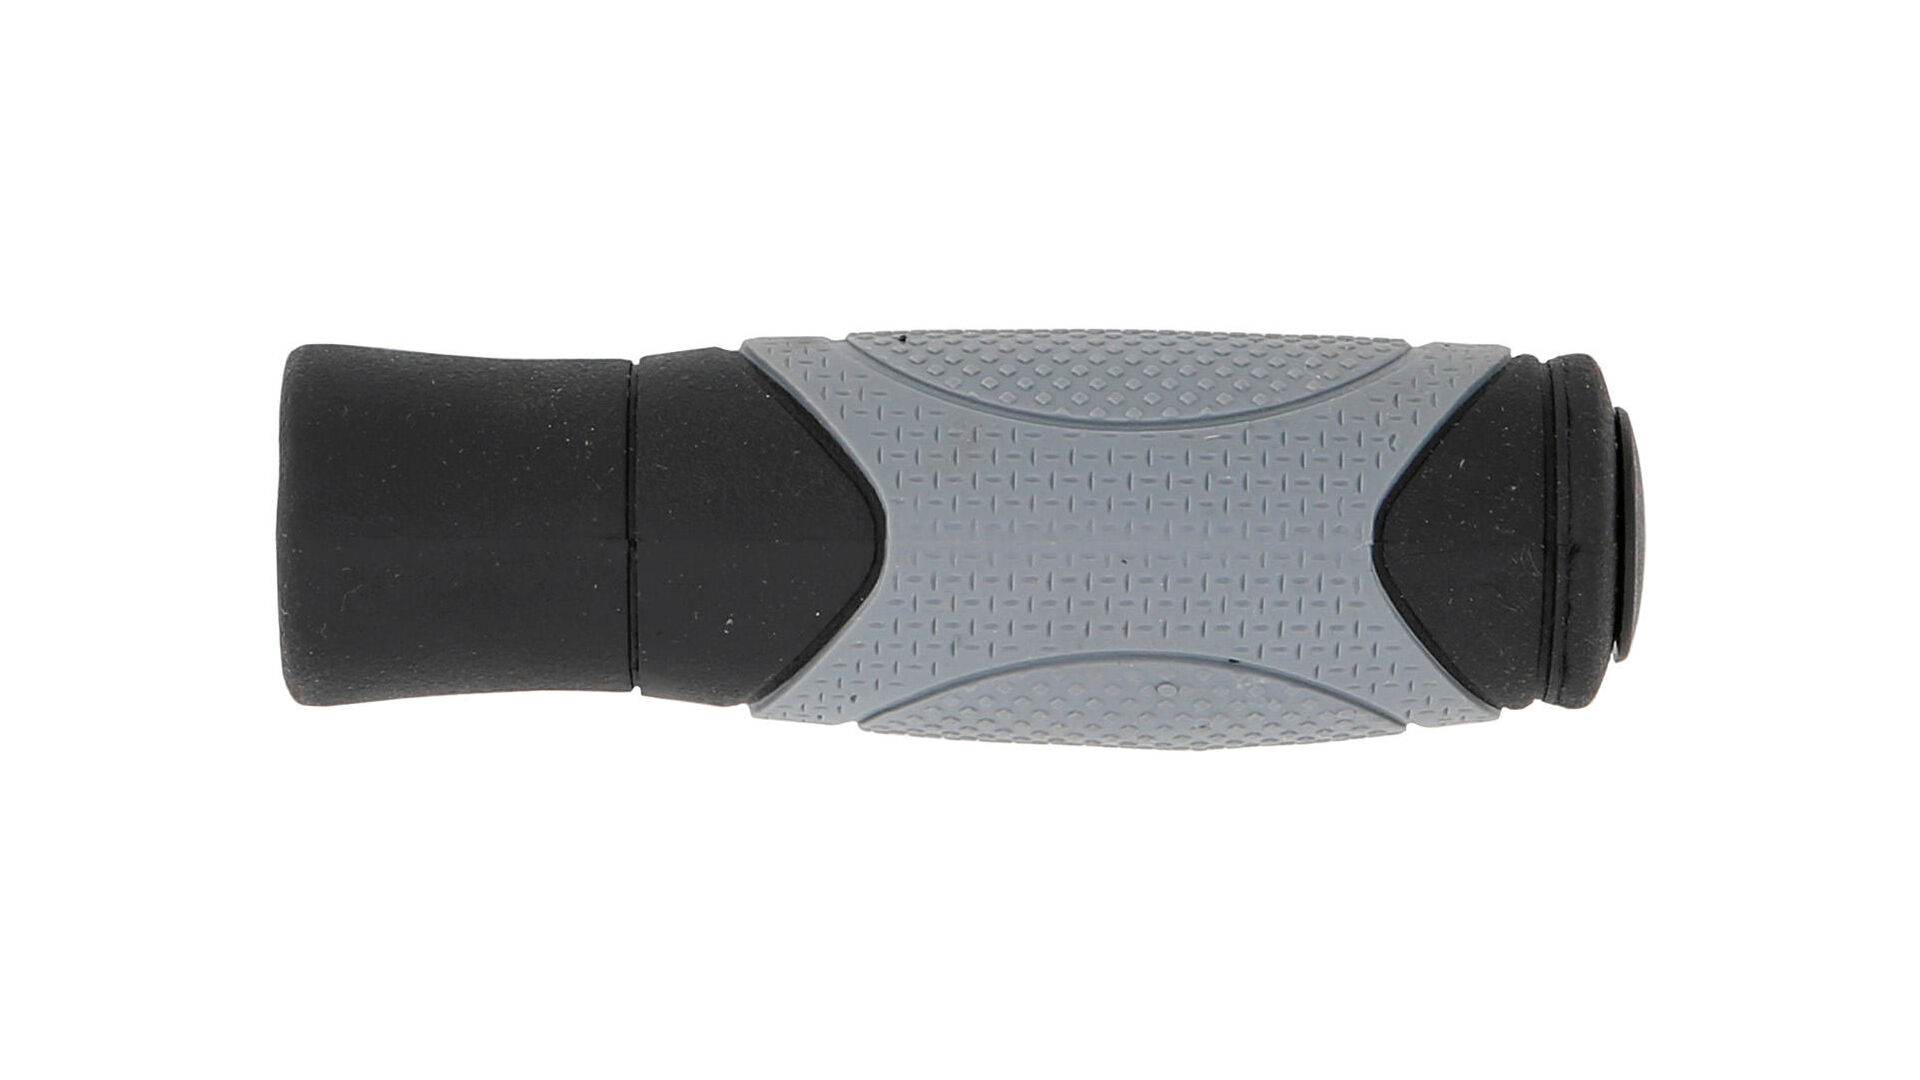
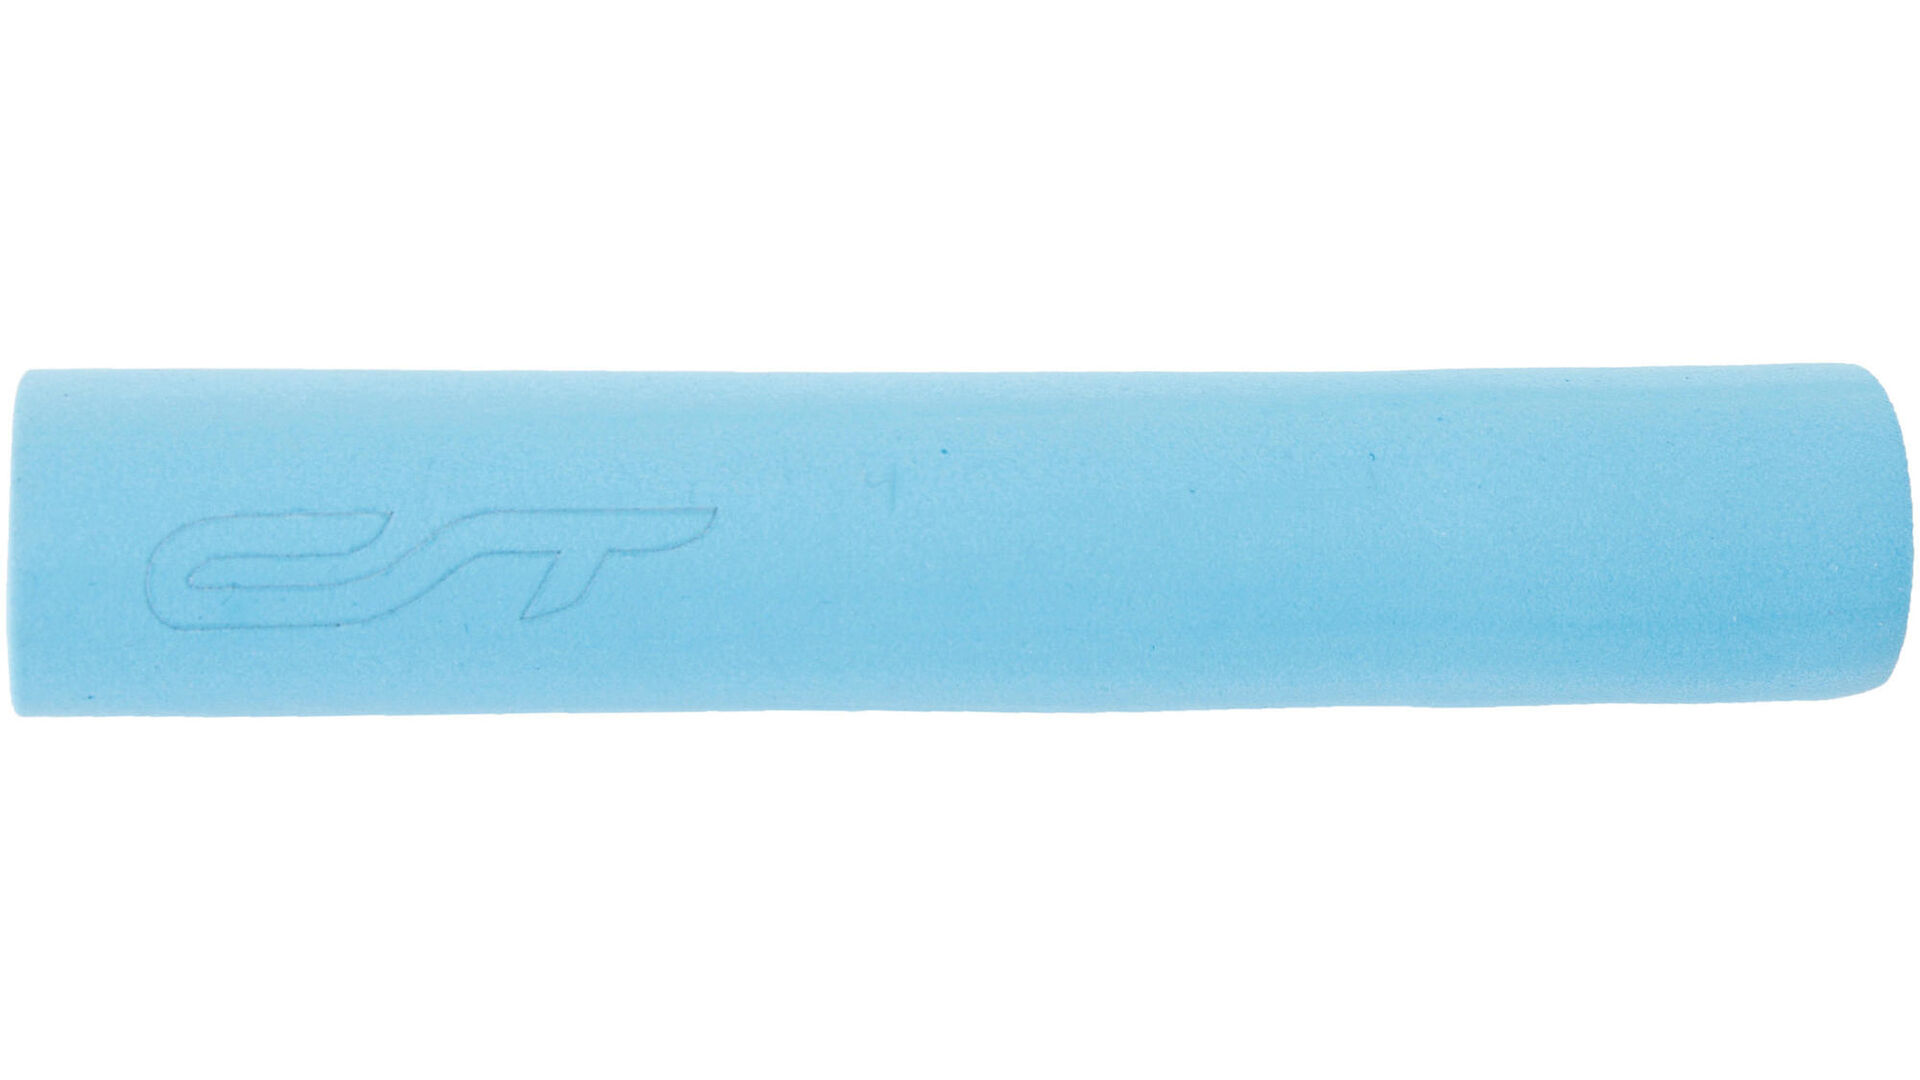
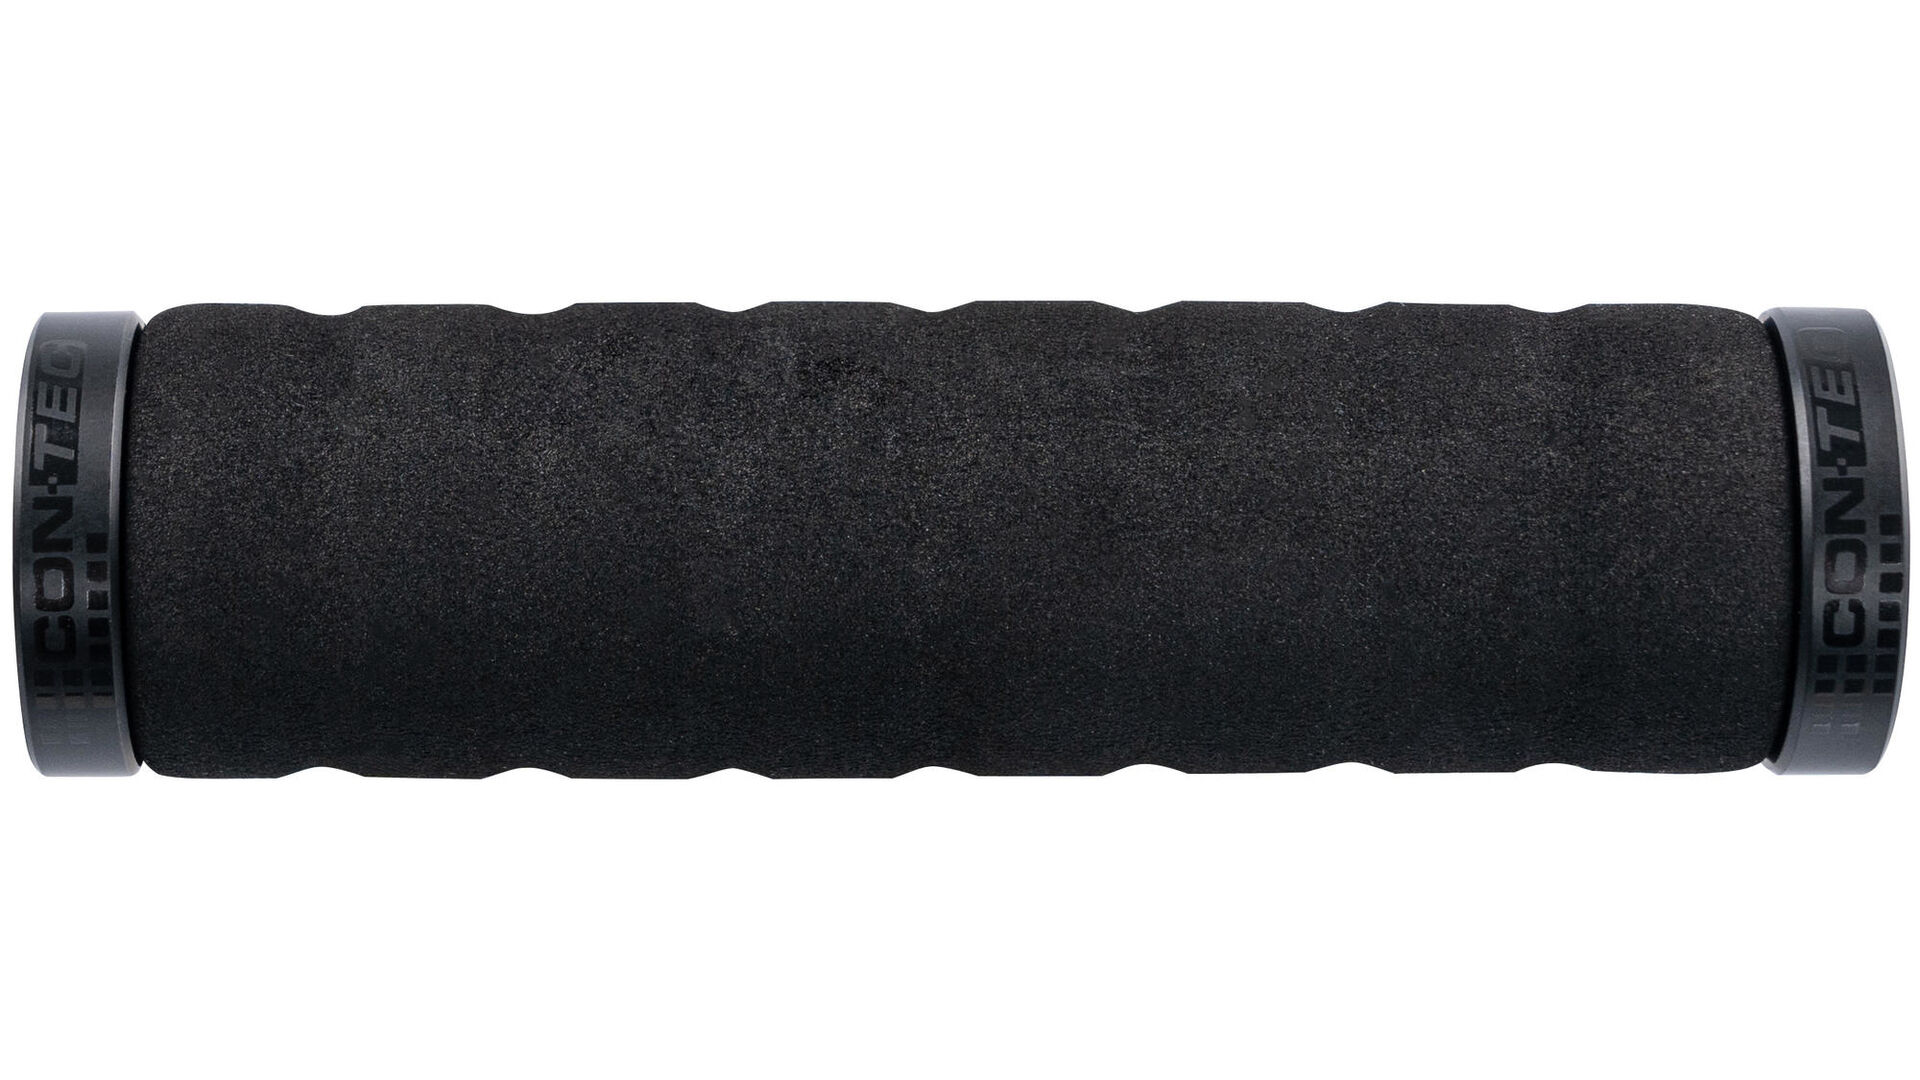
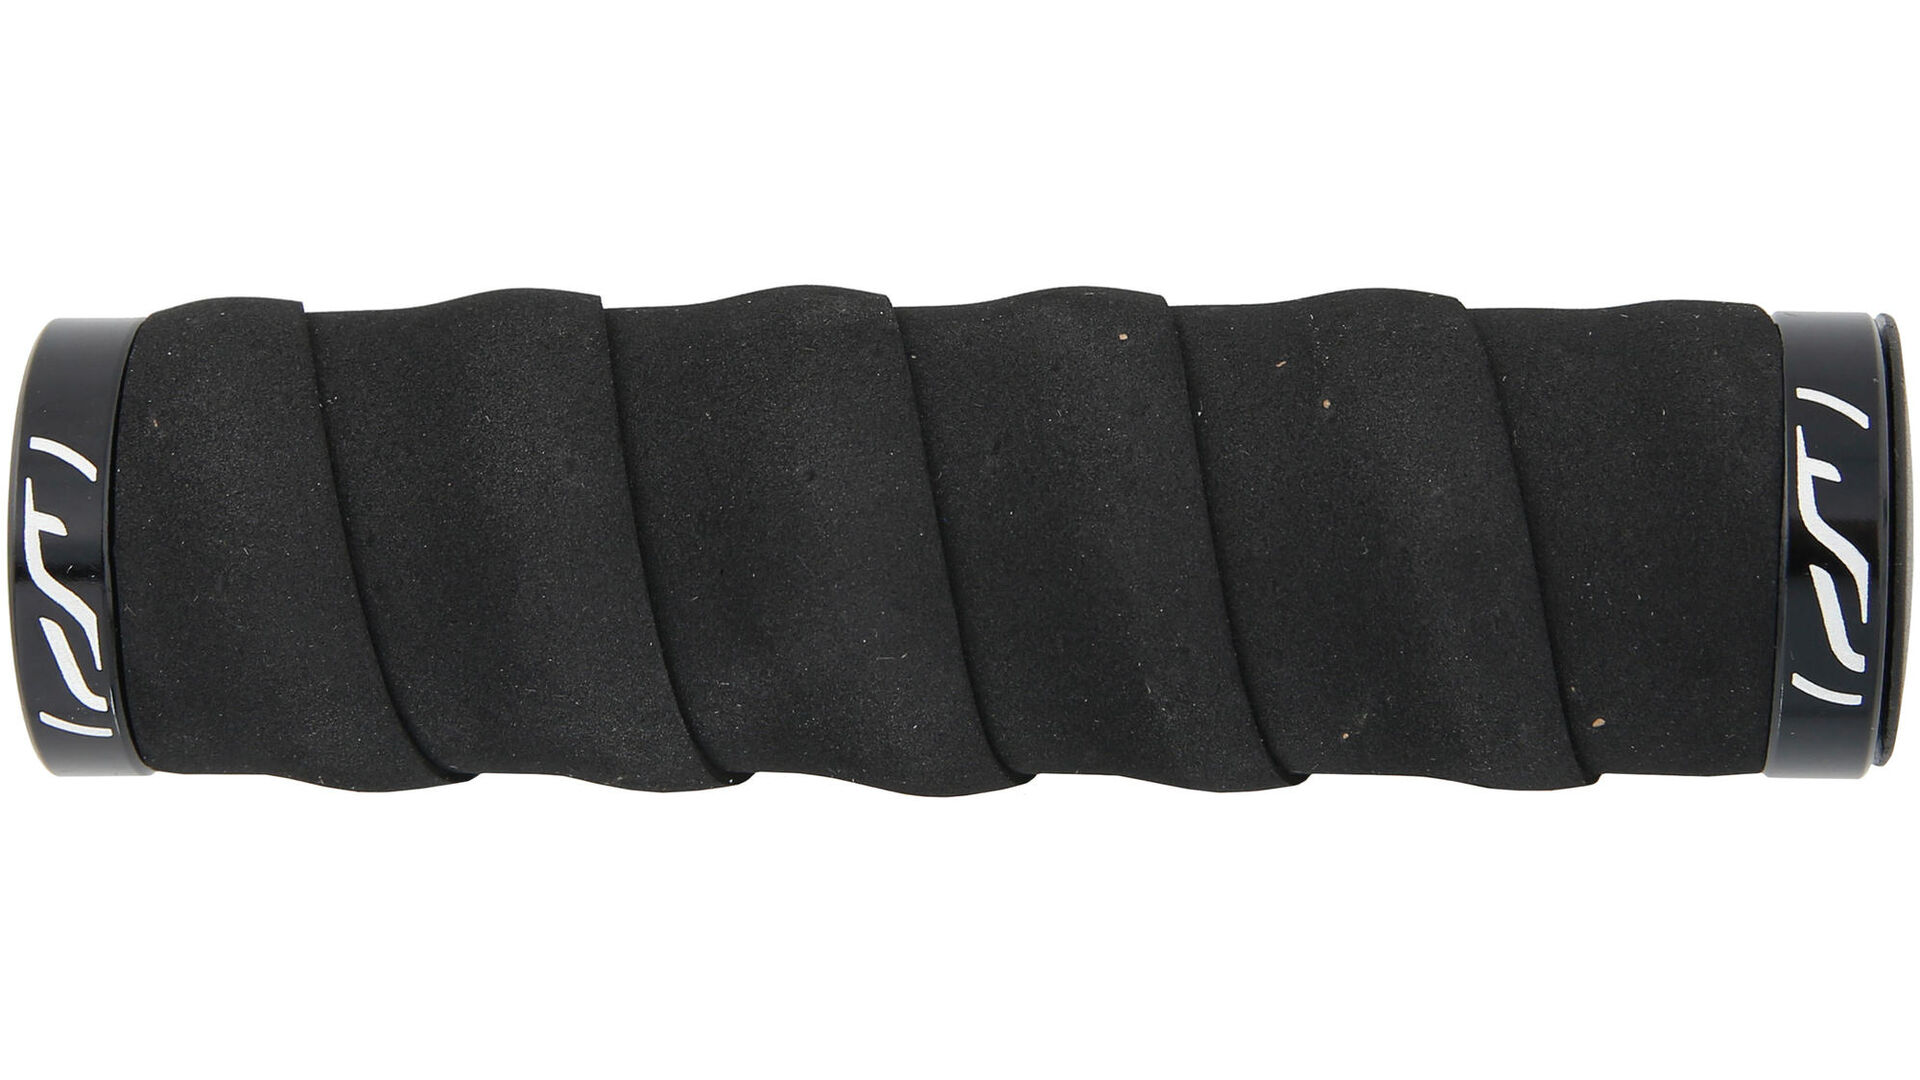
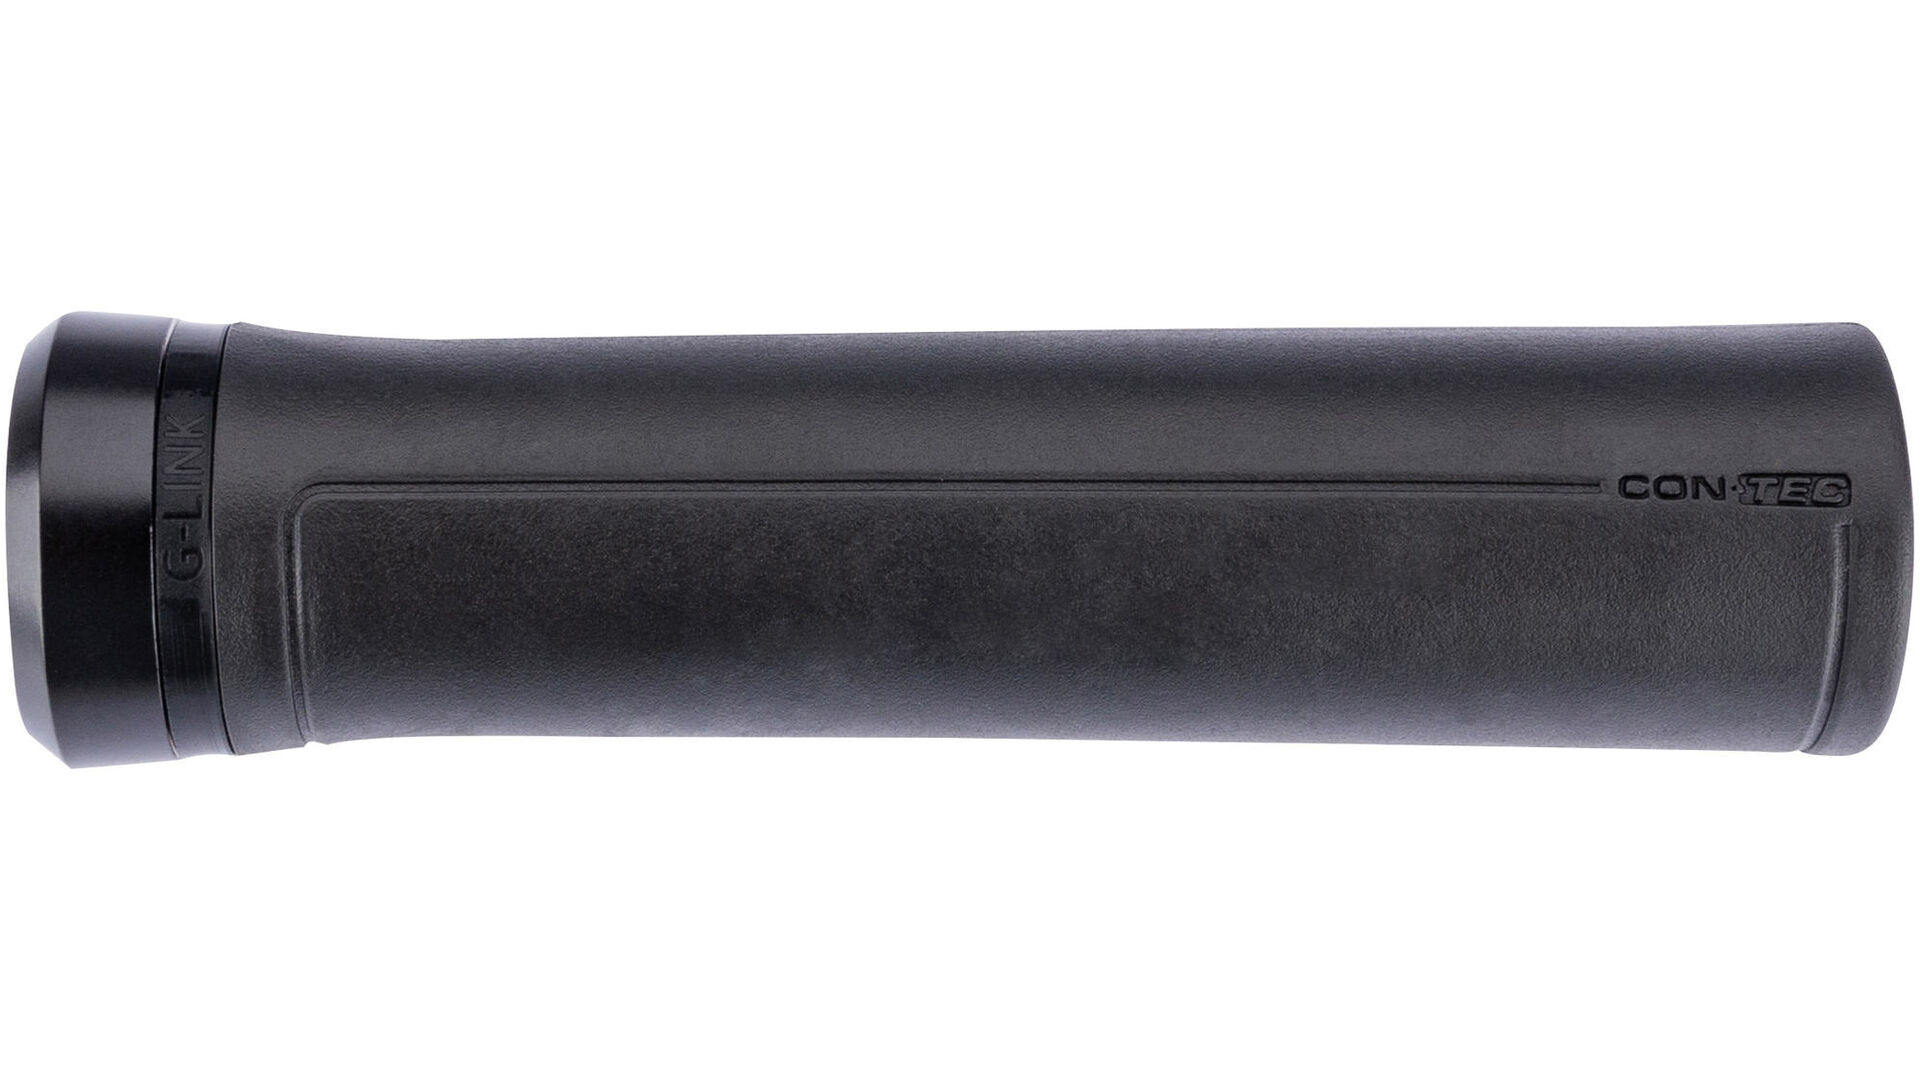
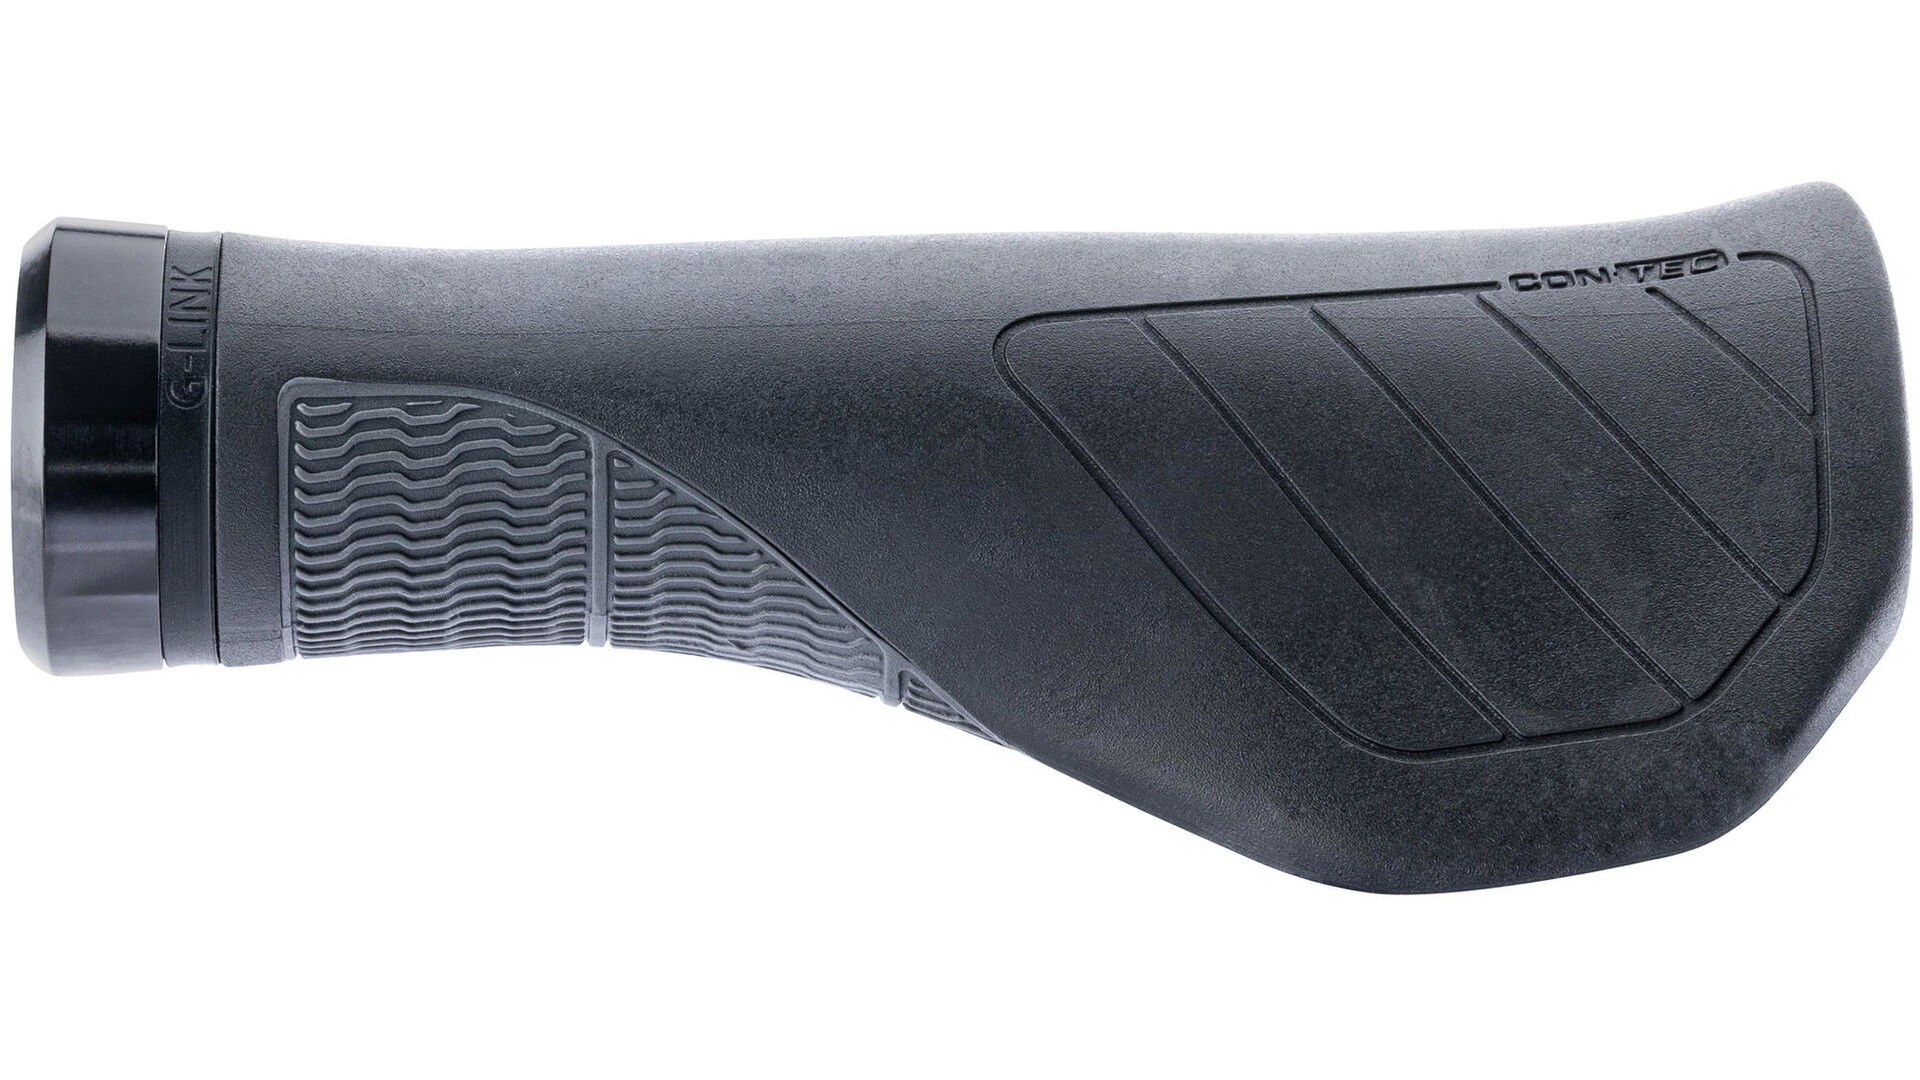
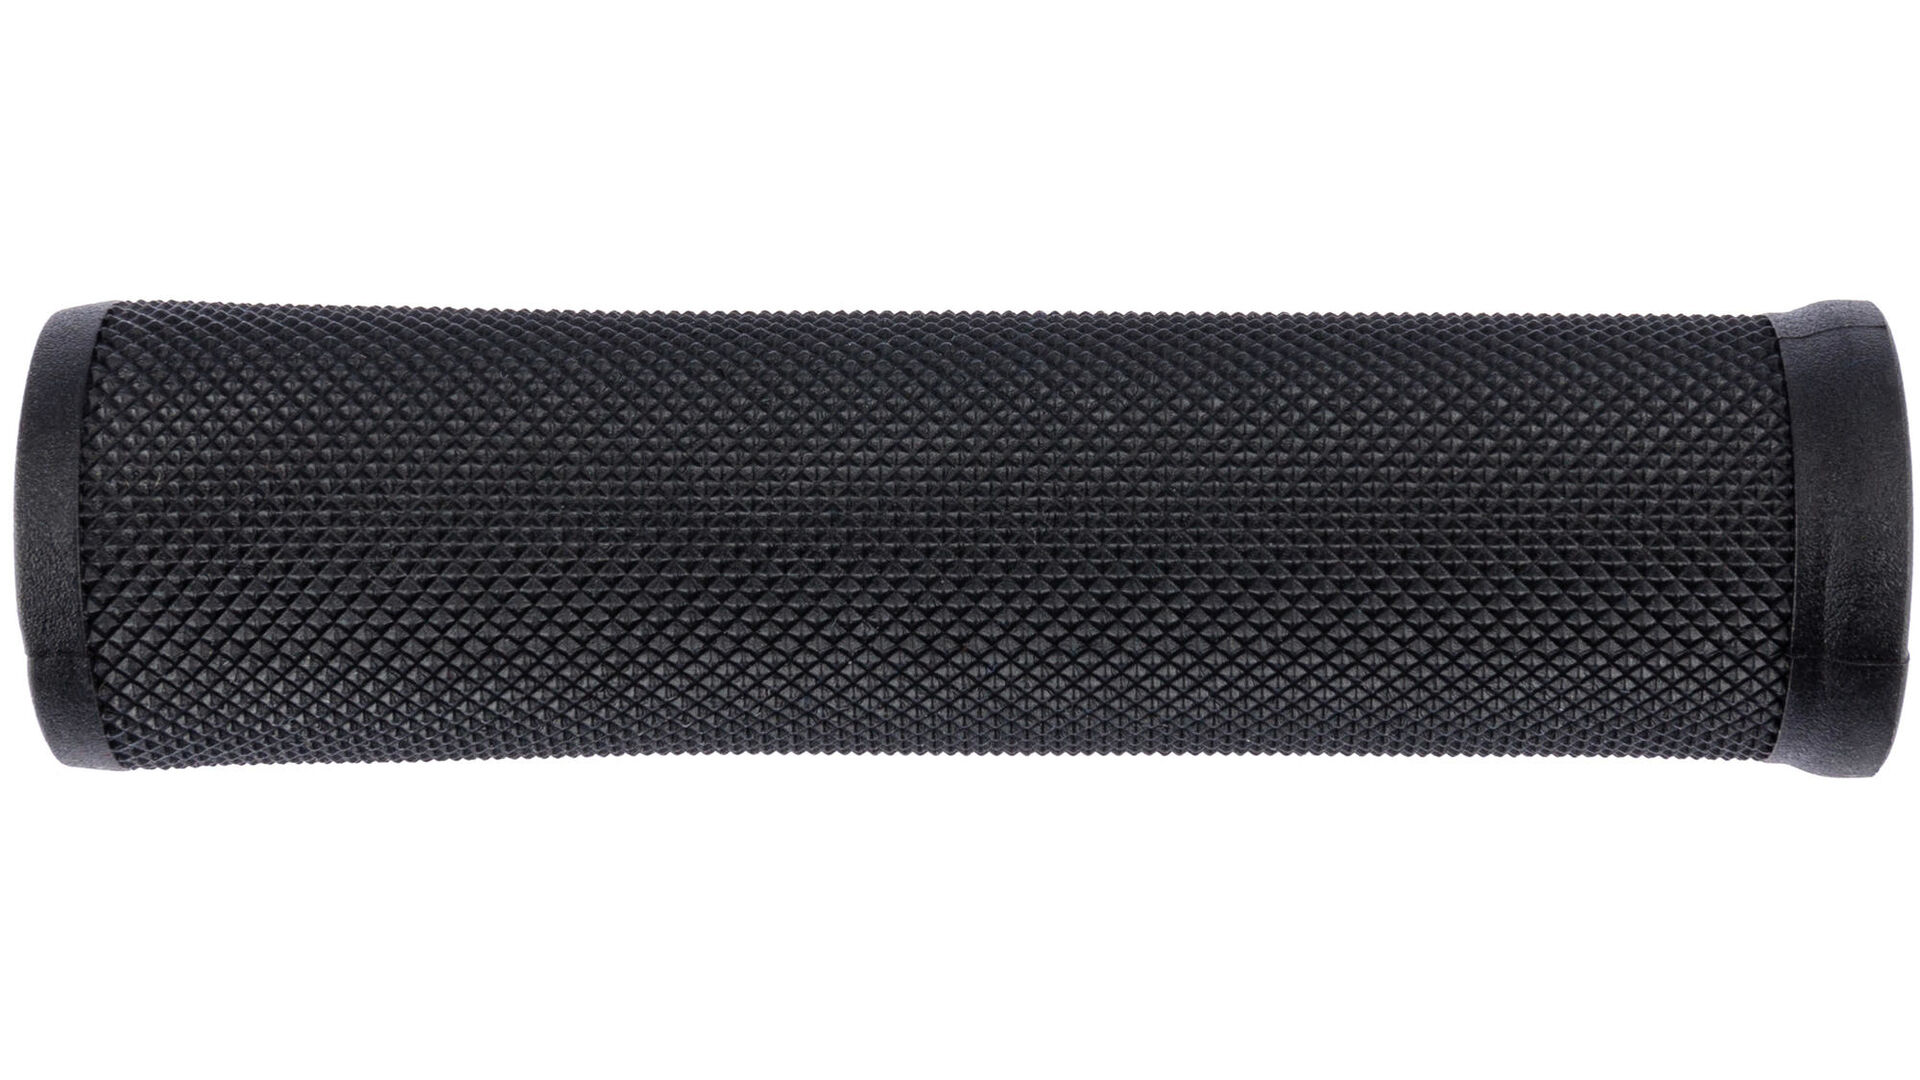
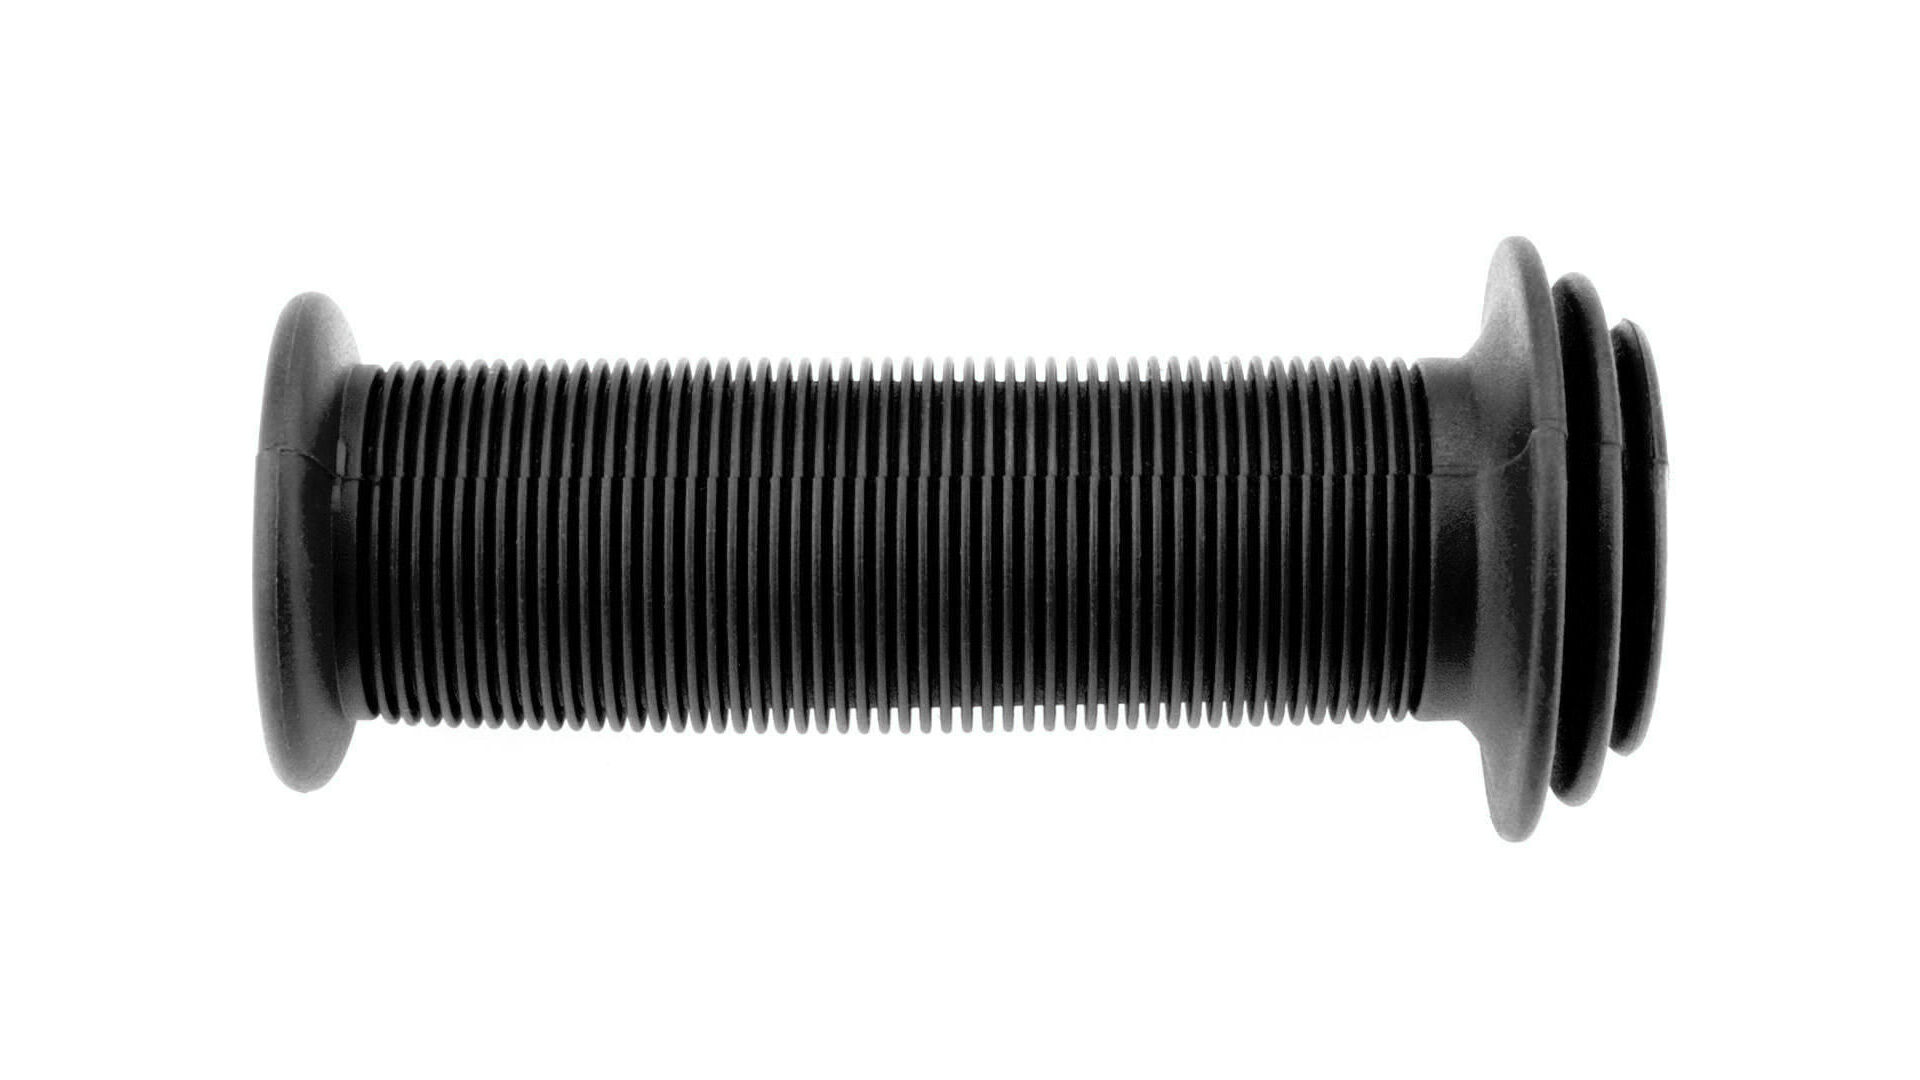
- Classic rubber grips
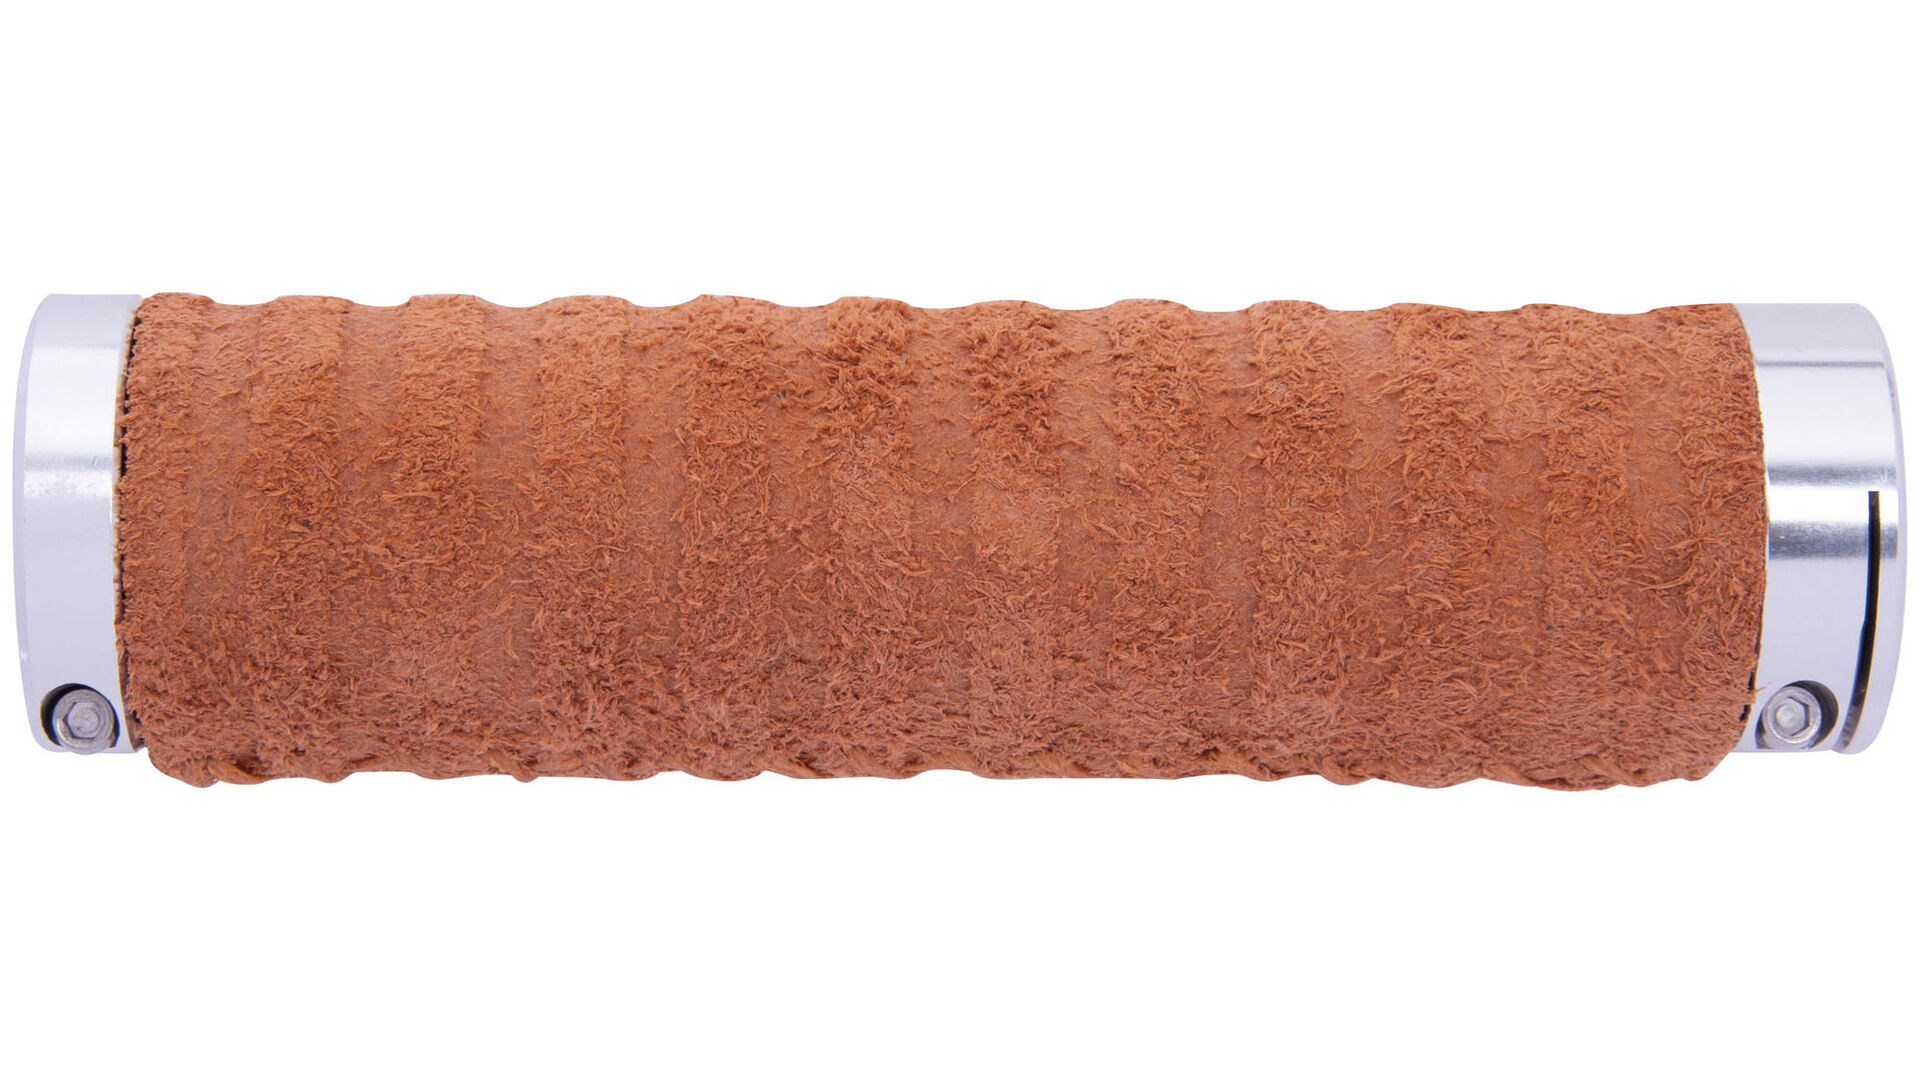
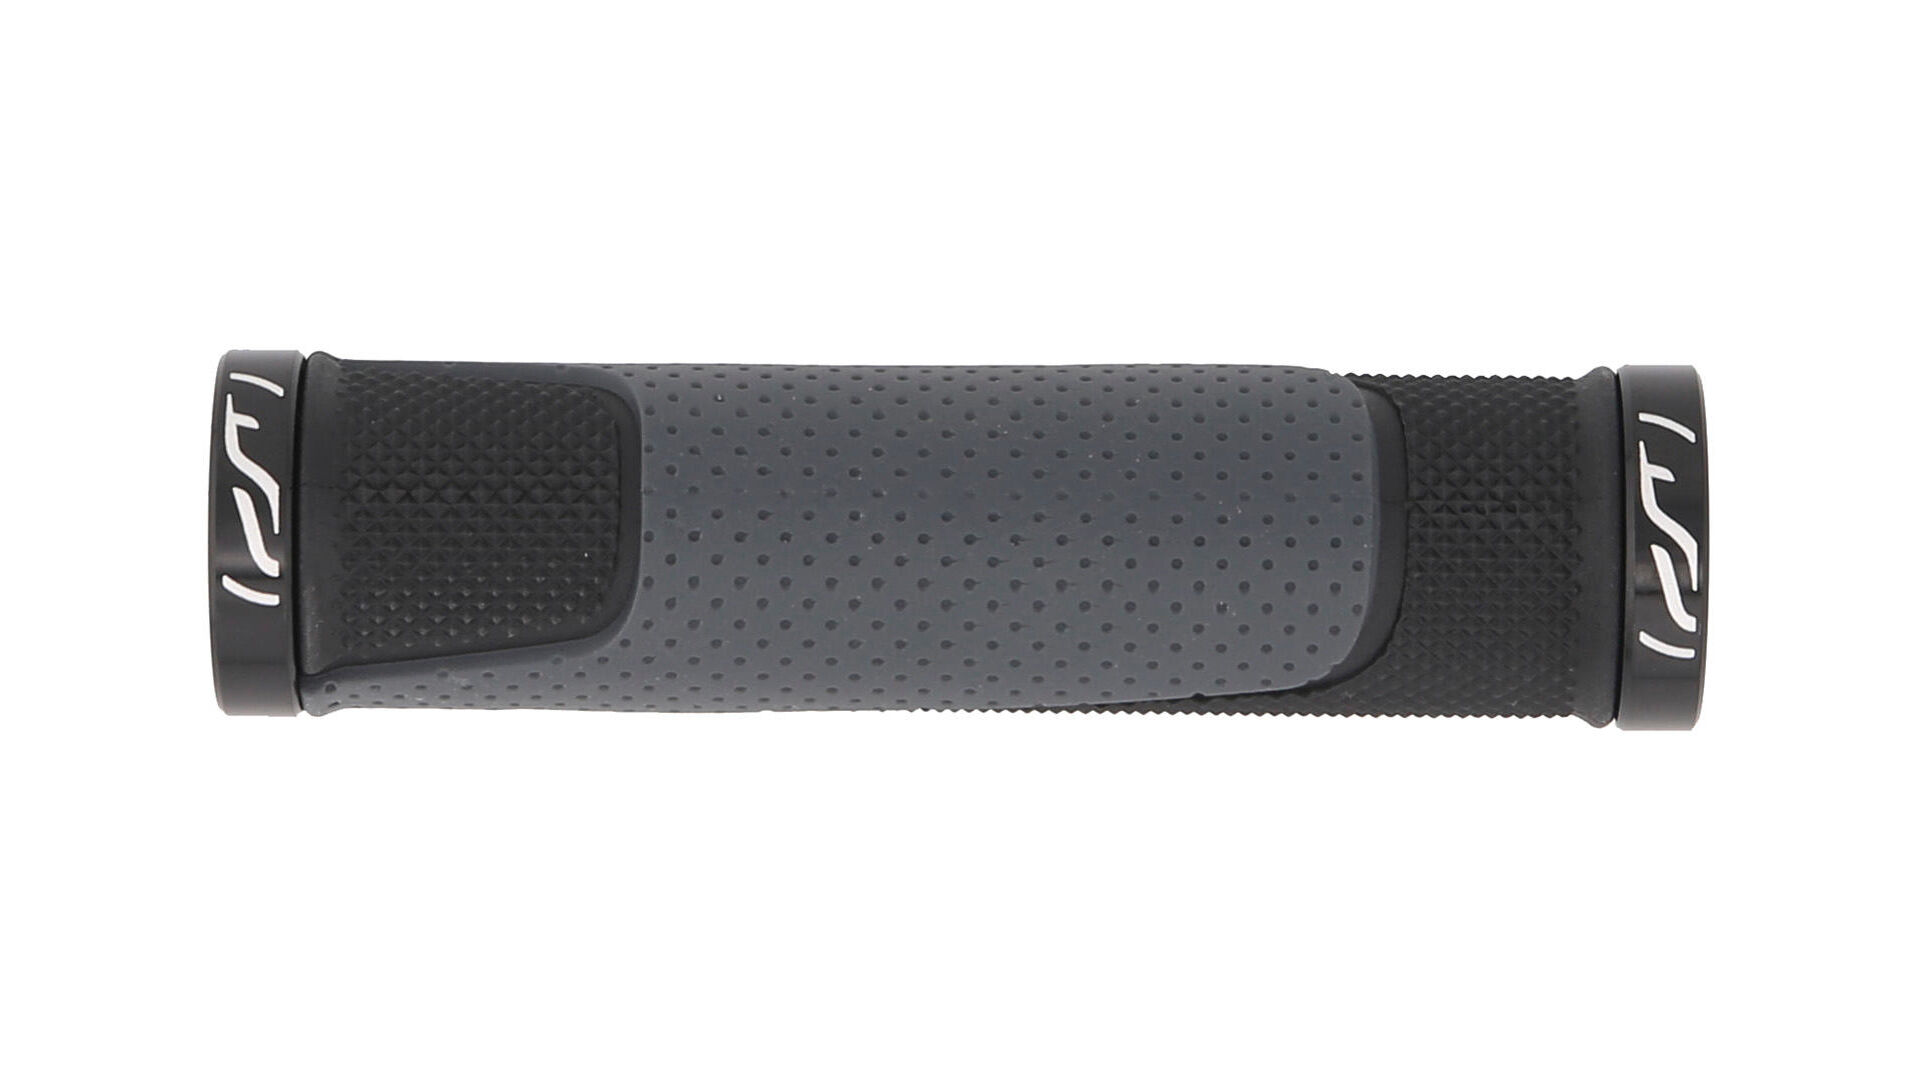
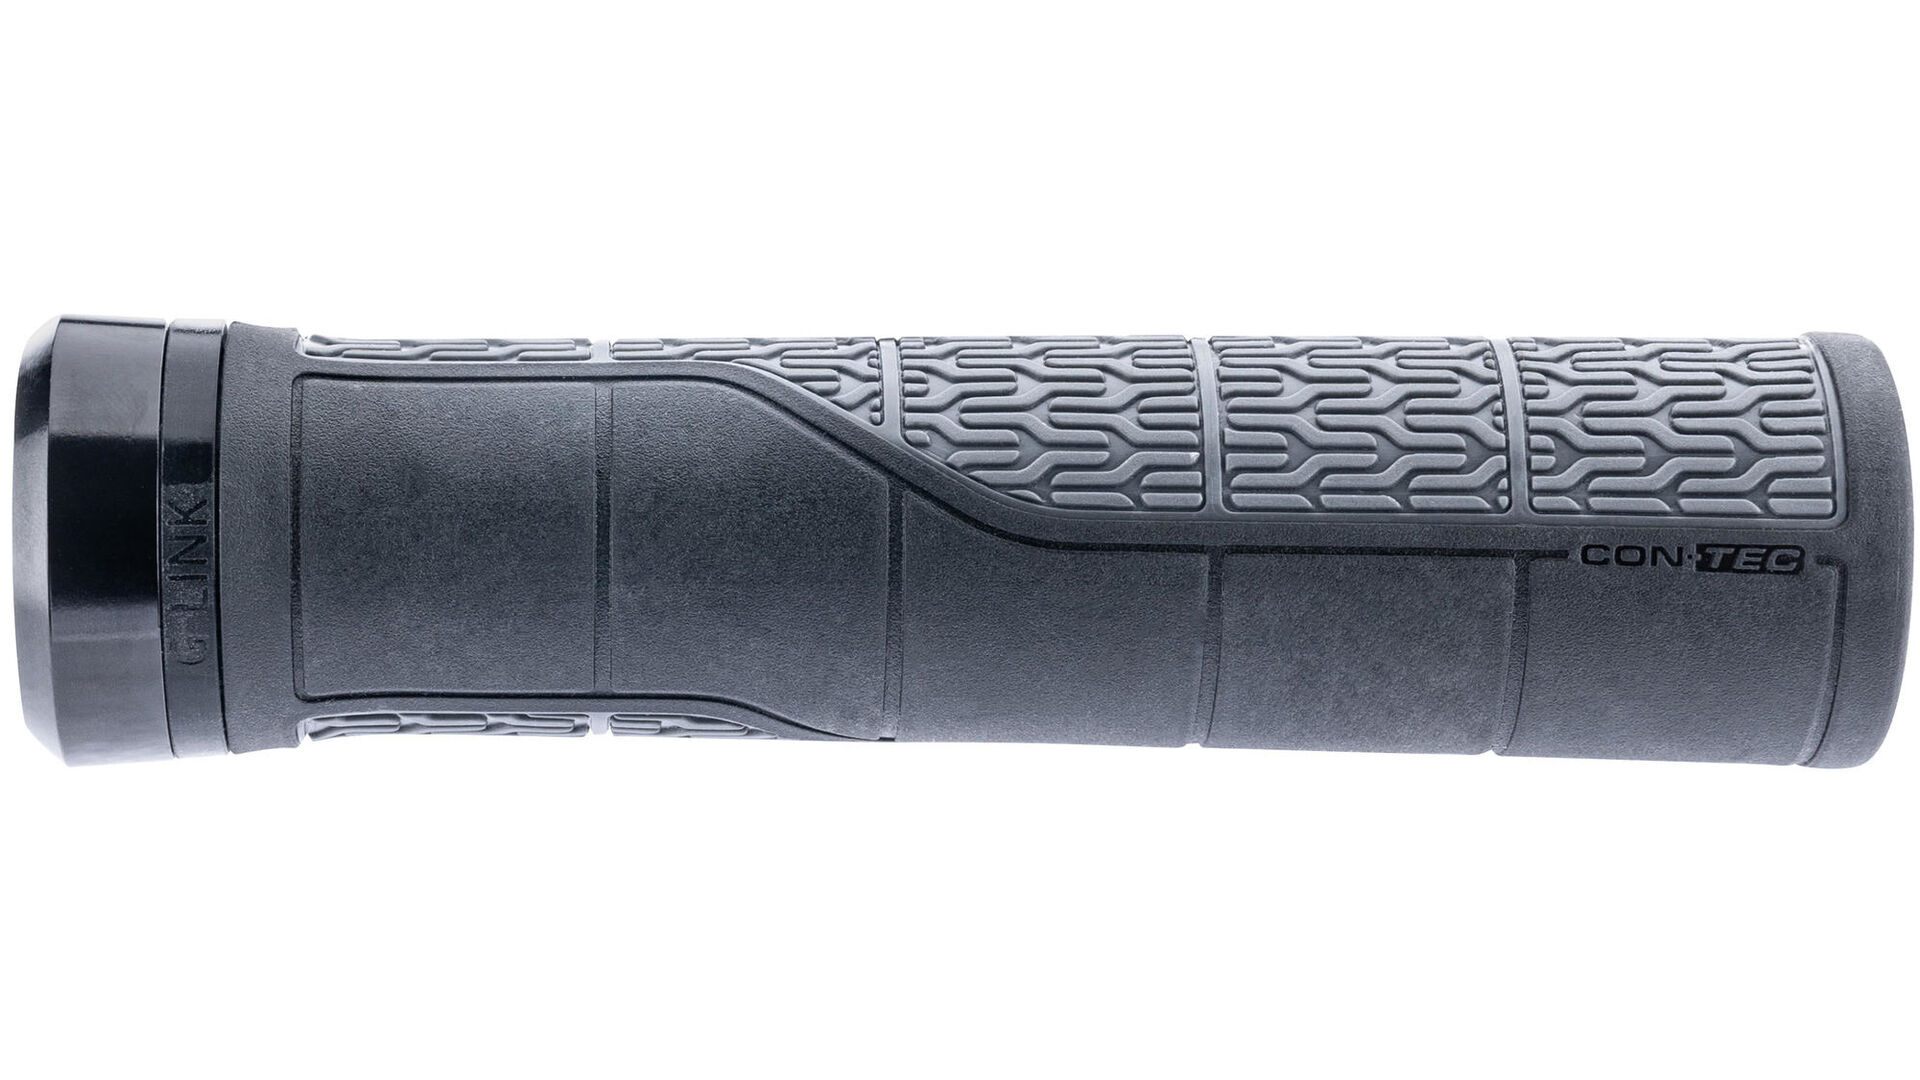
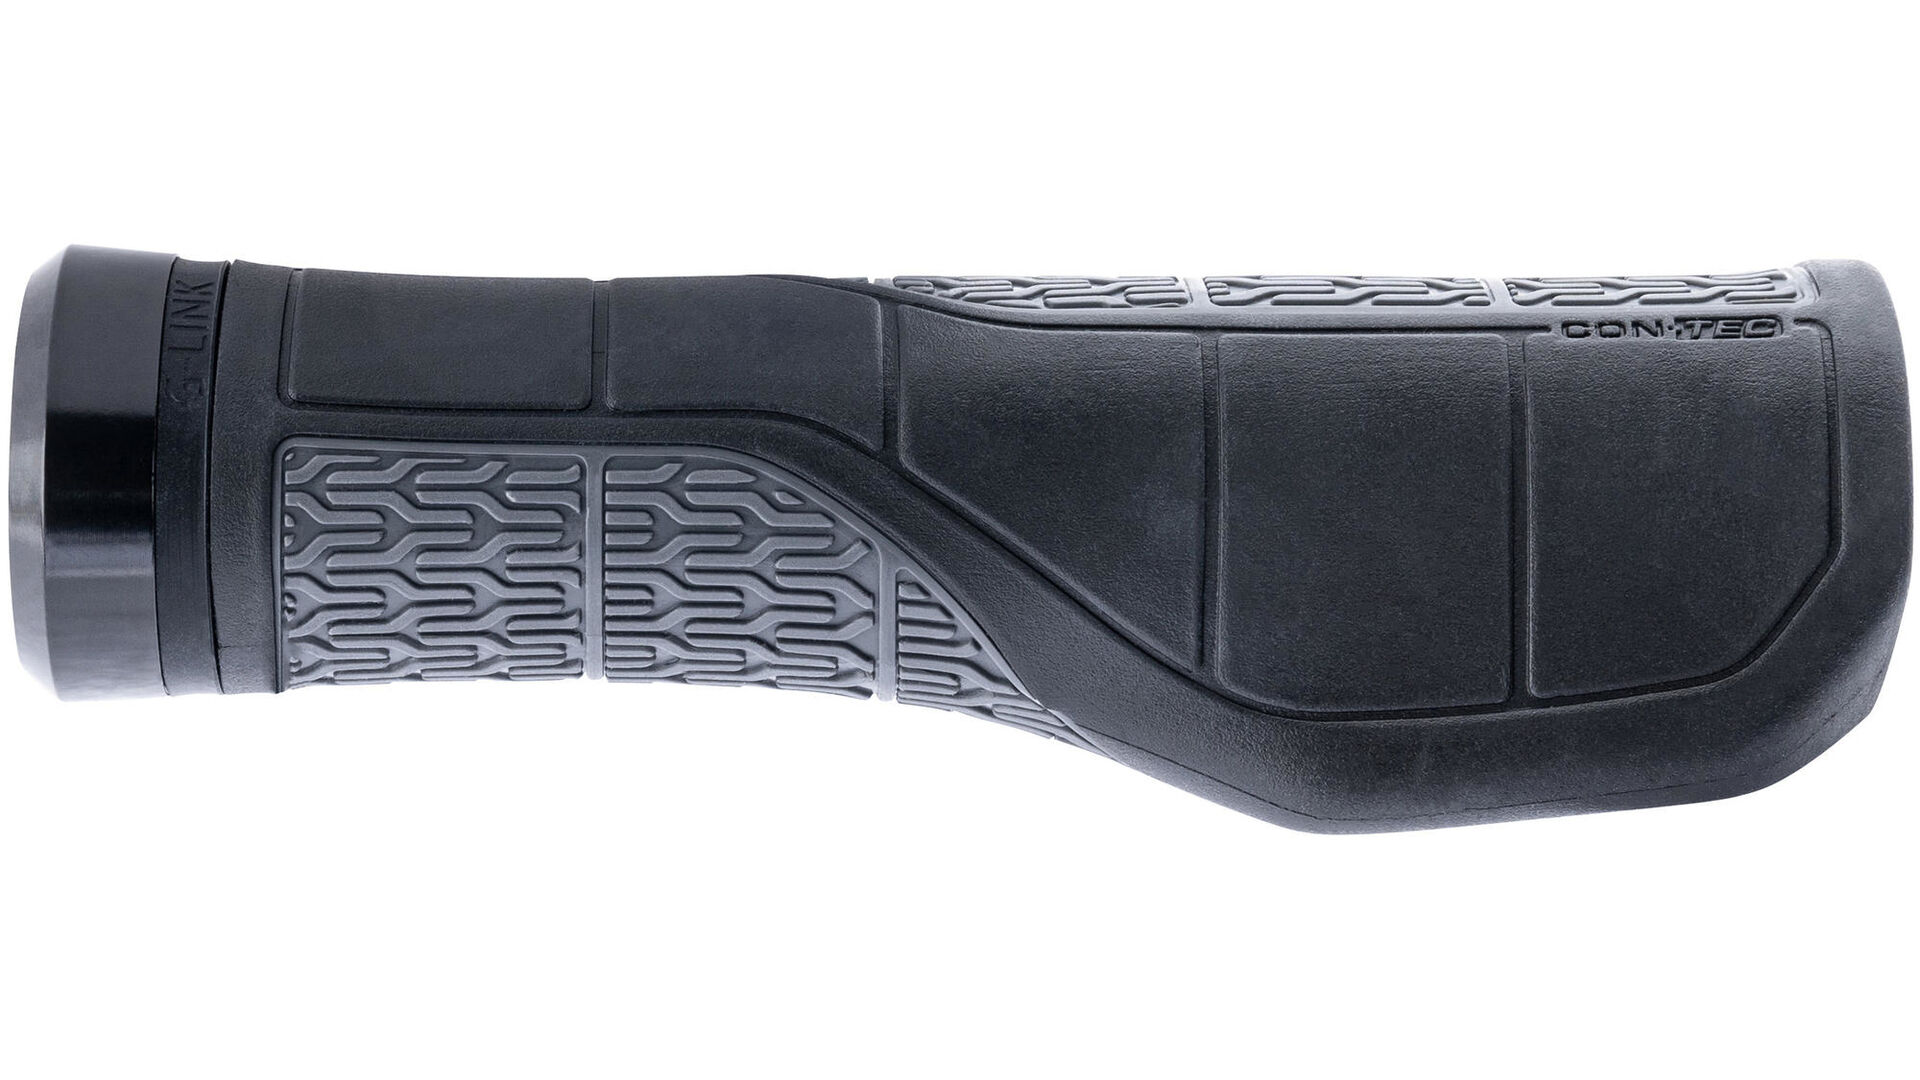
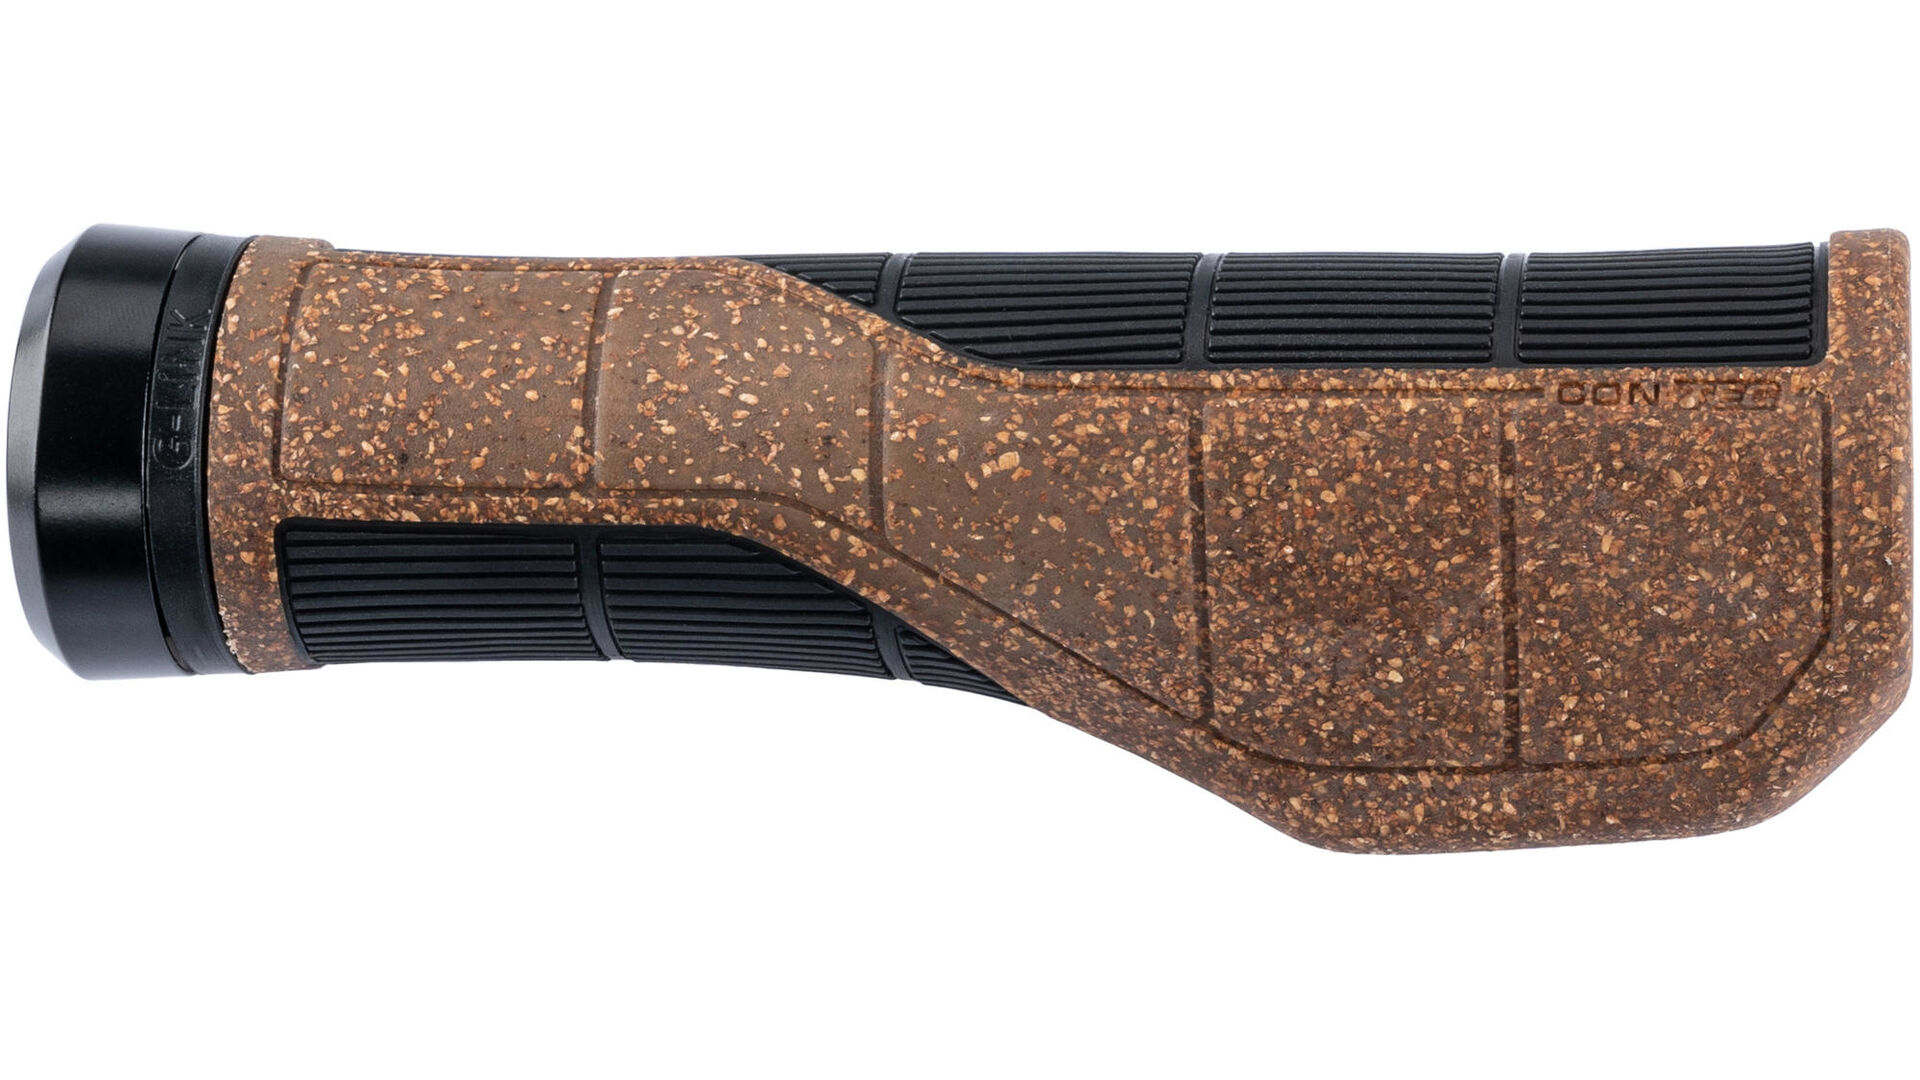
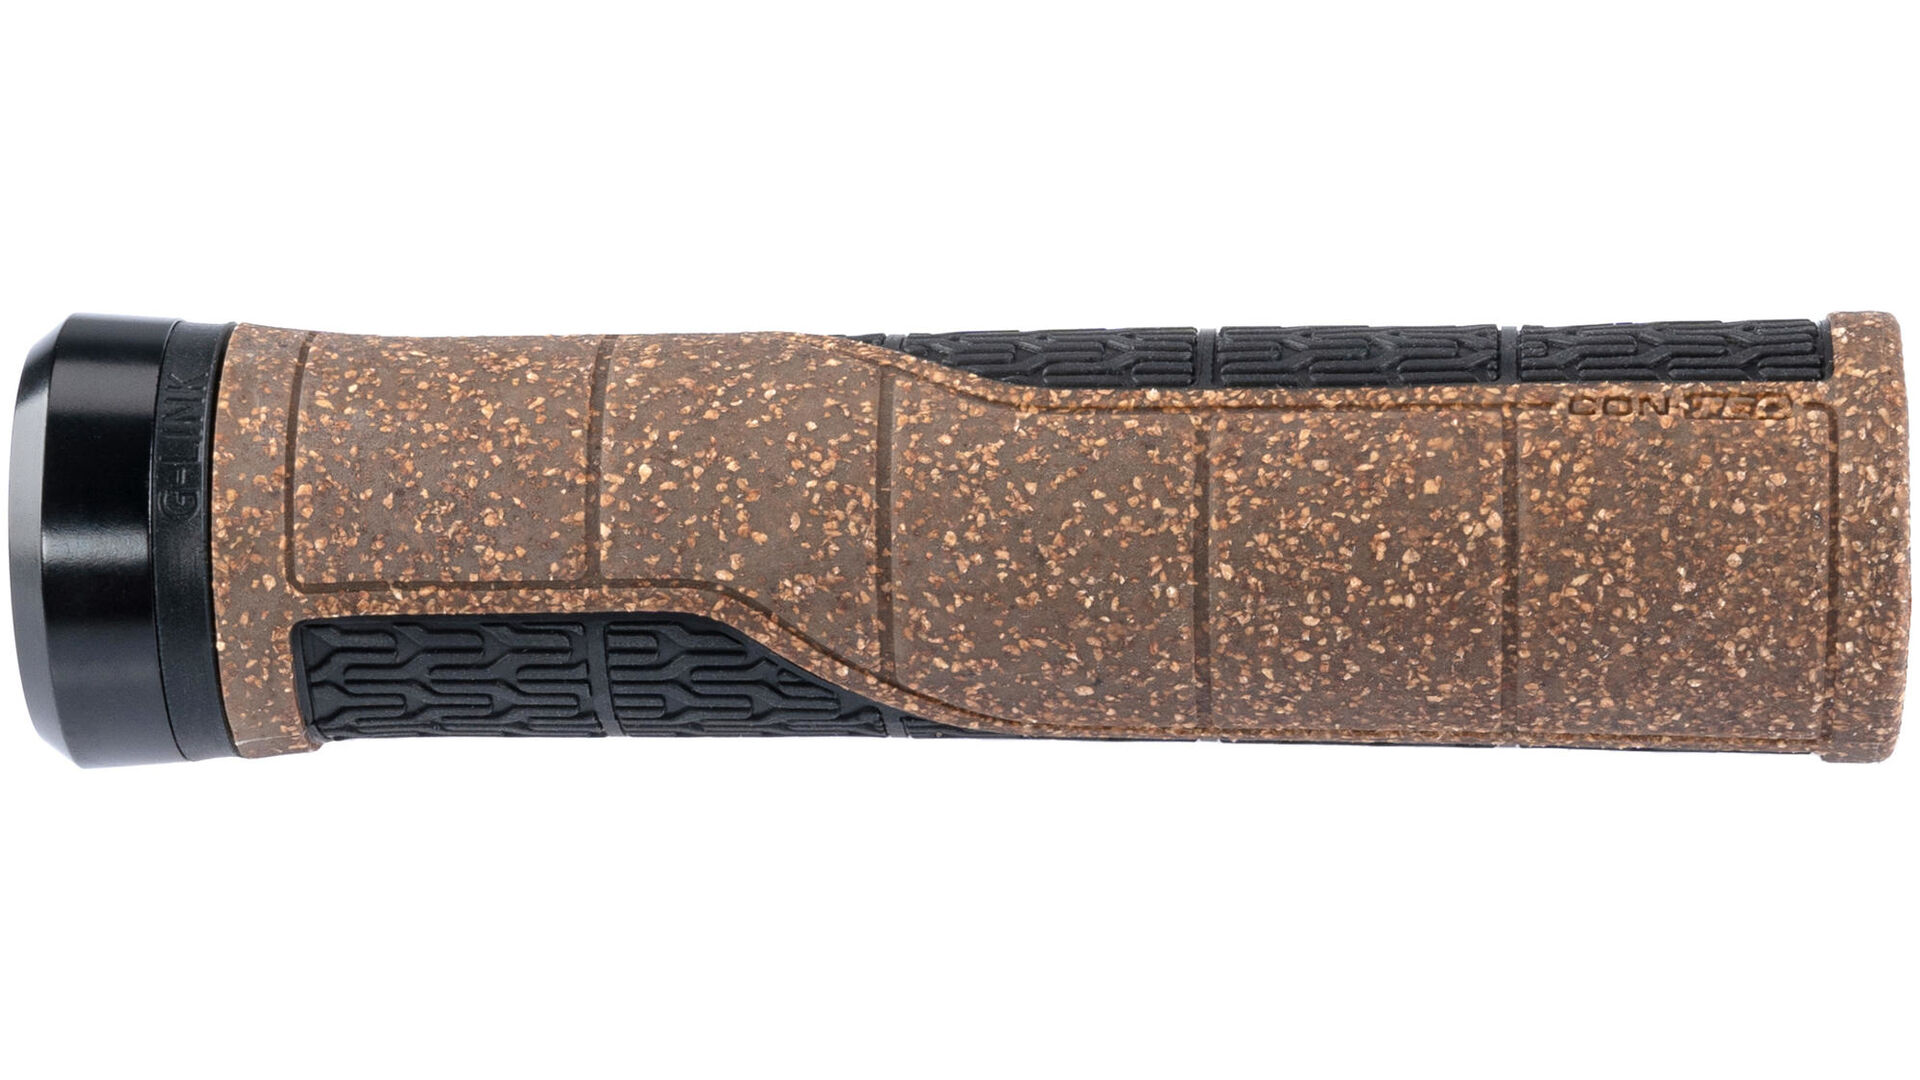
- Lock-on grips
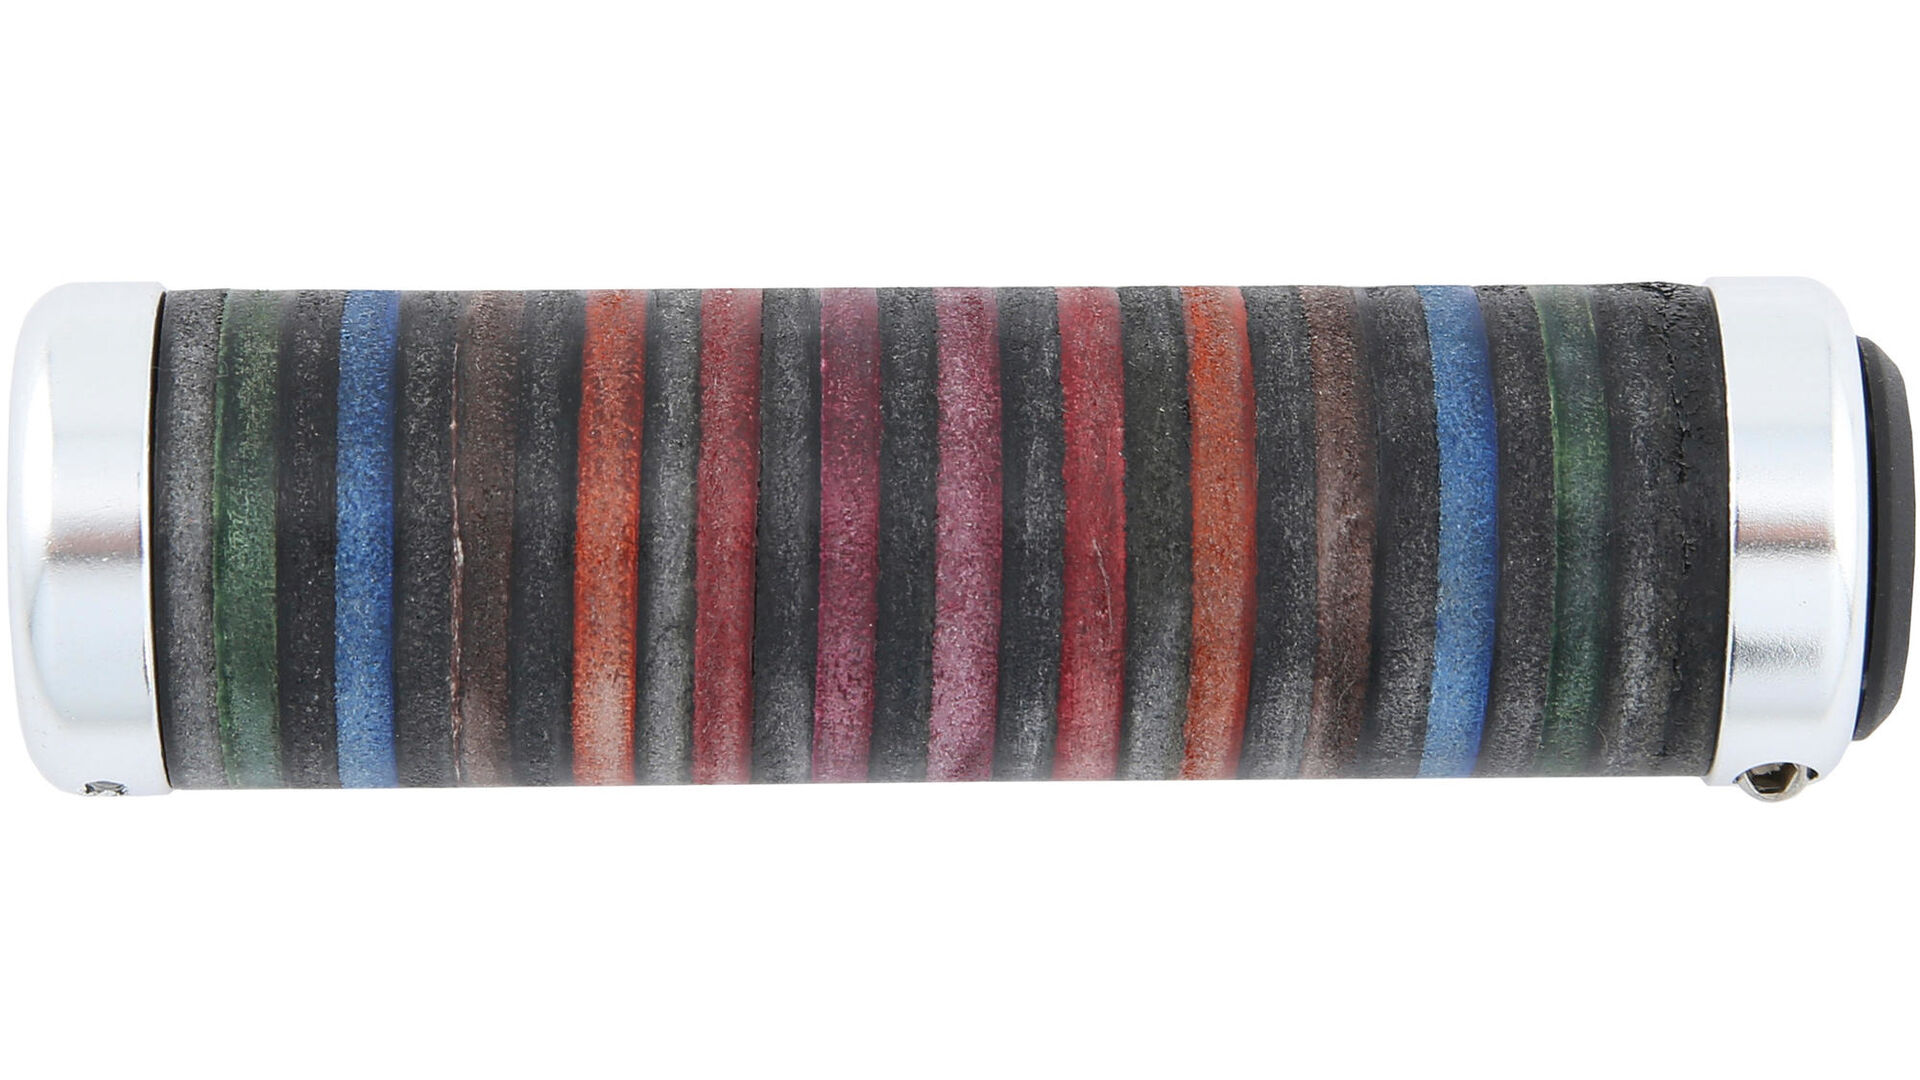
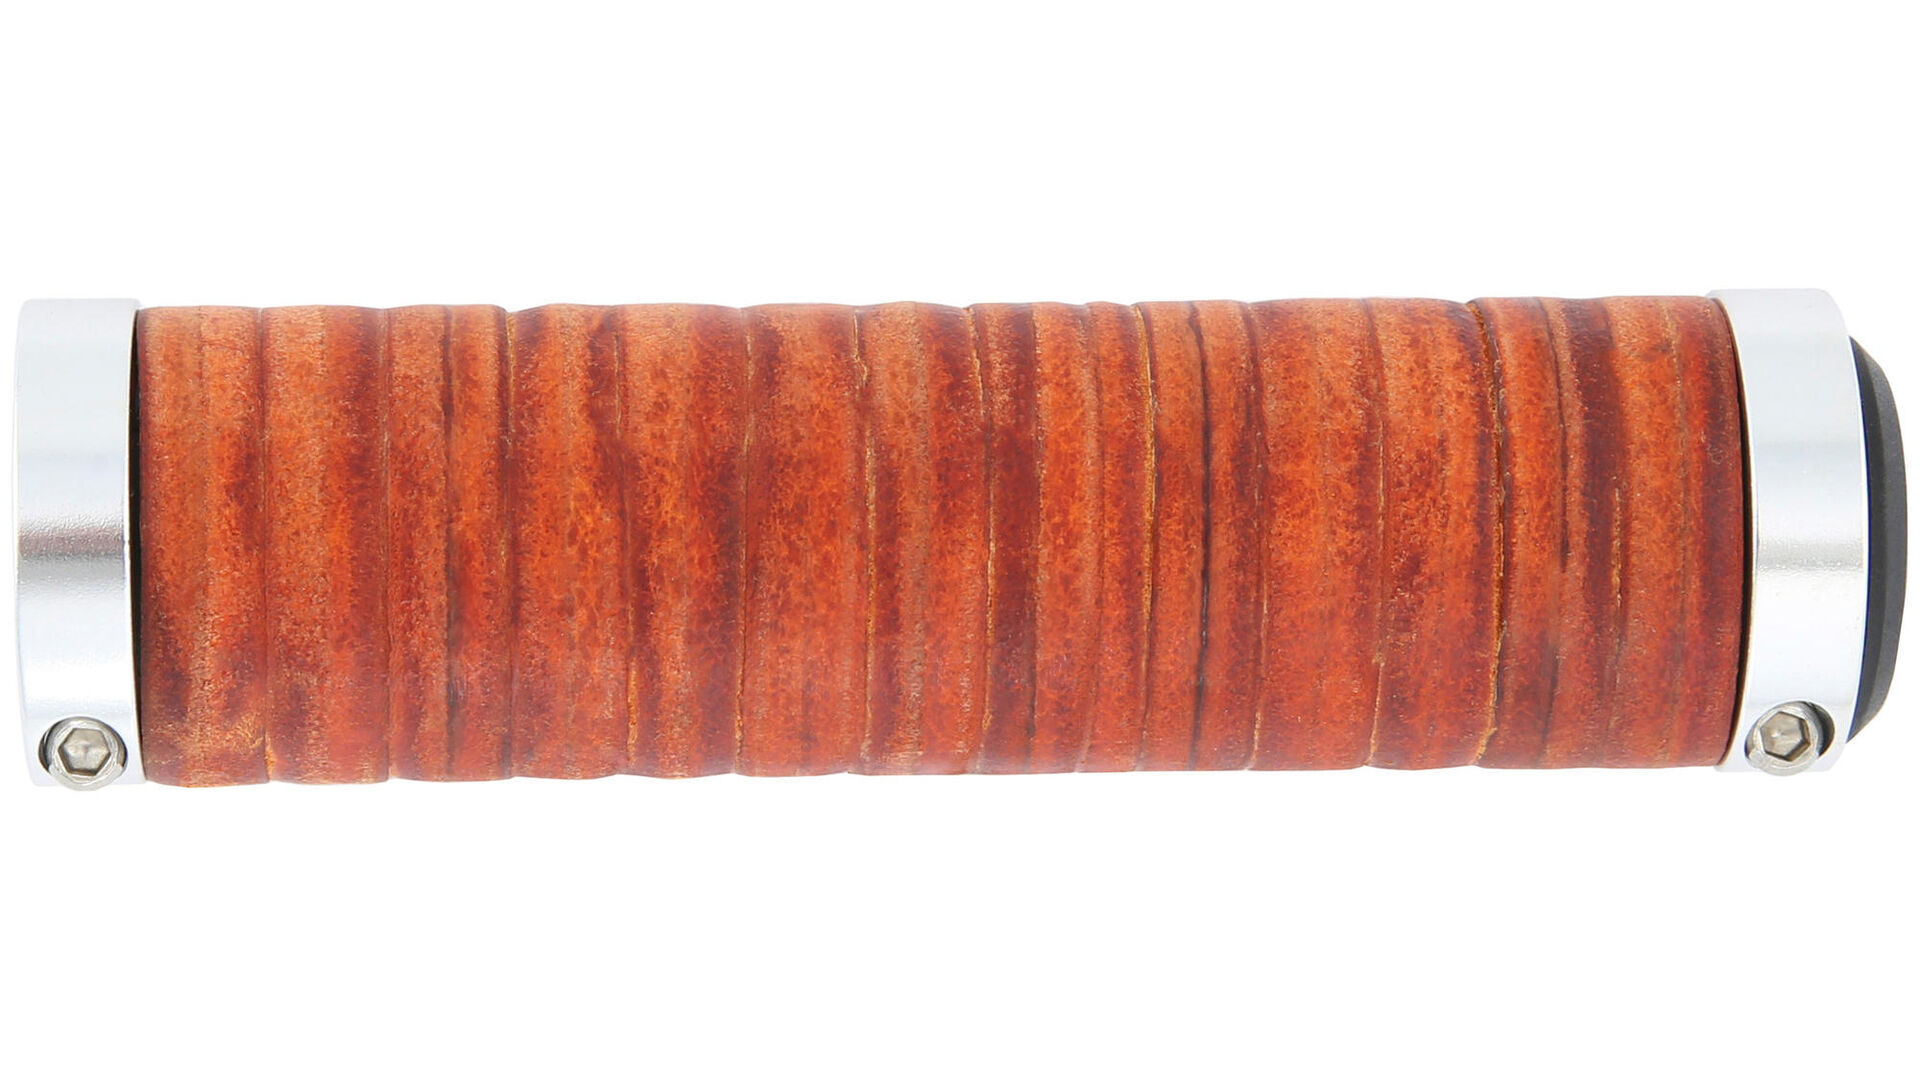
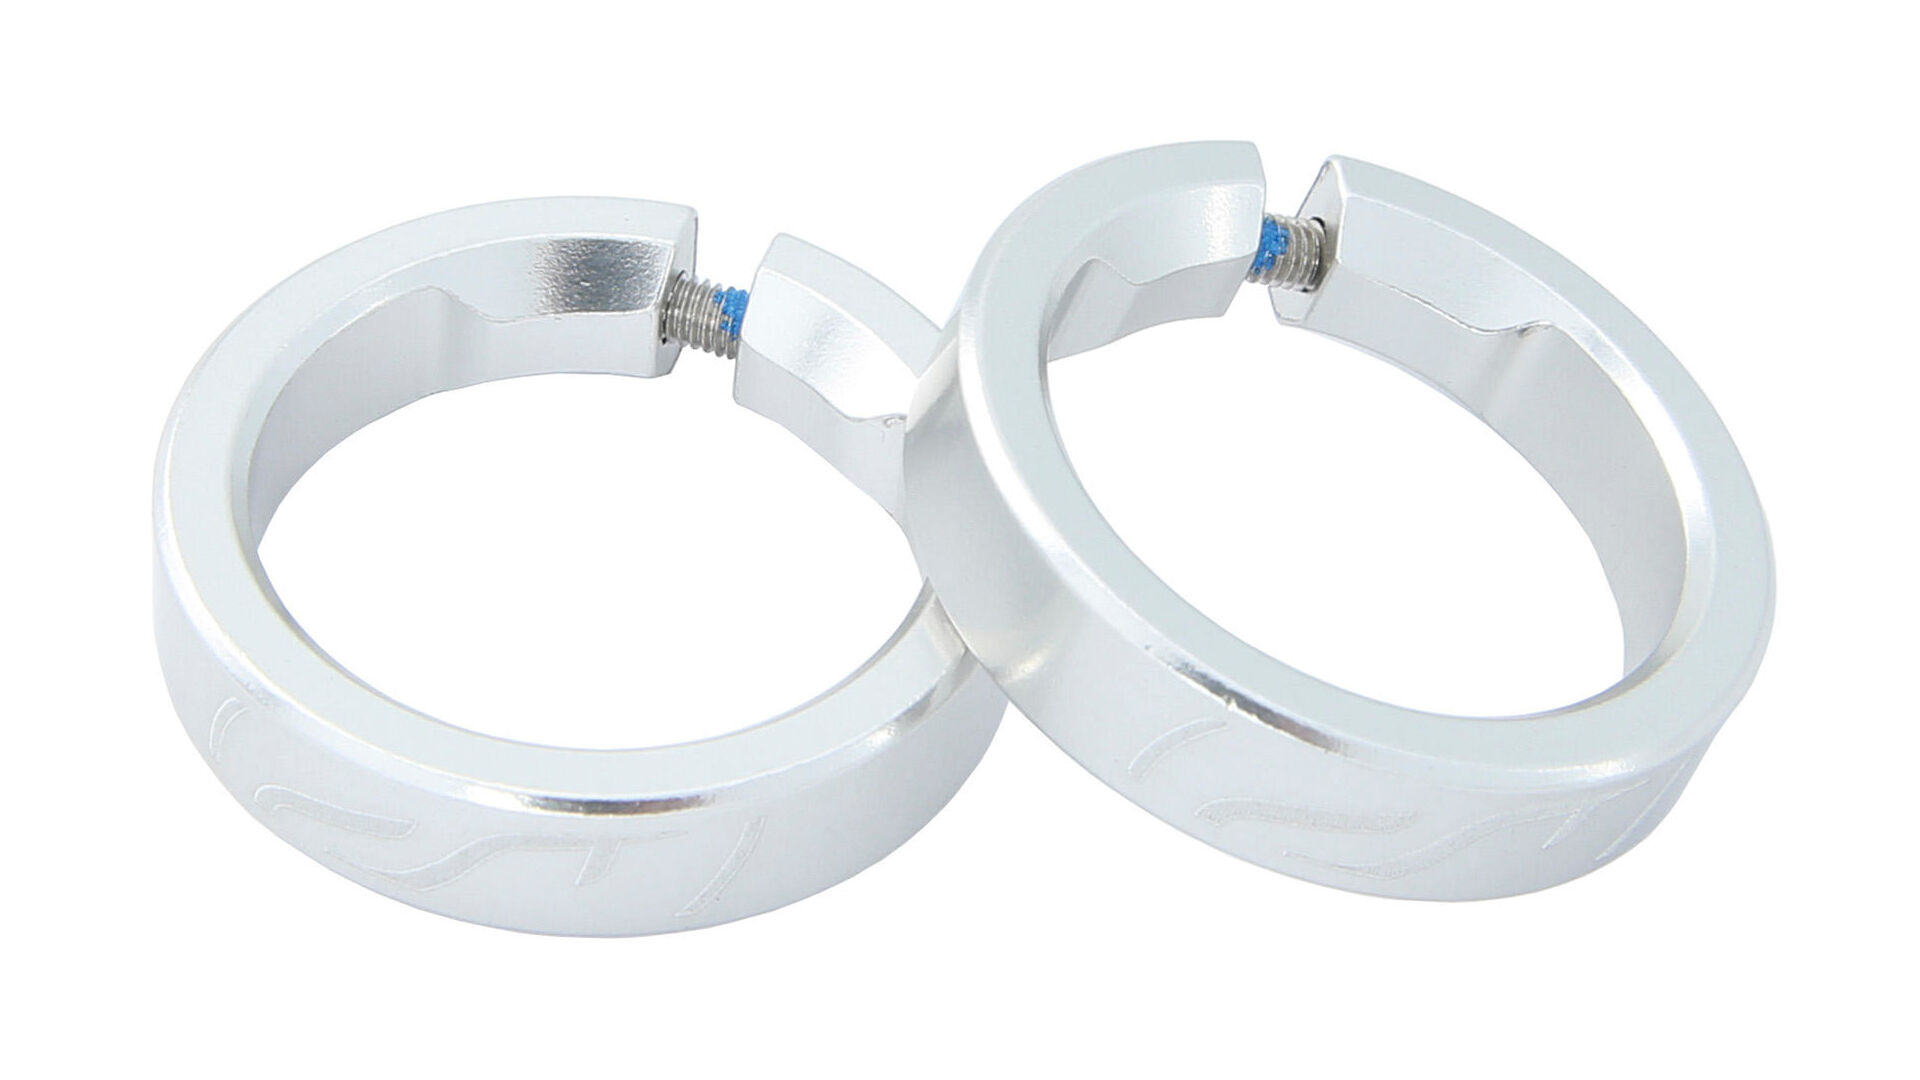
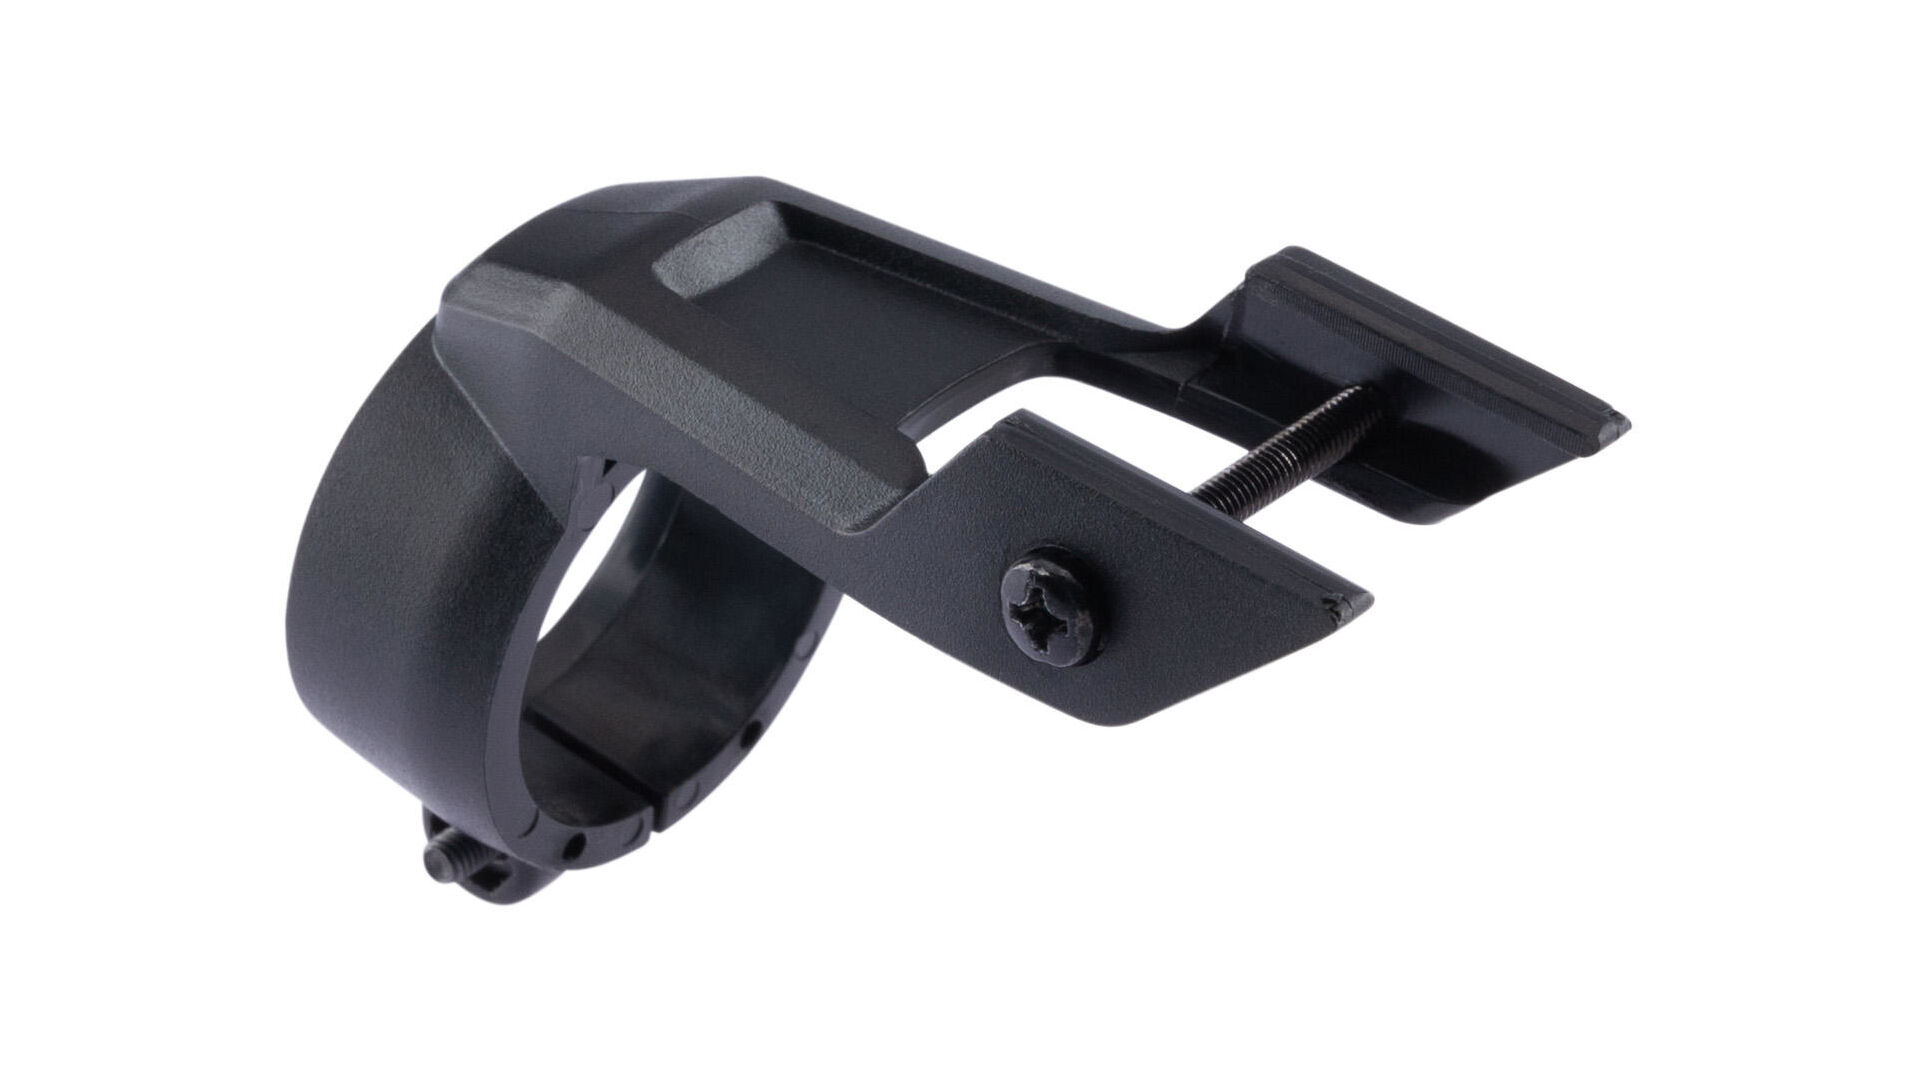
Classic, rubber grips are pushed directly onto the handlebars. Lock-on grips are kept from twisting thanks to a small bolted clamp either on the inside or inside and outside of the grip. An advantage, especially in more aggressive riding. If you stand in the saddle on steep climbs, you put a lot of push/pull on the handlebar and grips. For the weight weenies out there, know that lock-on grips tend to be slightly heavier than grips without a clamp. It is important to note that there are also grips with only one clamp. A distinction is made between internal and external clamping. Each one has advantages and disadvantages.
Werkzeug-Checkliste – das benötigst du:
- 1 Schale Wasser oder 1 mit Wasser aufgezogene Spritze / alternativ: 1 Bremsreiniger oder Haarspray
- Tuch
- 4 breitere Kabelbinder
- 1 Schraubendreher
- 1 passender Innensechskant- oder Torxschlüssel für die Klemmschellen von Schraubgriffen (je nach Lenkergriff!), Drehmomentschlüssel
Replacing with rubber grips:
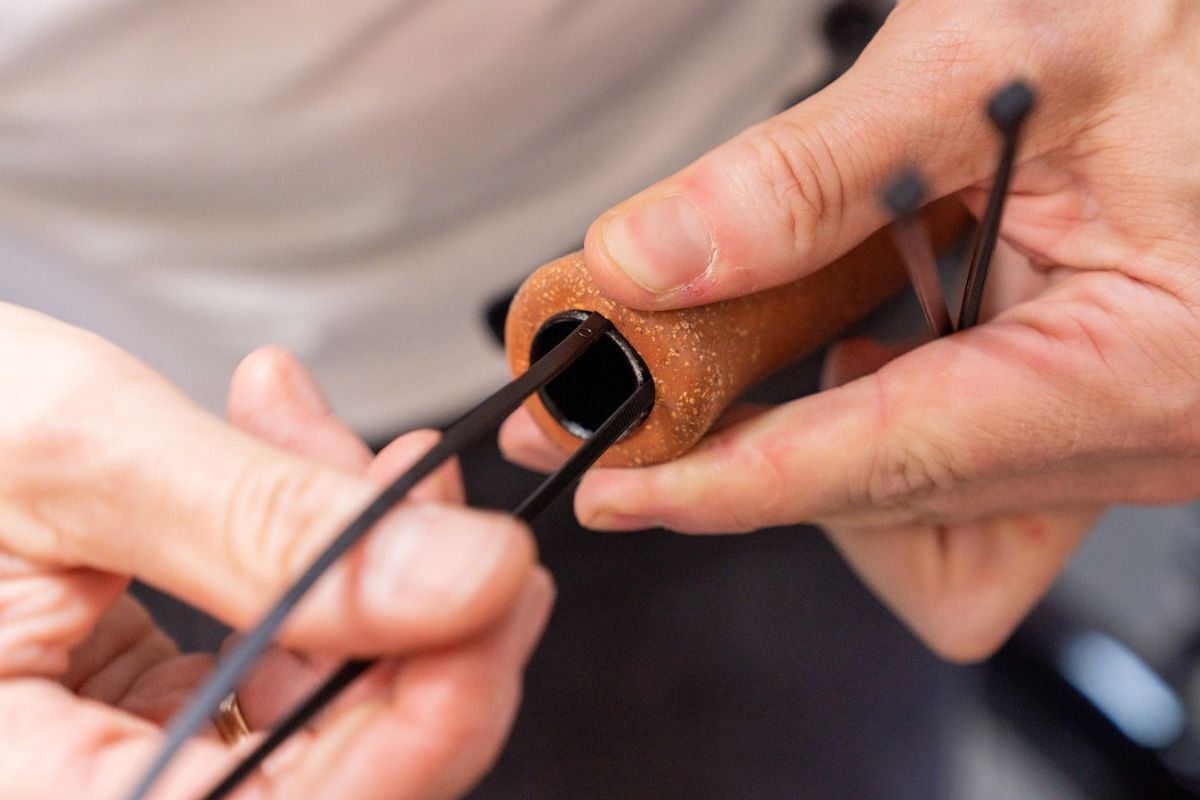
Step 1: Insert cable ties

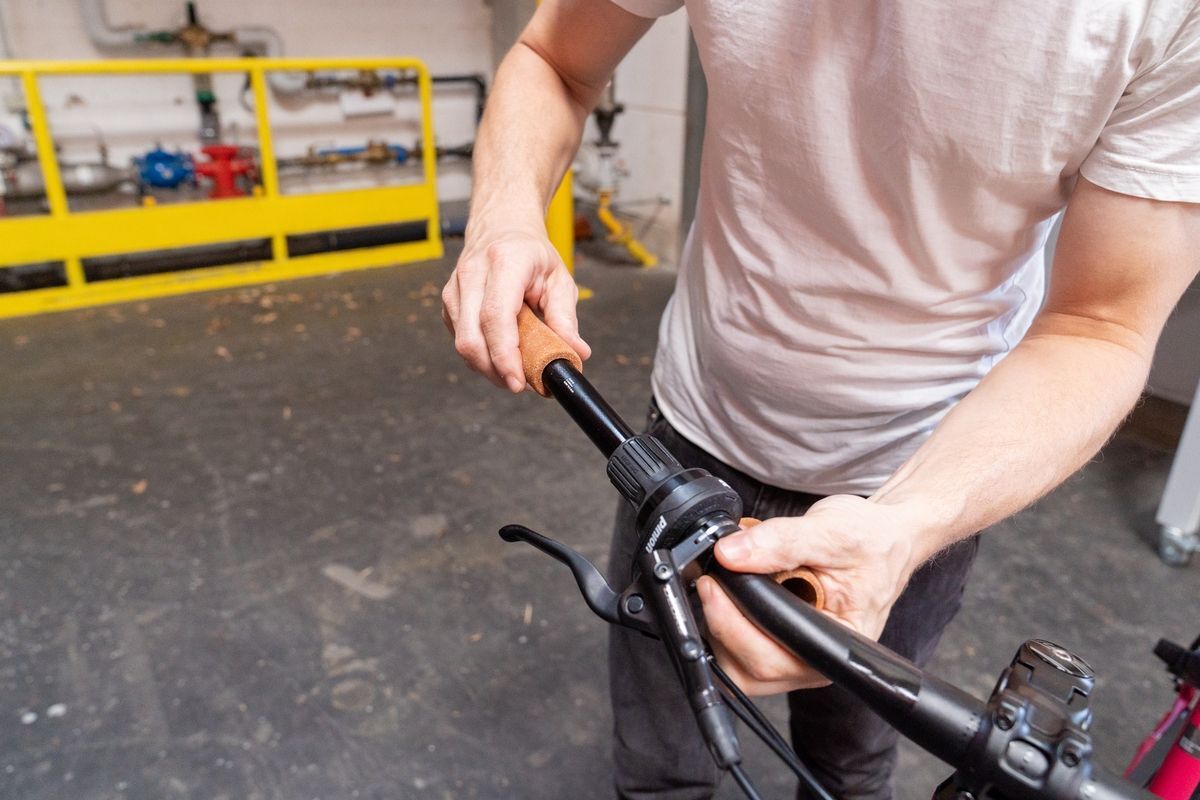
Classic, rubber grips are known for really sticking to the handlebar. But that is no reason to lose your mind and resort to violence when trying to get them off! Instead, all you need is some water and roughly four wide cable ties. Start by slightly lifting the outer end of the grip with one hand, then slide the pointed end of the wet cable tie between the grip and handlebar. This step is performed on the upper and lower sides of the handlebar, as well as on the back and front of the grip. Thanks to the four cable ties under the handlebar, a bit of air gets in between, which helps to twist the grip off the handlebar.
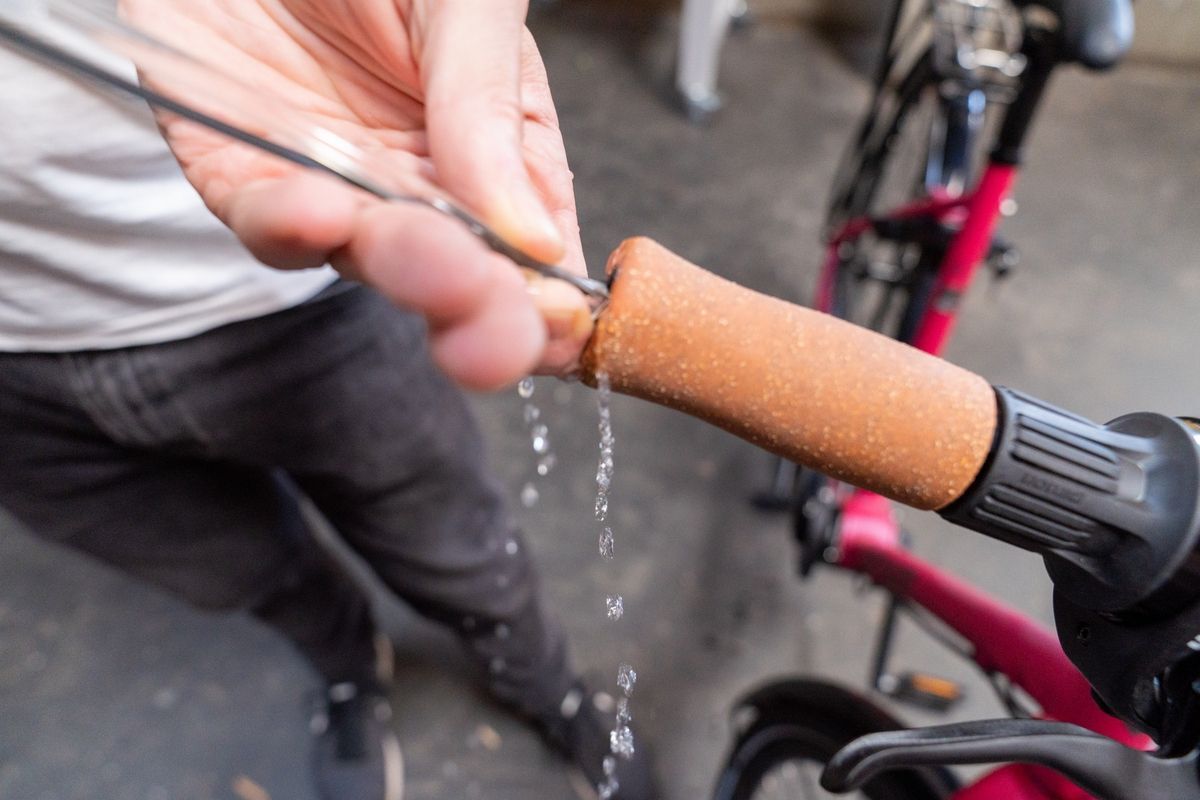
Steps 2 and 3: Pour in water and pull off the grip
Now you can use your fingers on both sides of the grip to drizzle a little water from the bowl into the gap between the grip and the handlebar. Alternatively, you can inject some water into the said gap with a syringe. With the help of the thin film of water, the stubborn grip can now be removed quickly from the handlebar with some powerful turns.
Step 4: Clean the handlebar

As rubber, fine dust and dirt can accumulate under the grip when riding, wipe the grip with a damp, clean(!) cloth. This guarantees the optimal, secure fit of your new grips.
Step 5: Slide grips onto the handlebar
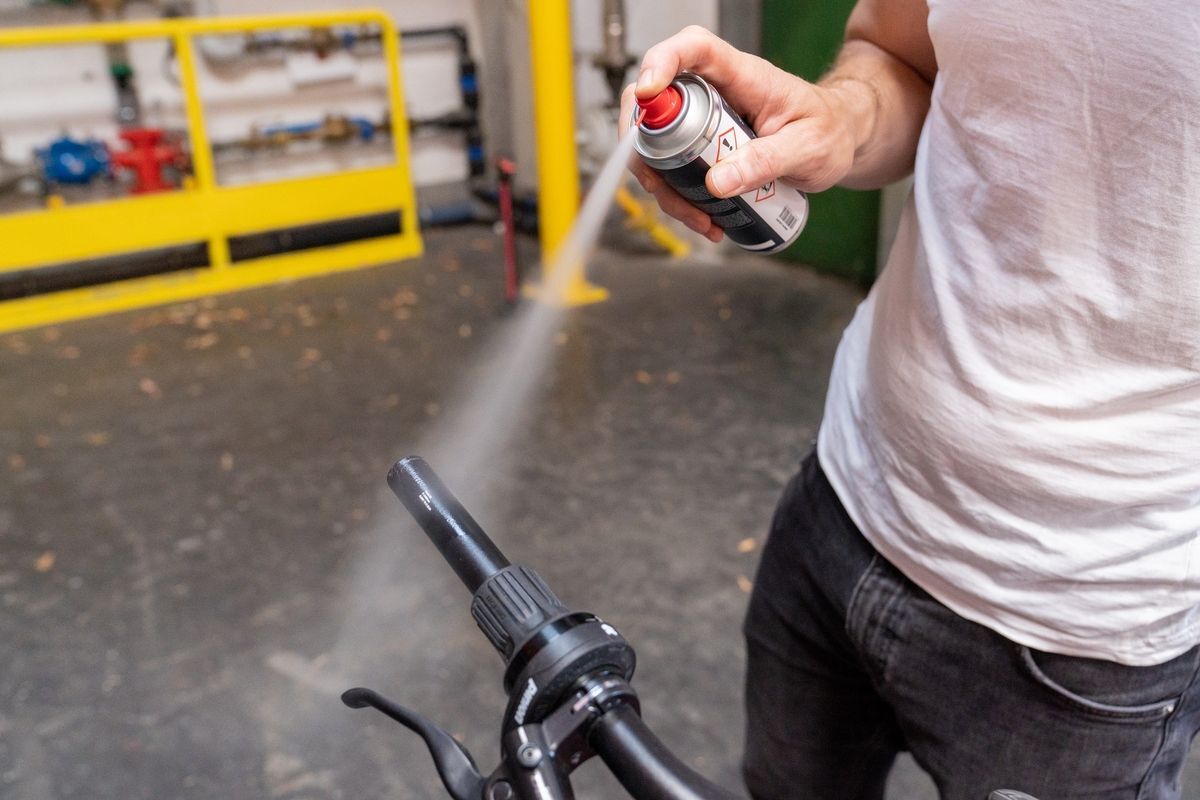
Before installing the new grips, it is recommended to blow in them: Thanks to the moisture contained in your breath, the grips can now be pushed onto your handlebars with slight turning movements. Only a little speed is required, otherwise the inside of the grip dries again, which makes assembly considerably more difficult. As an alternative to the `Breath model´, you can spray a little brake cleaner or hair spray into the grips. This creates a film between the handlebar and the grip, thanks to which the grip can now be pushed onto the handlebar quickly.
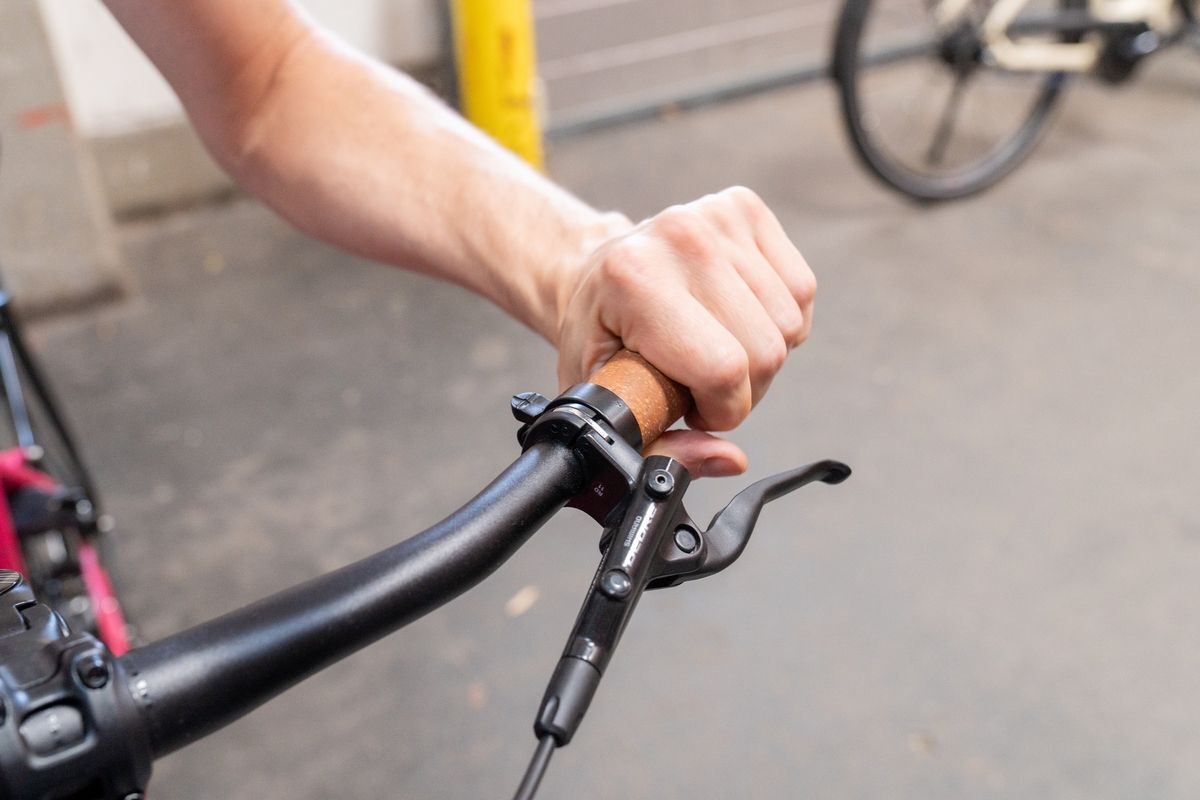
Step 6: Align the grips

When the new grips are mounted on the handlebars, you can still align them correctly according to their texture, ensuring the best grip and riding comfort. As the brake cleaner evaporates after a short time, the handlebar grips are then securely fixed. The hair spray dries after a while and sticks the grip to its position without fail. Now there's nothing to stand in the way of your next bike adventure!
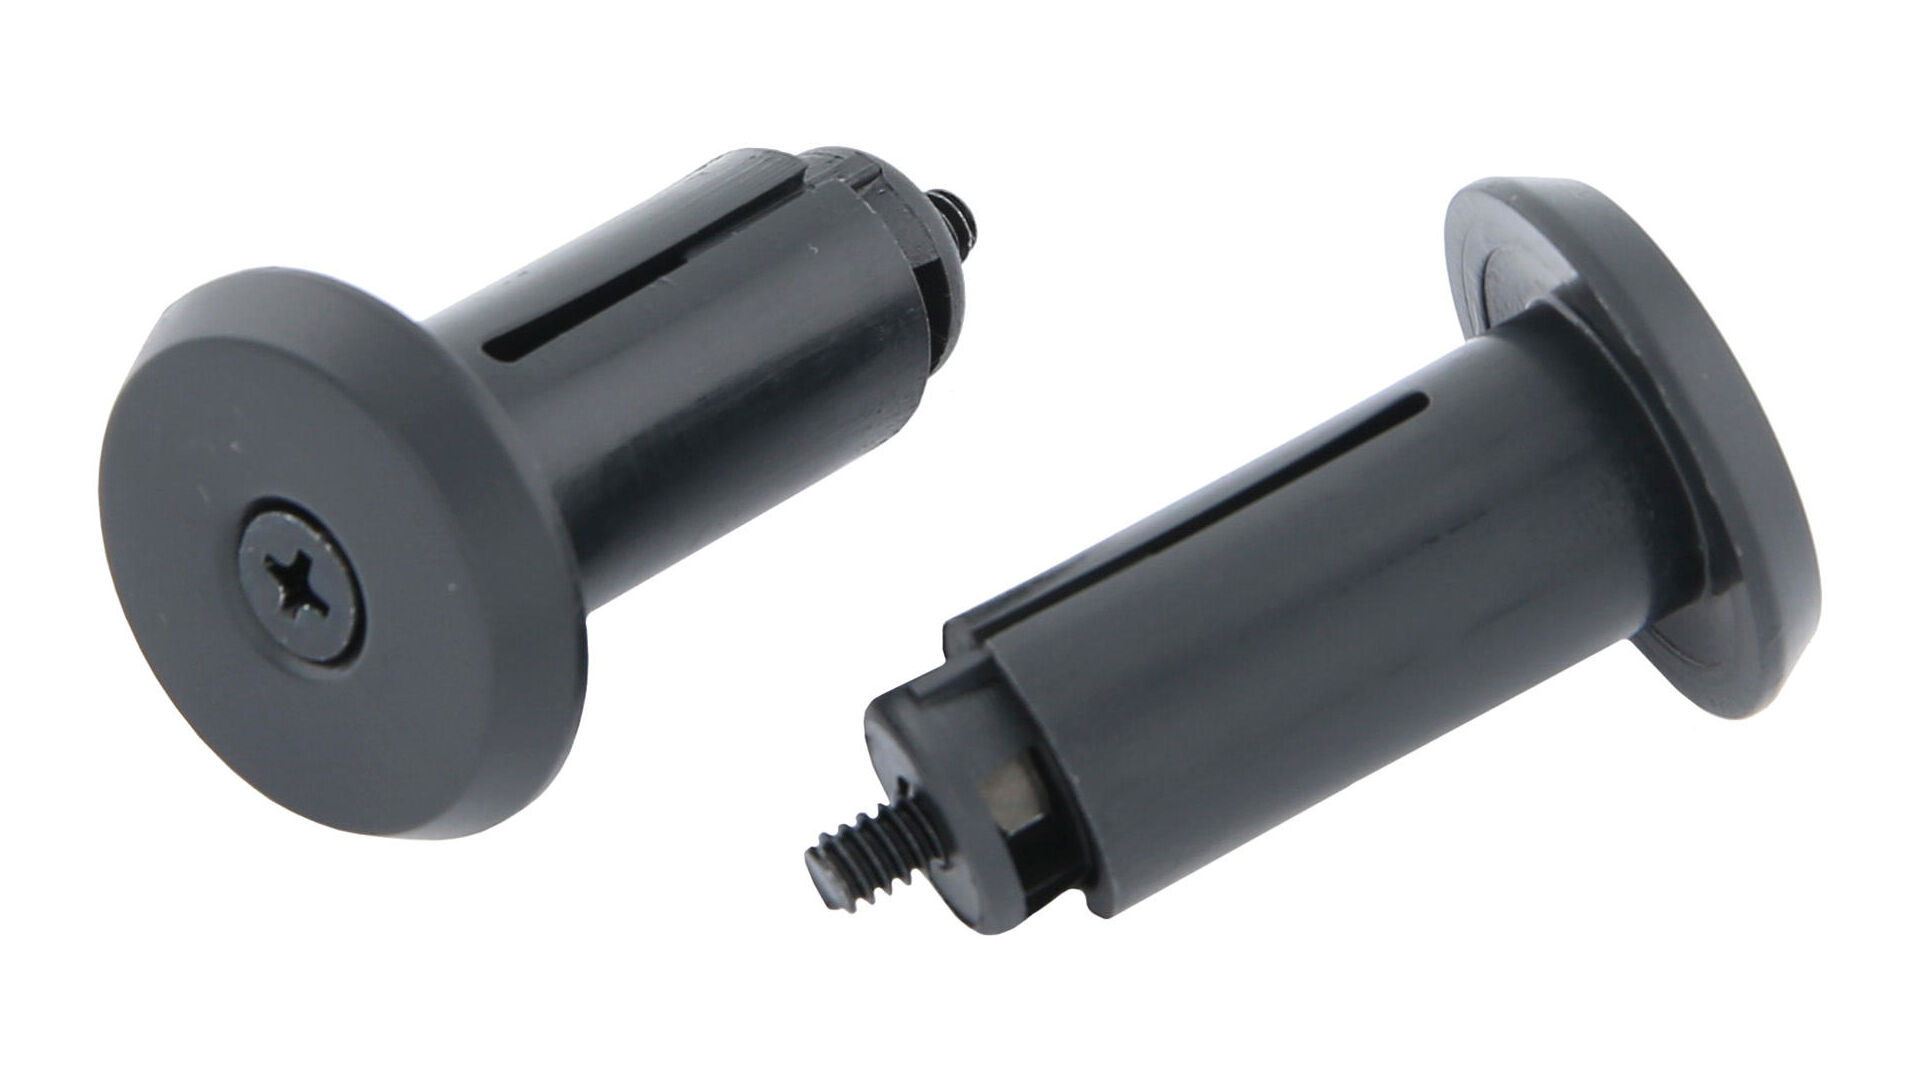
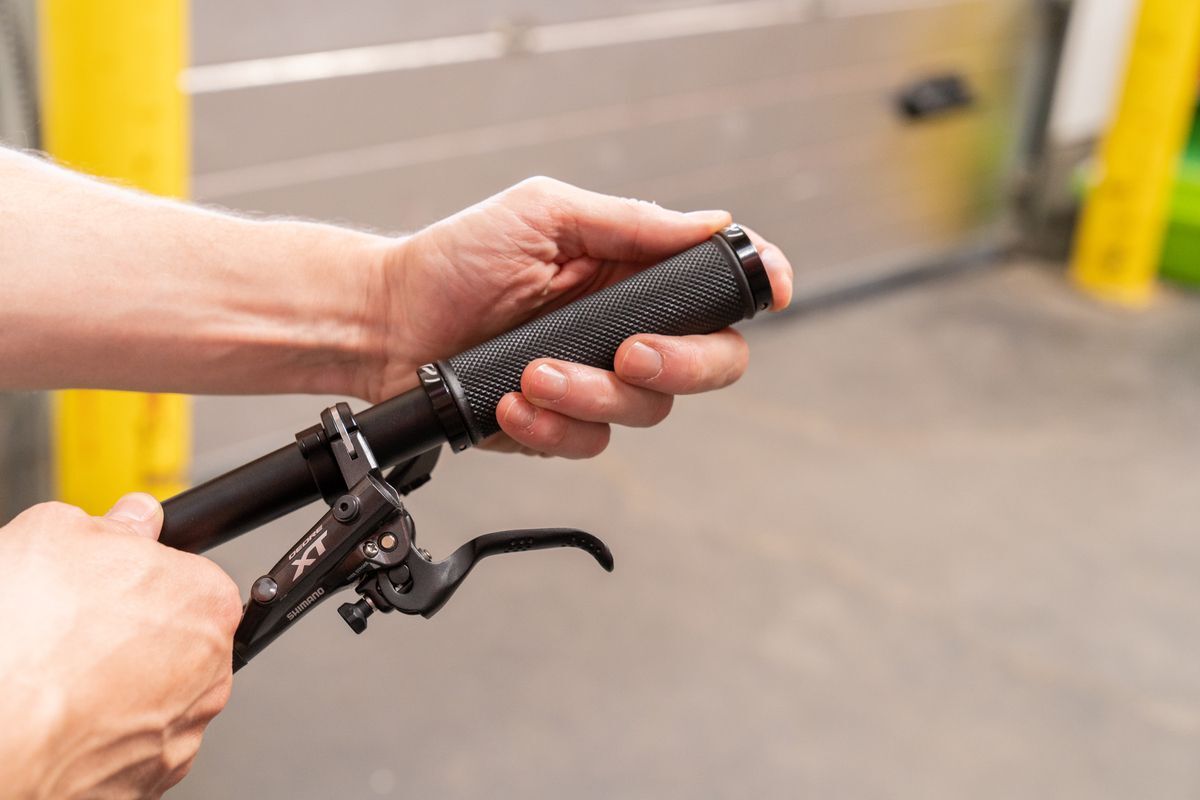
Replacing with lock-on grips:
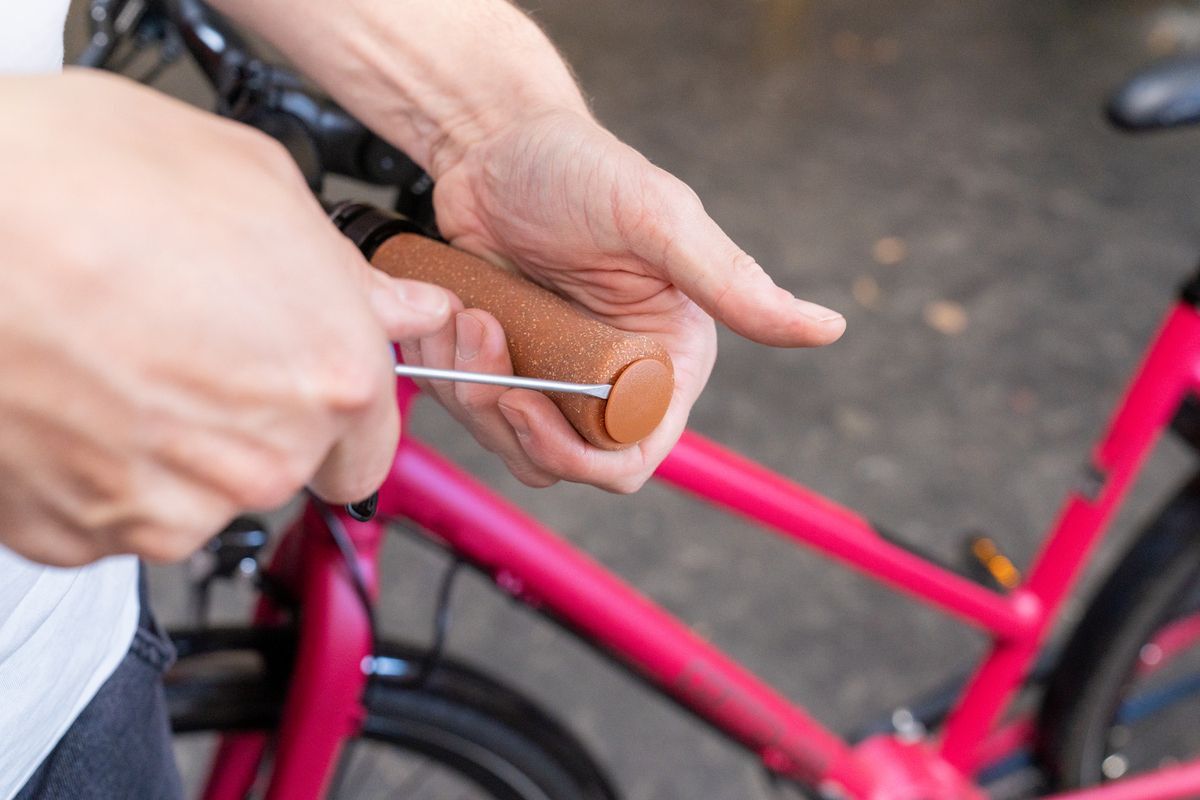
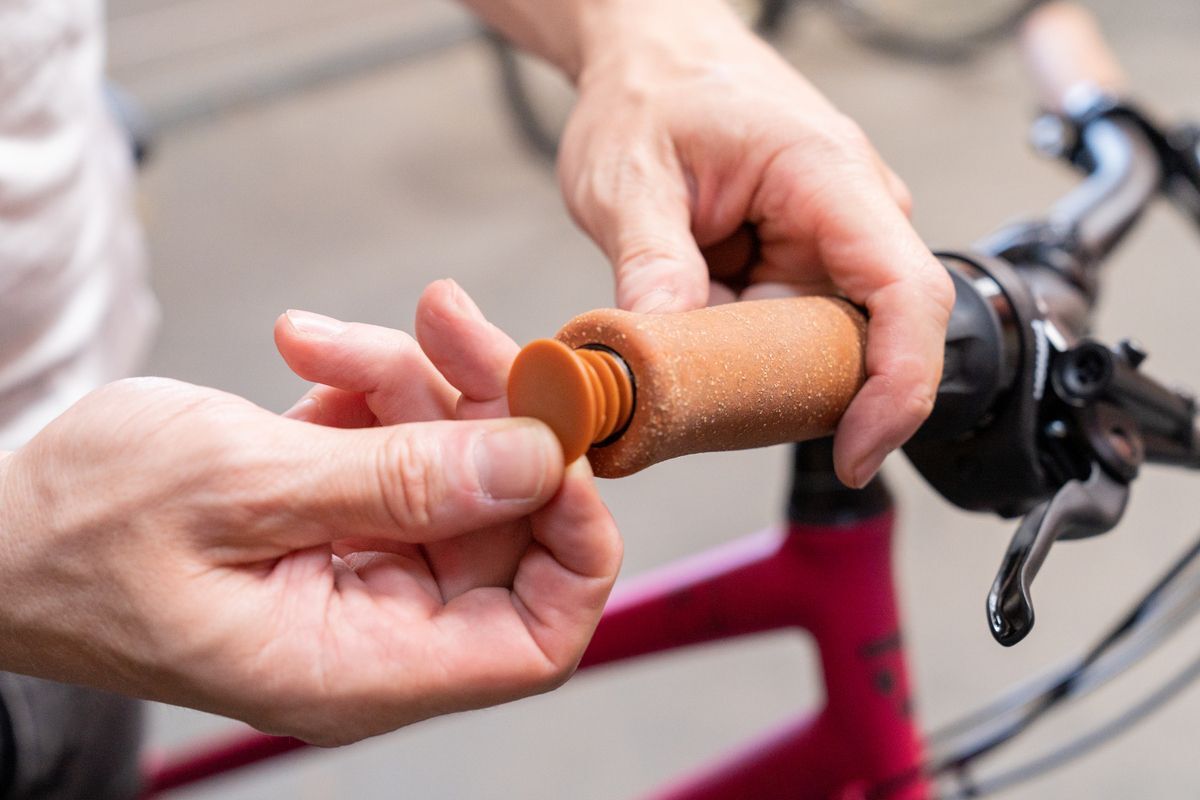
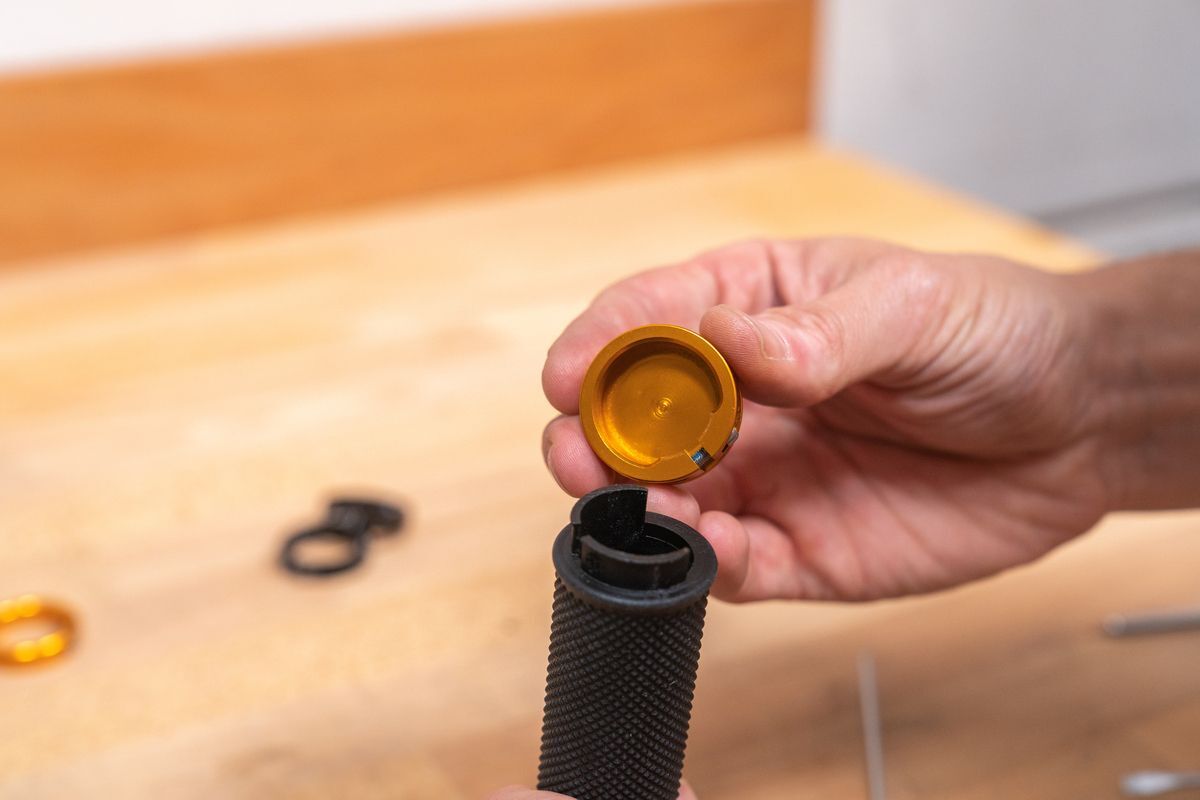
Step 1: Remove the lock-on grip
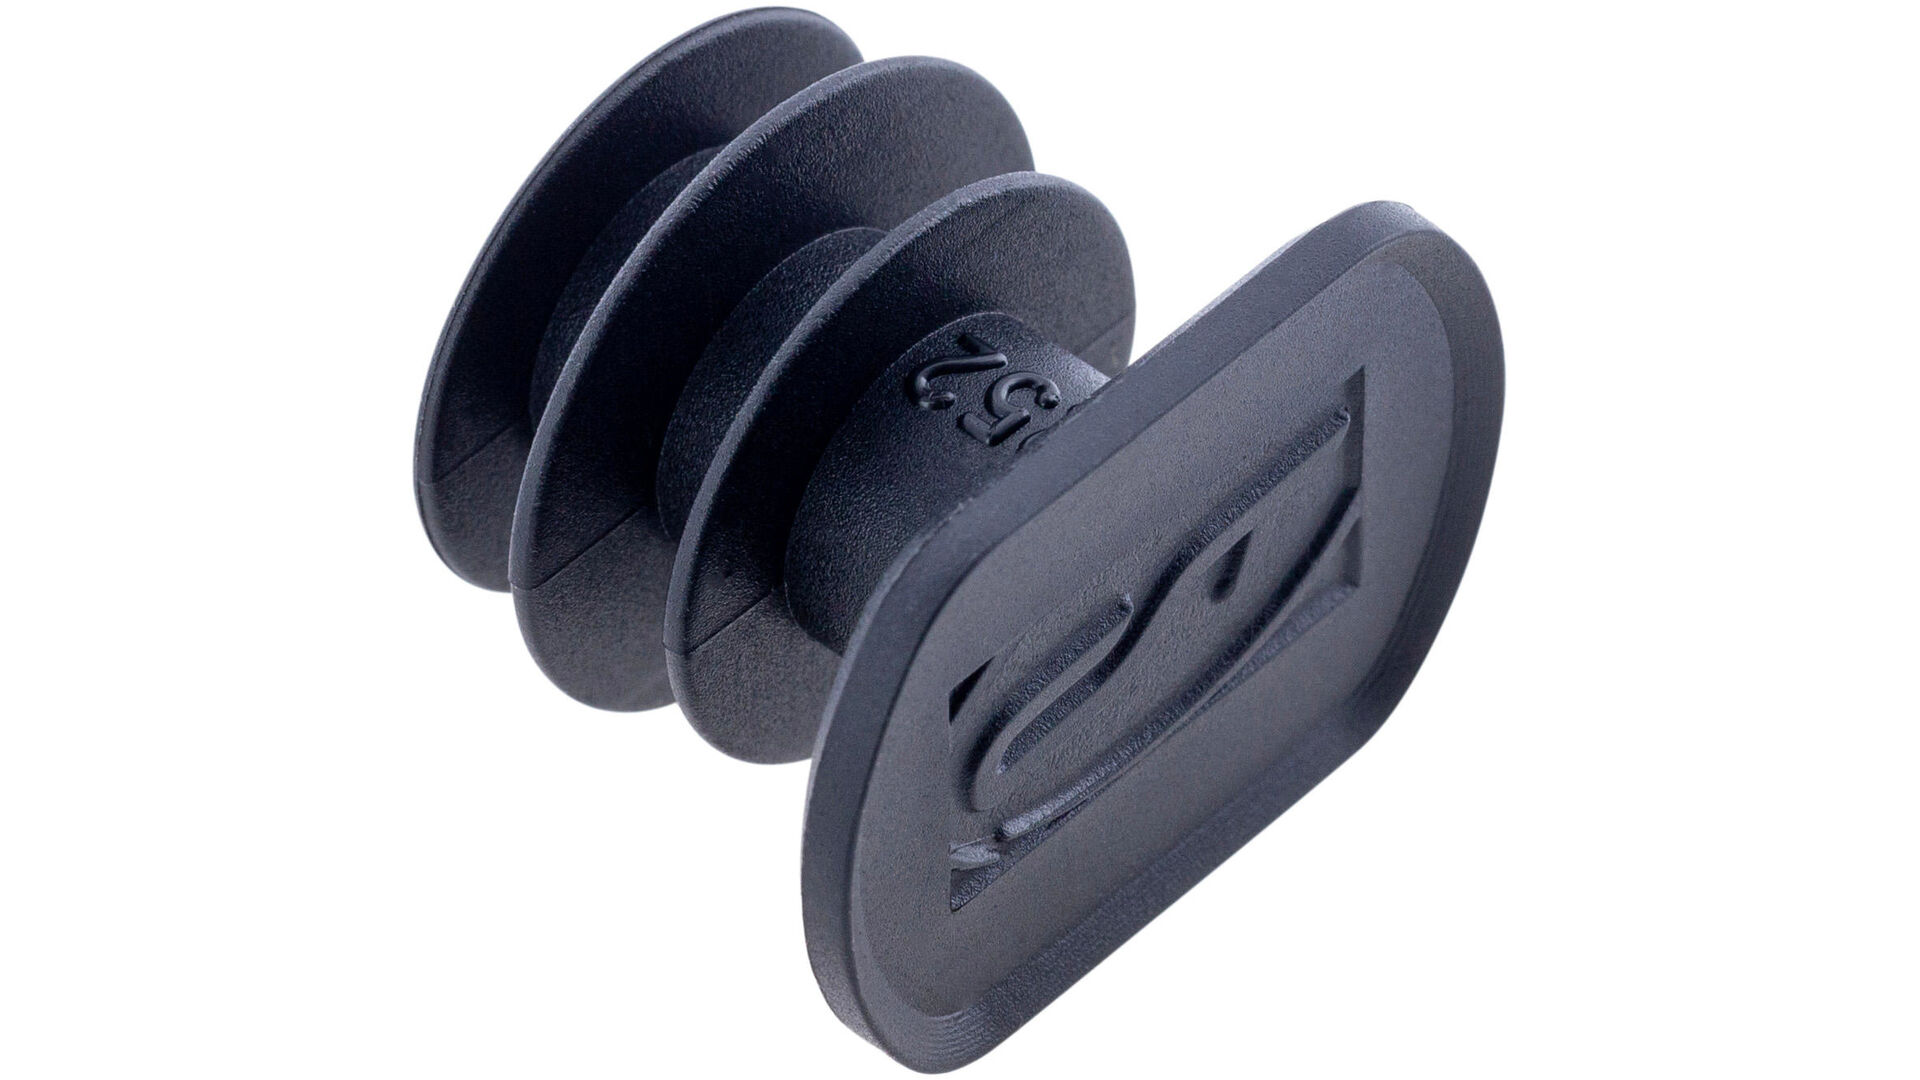
New lock-on grips can be mounted on the handlebar simply and quickly. To do this, use a flat-blade screwdriver to carefully to get under the bar end plug. This prevents scratches on the handlebar, for example, when you lean your bike against a wall. Now you can pry off the bar end with a quick jerk.
Step 2: Loosen the clamps
Now you can use the appropriate hex or Torx key(!) to loosen the two small clamp screws, then simply pull it off the handlebar. Do this again for the second grip.


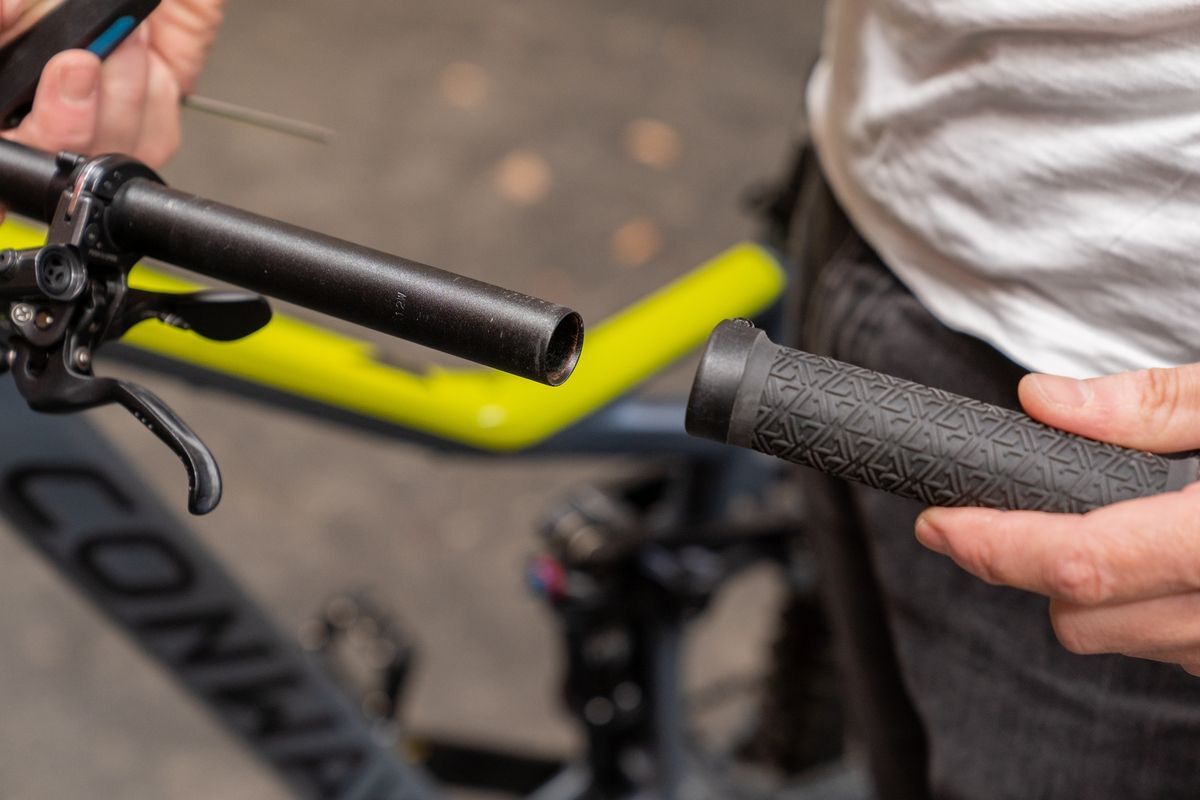
Step 3: Clean the grip area
To get the best fit on your new lock-on grips, clean the handlebar of rubber or dust with a cloth.
Step 4: Align the grips
Now push your new grips onto the handlebar. Make sure that the end of the grip is flush with the end of the handlebar, so that the grips can be tightened easily. In order to reach the clamp hex bolts easily with your tool, you may need to turn the clamp into a favourable position. In addition, you align the grips according to their intended, ergonomically correct position.
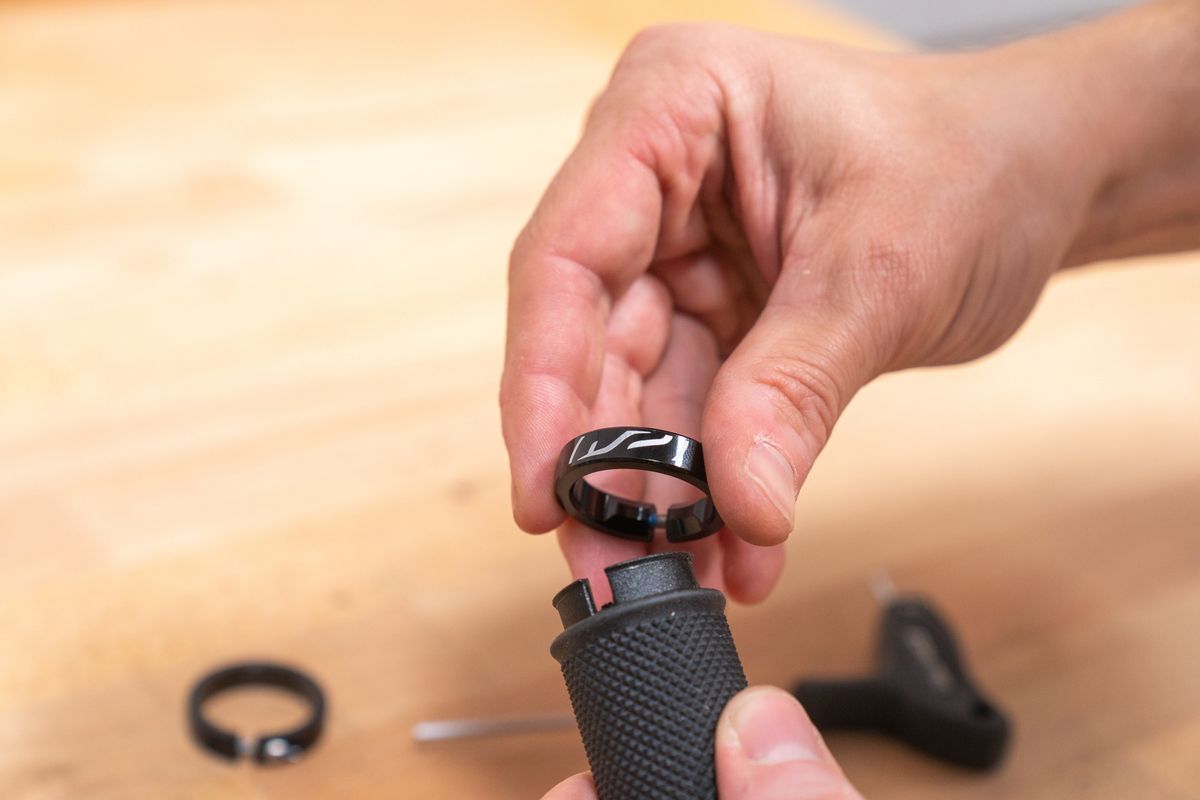
Step 5: Screw the grips in place

The grip bolts are now tightened alternately and evenly, while noting the maximum torque, if specified, to avoid over tightening the bolts.
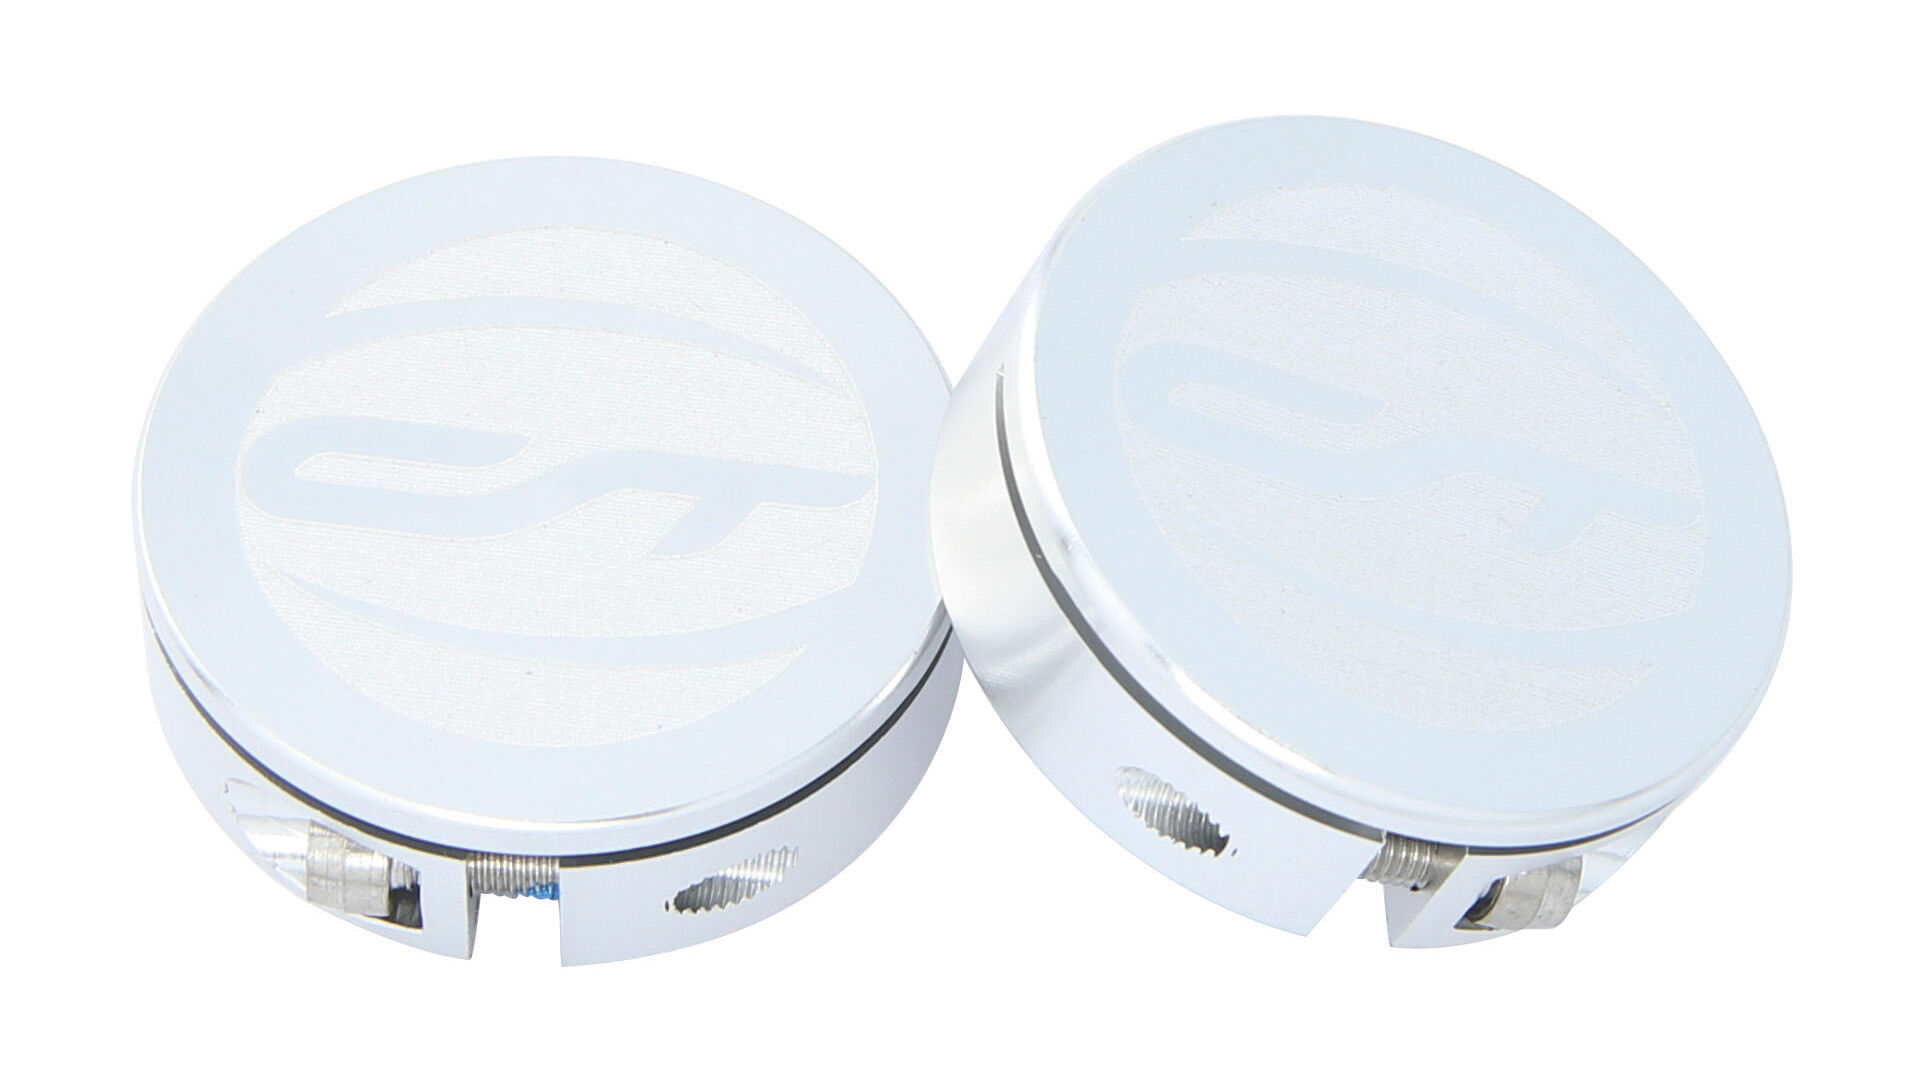
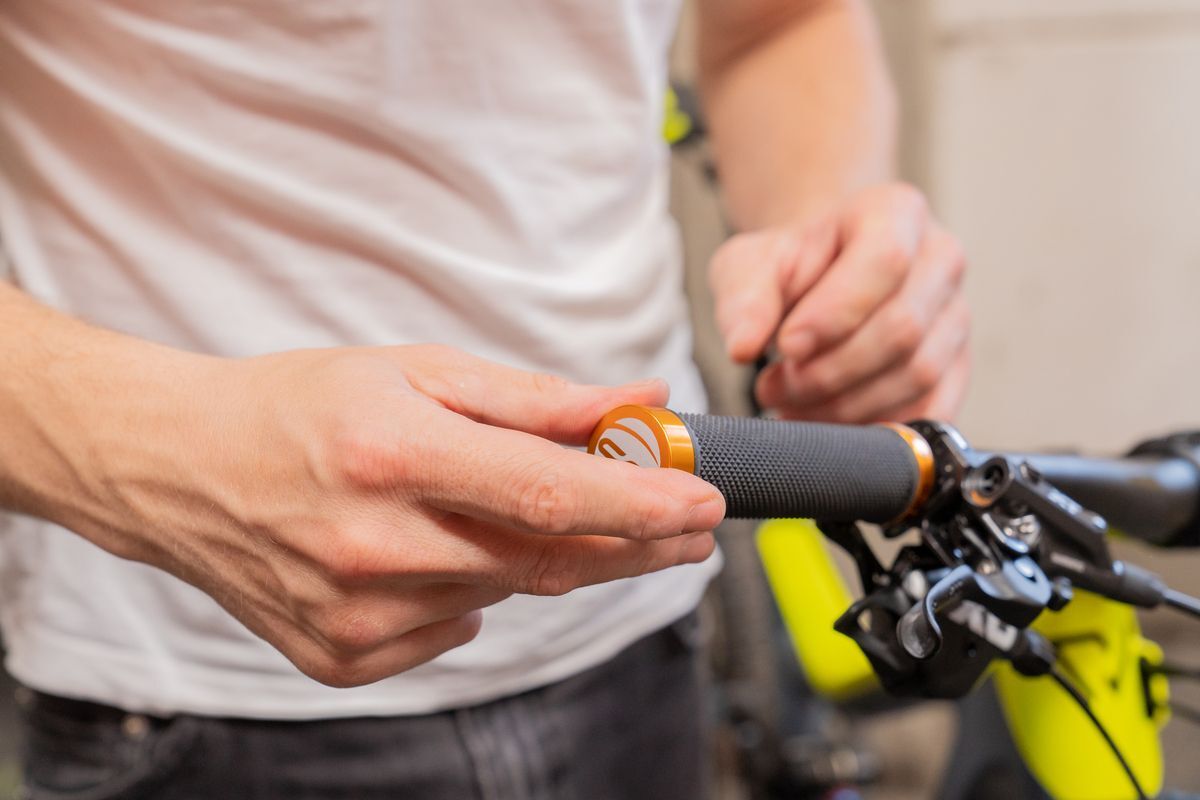
Step 6: Install the bar end plug

If your new lock-on grips don’t move, you can finally push the bar end plugs into the two handlebar ends. Done!
The right handlebar for you
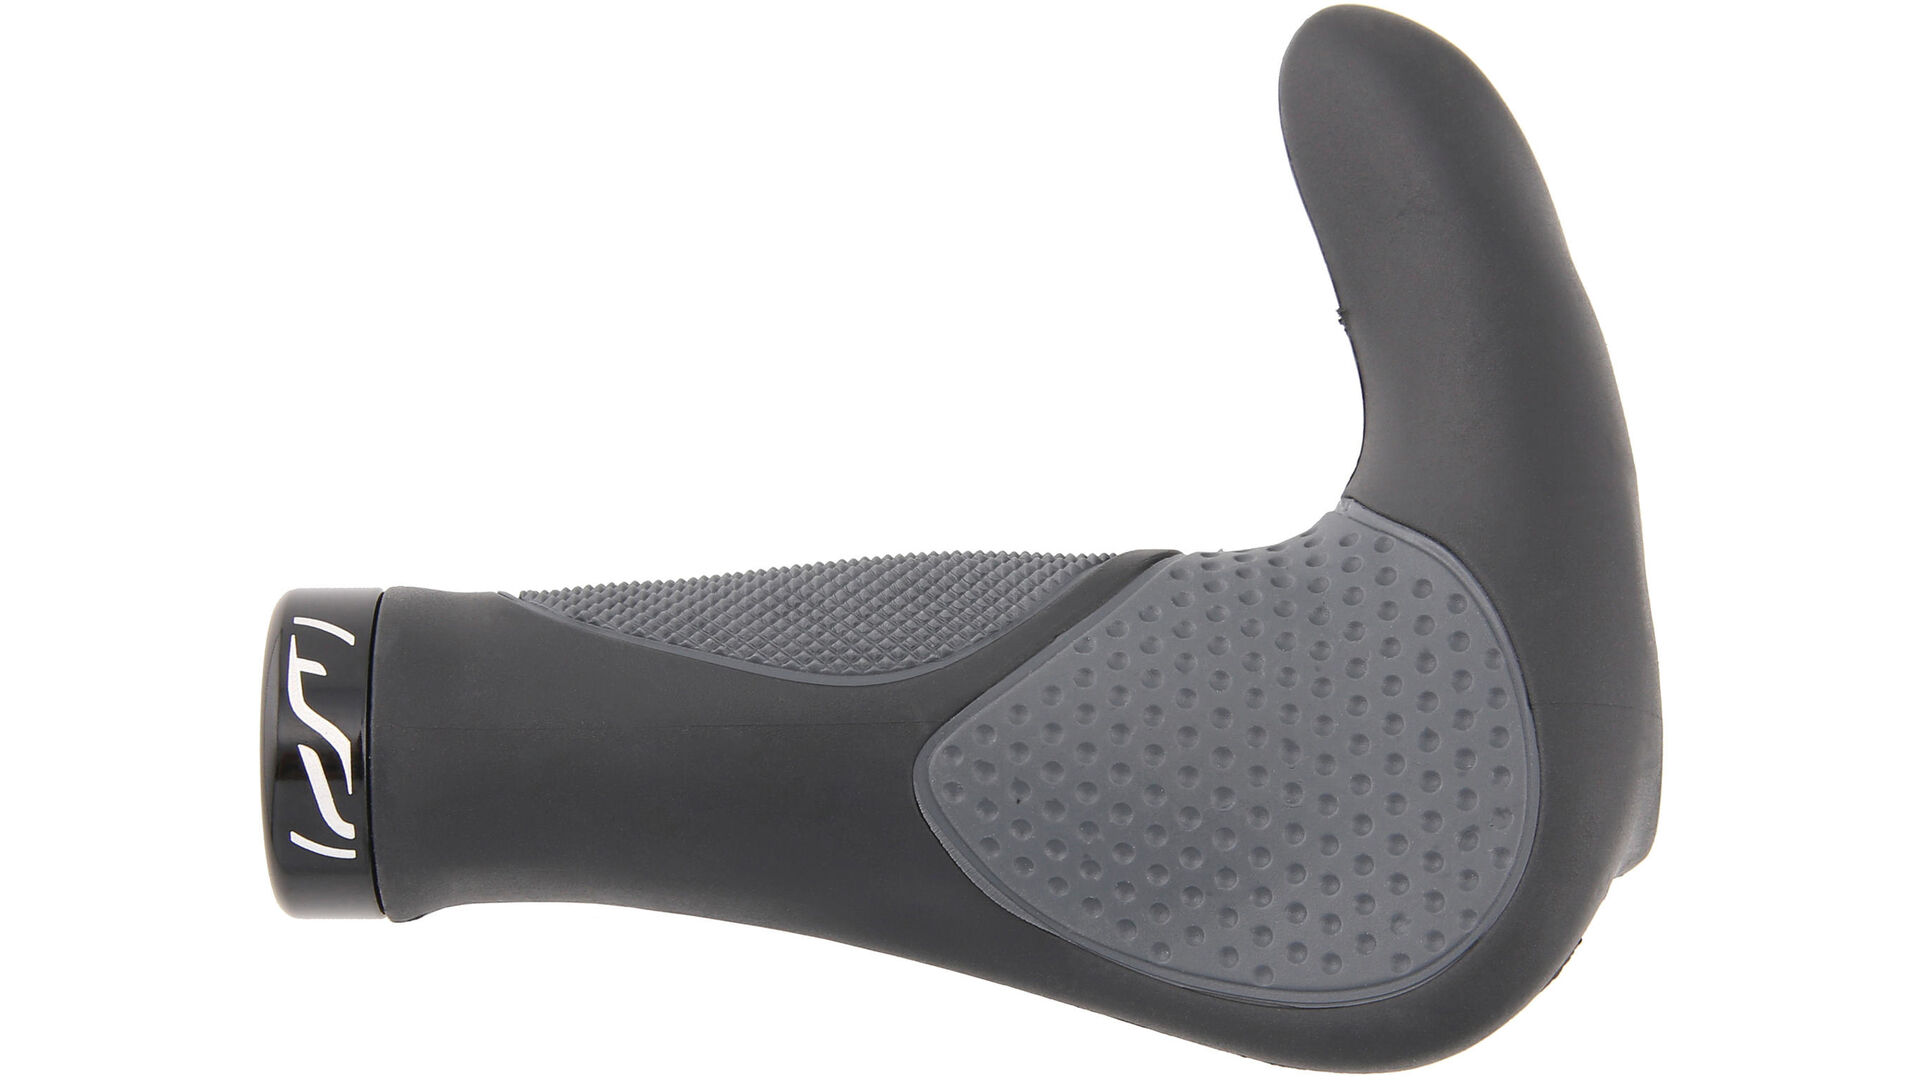
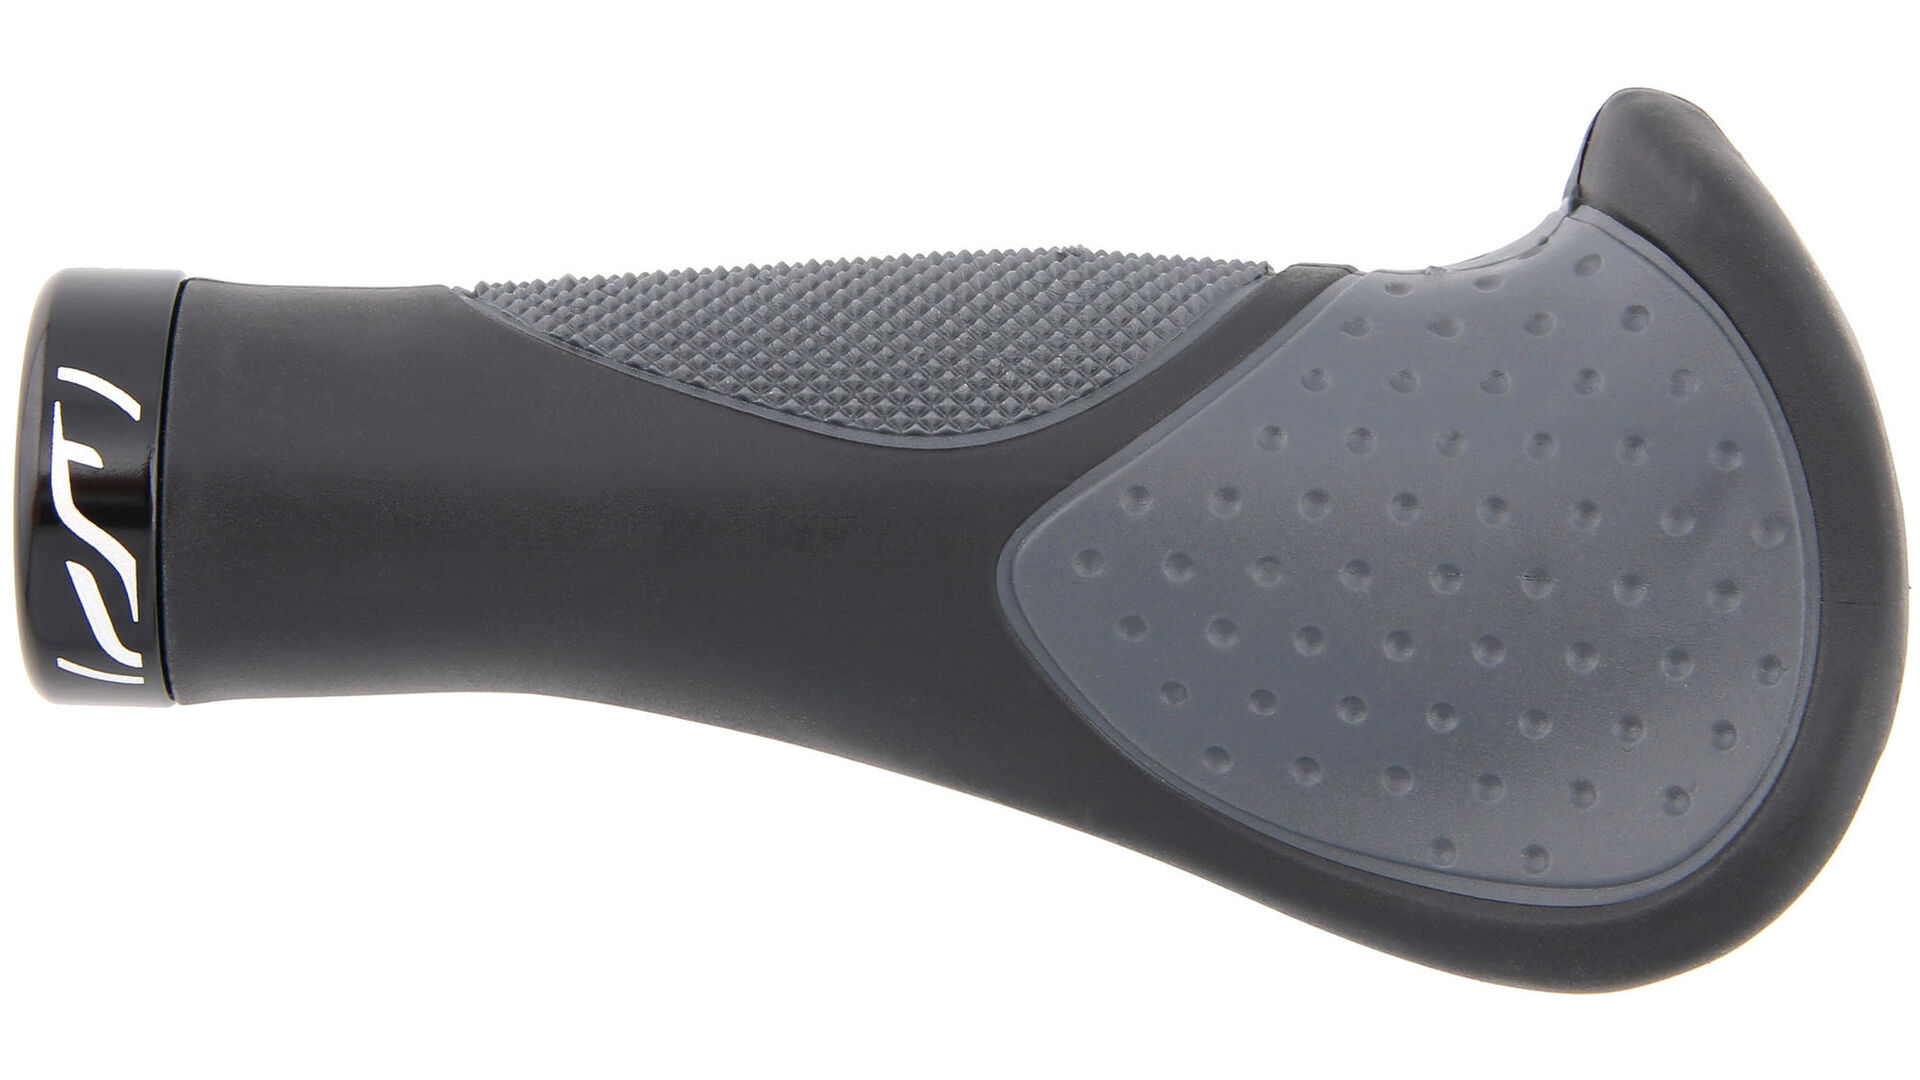
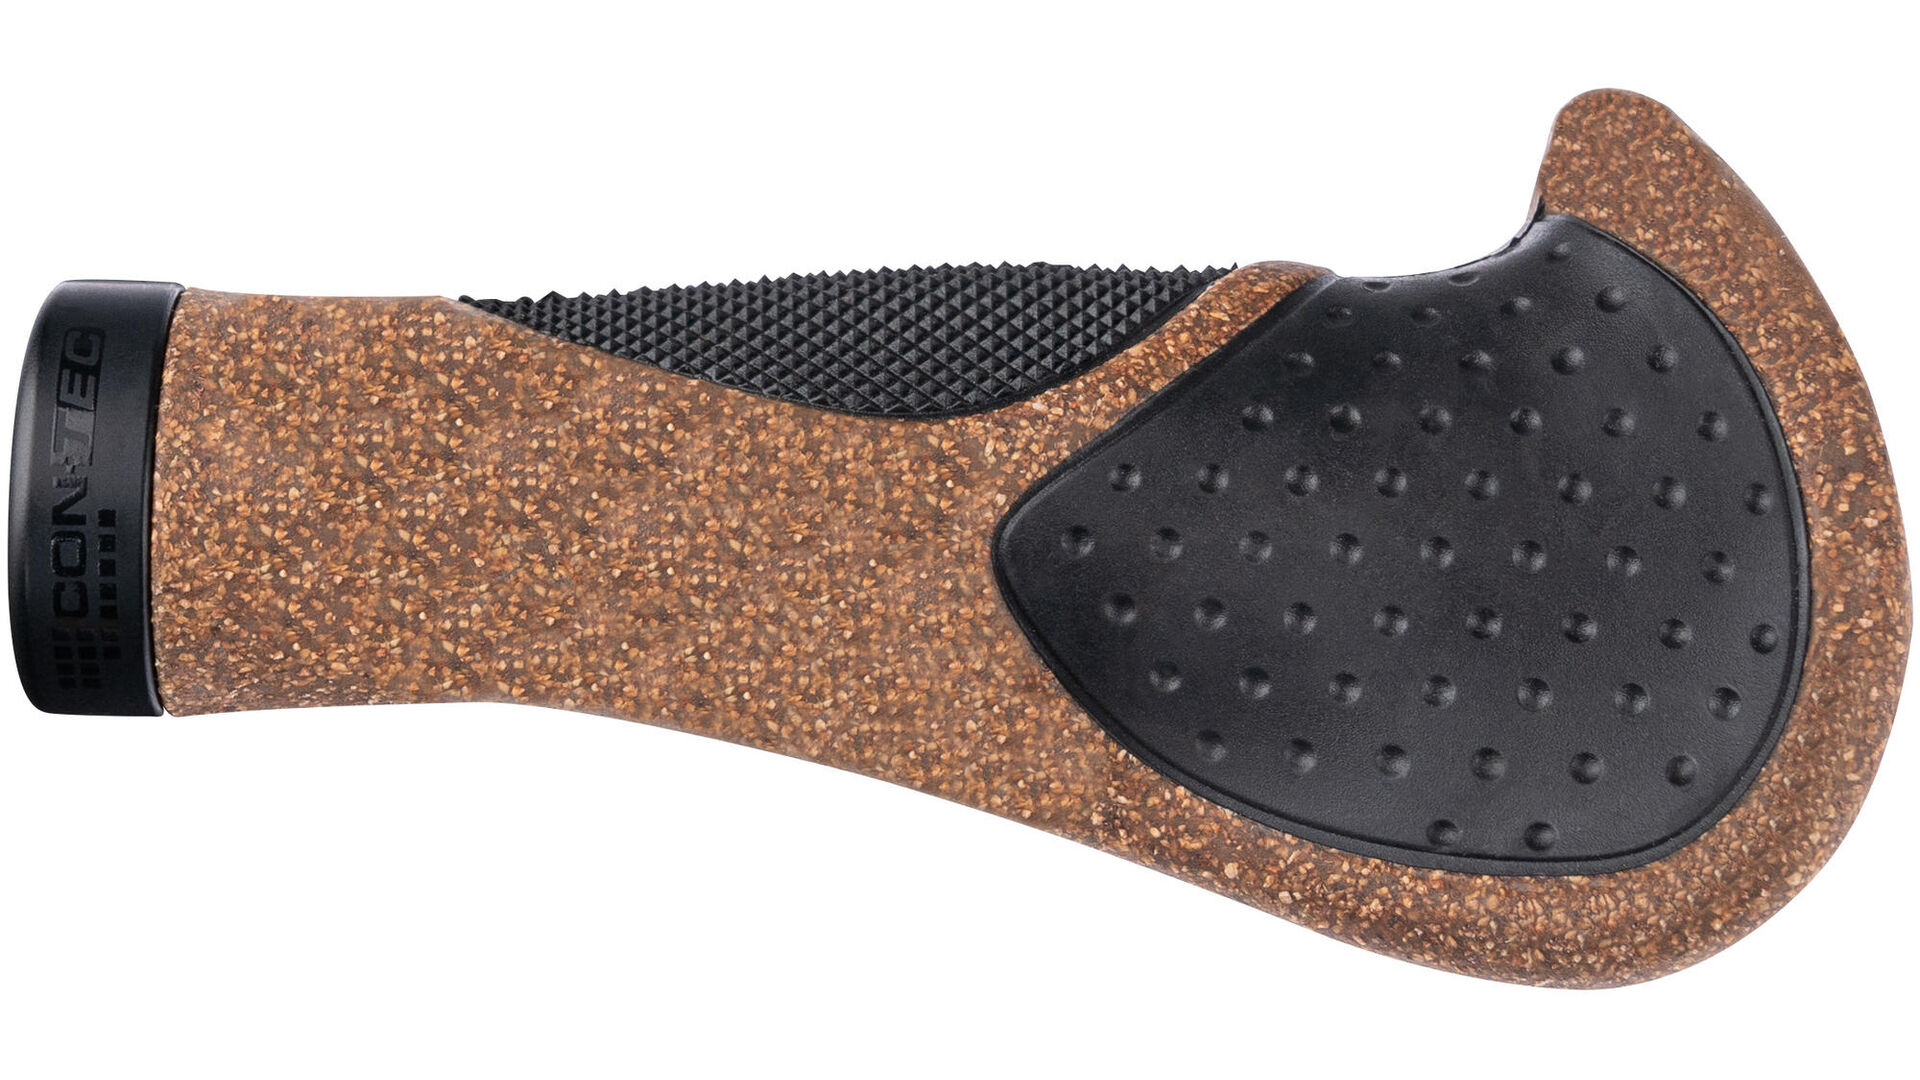
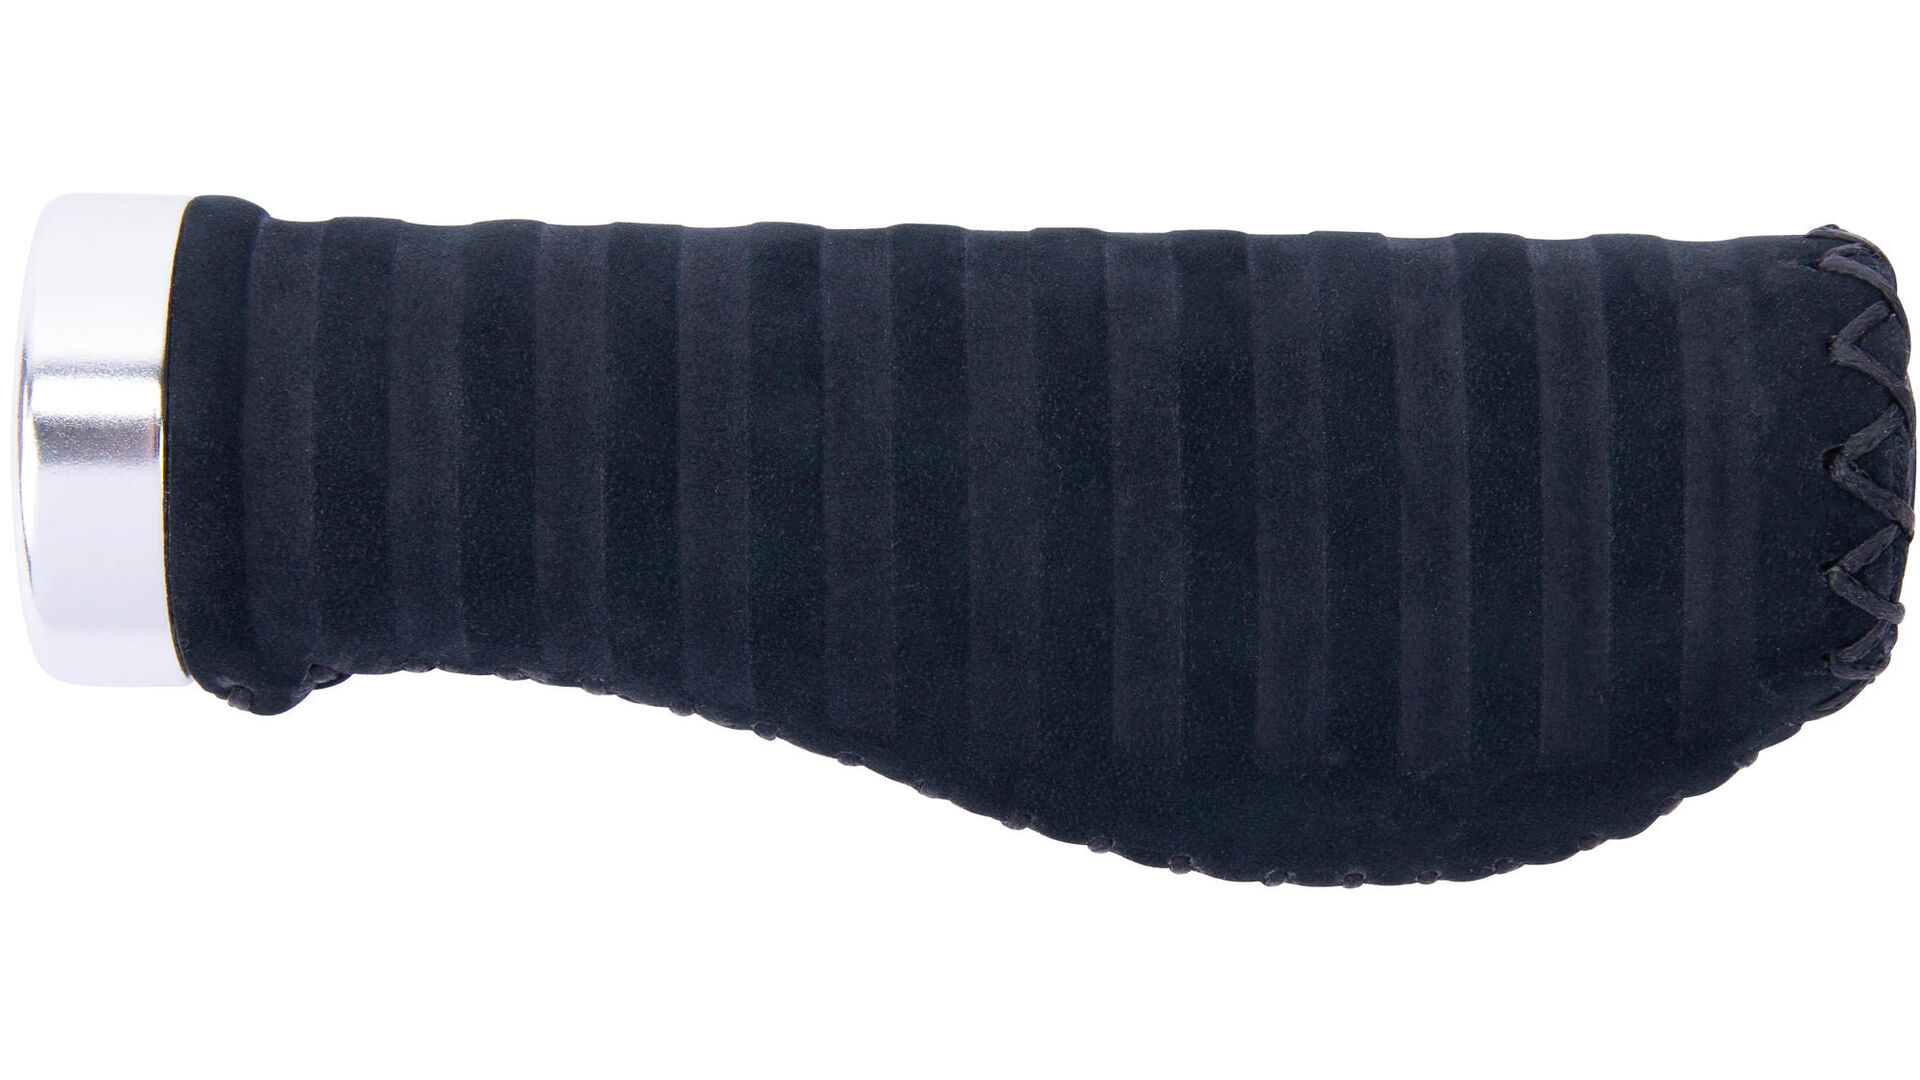
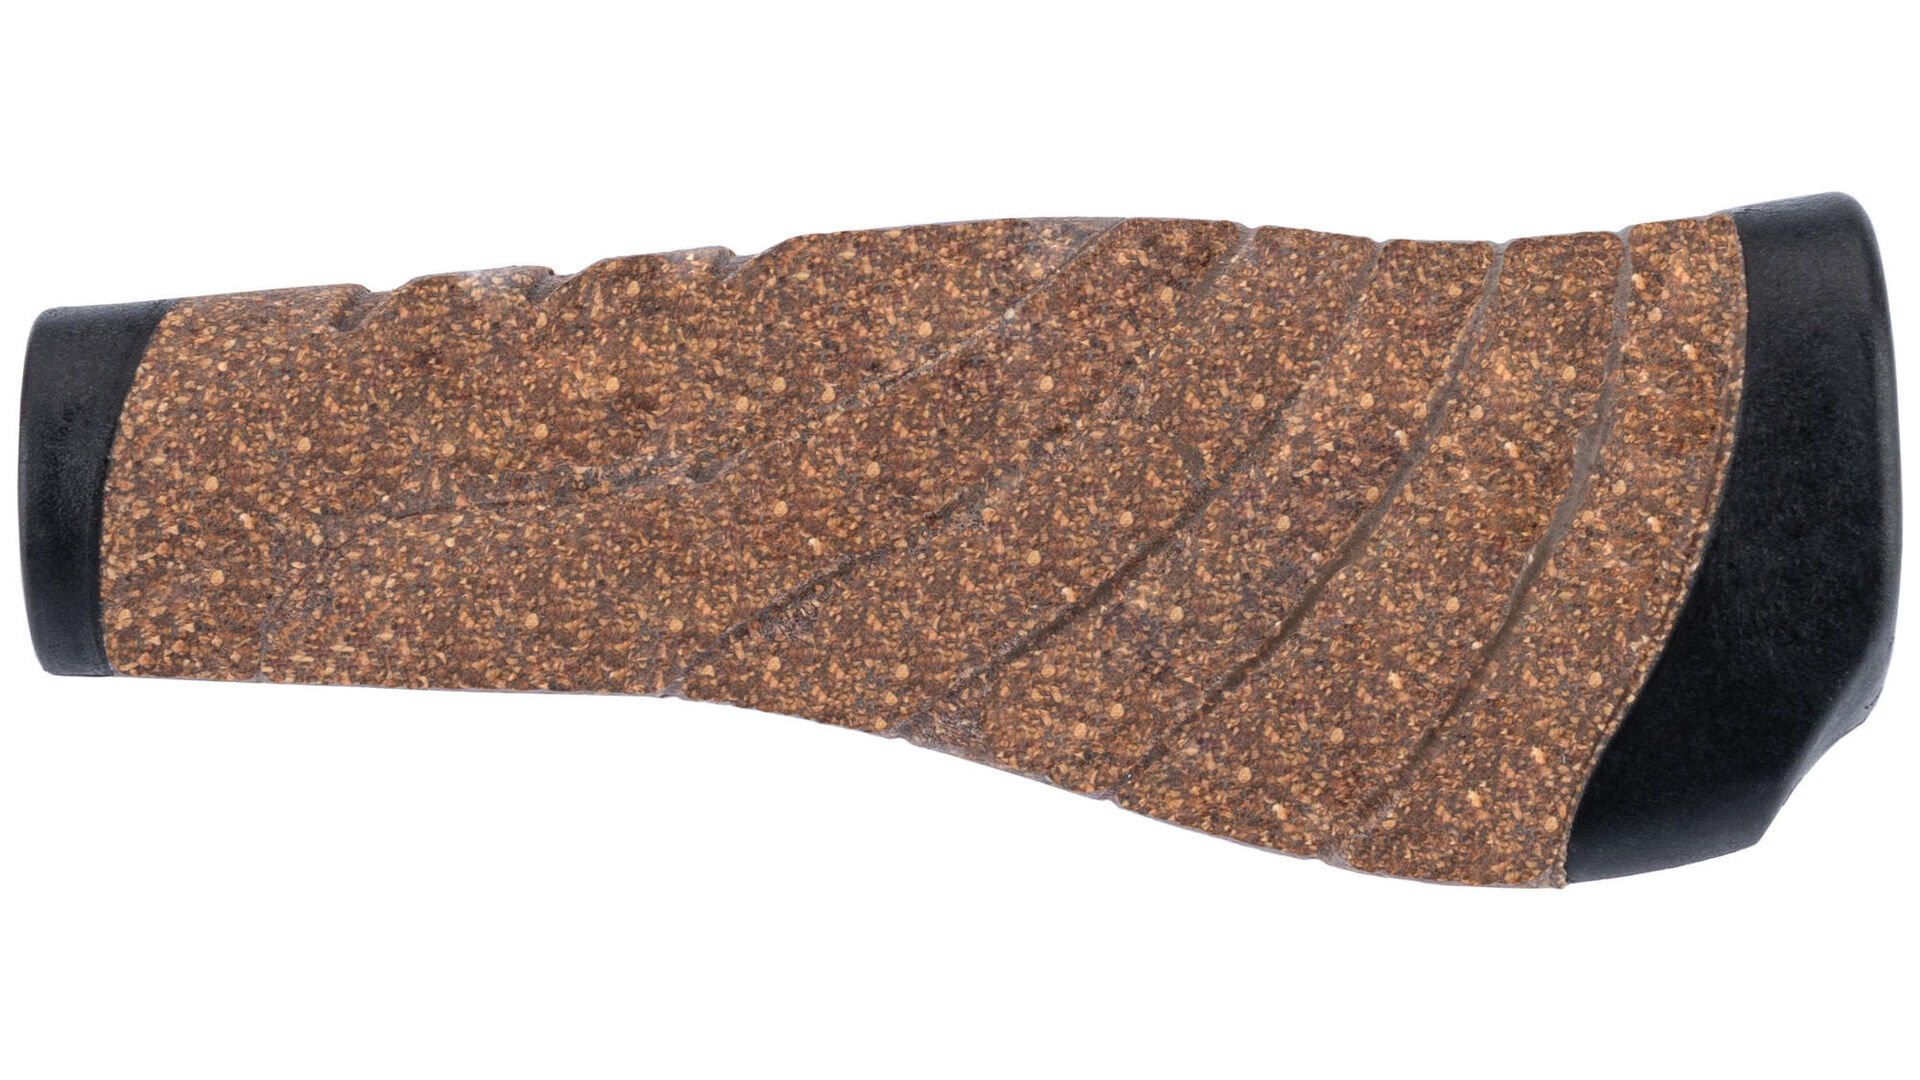
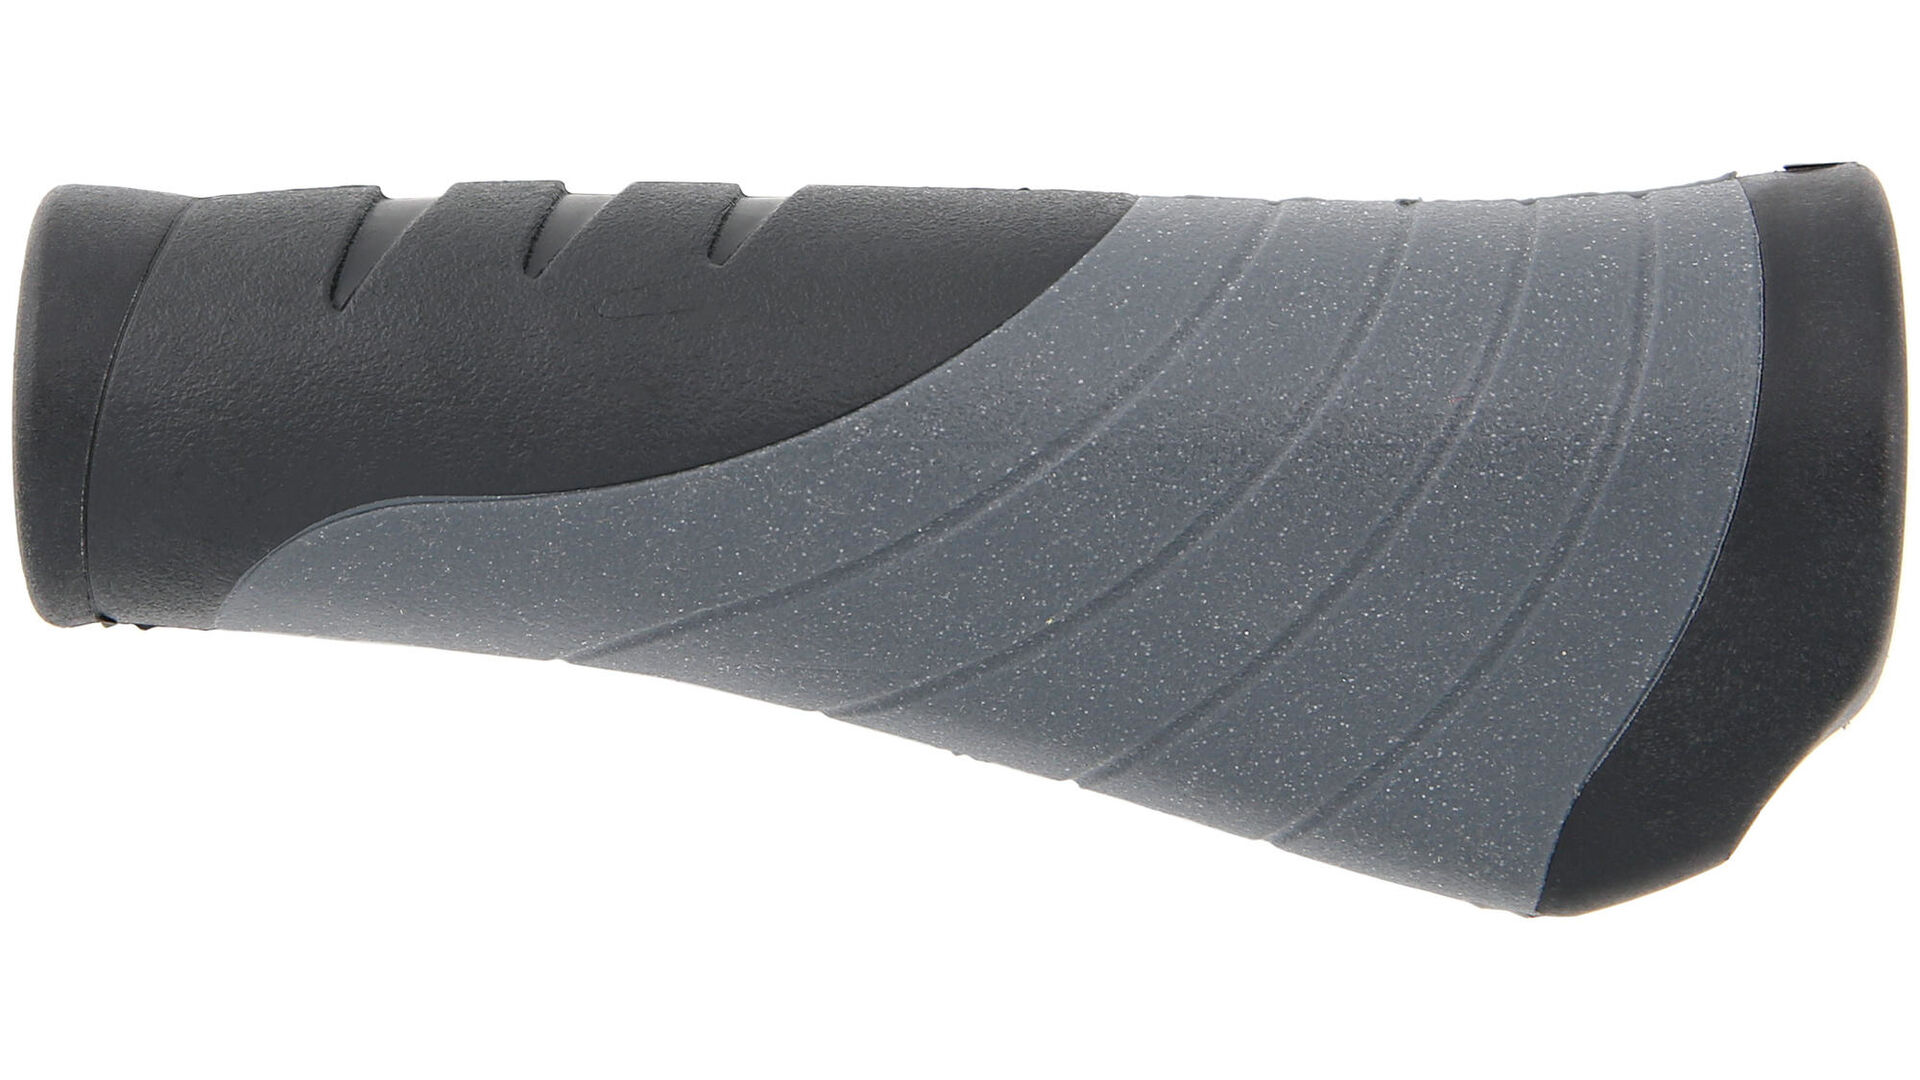
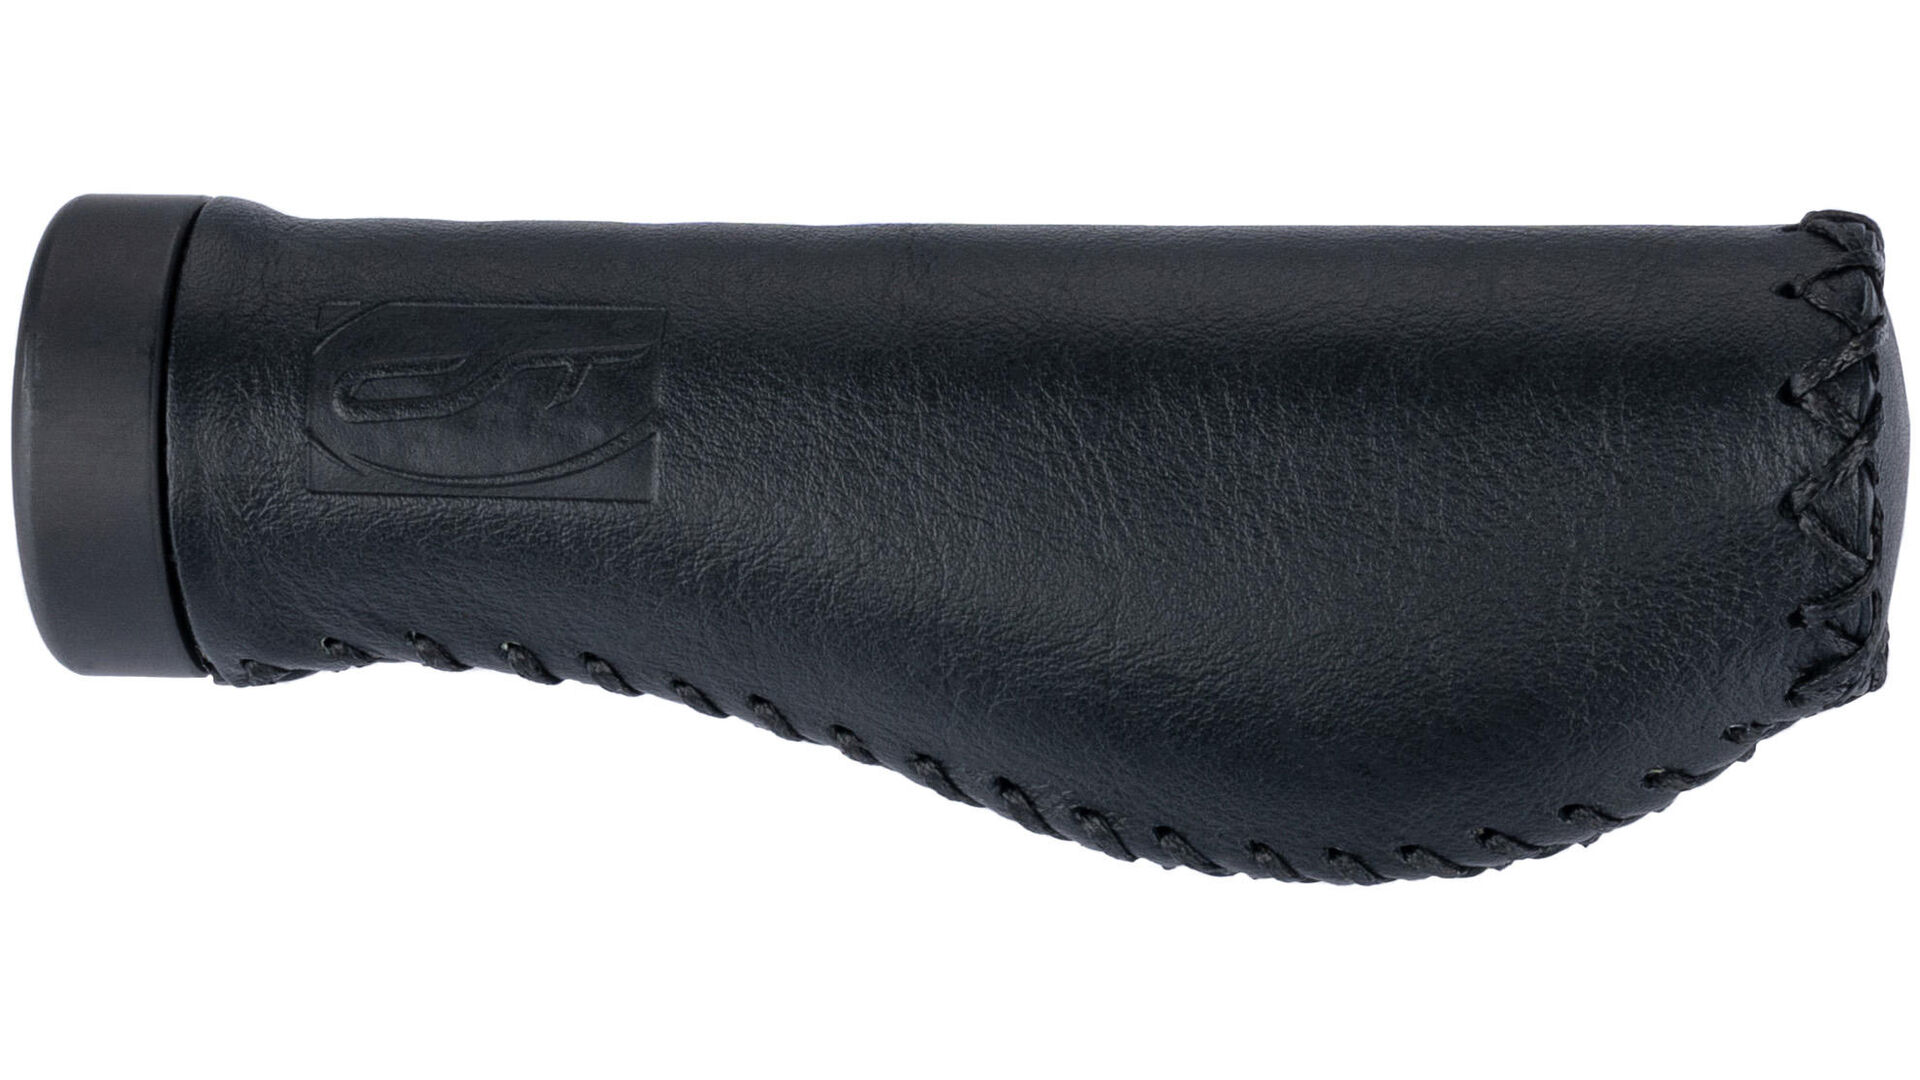
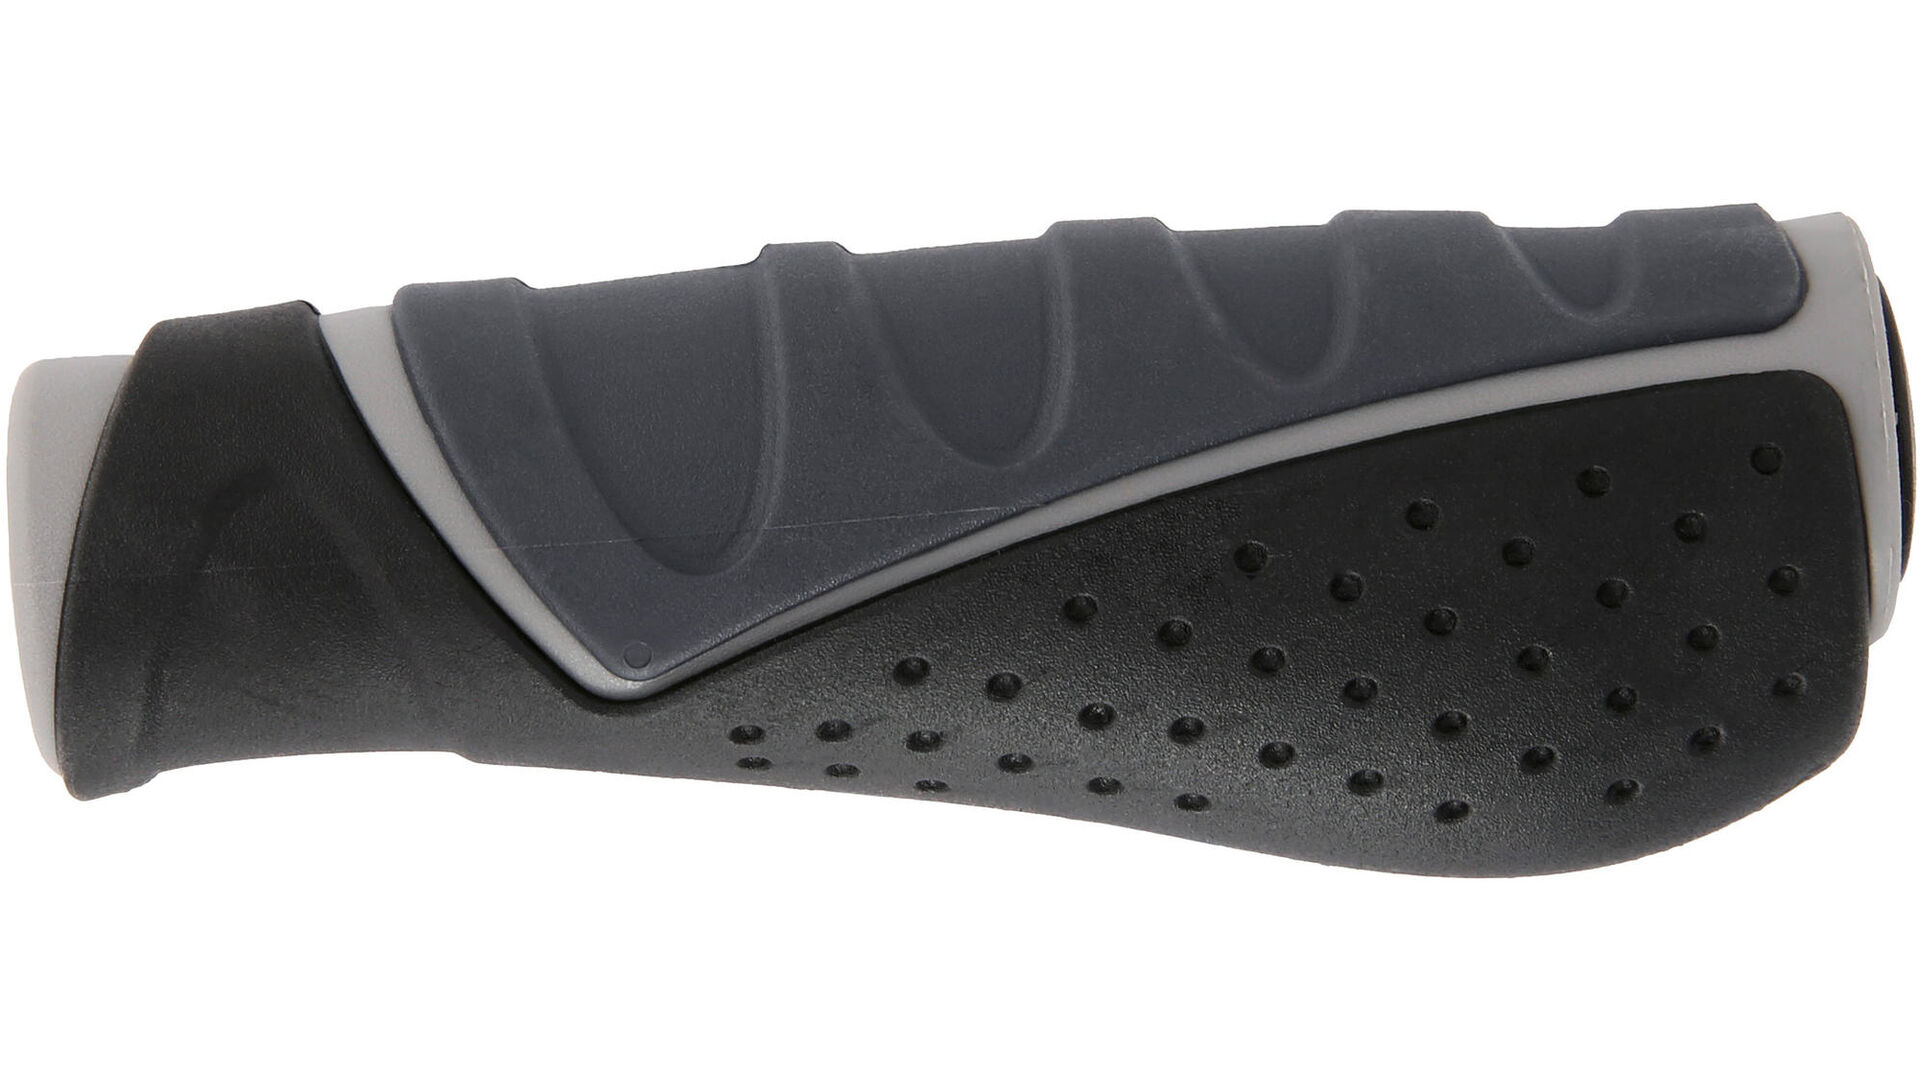
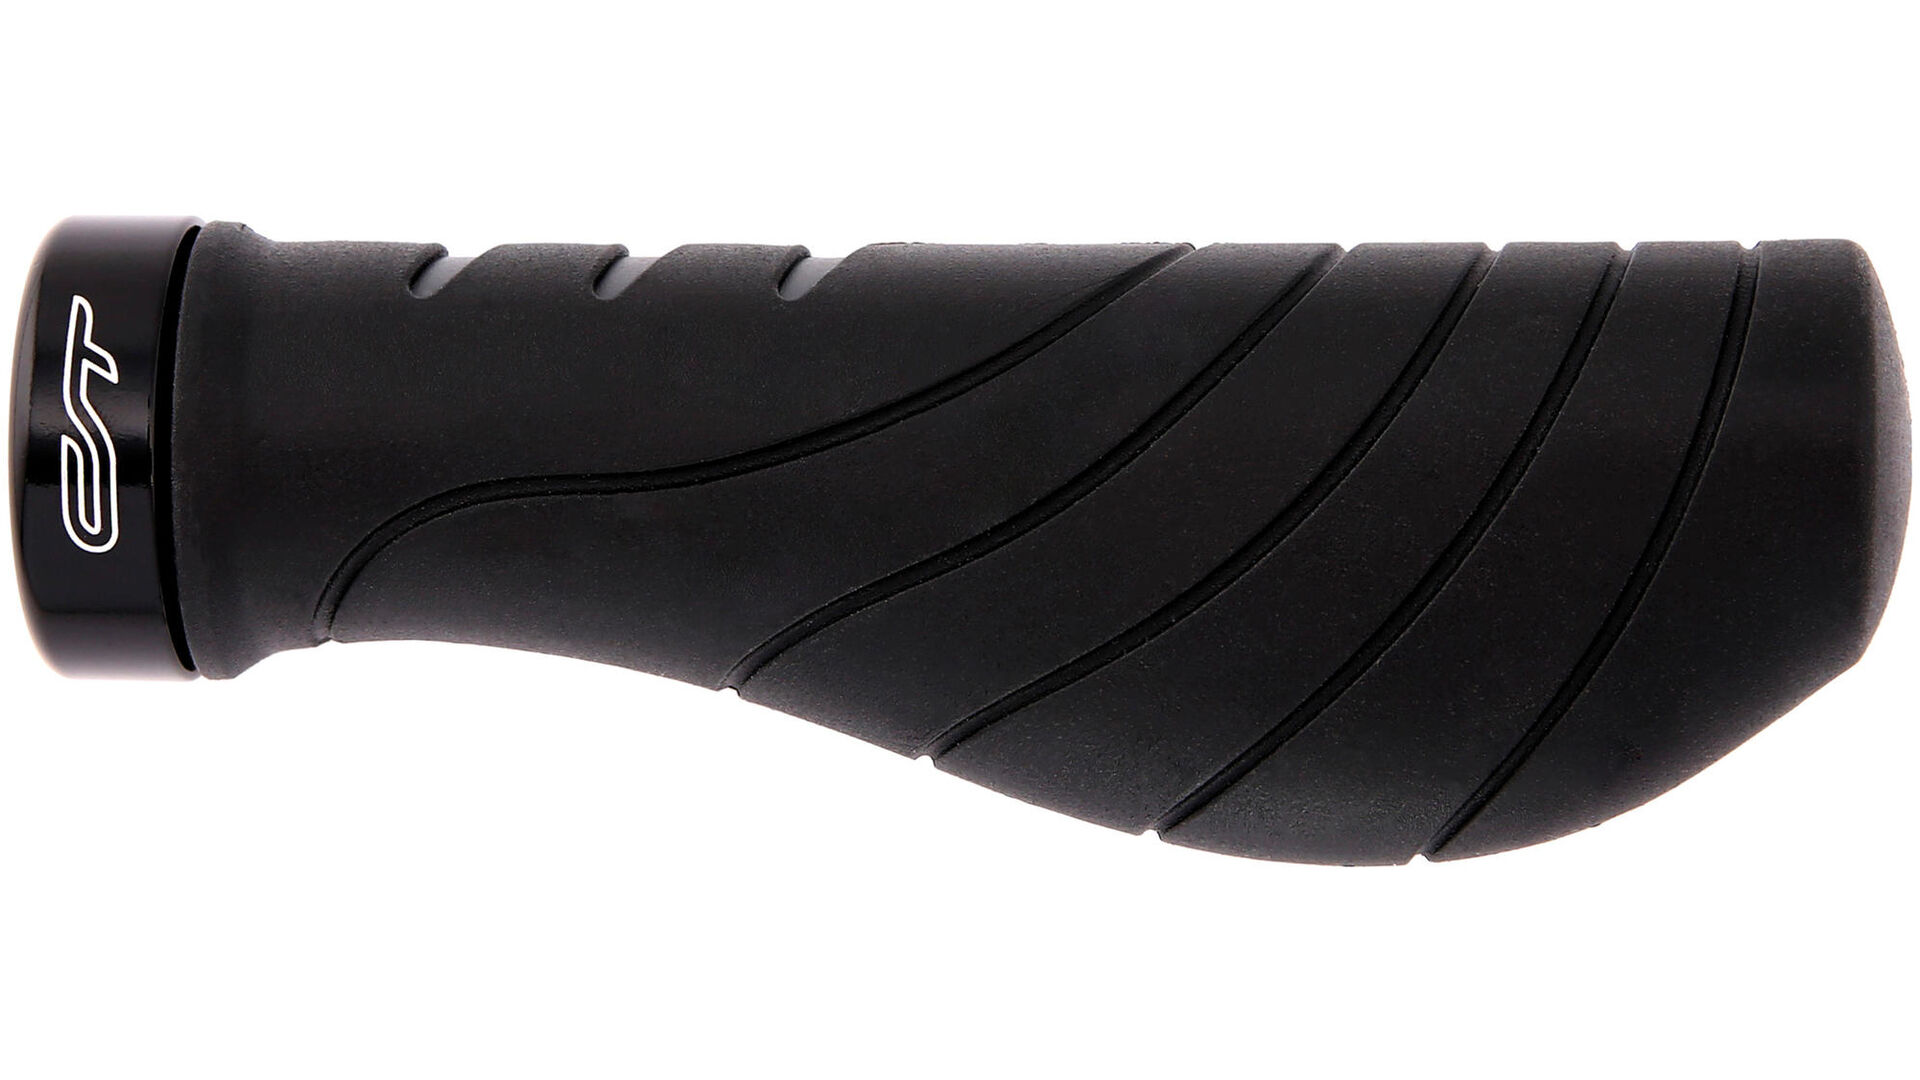
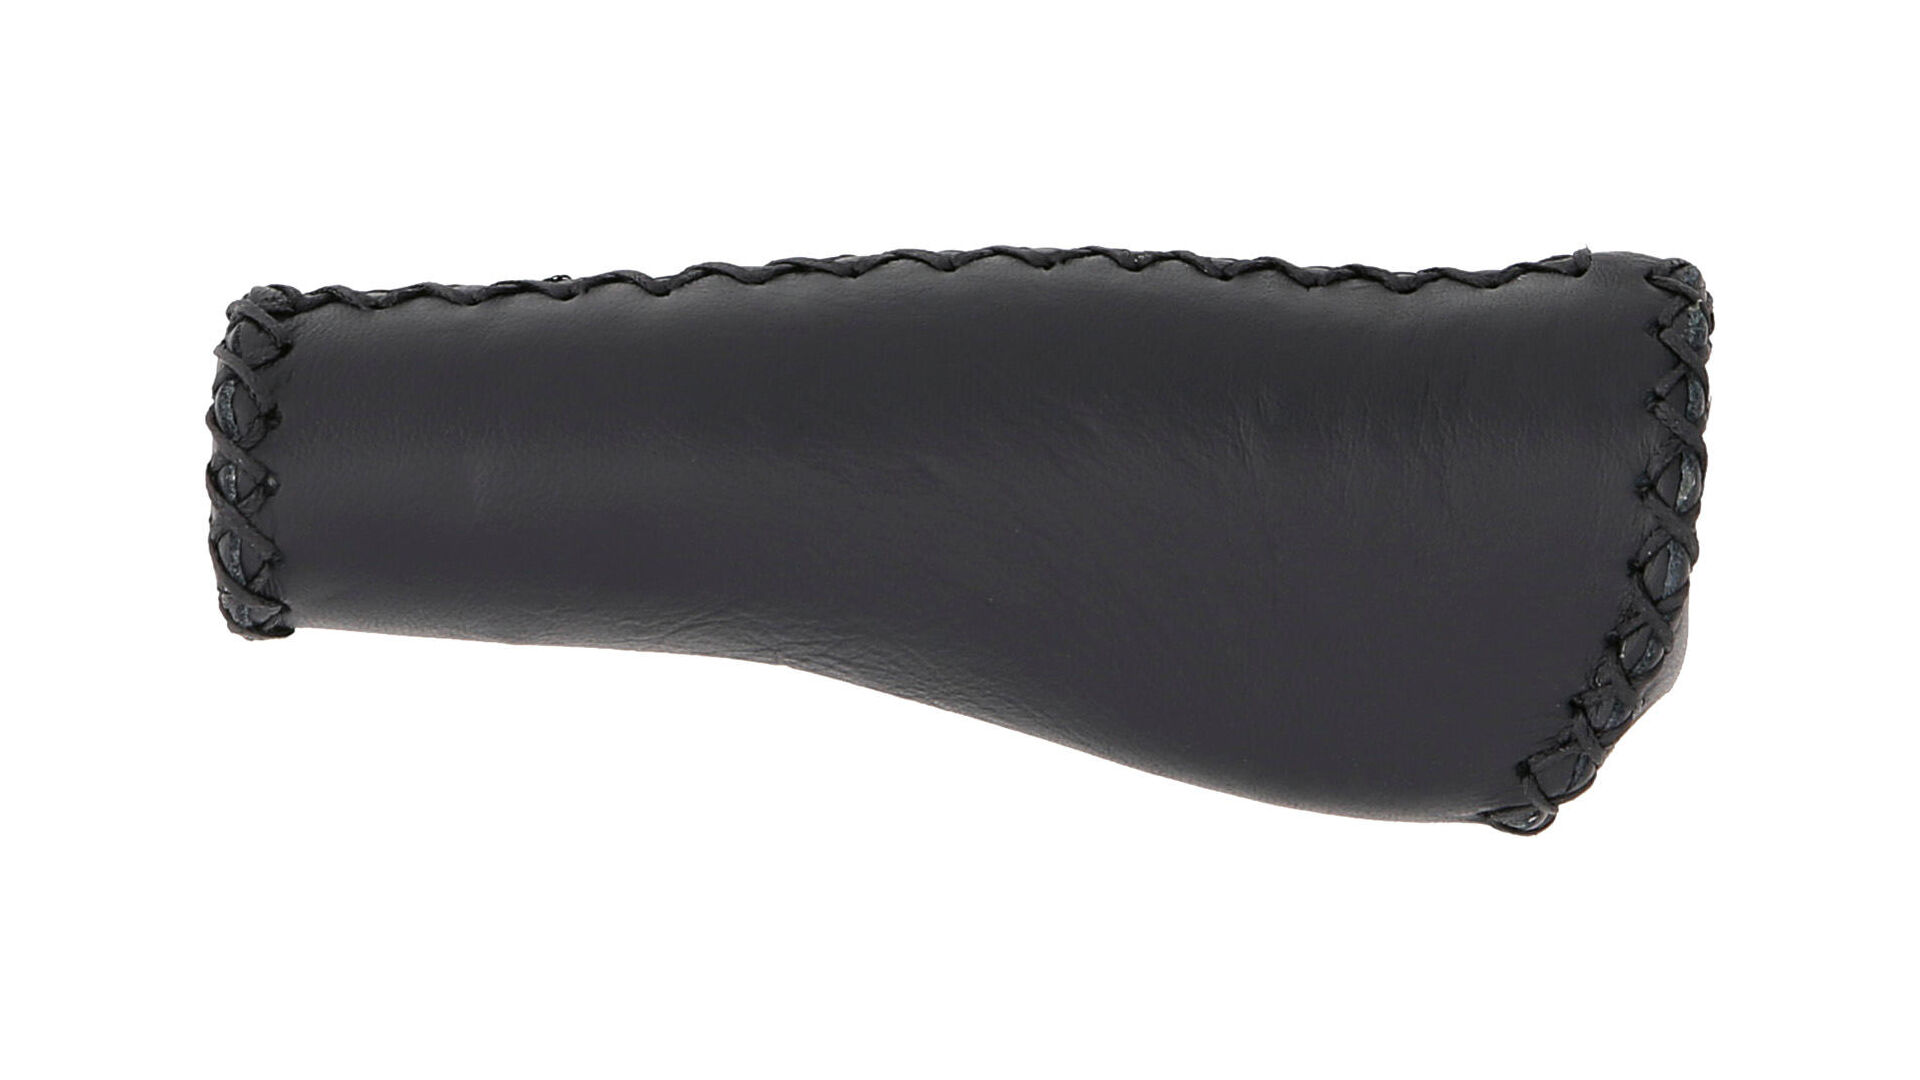
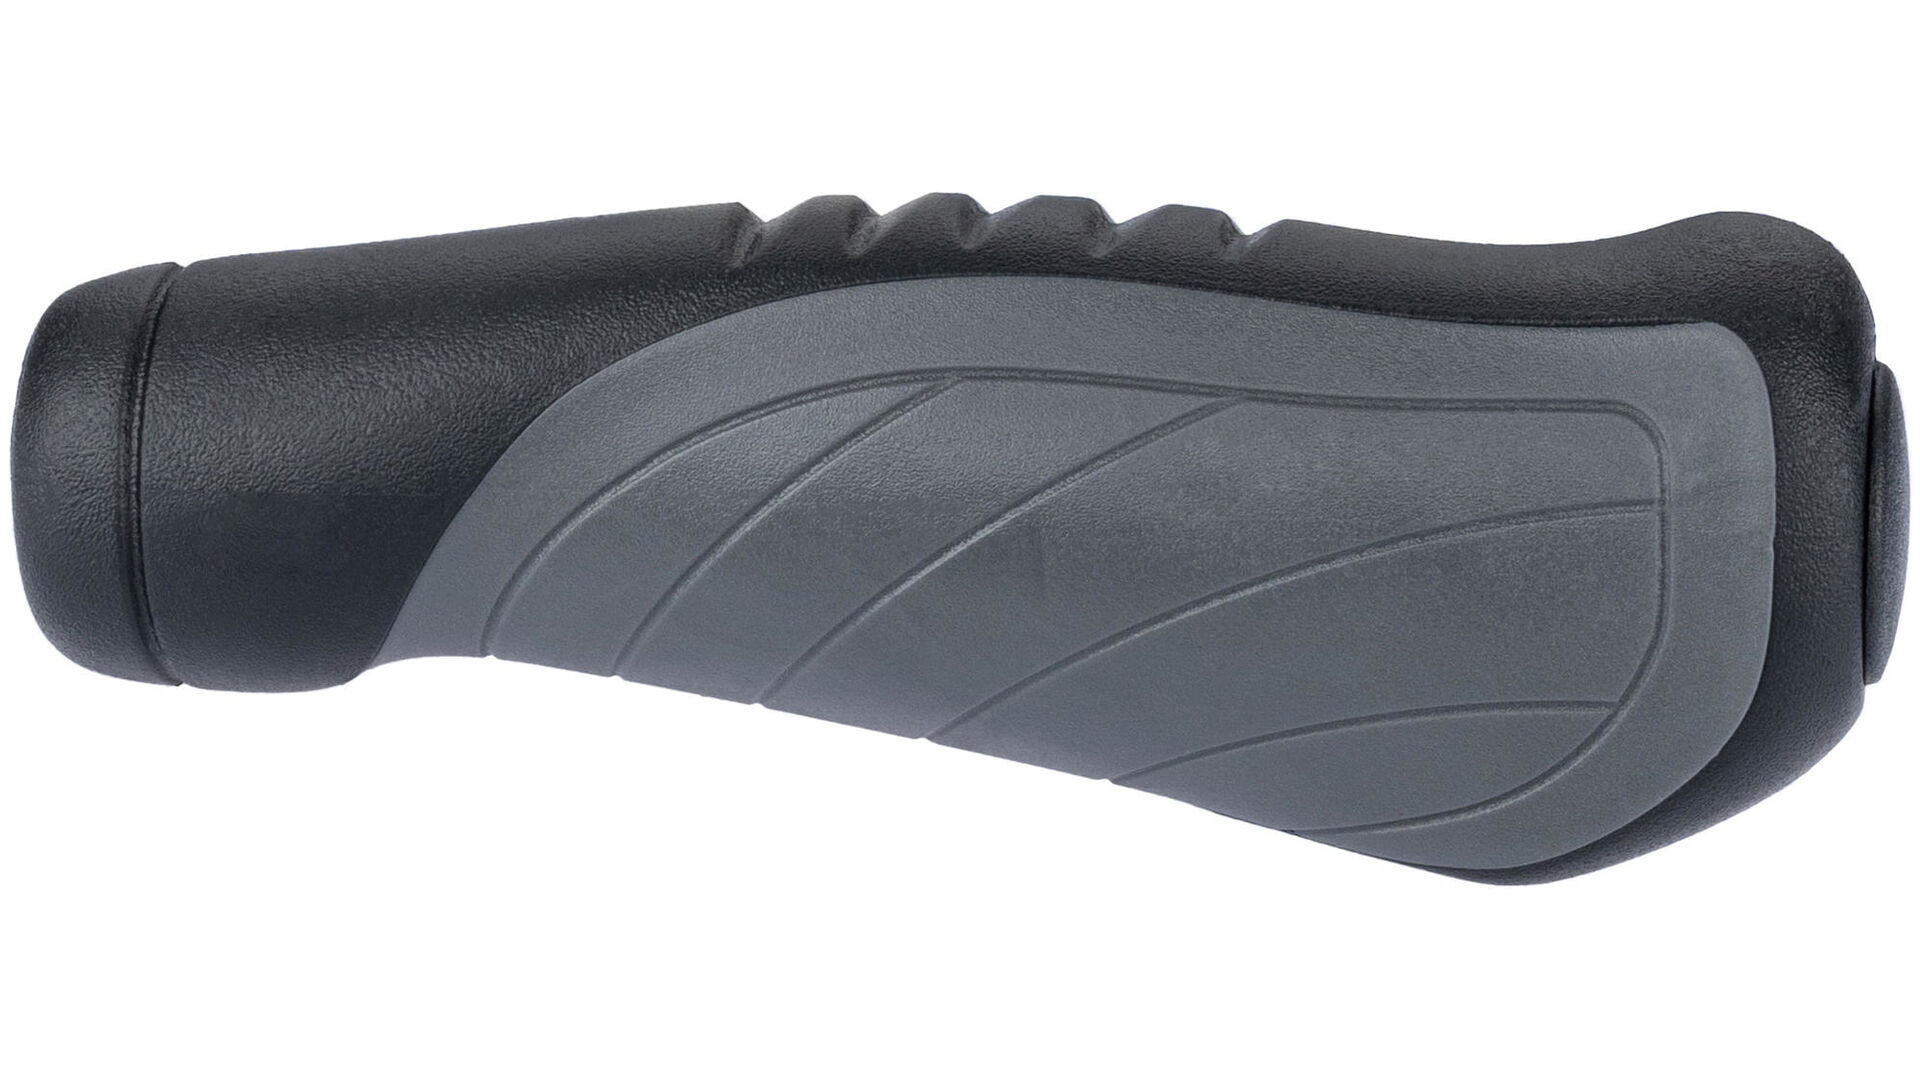
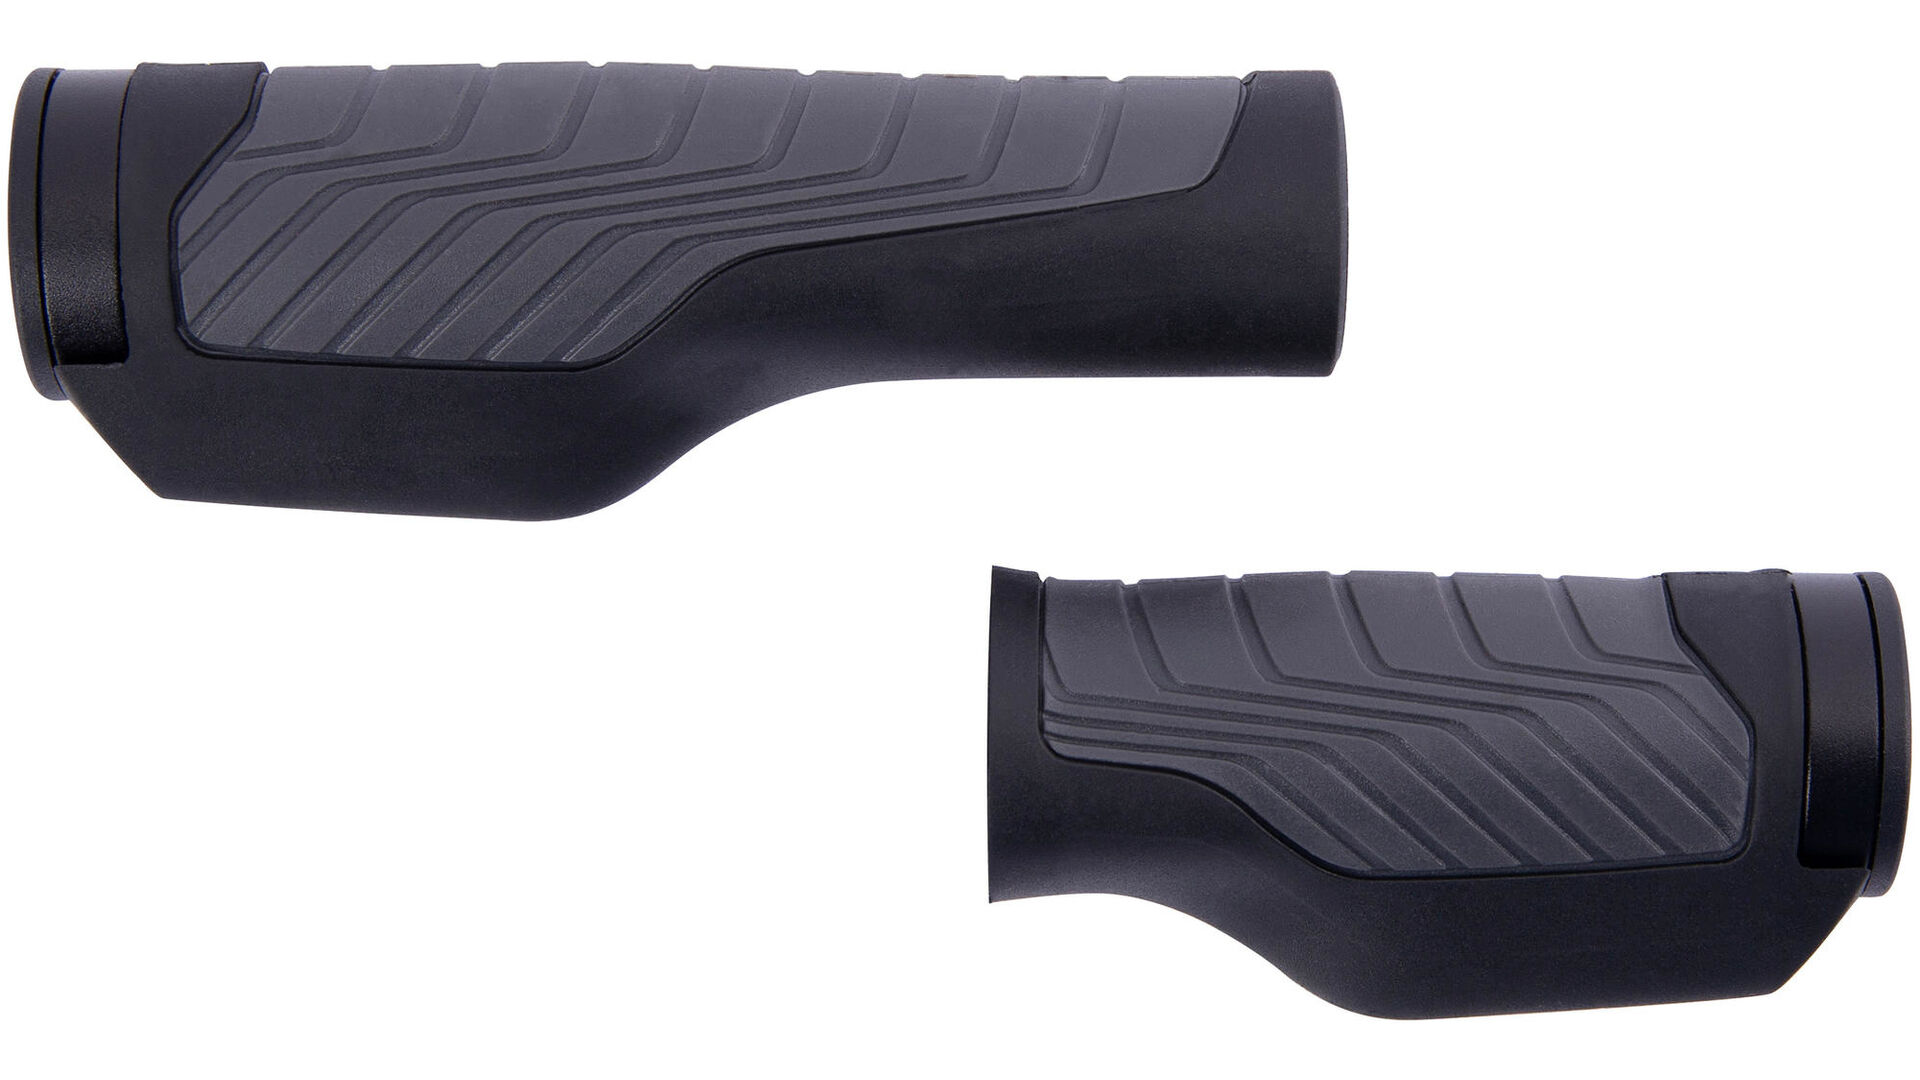
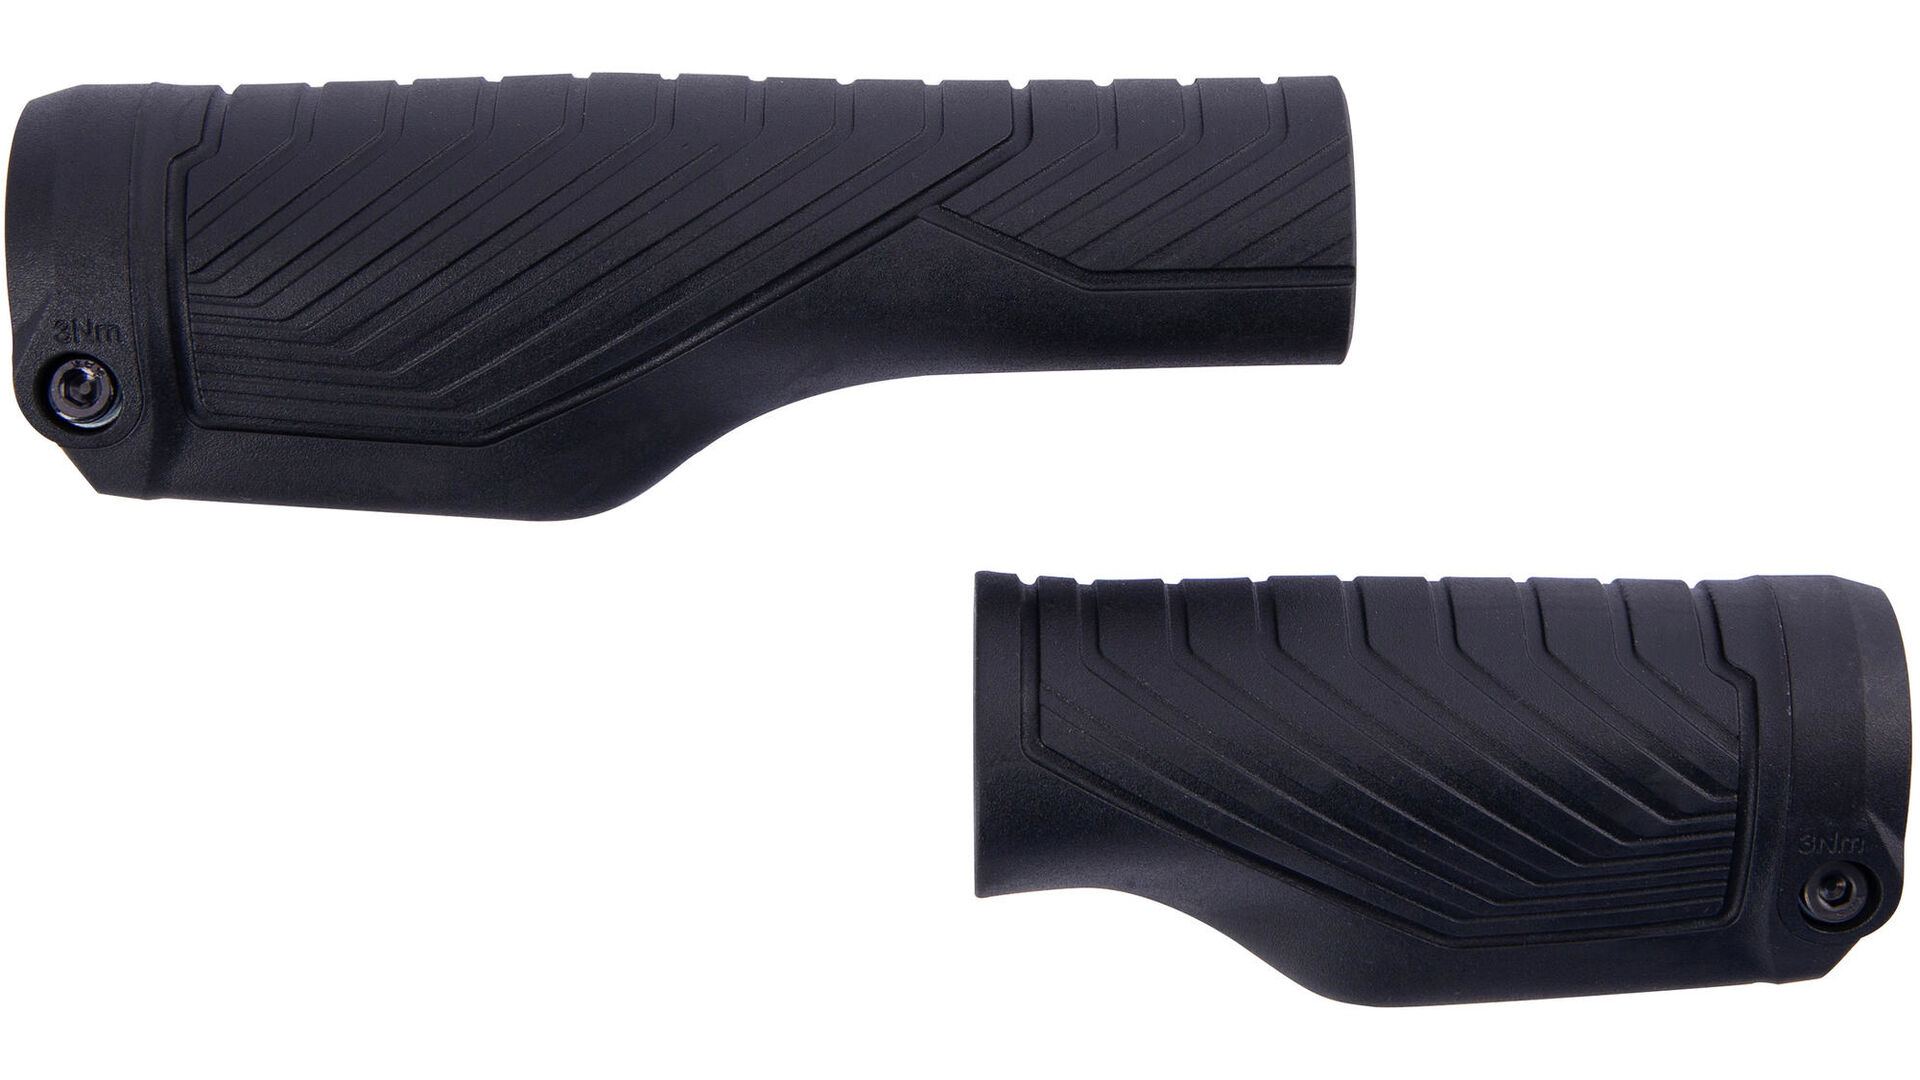
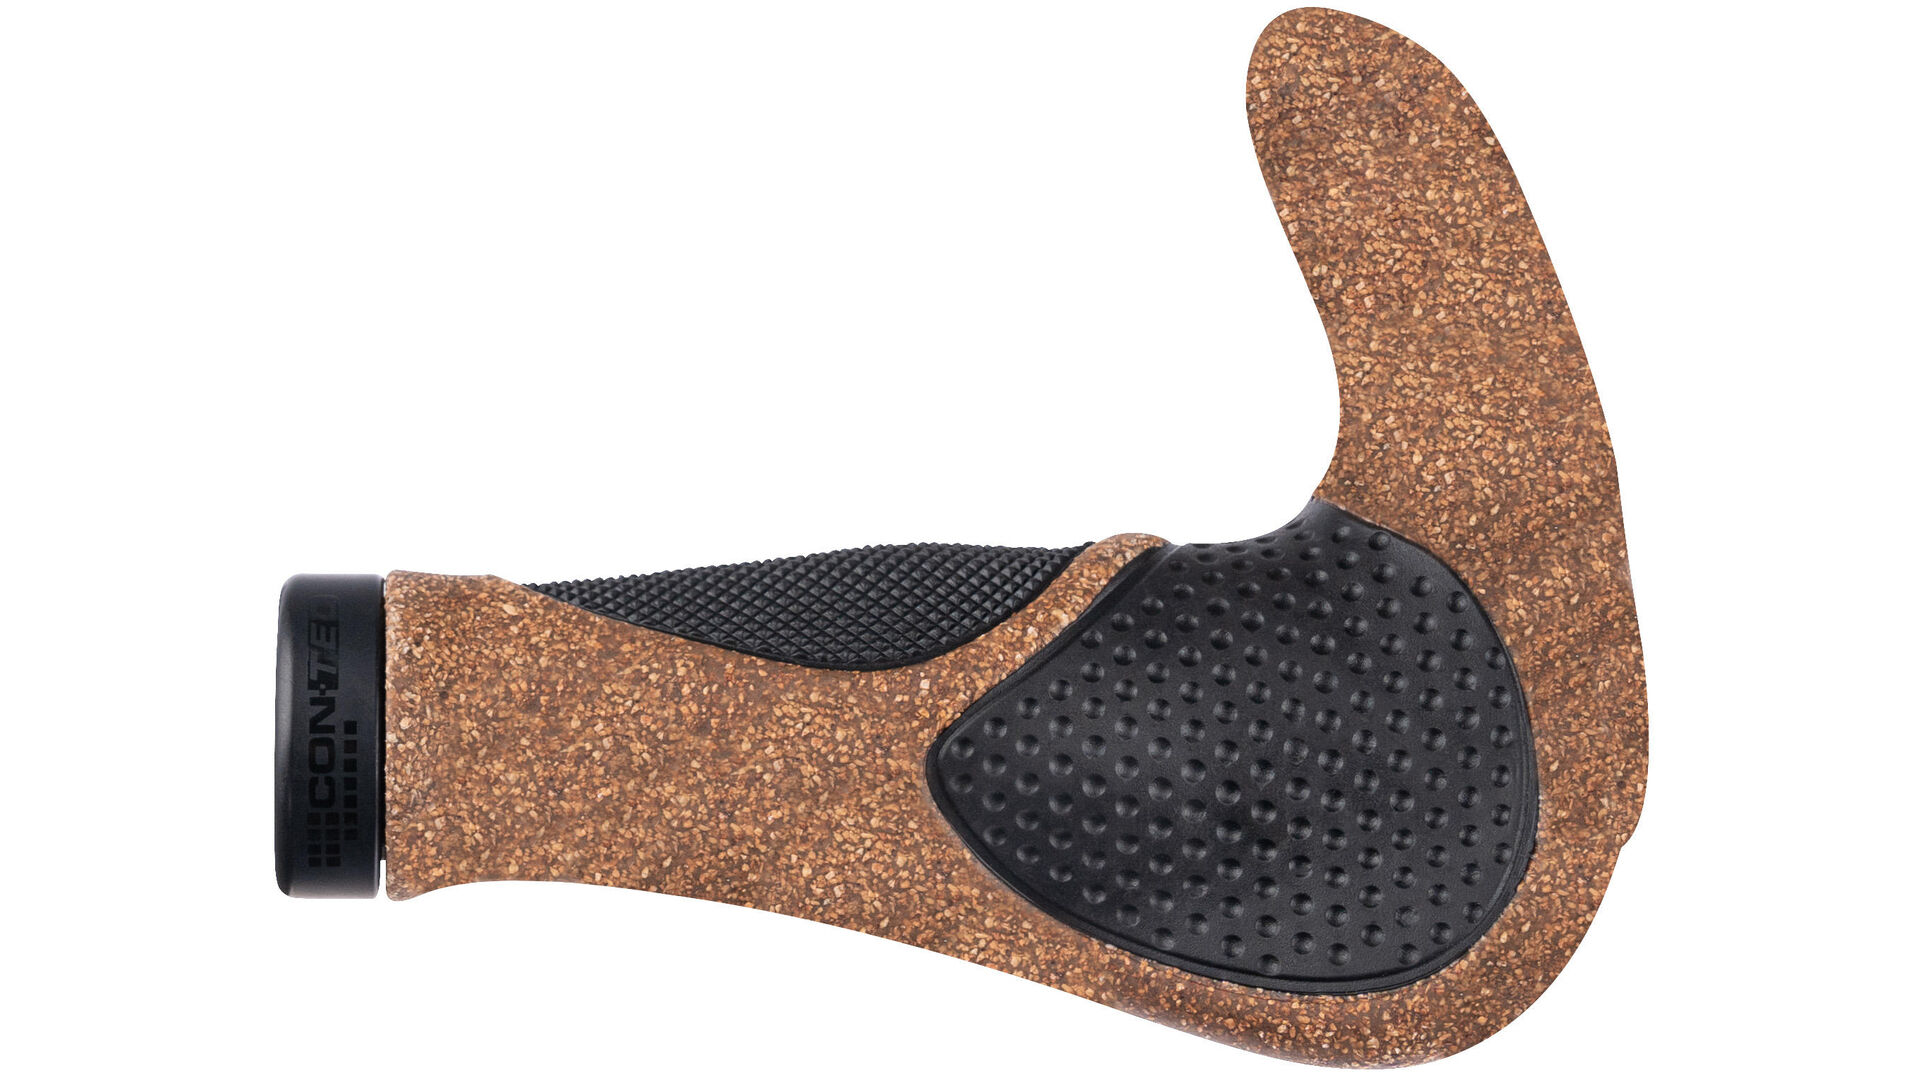
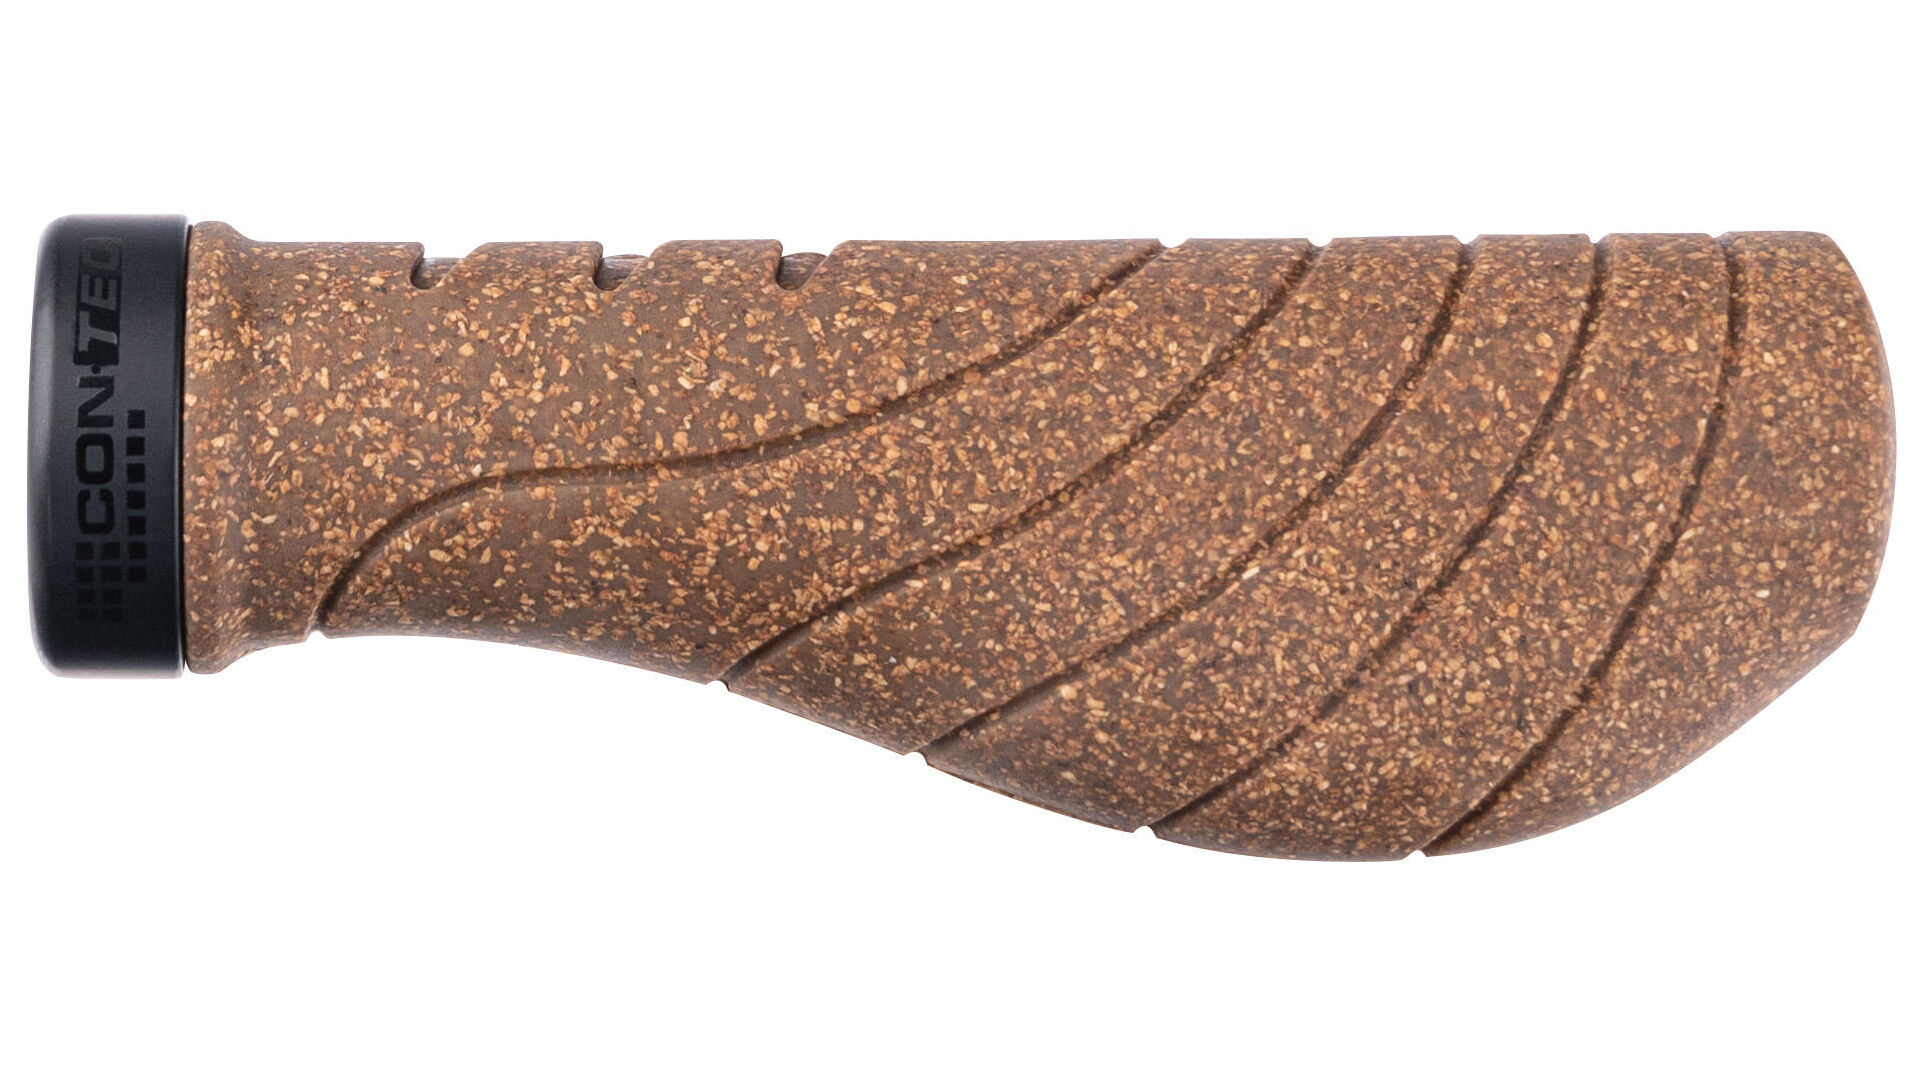
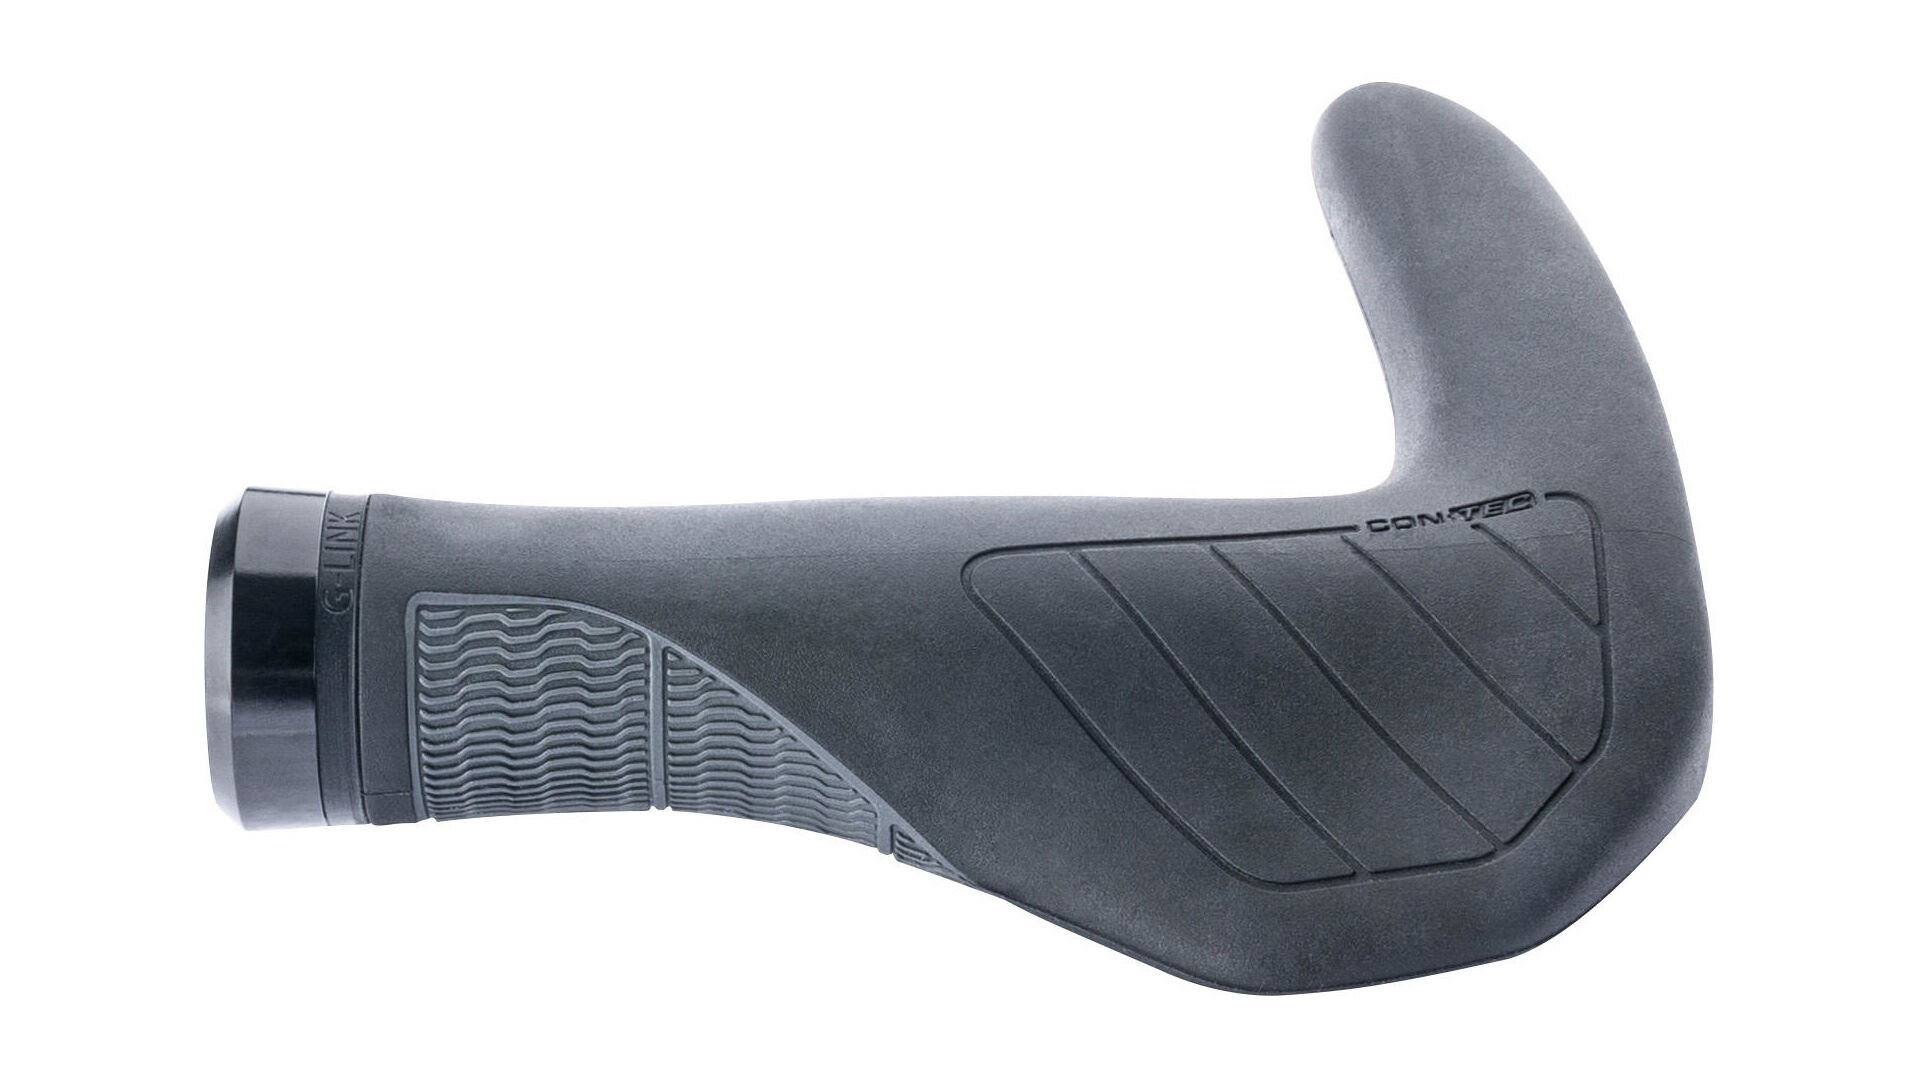
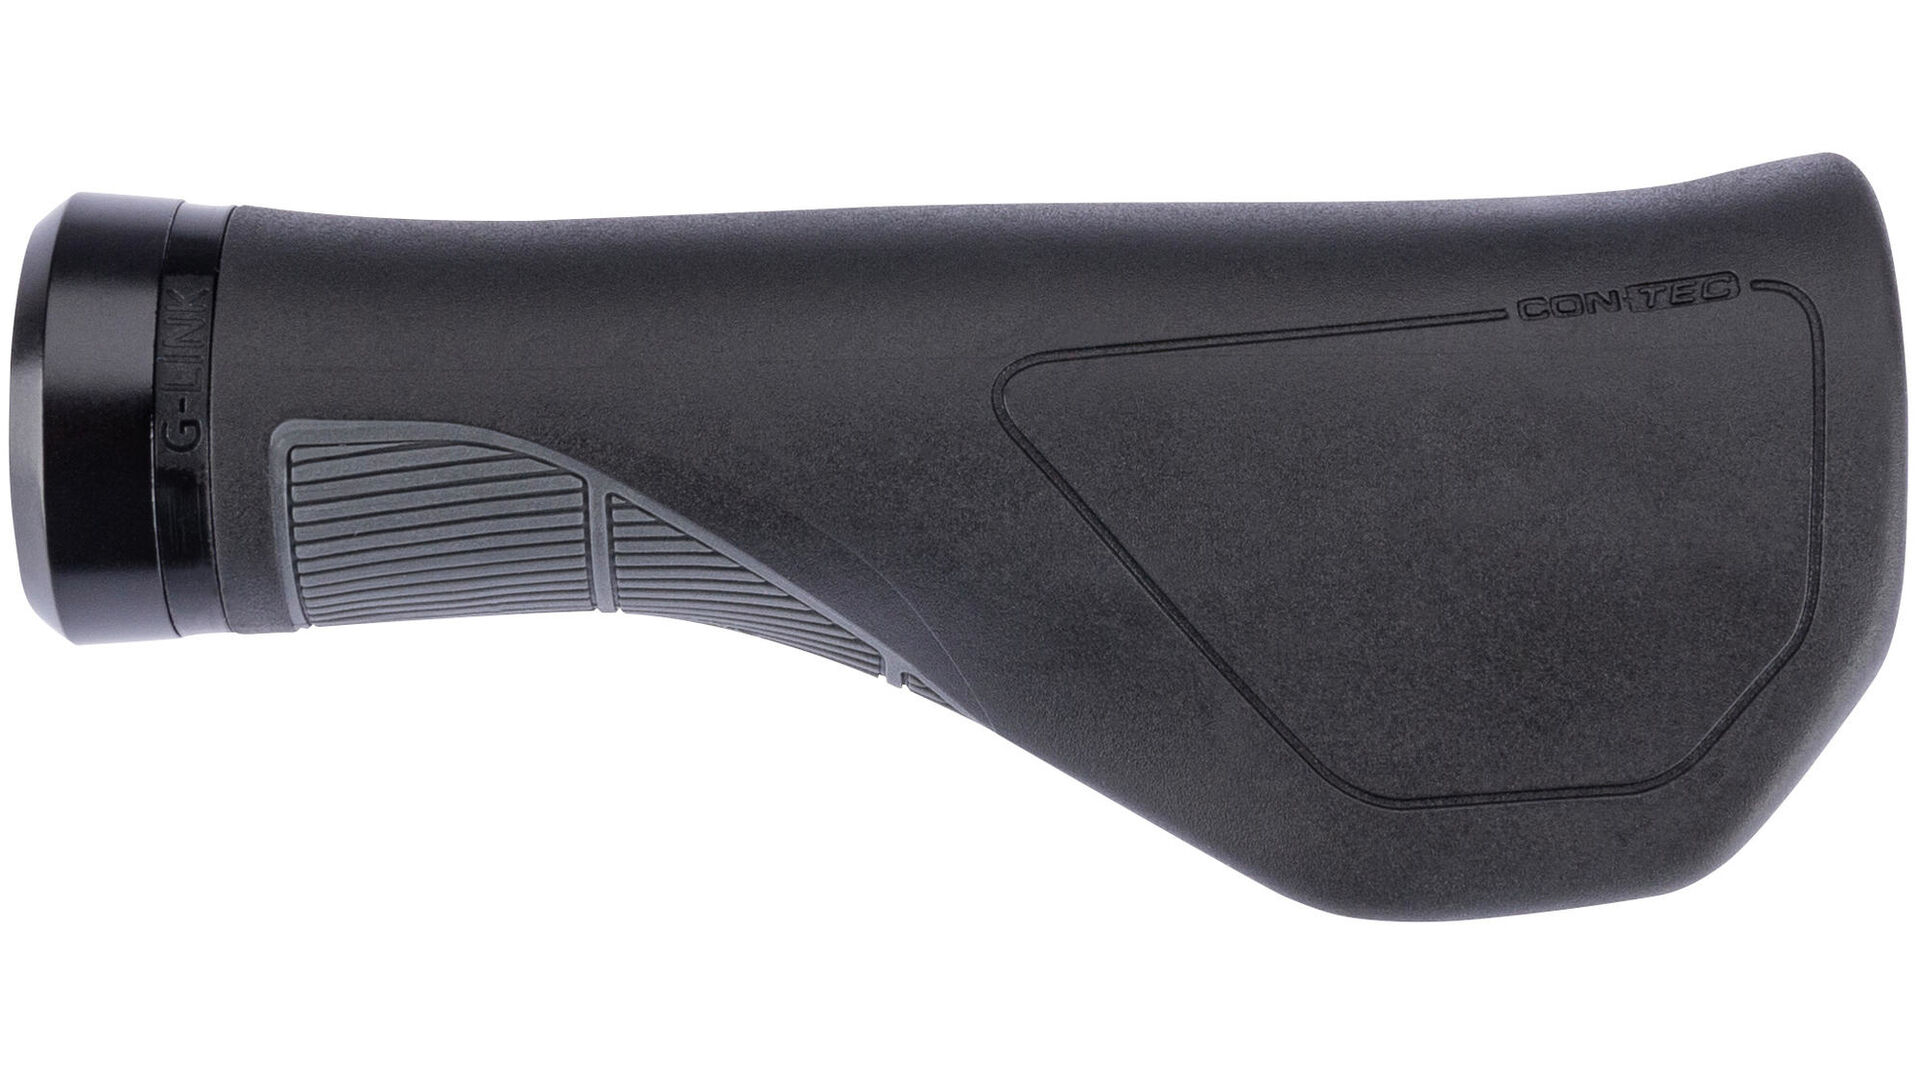
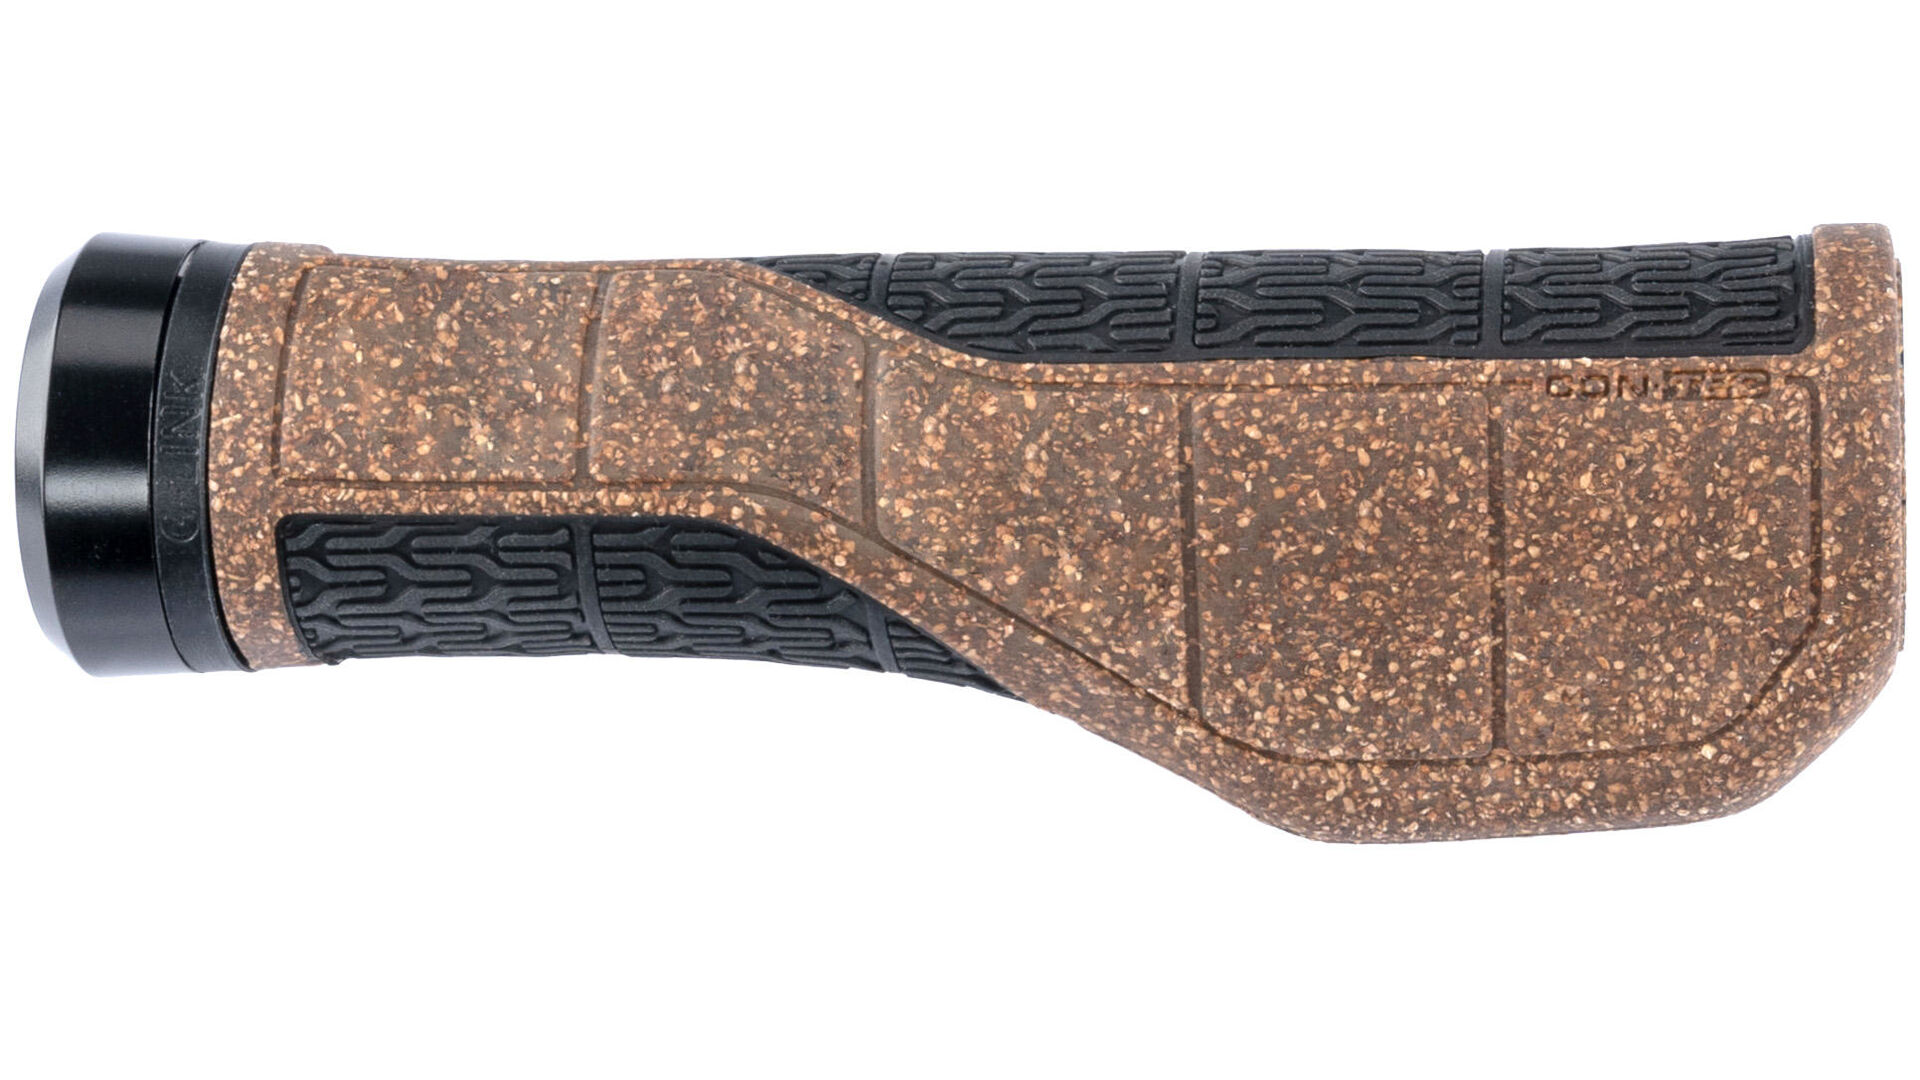
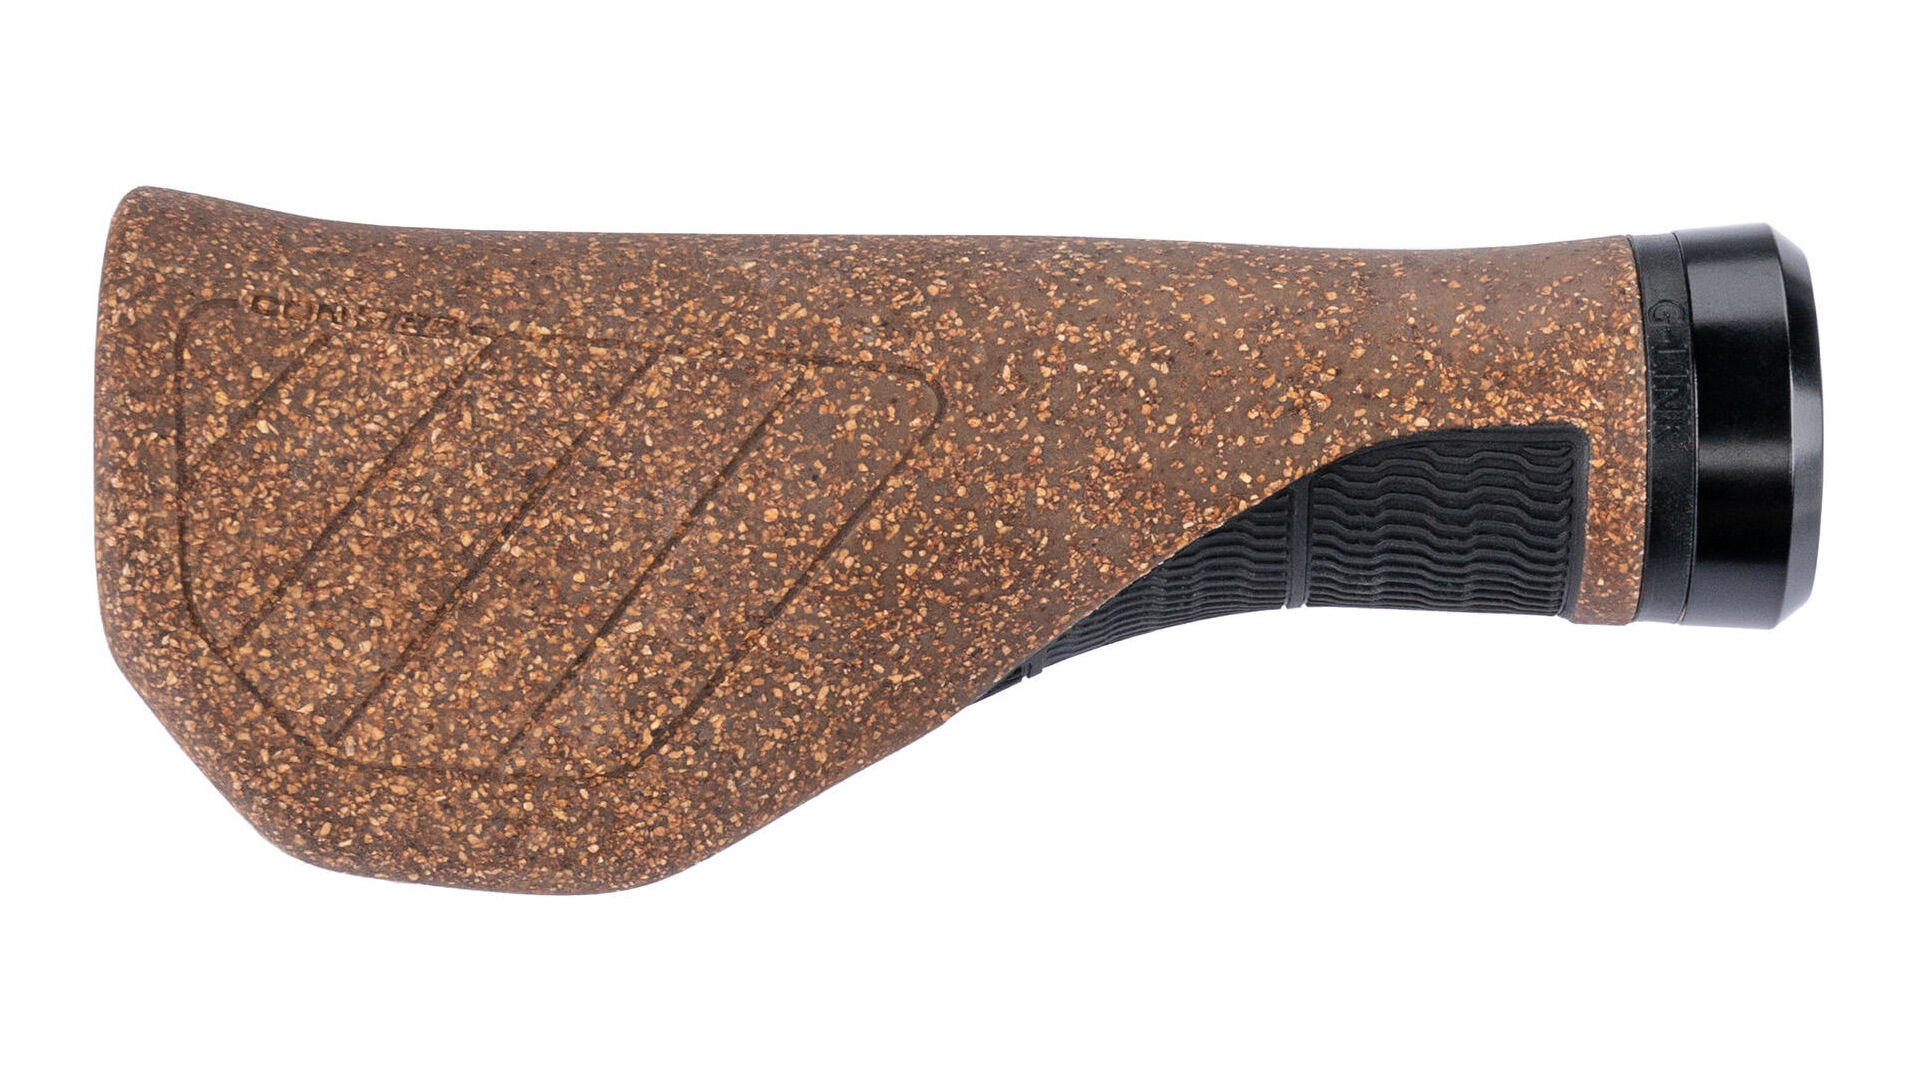
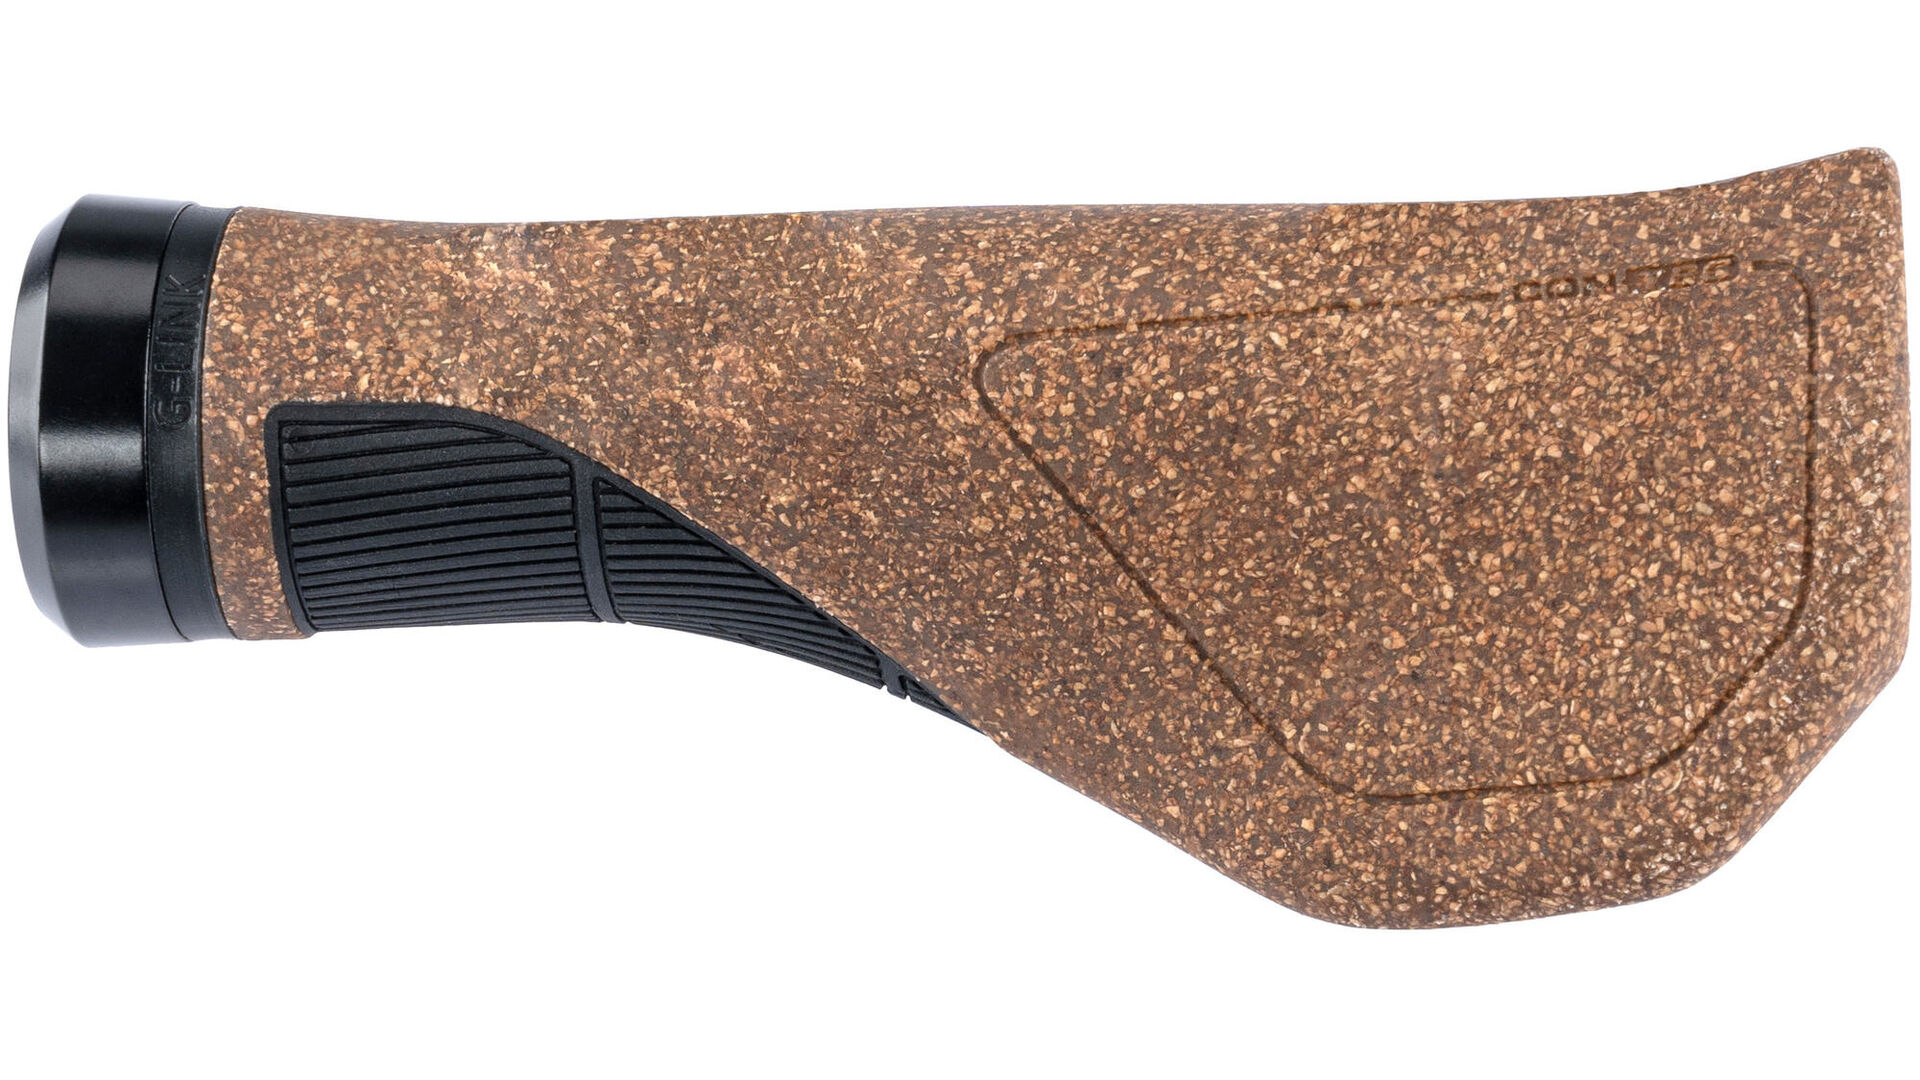
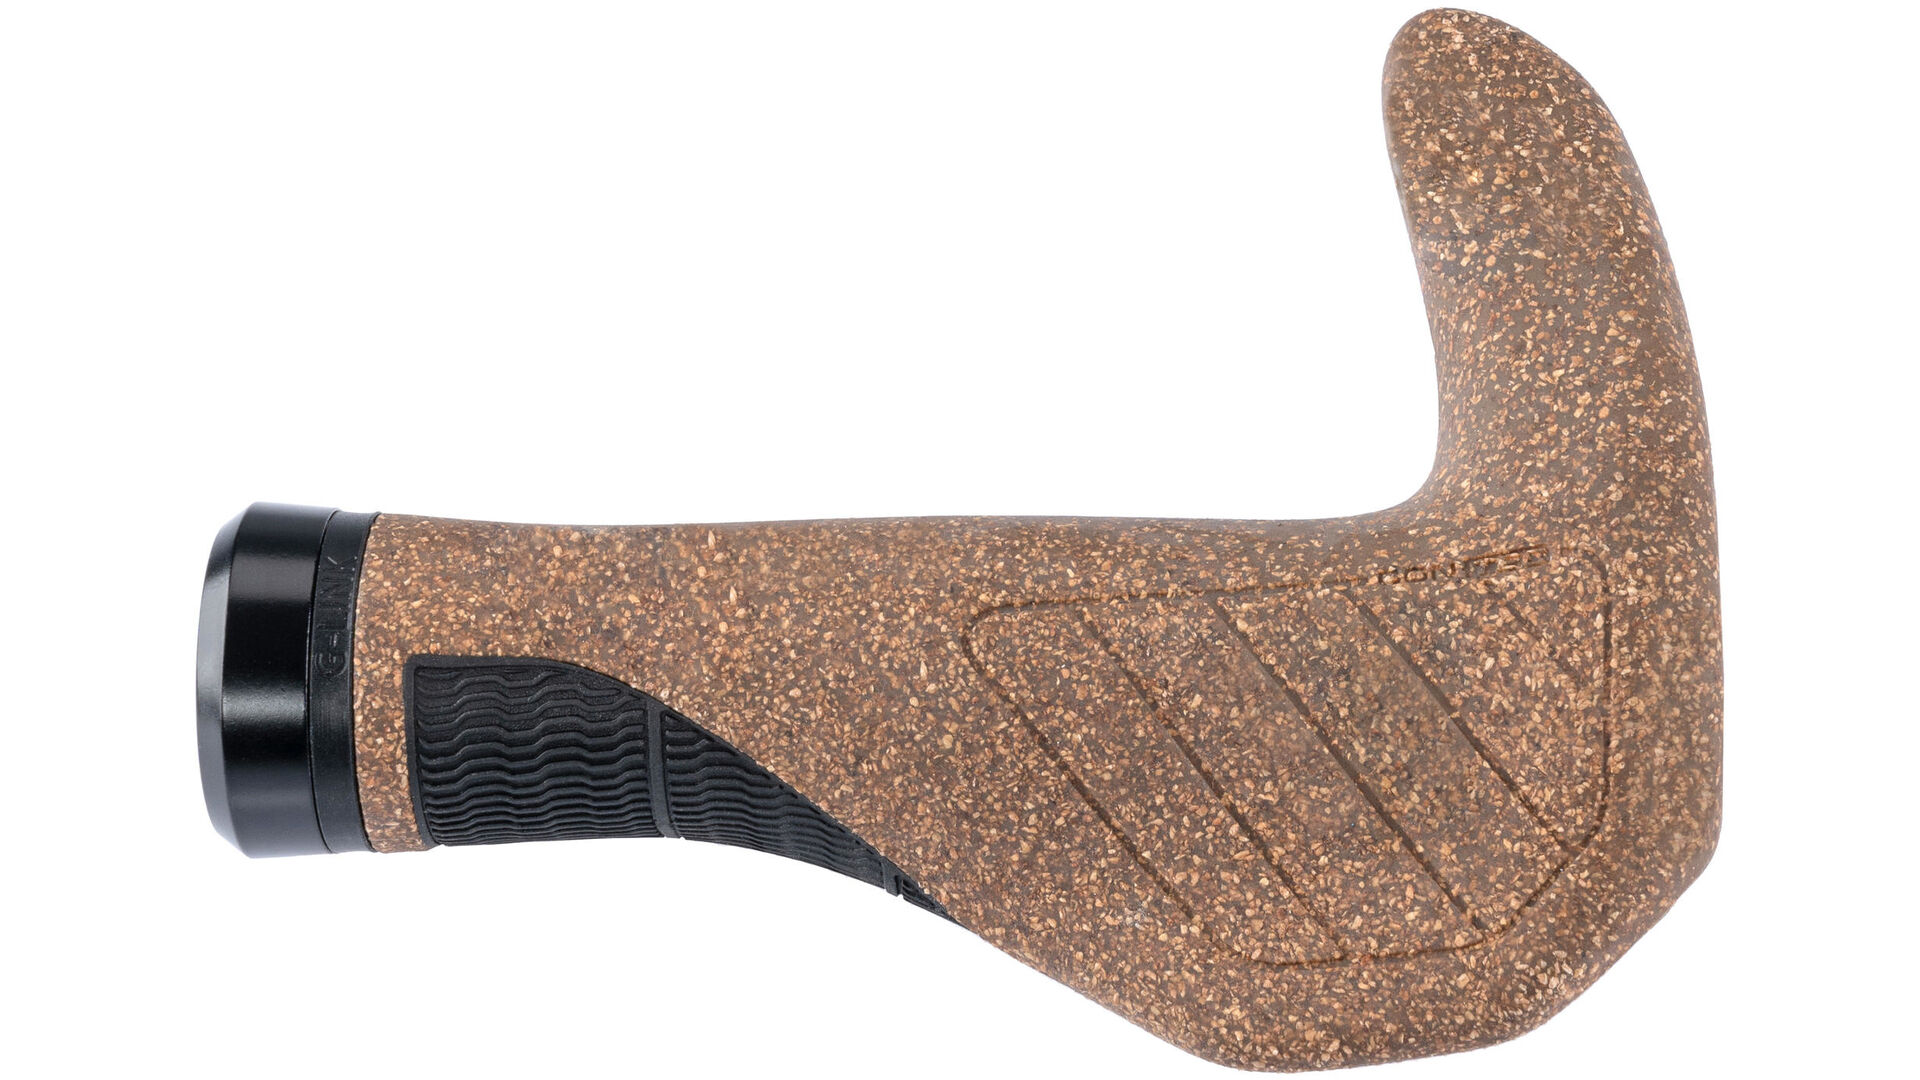
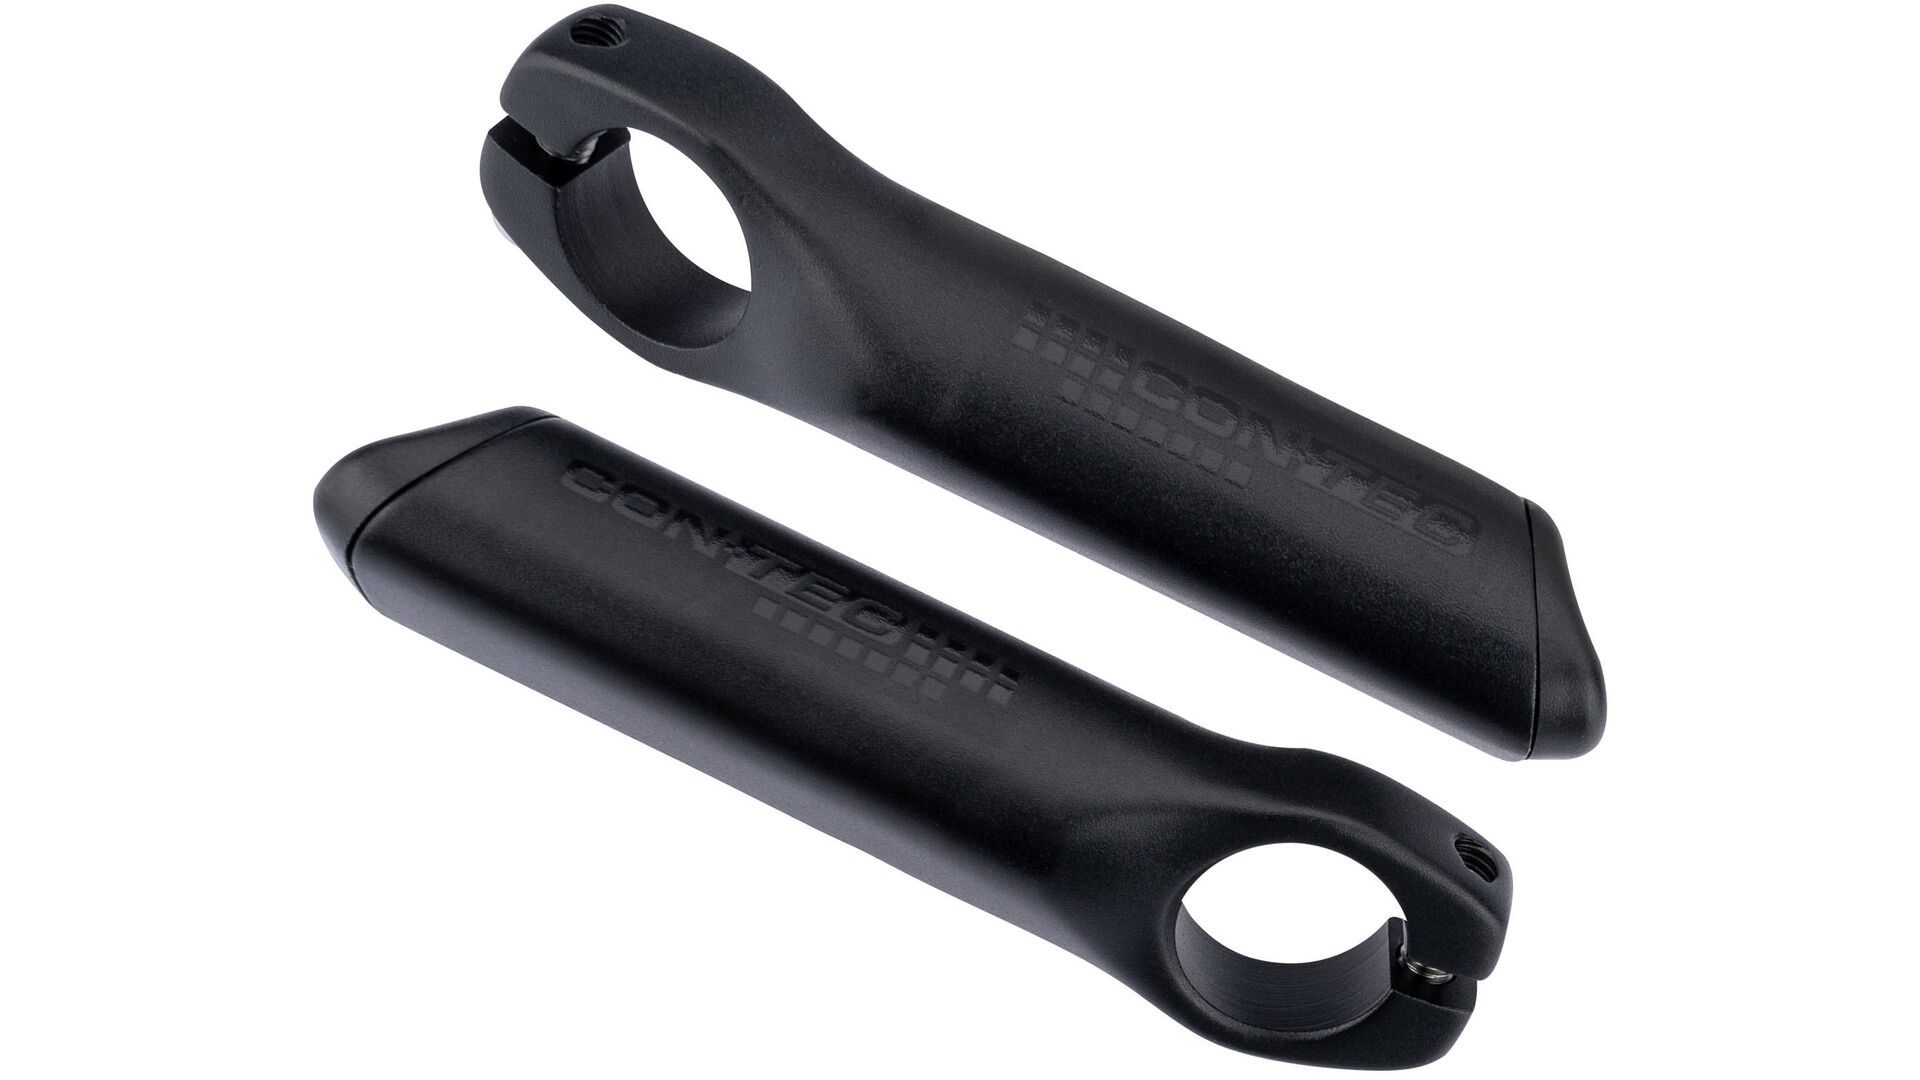
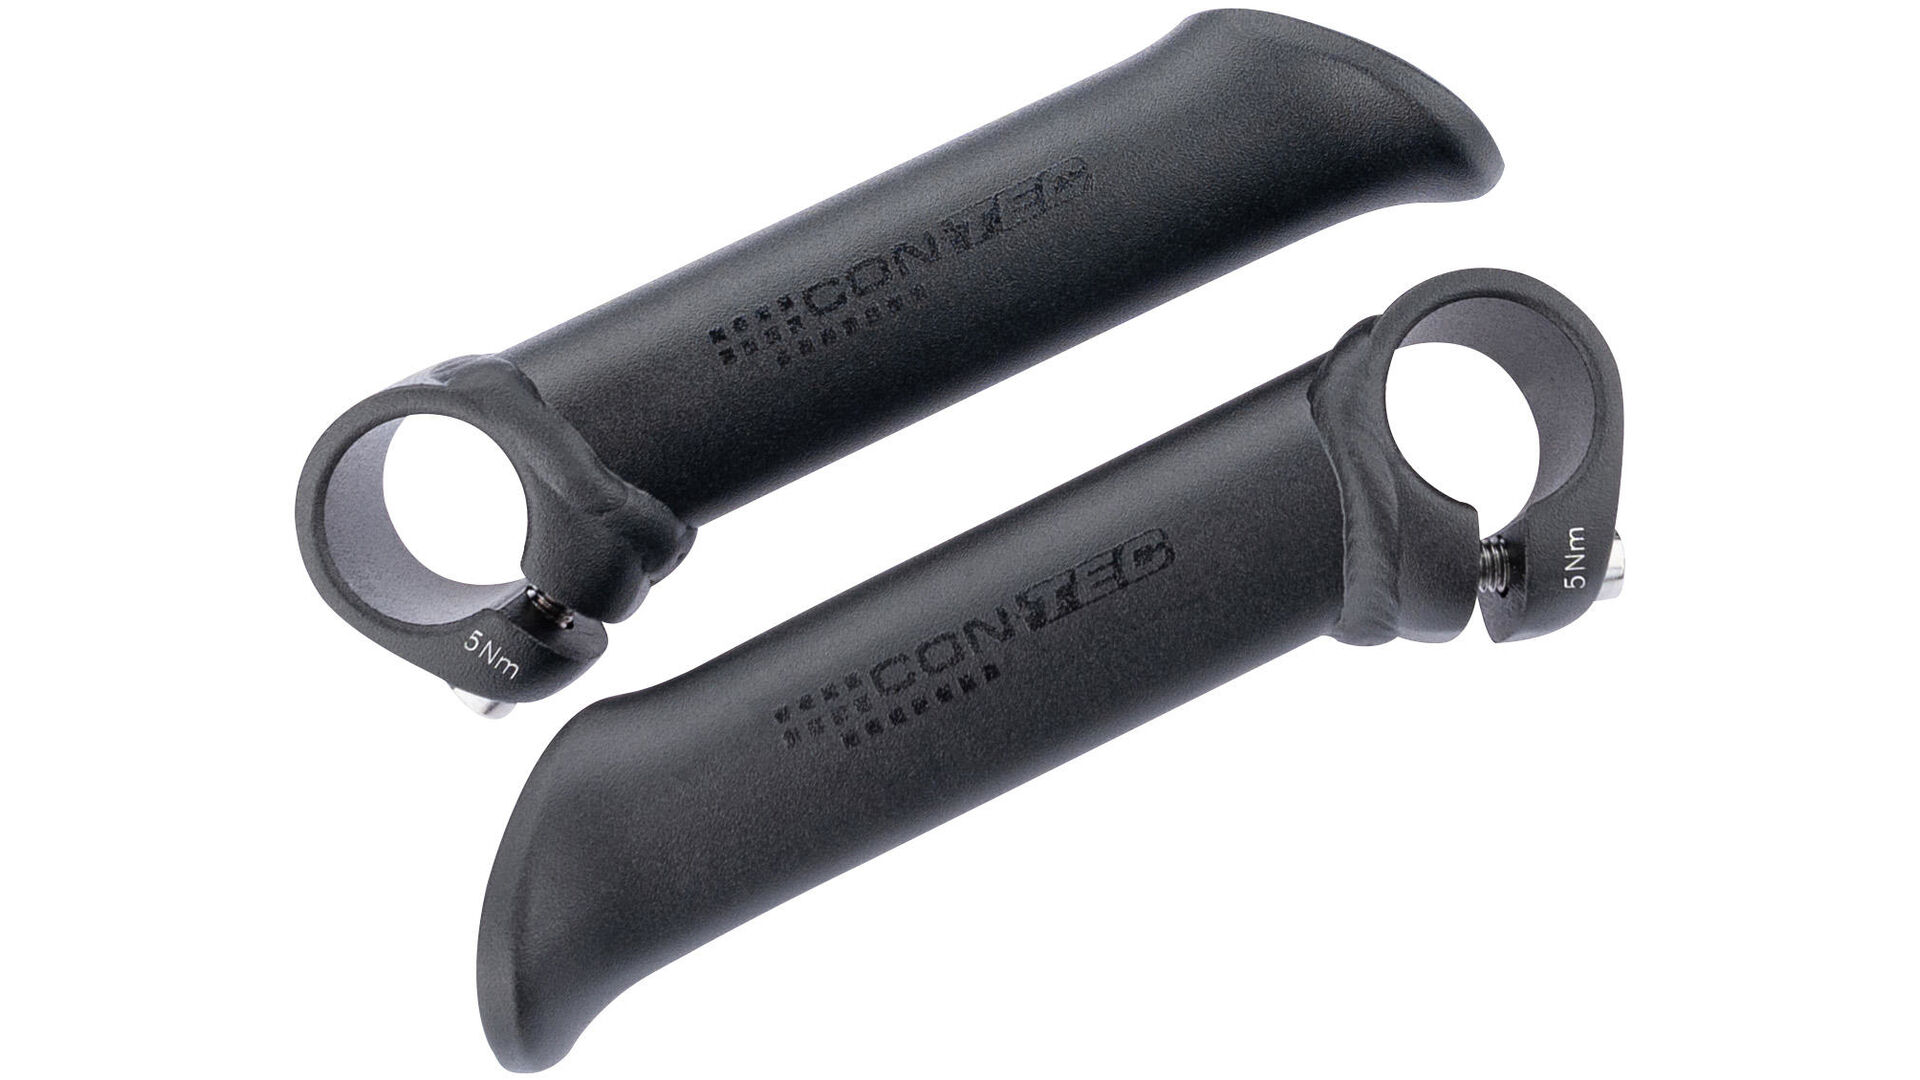
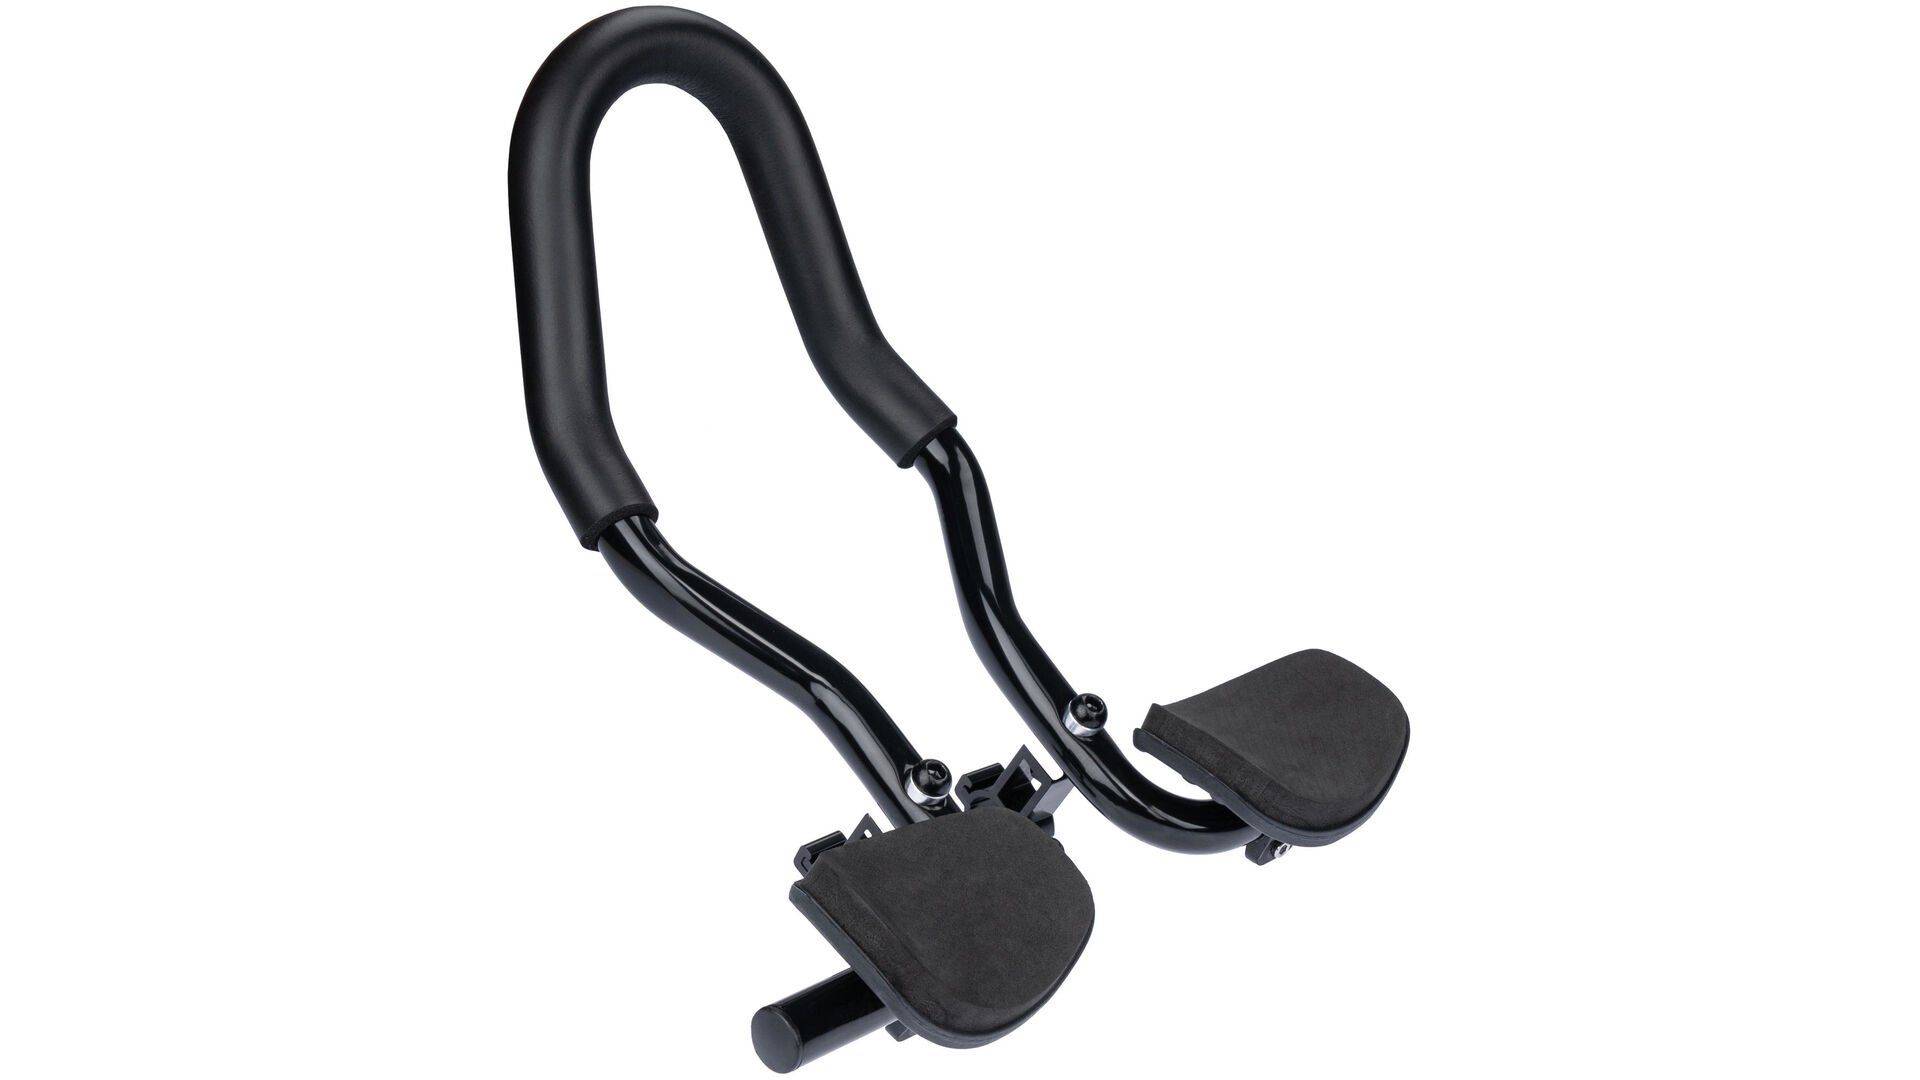
There really is no best grip, after all, choosing them depends on each individual hand. That's why we offer you a wide range of different types of grips at CONTEC. The shape and size of the grip depends on your personal preferences, how you use your bike or e-bike and your hand size. Essential: For top control and comfort, you should choose your handlebar grips so that you can grip them at any time! The grips should therefore not be too bulky for riders with small hands. So-called wing grips with generous, wing-like support area for city and trekking bikes relieve the pressure on the hands, prevent buckling and thus increase your comfort.
Compatibility:

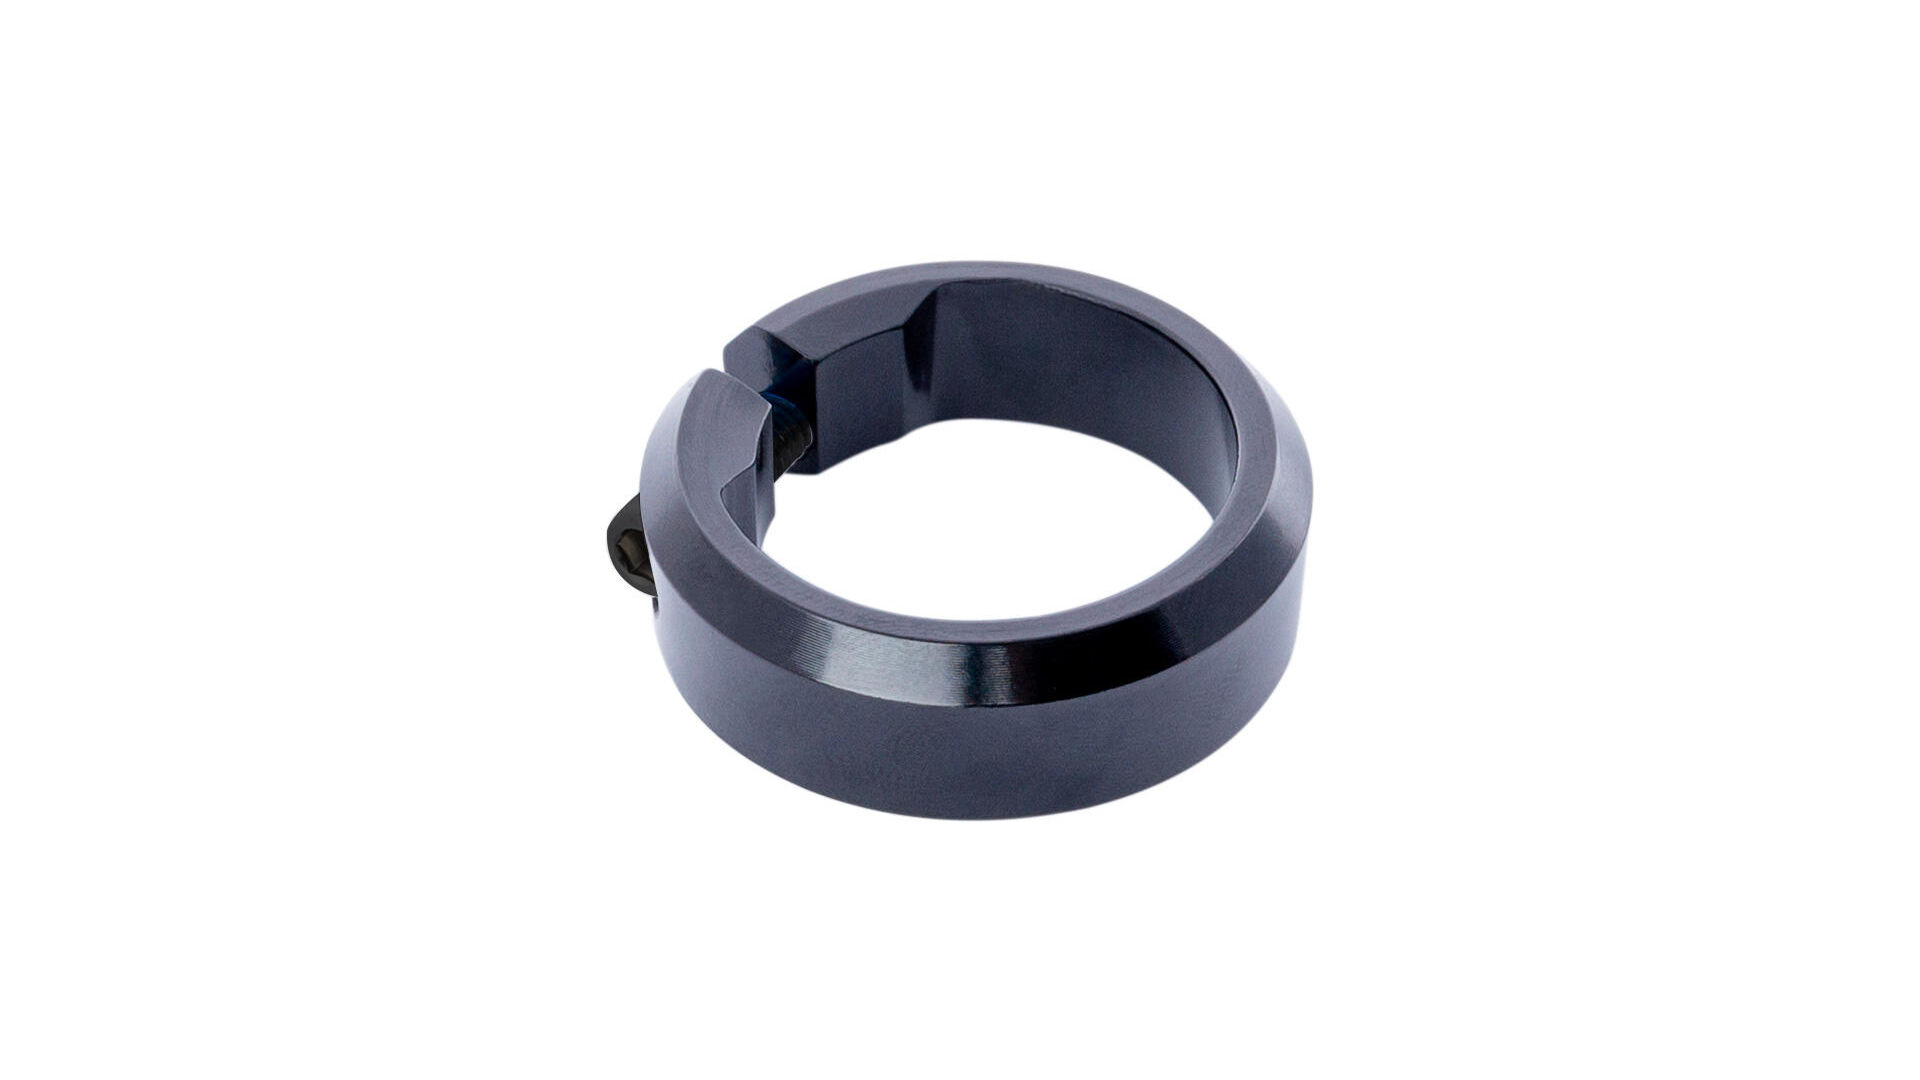
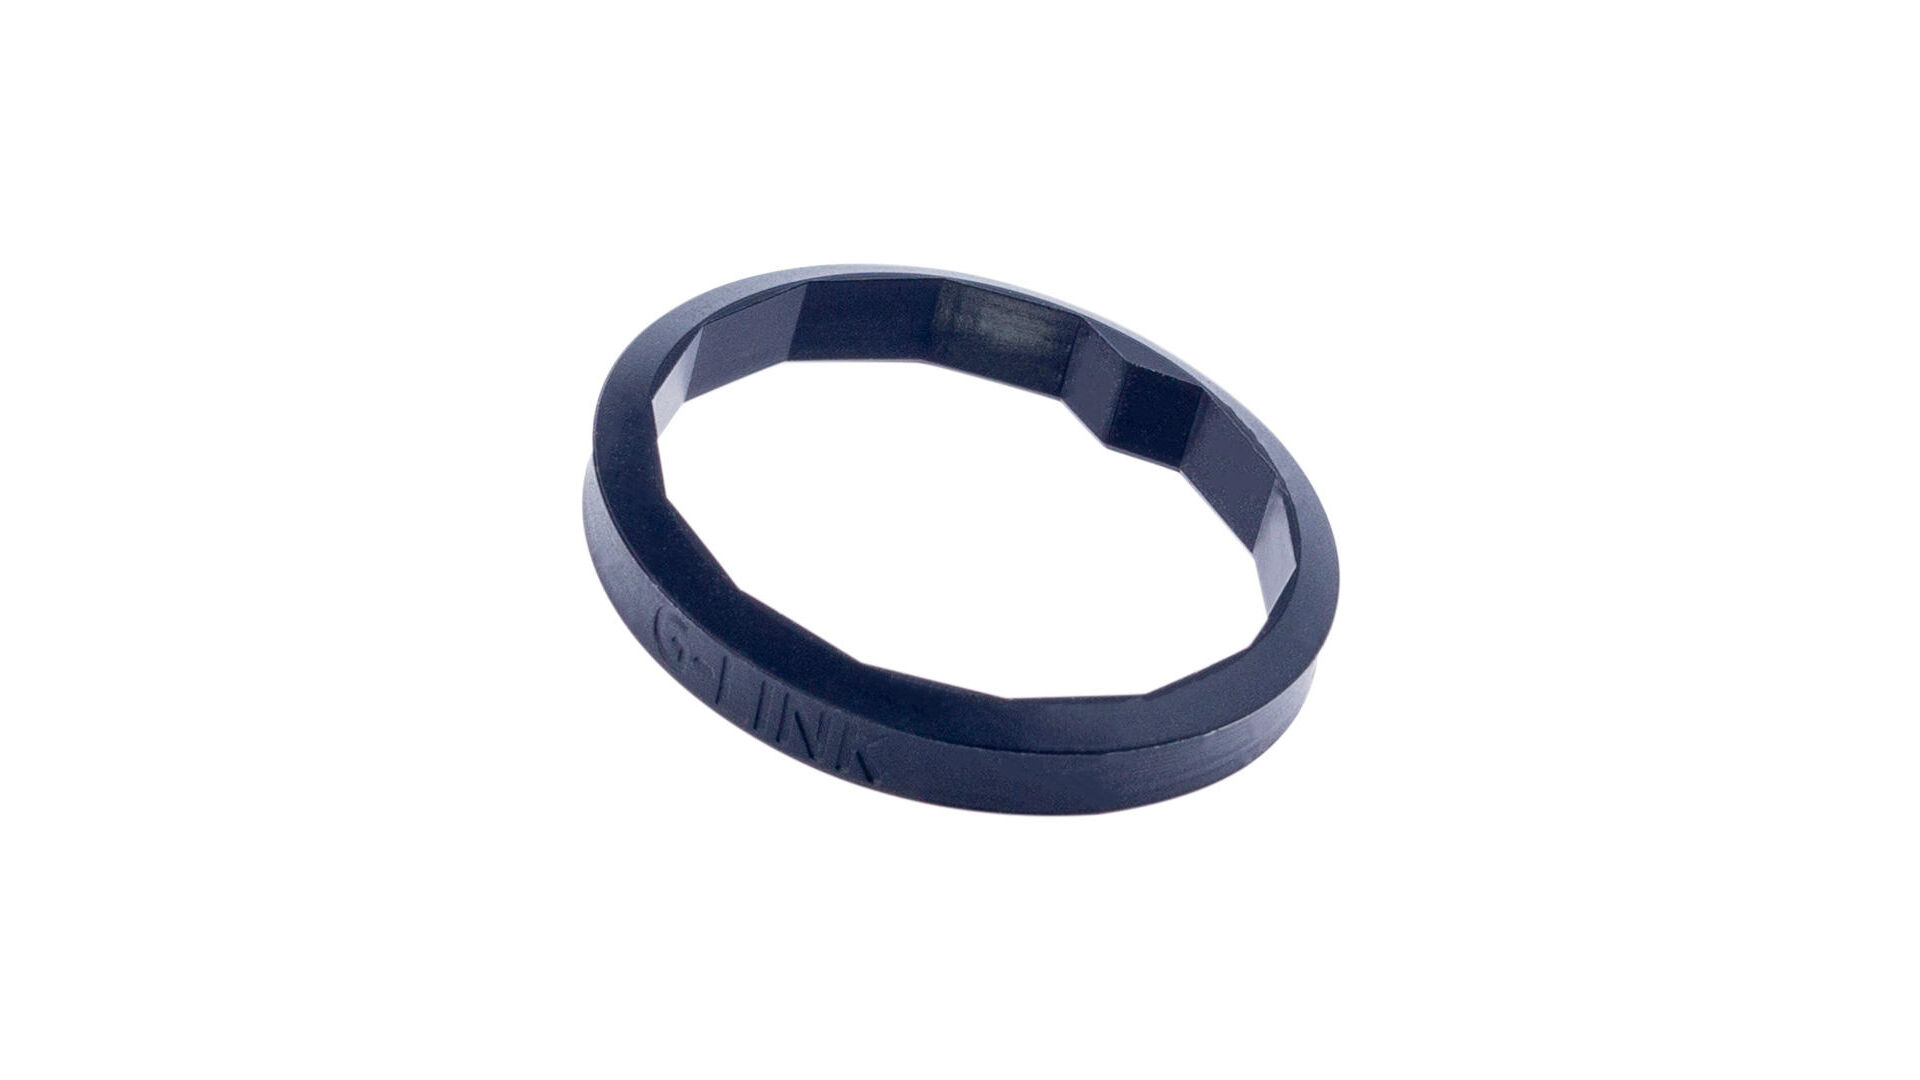
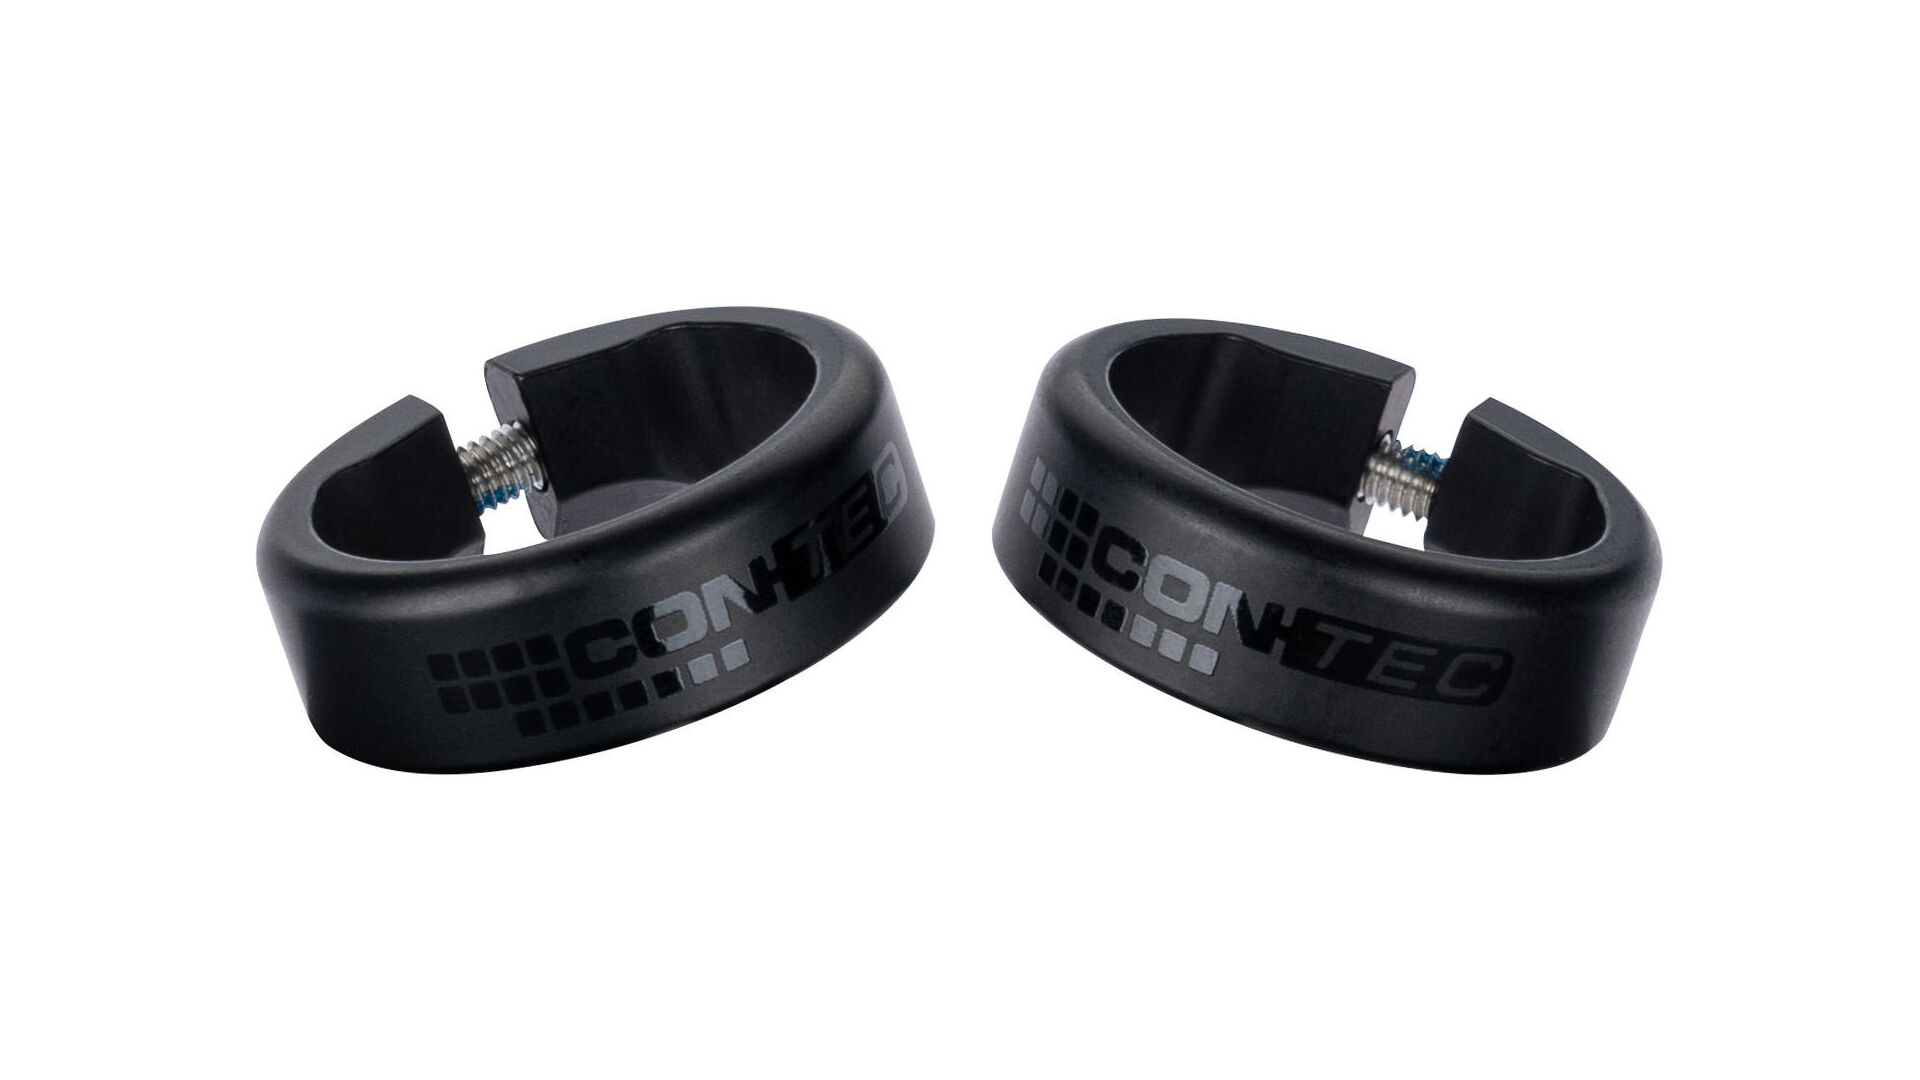
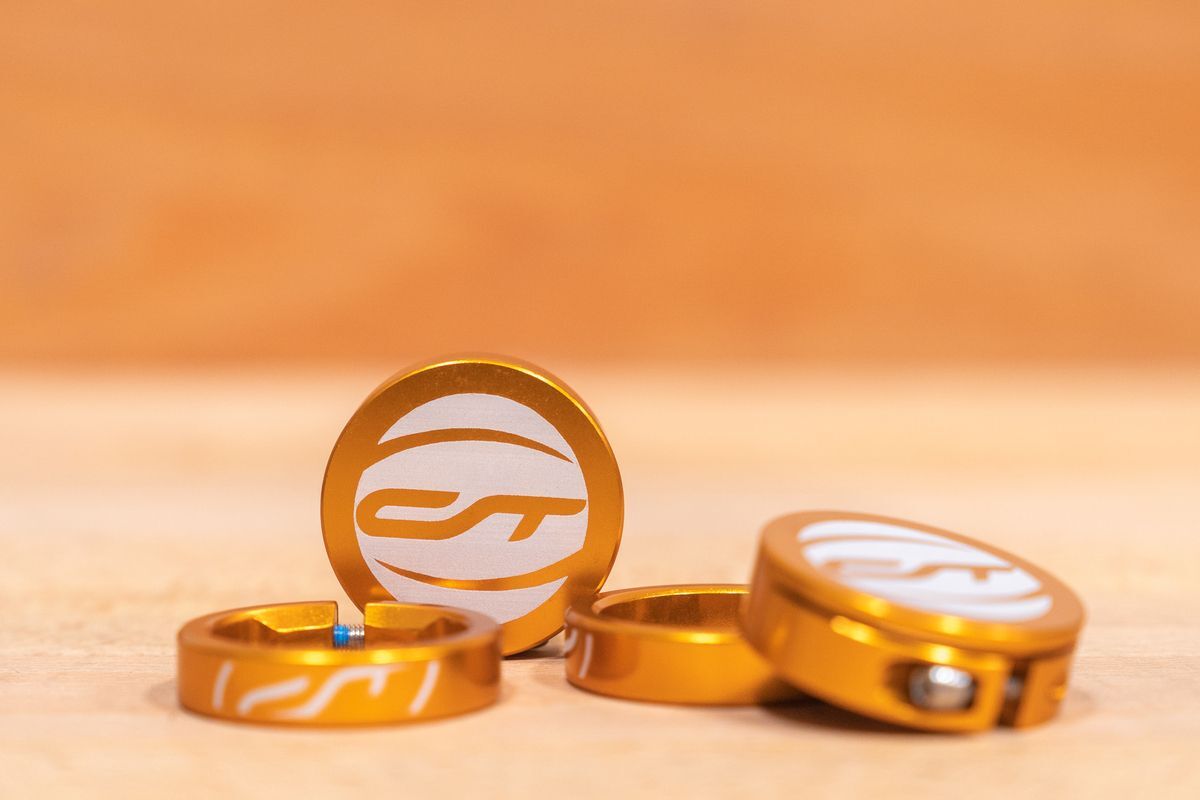
Customizing leicht gemacht
Mit den farbigen Lockrings von CONTEC kannst du dein Rad optisch anpassen. Ganz nach deinem persönlichen Geschmack!
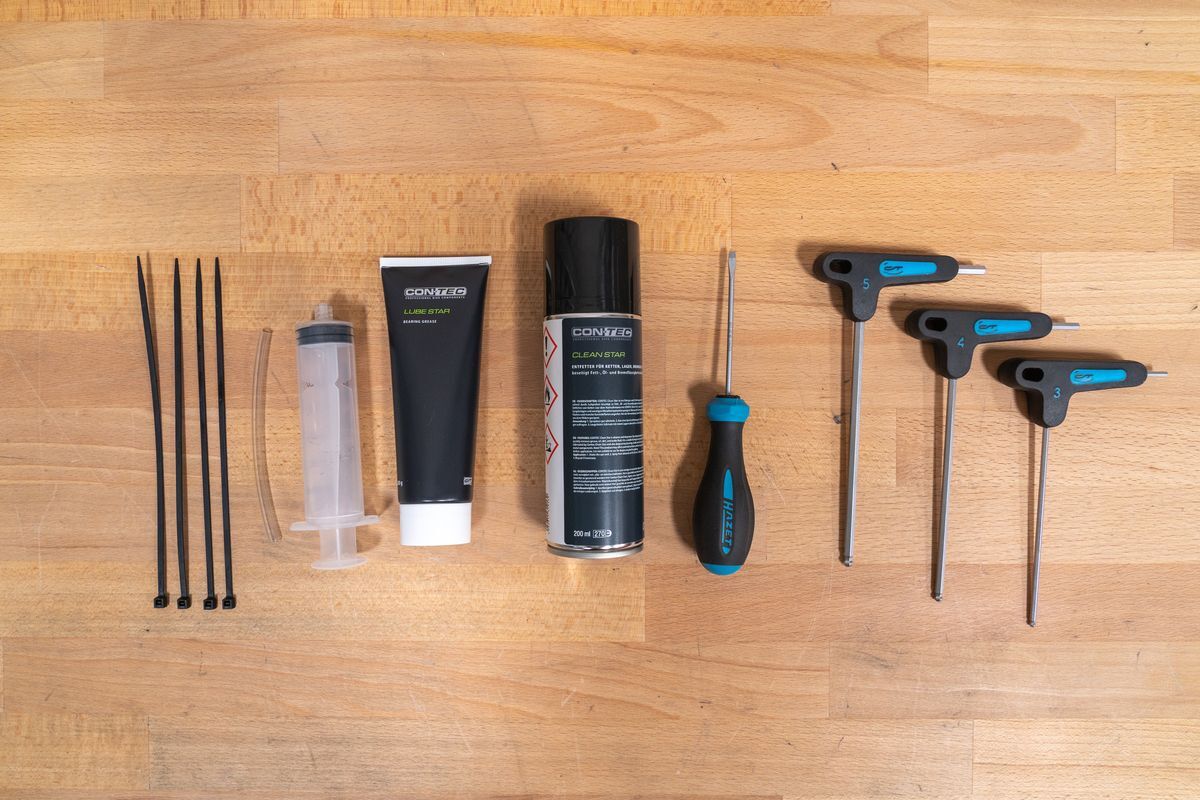
Tools checklist – you need:
- 1 cup of water or 1 syringe with water / alternative: 1 brake cleaner or hair spray
- Cloth, 4 wide cable ties, 1 screwdriver
- 1 suitable hex or Torx spanner for the clamps on lock-on grips (depending on the grip!), torque wrench


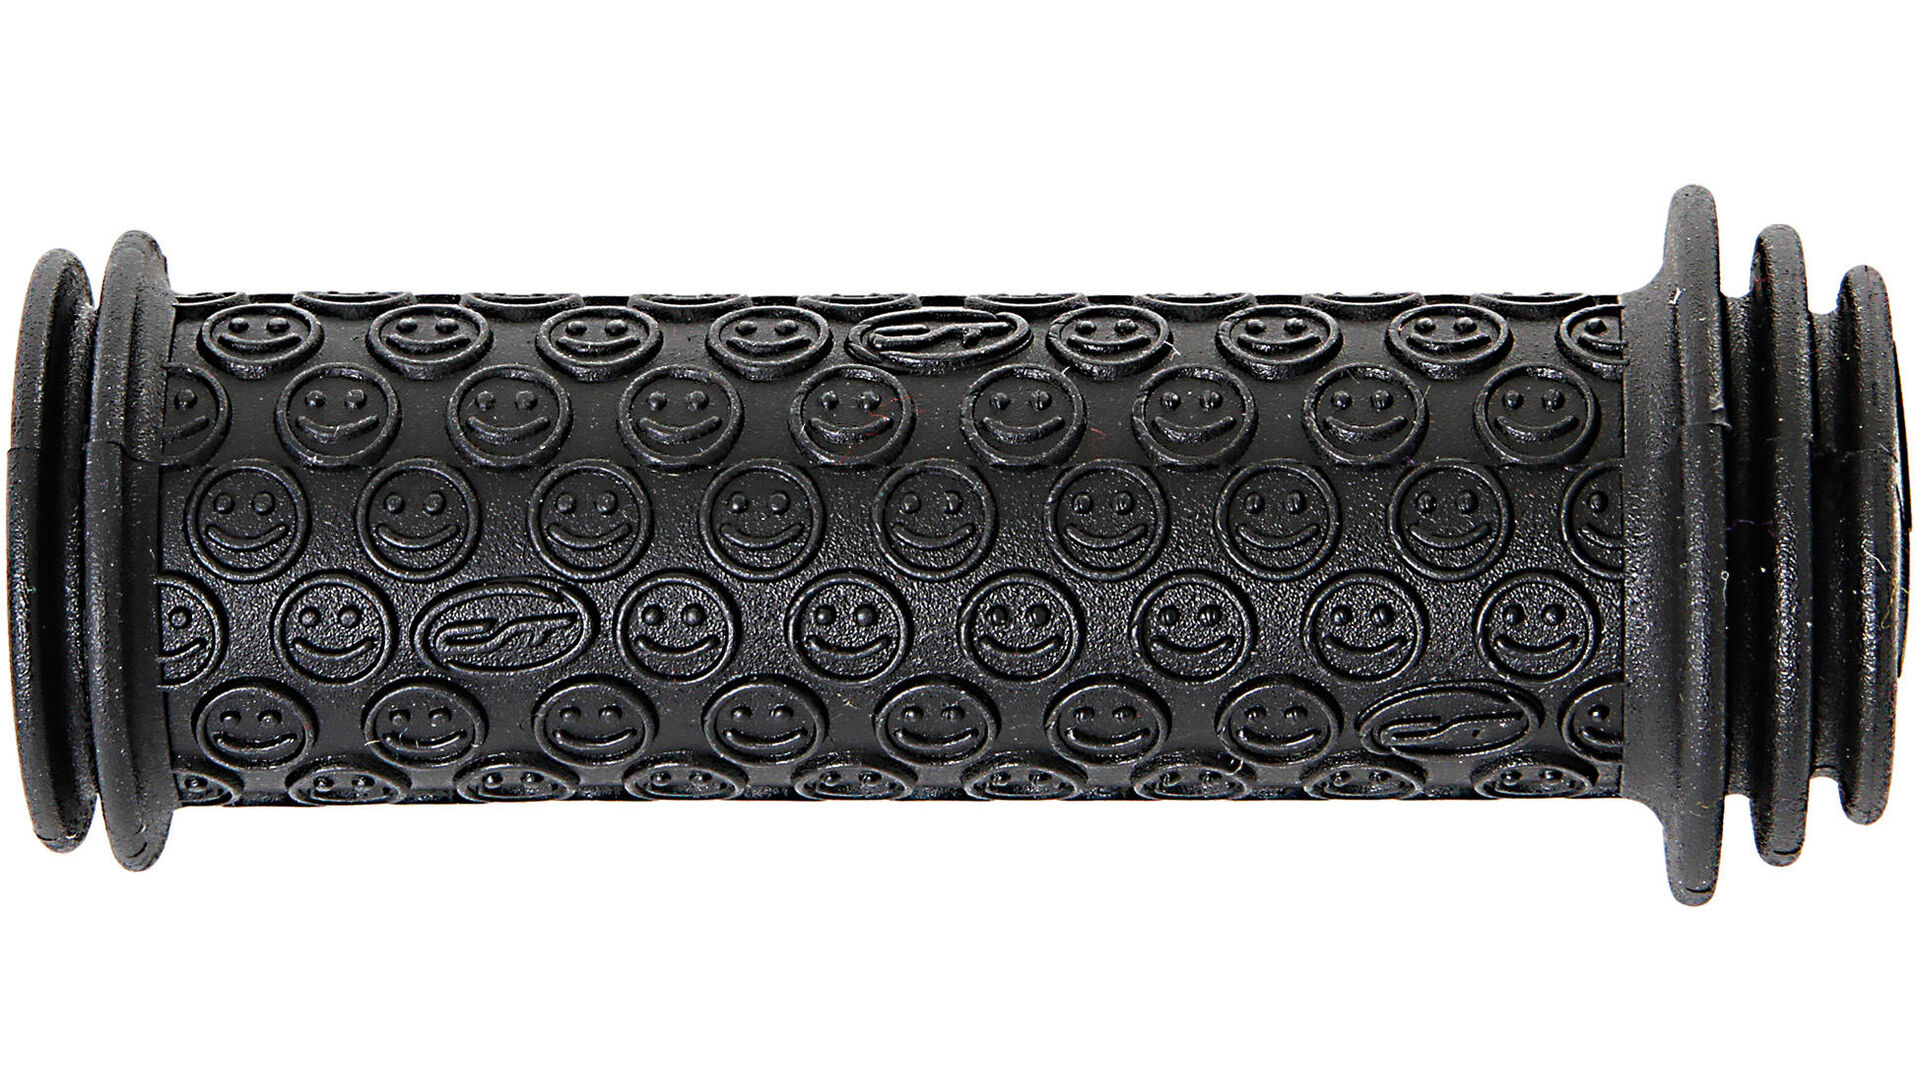
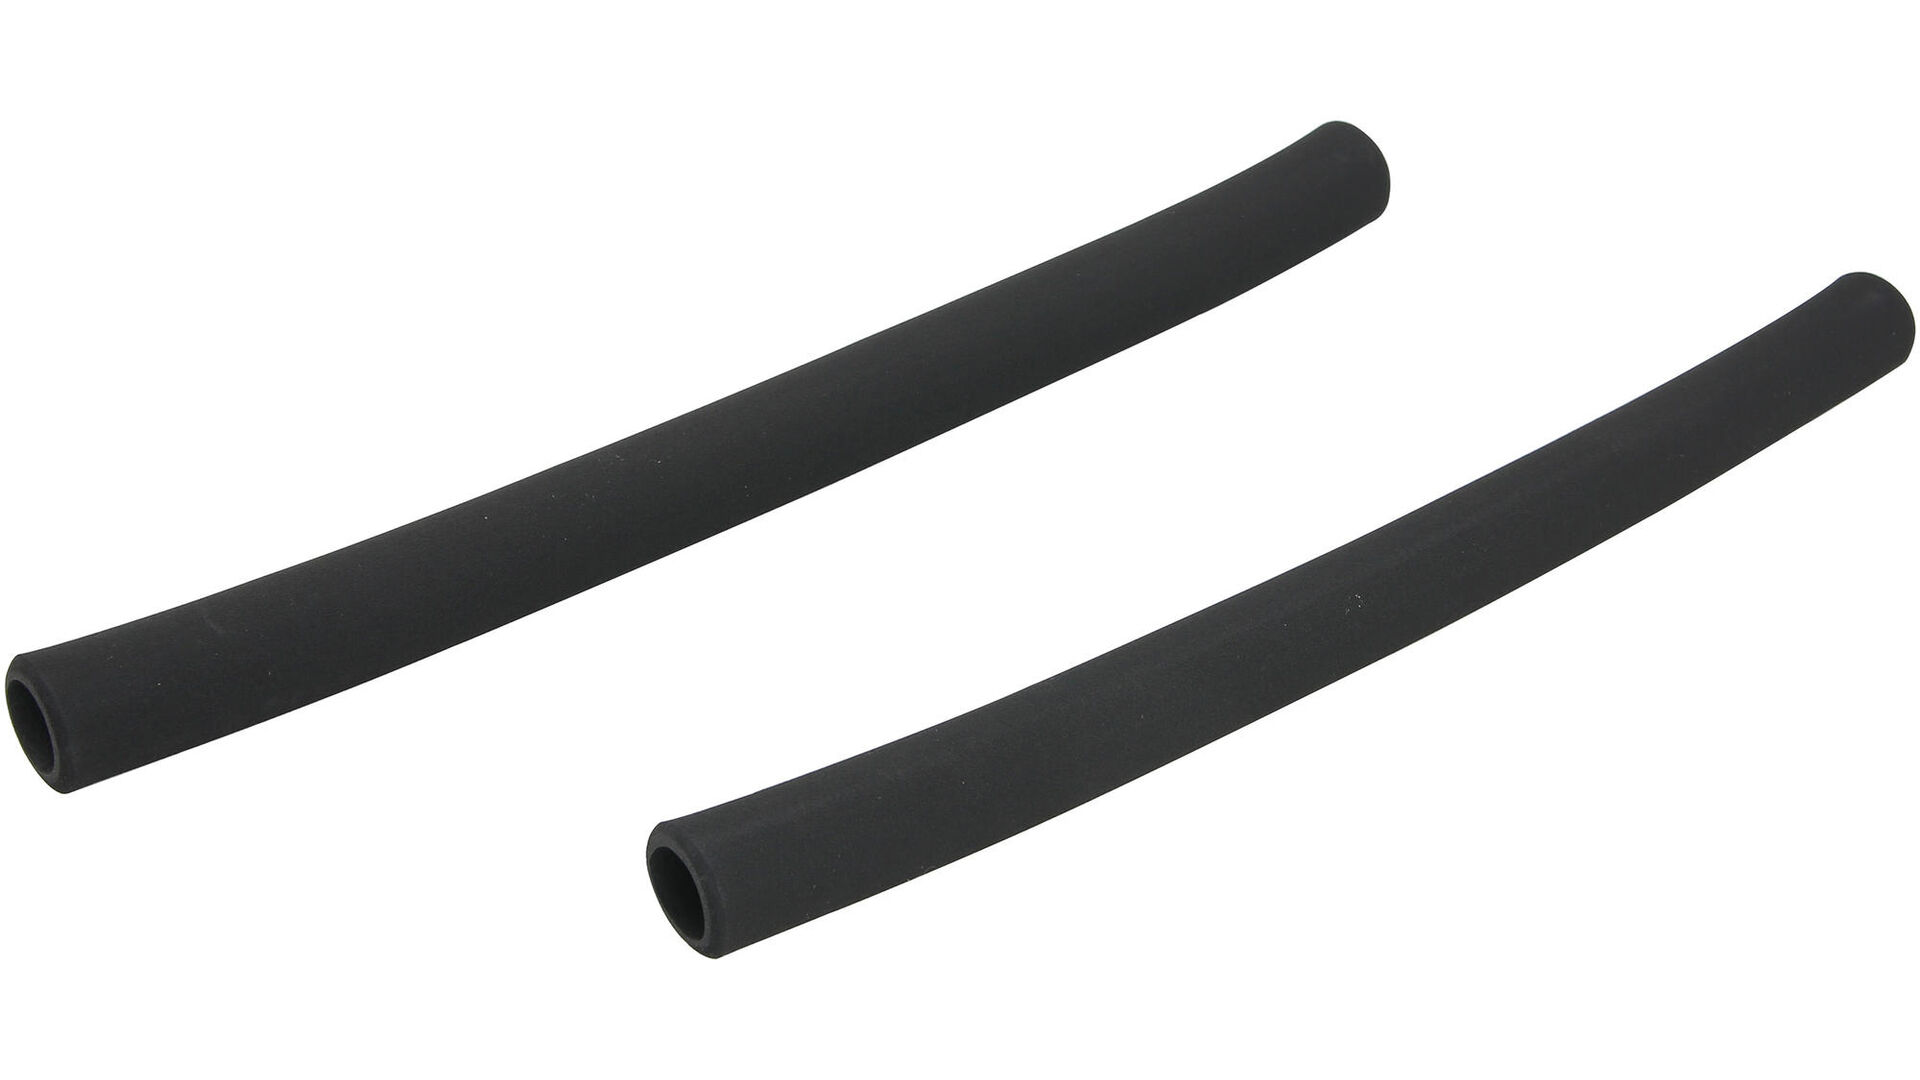
But which grip is suitable for which handlebar? Basically, every grip fits on every handlebar, because: All grips have an internal diameter of 22.2 mm, and all handlebars have an outer diameter of 22.2 mm where the grip is attached. Voilà – now you can mount your desired grip on the handlebar of your bike or e-bike. It is worth noting that there are grips especially for drivetrains with twist shifters. In this case, one grips is shorter (usually the right grip). because the grip shift has its own contact area.