
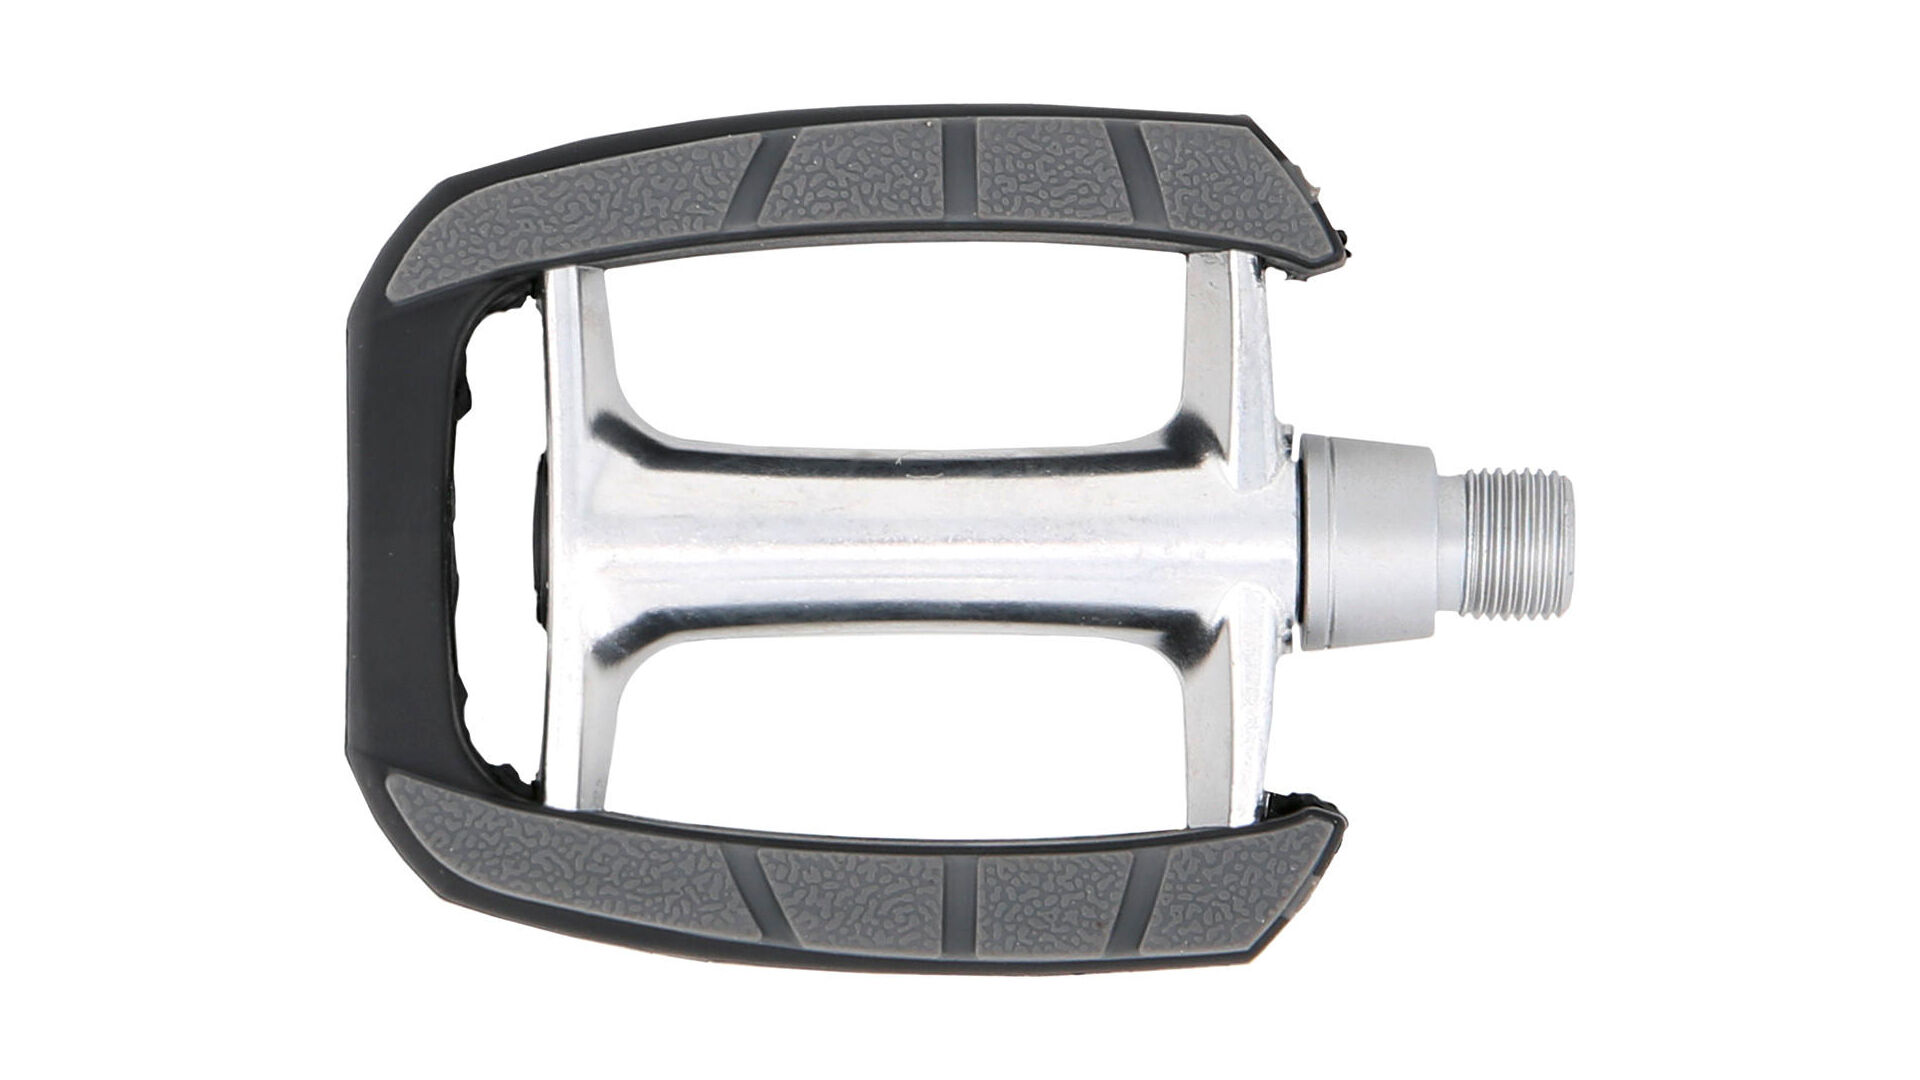
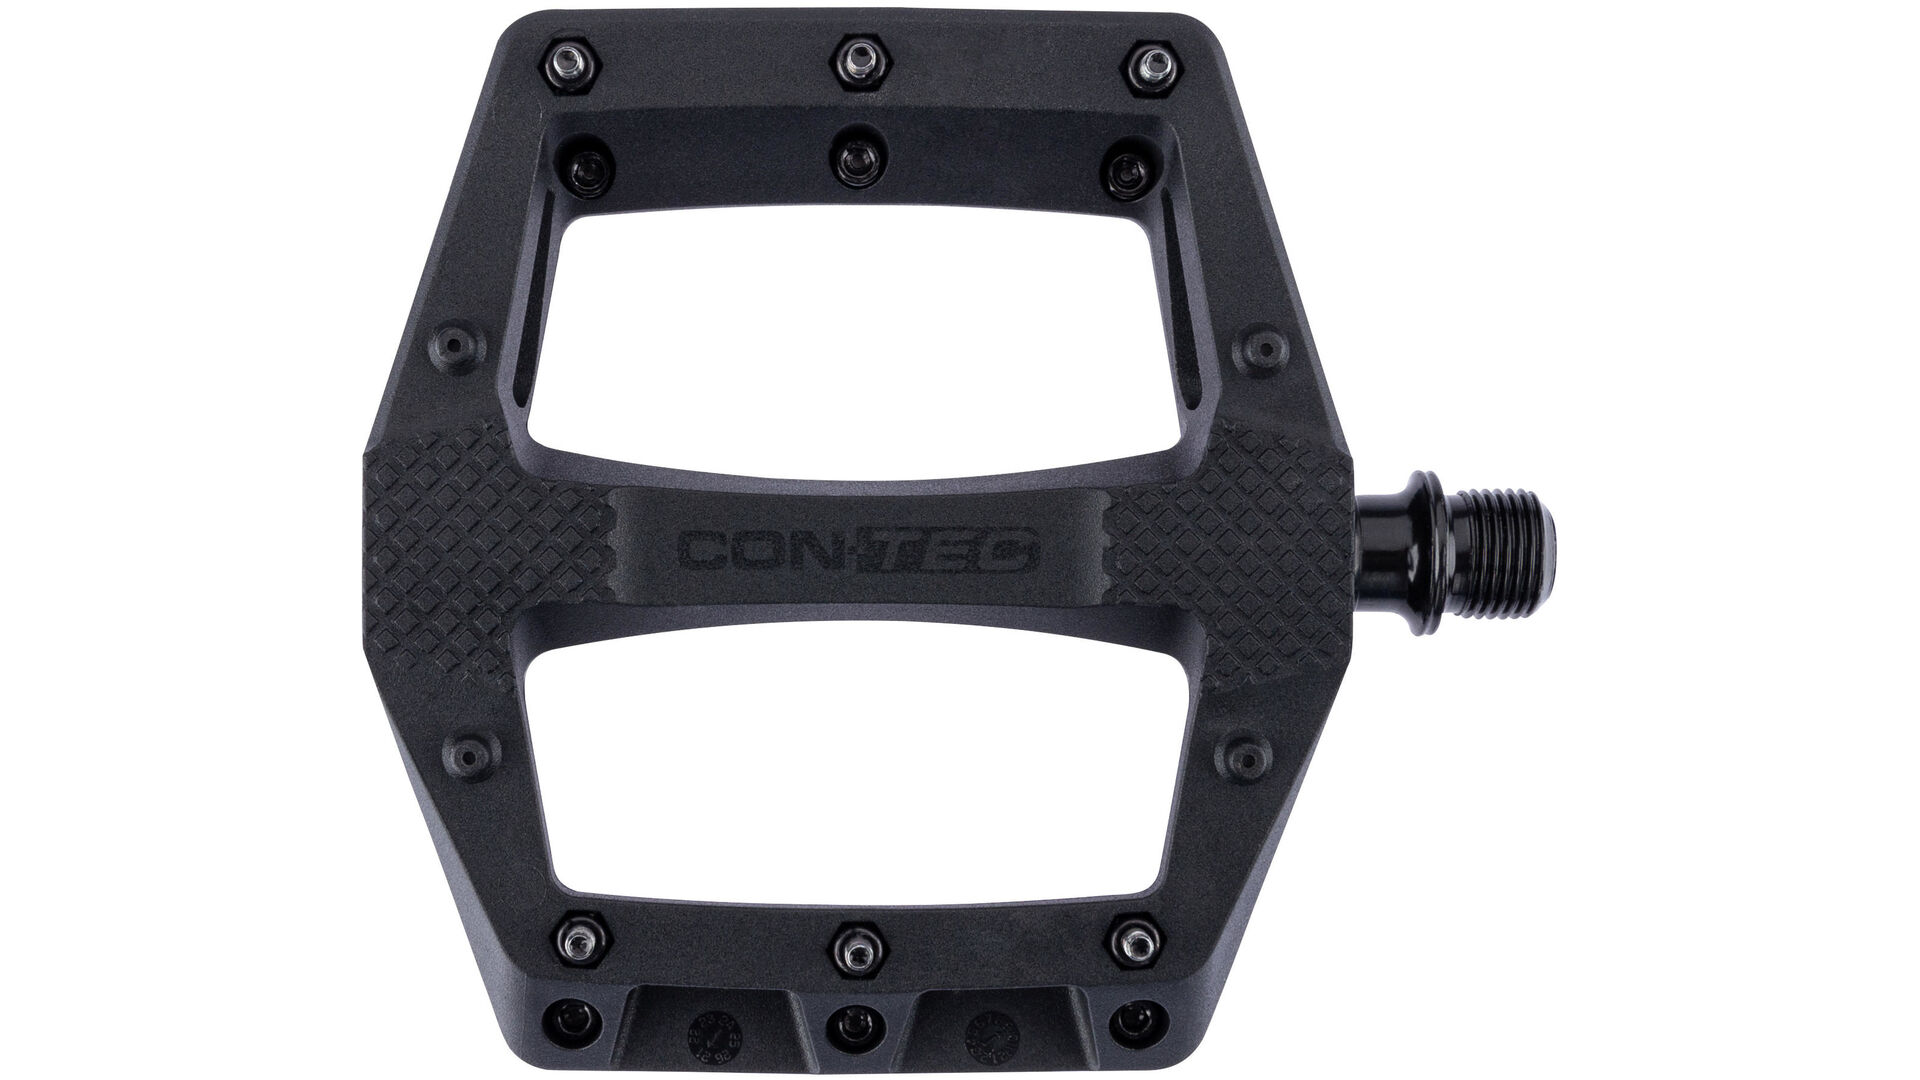
Replacing bike pedals: Take the following into account
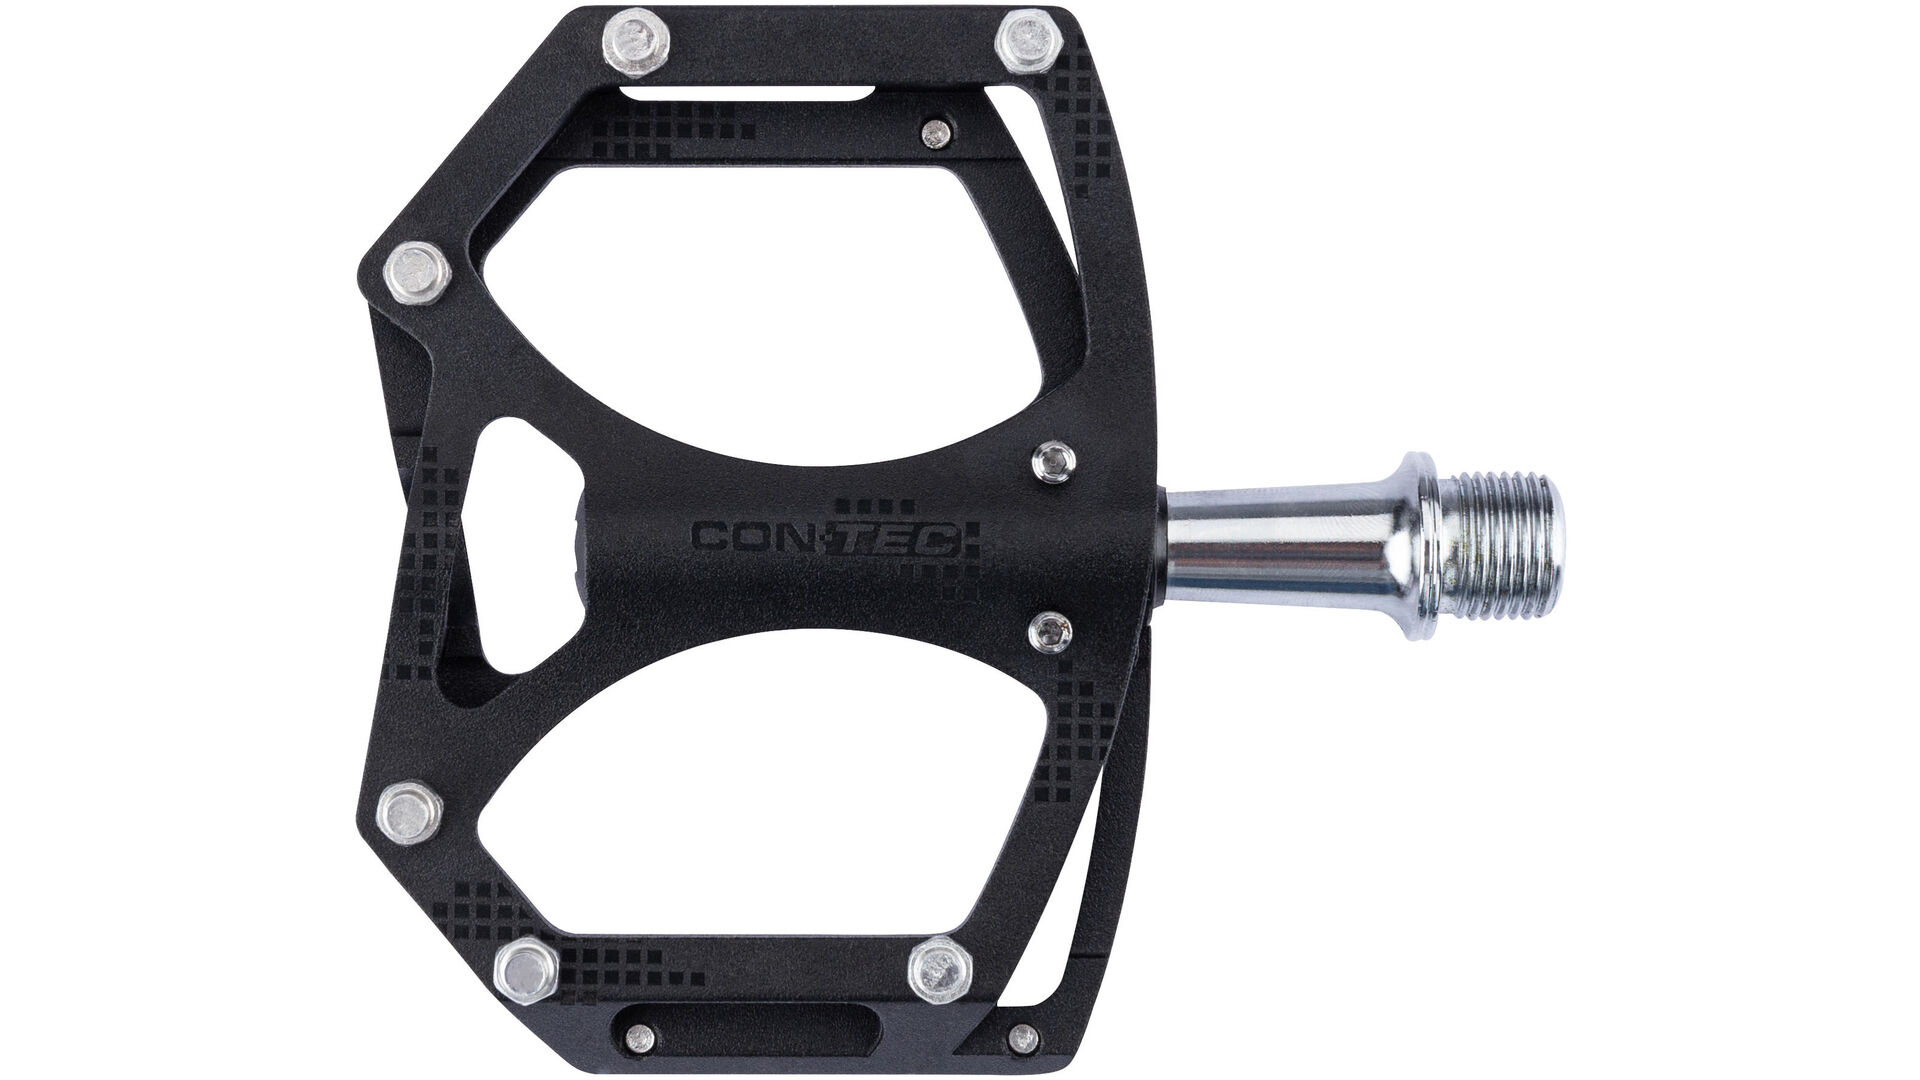
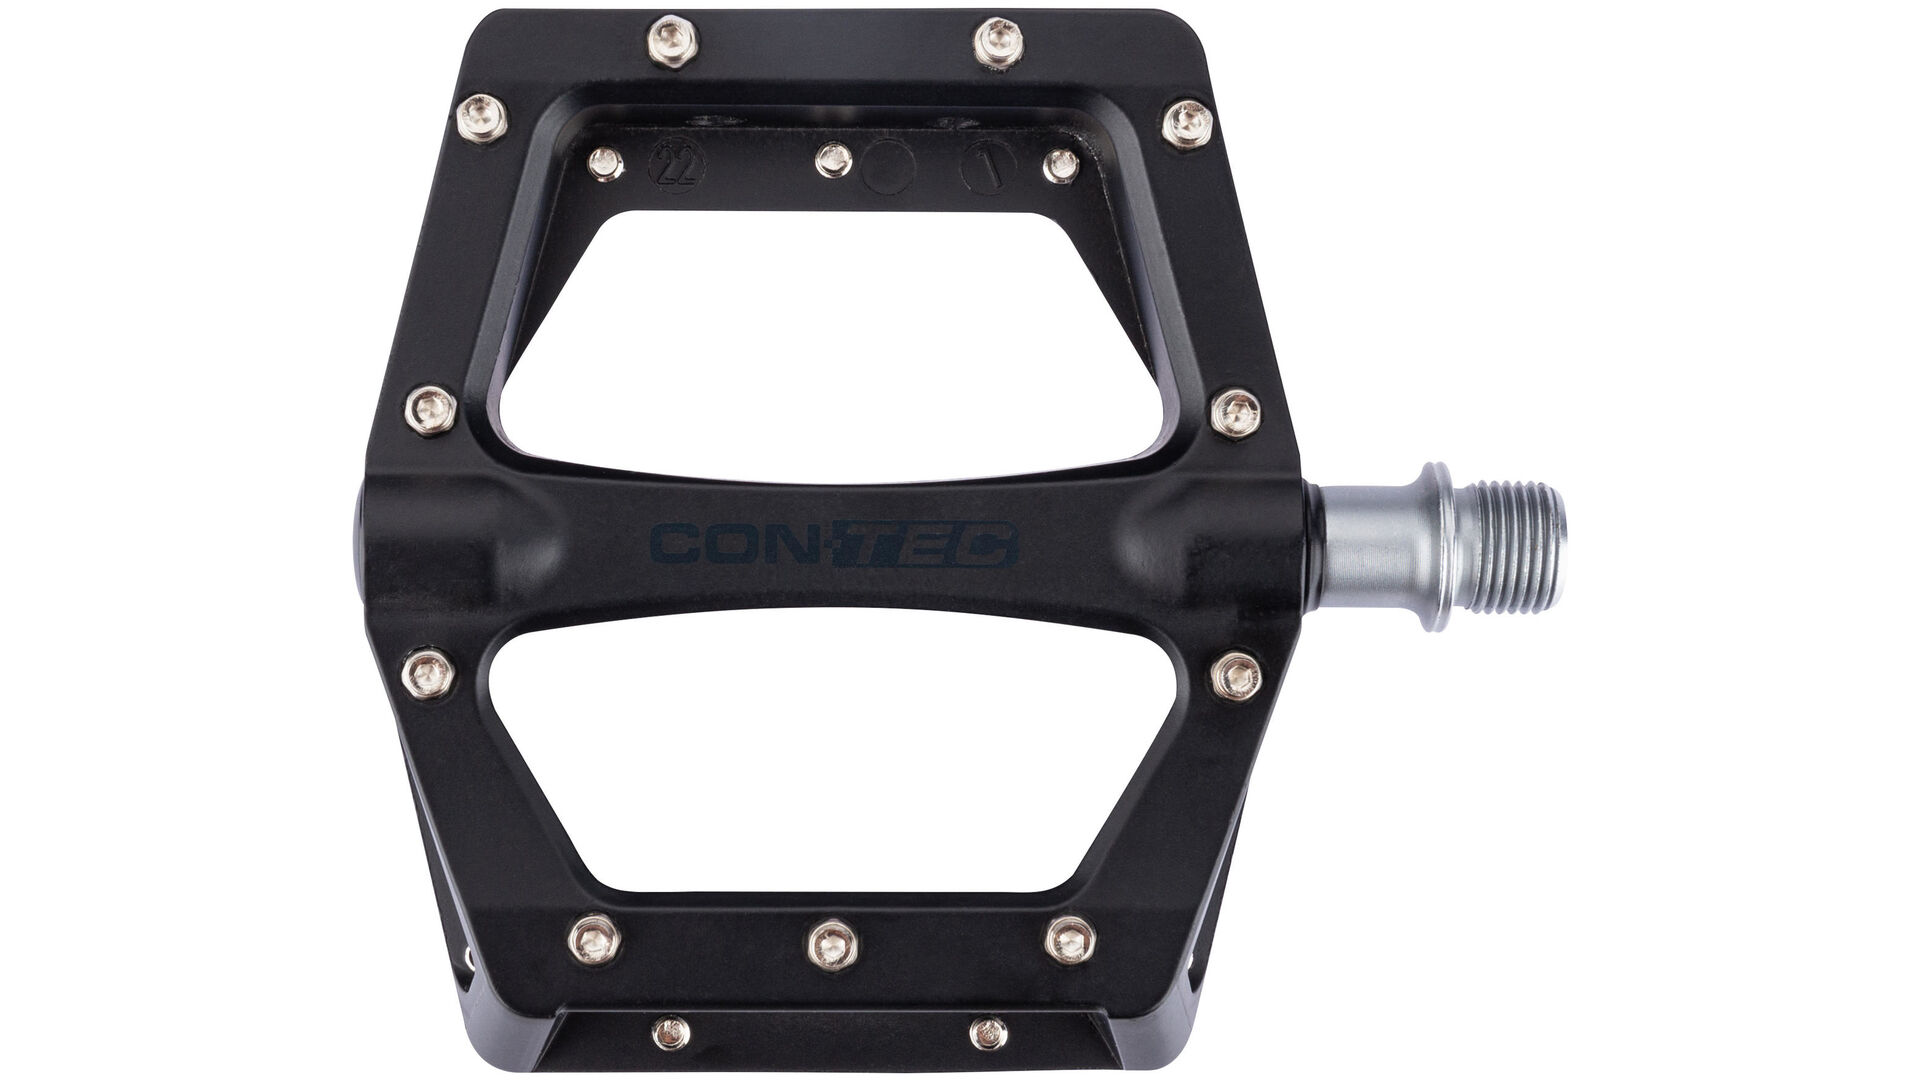
Bike pedals have standardised threads. Generally, all bicycle pedals can therefore be attached to all bicycles. However, the individual pedals in a pair differ in the thread direction. The right pedal has a right-hand thread, the left pedal a left-hand thread. The Reason: When cycling, both pedals move forward. To prevent the threads from loosening due to the force of the pedal movement when riding, both pedals are tightened toward the front wheel. Different threads on the right and left pedals allow this uniform mounting.

Replacing pedals: Time needed
Replacing bicycle pedals can be done quickly on your own bike with the right know-how. The often very tight old pedal axles are easily screwed off the crankarm with the right tool – often with an Allen key or pedal spanner. After you have applied assembly grease to the threads of the new pedals, they can be screwed on and tightened in no time and your bike is ready to use.
Tools: What you need
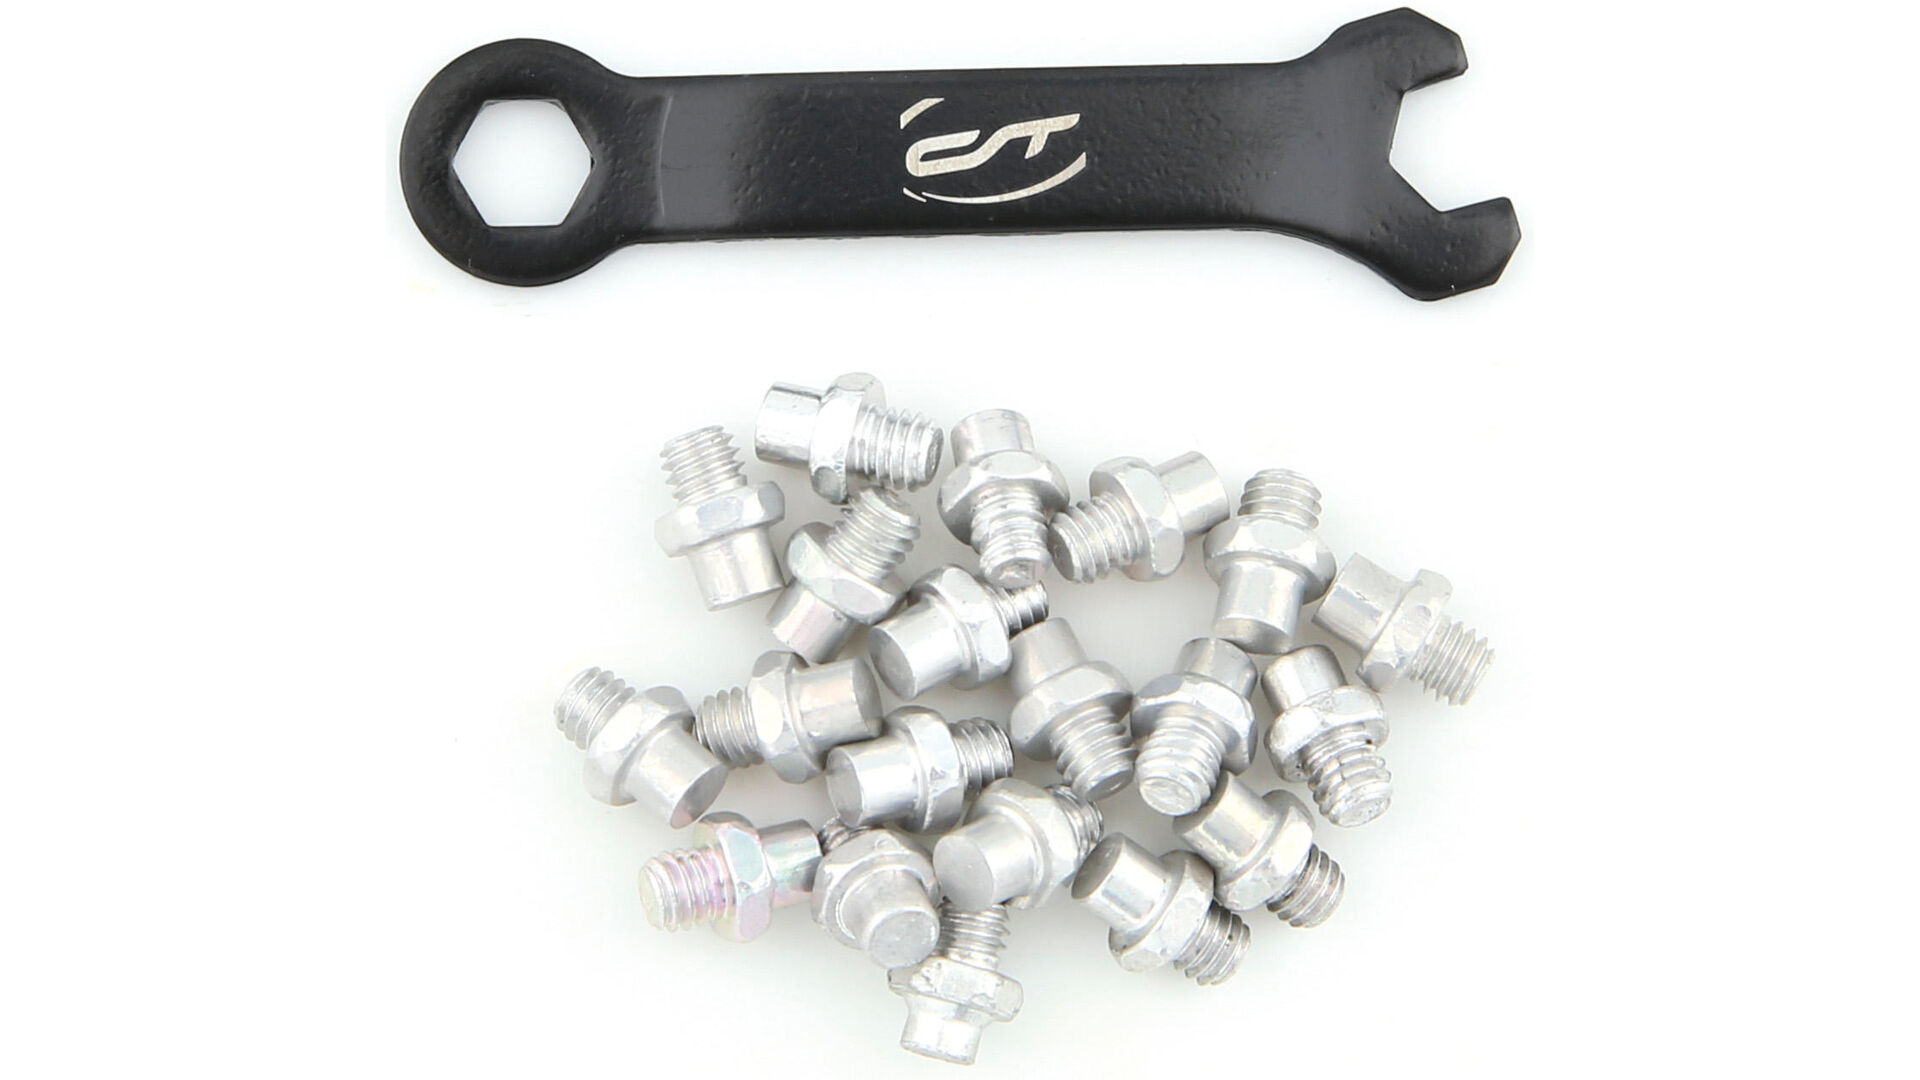
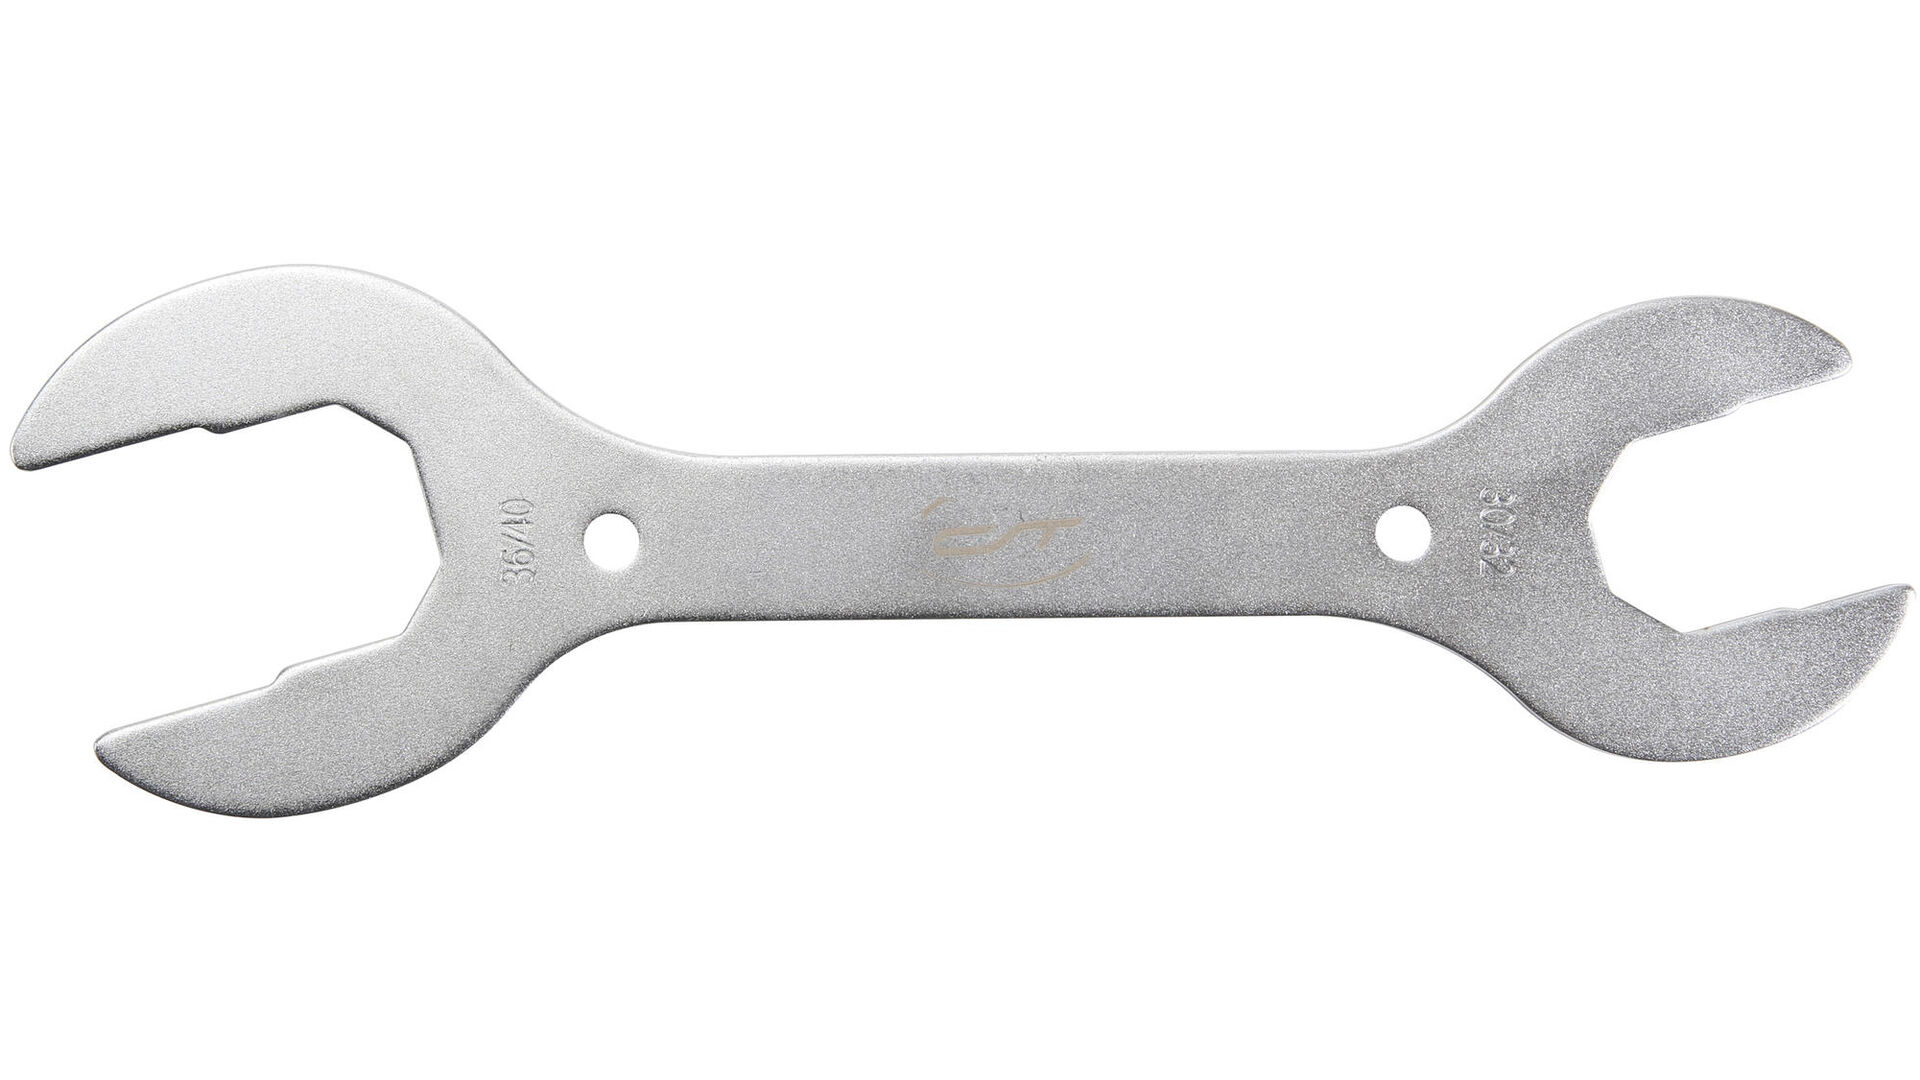
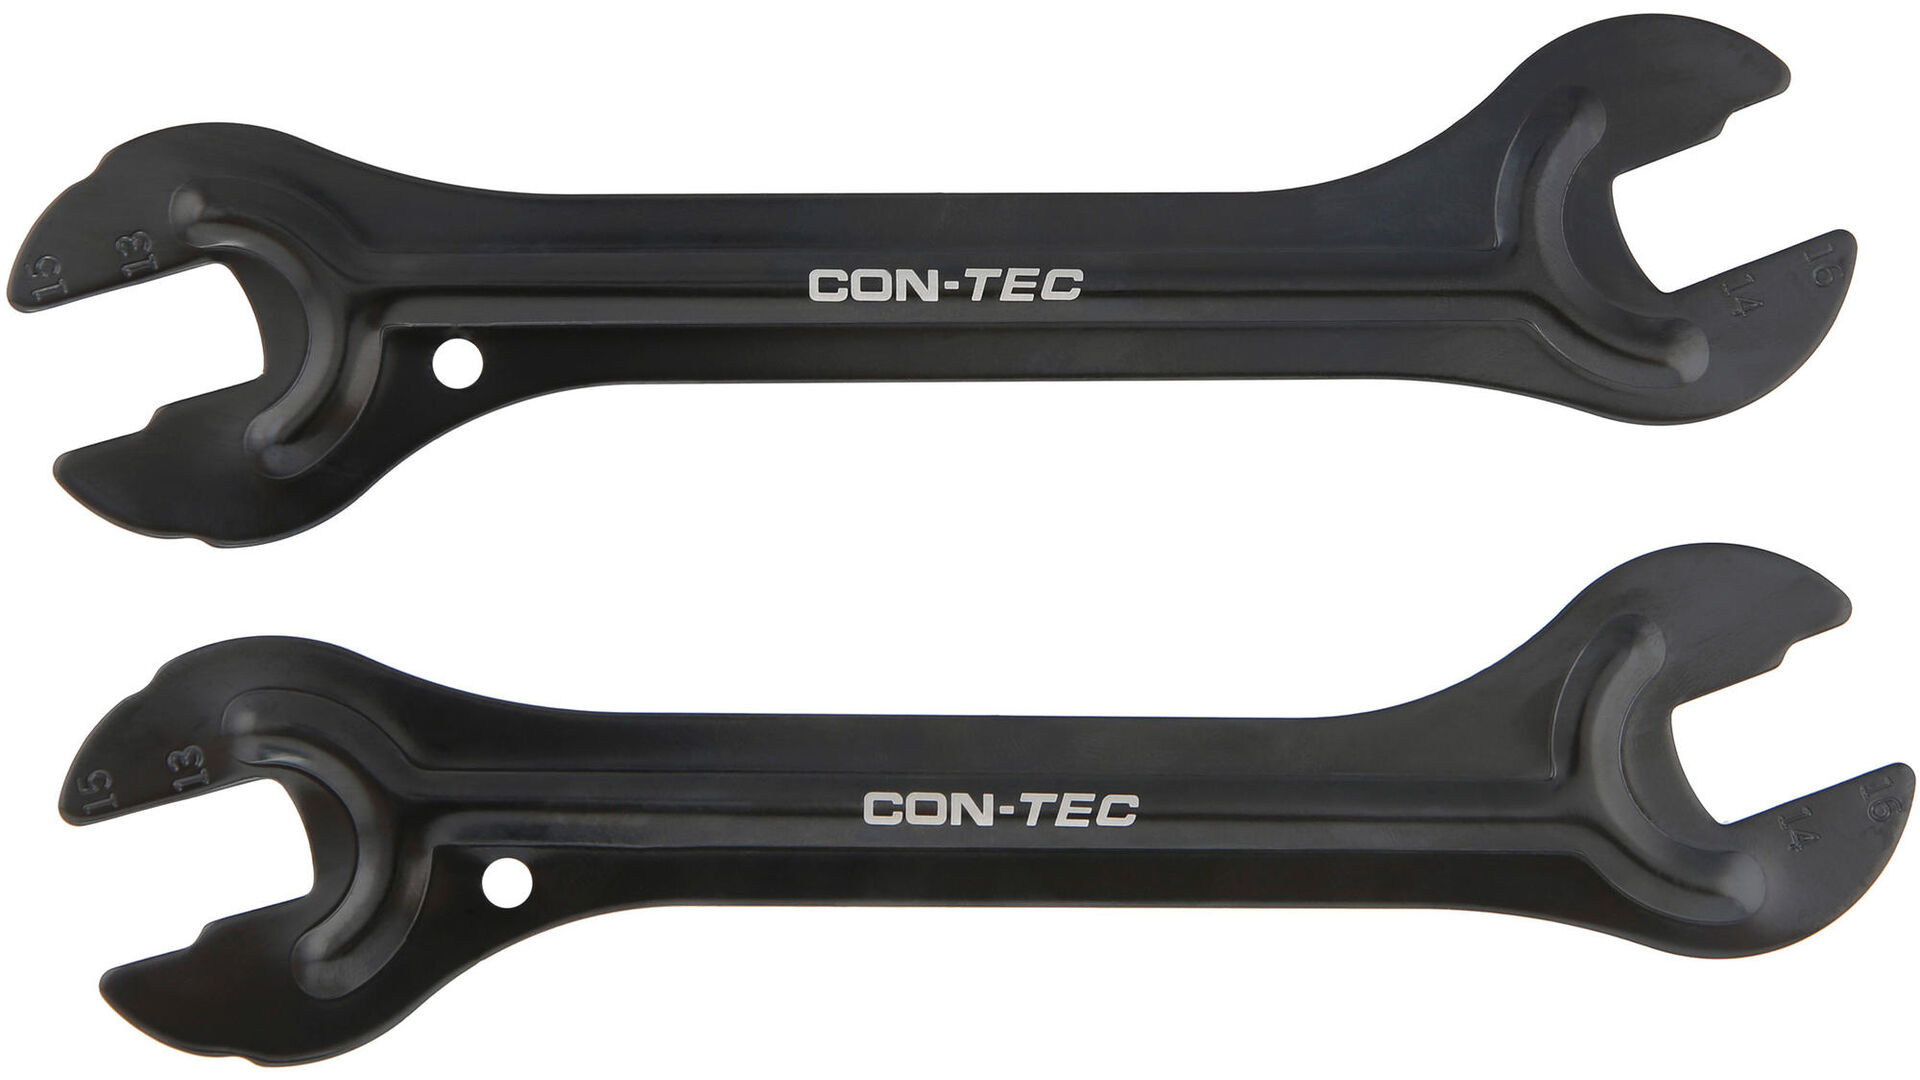
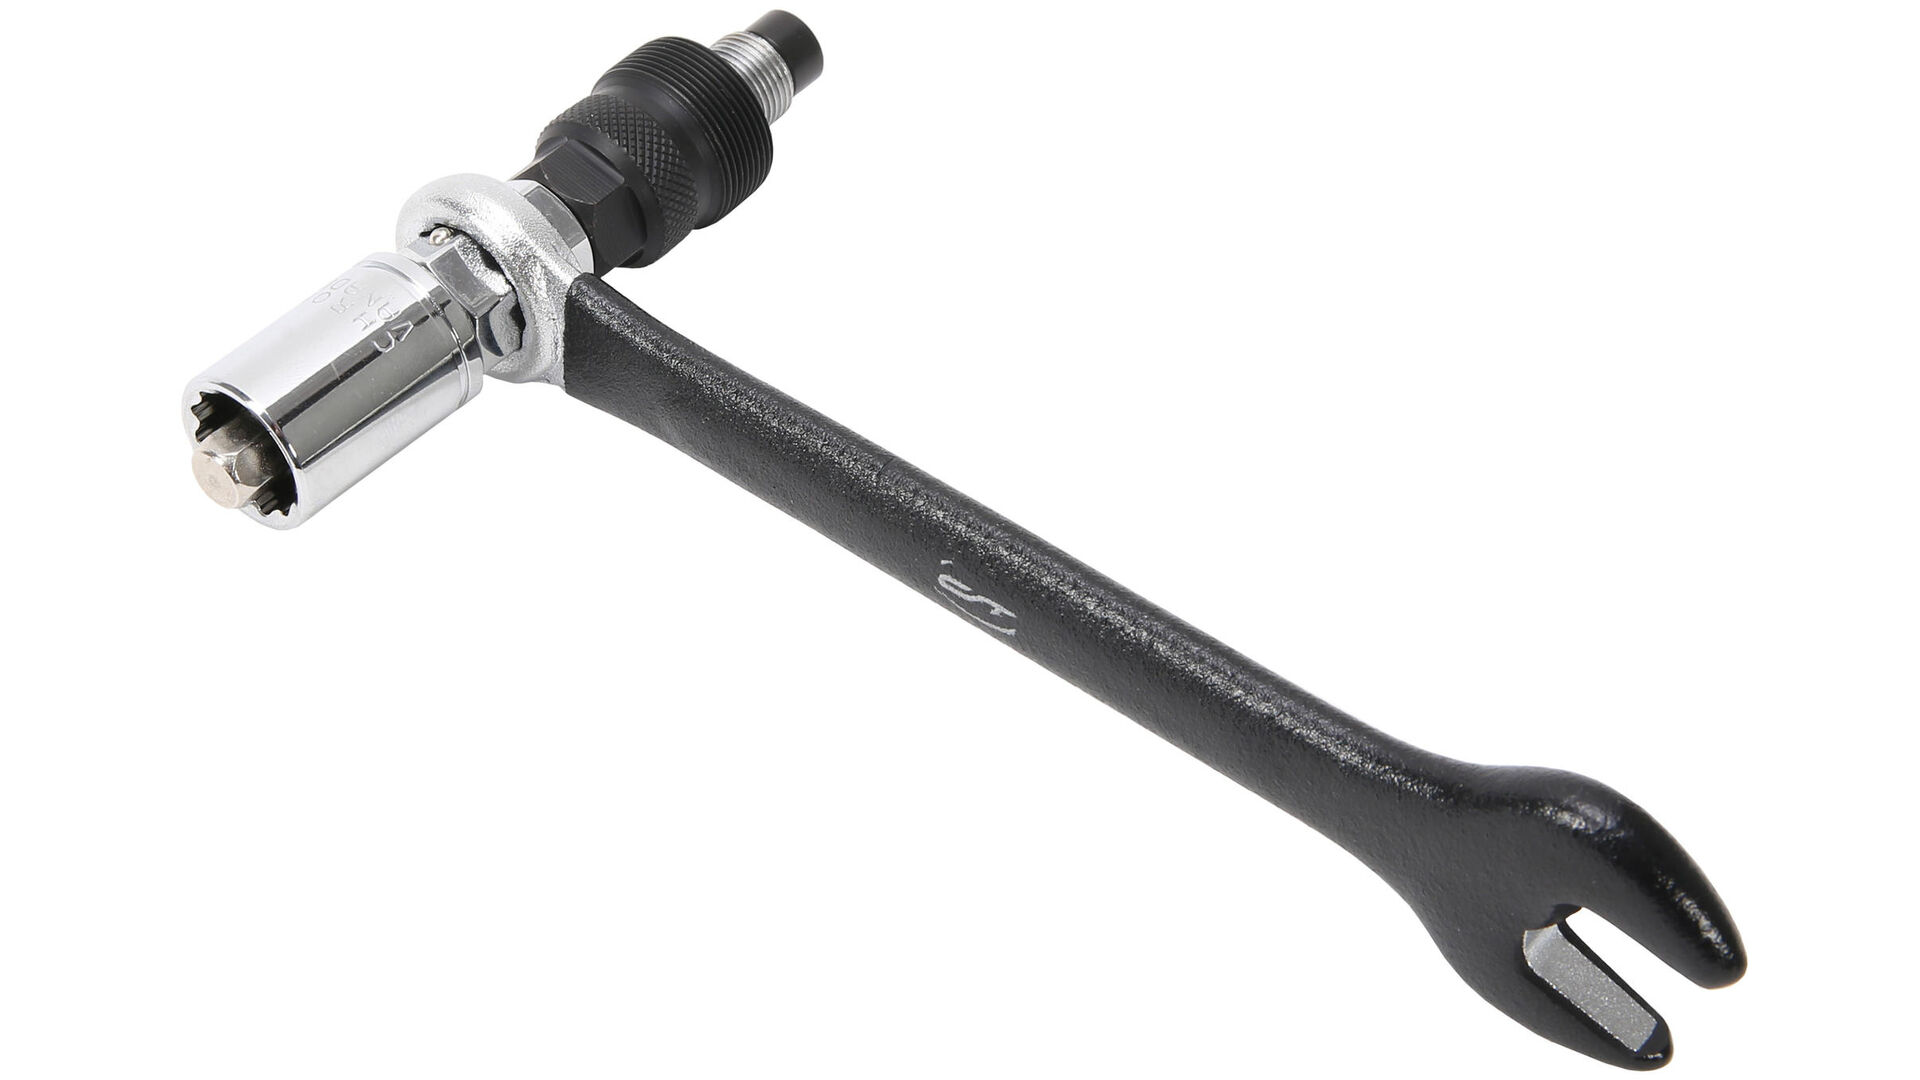
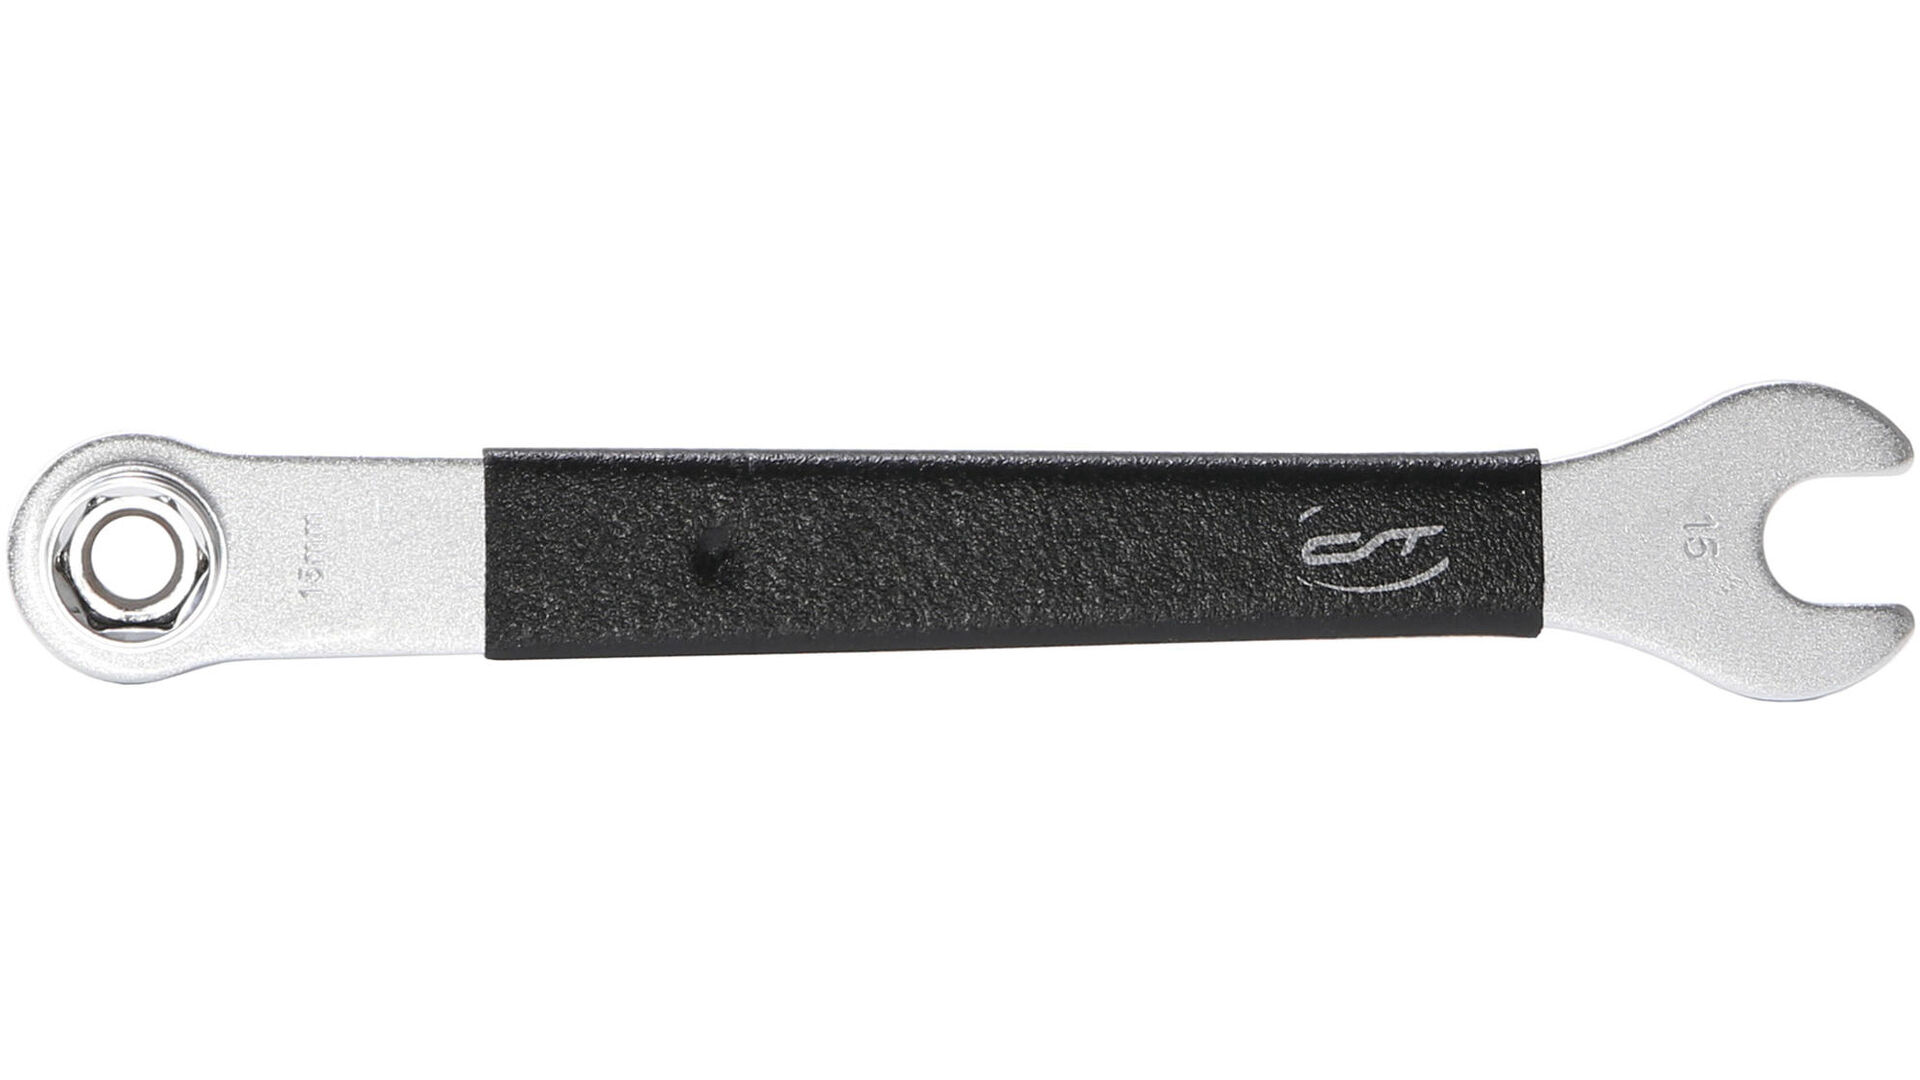
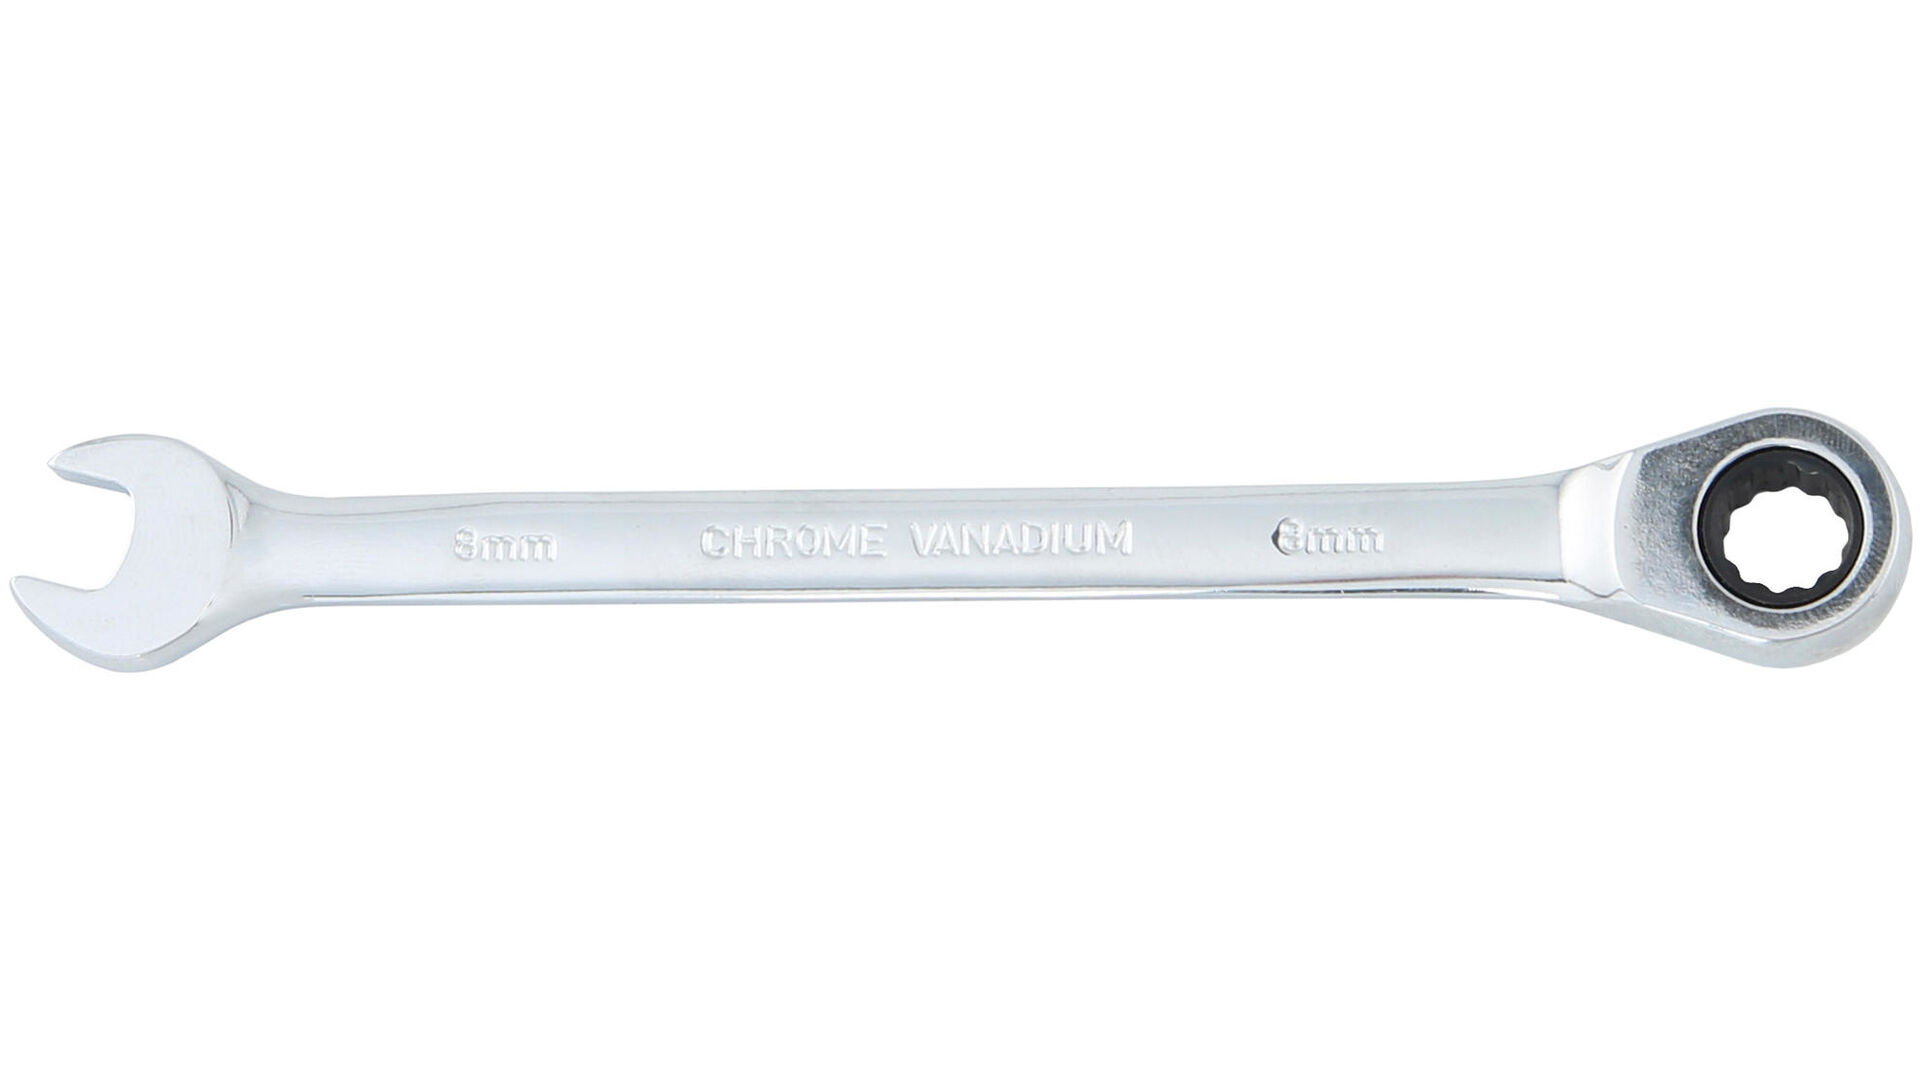
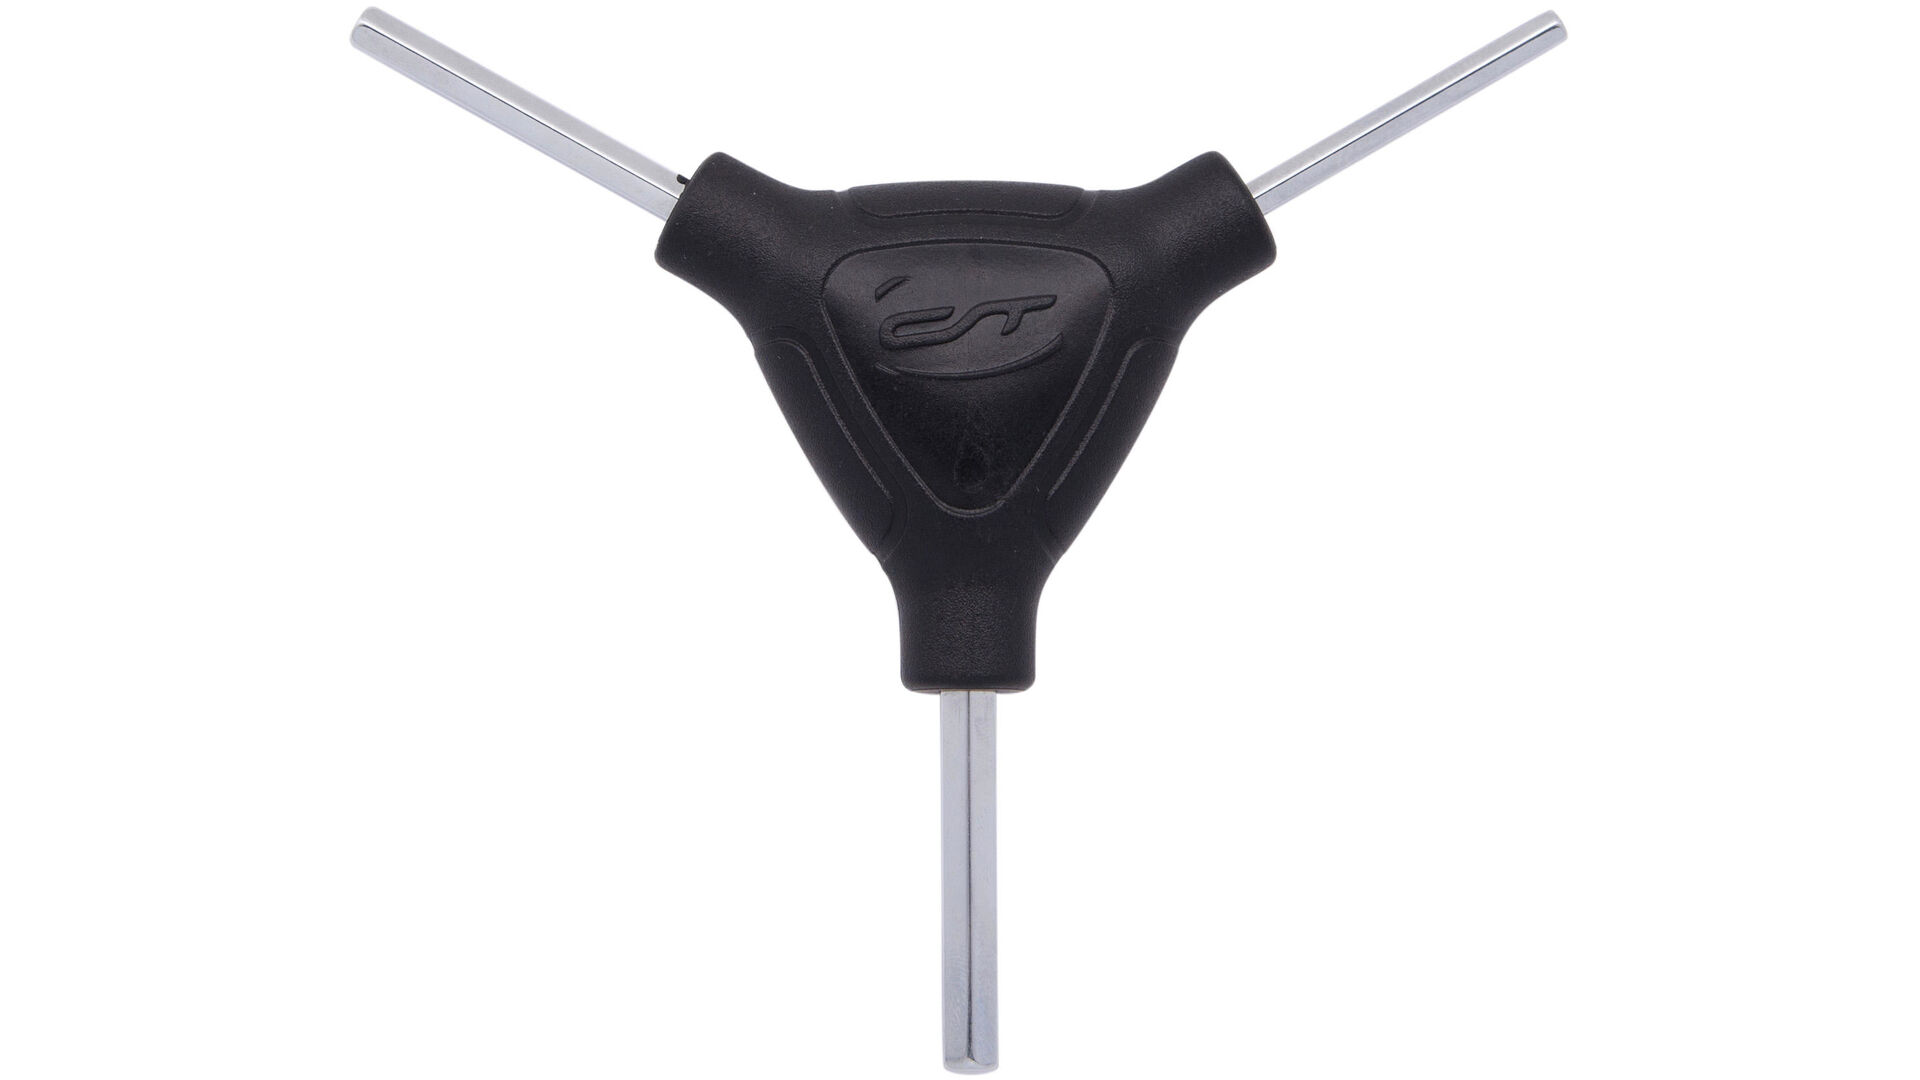
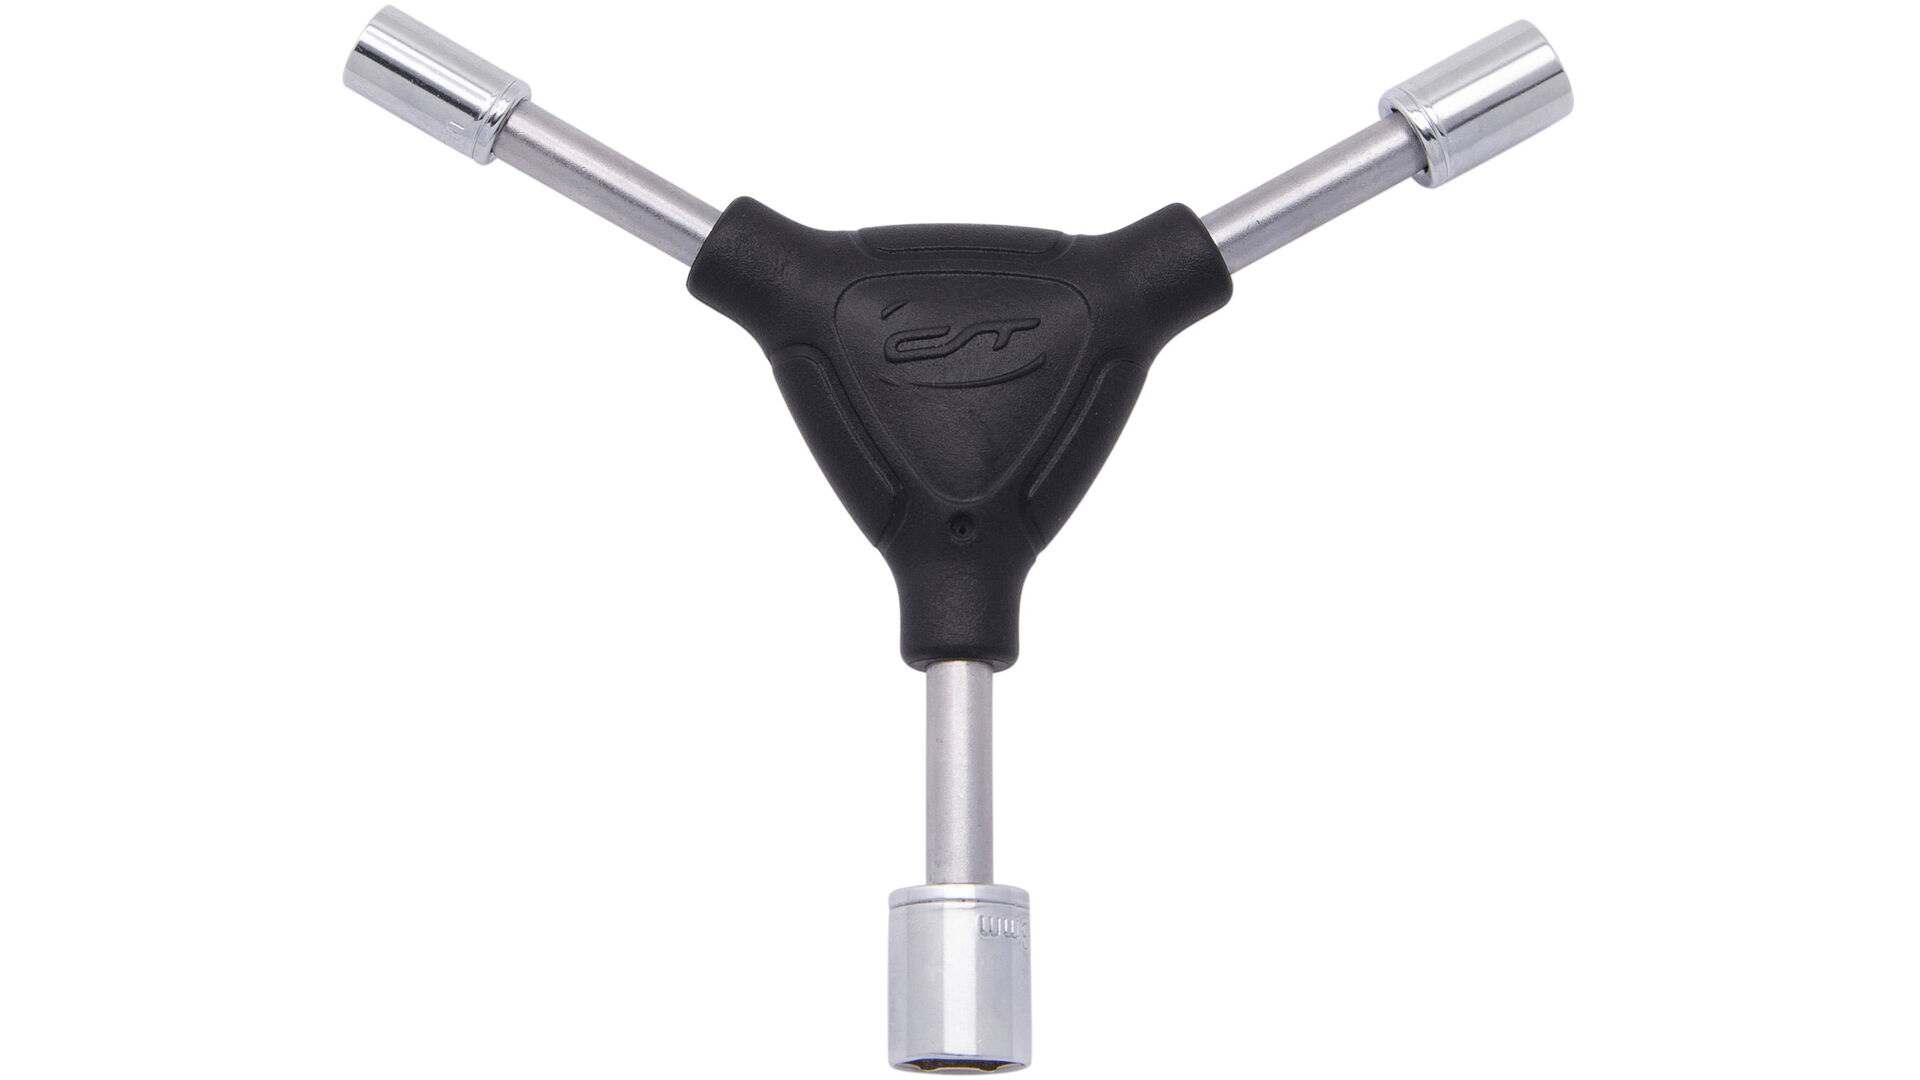
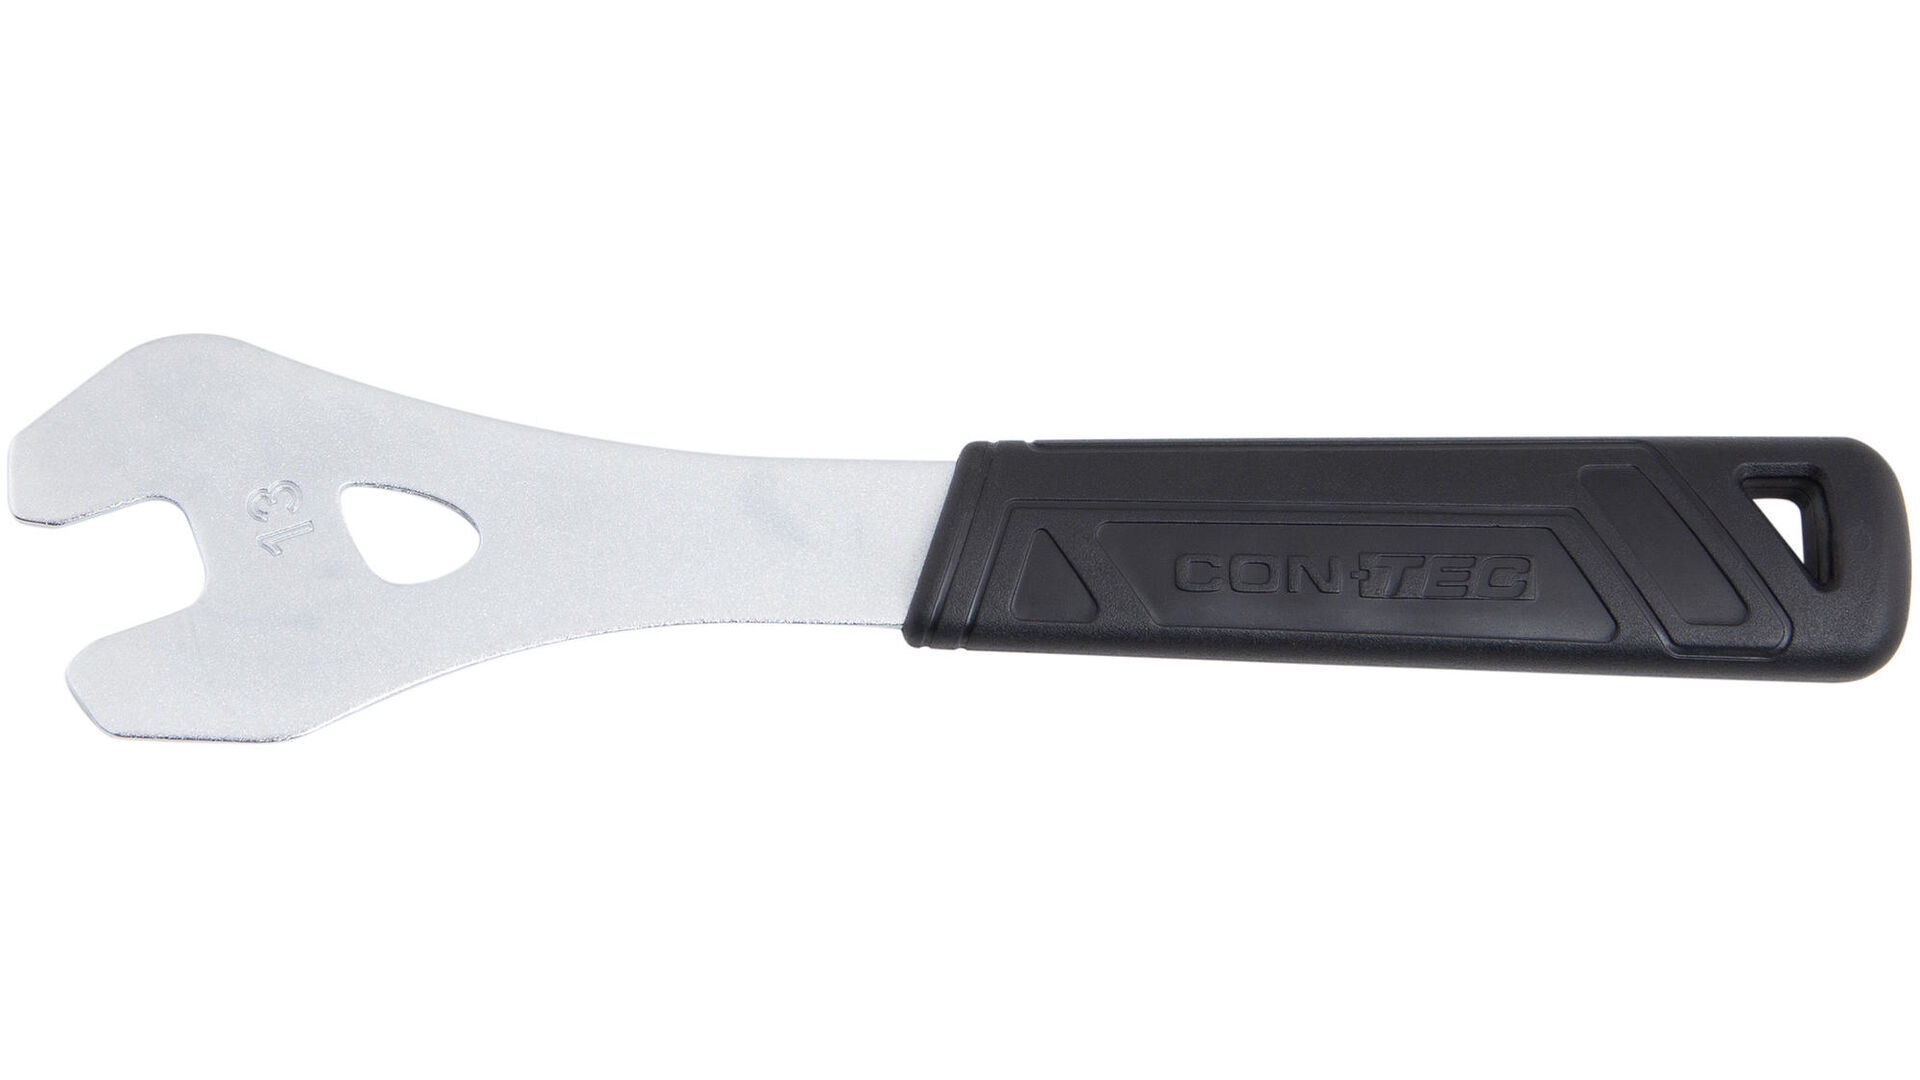
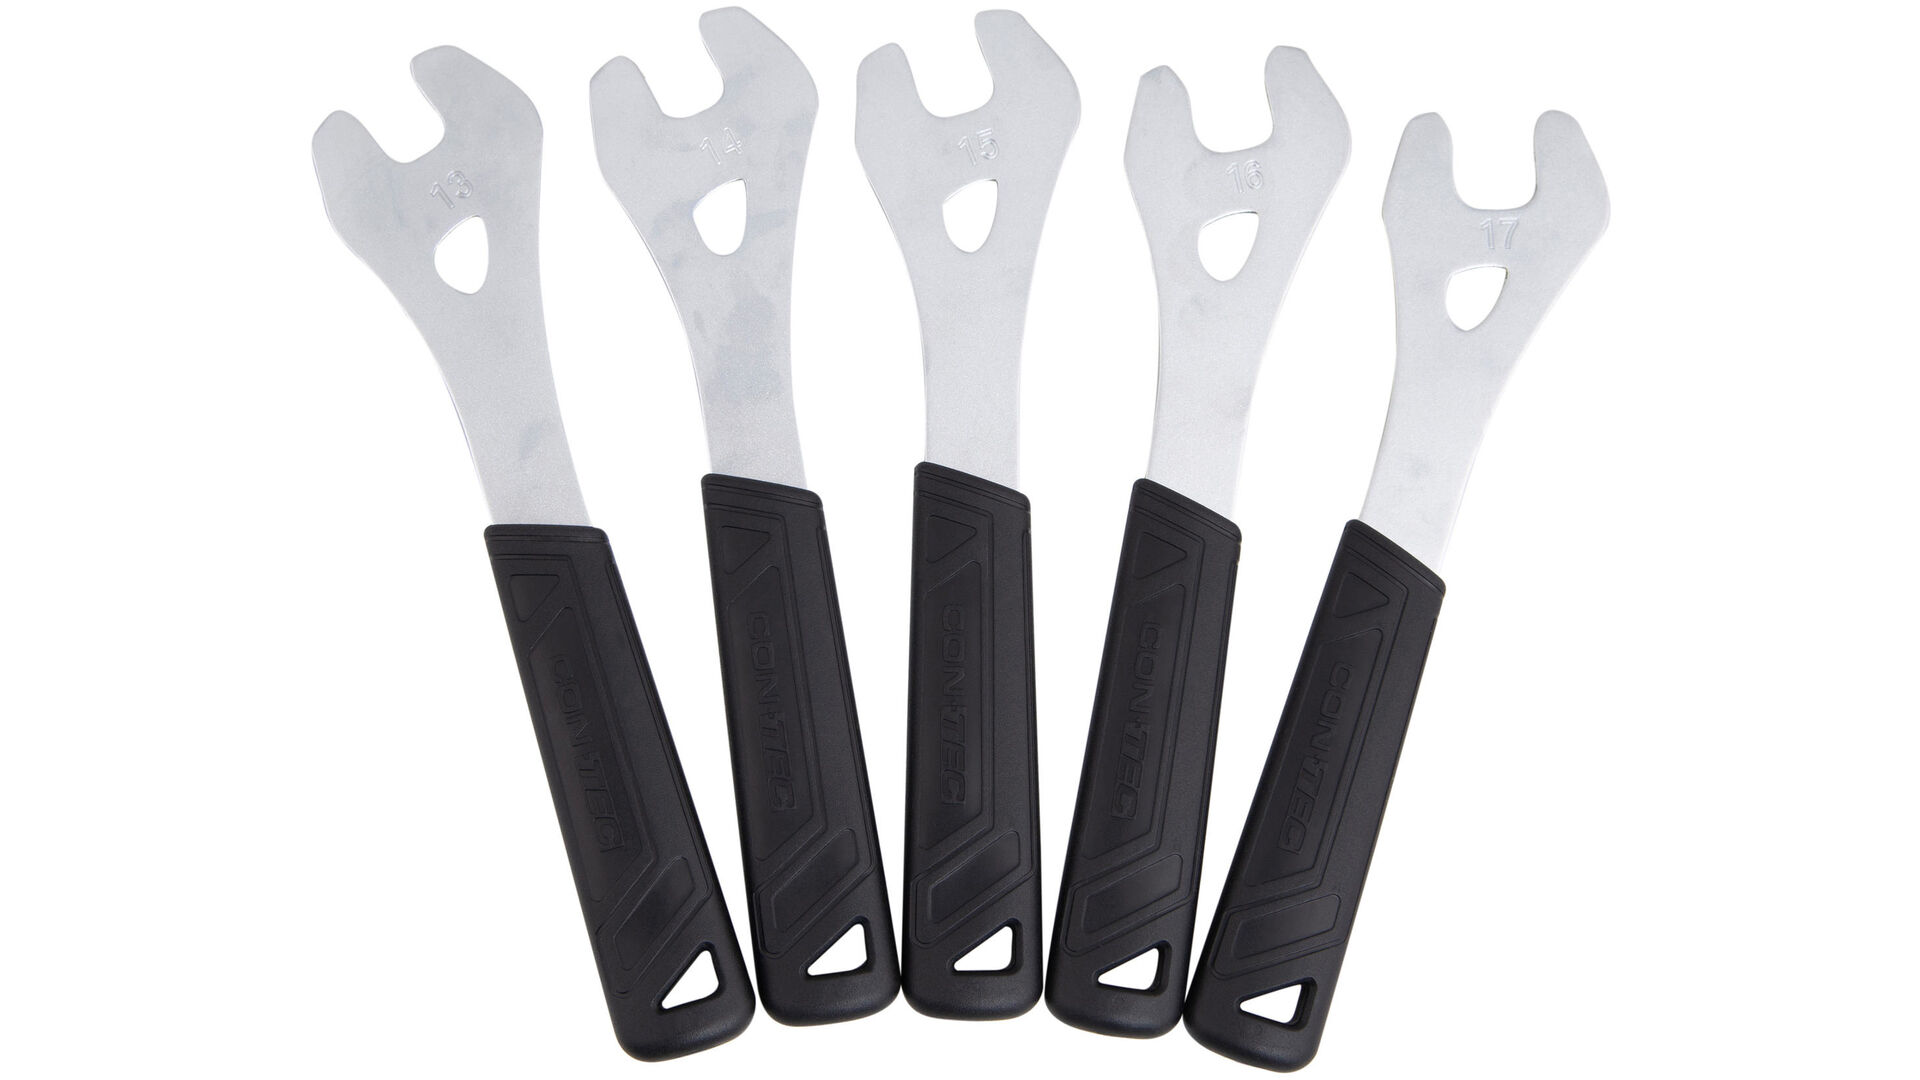
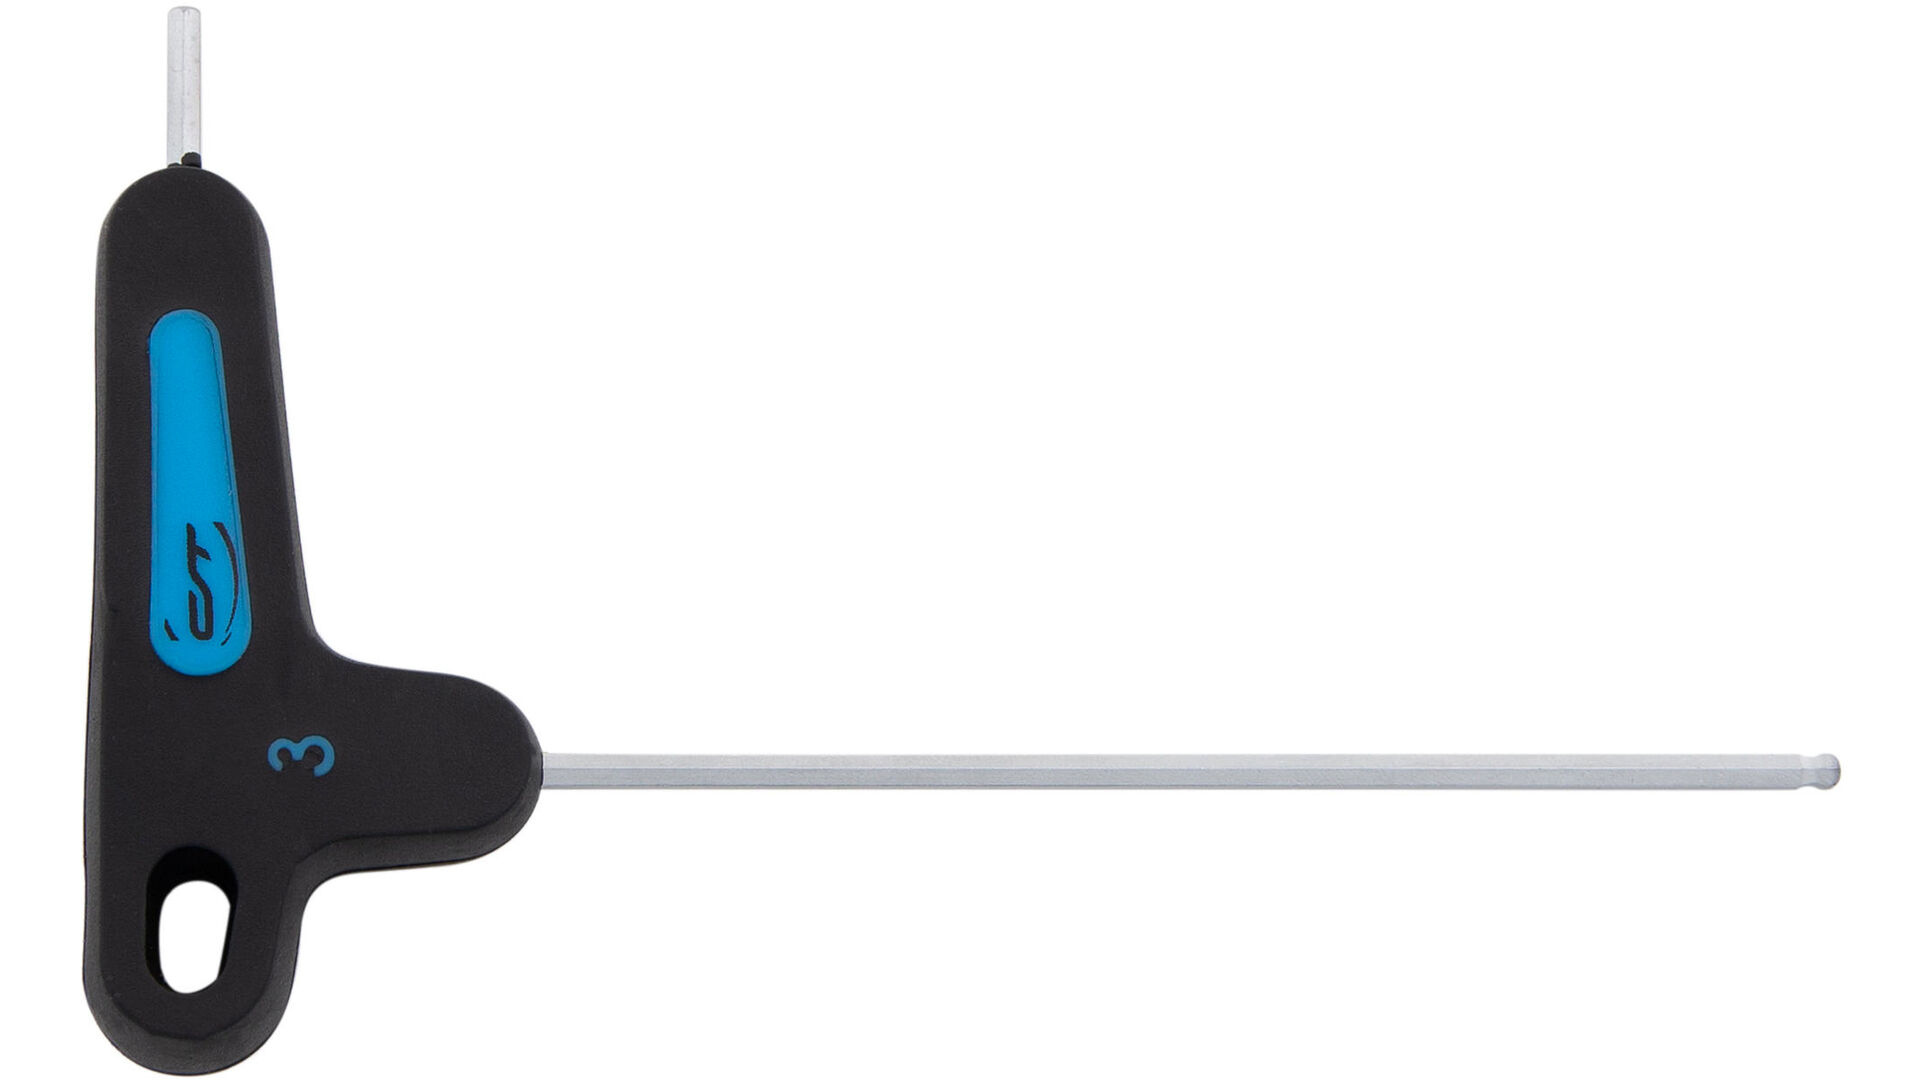
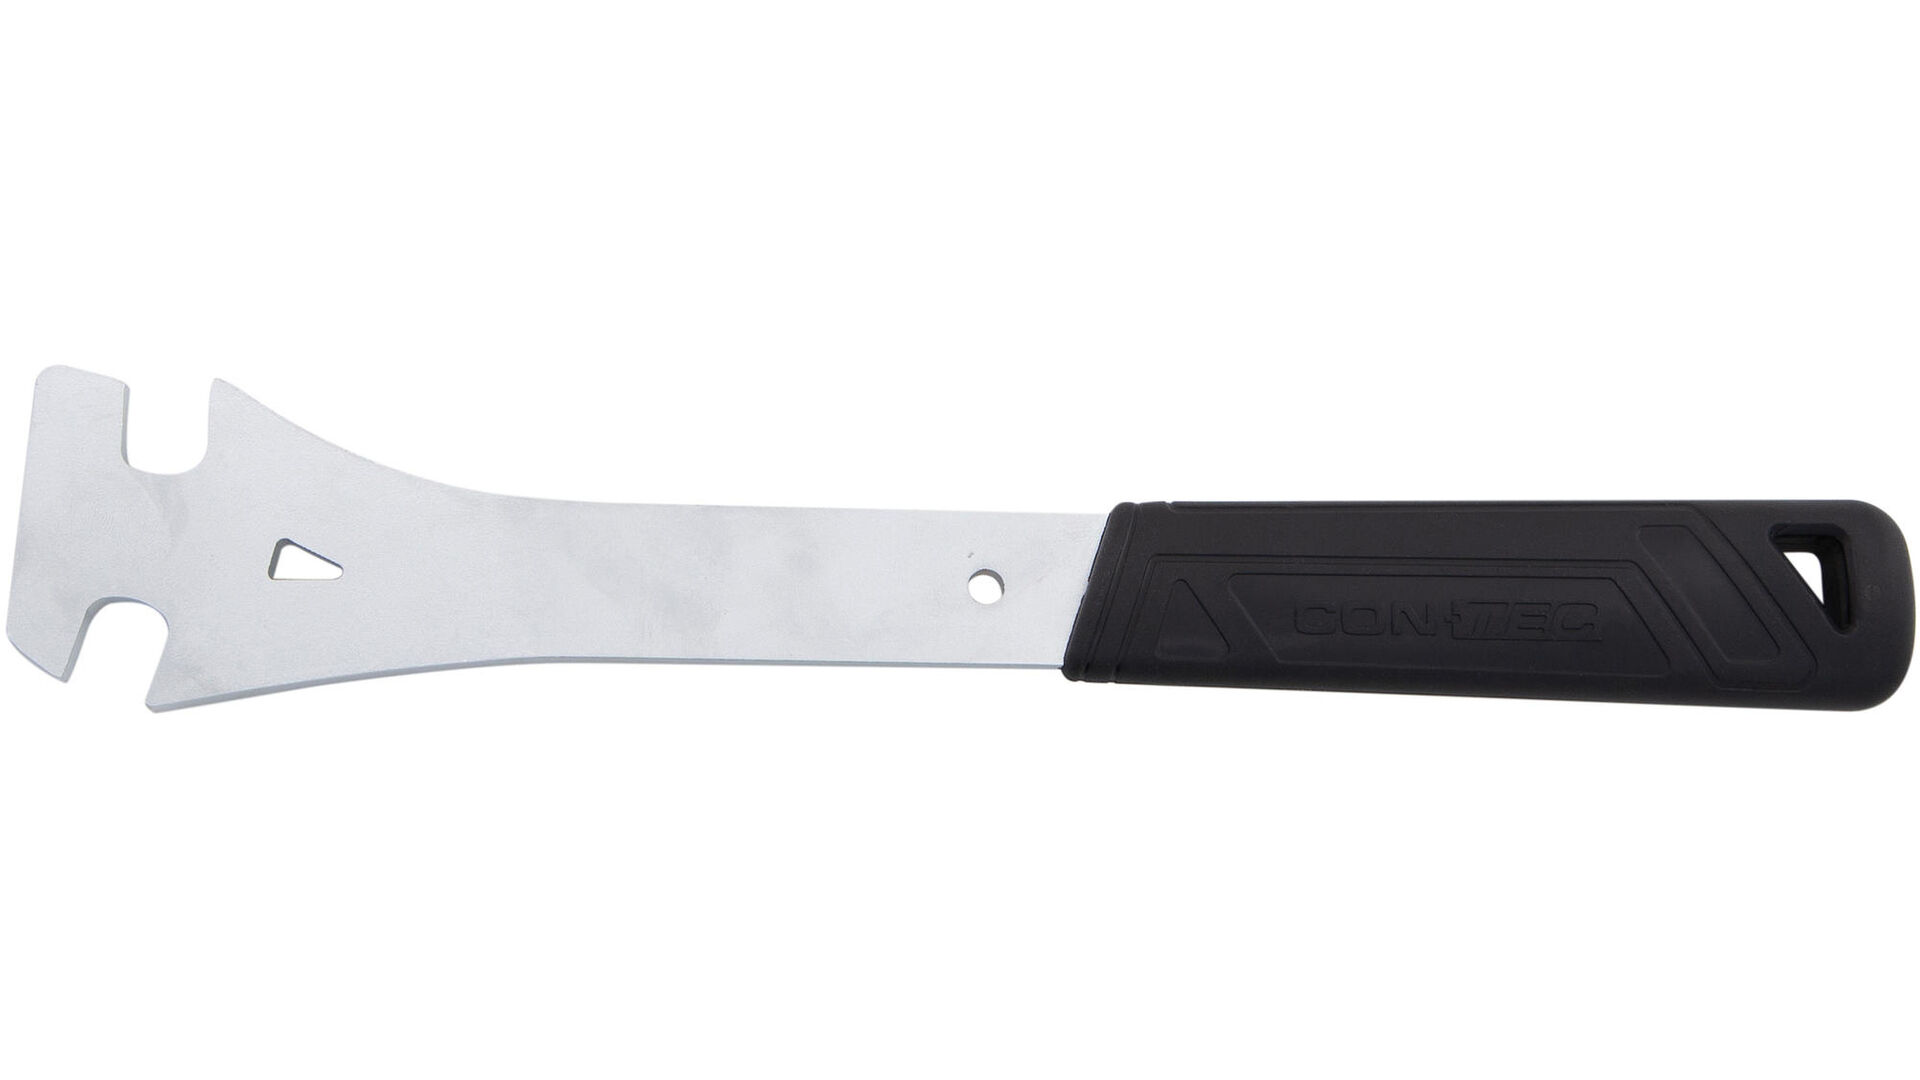
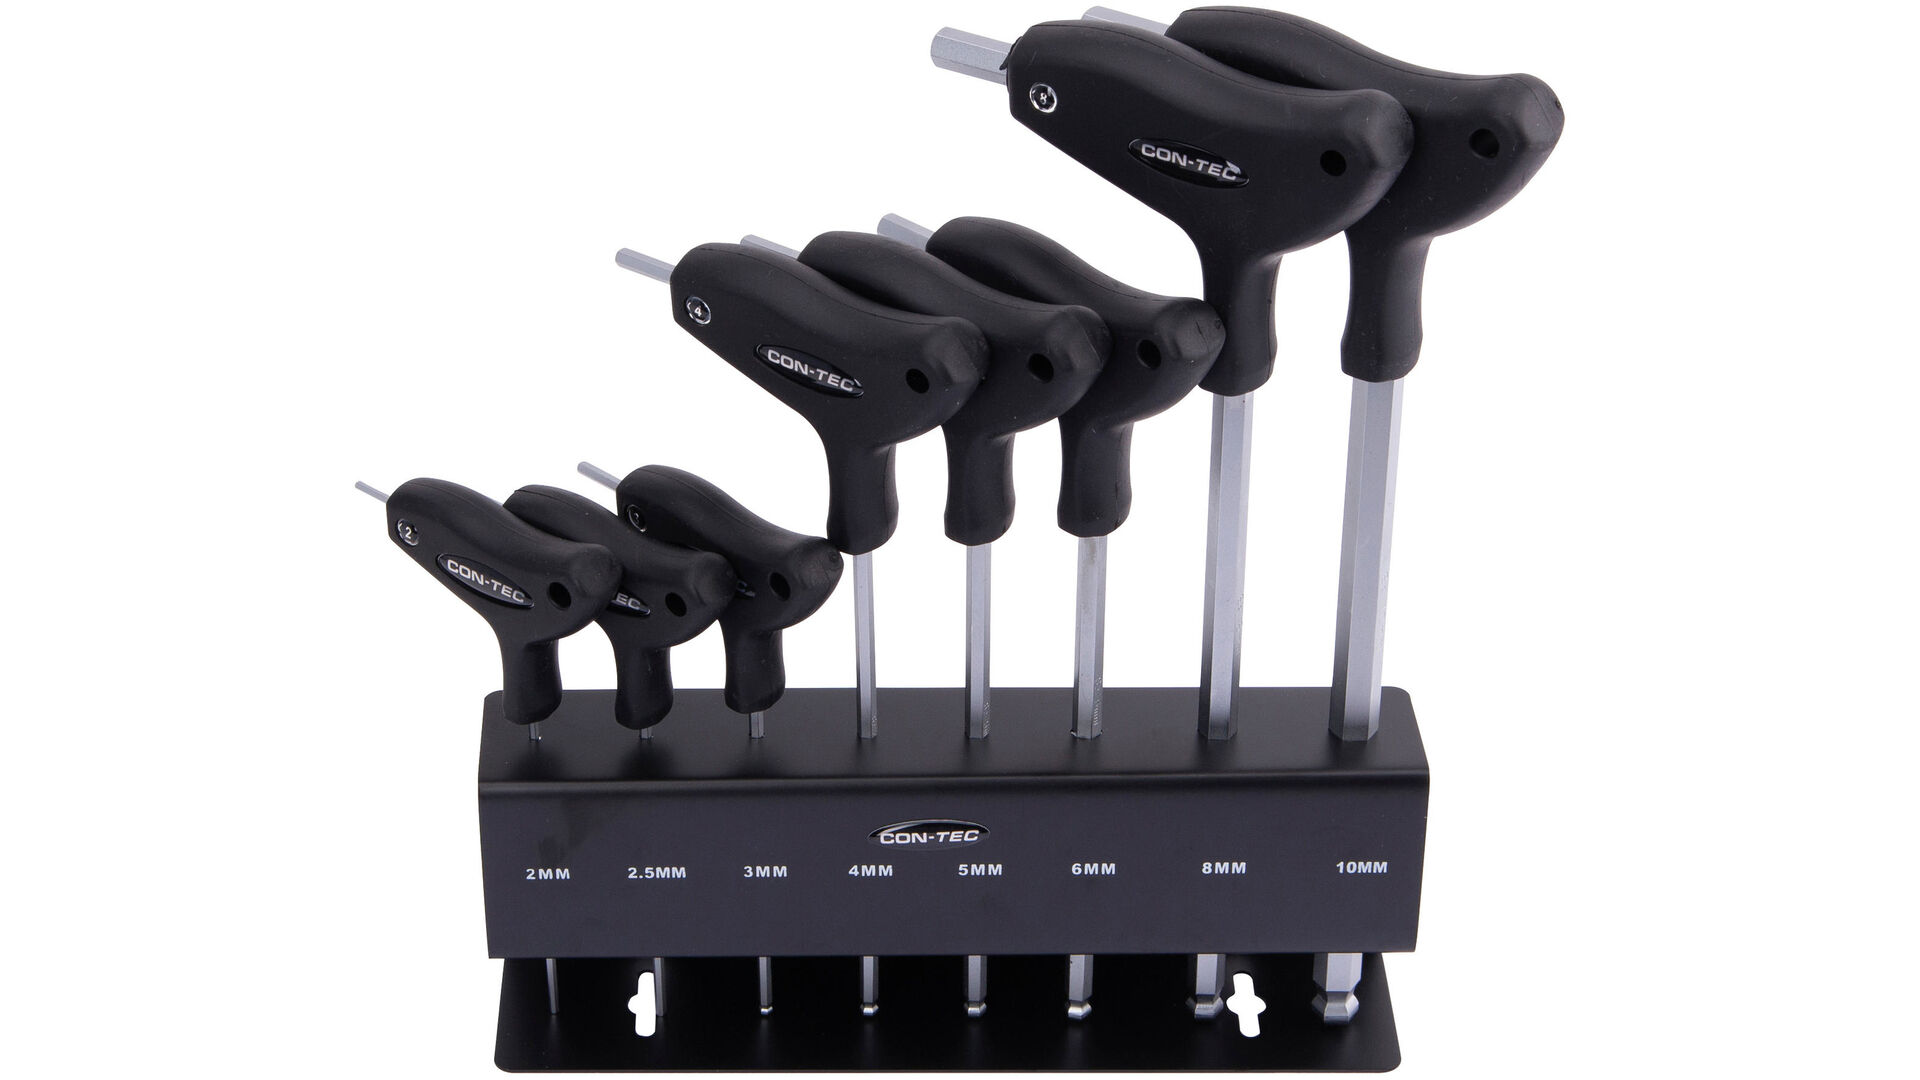
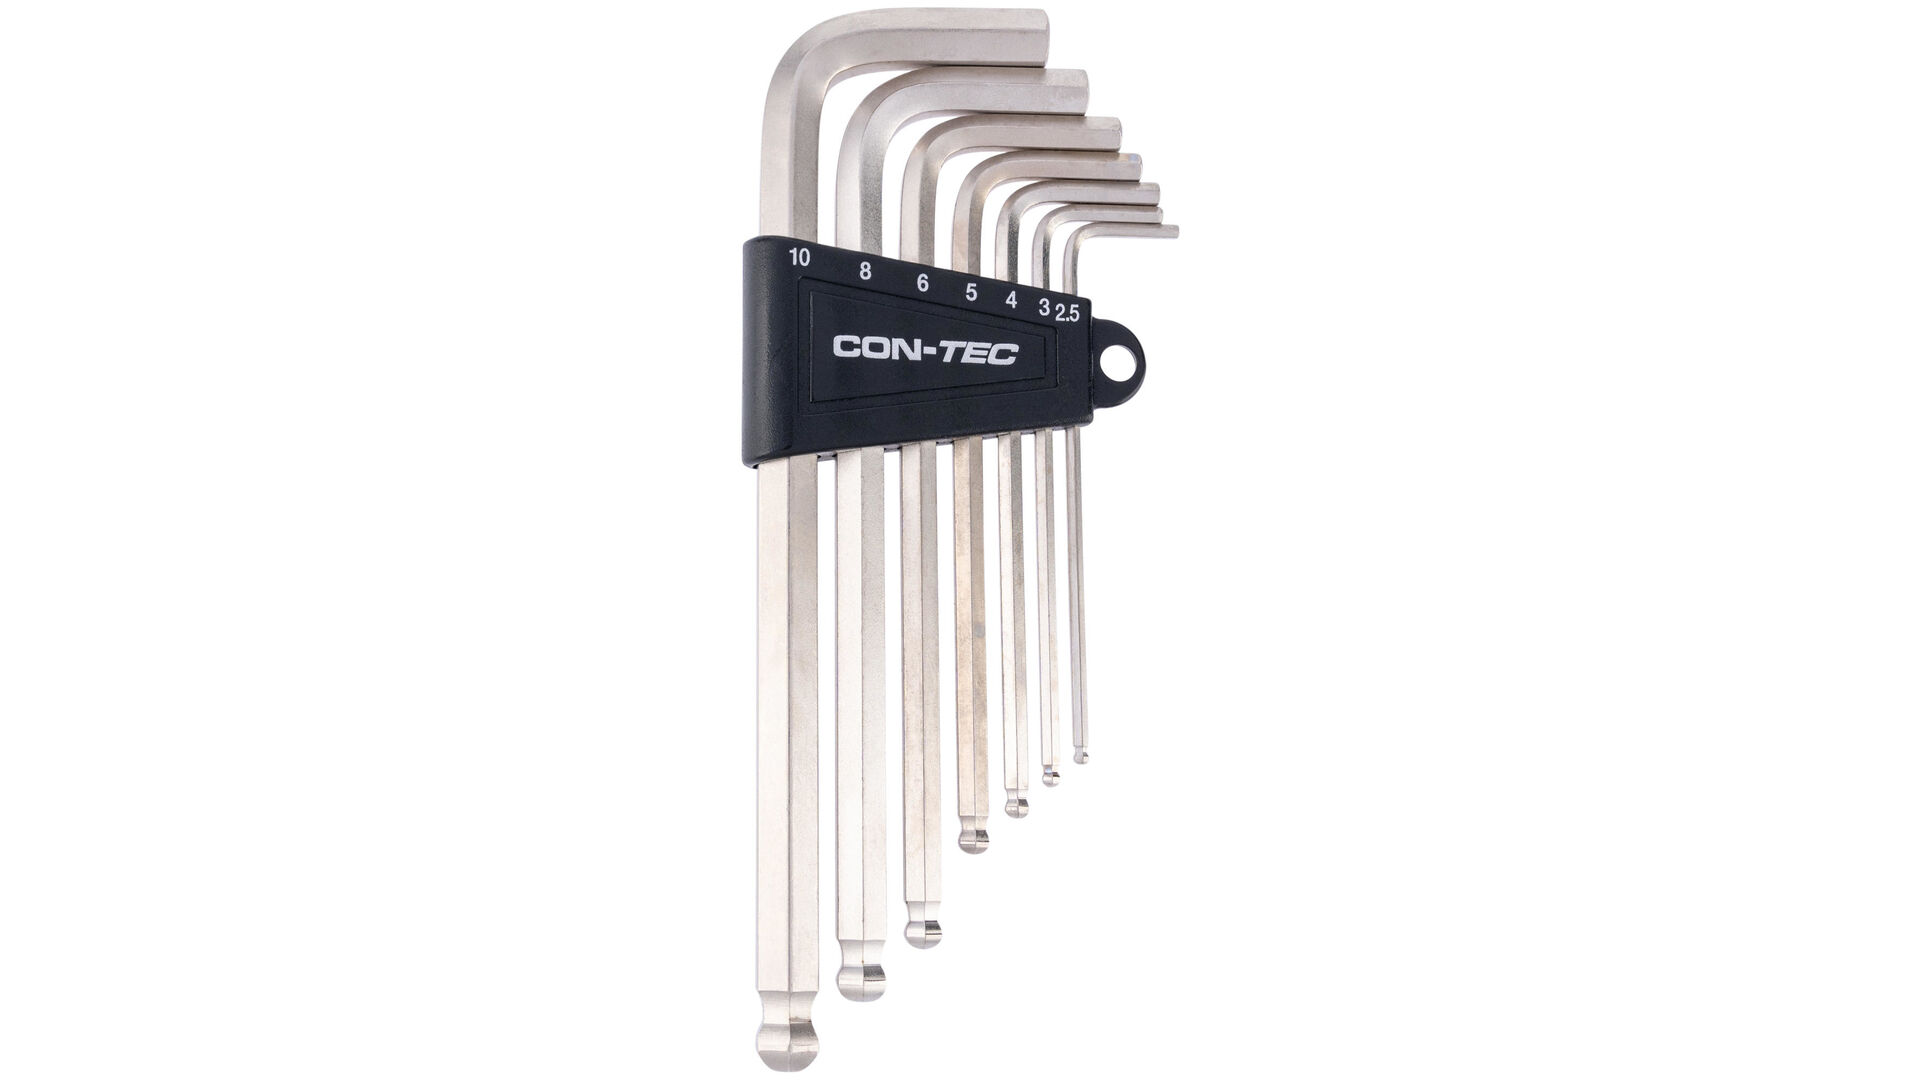
Replacing bike pedals doesn't take much: With the new pedals at hand and the proper pedal spanner, you are ready to go. The correct spanner for bicycle pedals is usually an open-ended spanner. Meanwhile, many pedals can also be tightened with an Allen key. Before mounting look at which tool your new bike pedals need.
To screw on the new pedals, you will also need some assembly grease for the threads of the new pedals. Use a torque wrench to tighten the pedals to the bike. For the correct torque, refer to the manufacturer's pedal specifications.

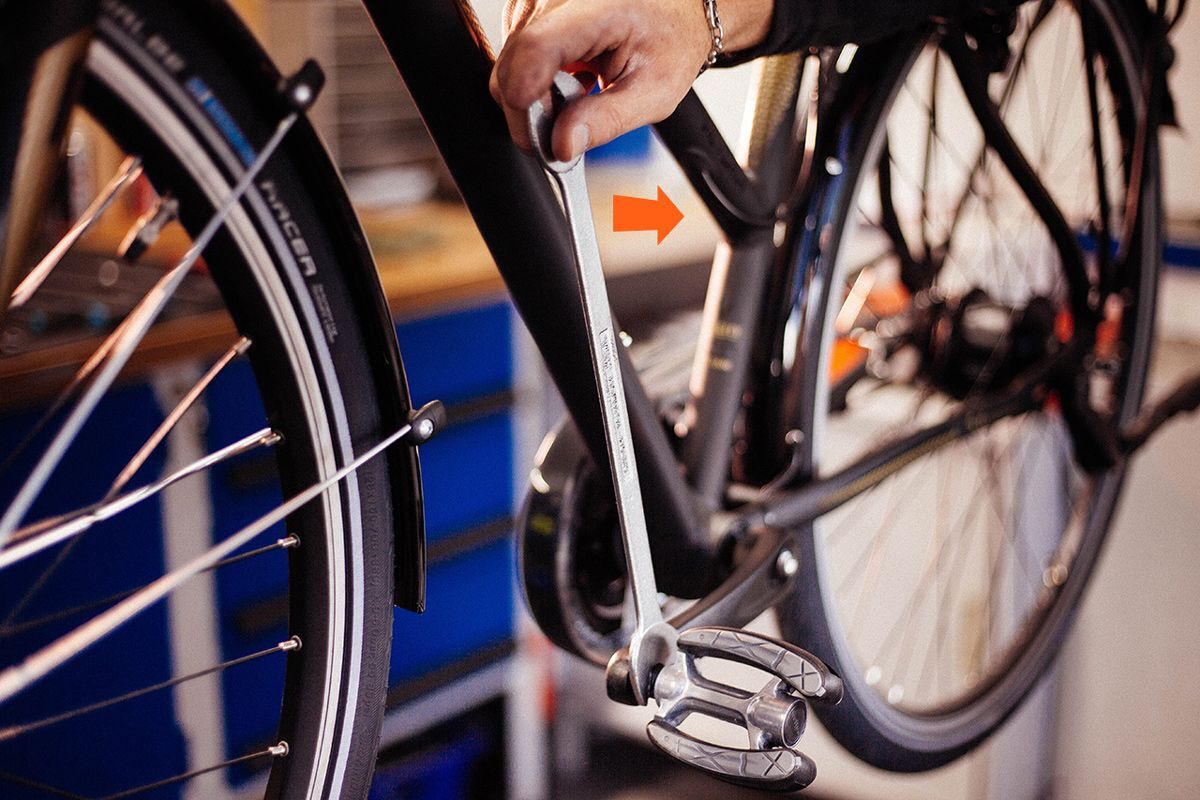
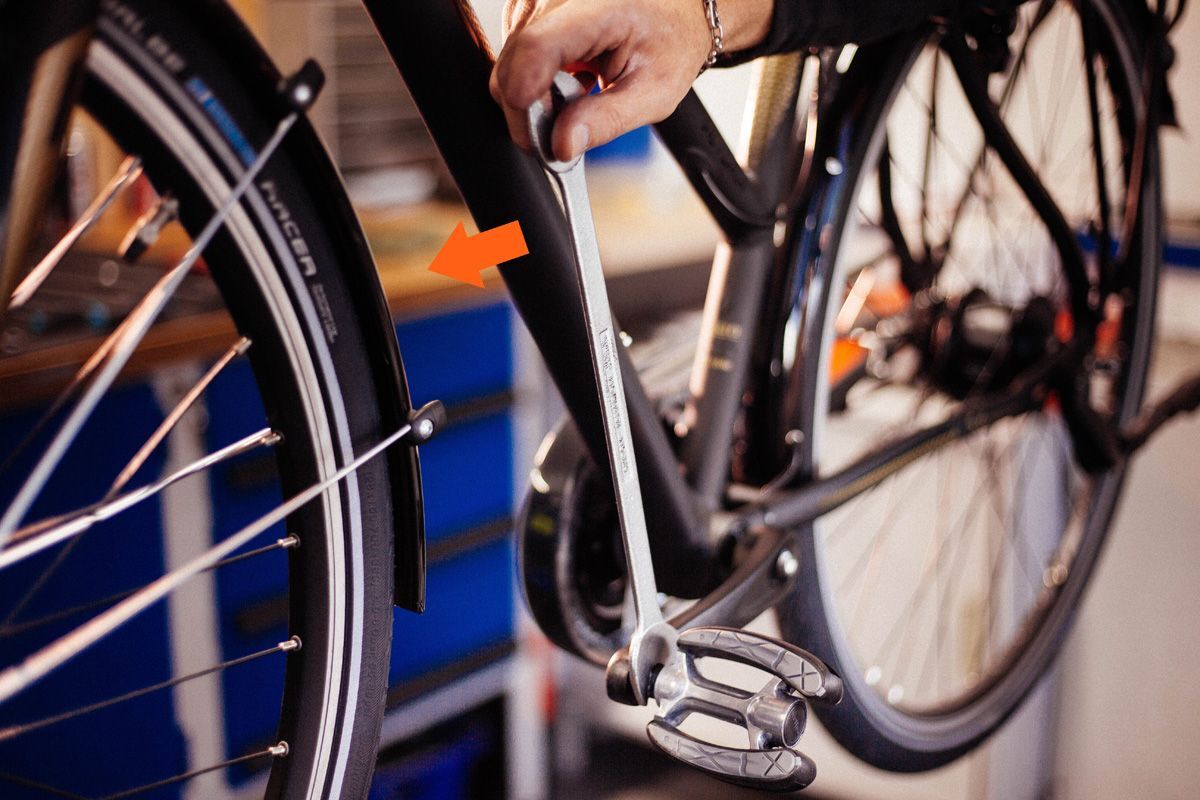
- Loosen the old bicycle pedals by turning toward the rear wheel with the appropriate Allen key or open-ended spanner.
- Unscrew the left pedal in a clockwise direction.
- Loosen the right pedal from the crank counter clockwise.
- If the pedal axles are very tight after being on the bike a while, using a pipe extender or longer open-ended spanner will help.
- Grease the threads of the new pedals with assembly grease before installing.
Assembly grease keeps the threads of the pedals smooth and prevents the penetration of water. The grease ensures that the crankset and the pedal axles do not stick together. Later, this makes removing the pedals easier.


Right and left pedals – easy to tell apart
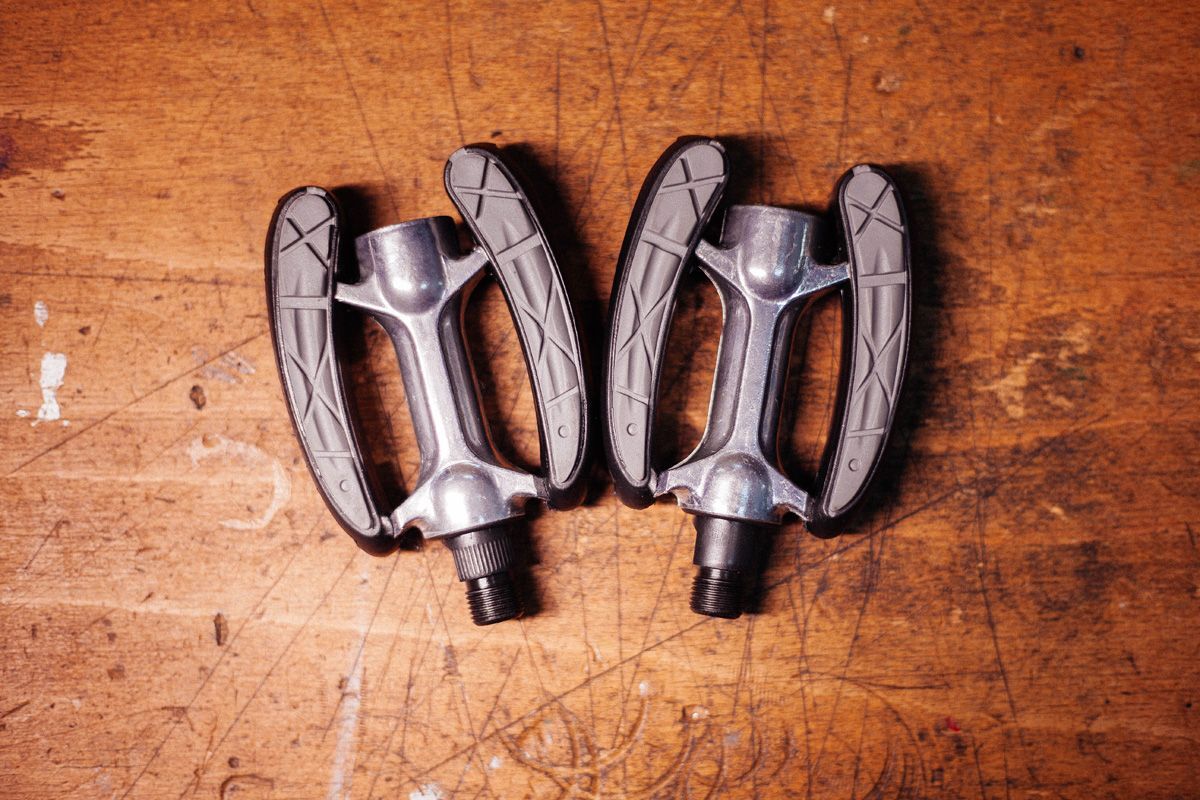
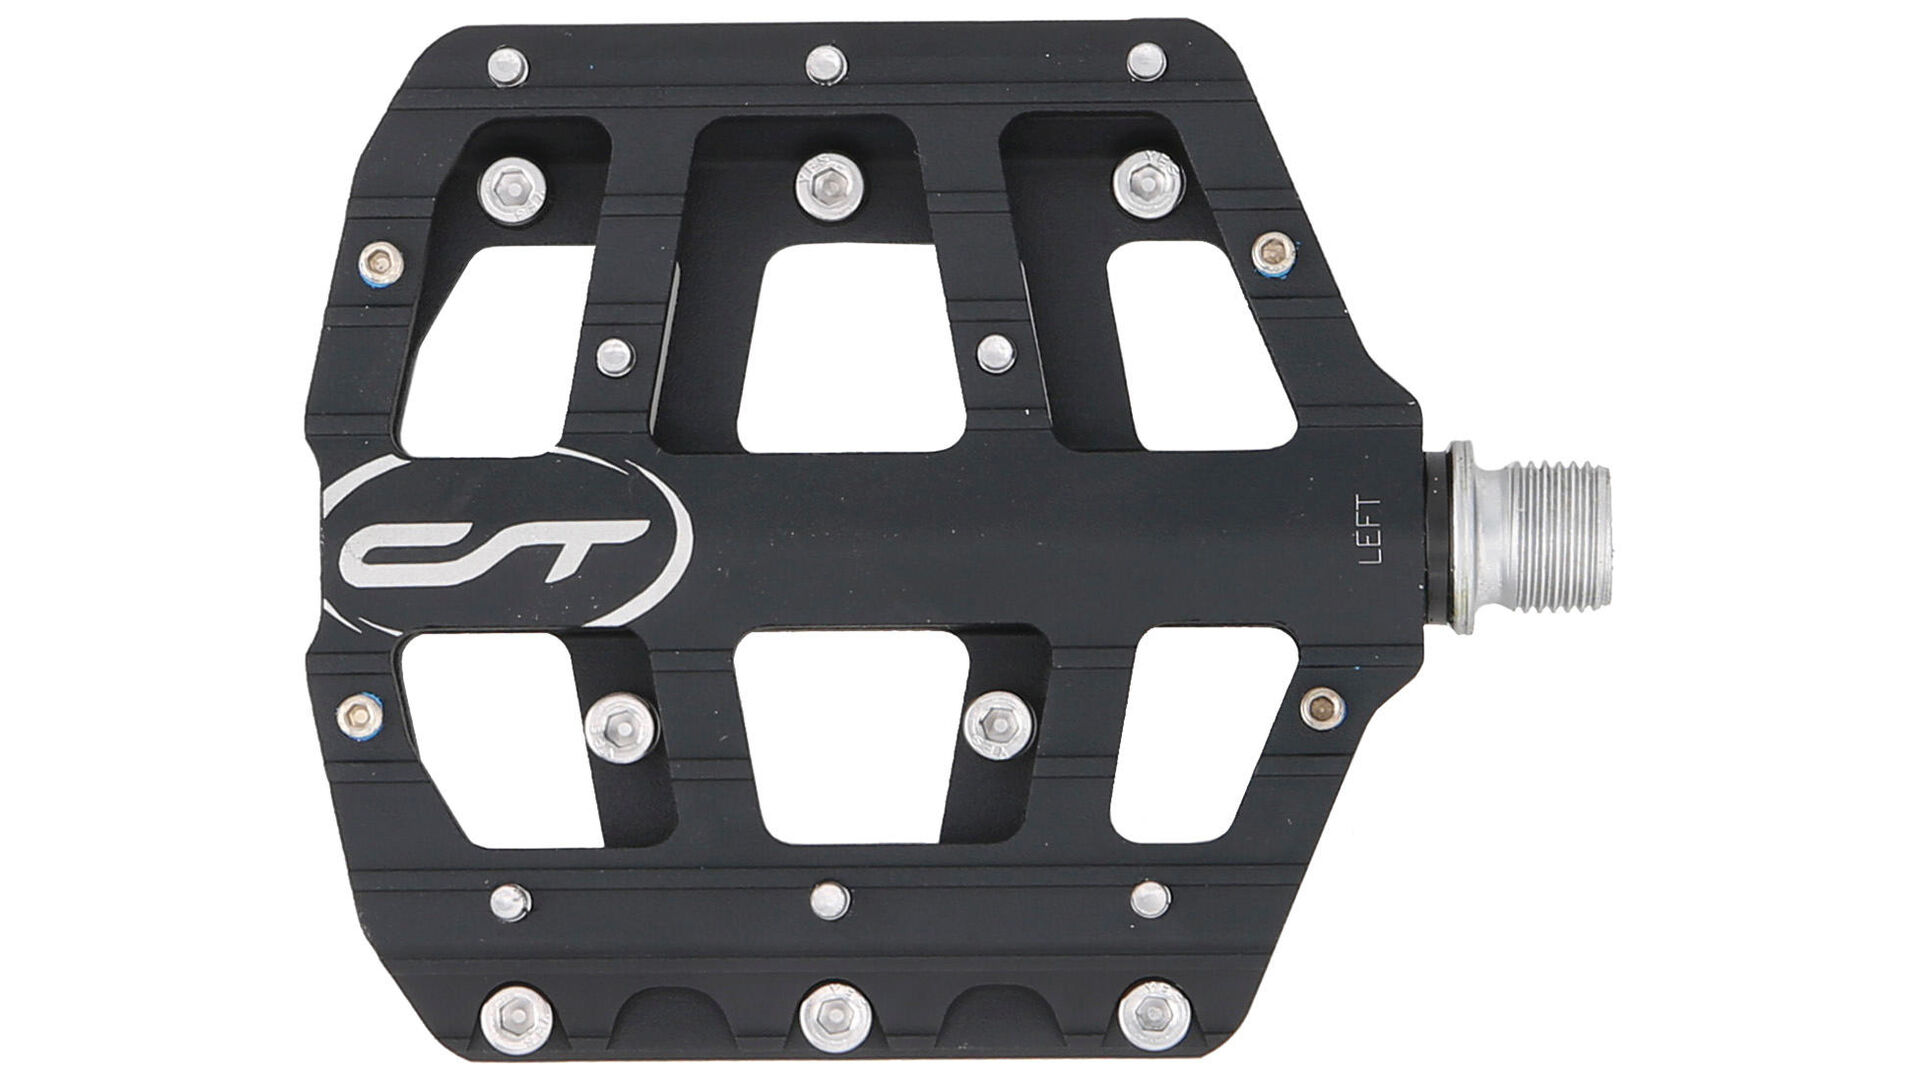
The designations "left" and "right" on bicycle pedals refer to the rider's perspective. This means looking down at cranks from above. Which is the left and which is the right bike pedal is usually marked by L or R on the pedal itself.
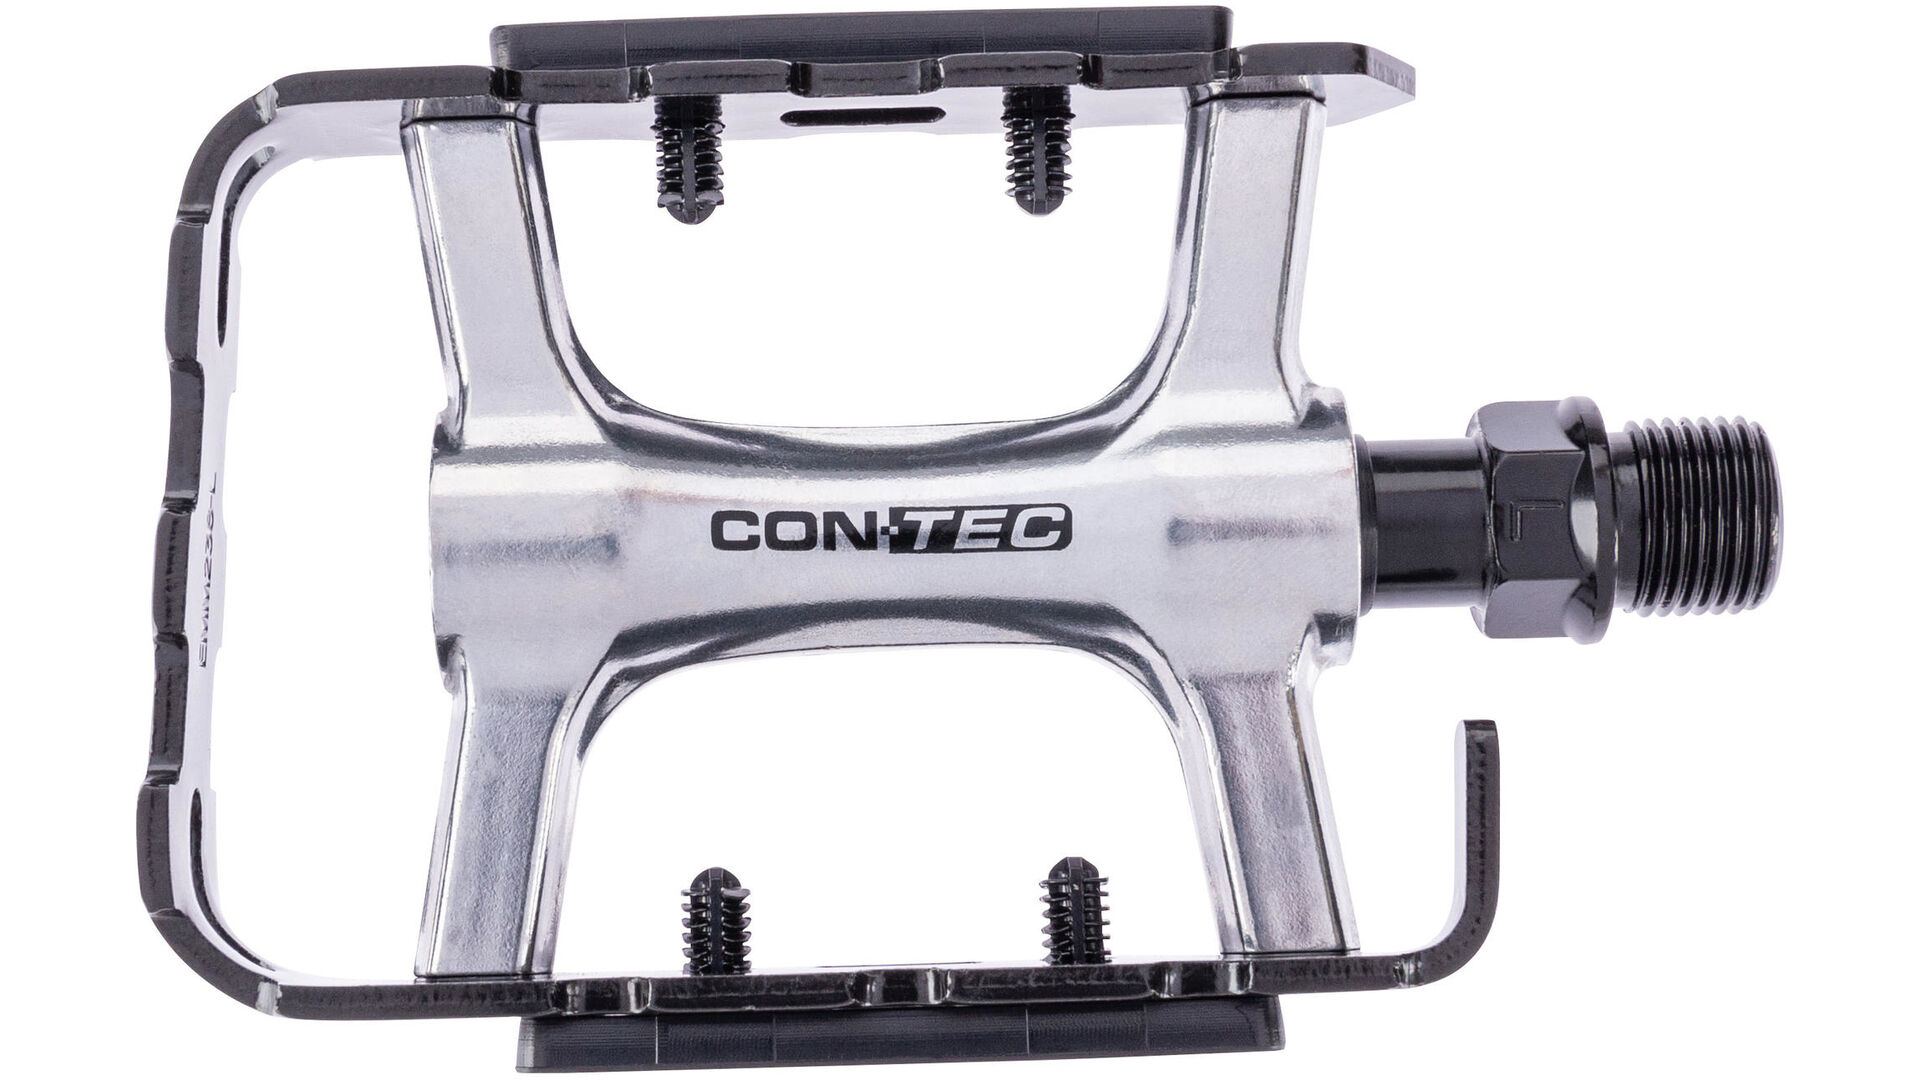
Alternatively, you can easily distinguish the pedals by placing the components side by side: On the right pedal with the right-hand thread, the threads runs up to the right. On the left pedal, on the other hand, the left-hand thread runs up to the left. In addition, a groove at the beginning of the pedal thread can be seen on the left pedal.
Replacing bike pedals - step by step
The following step-by-step instructions explain how to successfully replace the pedals on your bike.
Step 1 – Remove the old bicycle pedals
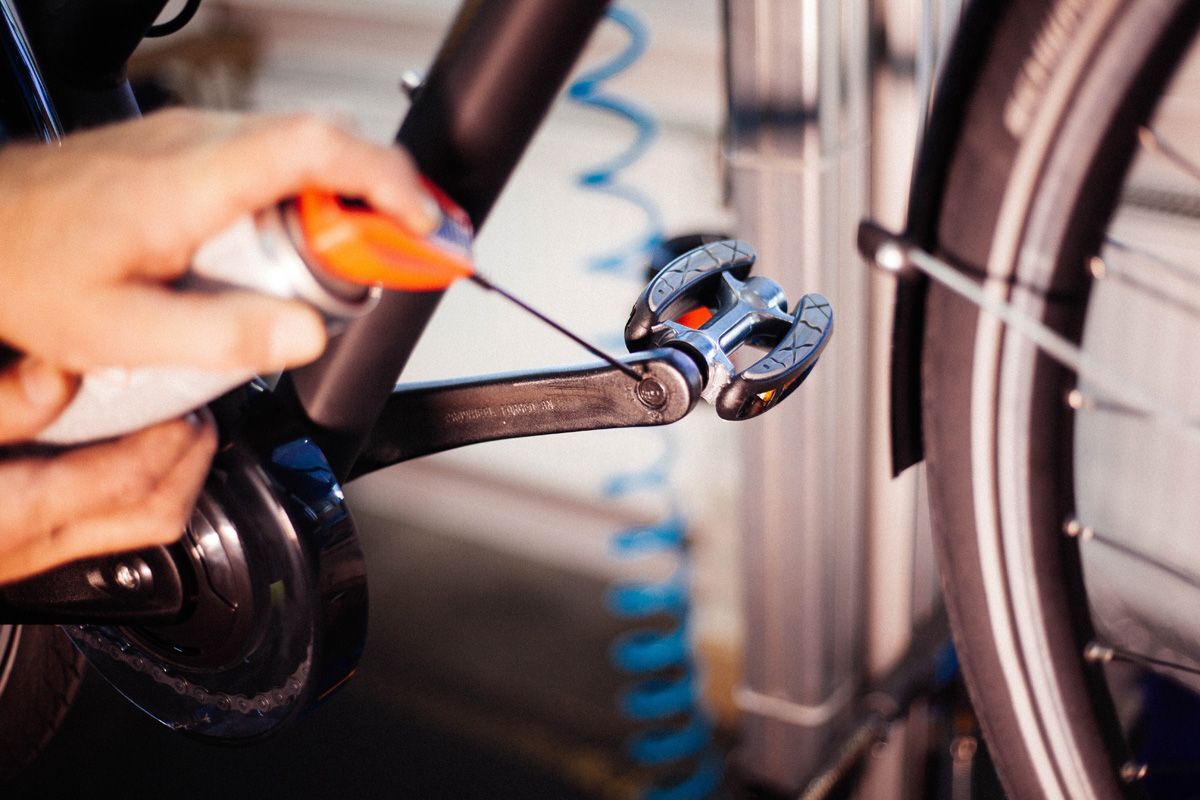
If the old bicycle pedals cannot be removed from the crankarm, the threads of the pedal and crank may be stuck, i.e. rusted together. The rusty connection usually occurs when assembly grease wasn’t on the old pedals. In order to be able to separate the pedals from the crankarm, a bit of penetrating oil helps. Once sprayed the penetrating oil must sit for a few minutes. After that, most bicycle pedals can be removed with a slightly longer wrench with more leverage.
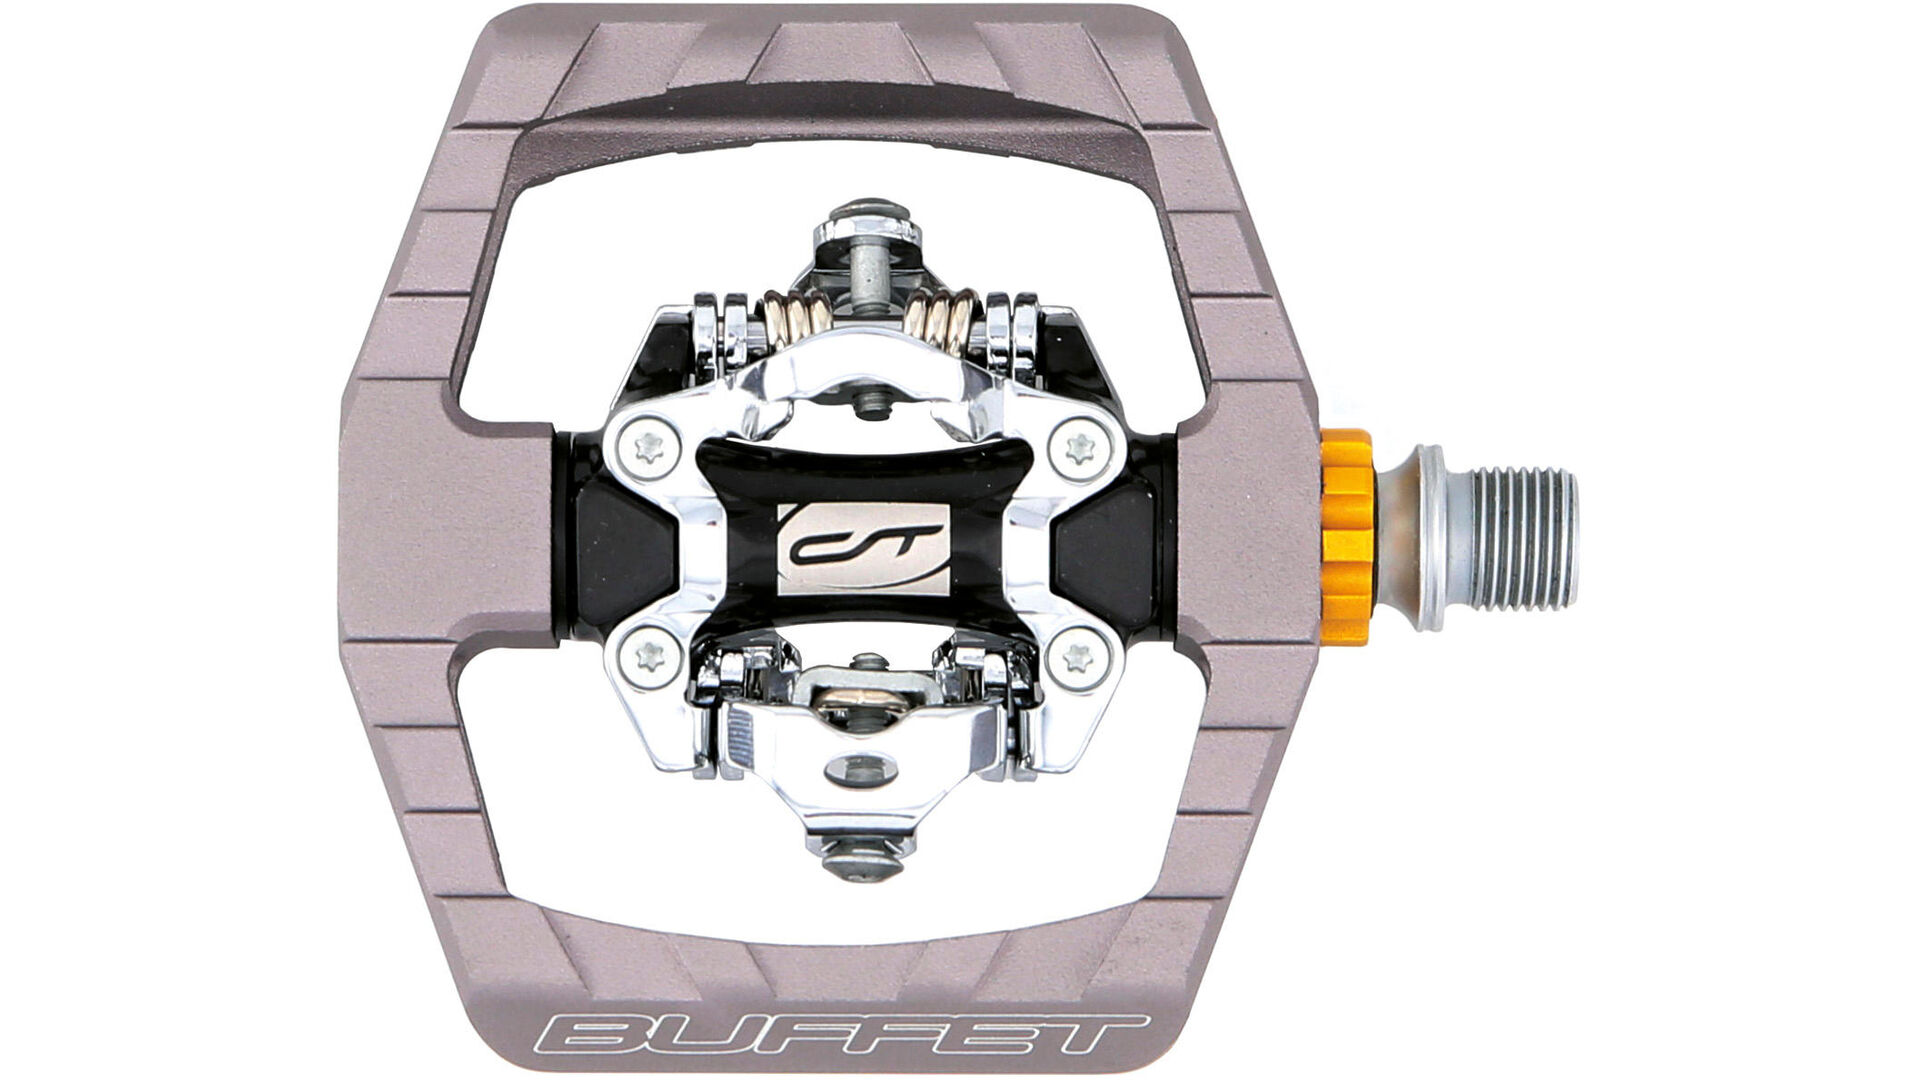
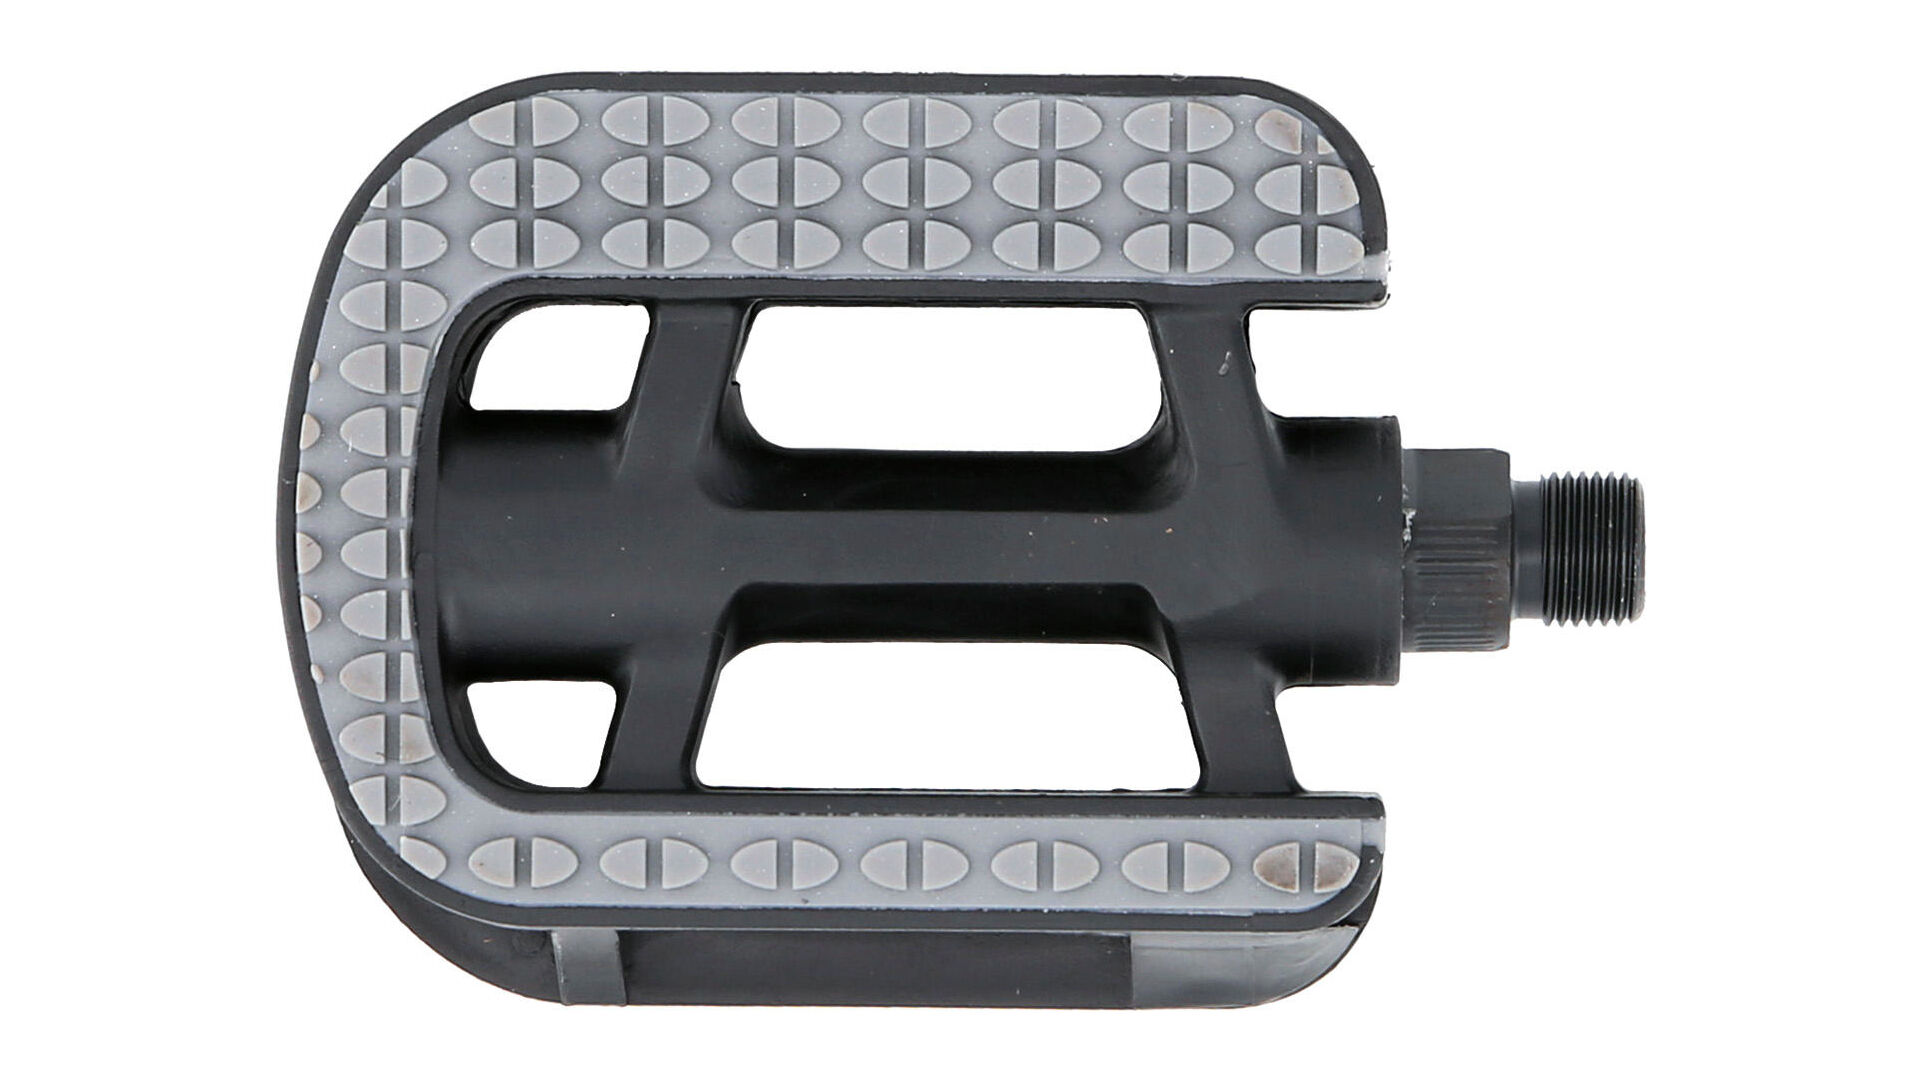
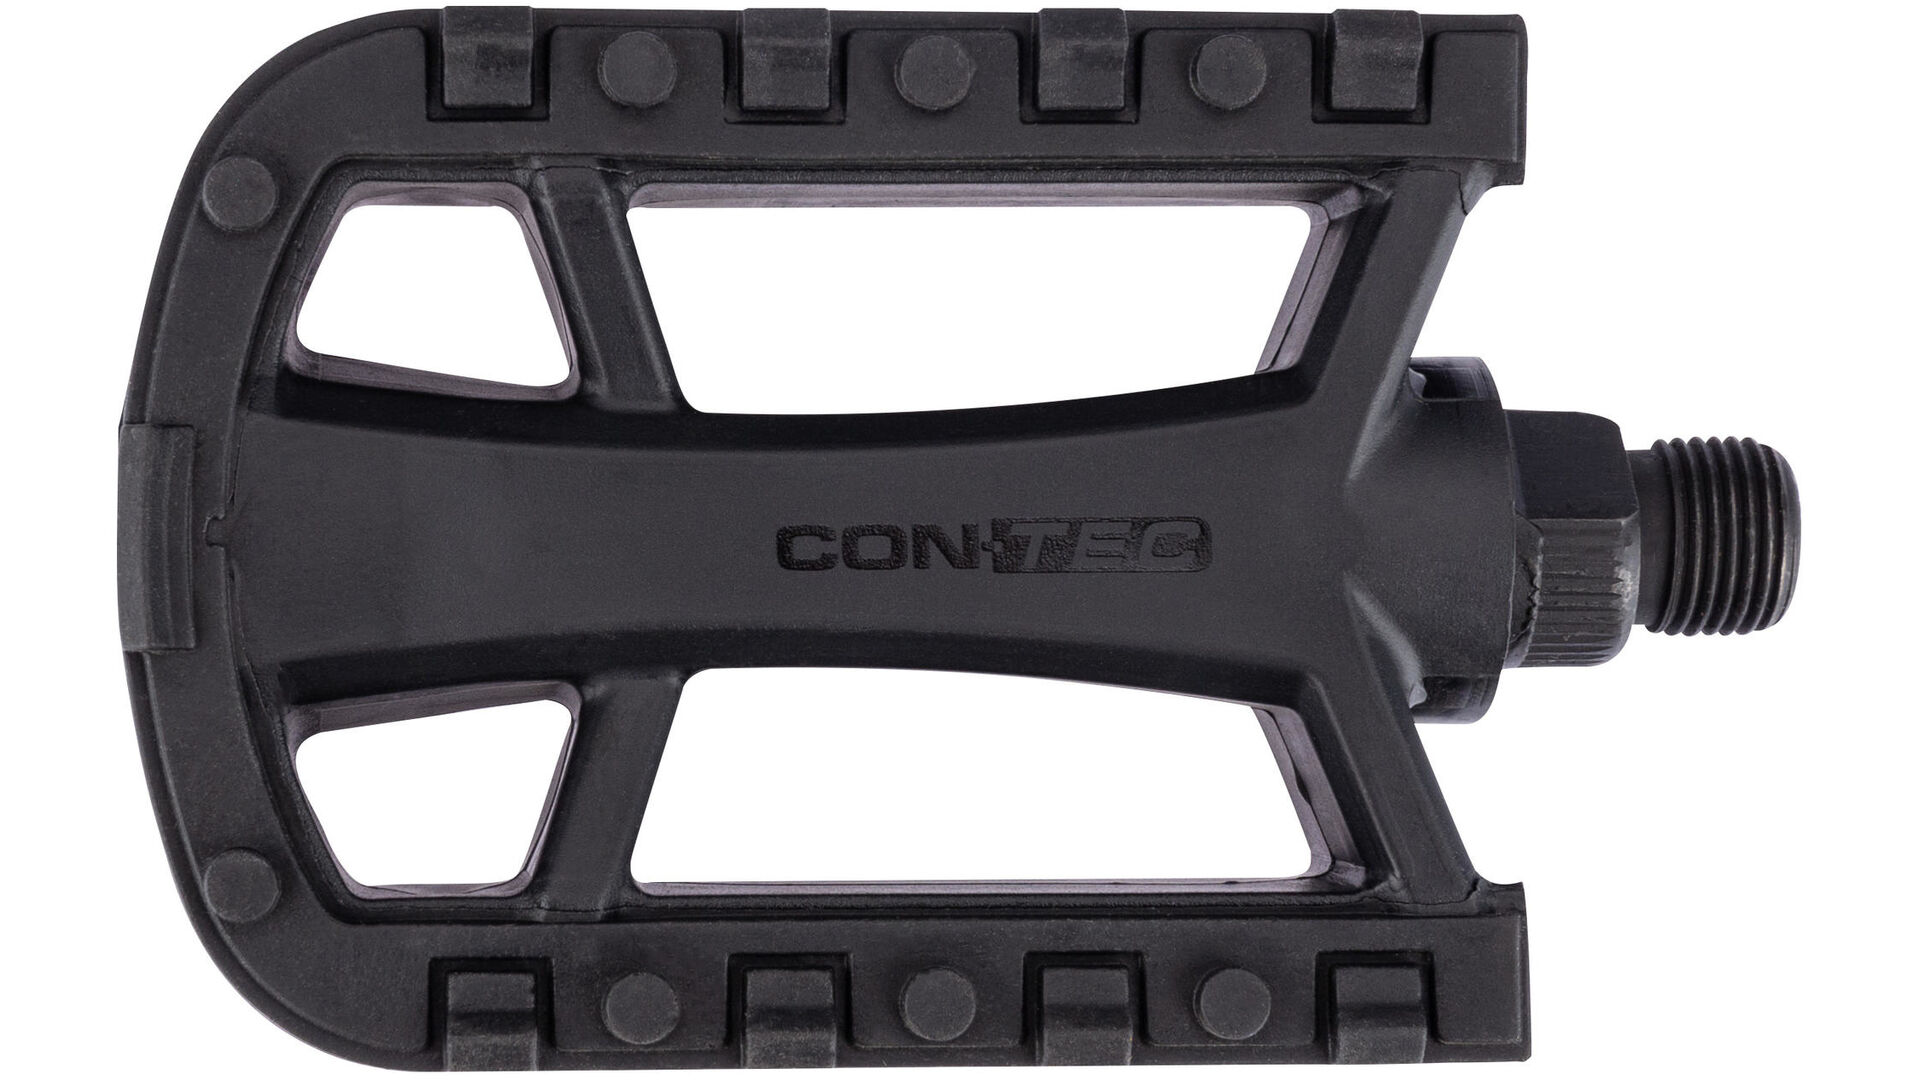
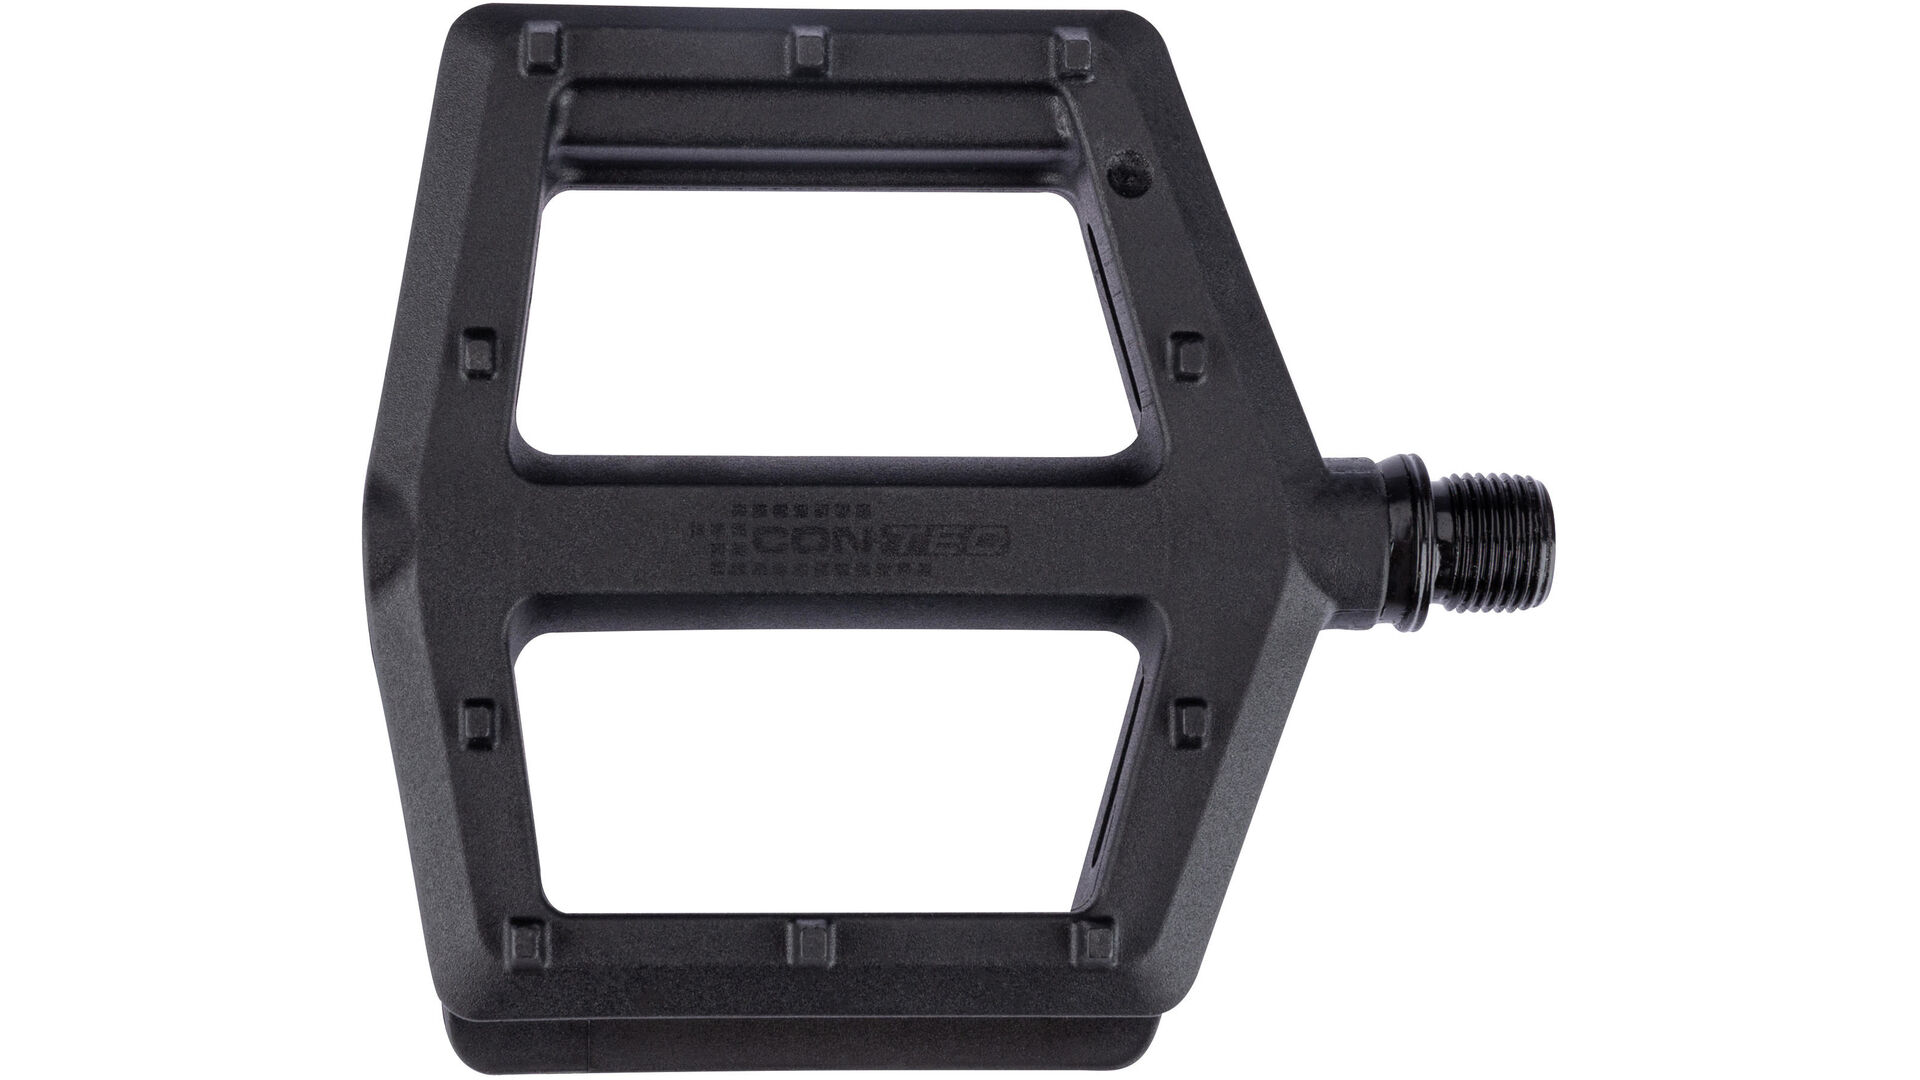
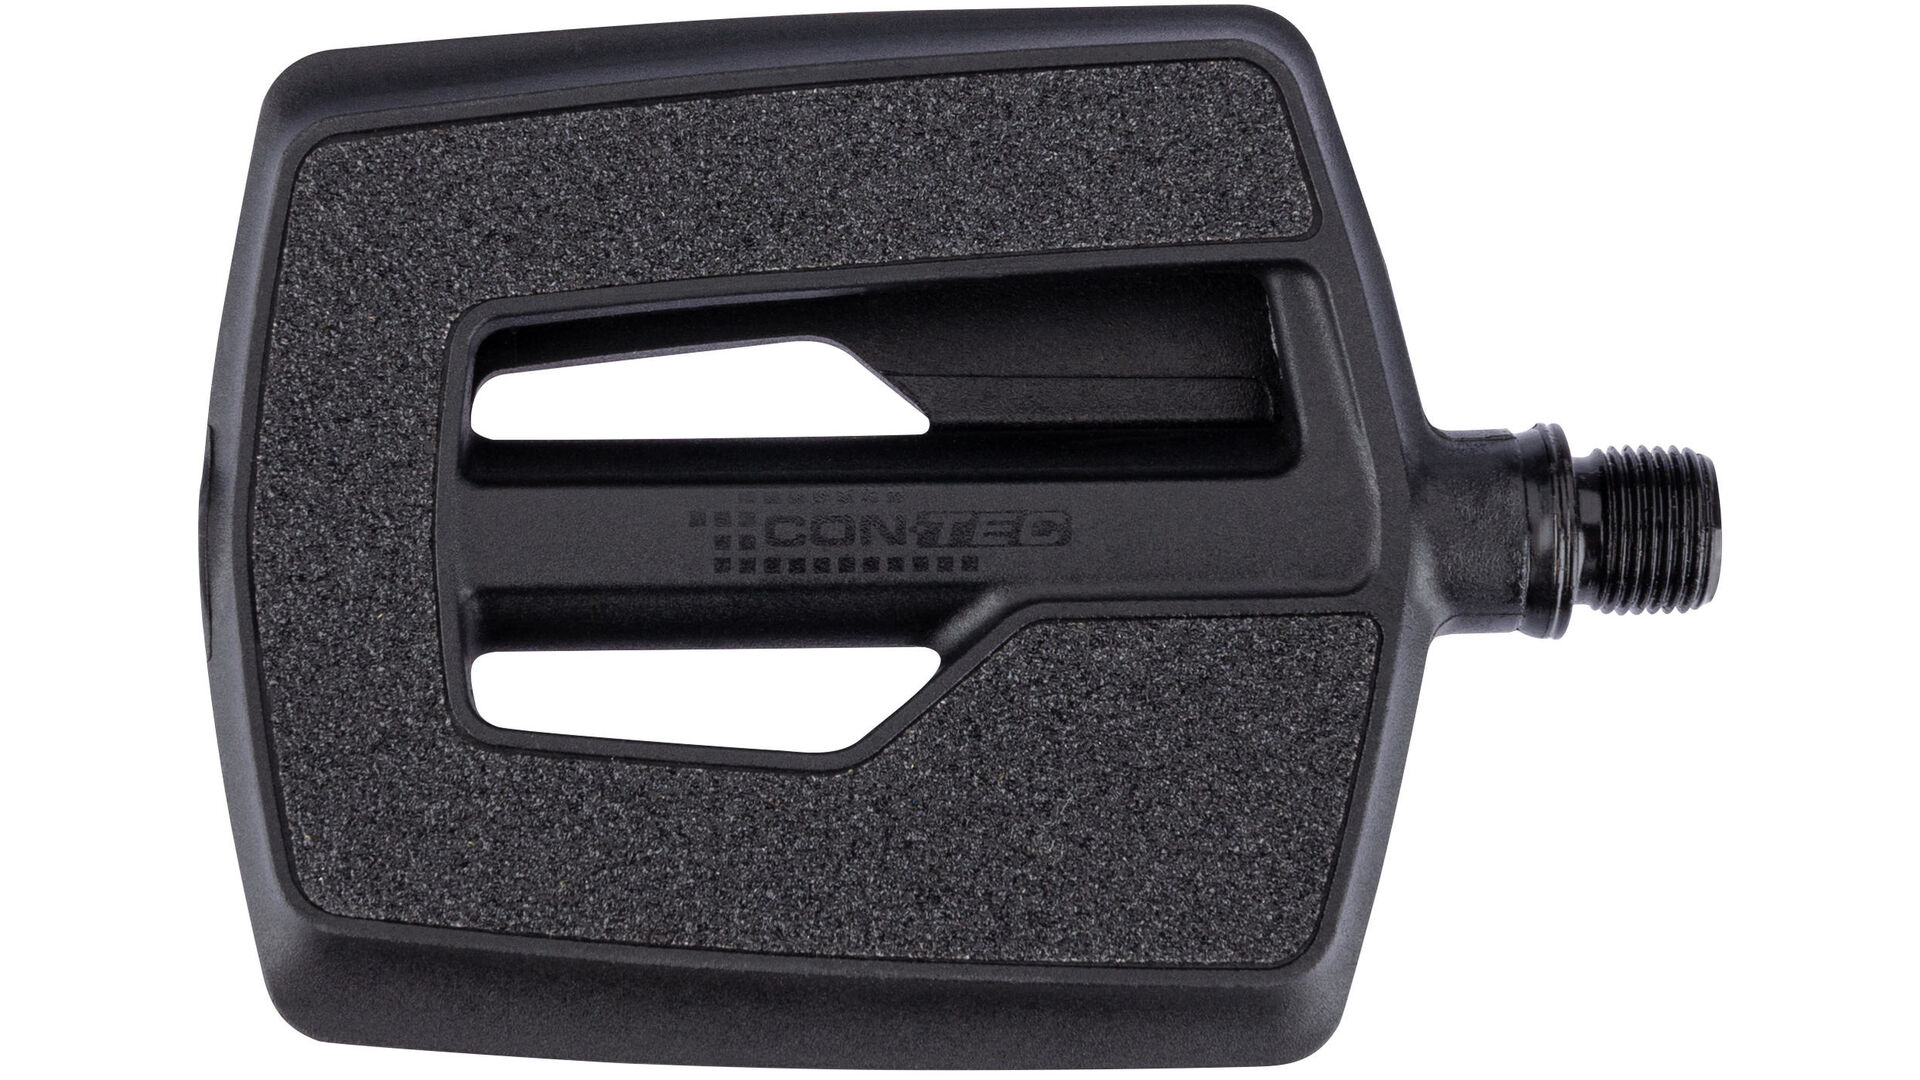
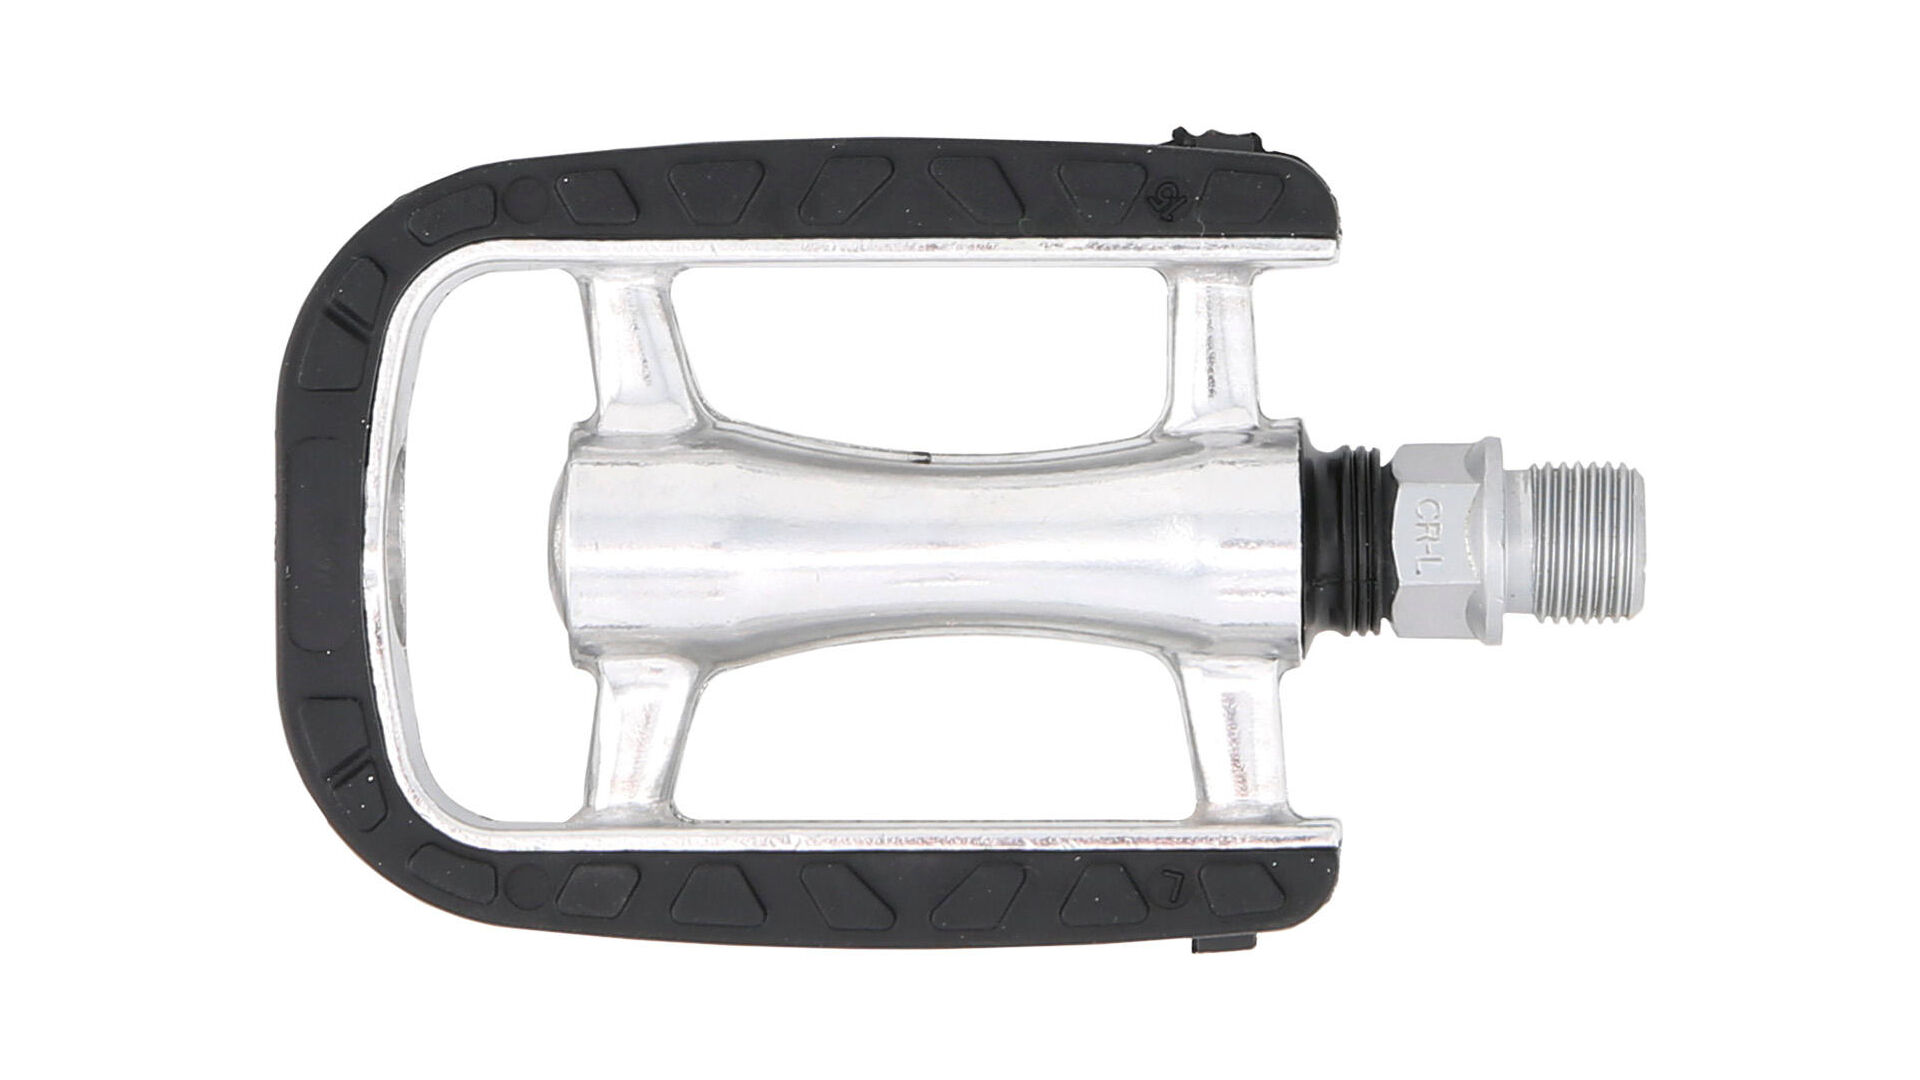
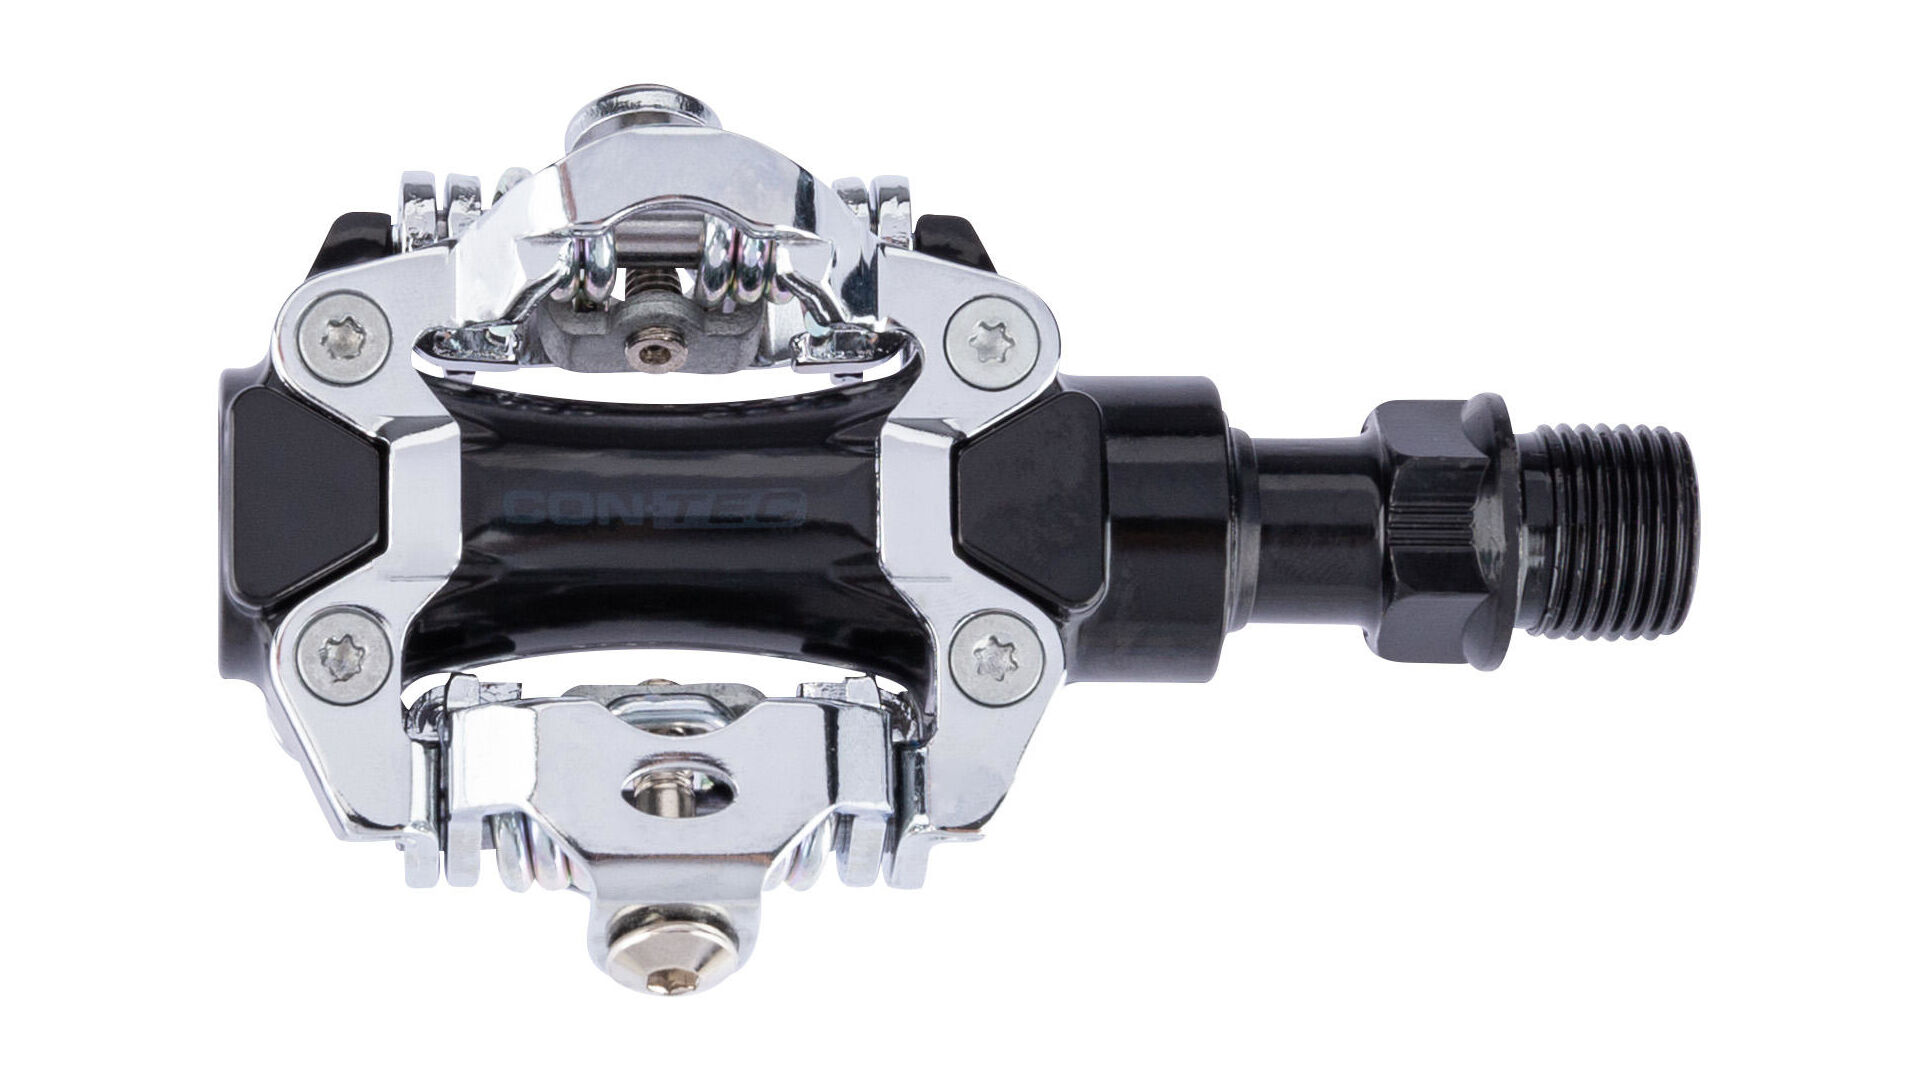
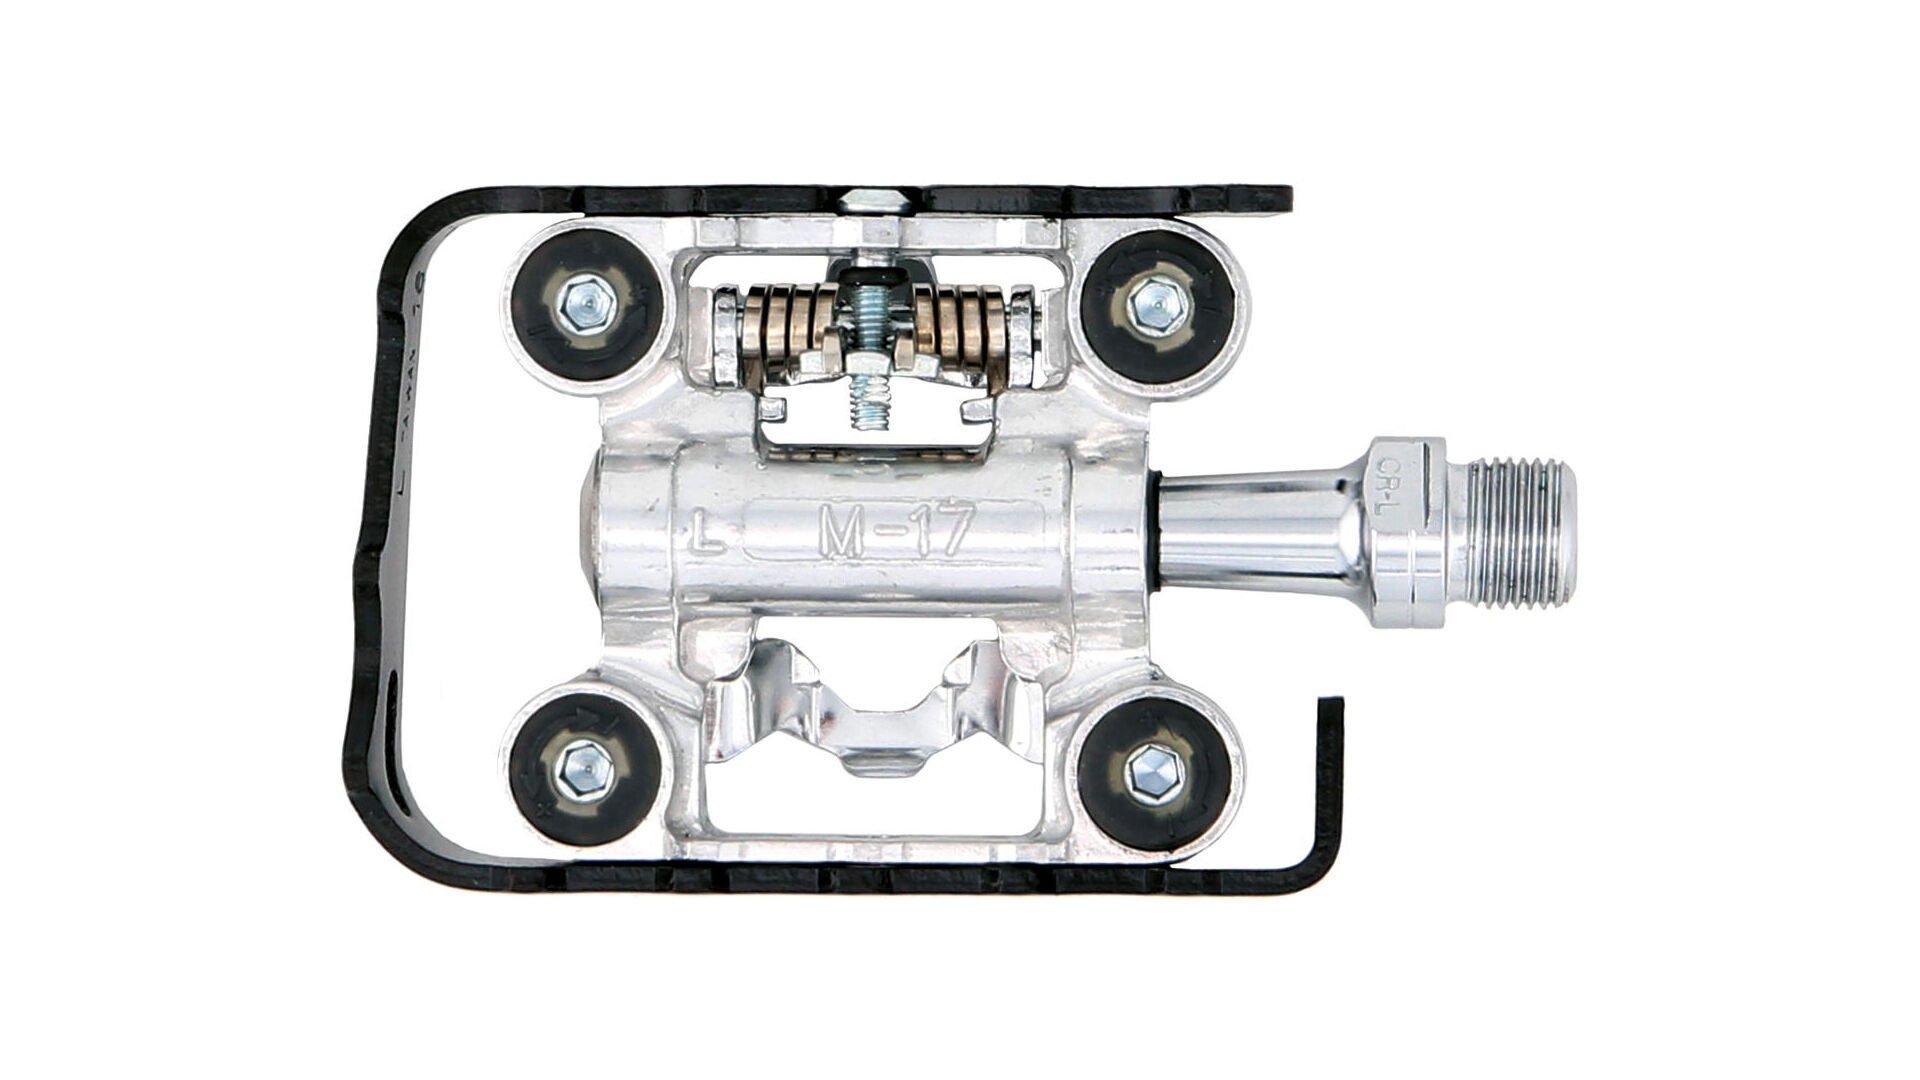
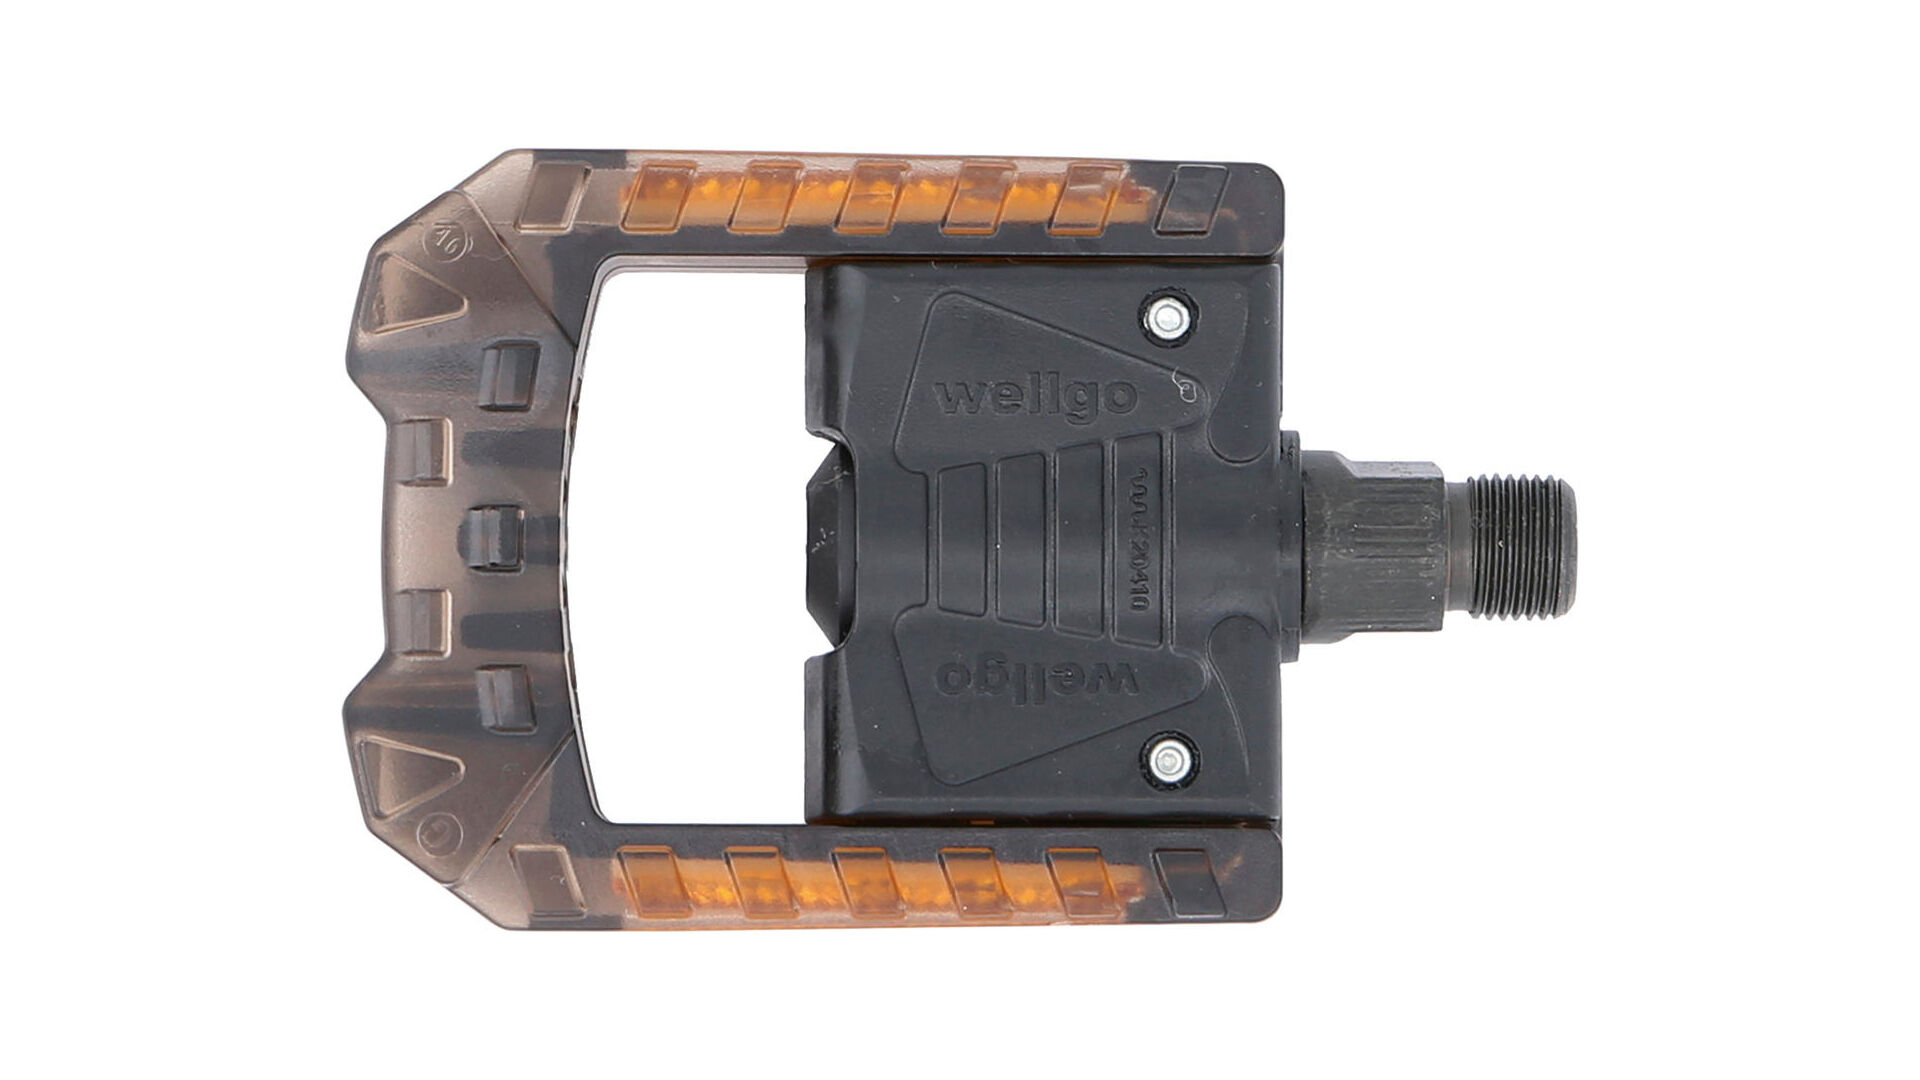
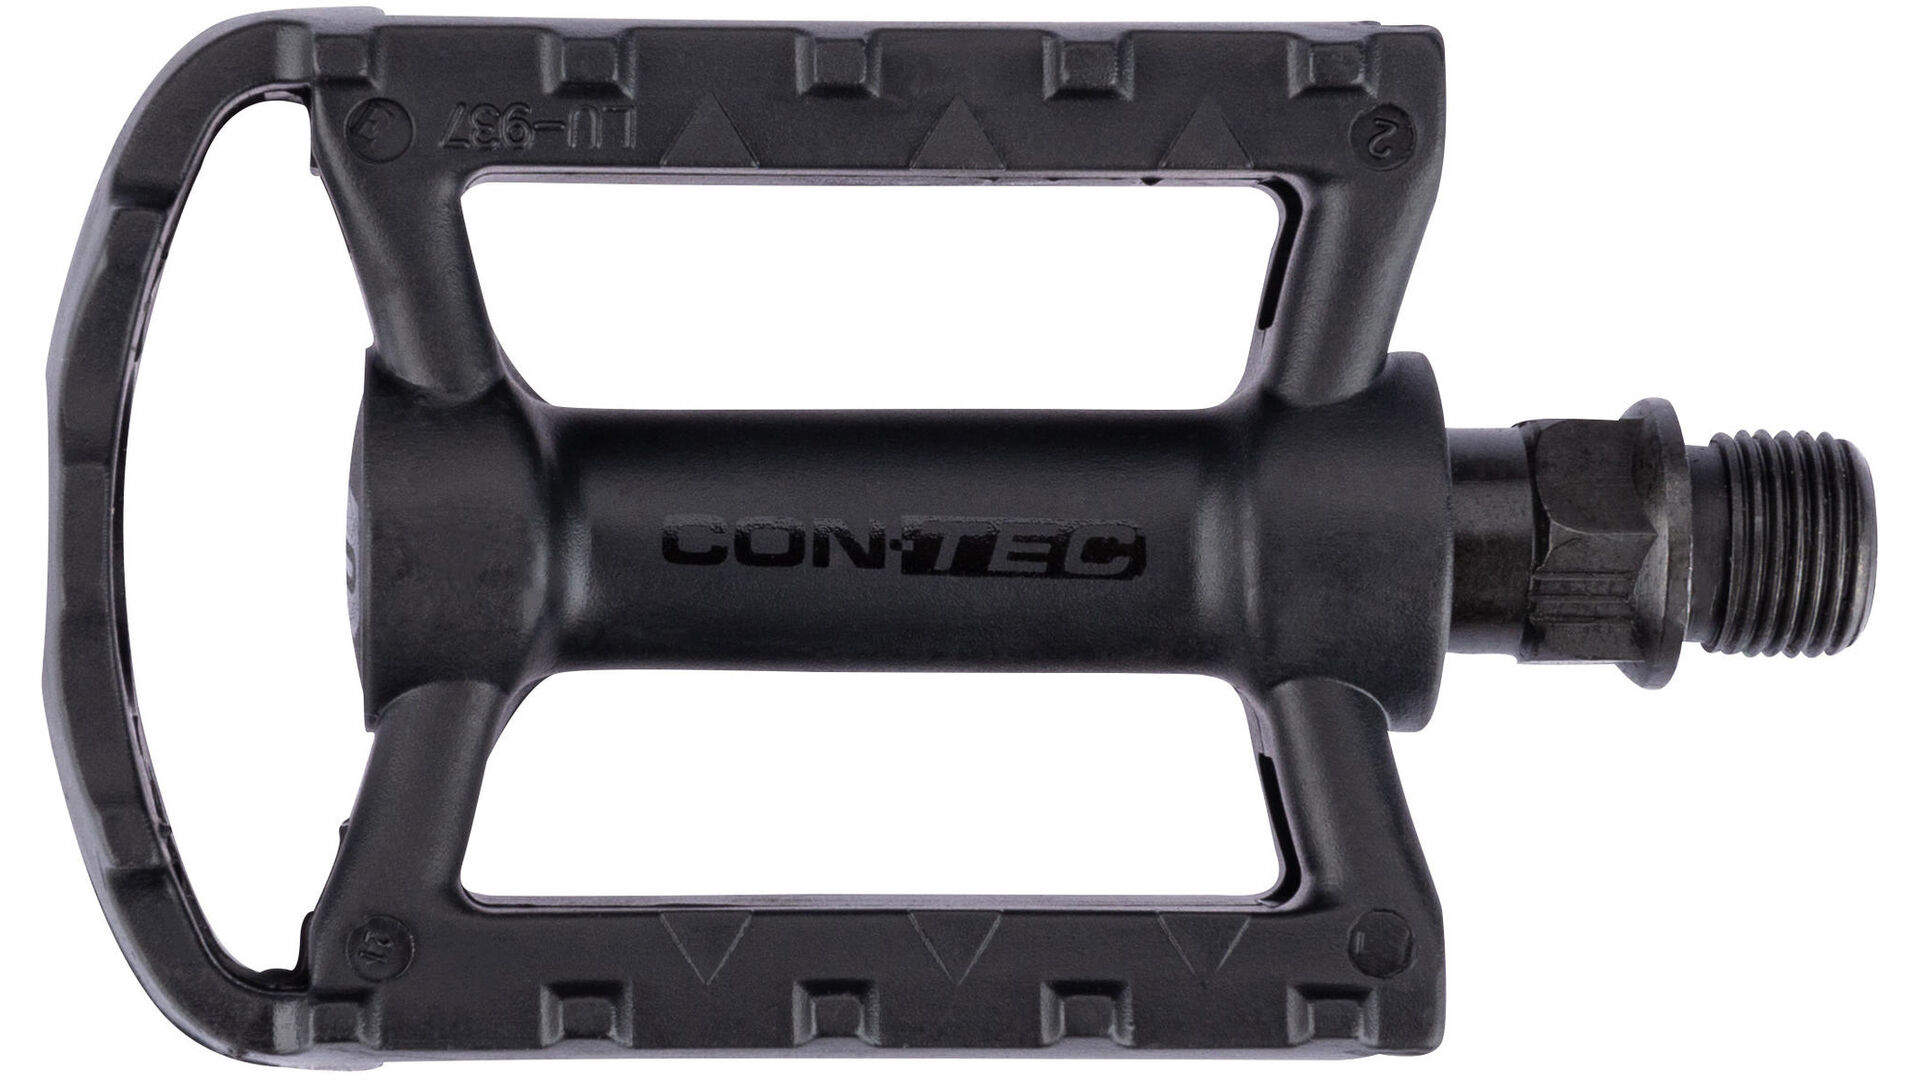
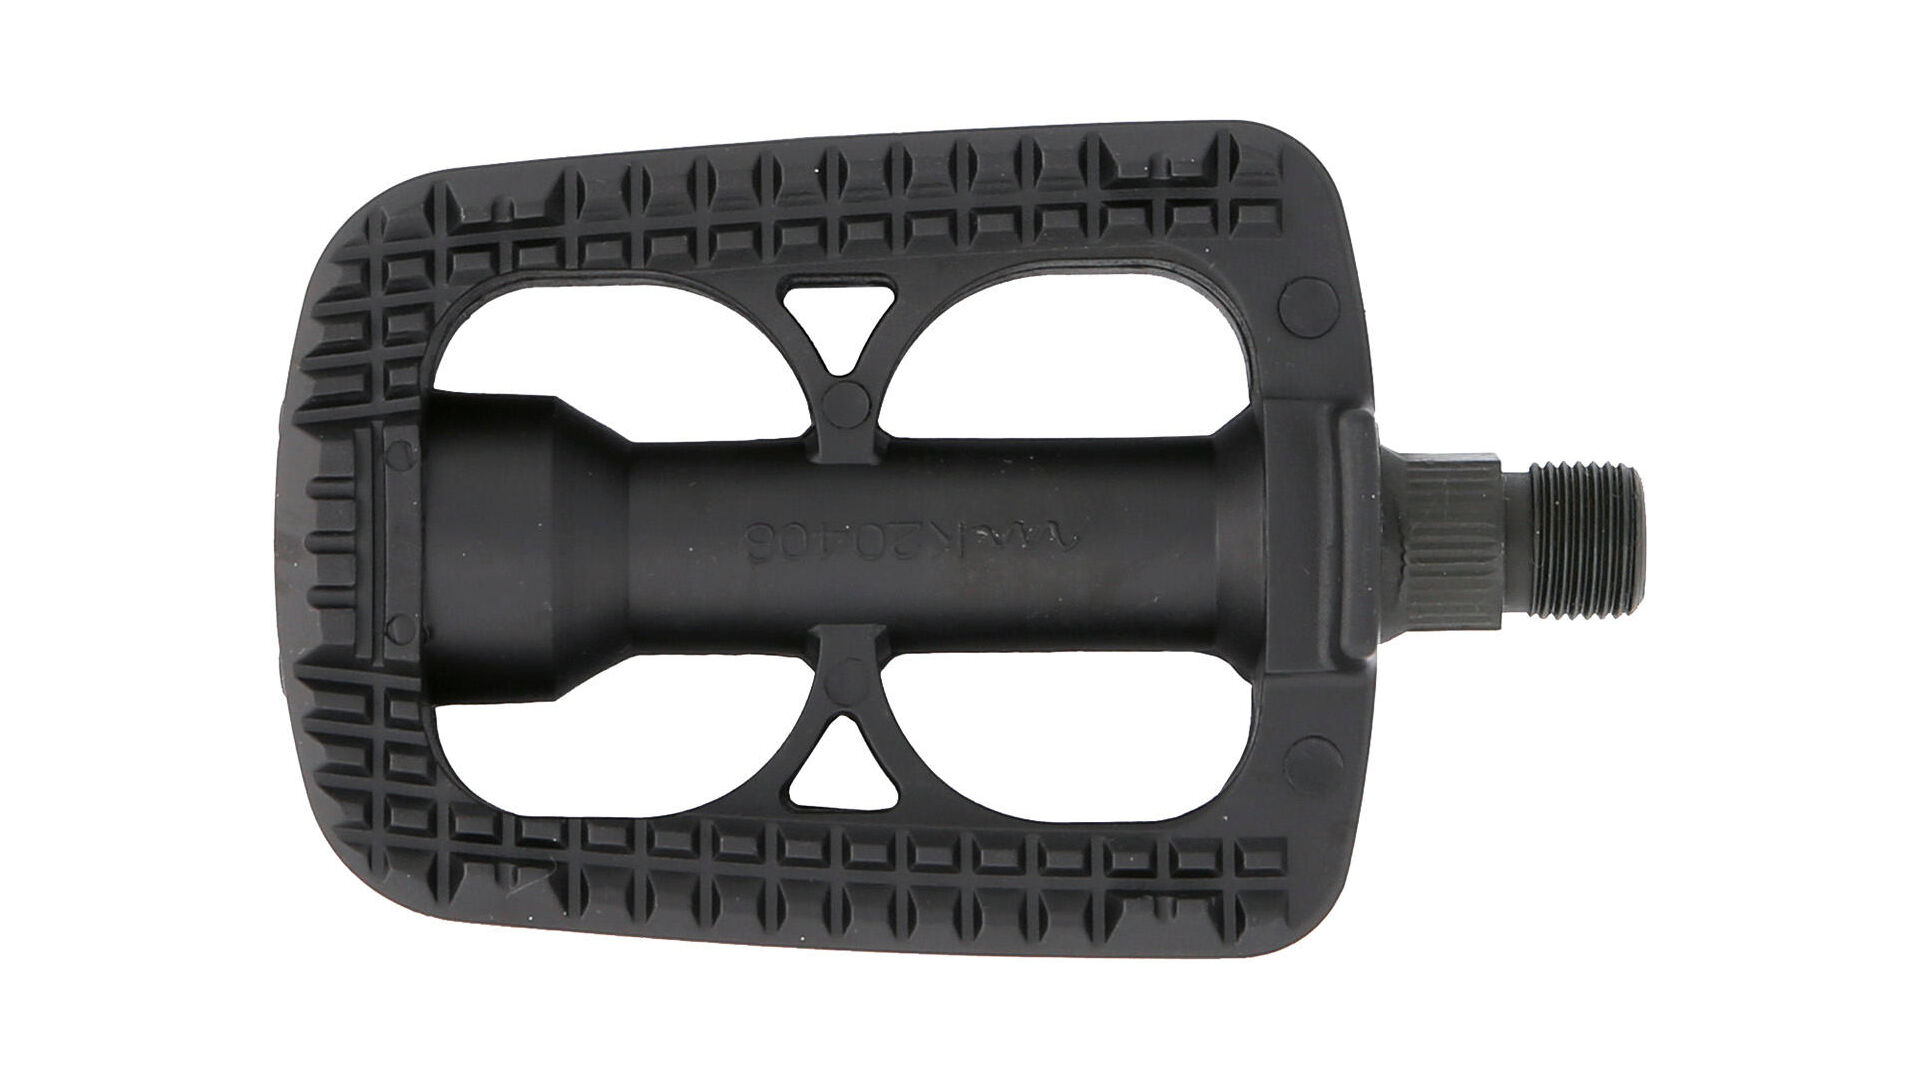
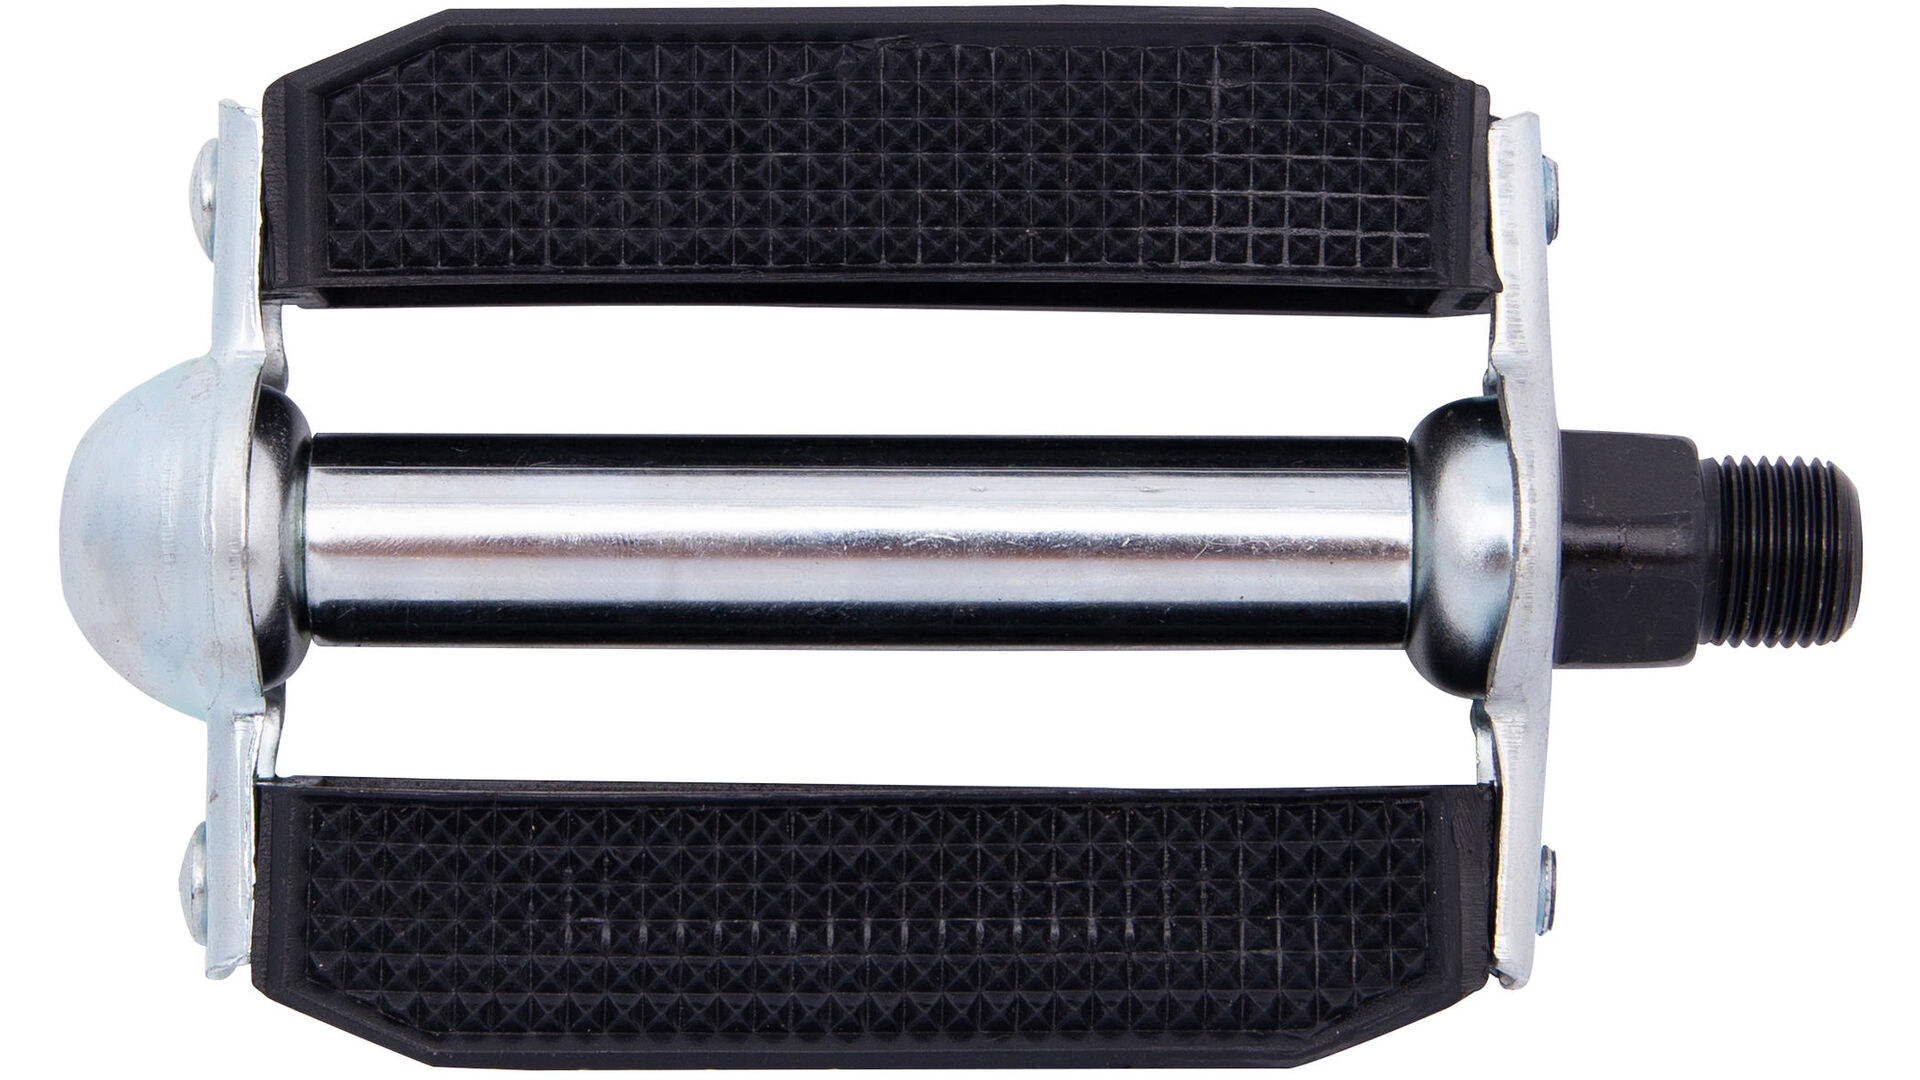
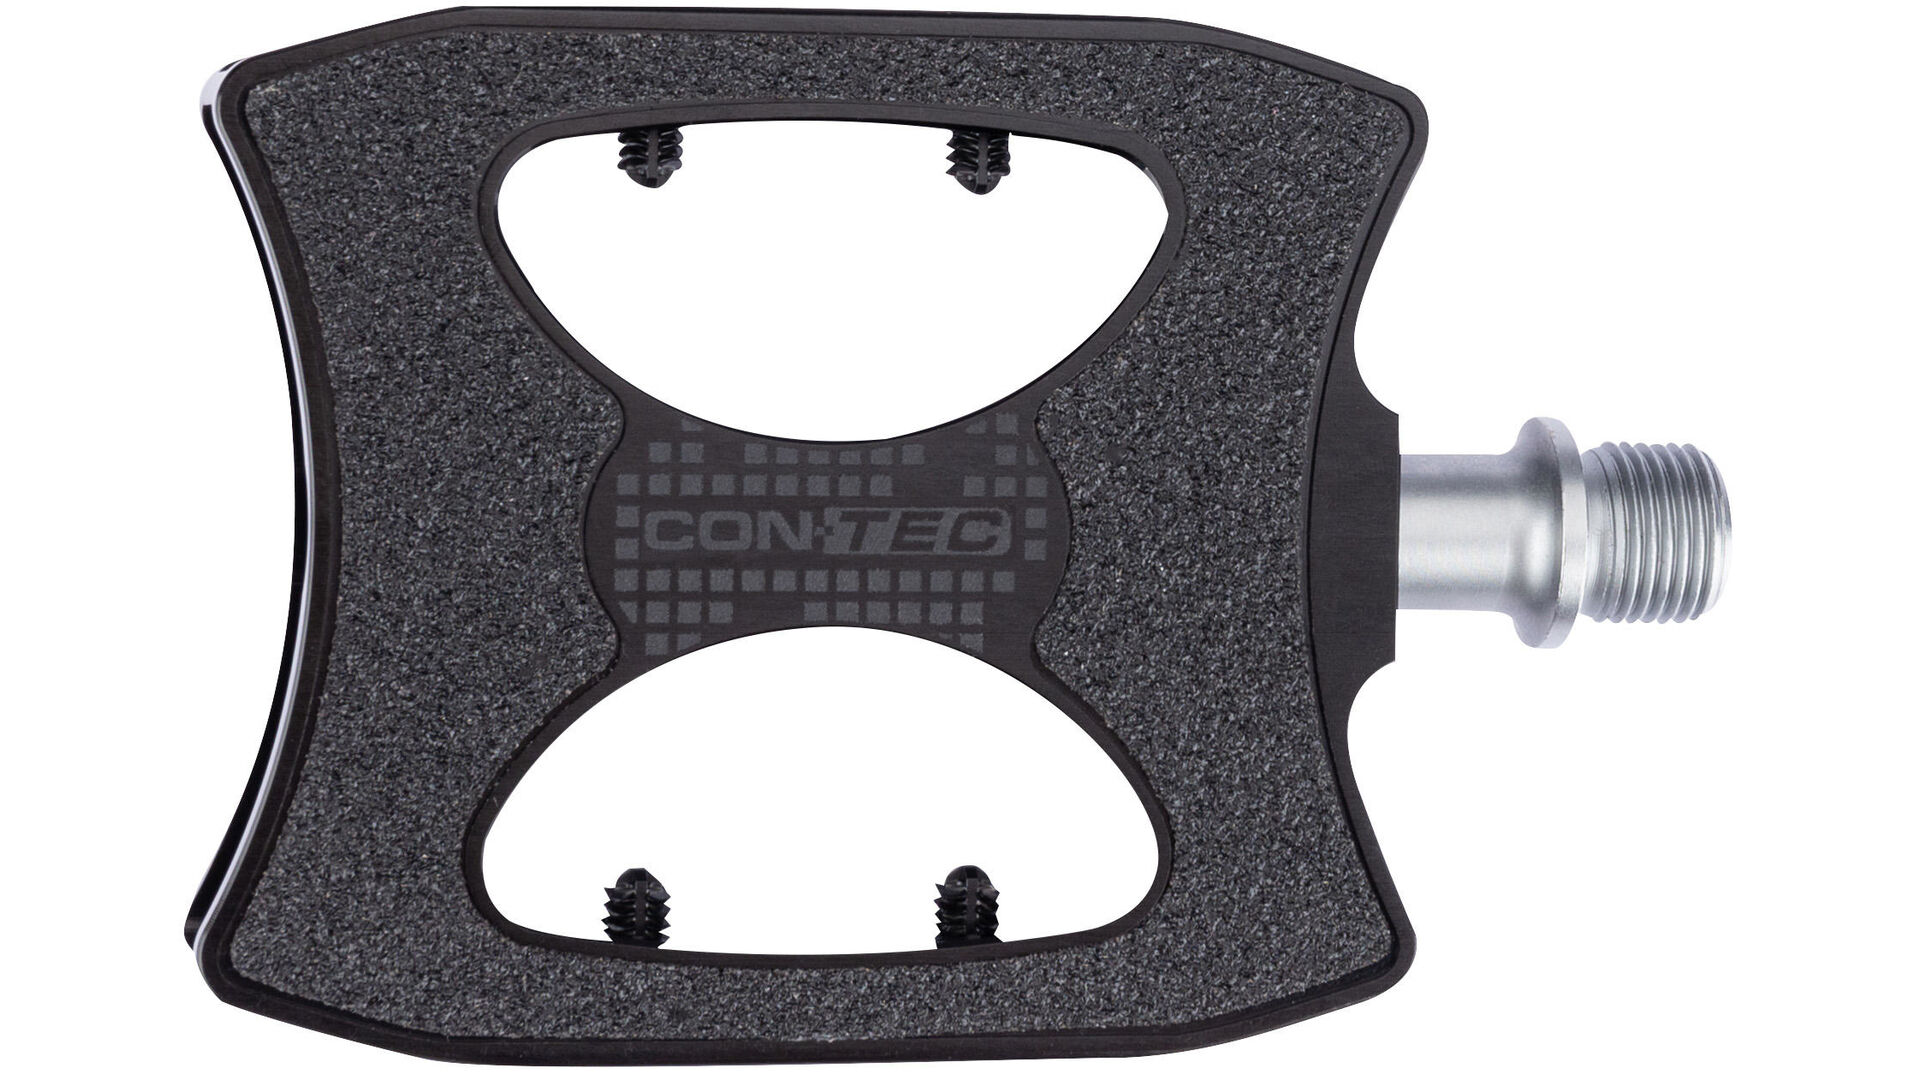
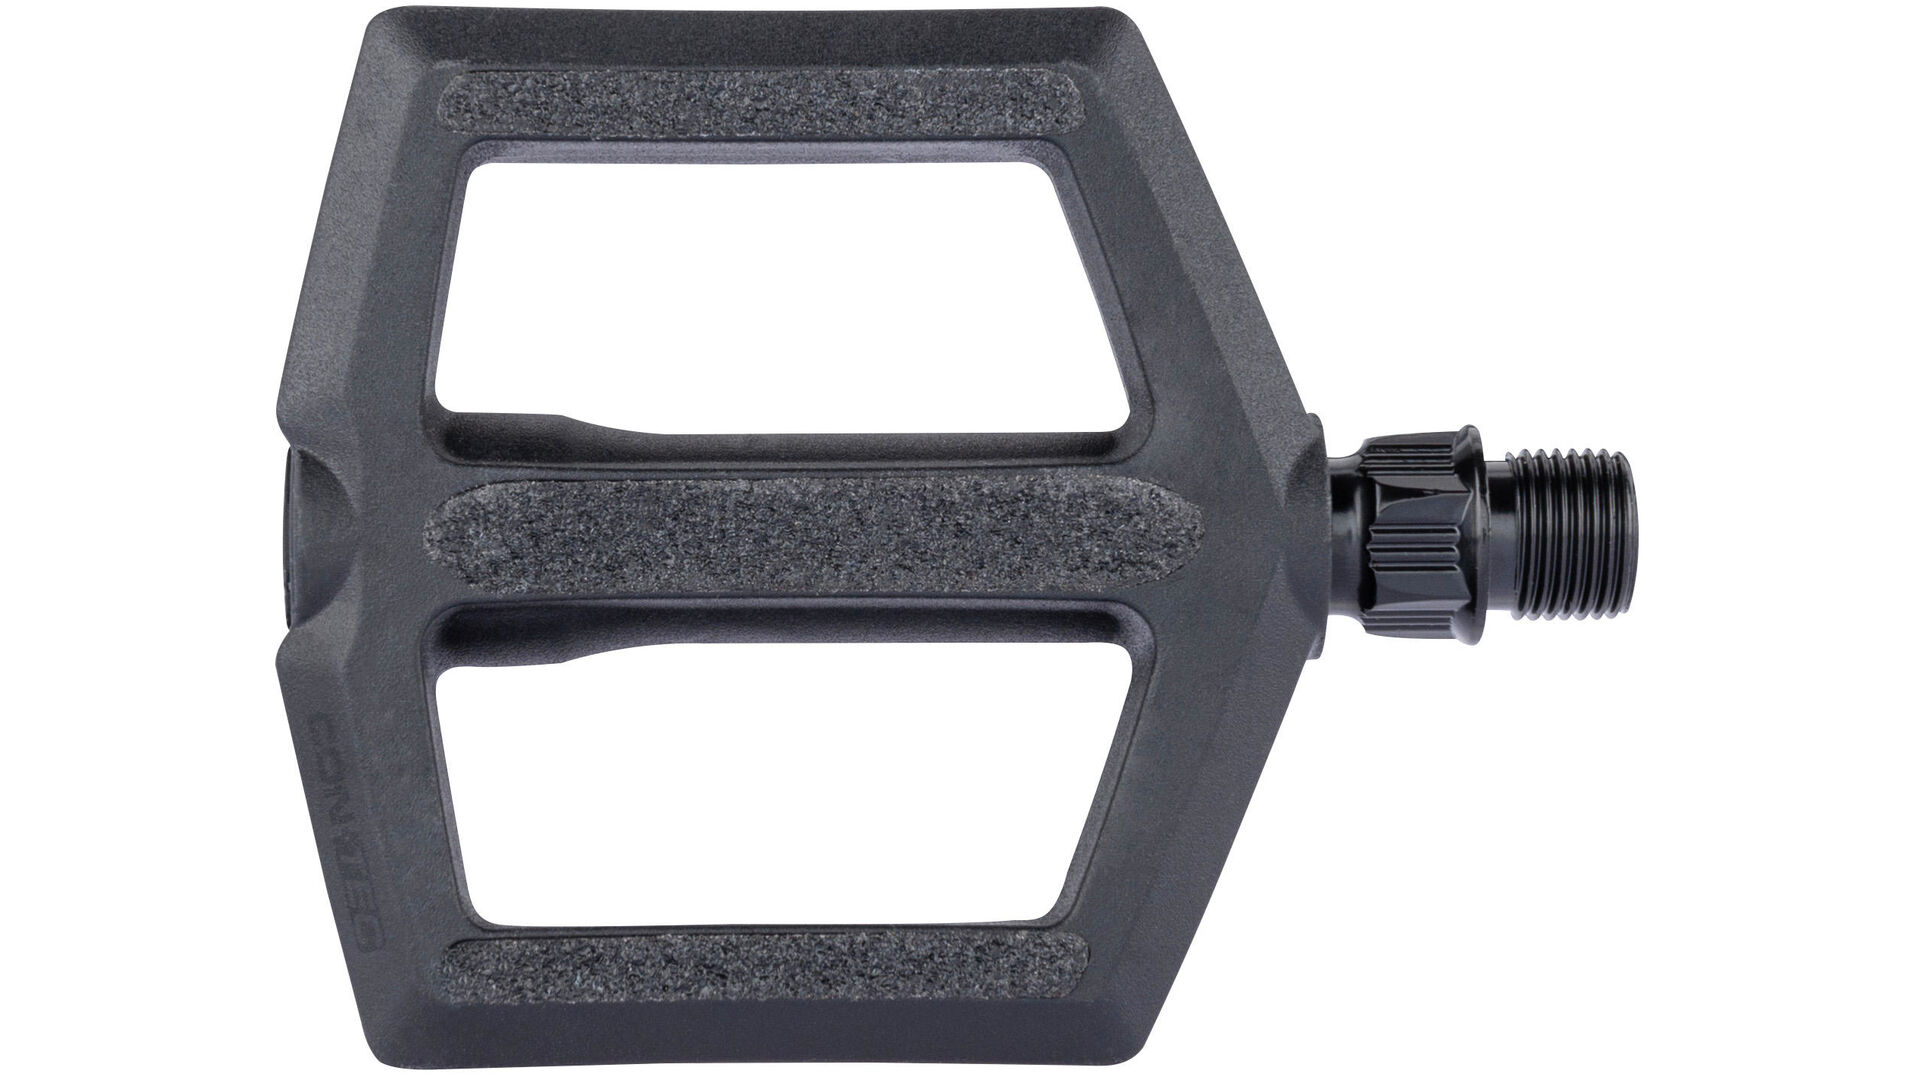
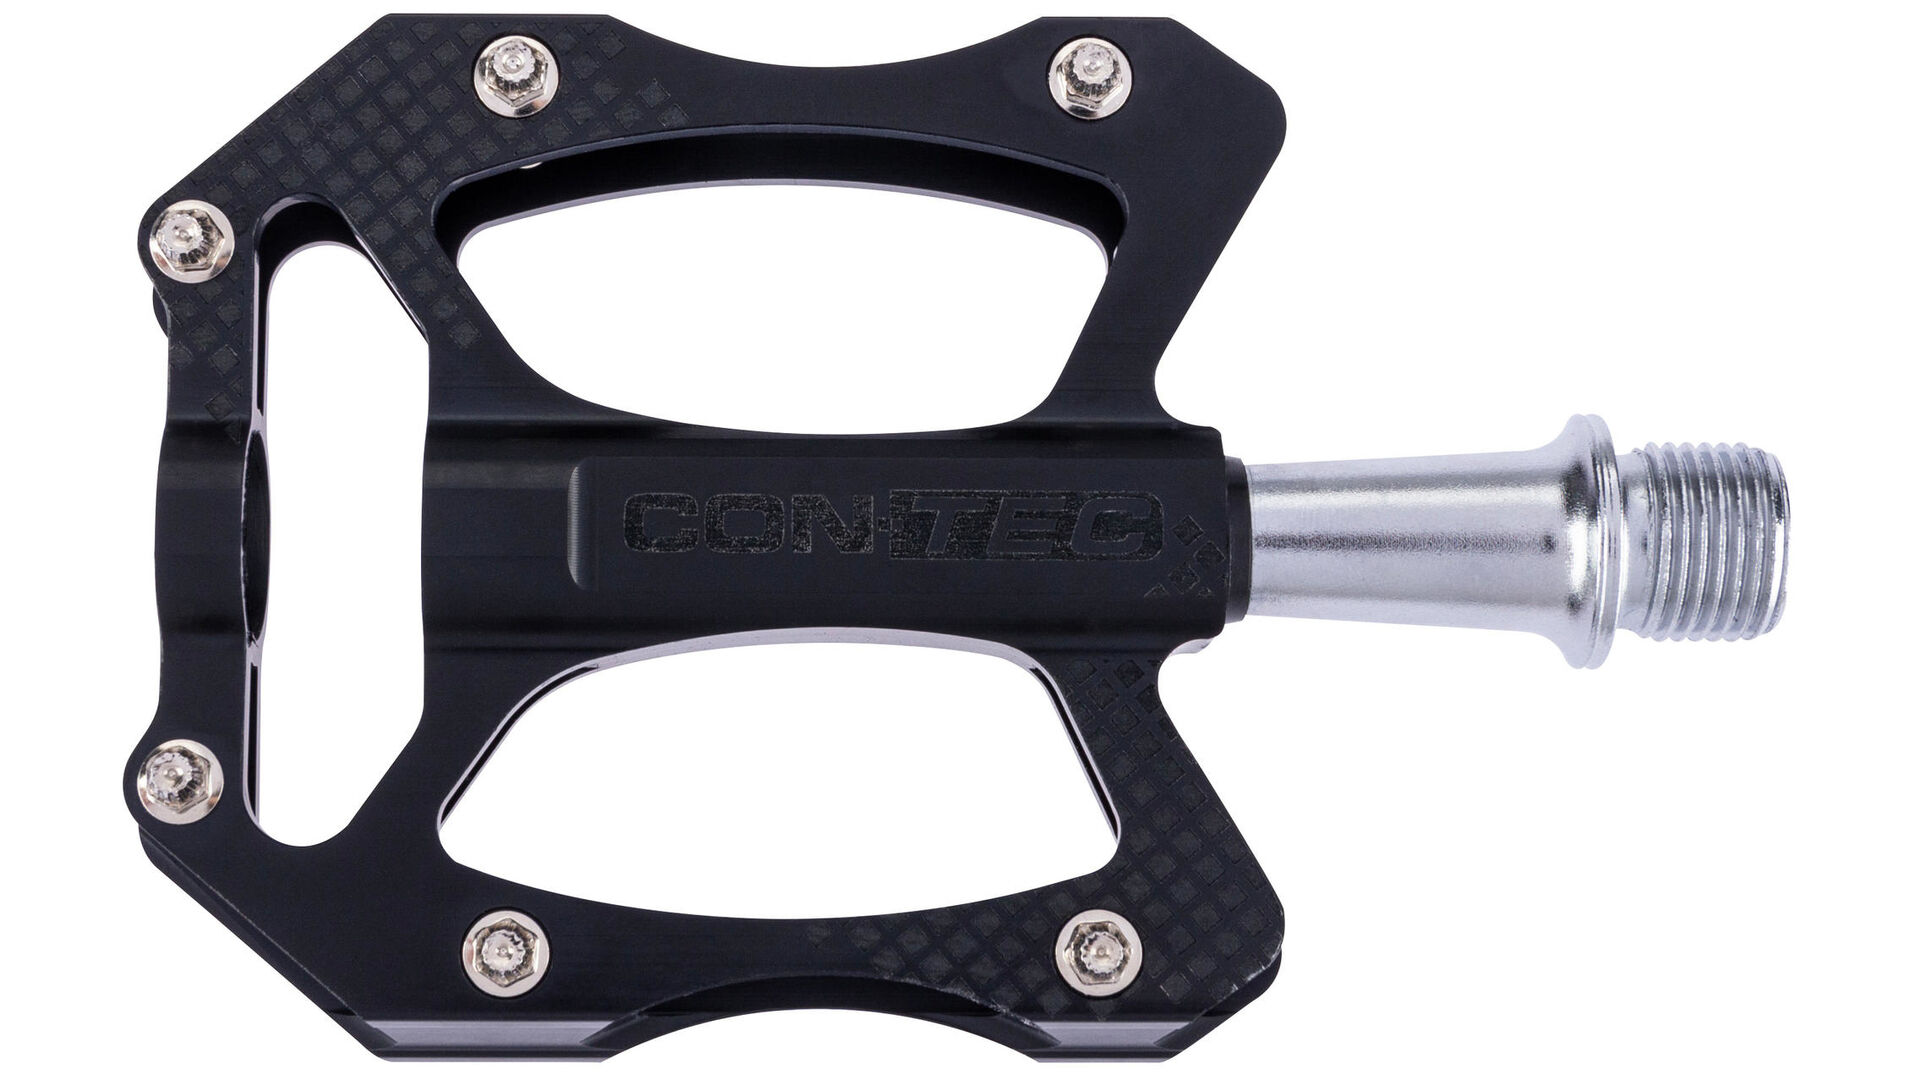
- Bike pedals
- Open-ended spanner / Allen key
- Torque wrench
- Assembly grease
- Repair stand (optional)
Step 2 – Grease the new bike pedals
Step 3 – Install the new bike pedals
- Now screw the greased pedals into the crank by hand toward the front wheel.
- Position the bike pedals straight against the pedal axle and screw the pedals carefully in order to prevent mis-threading.
- Screw the right pedal in a clockwise direction.
- Screw in the left pedal into the crank counter clockwise.
- Tighten the bike pedals firmly with the appropriate torque wrench so that they remain firmly in place while cycling.
- After a few days or a few kilometres of riding, tighten the bike pedals again.
Tip: Loosen stuck pedals
Overview of required tools & materials


Replacing bike pedals – this is how it works
You can easily replace pedals on your bike by yourself, saving you a trip to the workshop and money. Find out what you need to consider when replacing bike pedals, what tools you need, and how to install the new pedals. With these simple instructions and valuable tips, your bike pedals are replaced in no time at all.

Be careful when buying pedals
Bike pedals in a set always contain a left and a right pedal. If you buy pedals individually for your bike, make sure you buy one right and one left pedal.
CAUTION: pedal material
Use caution on pedals with titanium axis: Here, use carbon-fibre assembly paste to grease the pedal threads. Otherwise, the titanium of the pedal axis will bond to the aluminium or steel of the crank.