
Replacing brake pads on your bike: Here's how it works!
Brakes wear, we know that. To find out how you can recognise the wear and replace the brake pads on a disc brake or rim brake yourself, click here.
- Installing brake pads on disc brakes
- Installing brake pads on mechanical rim brakes
- Installing brake pads on hydraulic rim brakes
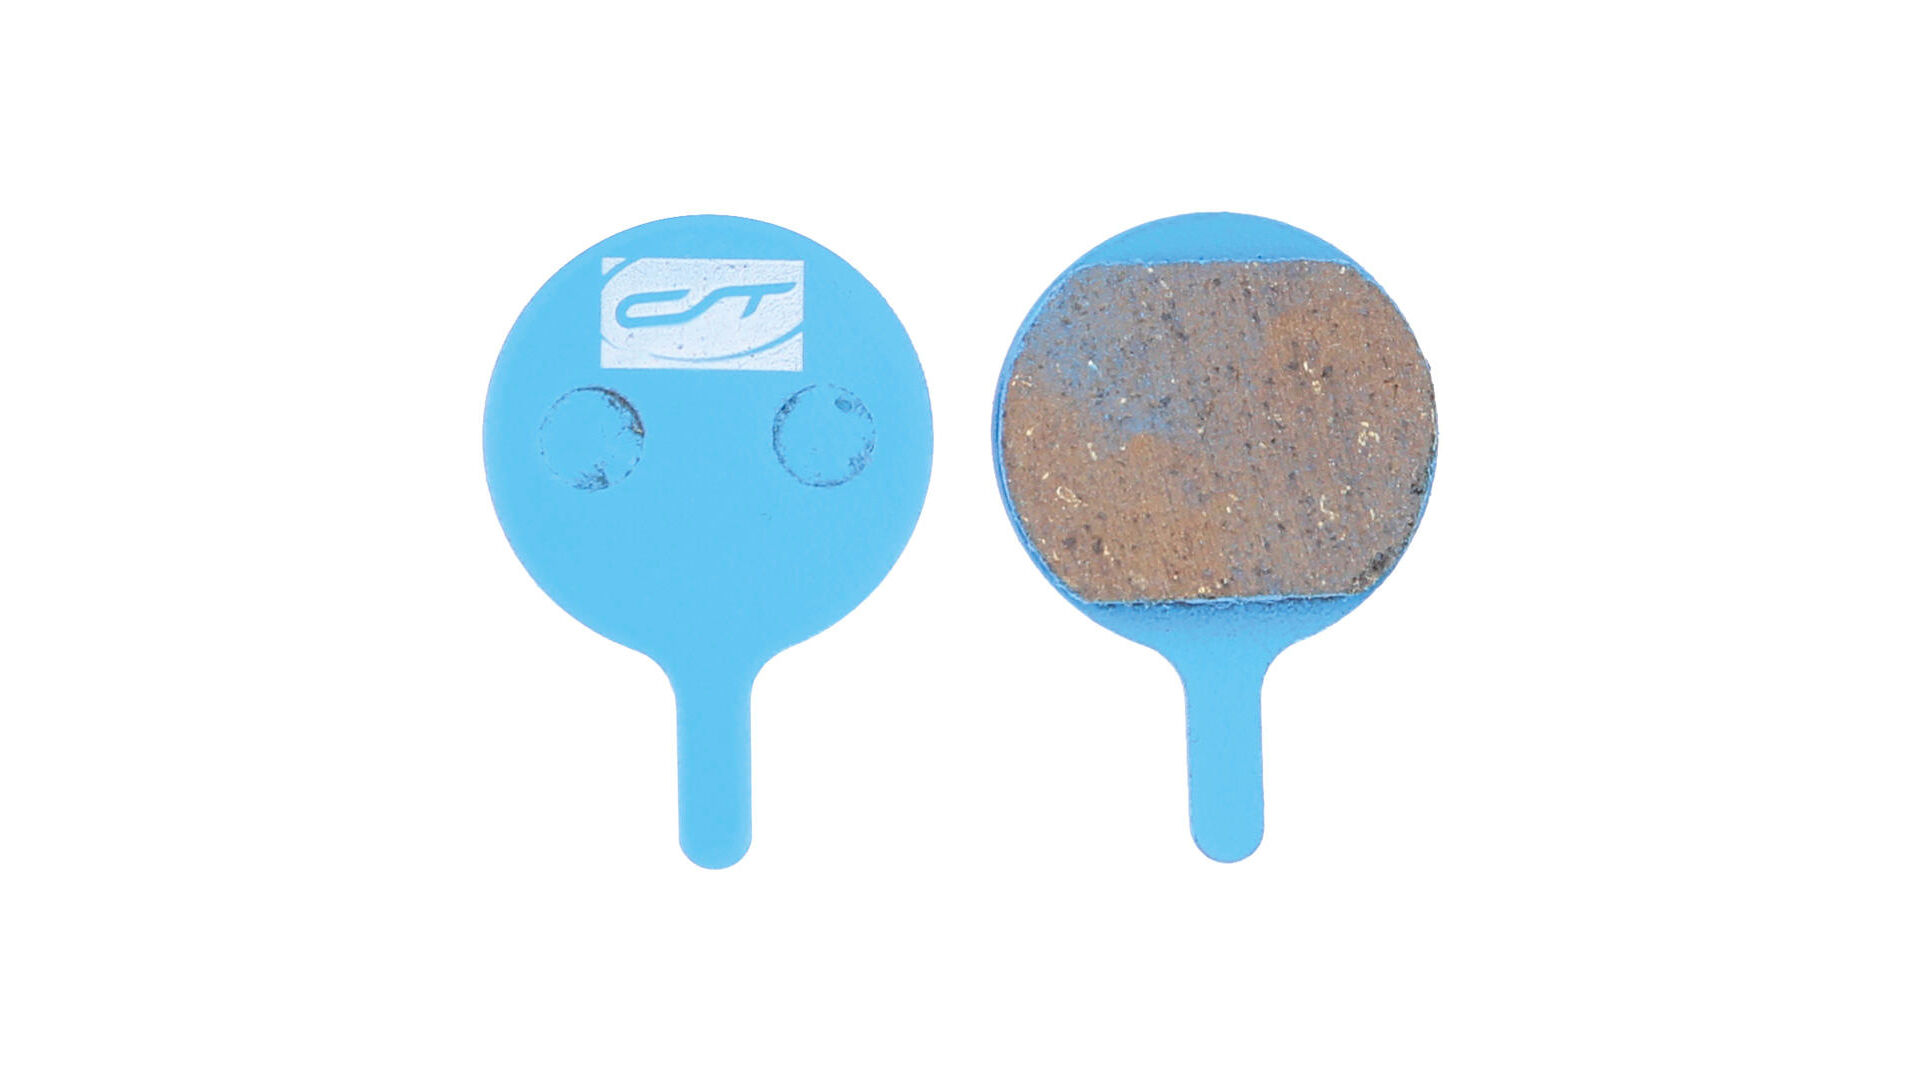
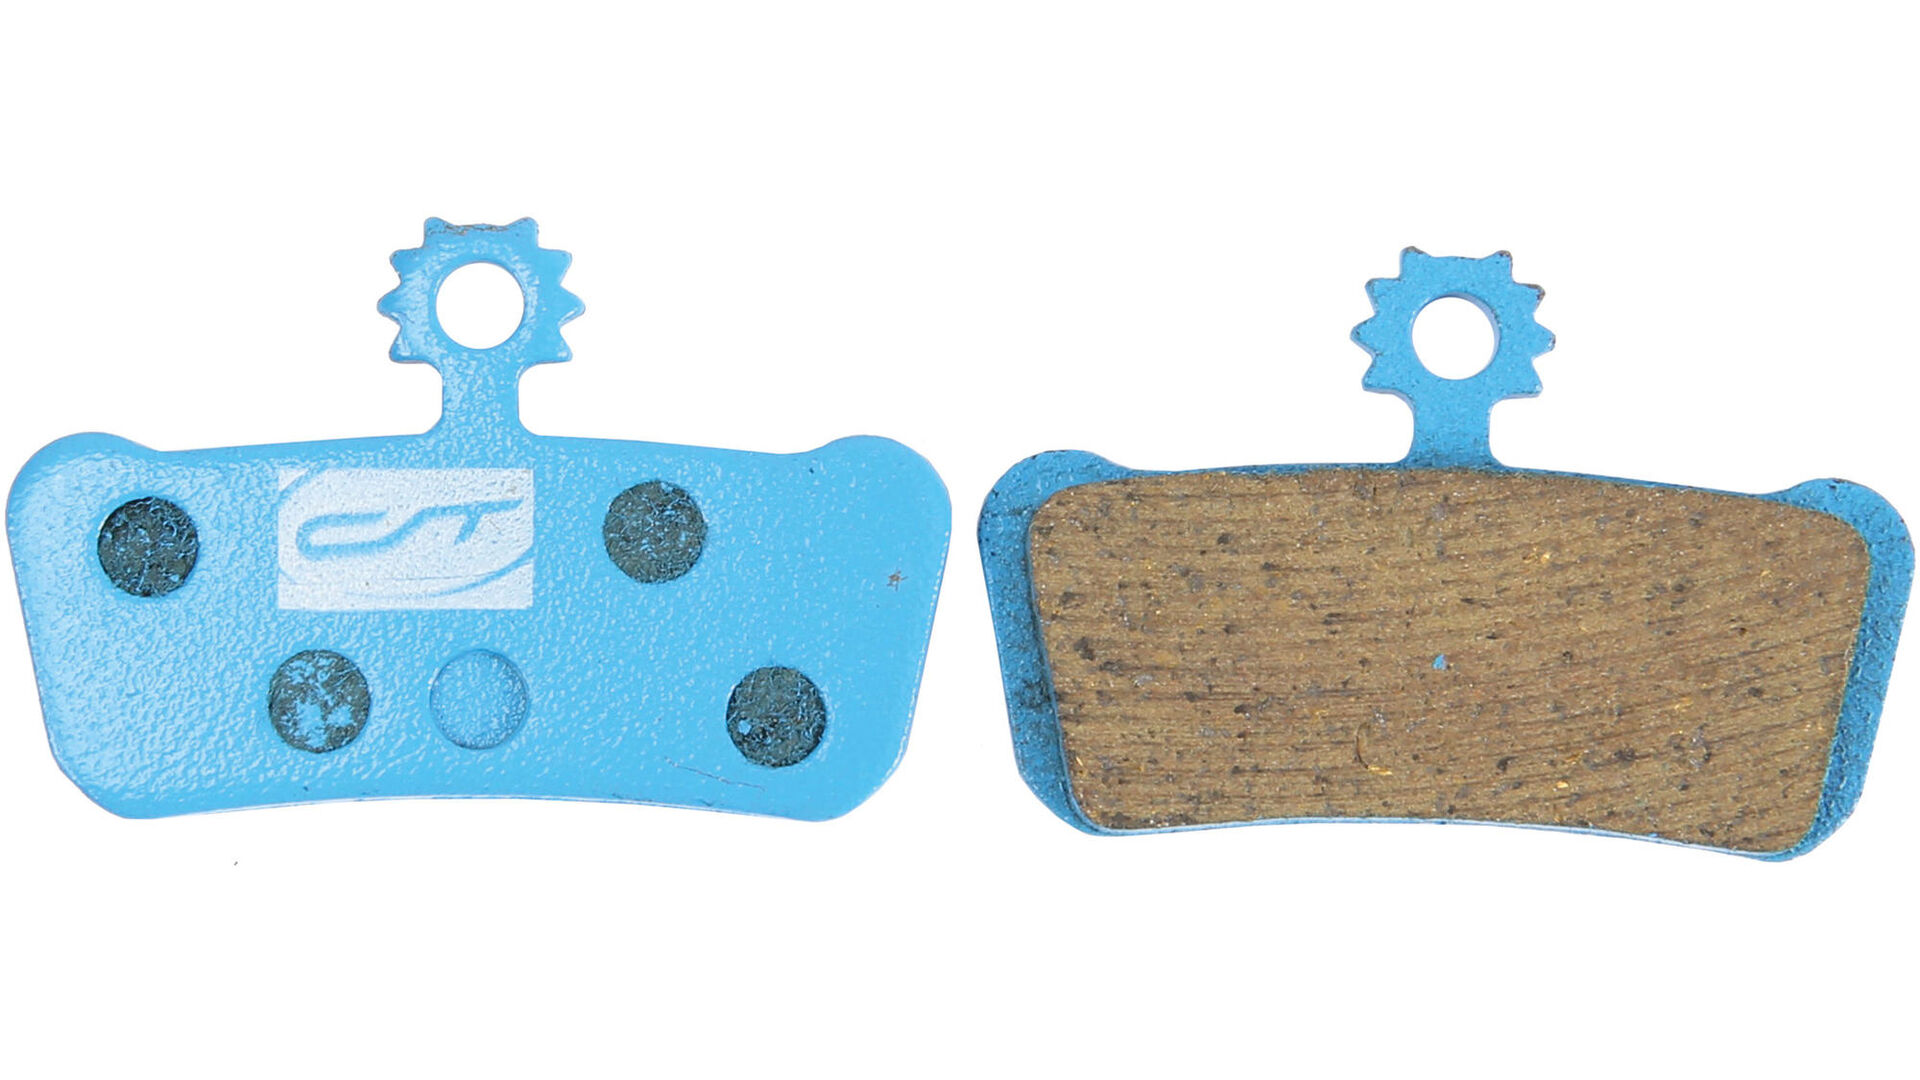
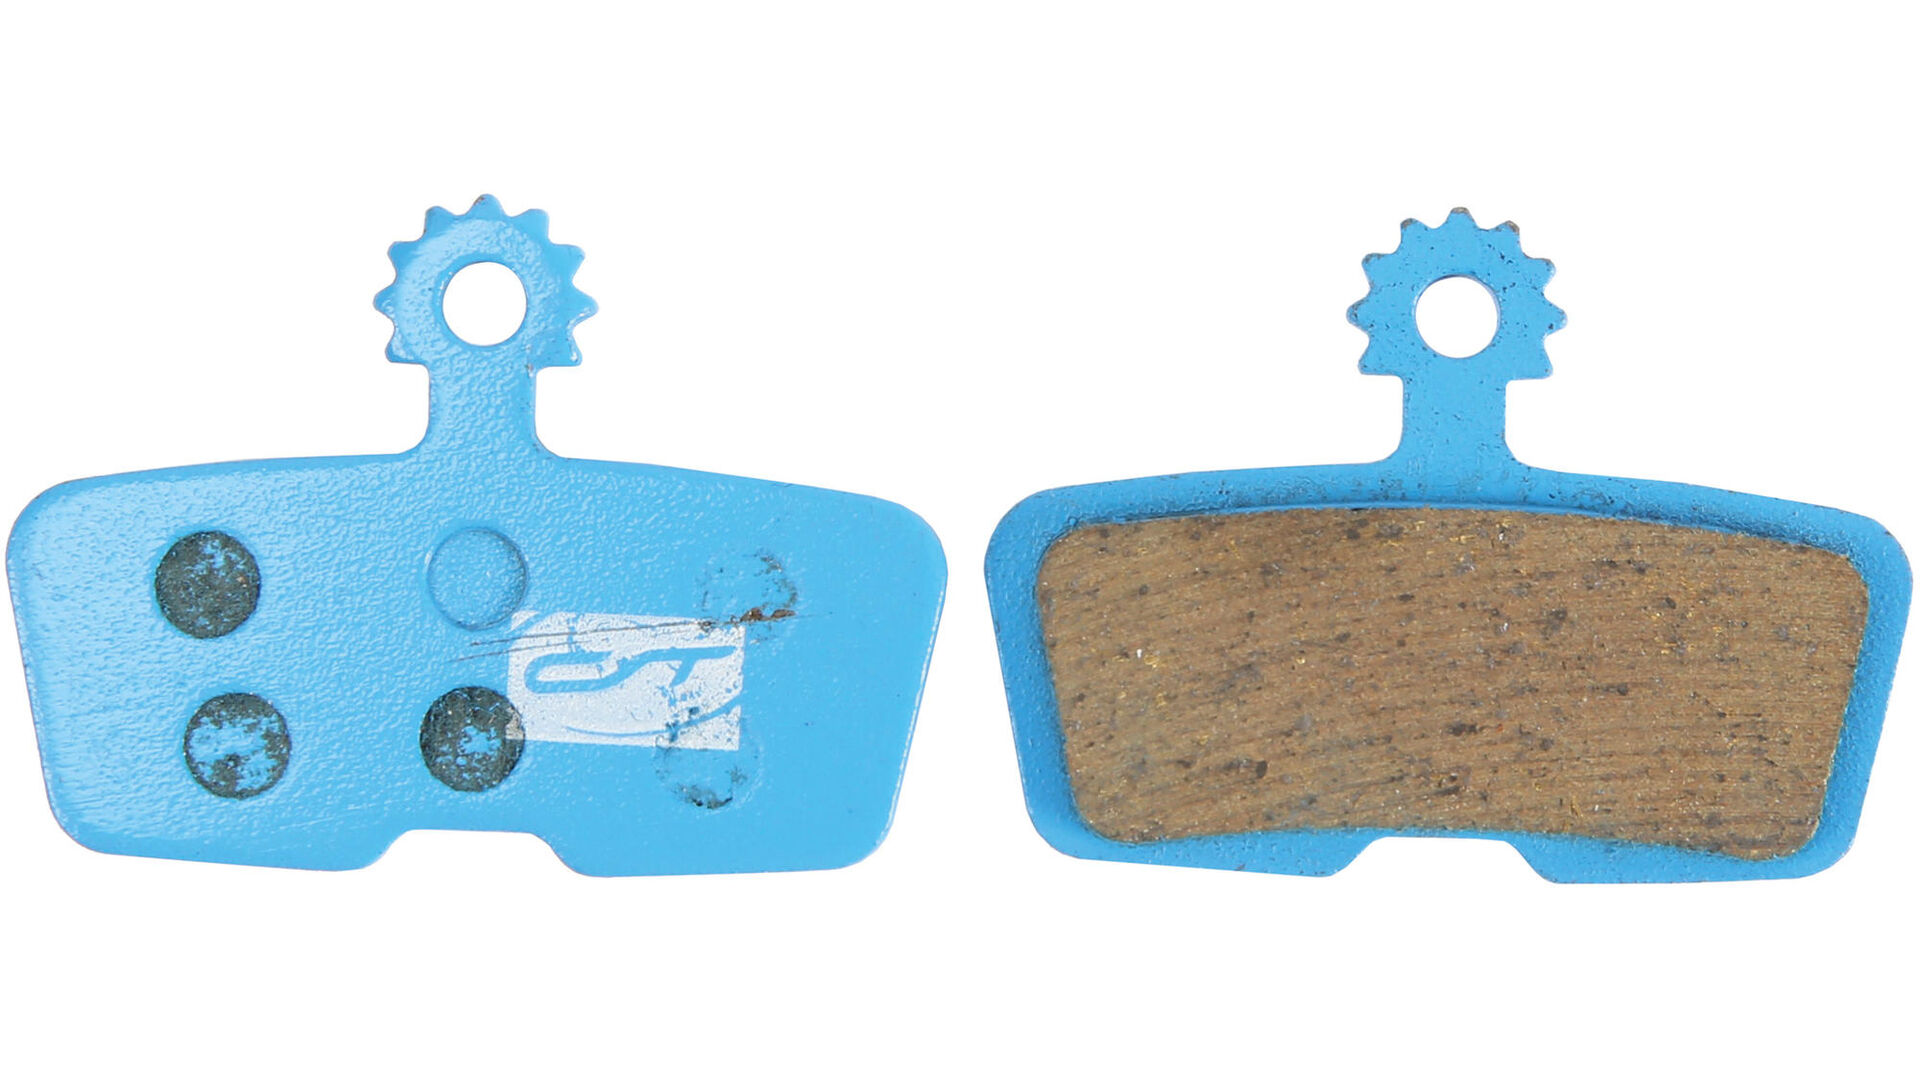
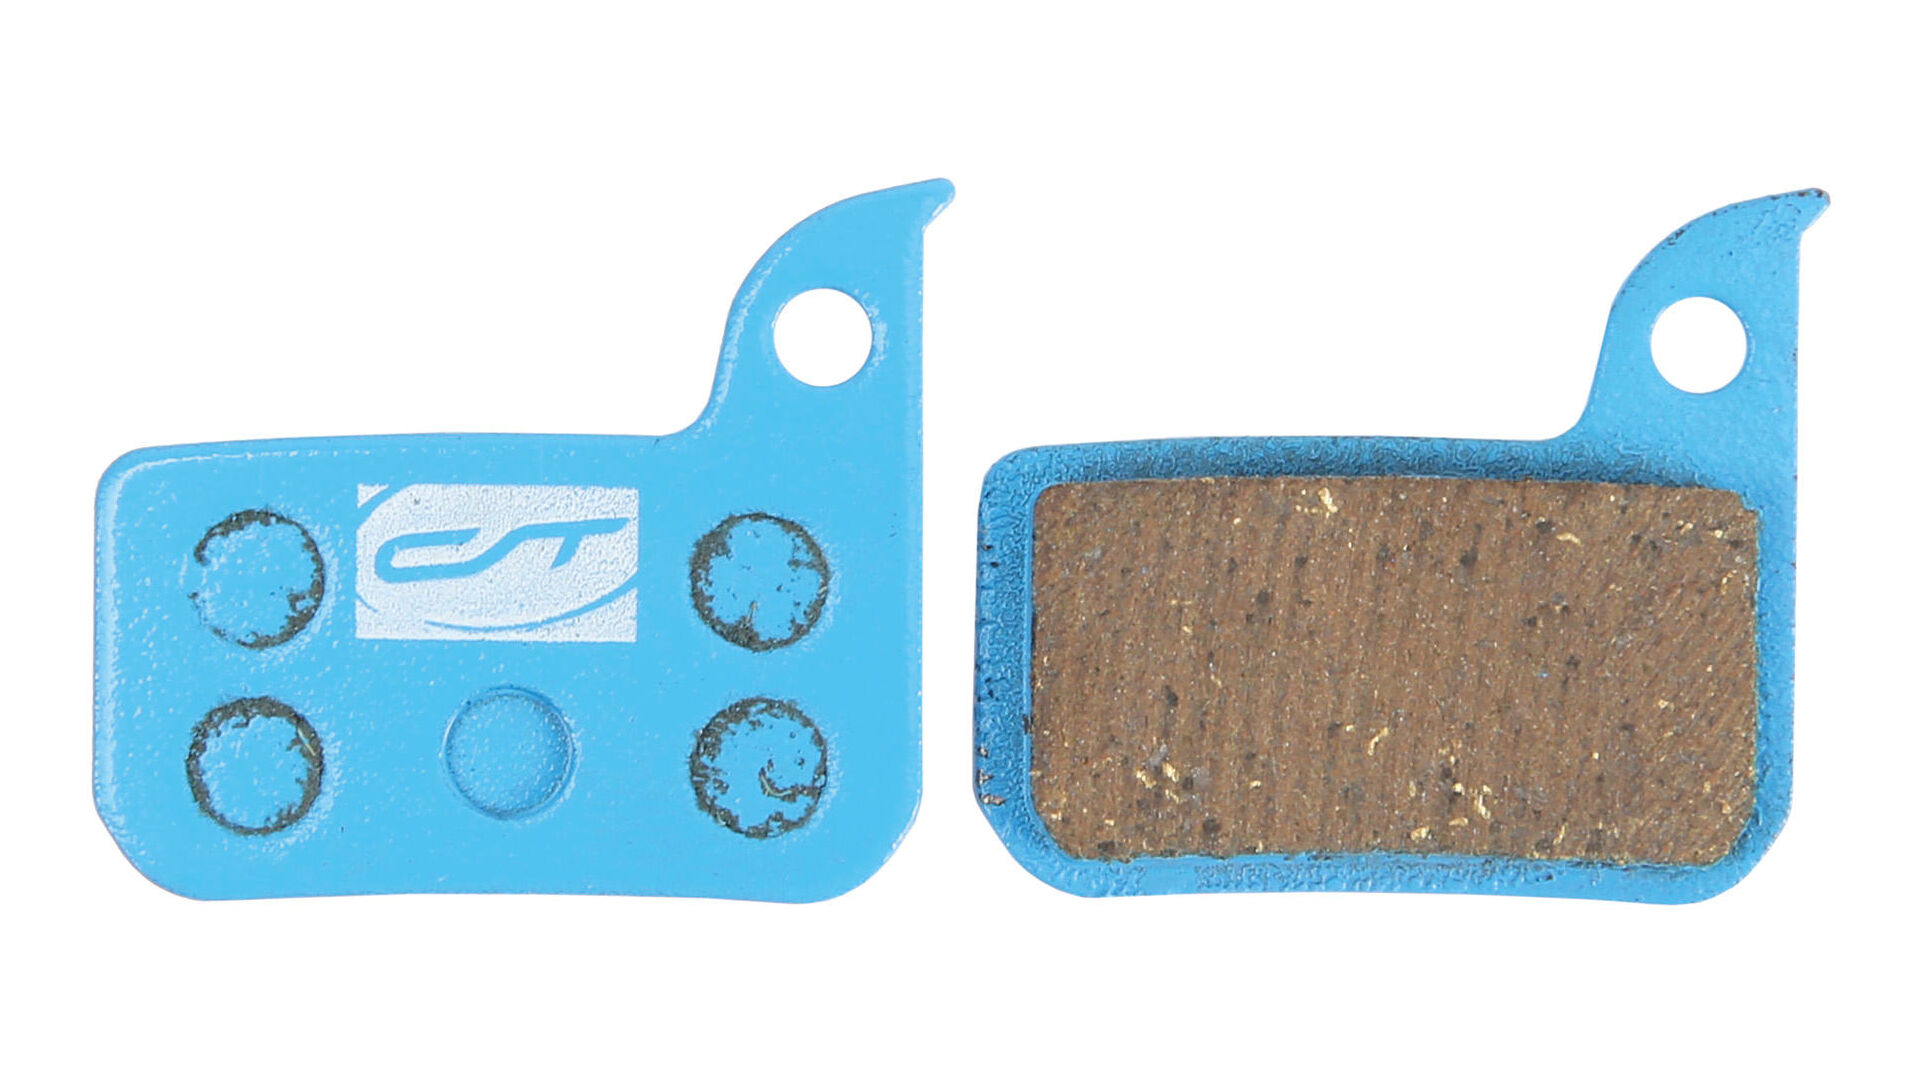
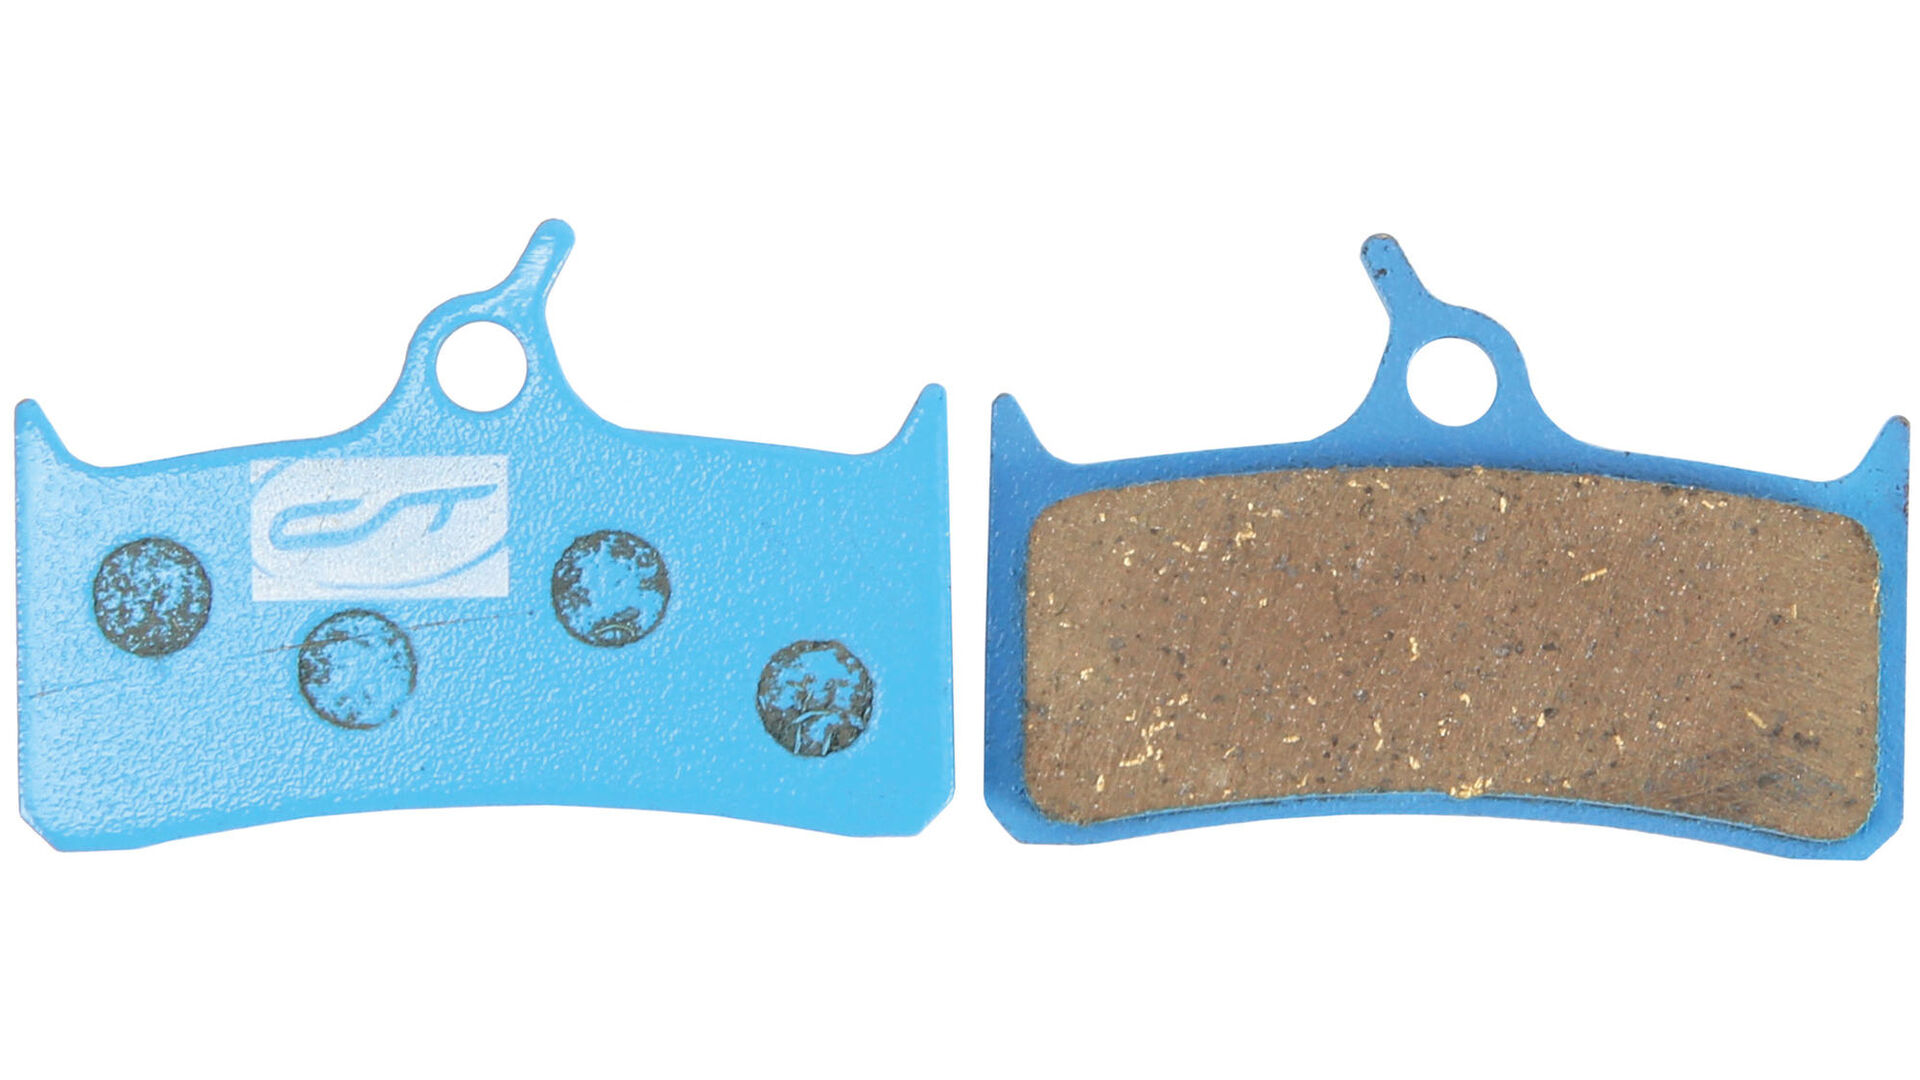
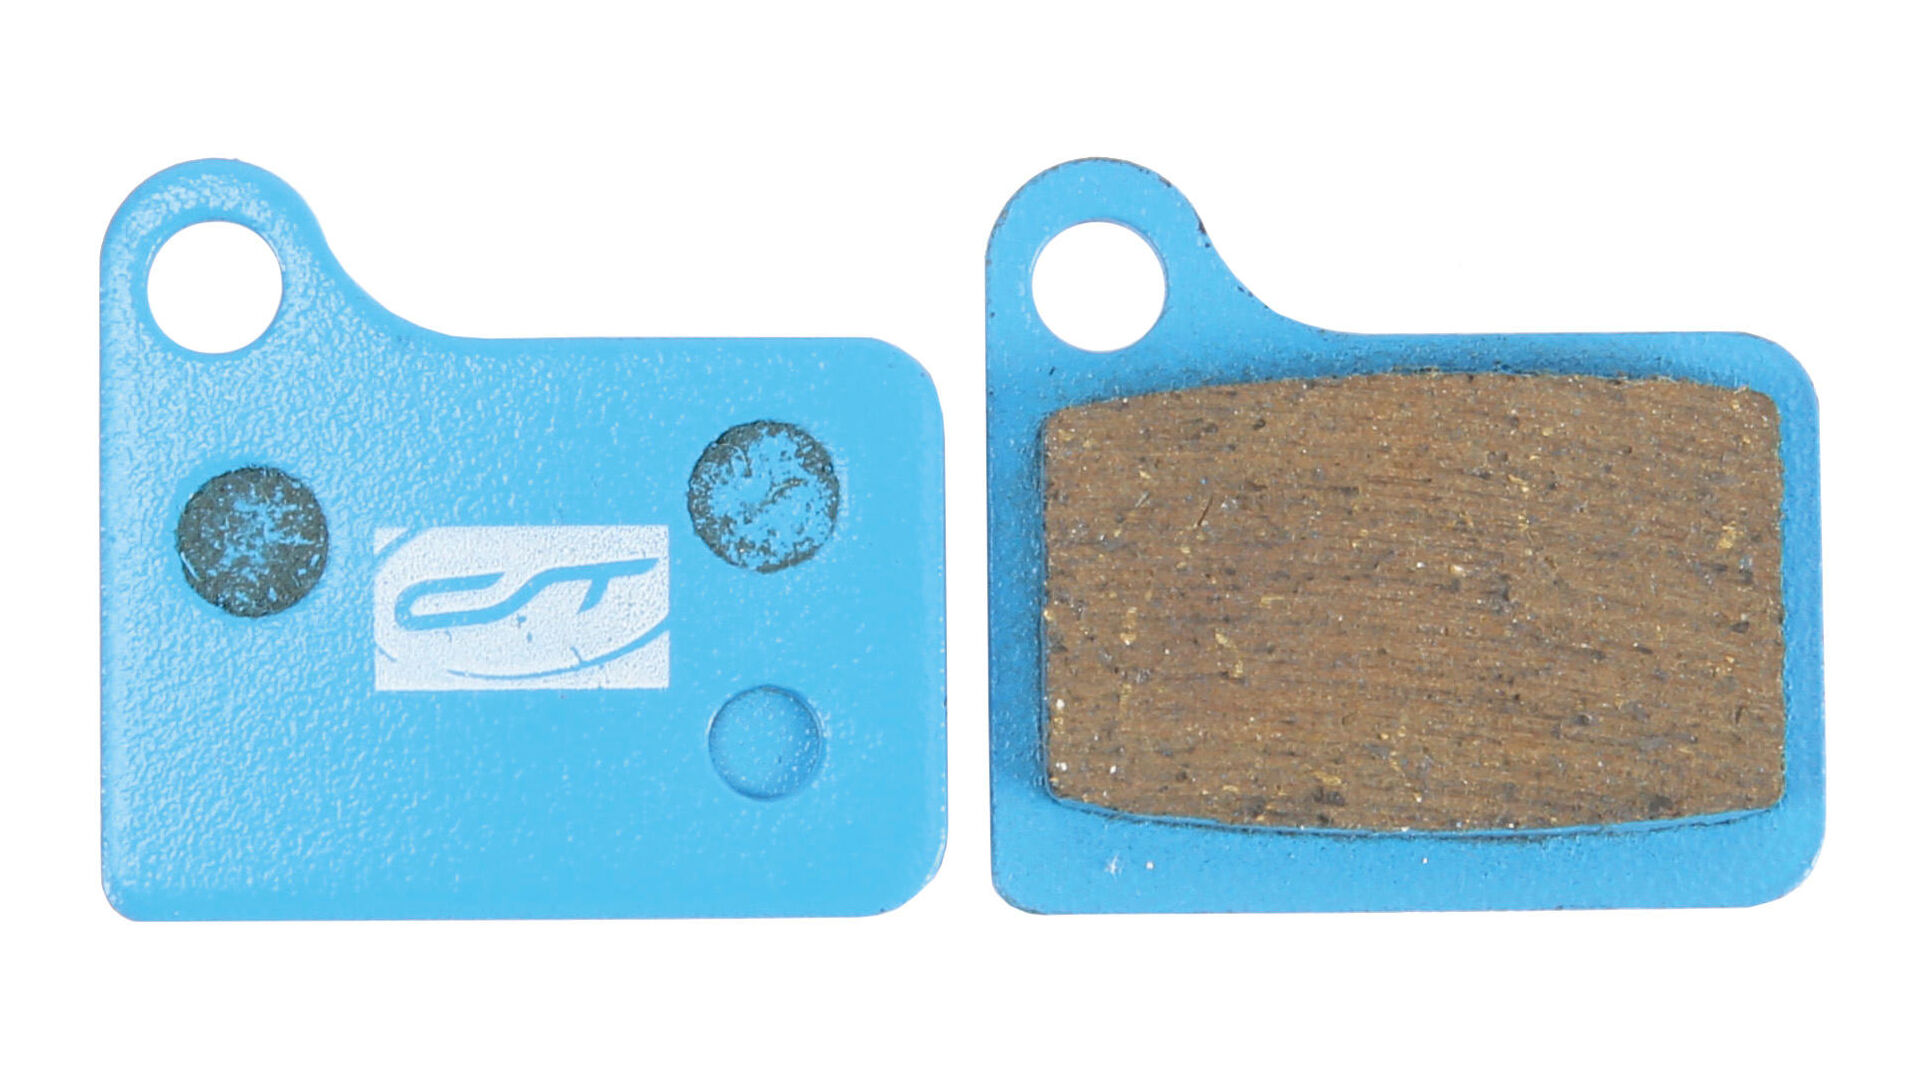
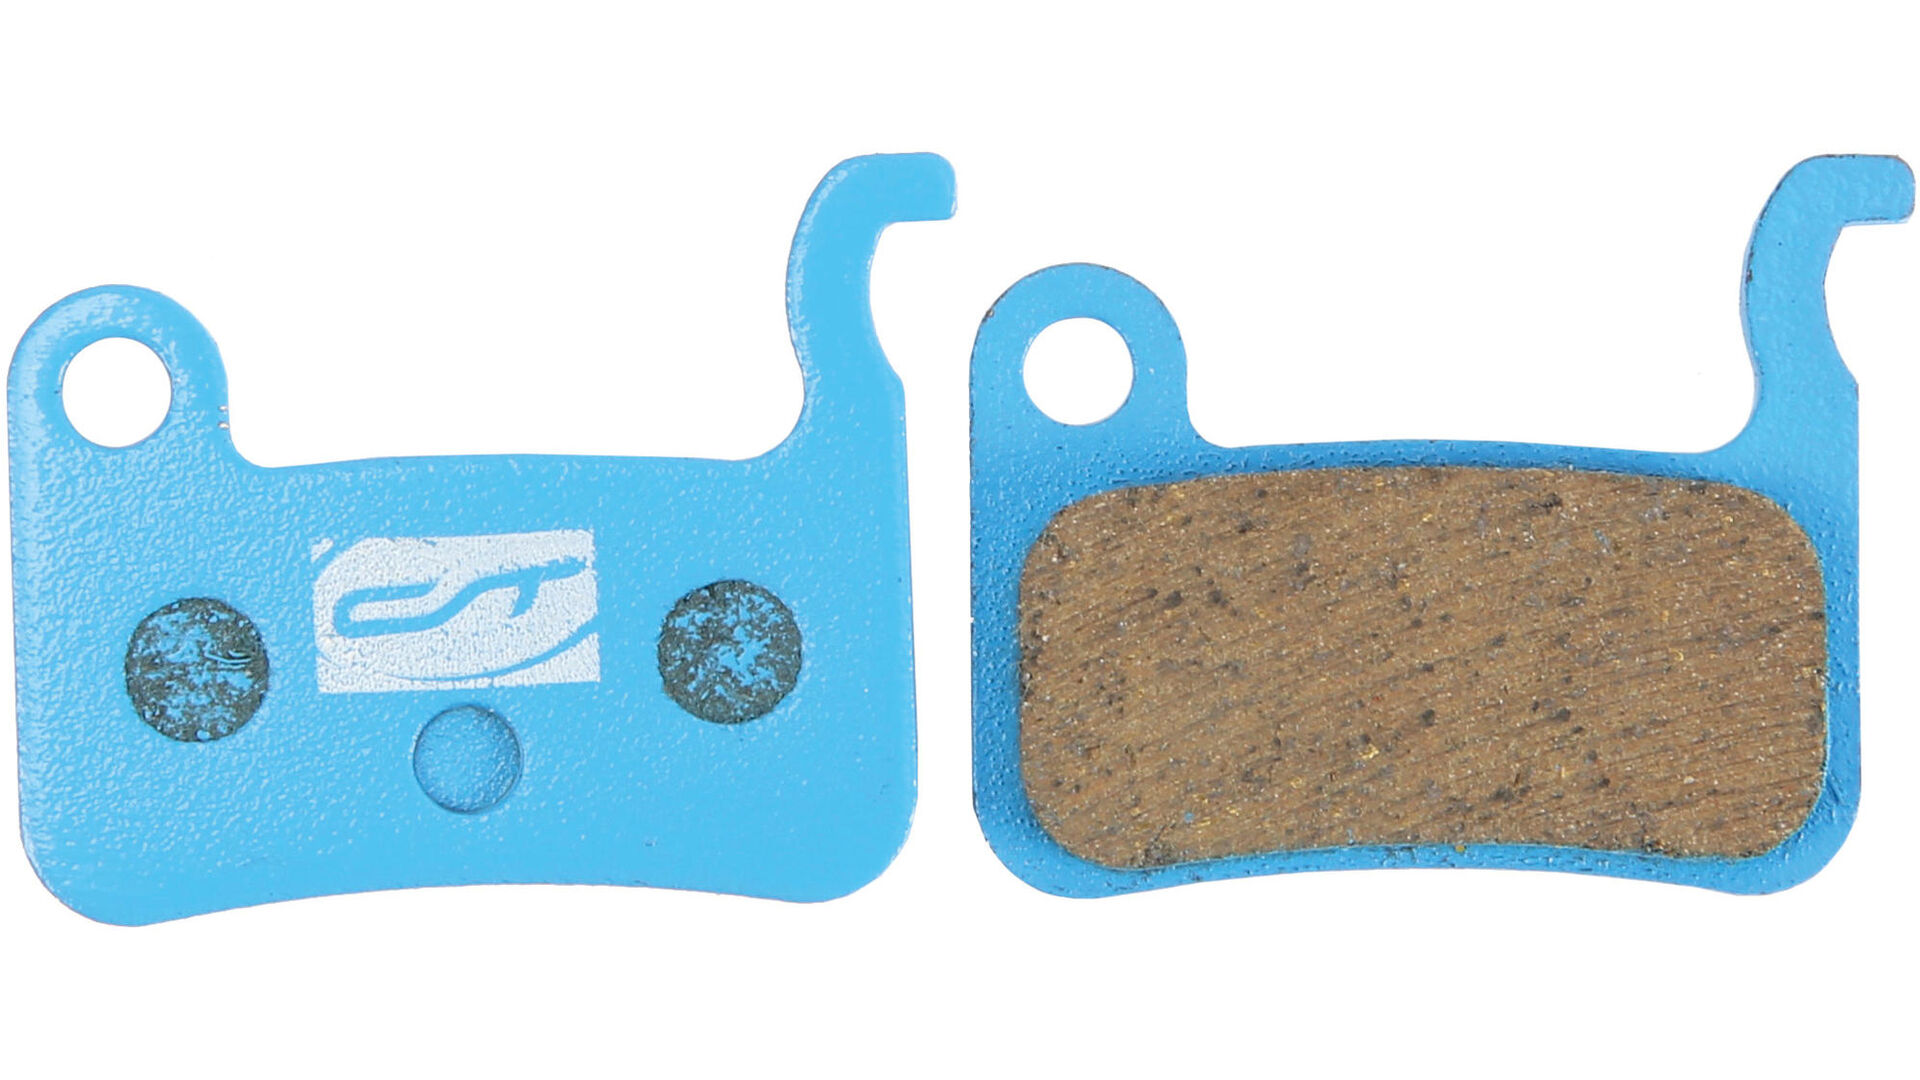
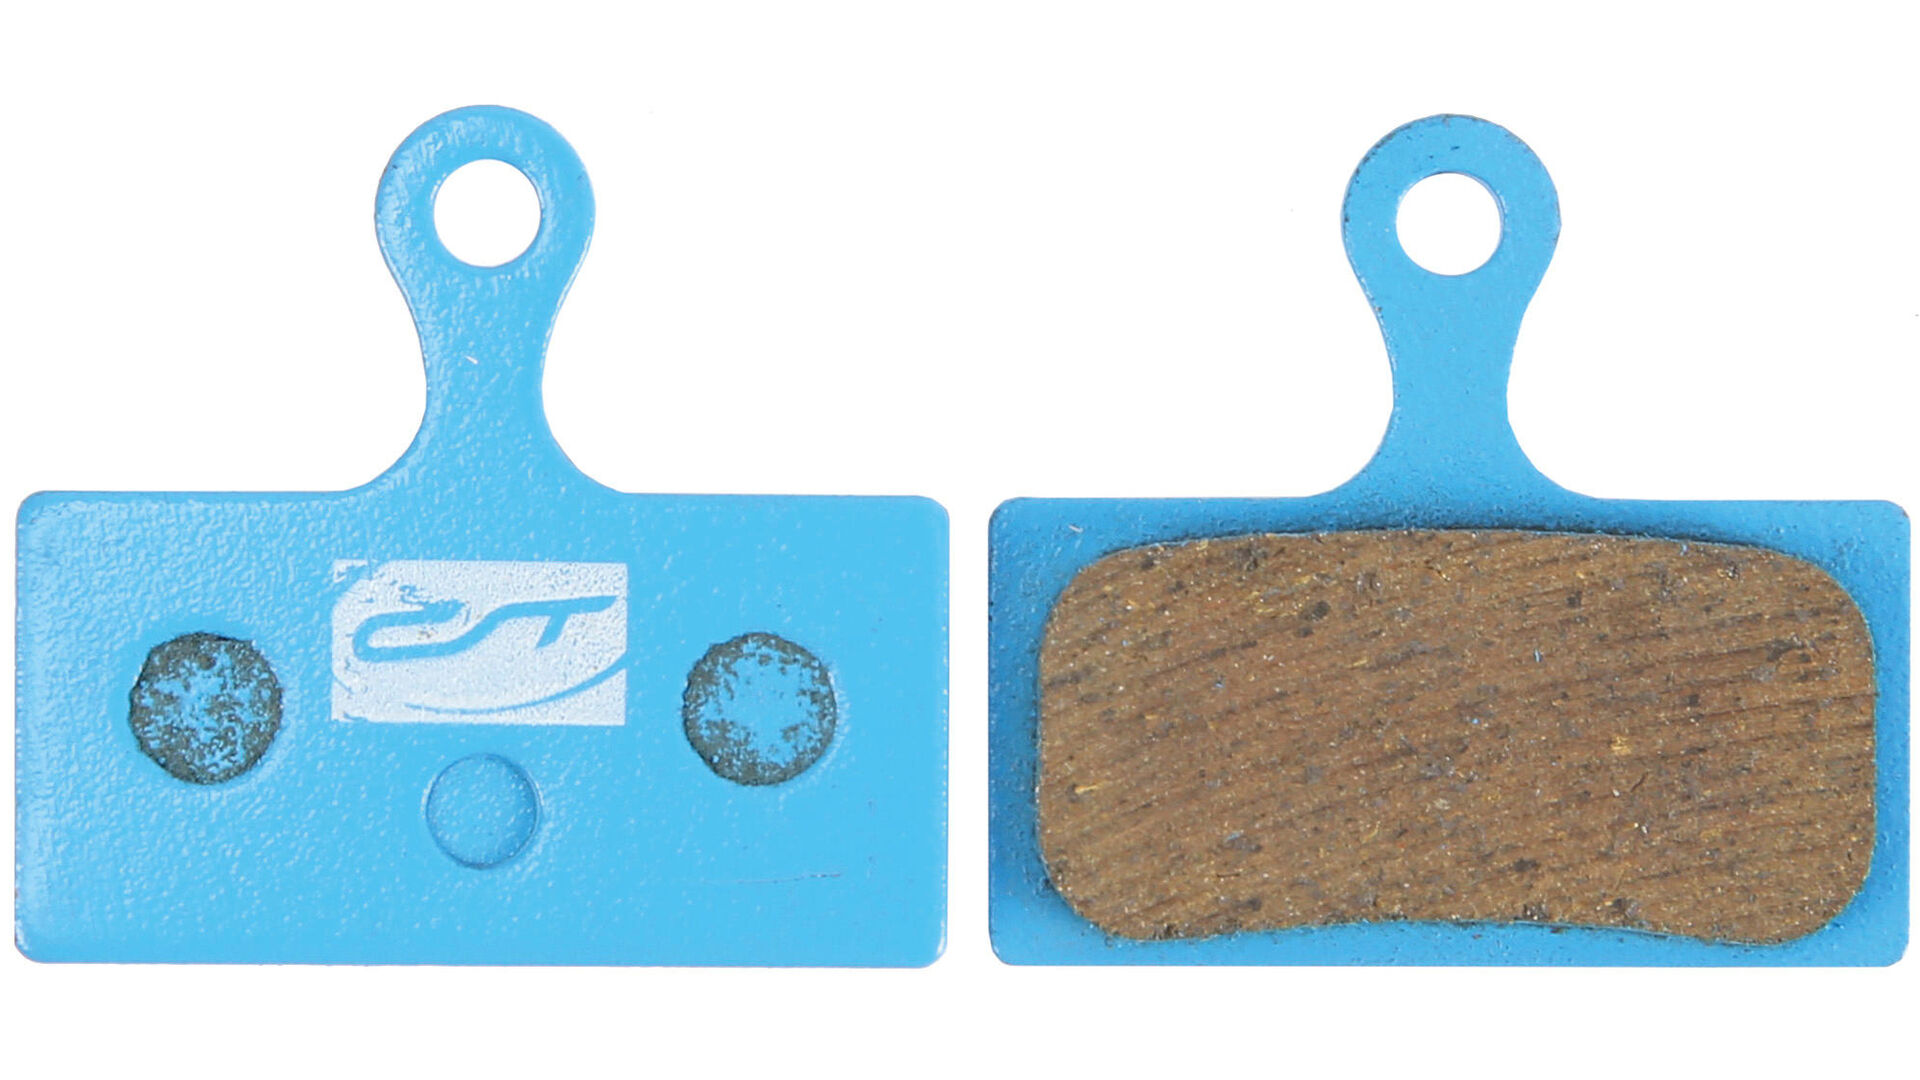
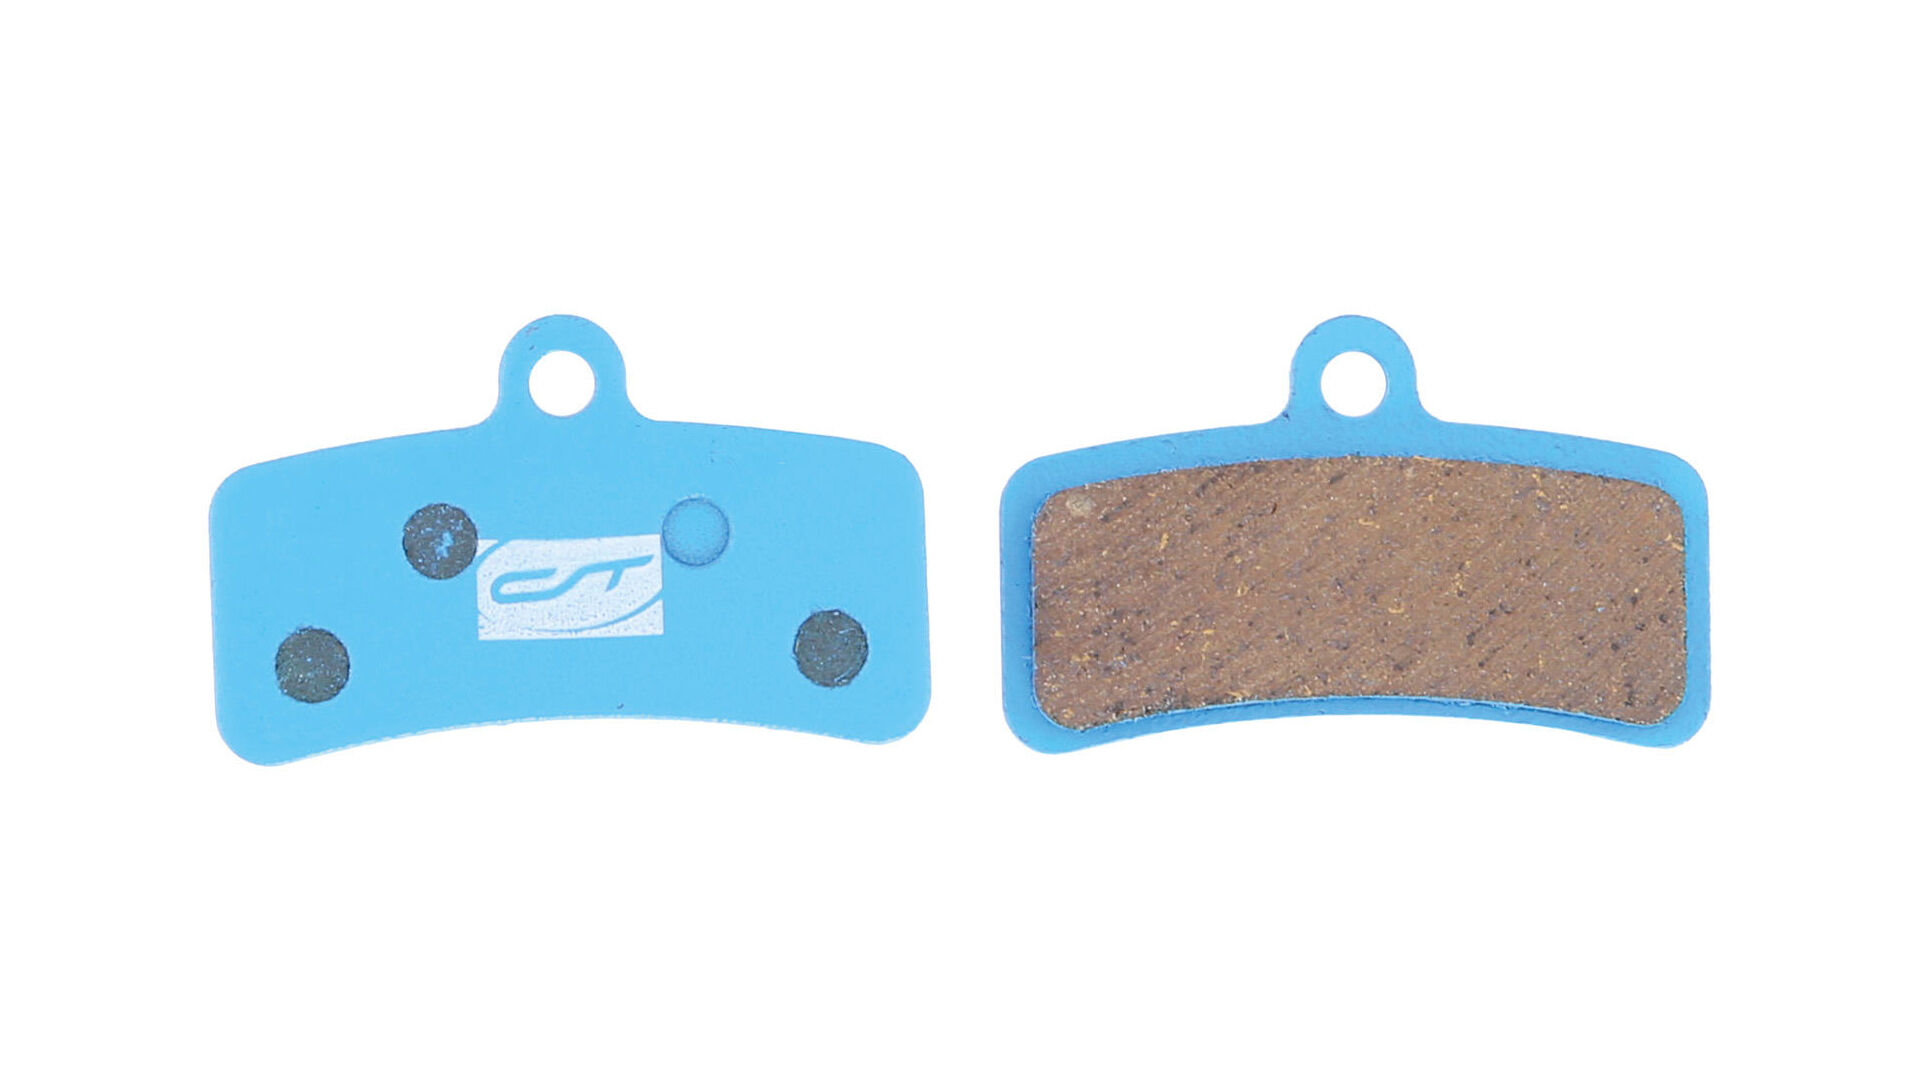
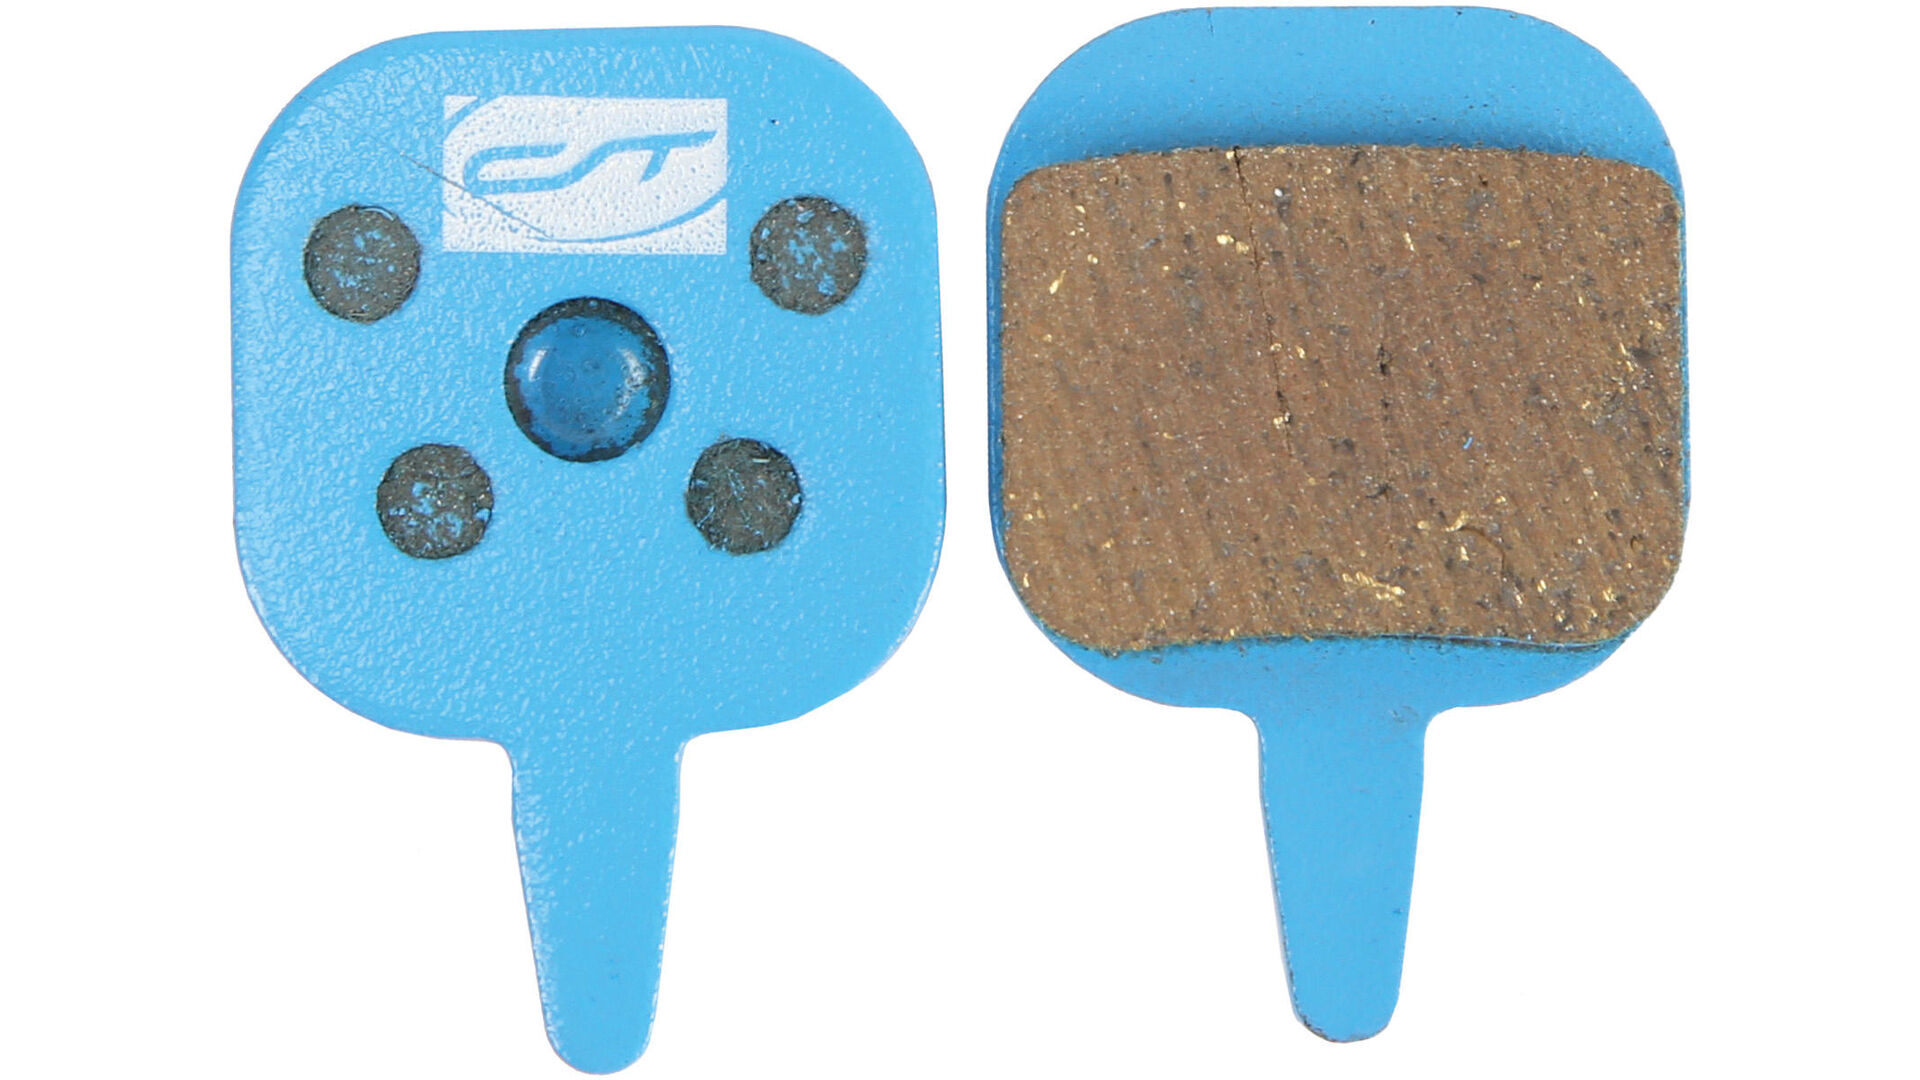
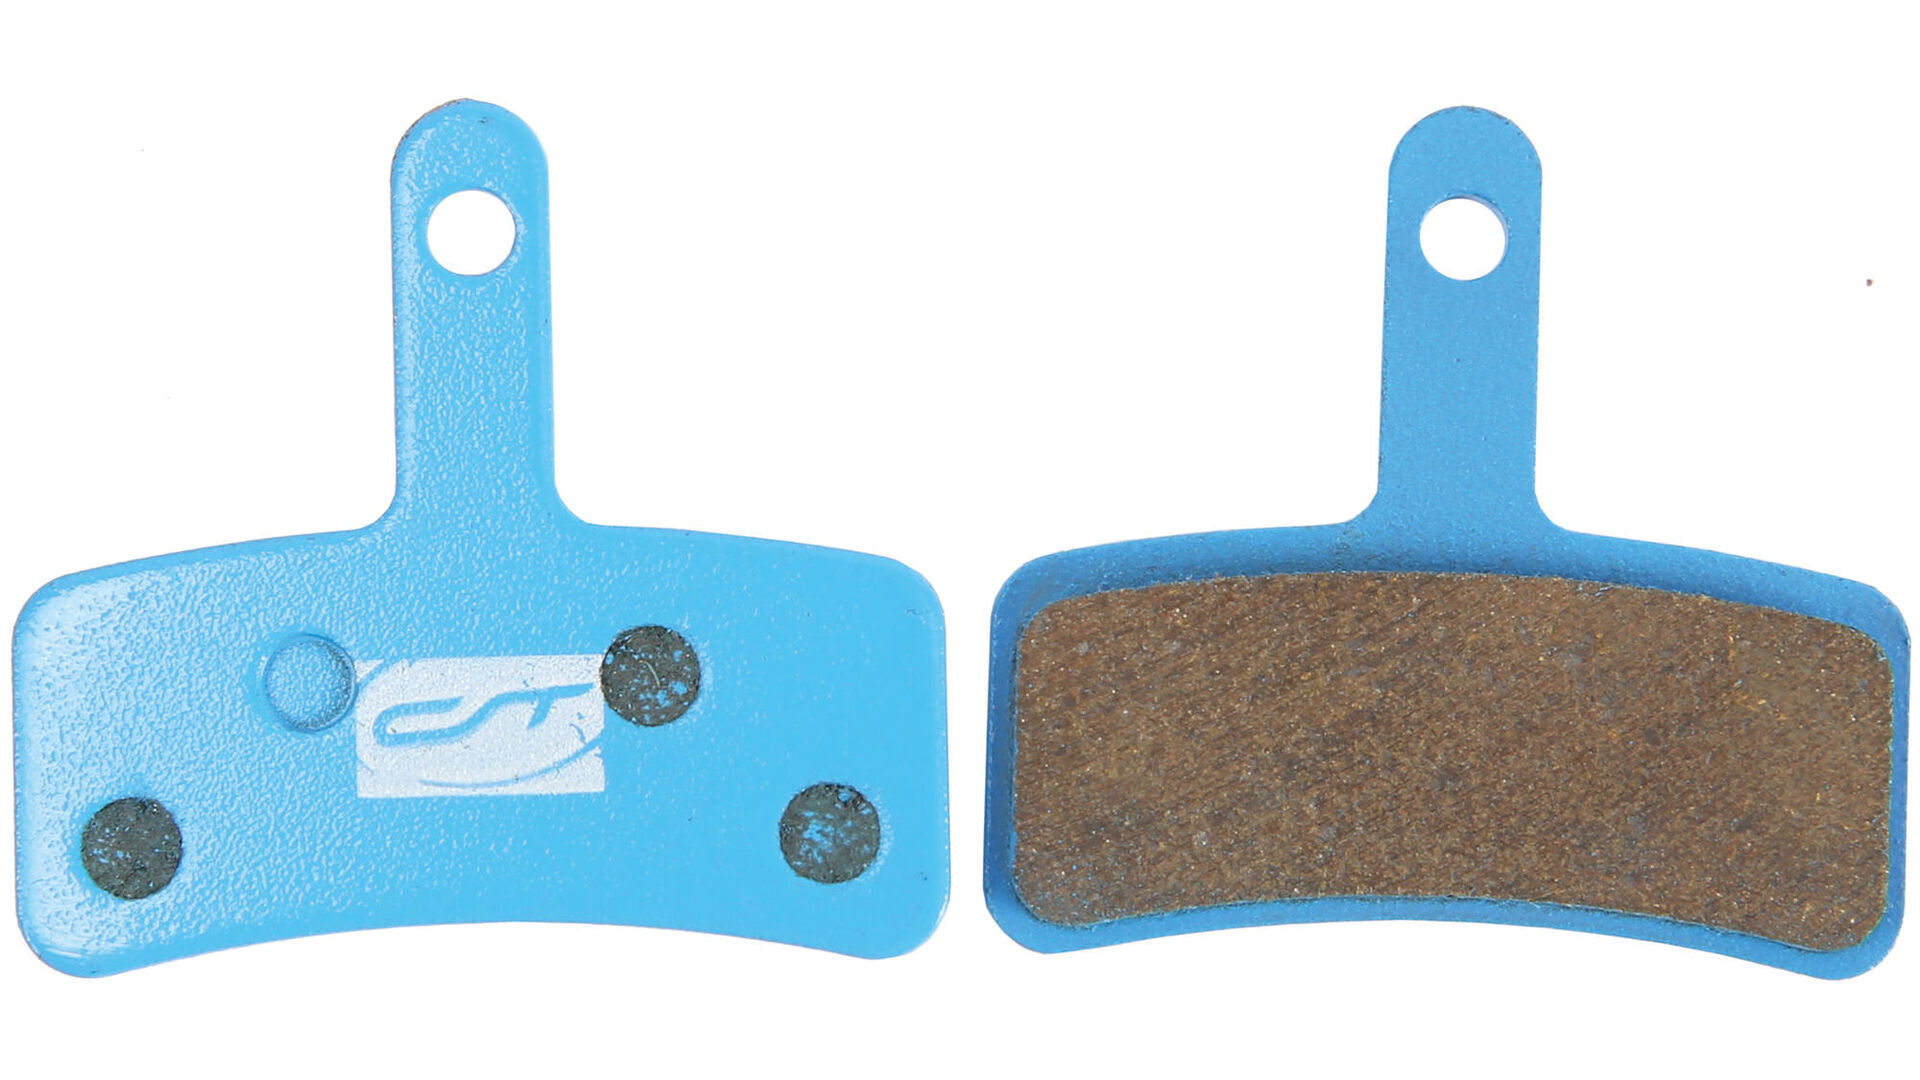
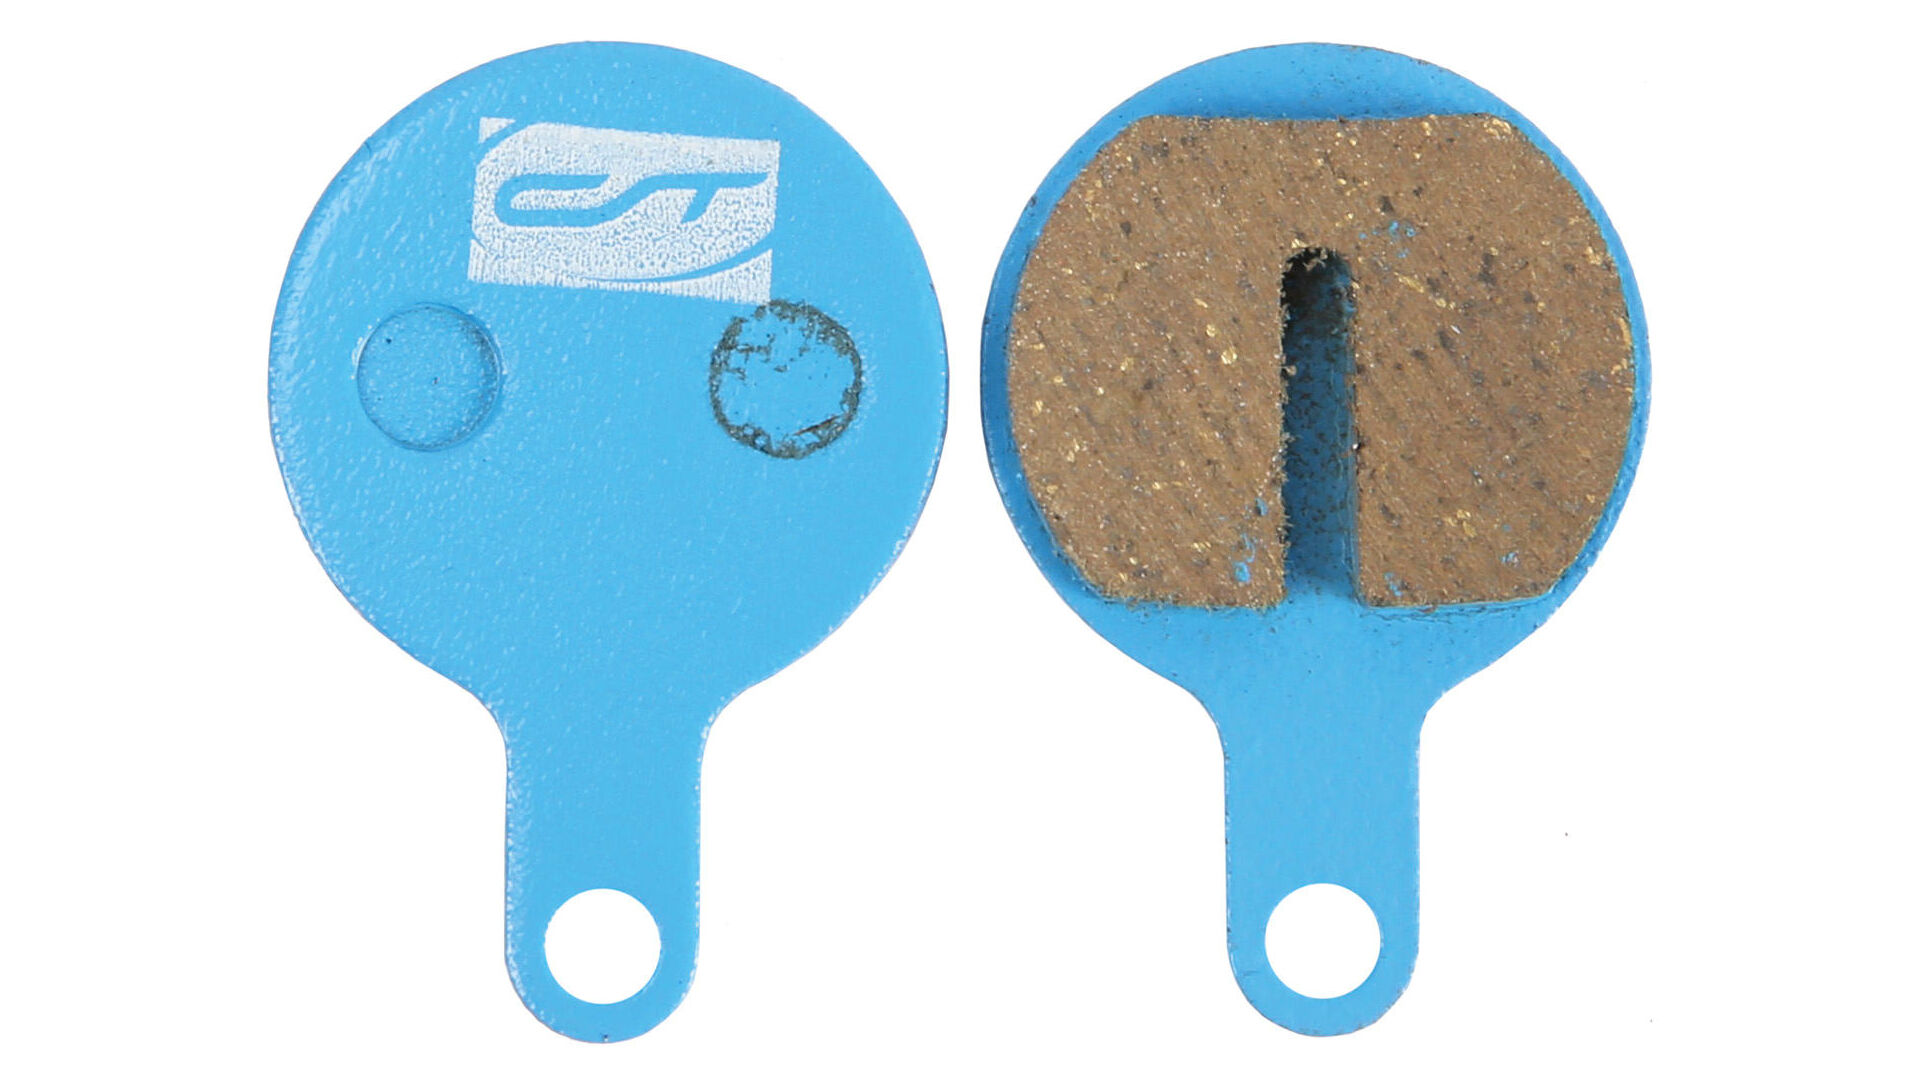
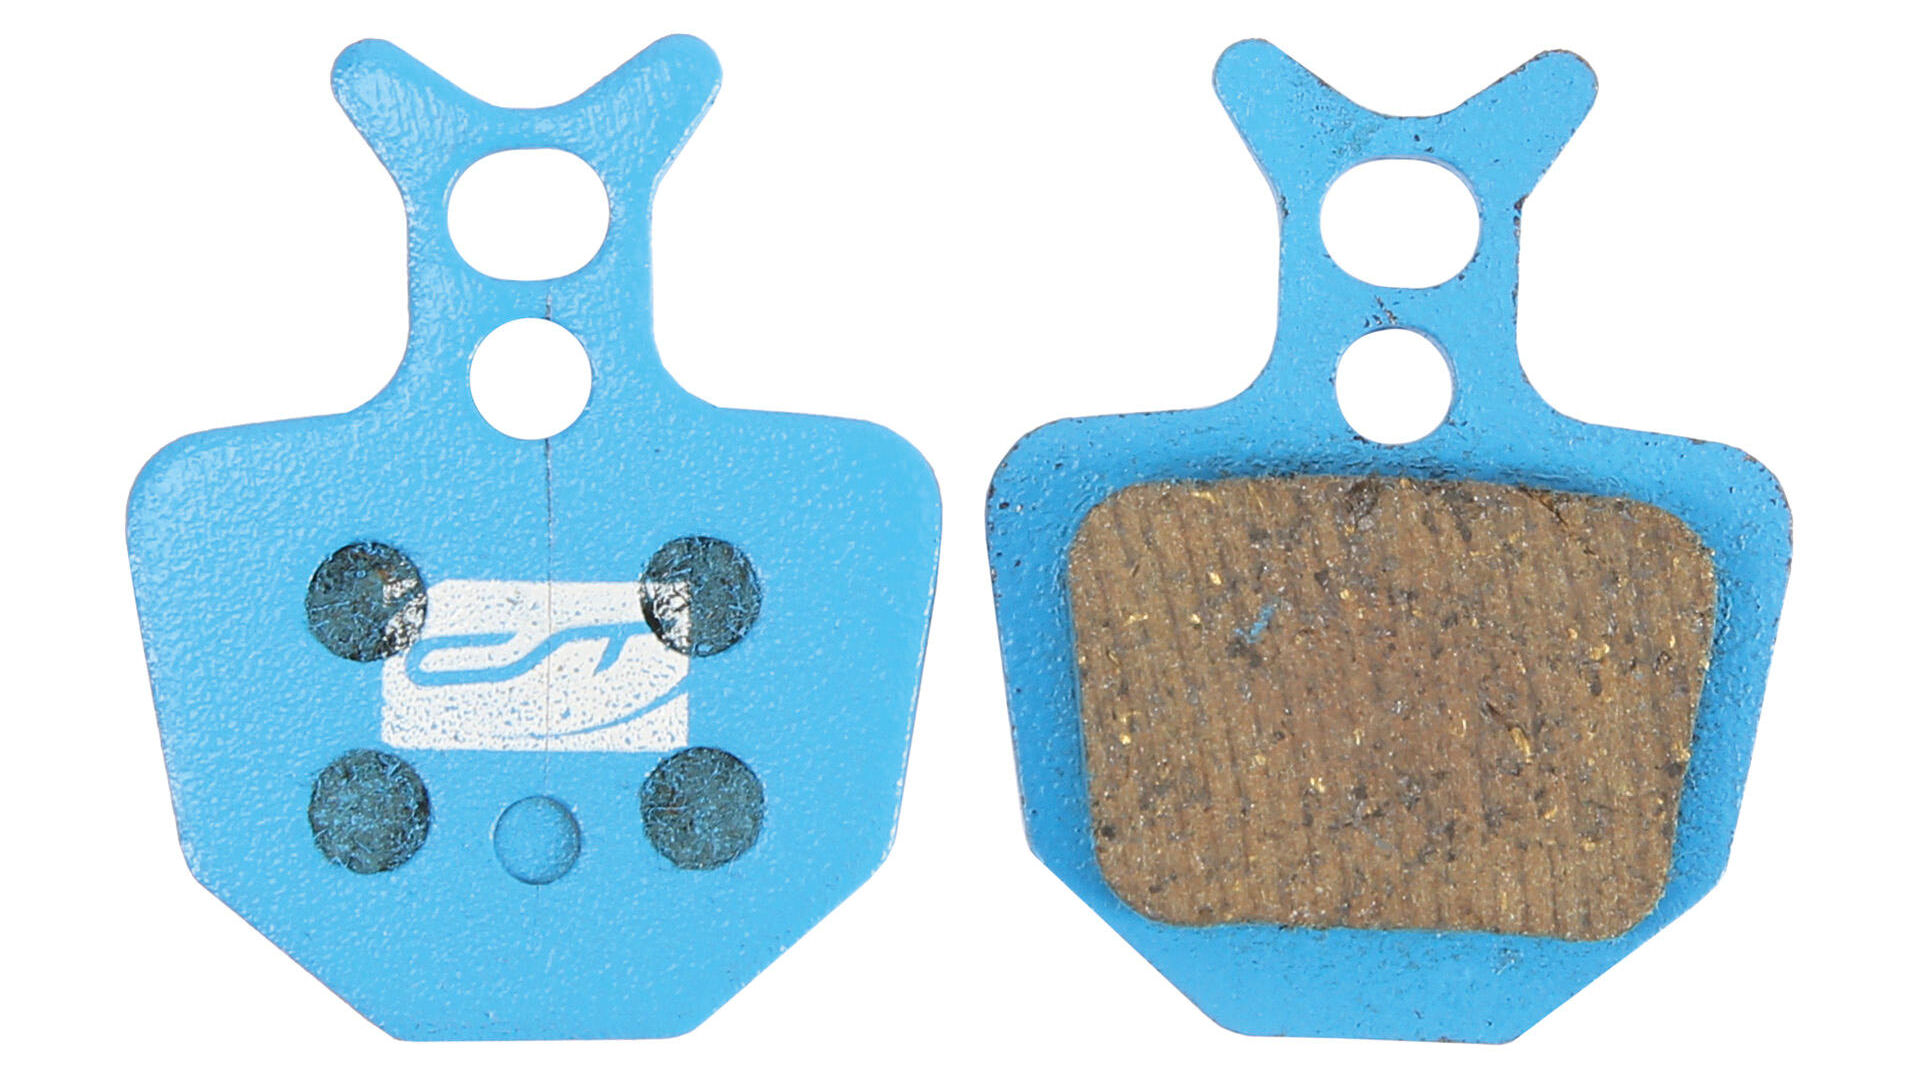
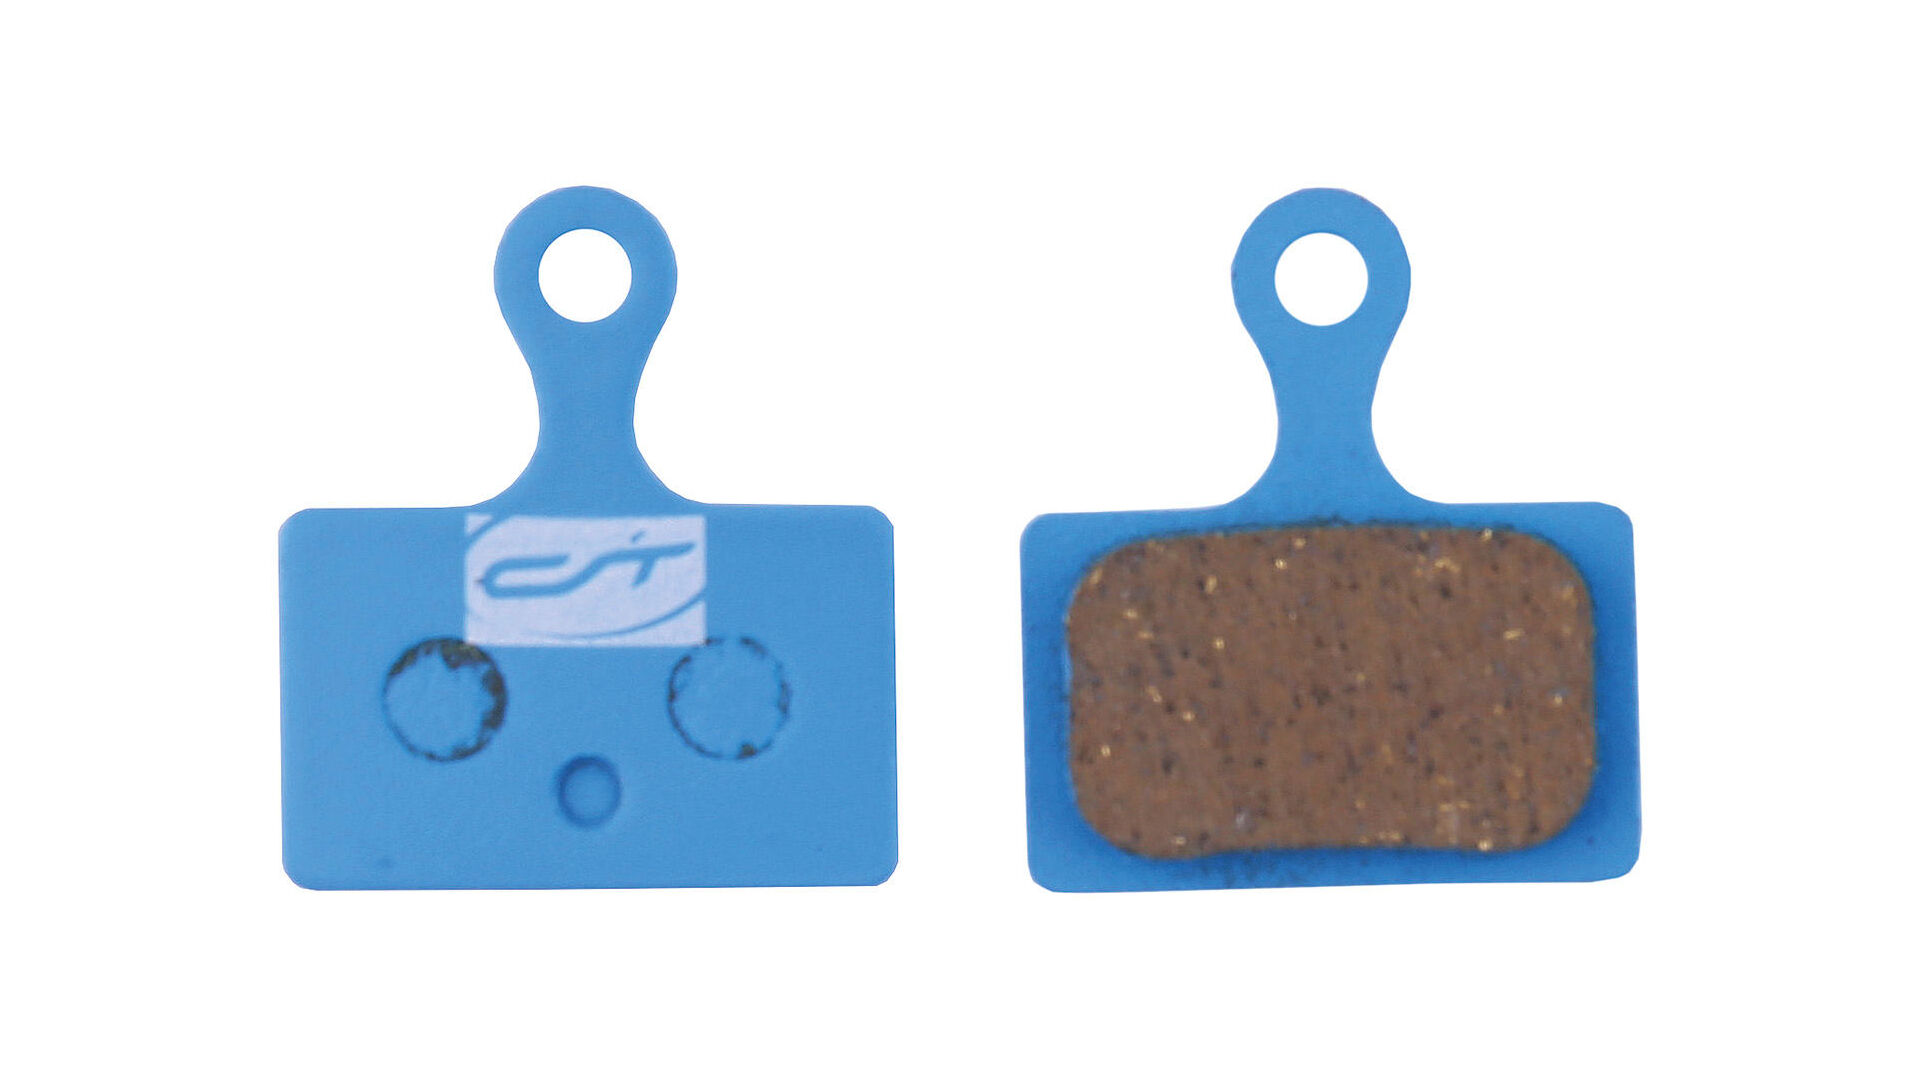
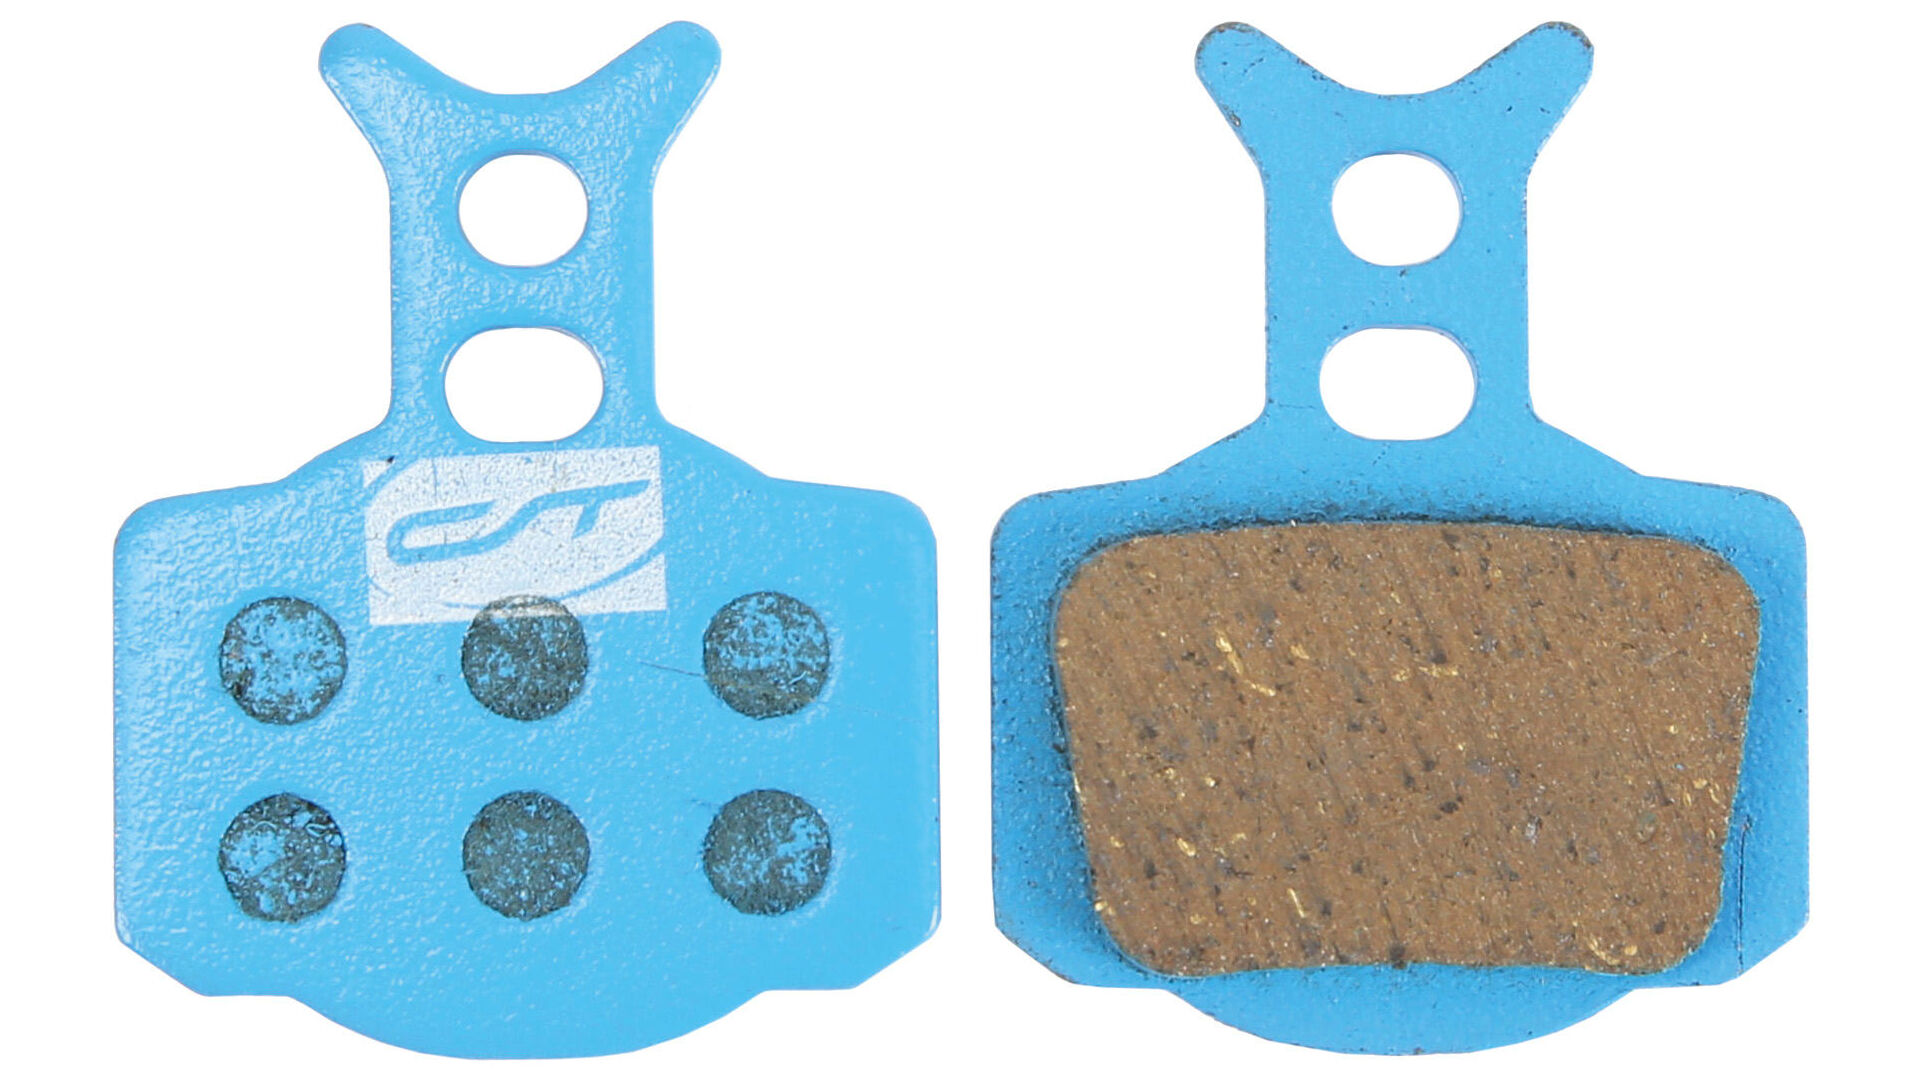
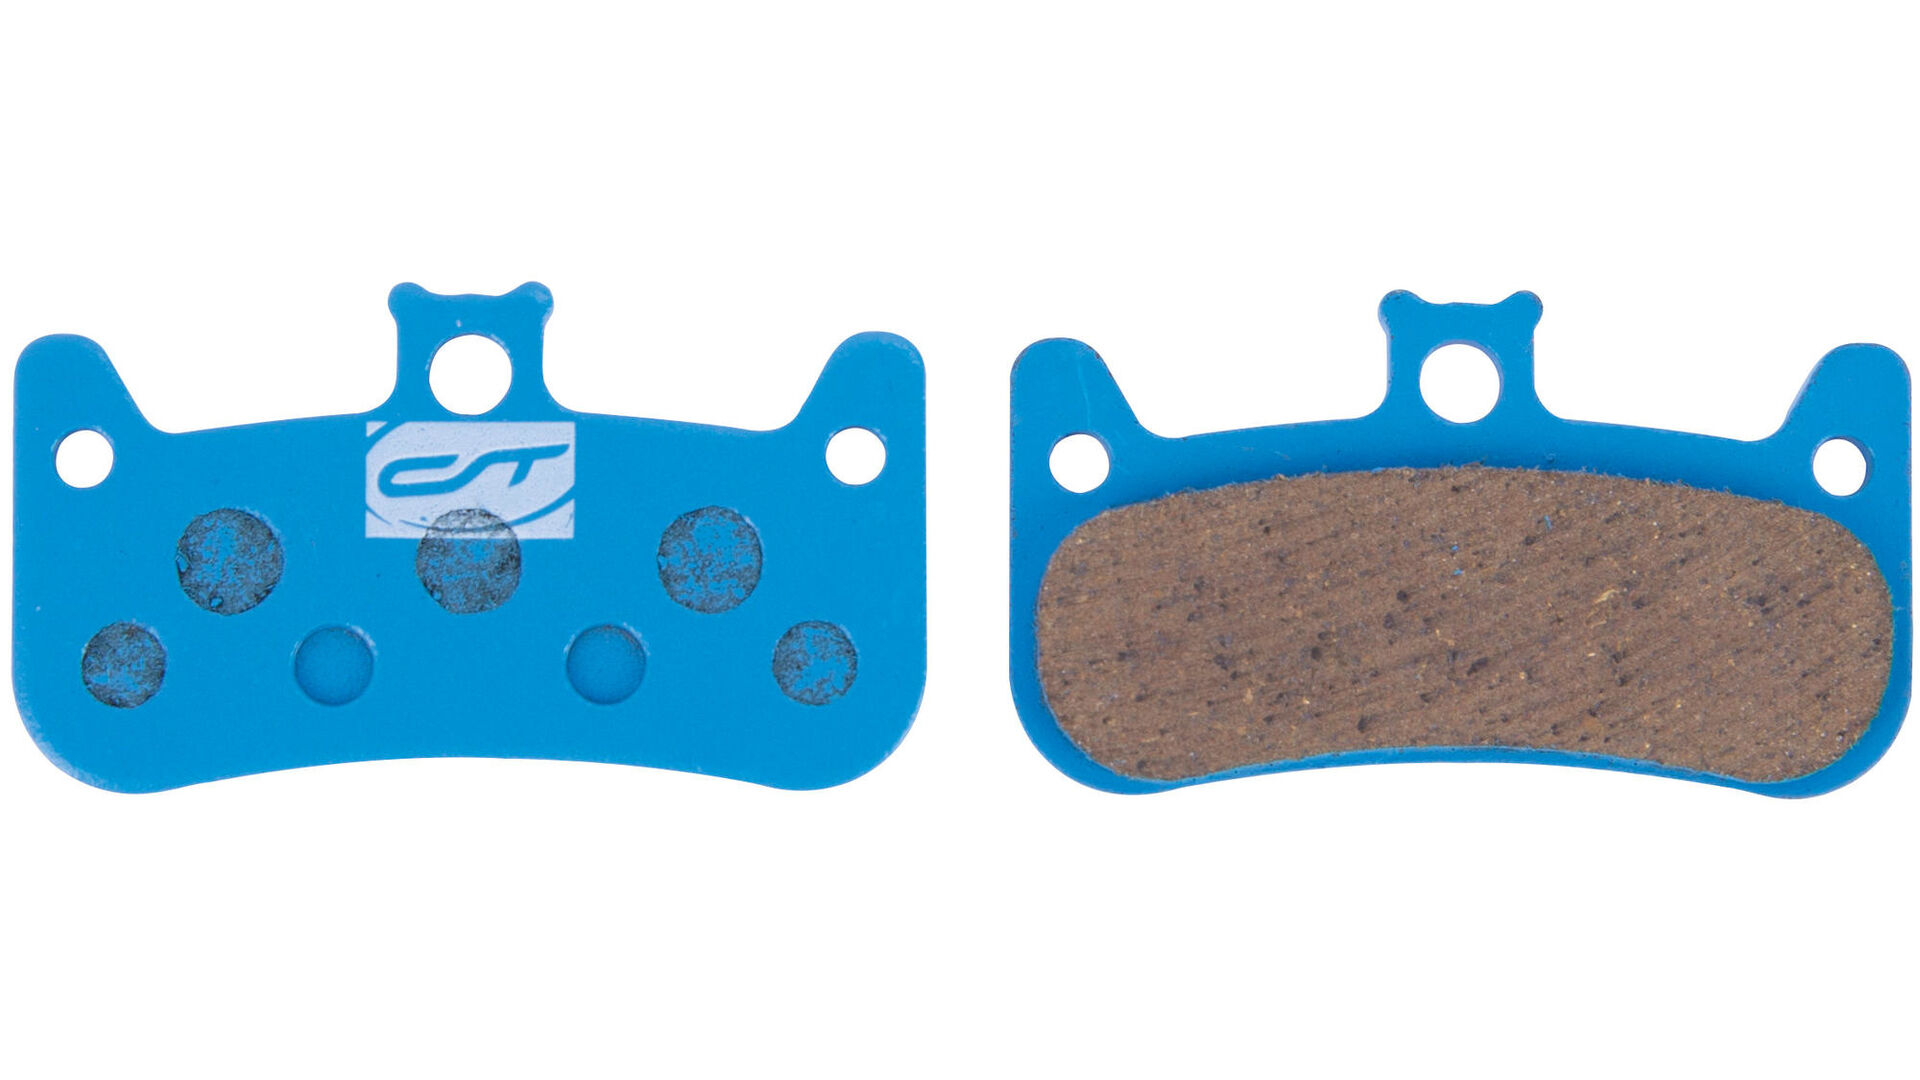
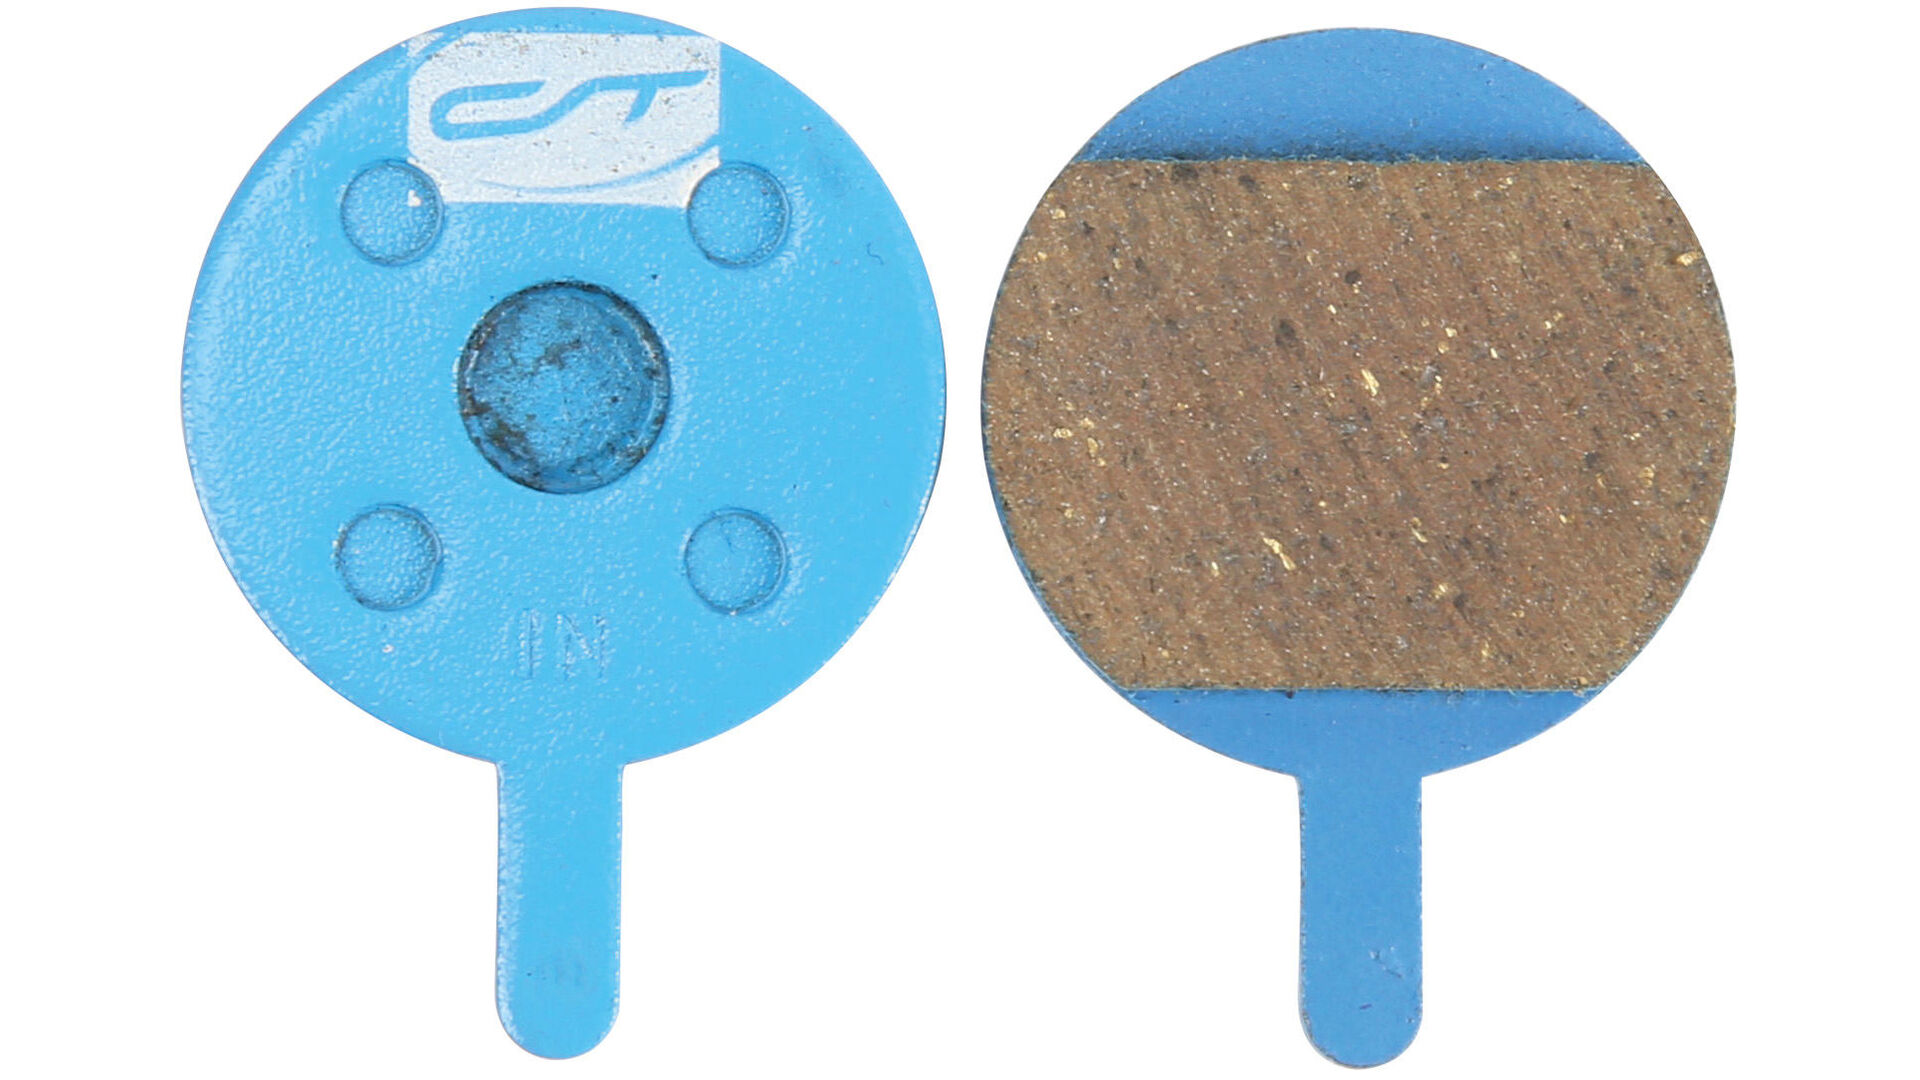
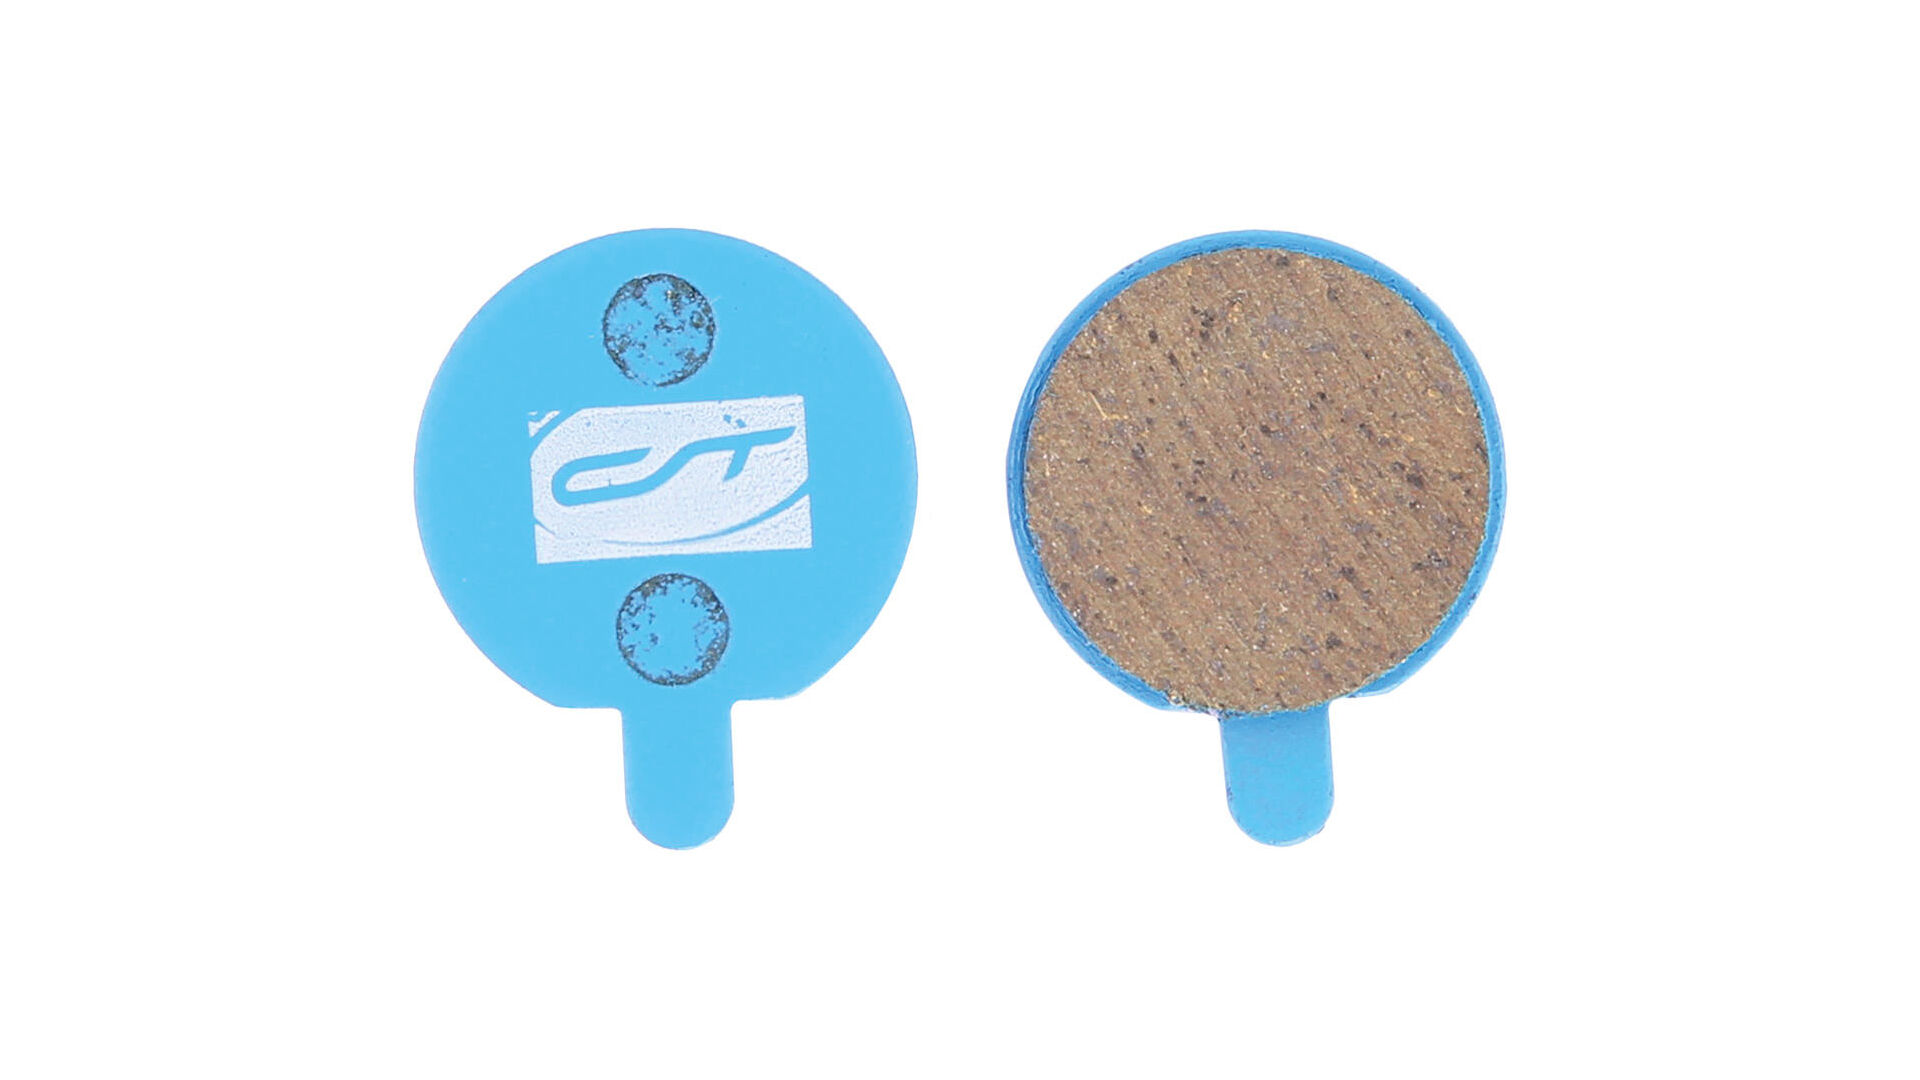
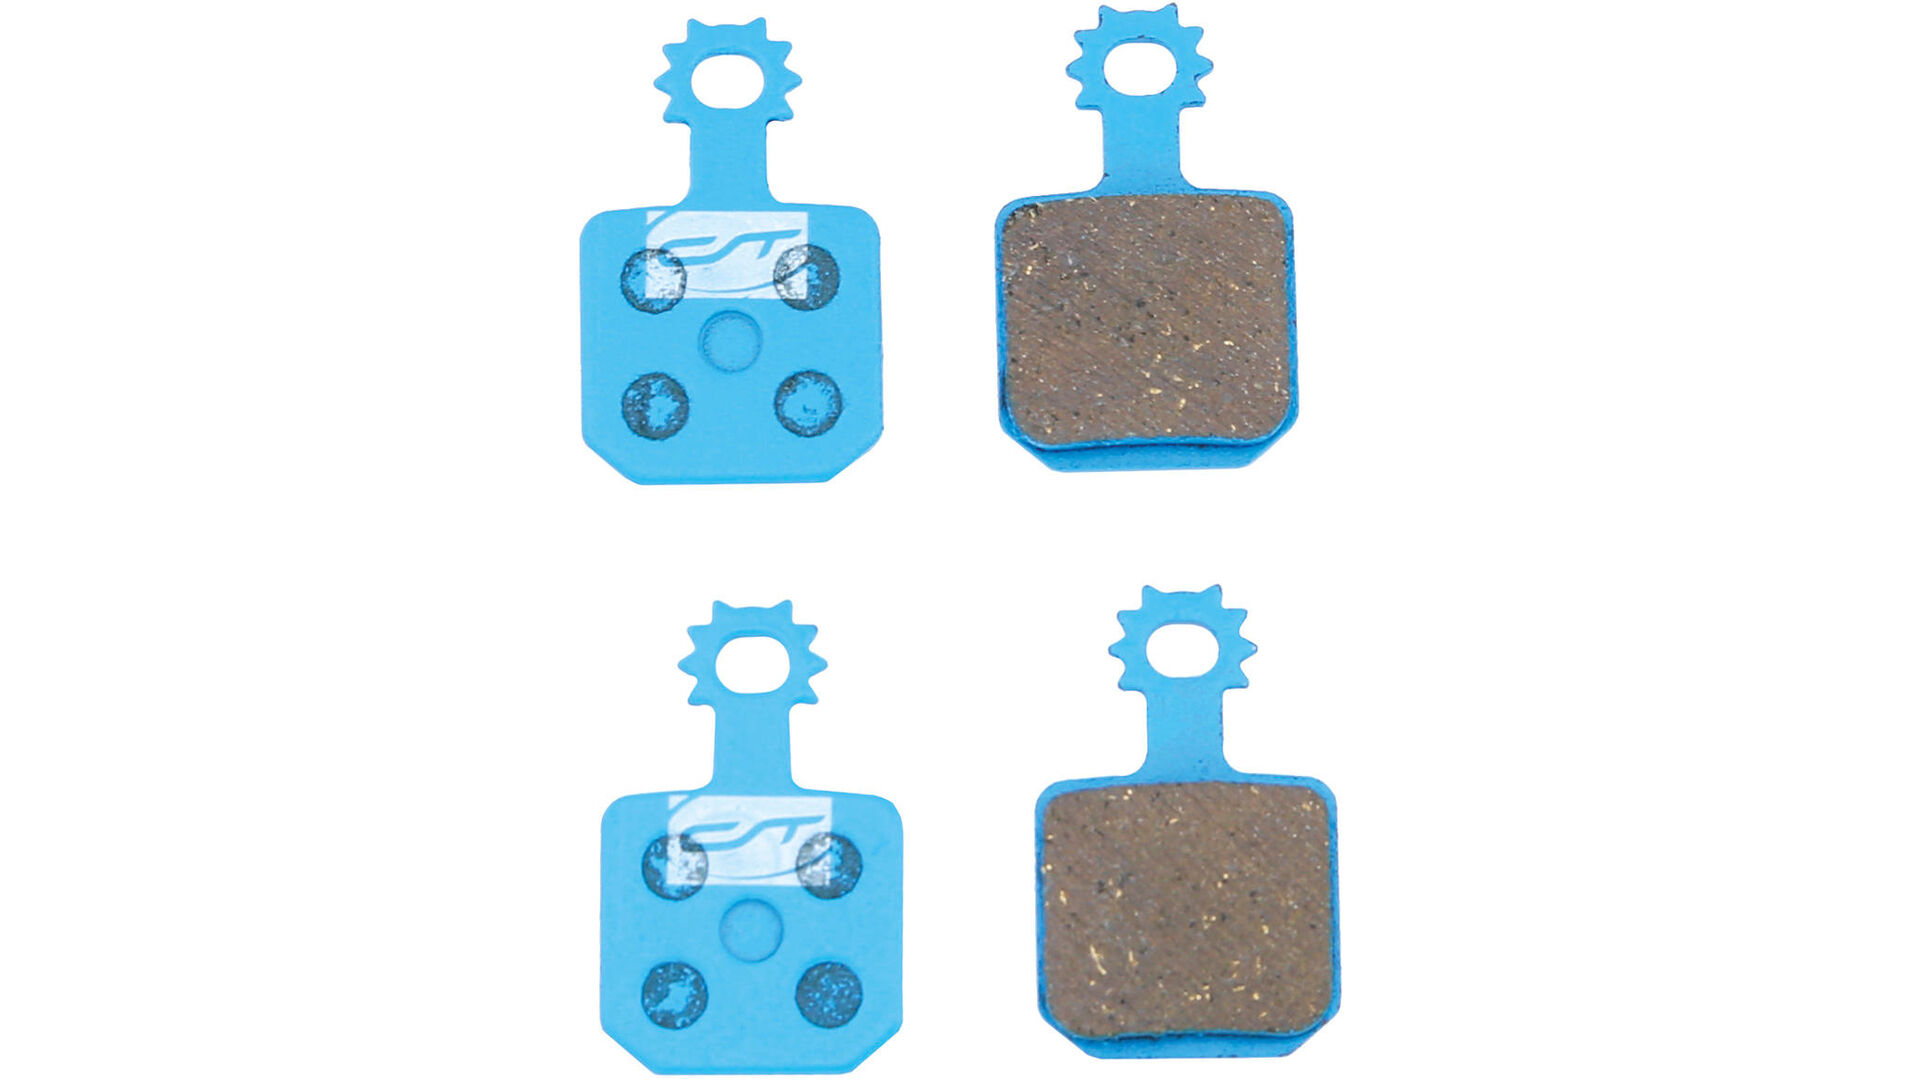
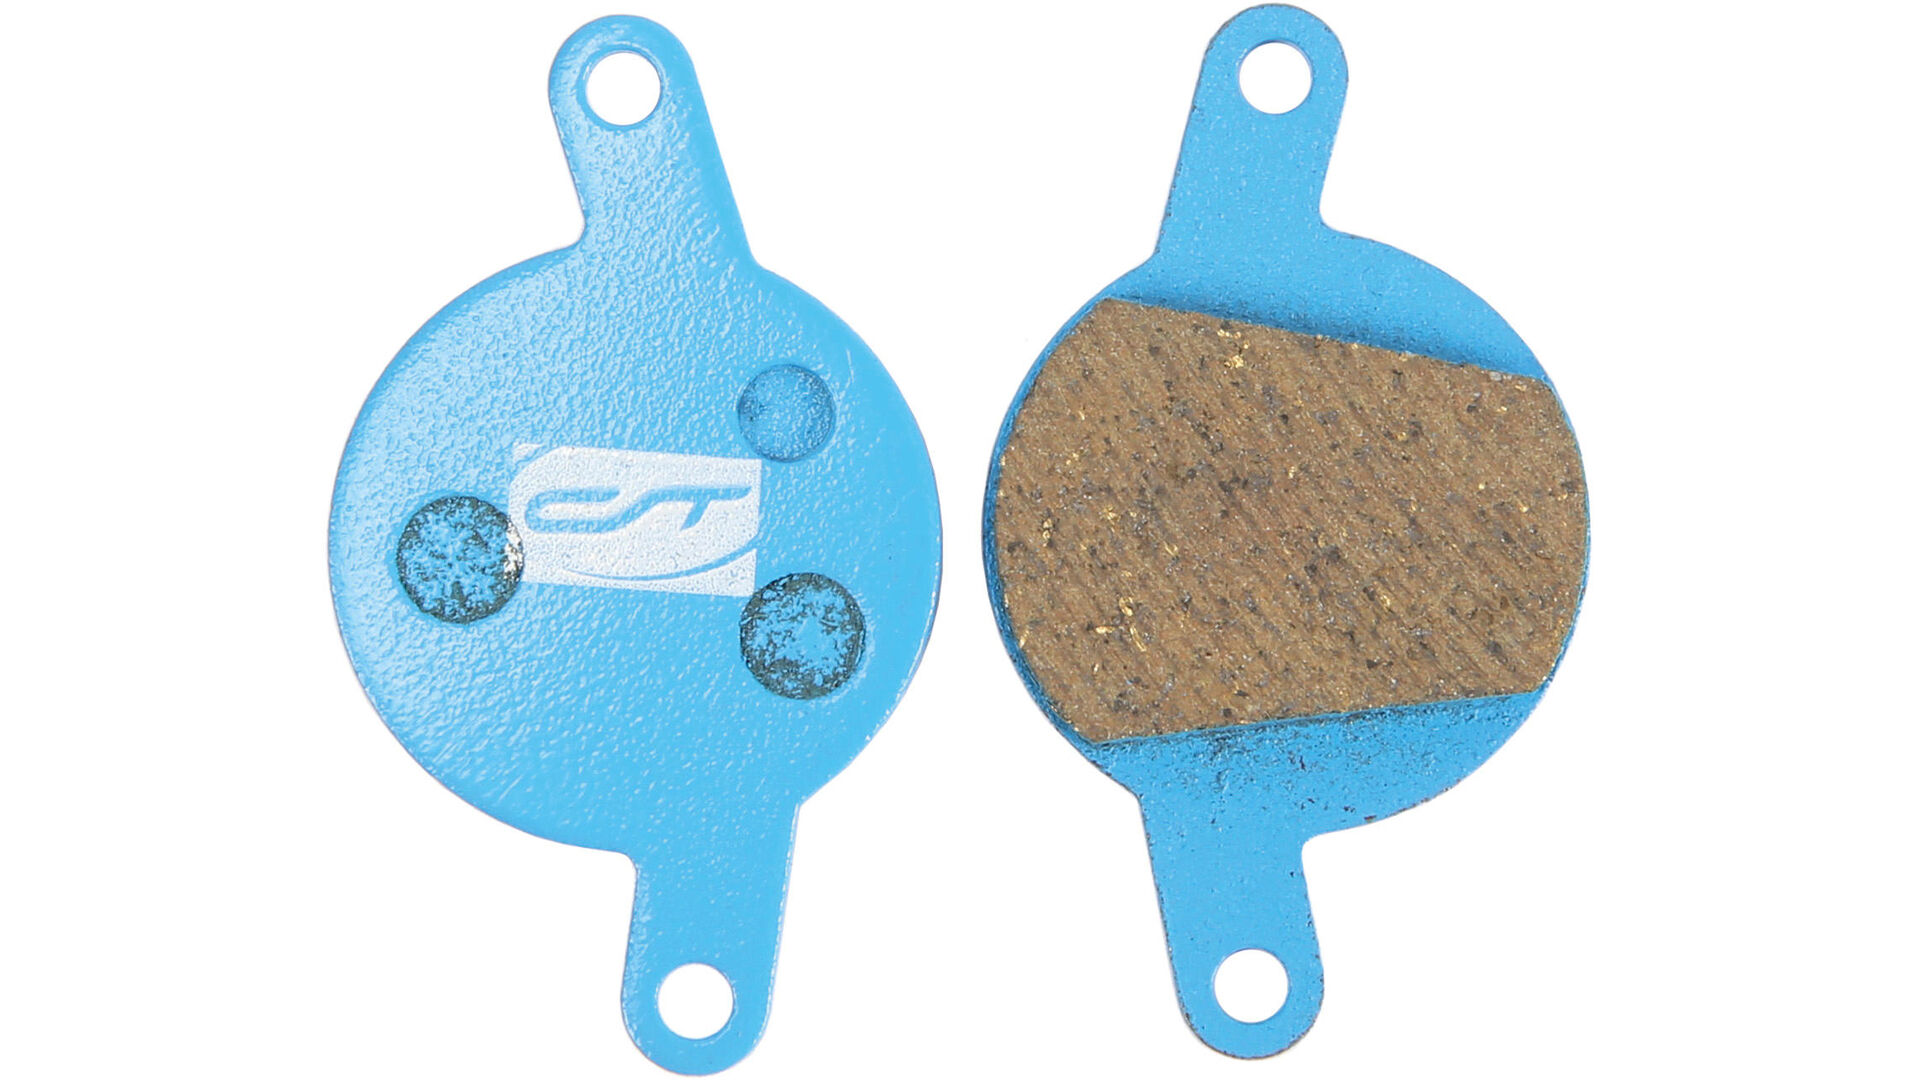
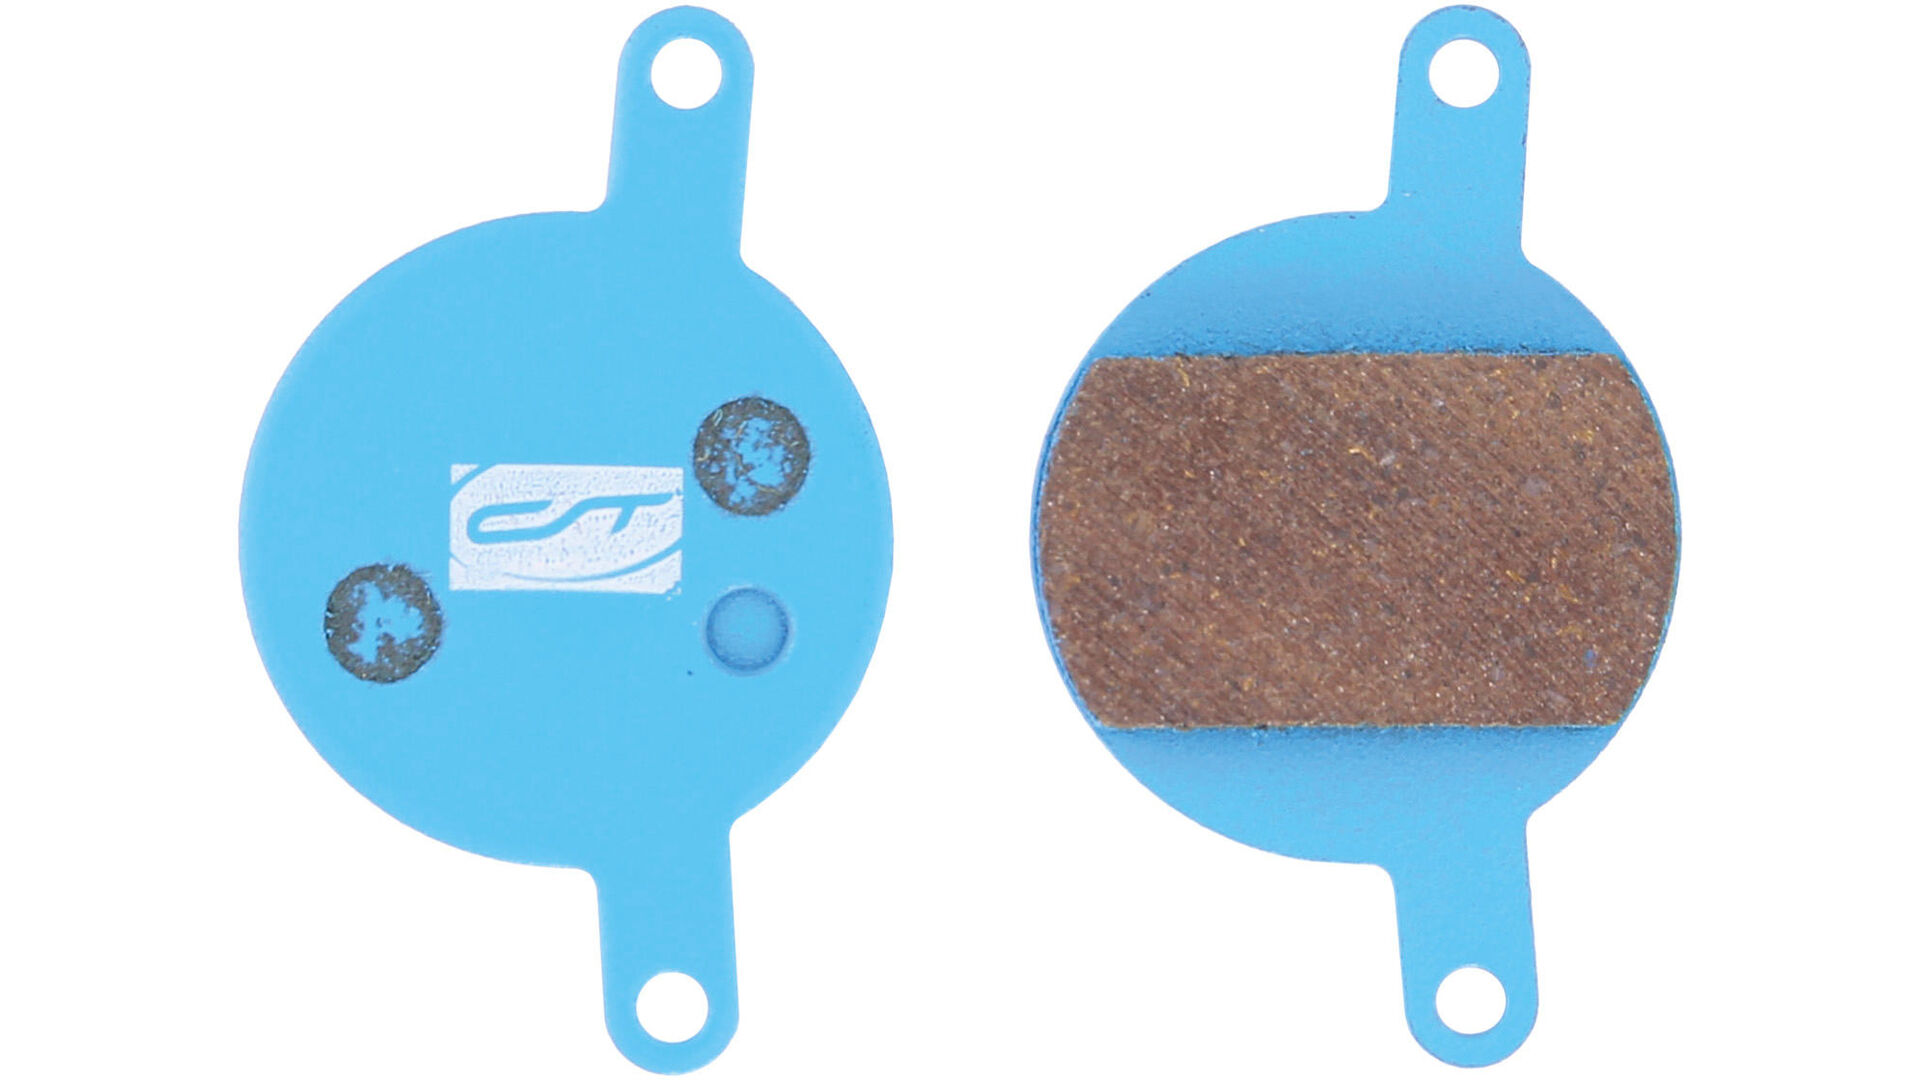
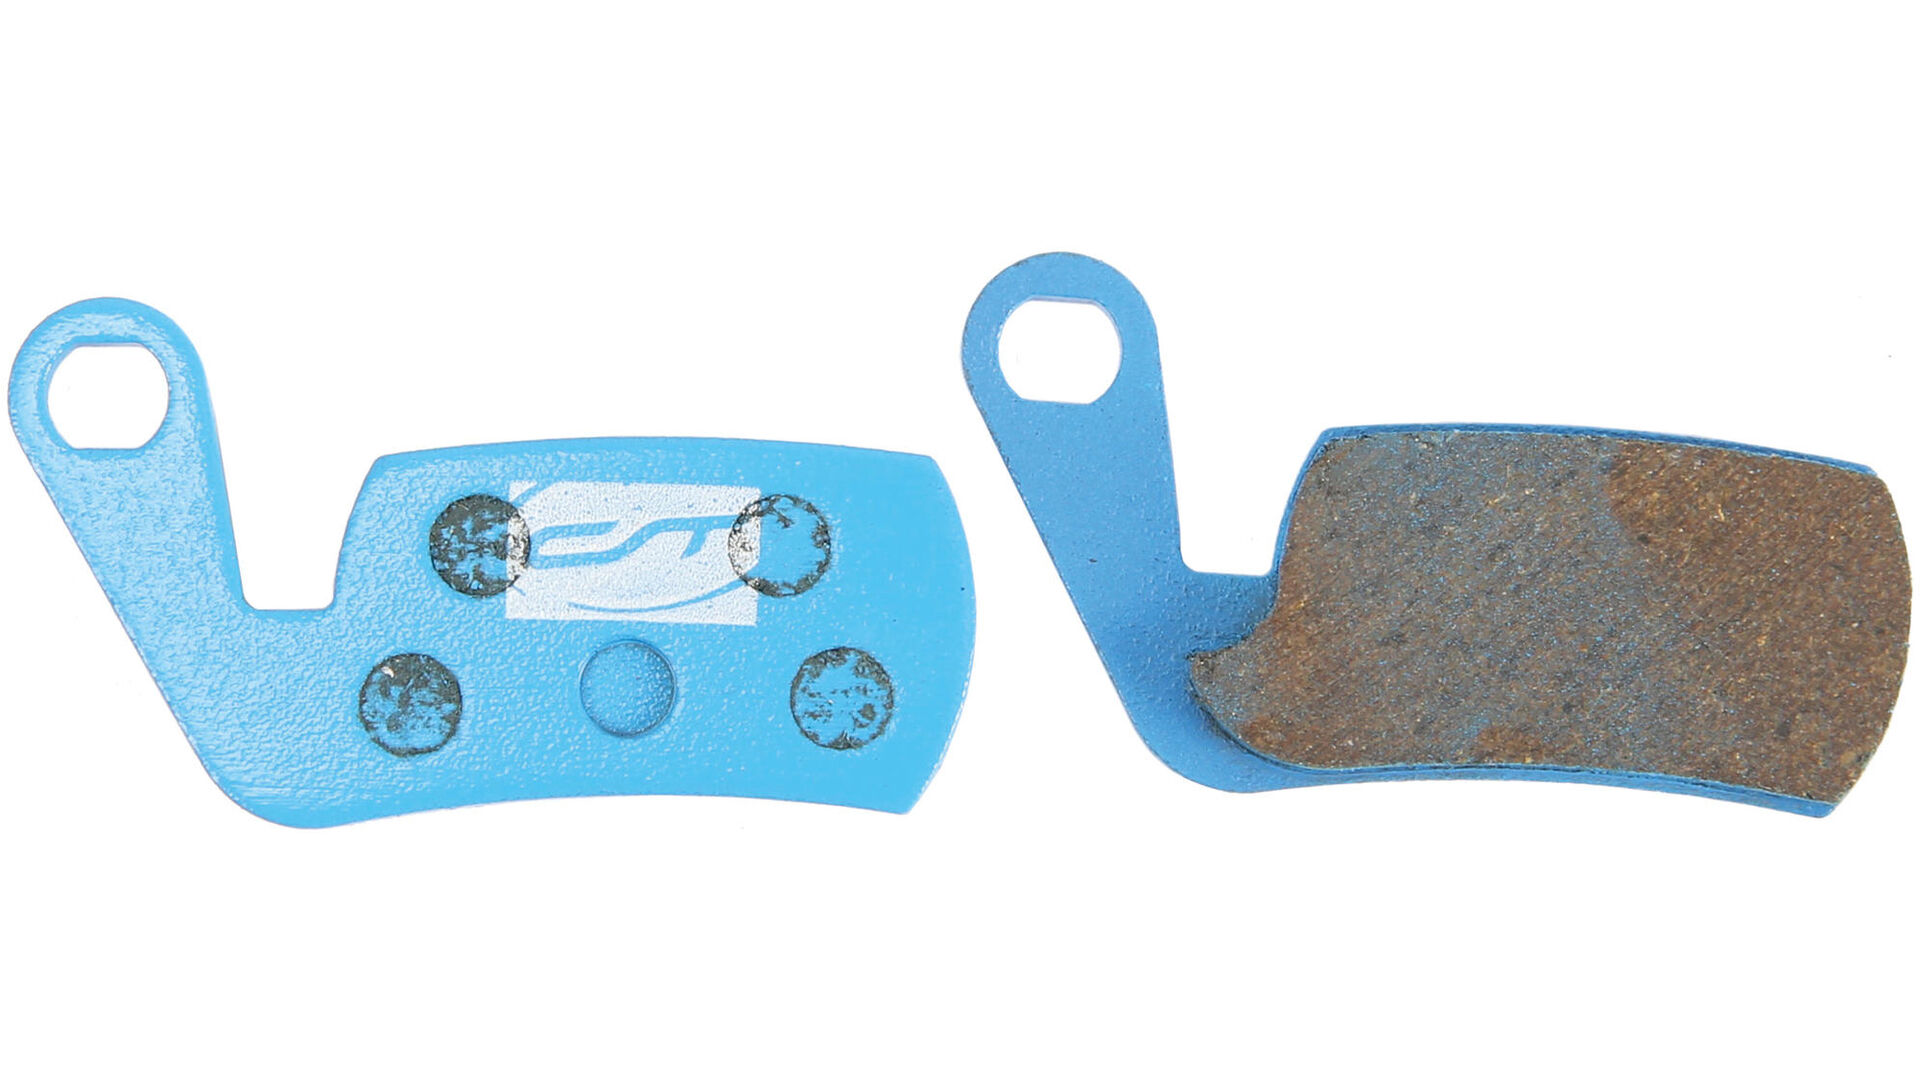
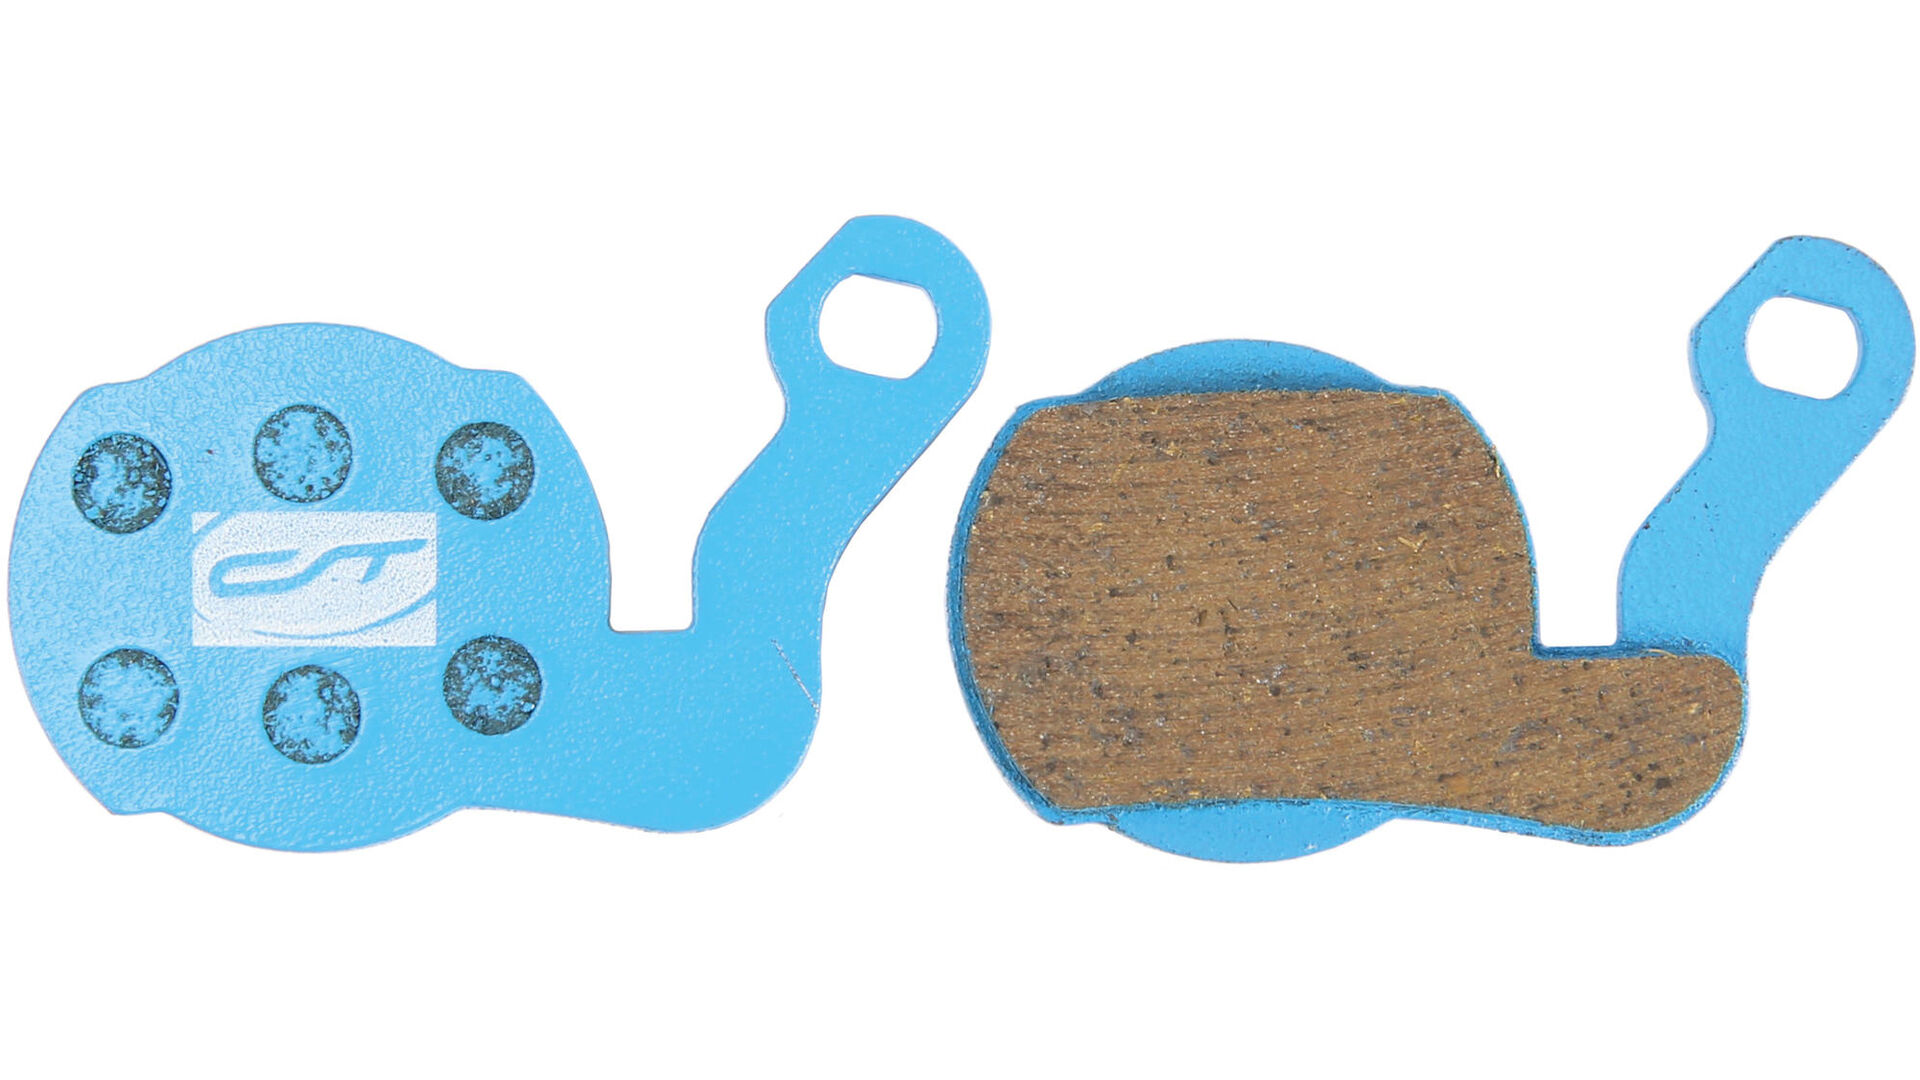
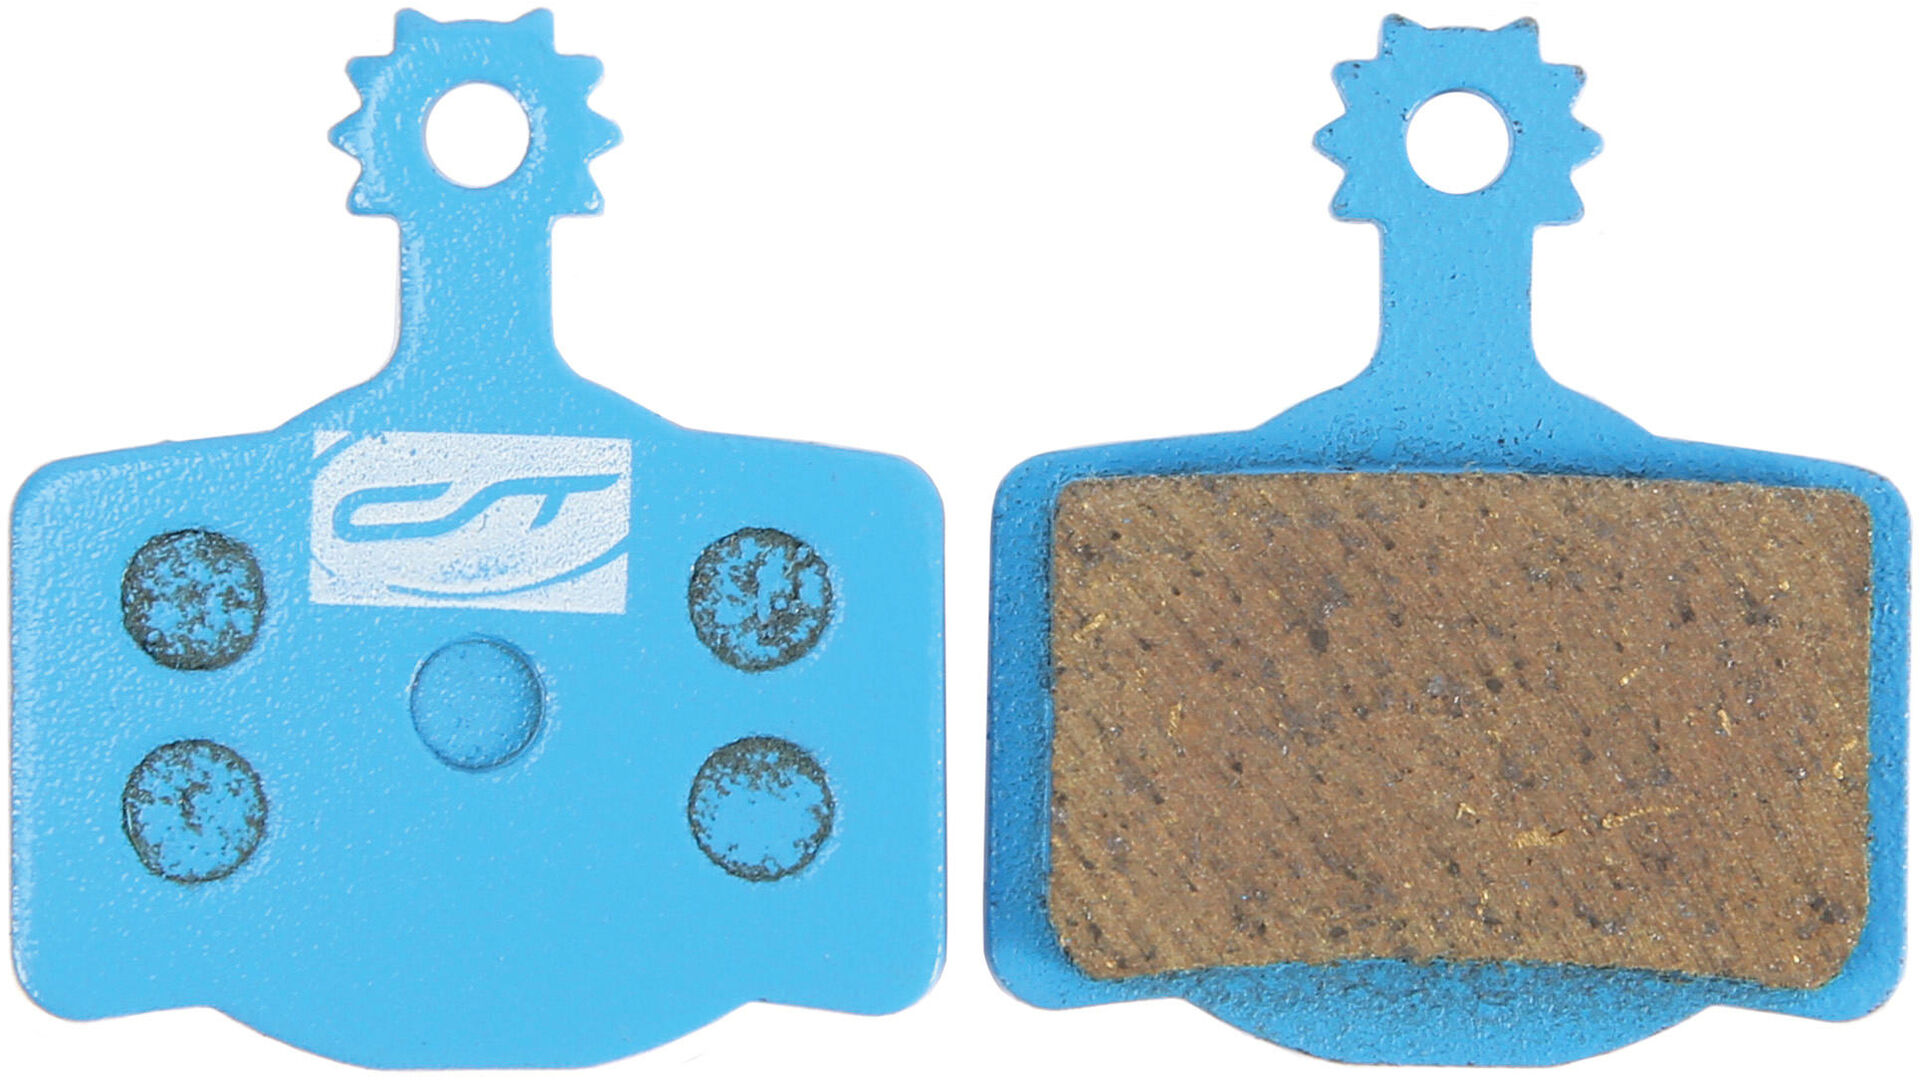
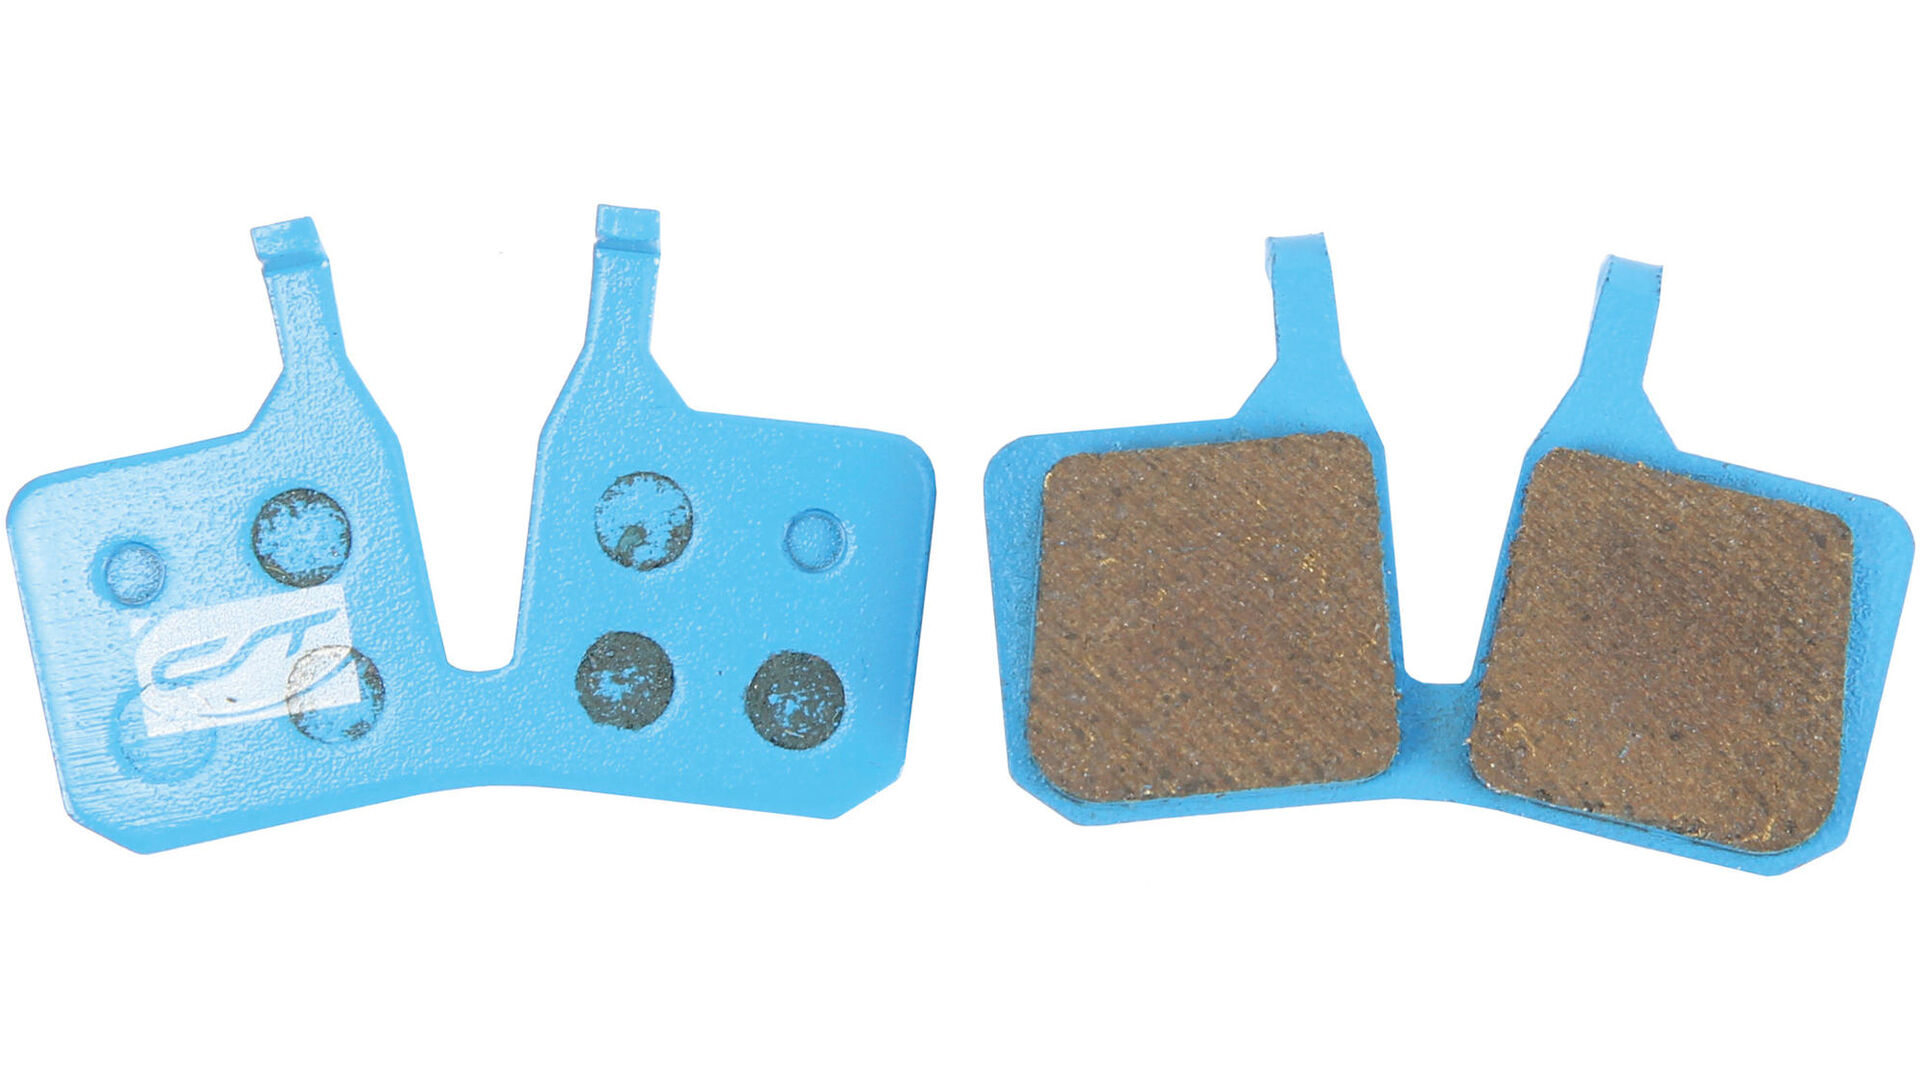
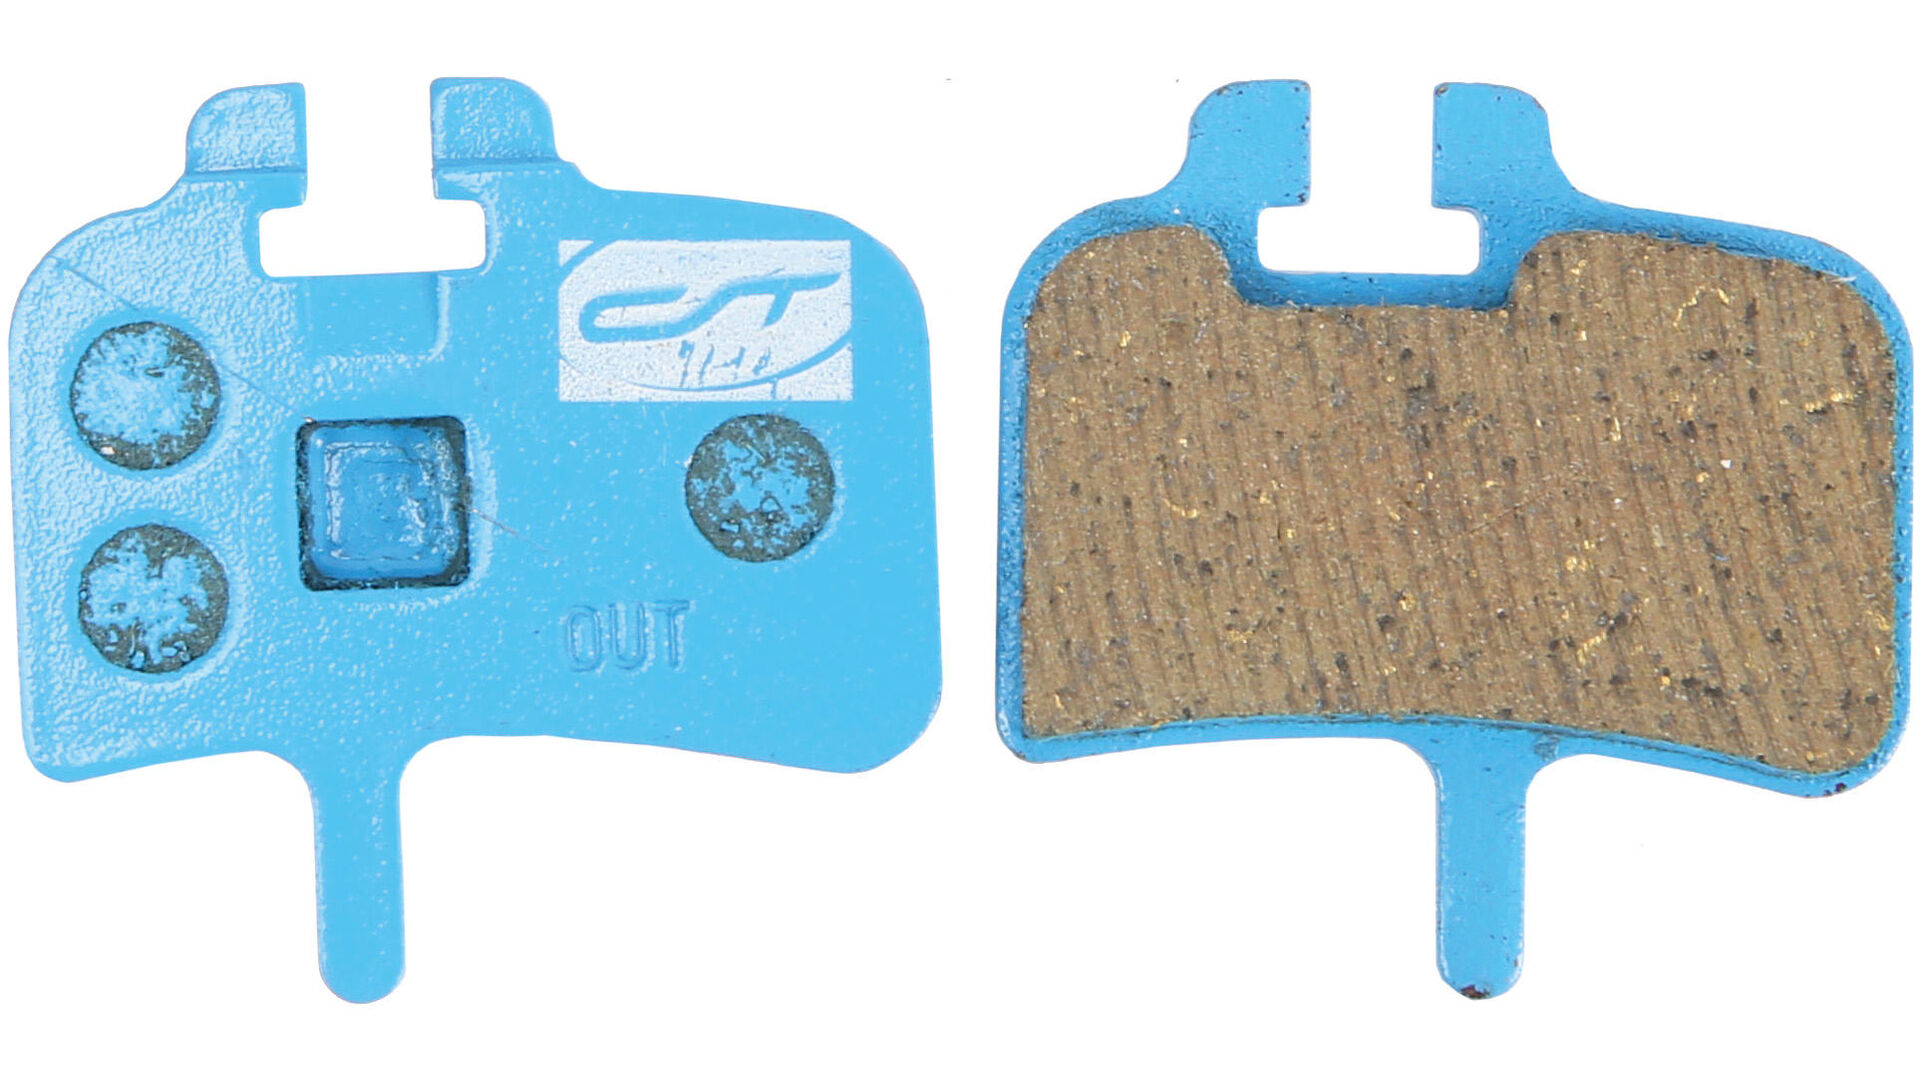
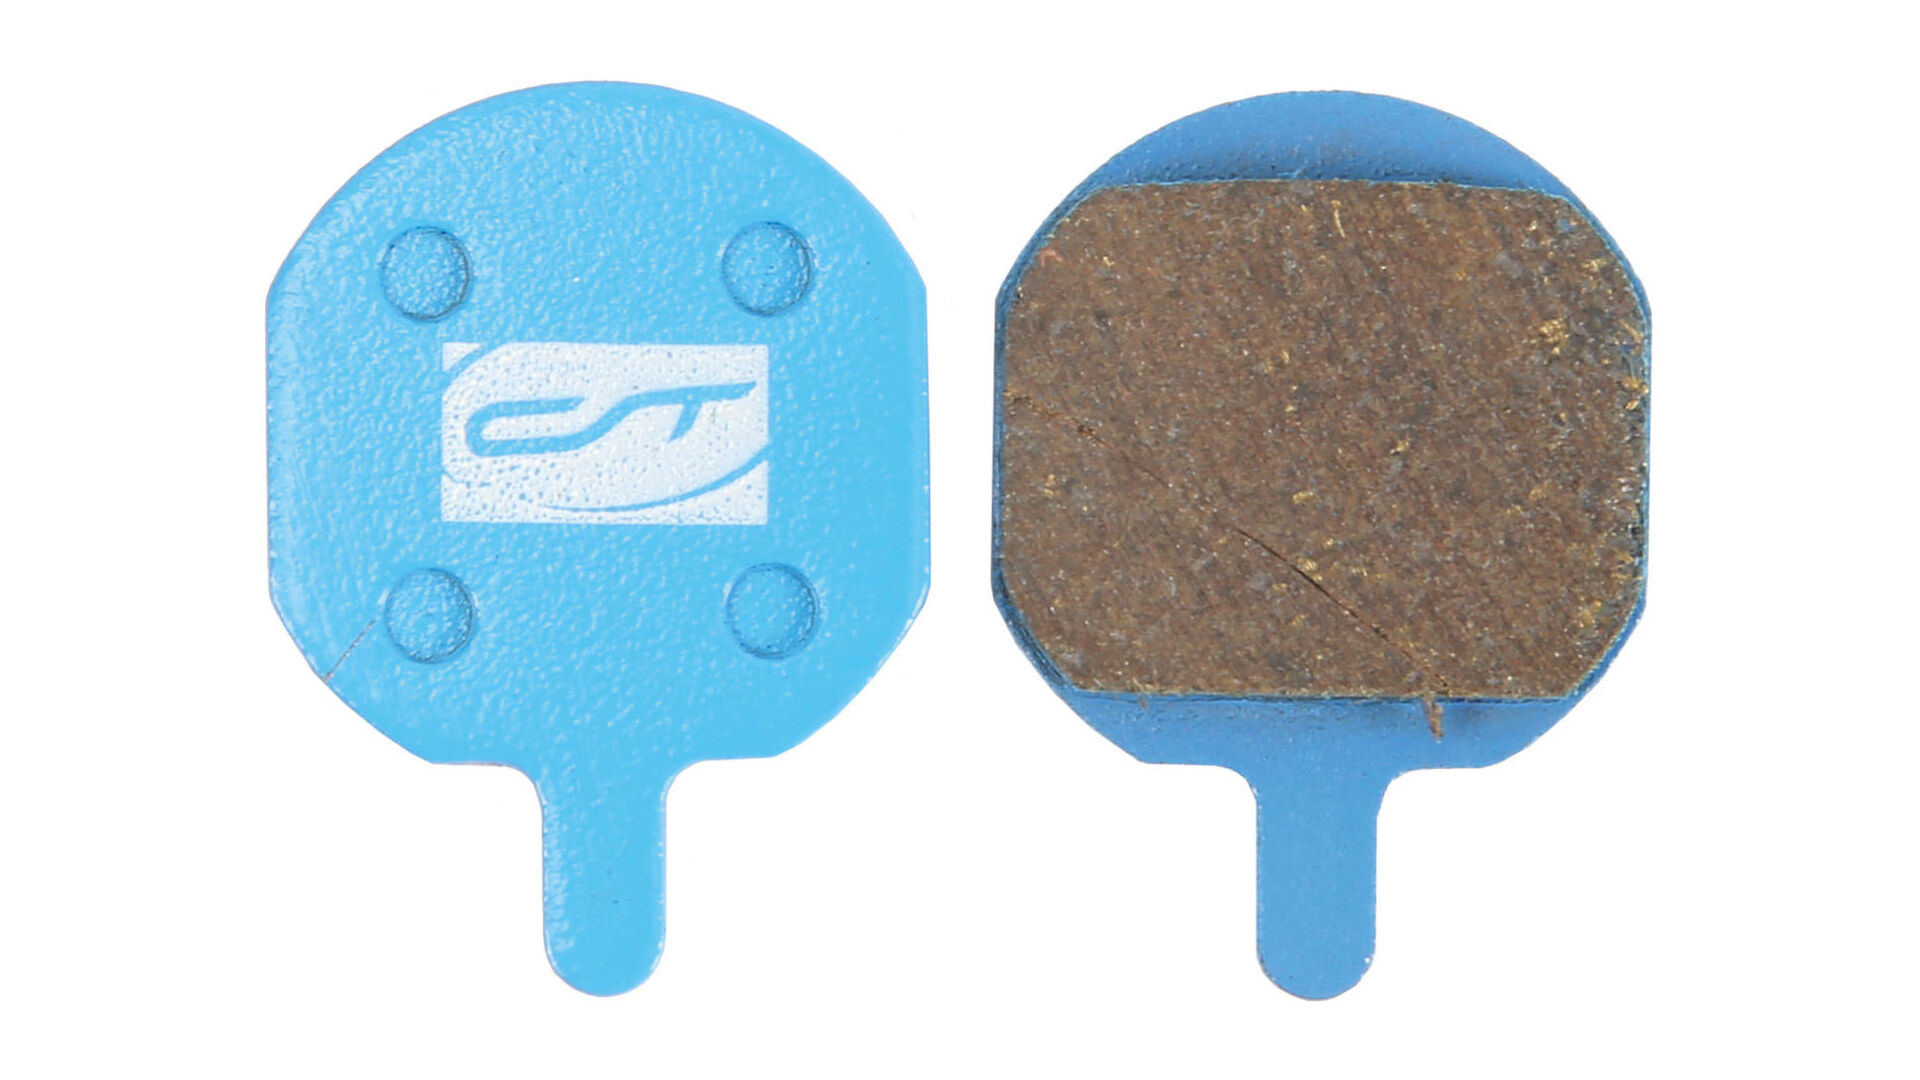
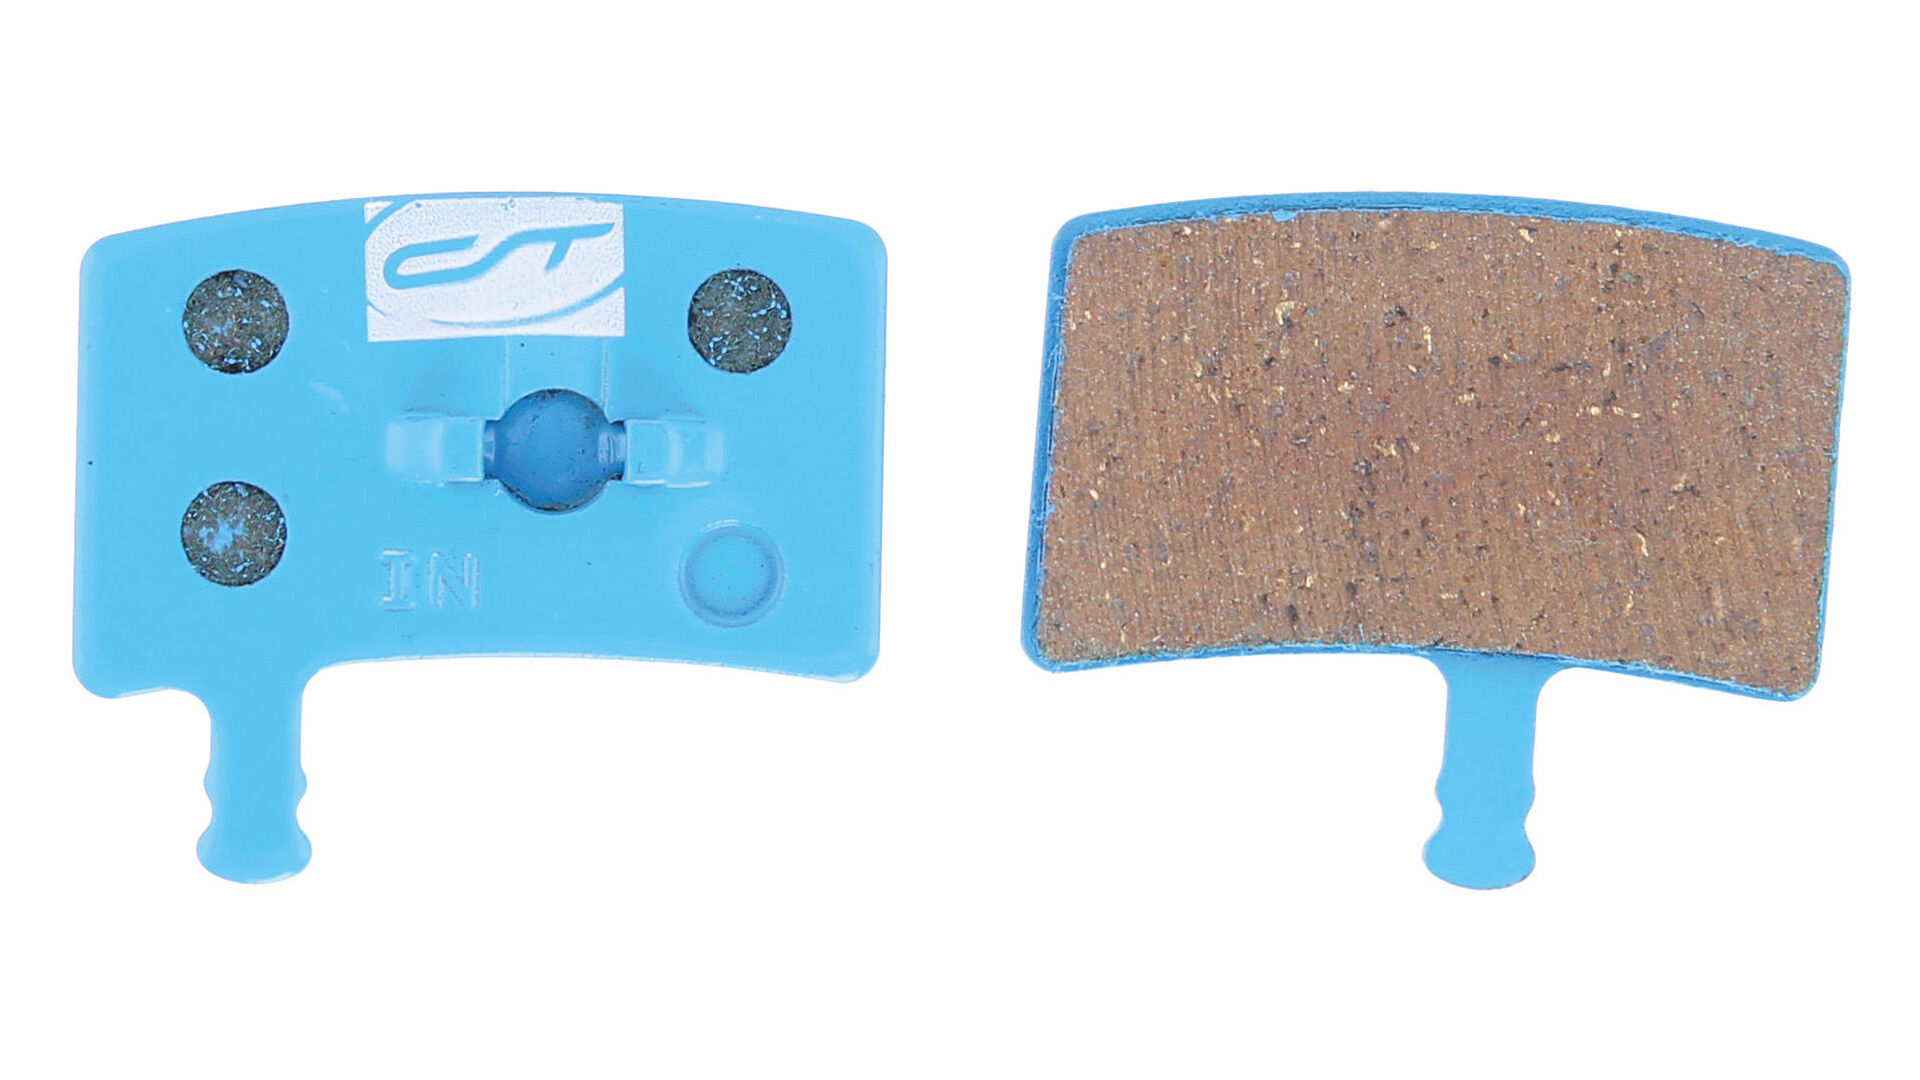
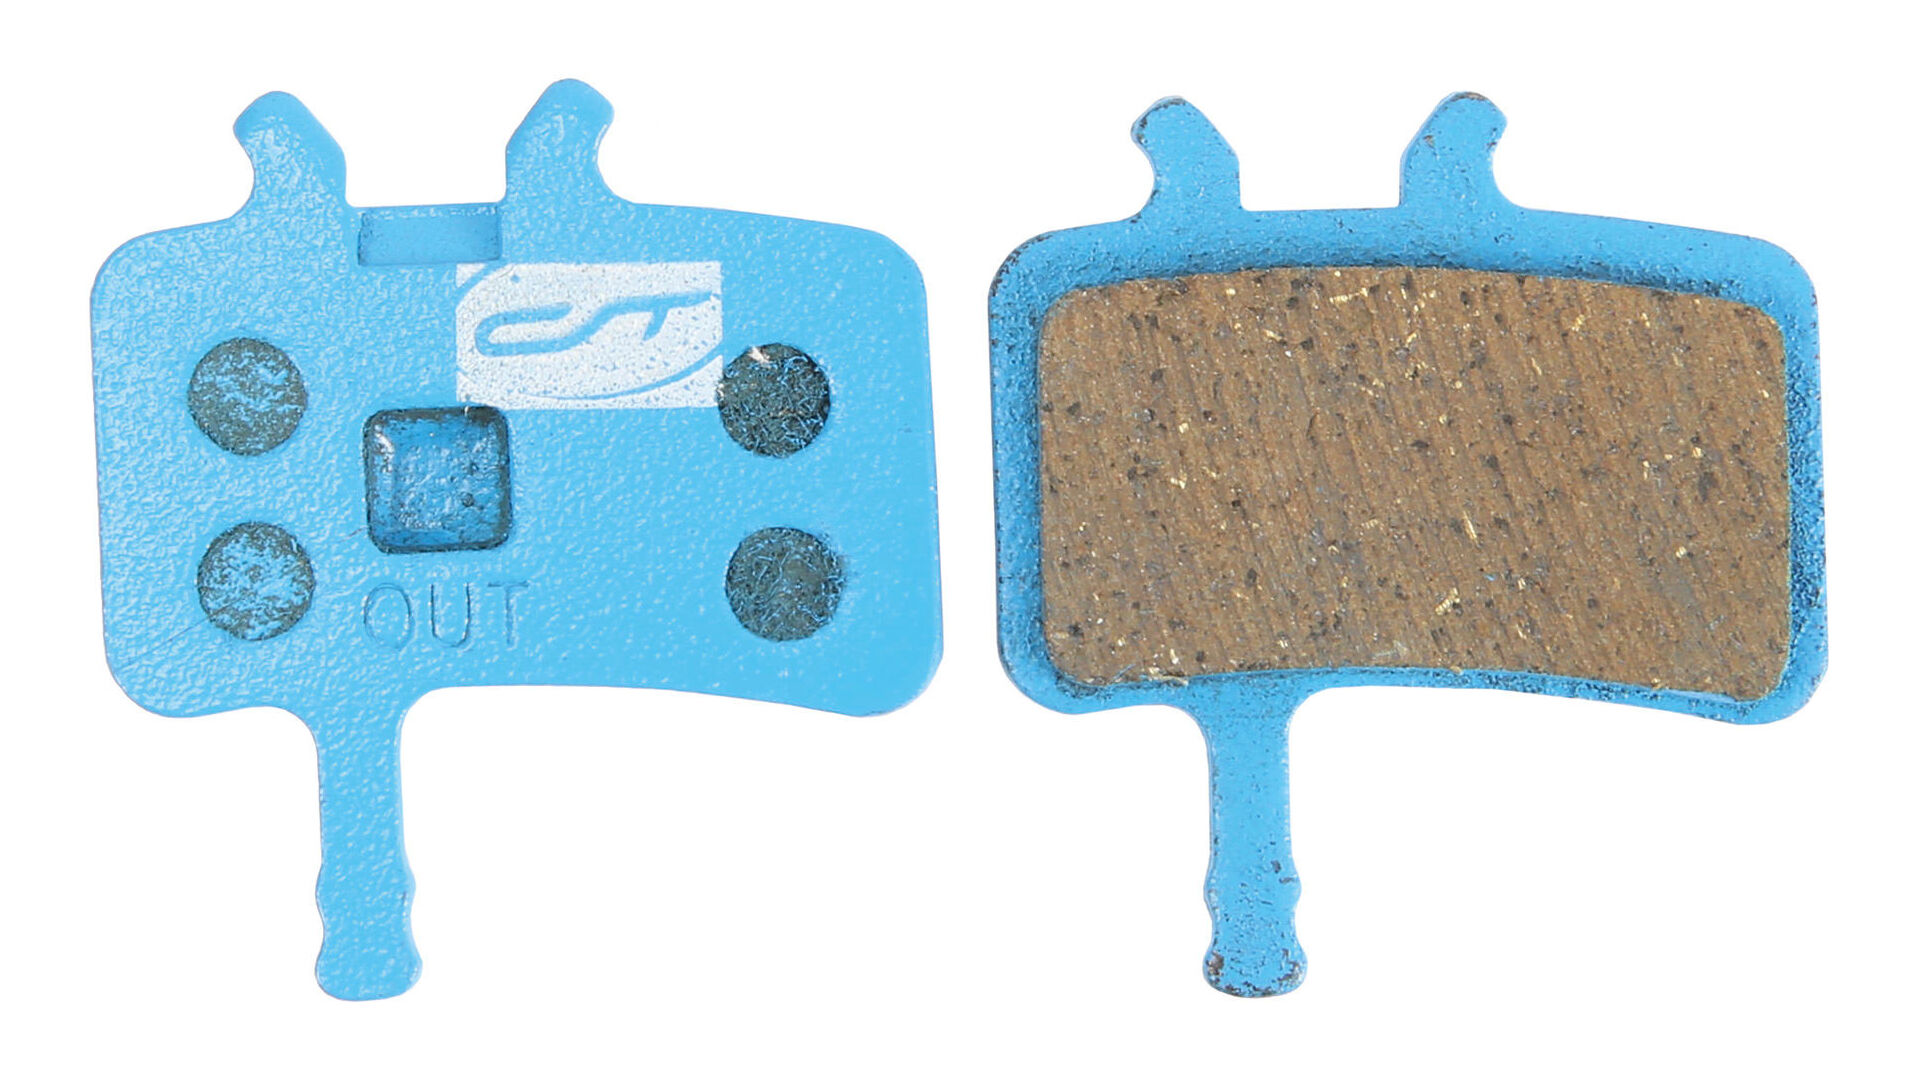
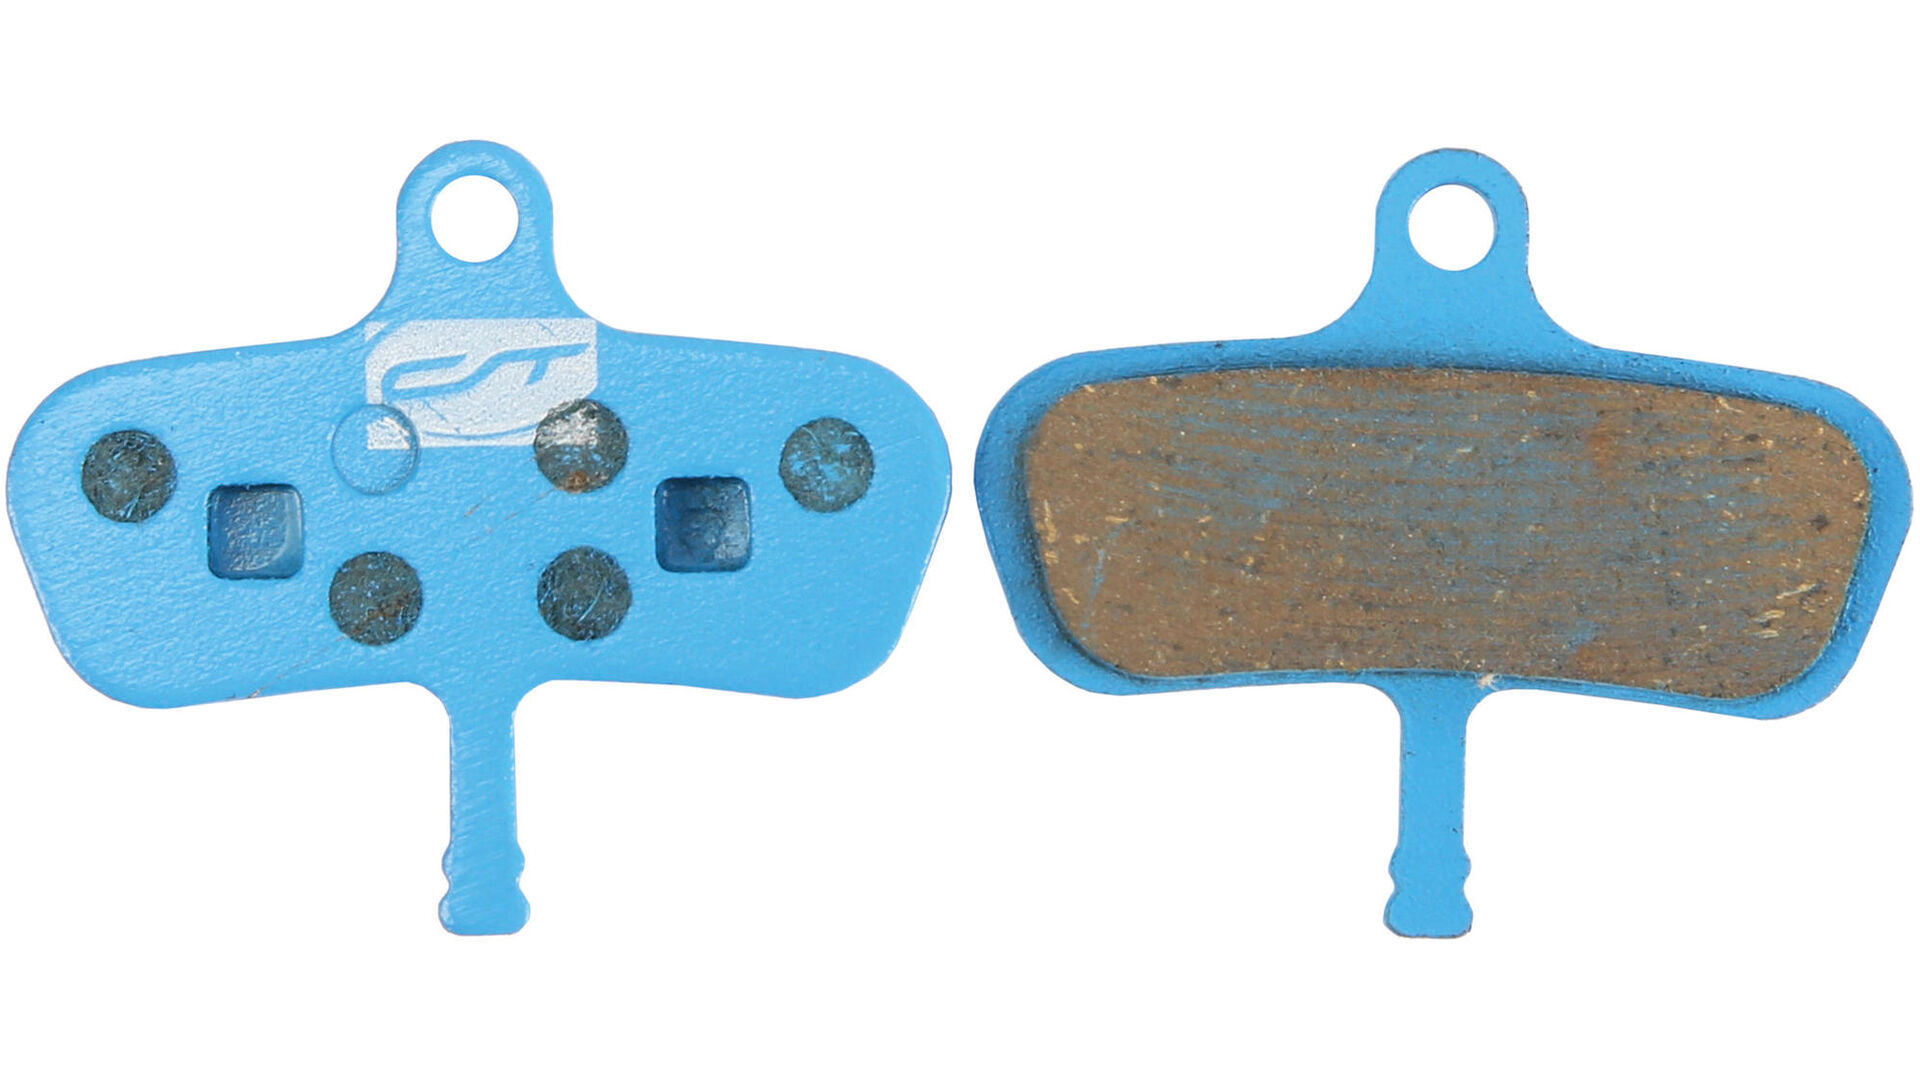
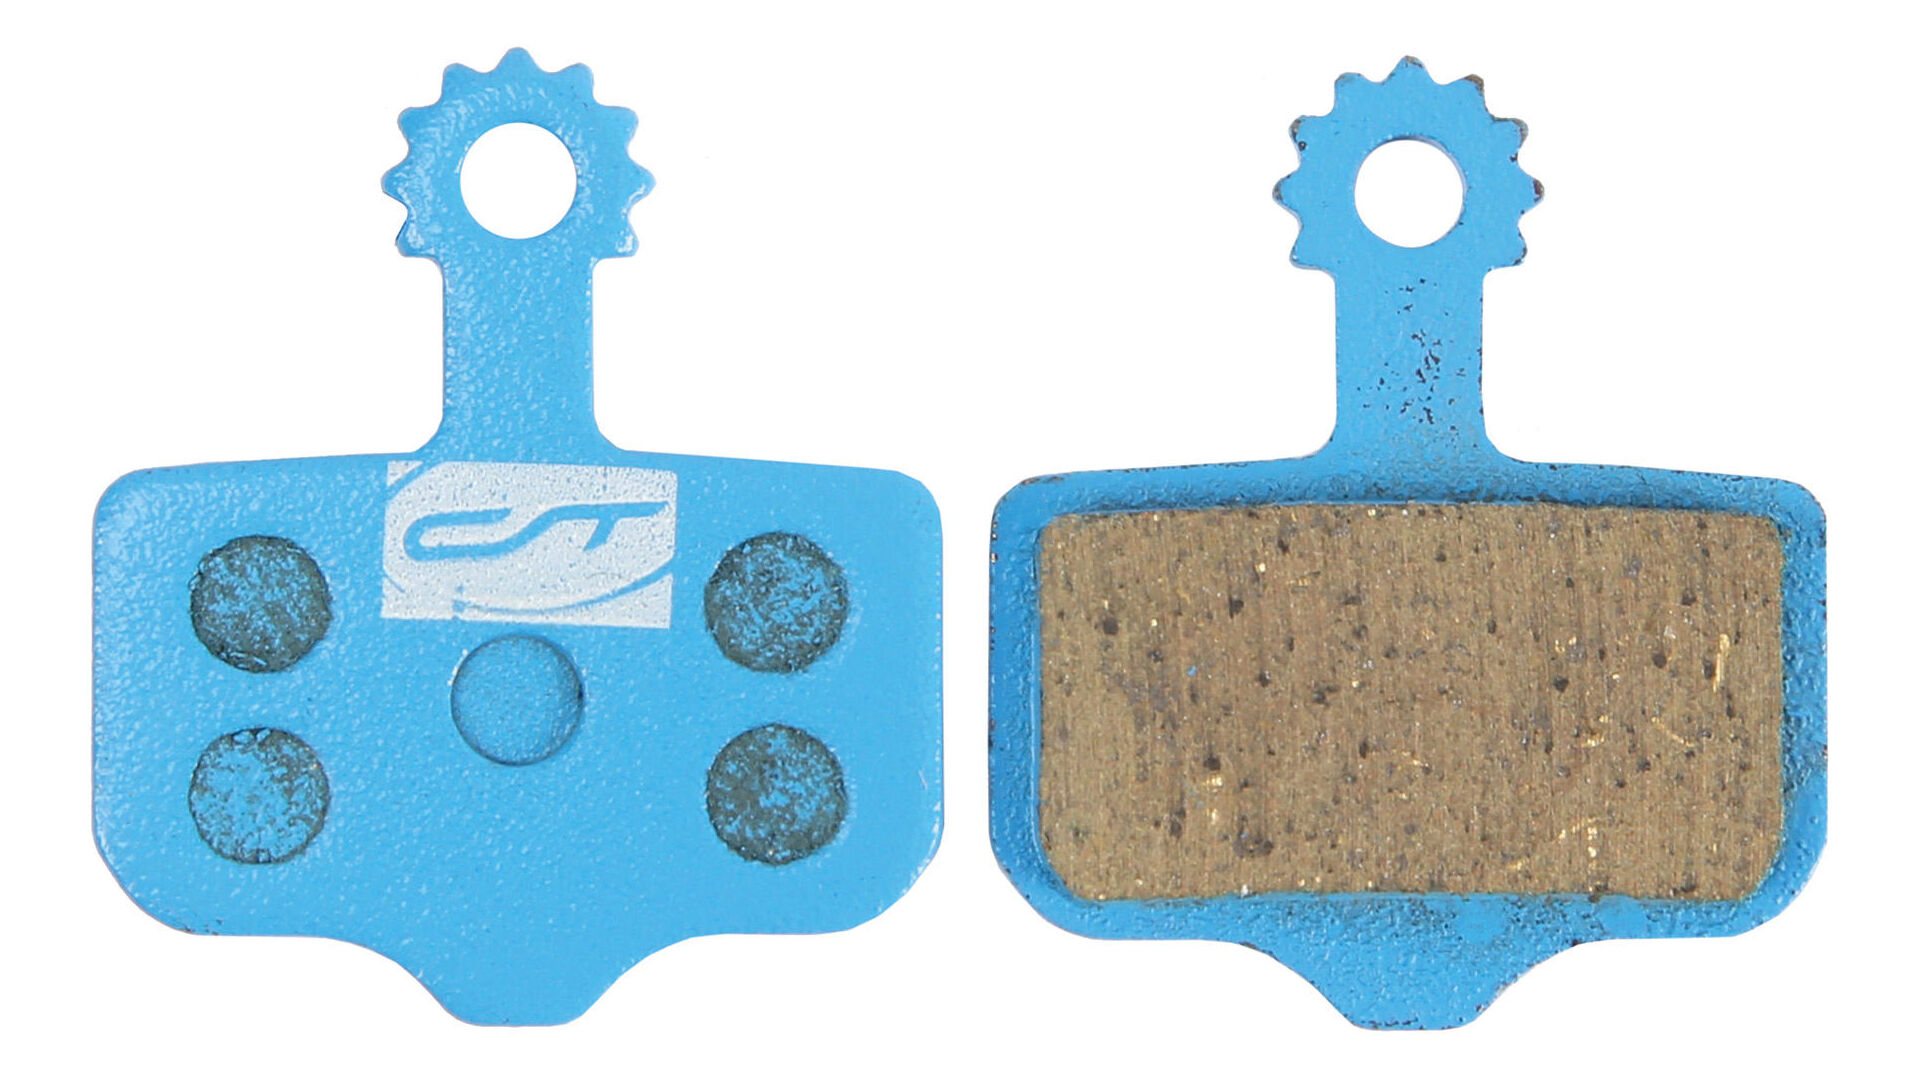
Brake pads on a disc brake
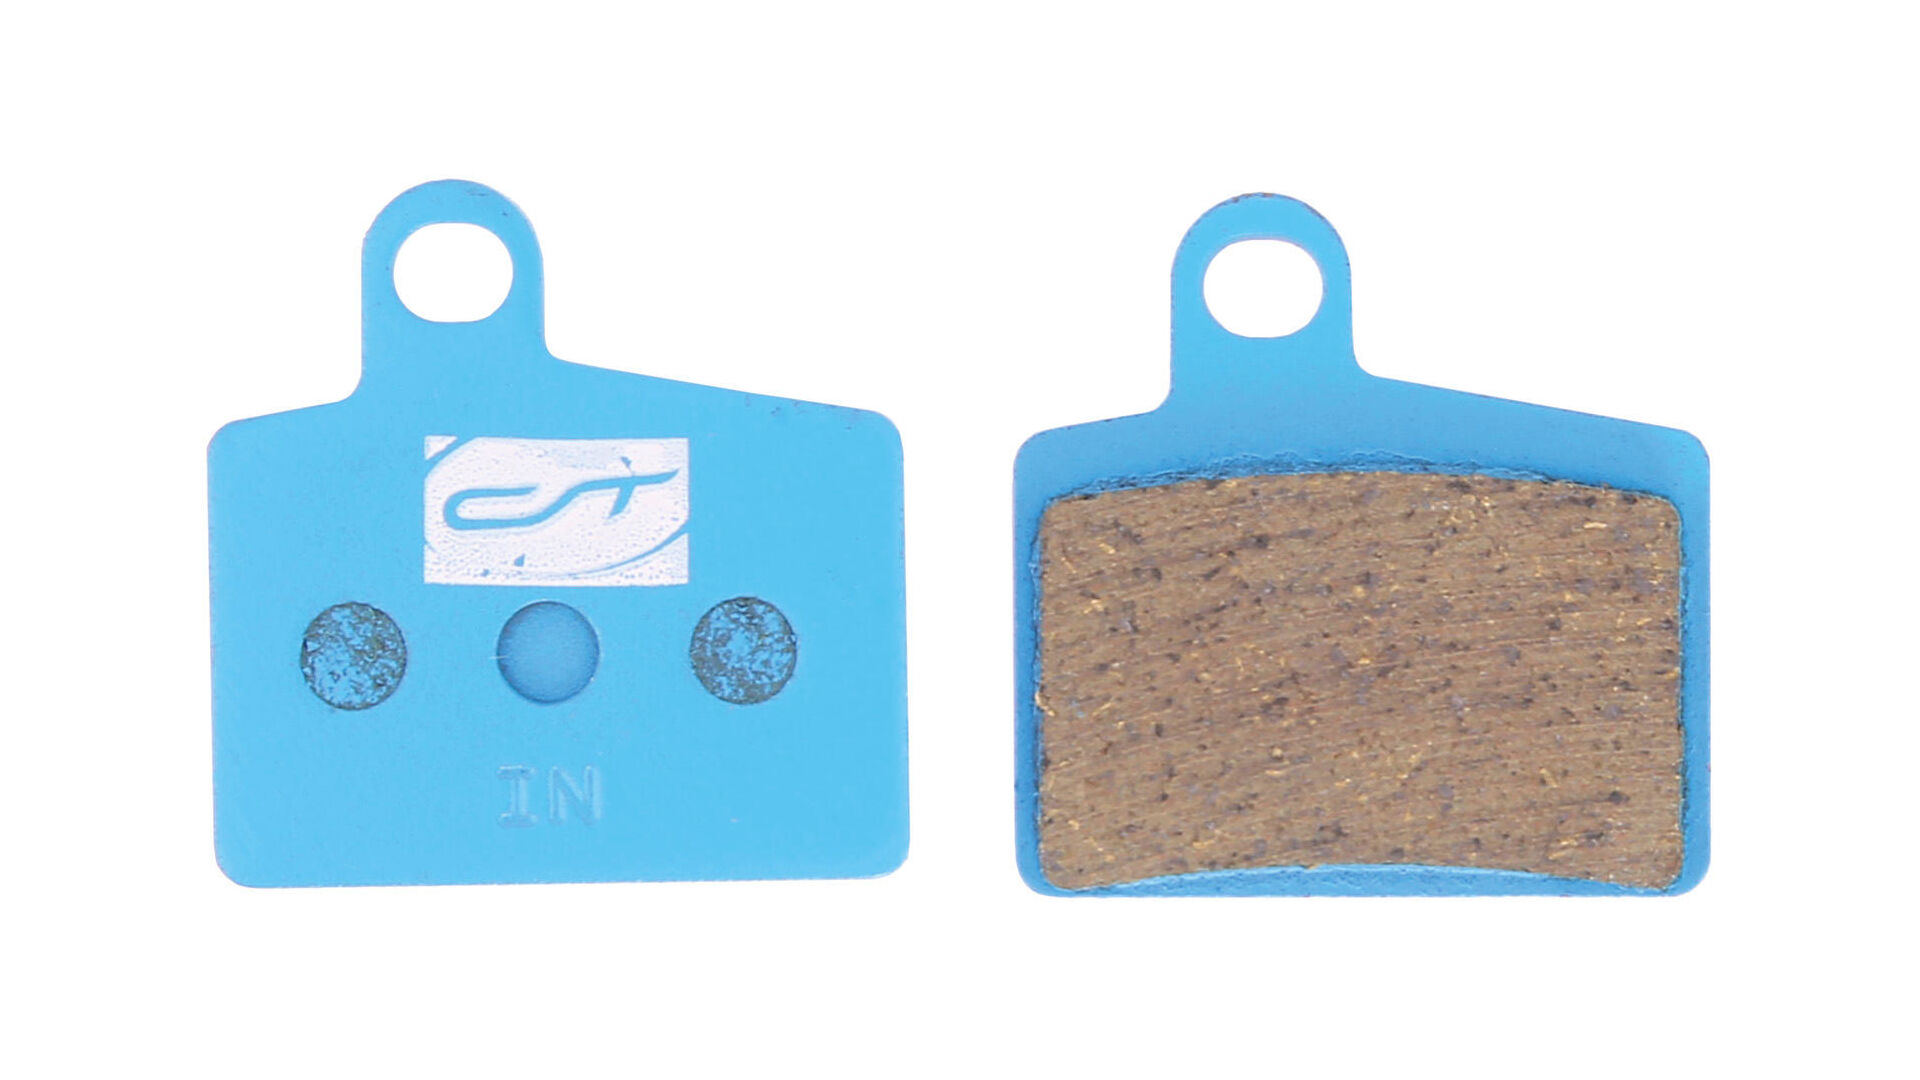
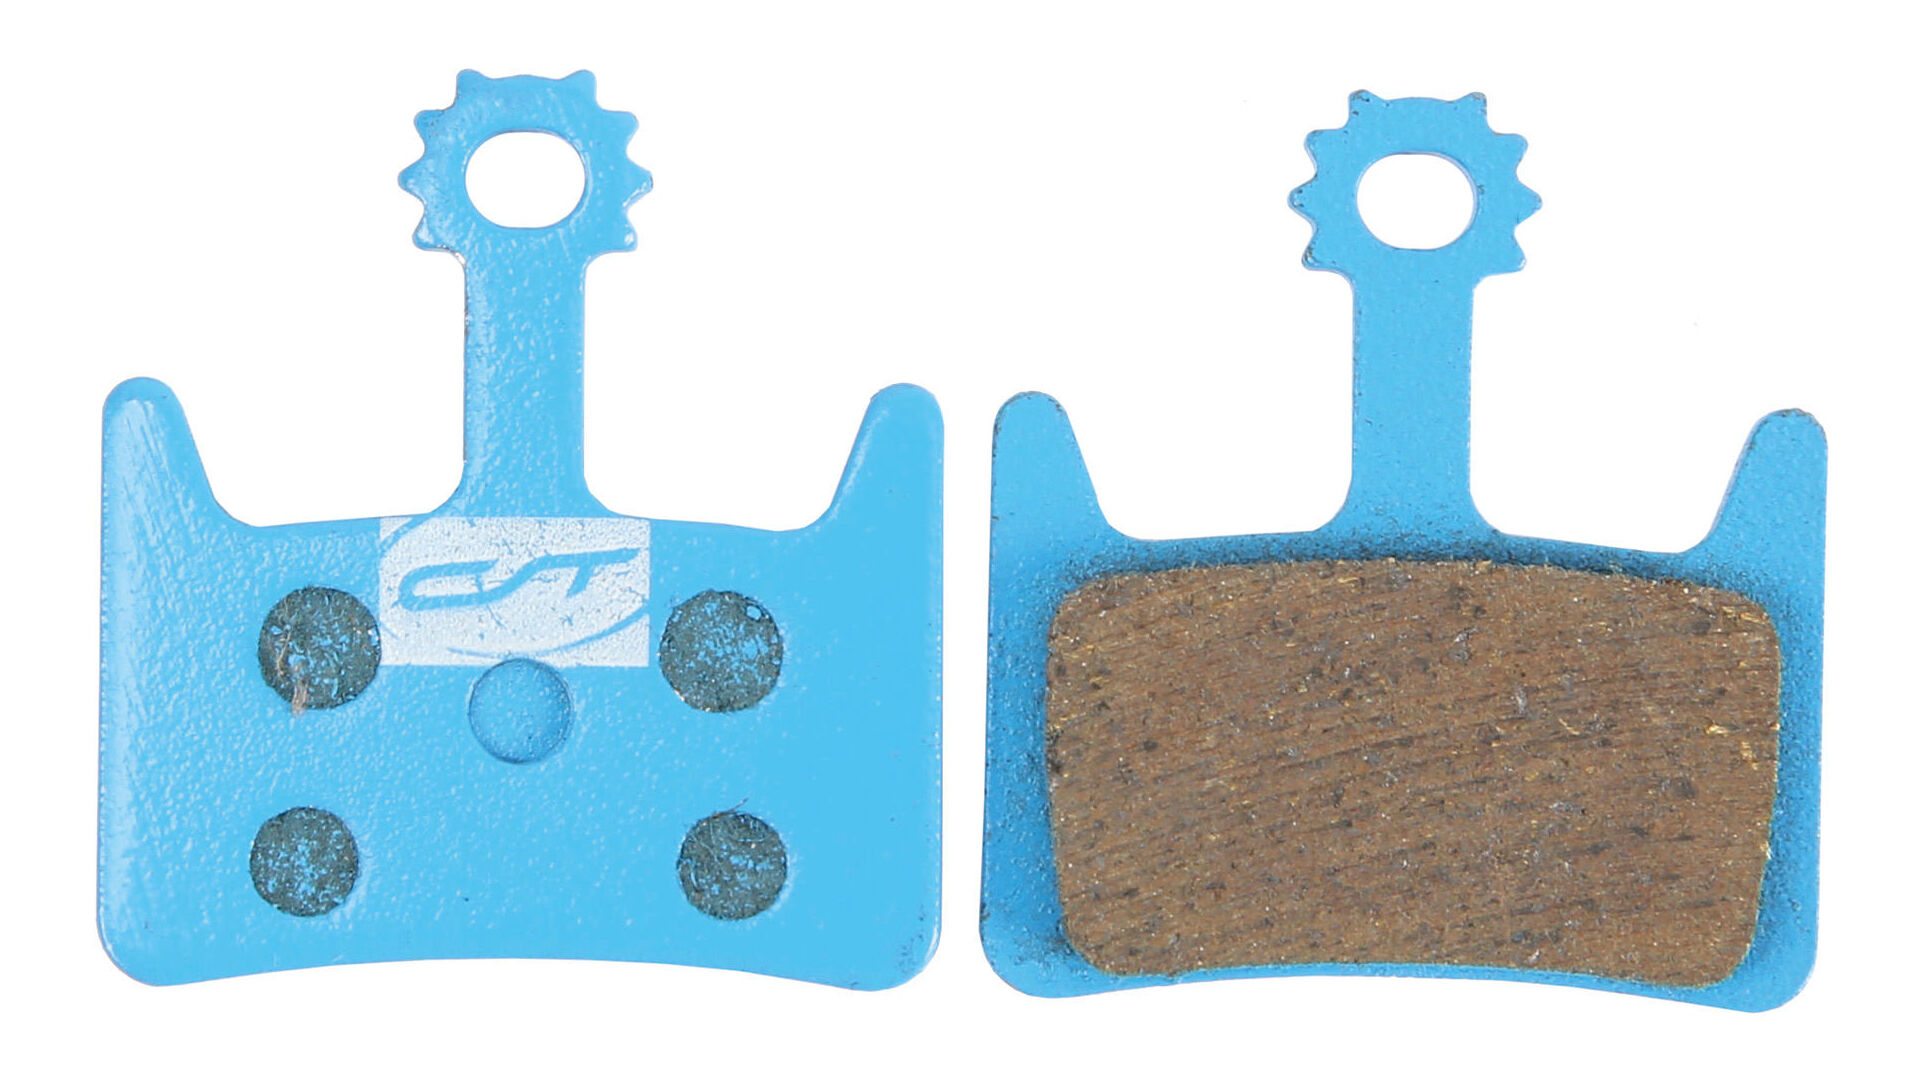
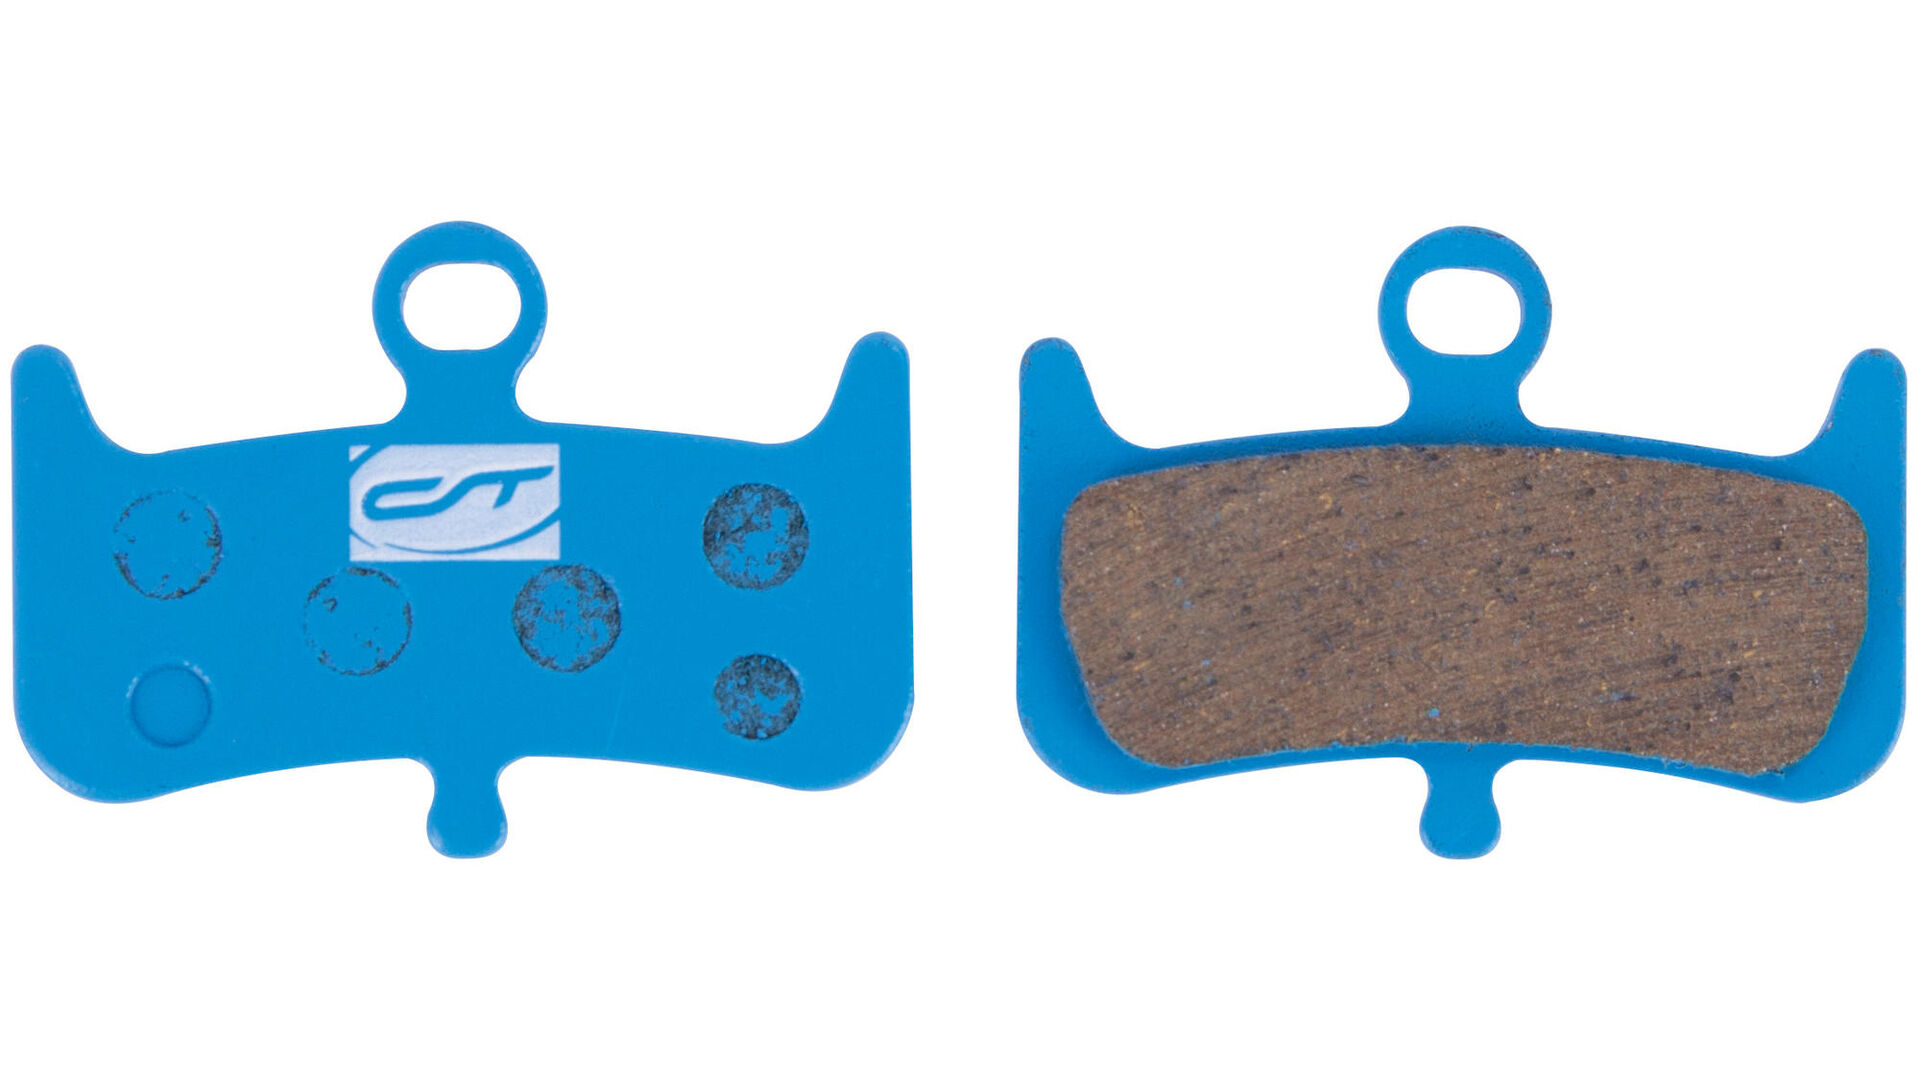
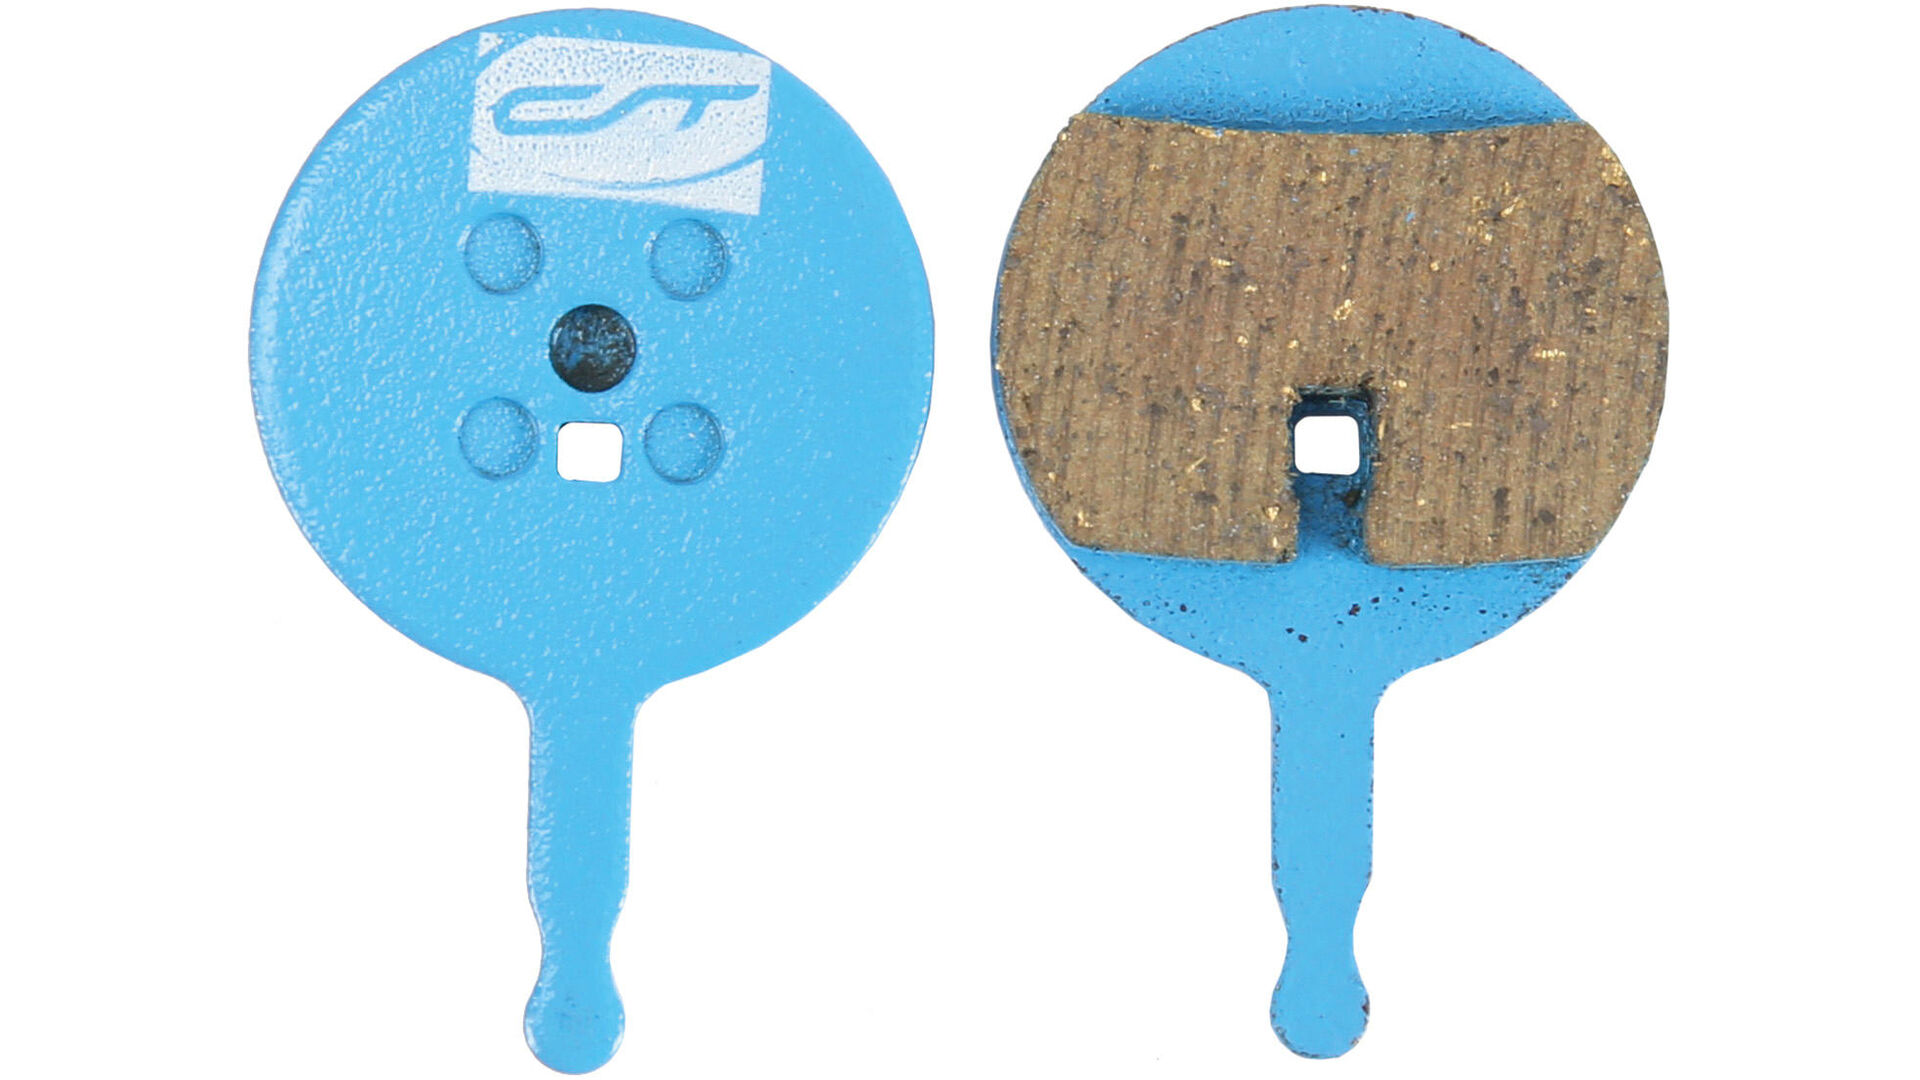
Different types of brake pads are available for bicycle disc brakes. One the one hand there are sintered pads. These are harder and therefore more resilient due to the addition of metallic components – but they also tend to squeak louder while braking and require a longer braking time. Organic disc brake pads, on the other hand, are made of fibres and organic material. They are softer and wear faster. However, the noise of these brake pads is lower and they have a slightly higher braking force.

Step-by-step instructions: Installing brake pads on a disc brake
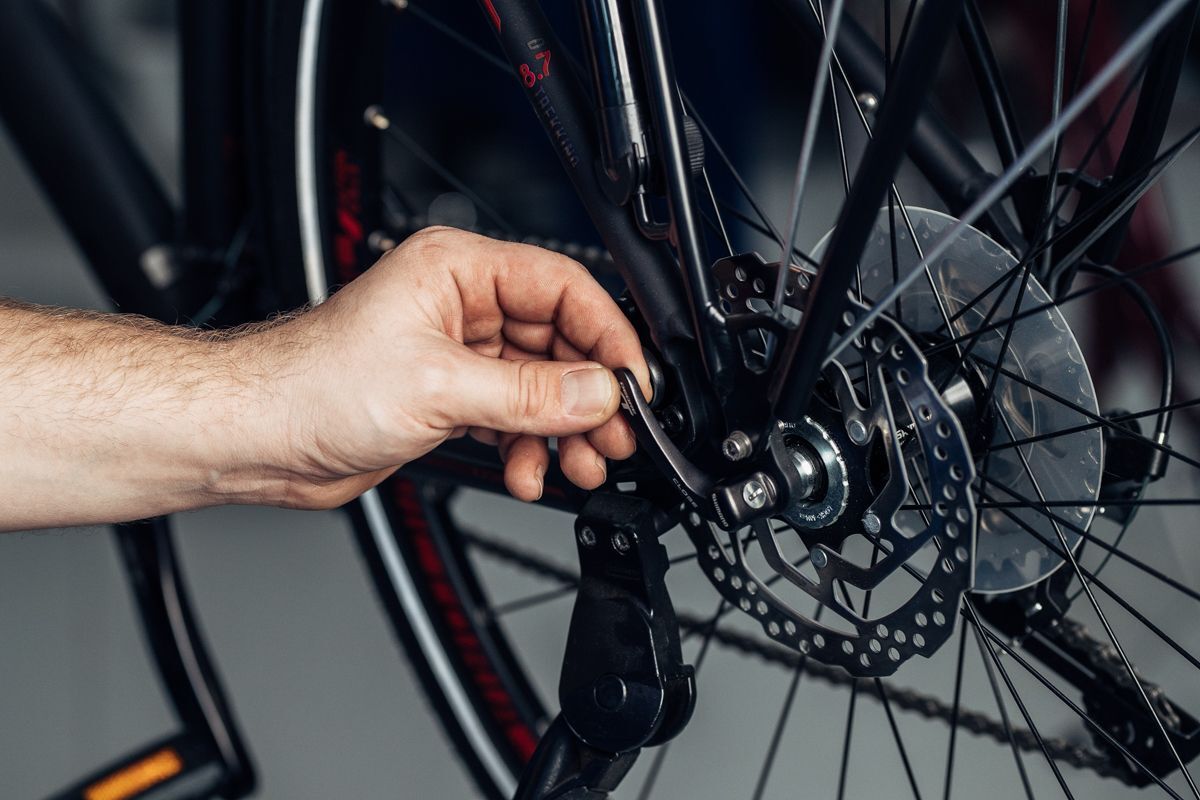
Step 1: Remove the rear wheel
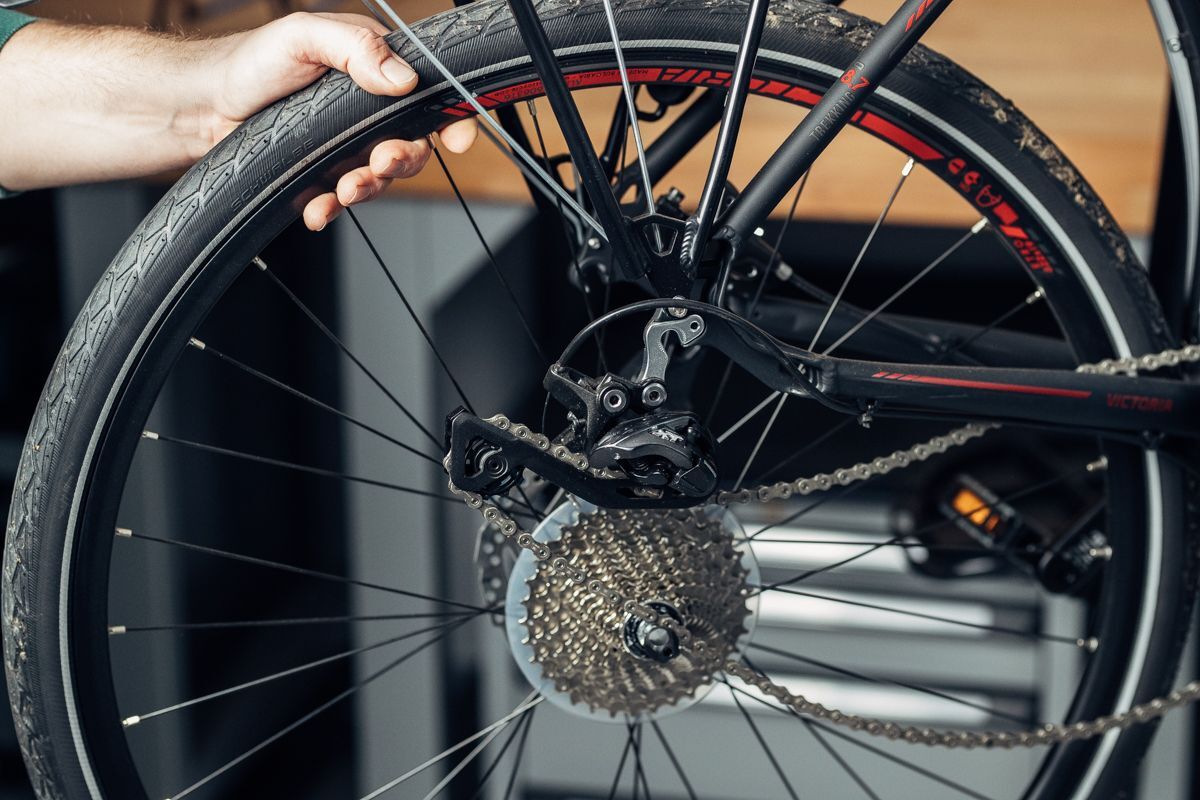
First, get the bike set up as stably as possible, so that the rear wheel can move freely. Now you get the chain to the smallest sprocket by shifting down and turning the pedals. Next, open the quick release or the axle and unscrew it. Then push the derailleur back and pull out the wheel. Keep the brake rotor level.
Step 2: Remove the old brake pads
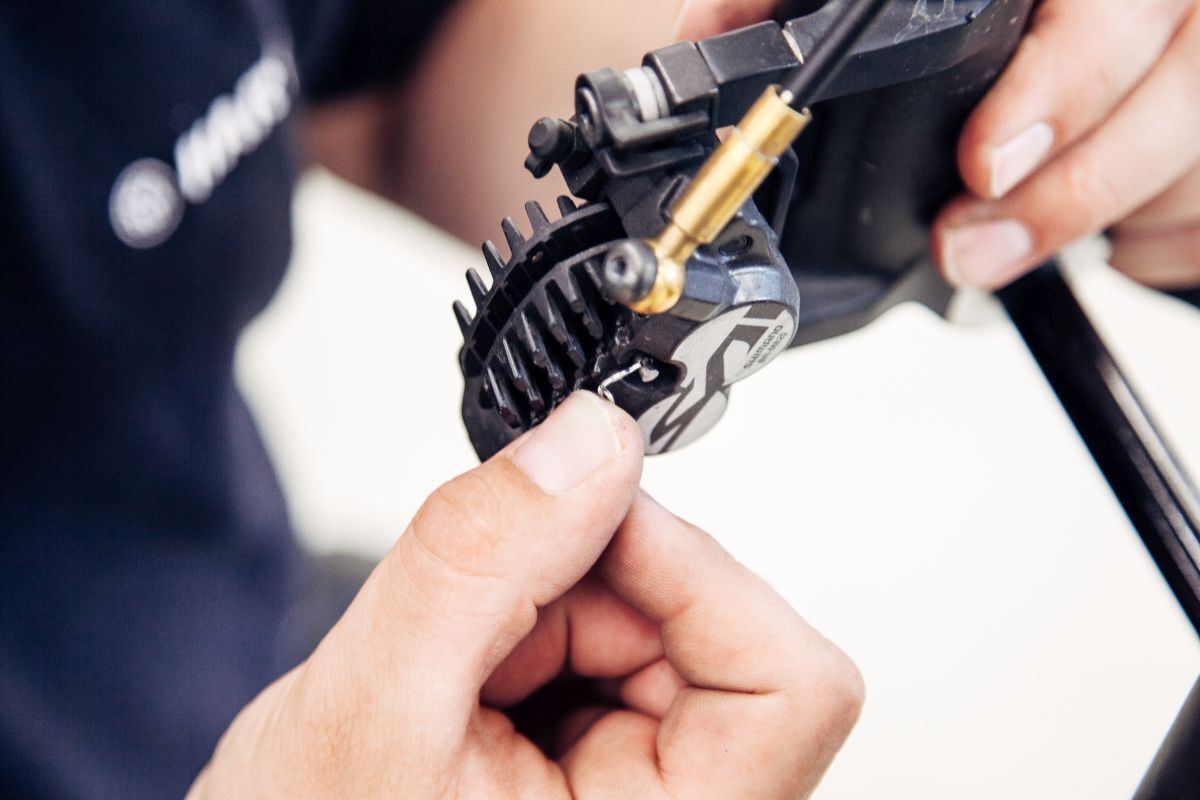
Remove the safety ring from the pad retaining screw. The screw can then be removed with an Allen key. You can now pull out the brake pads.
Step 3: Spread the brake pistons
Before installing the new brake pads, it is recommended to clean the brake and the brake piston. Just use a toothbrush and brake cleaner. After pulling out the brake pads, the brake pistons will not be flush. To fit the new pads, the brake pistons must be fully pushed back into the caliper. This is easily possible with a brake piston spreader. Using the tool, push the lower end against the piston with some force.
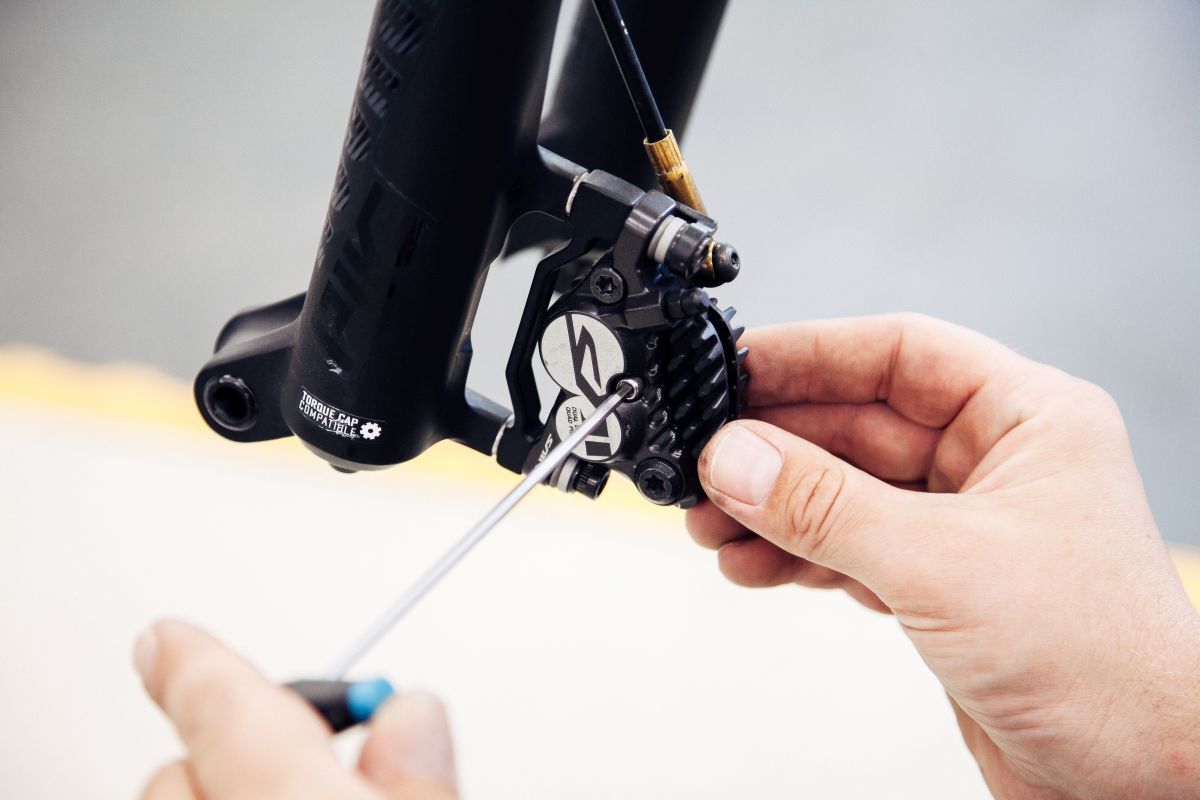
Step 4: Install new brake pads

Place the spring around the brake pads and then squeeze them together. They can then be inserted straight into the caliper. If the pads do not fit or the brake rotor cannot be inserted, the pistons are not yet seated correctly in the caliper. Try to push them in further with the brake piston spreader. If it still does not work, it is best to go to a dealer. If the brake pad fits well in the caliper, you can re-insert and screw in the pad retaining screw and attach the safety ring. Now press the brake lever on the bike a few times until you find the contact point. Then hold it down for a few seconds.
Step 5: Reinstall the wheel
First, push the derailleur back. Then put the chain back on the smallest sprocket of the cassette, carefully insert the brake rotor into the caliper and move the derailleur forward. Close the quick release clamp again – that's it!


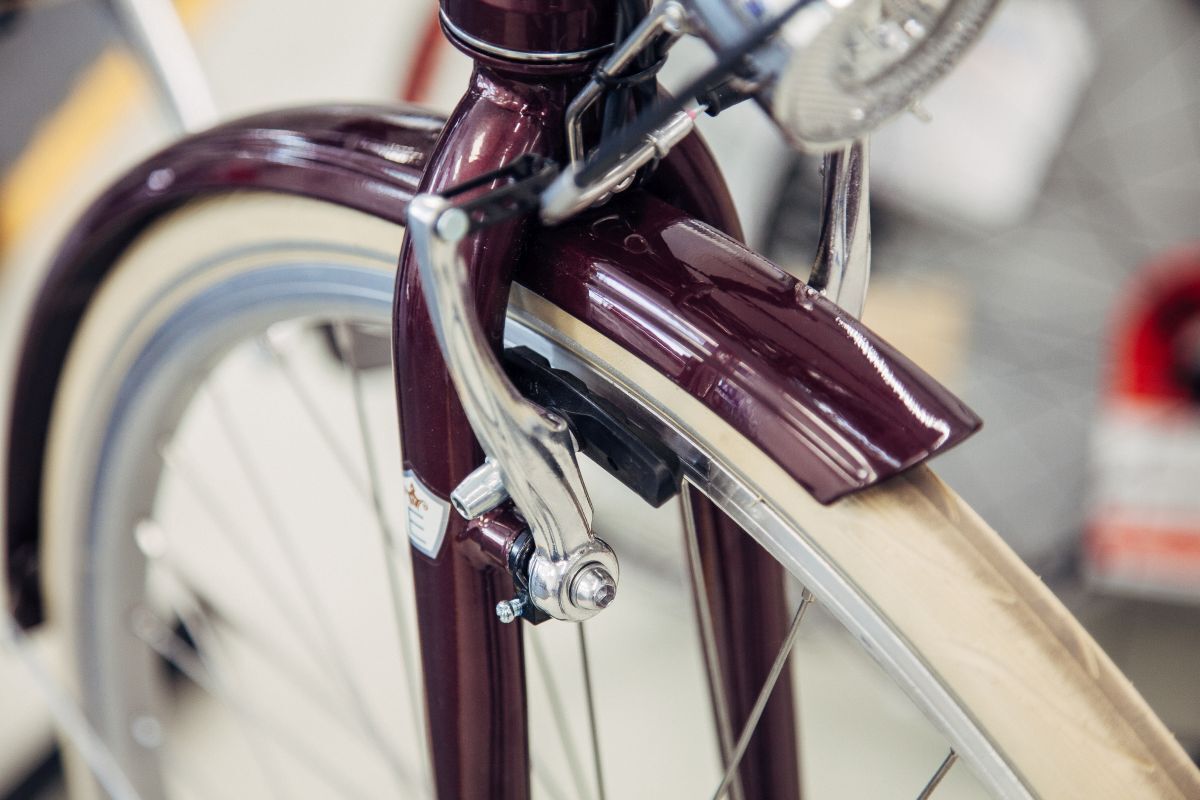
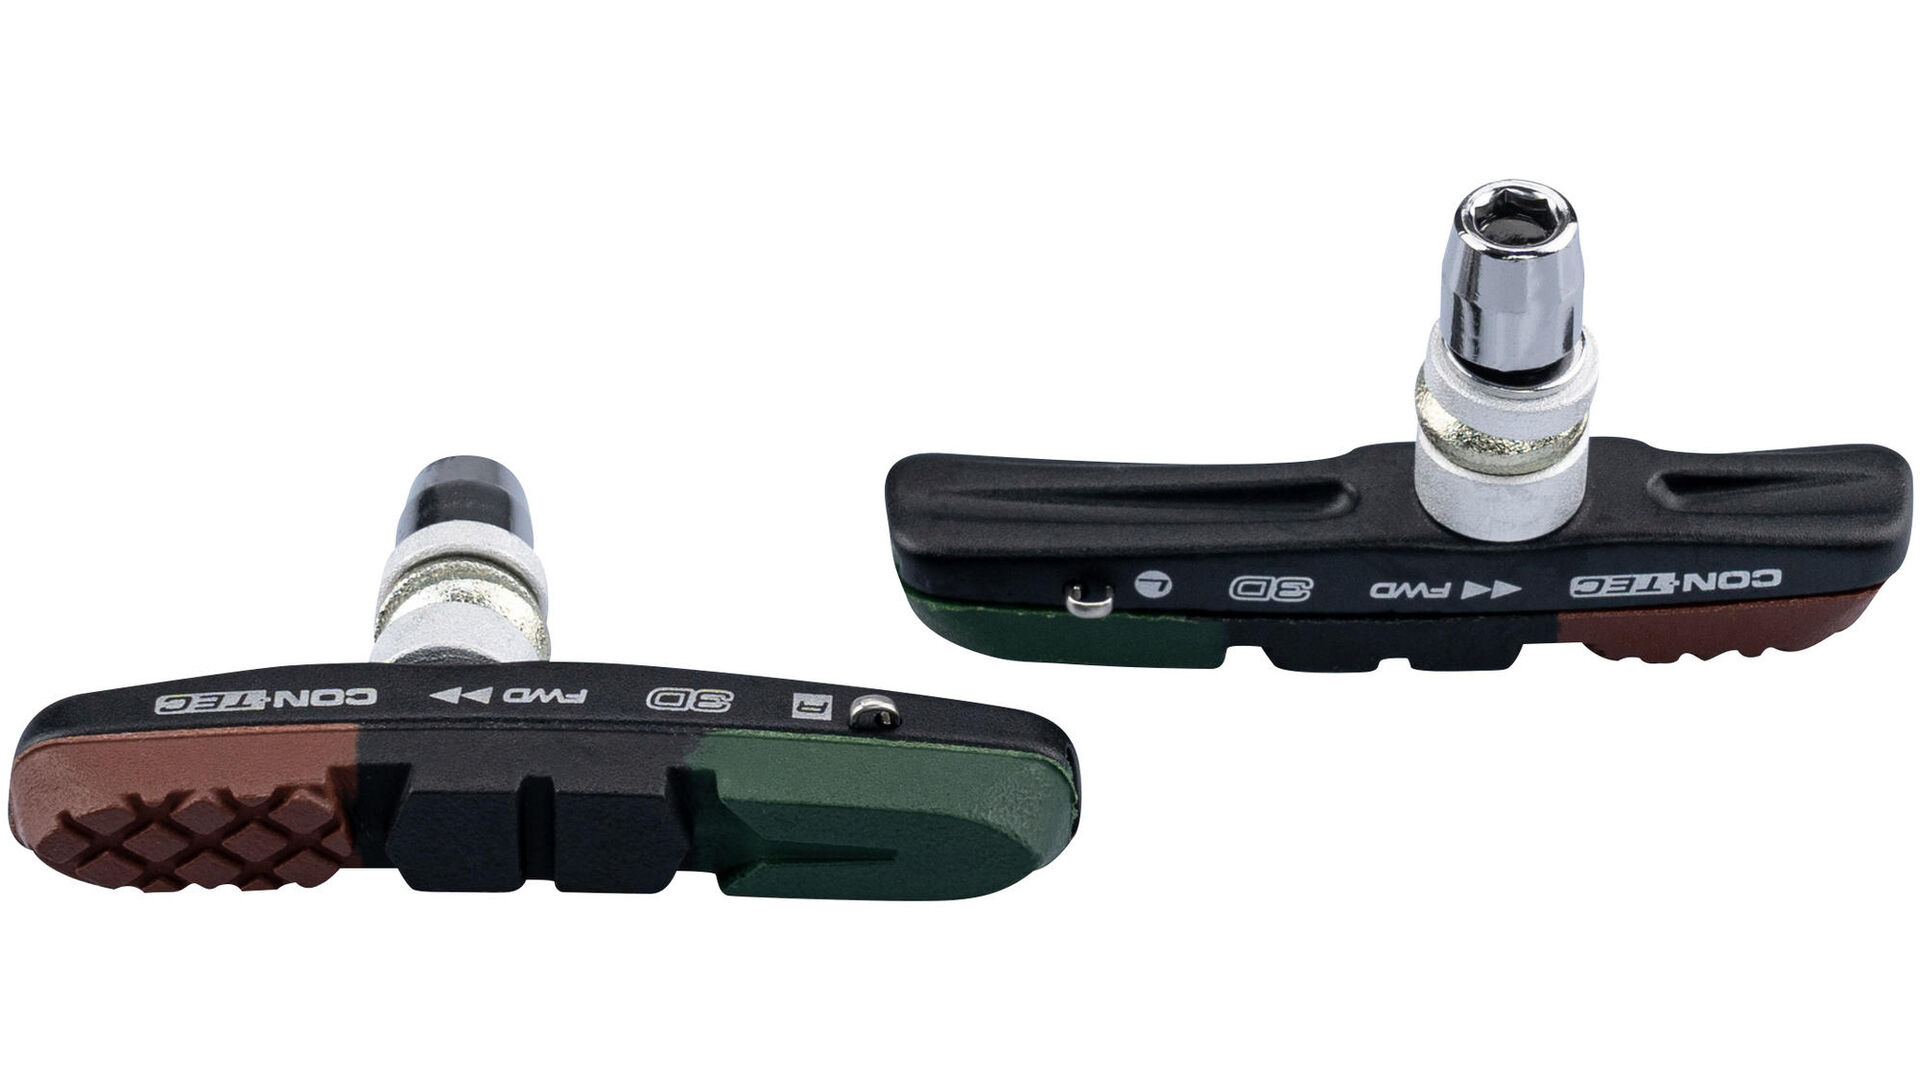
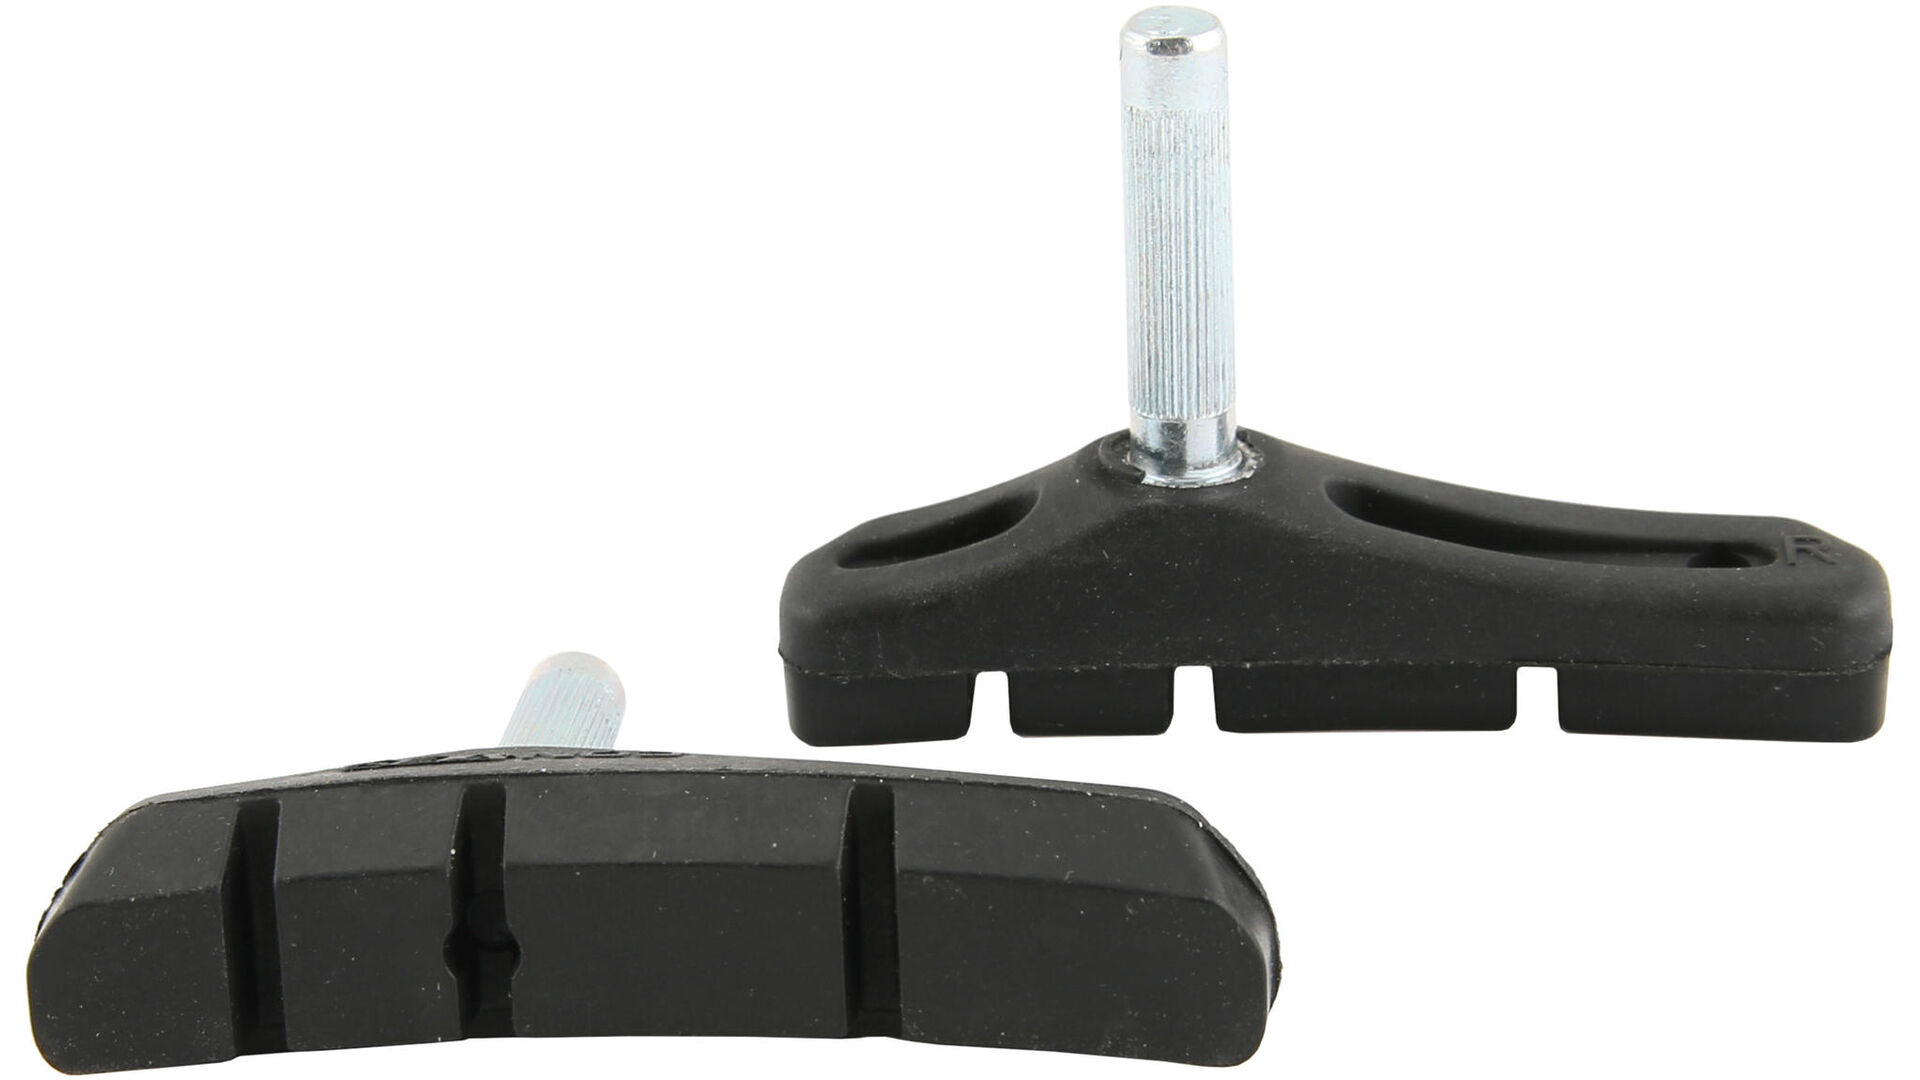
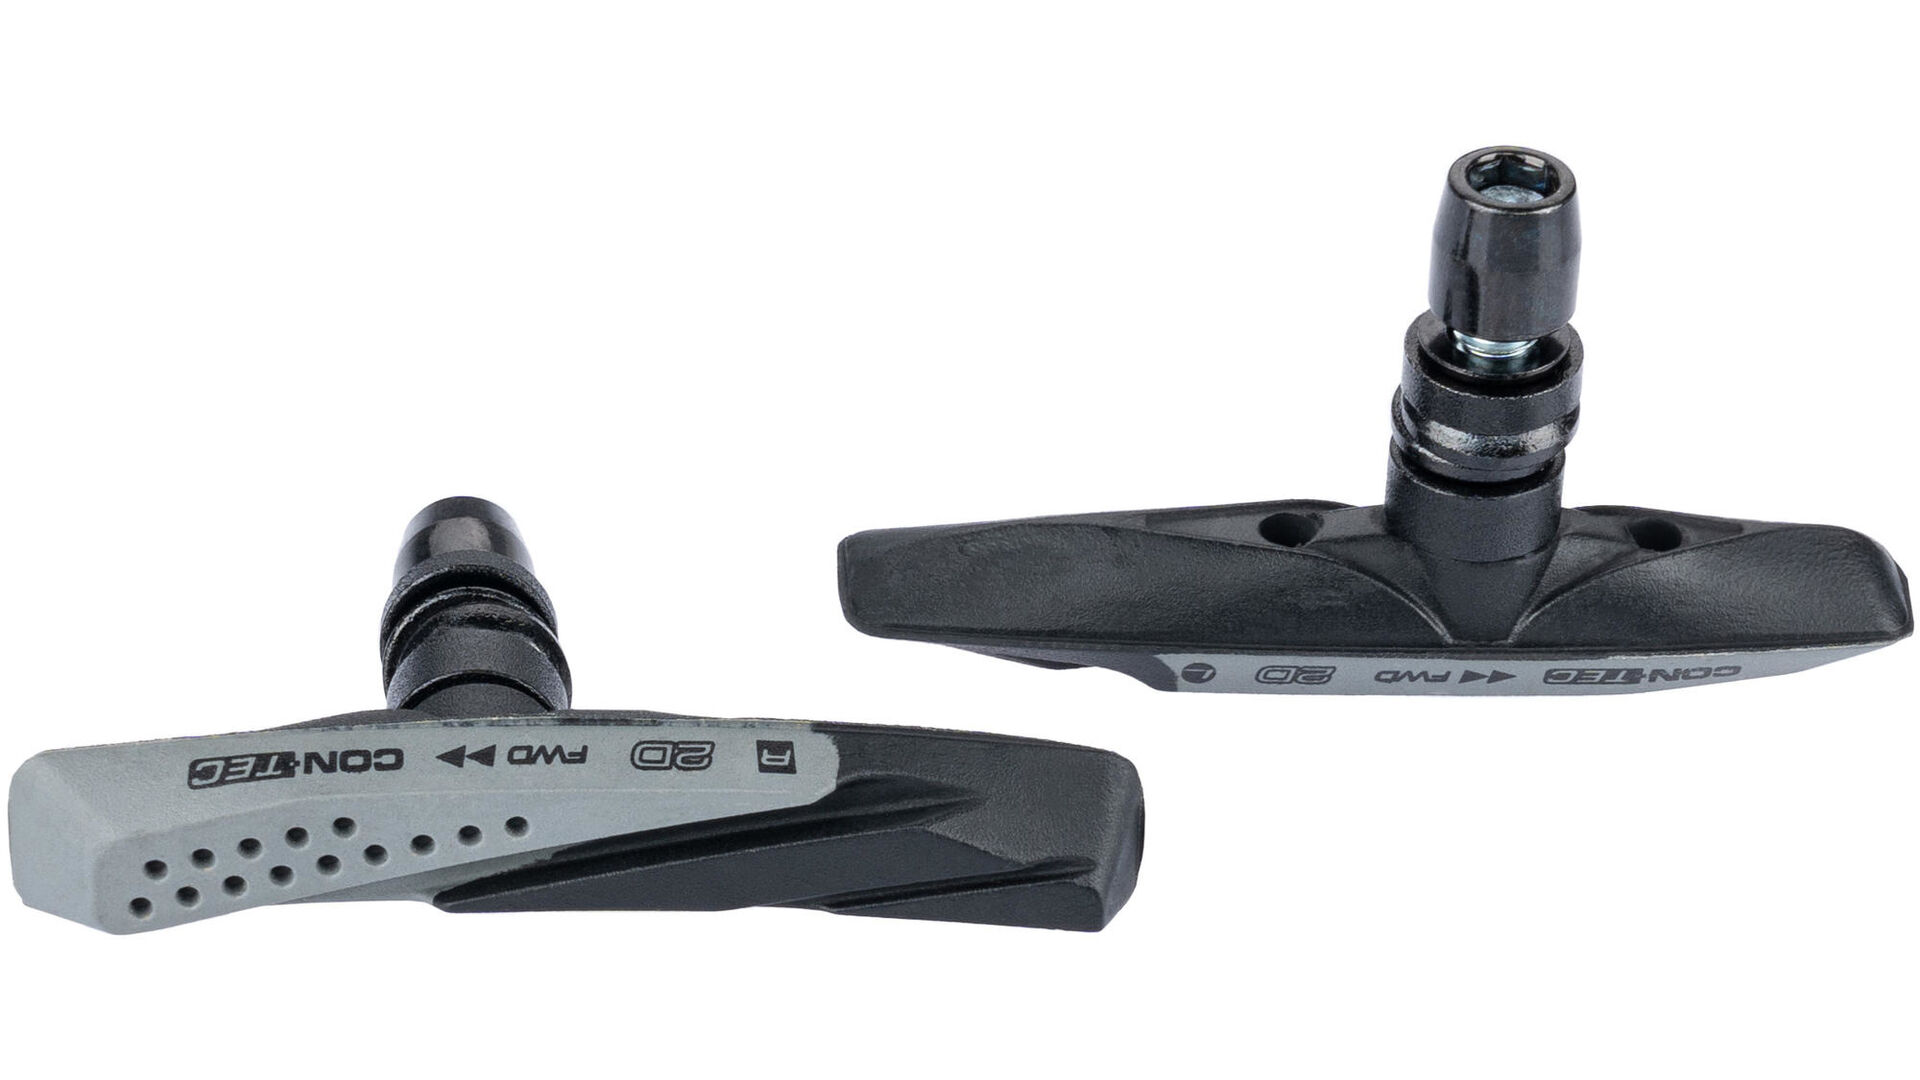
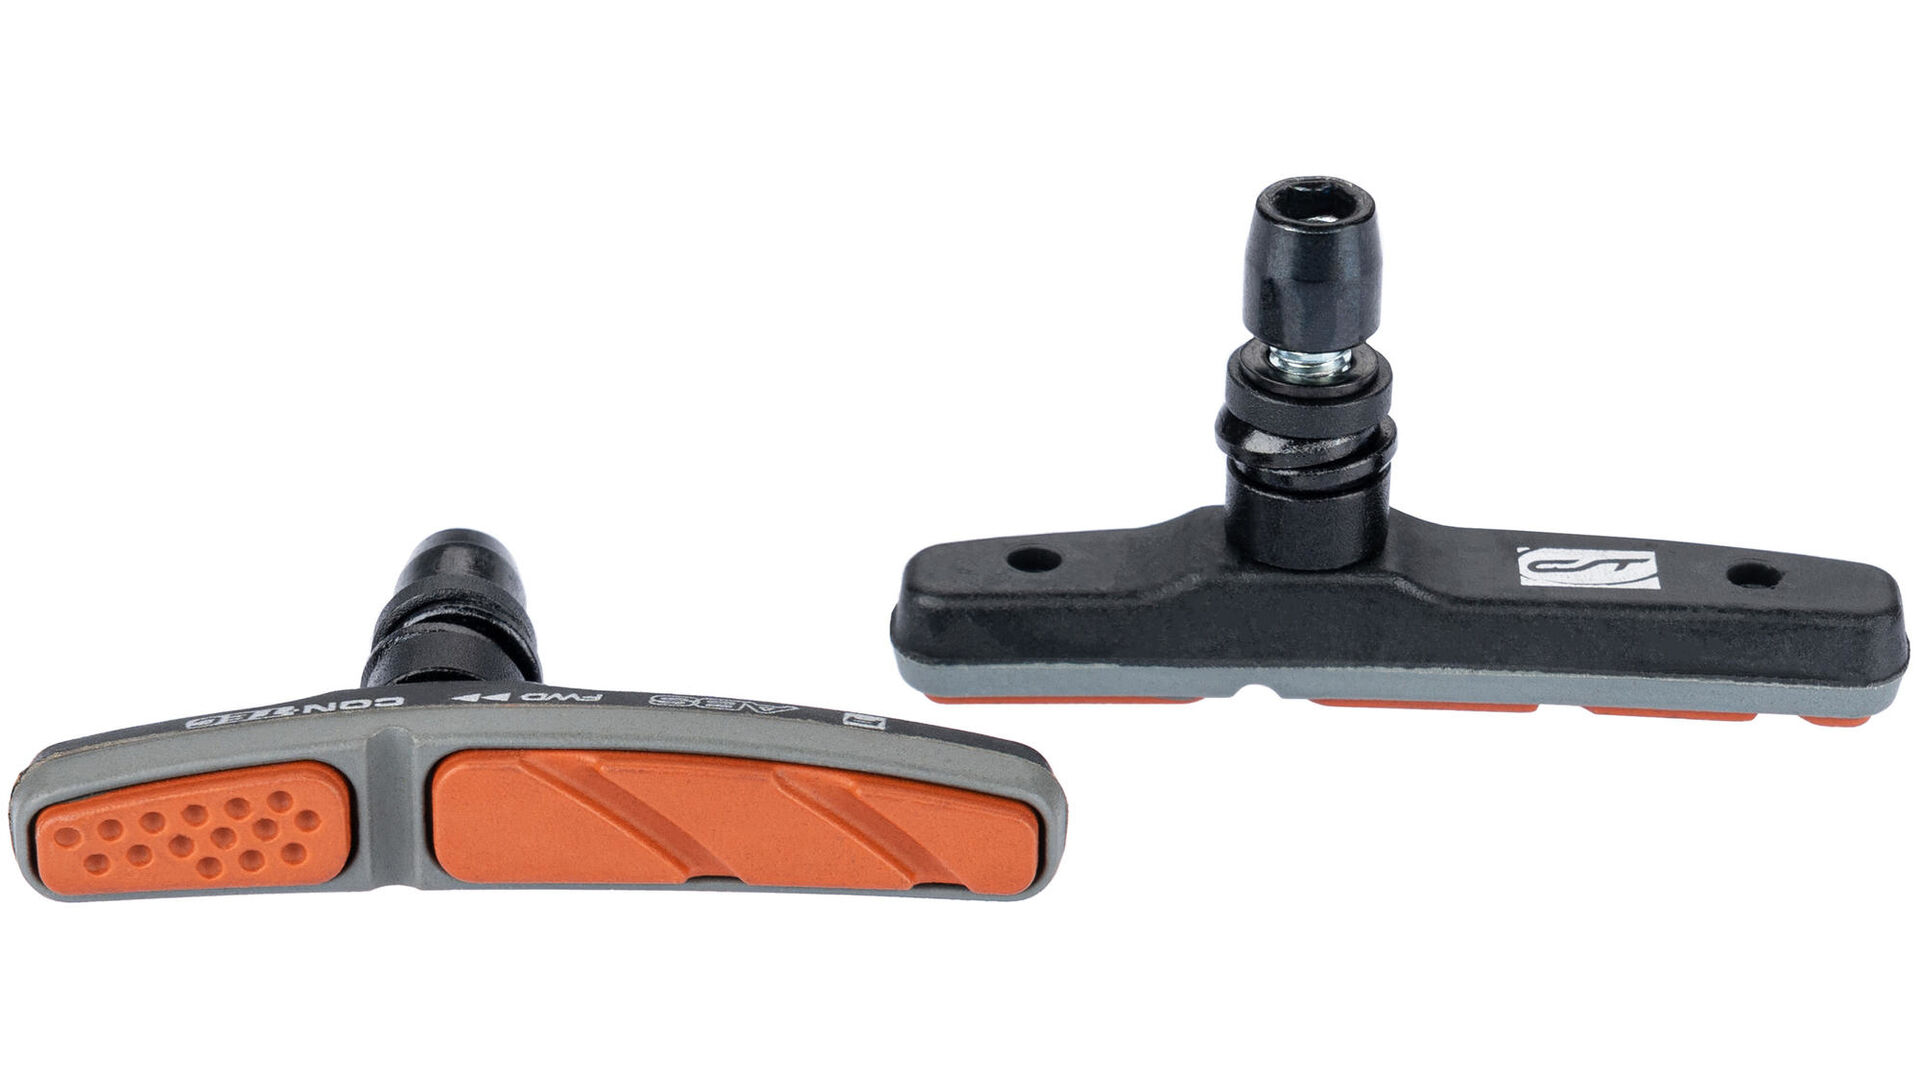
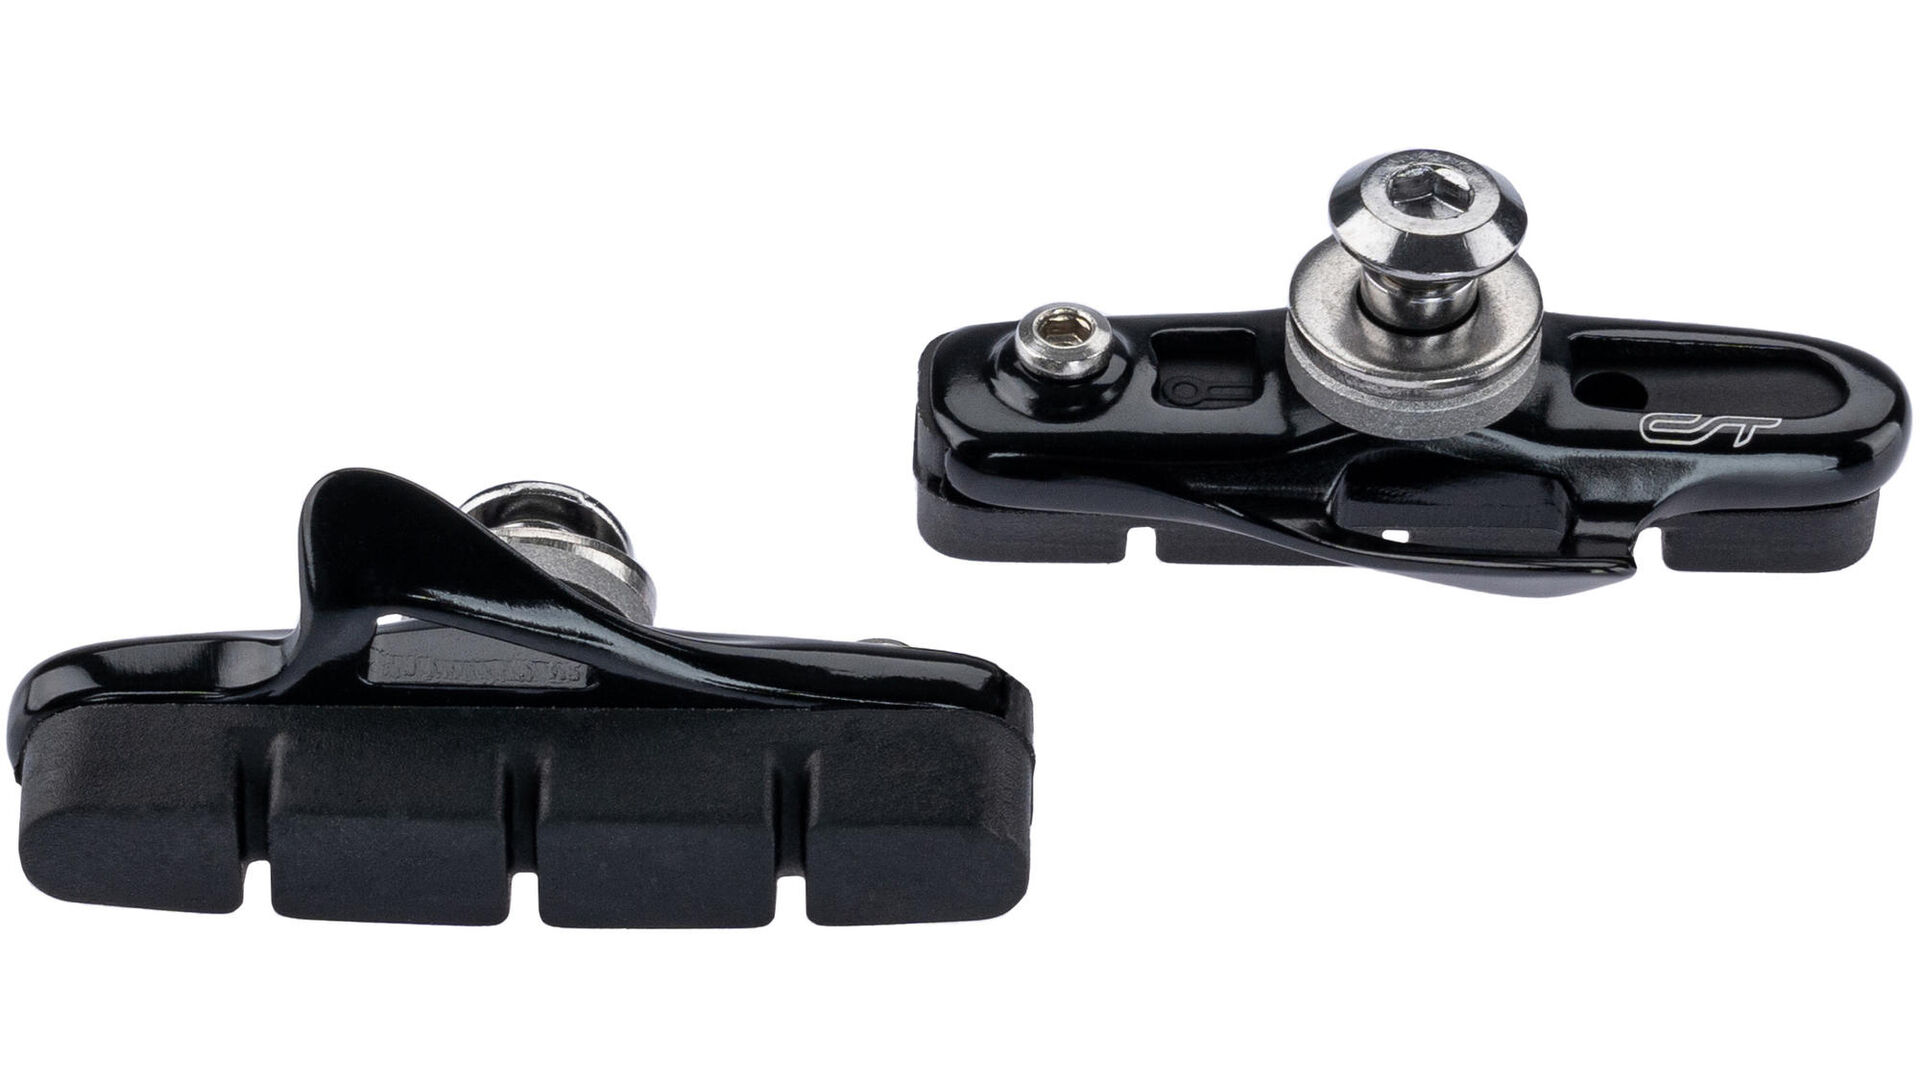
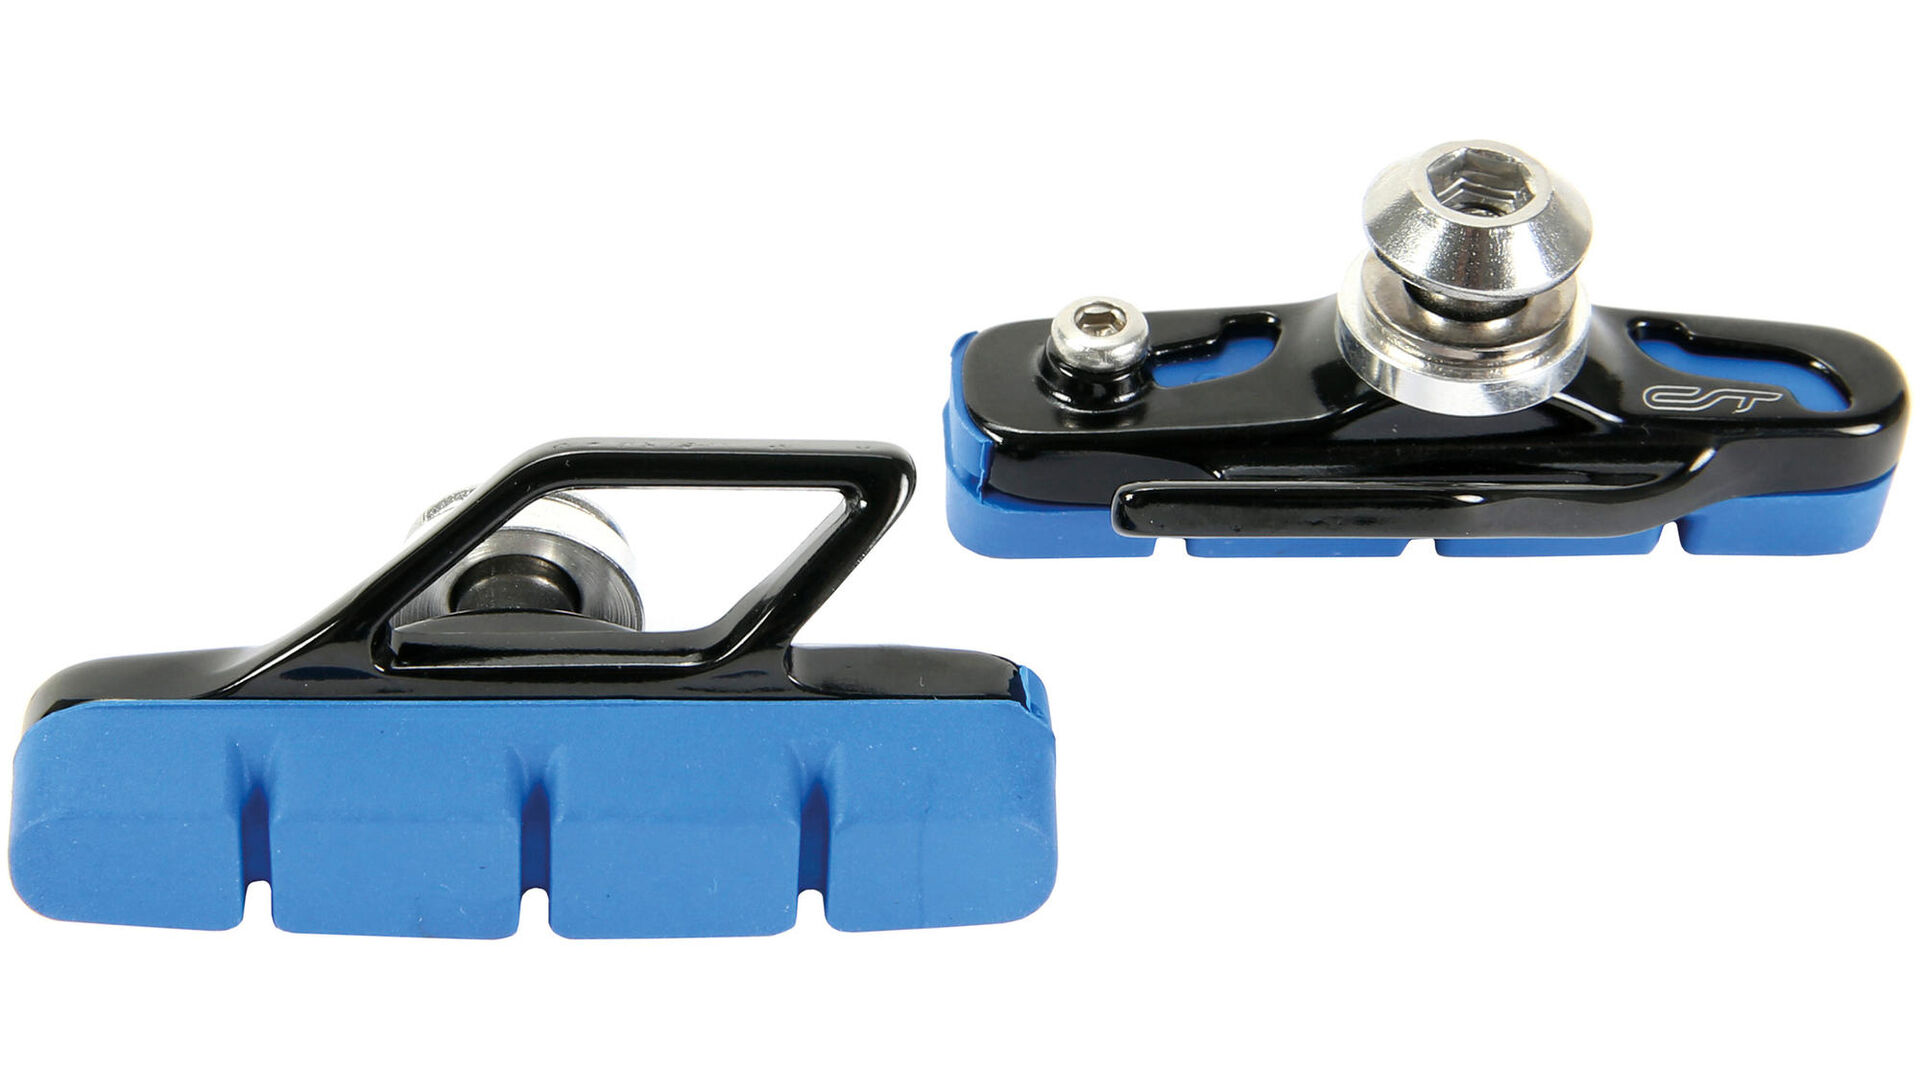
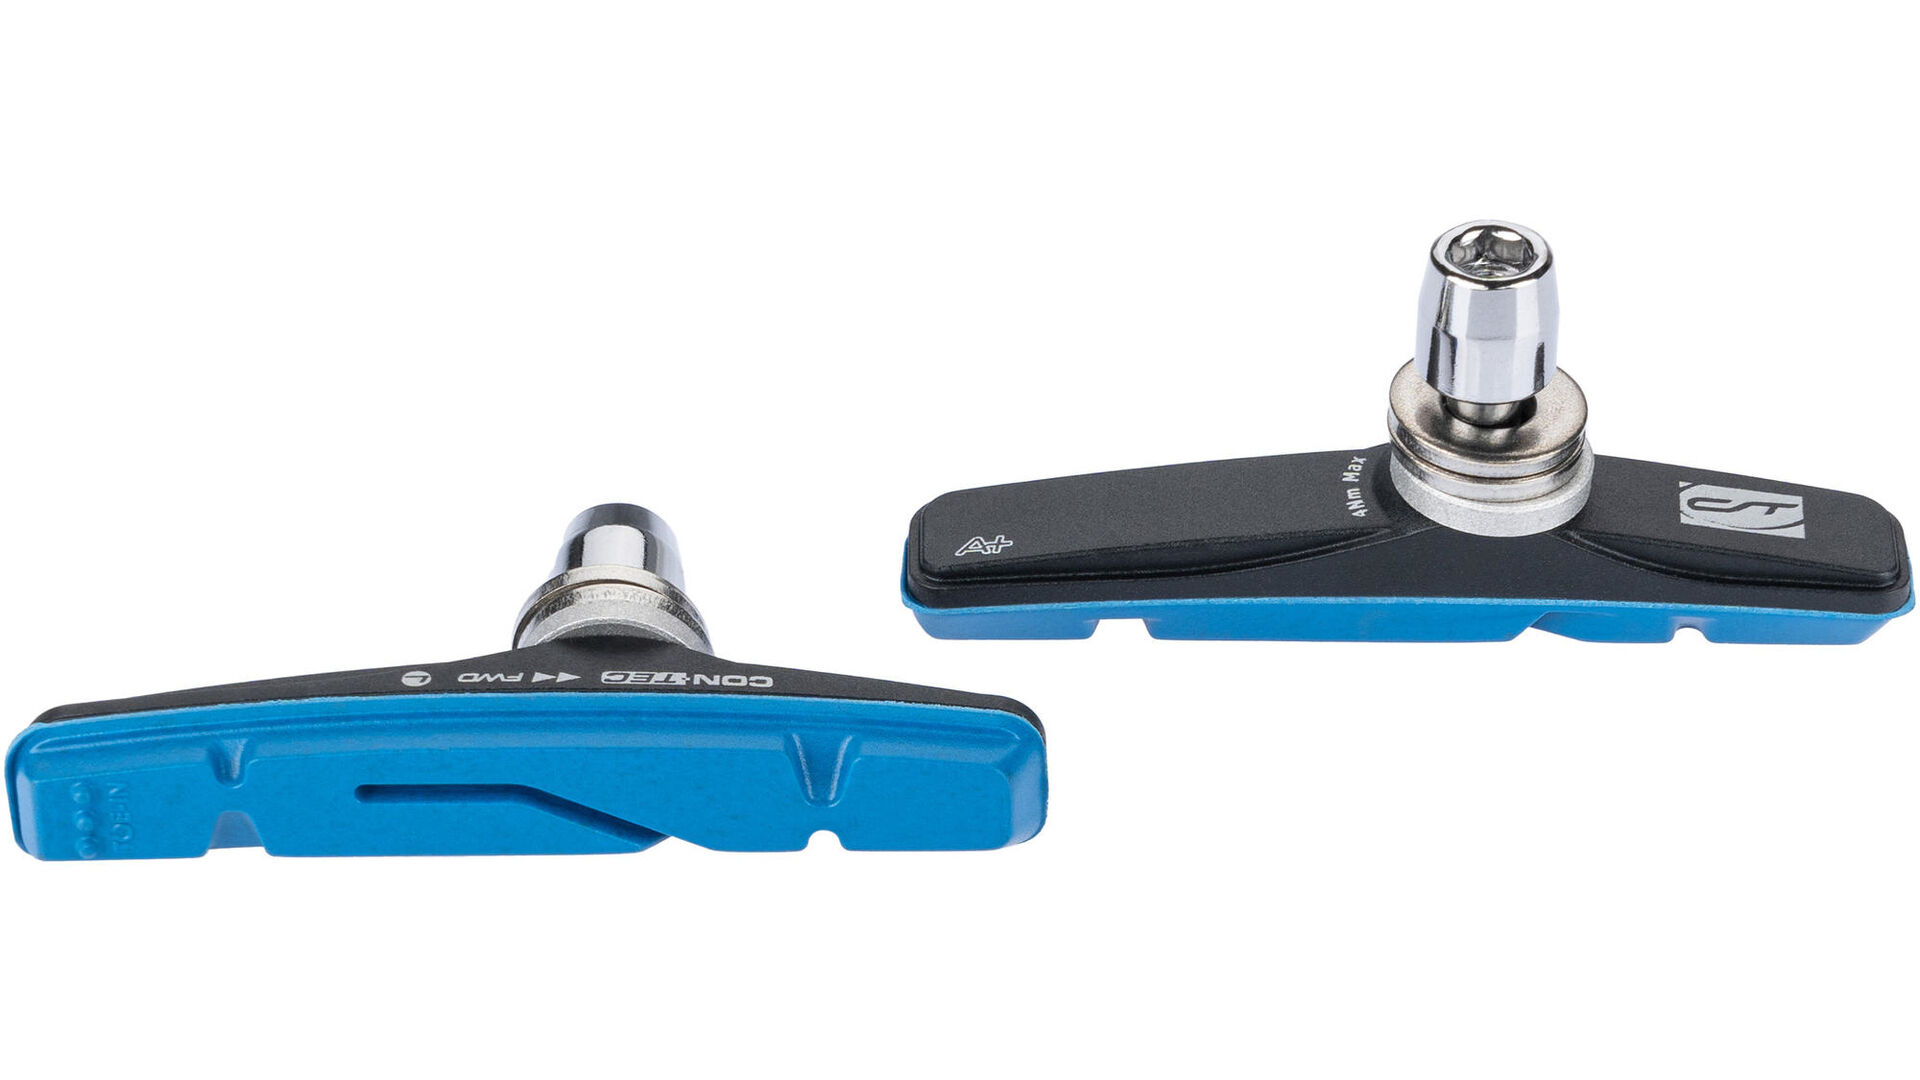
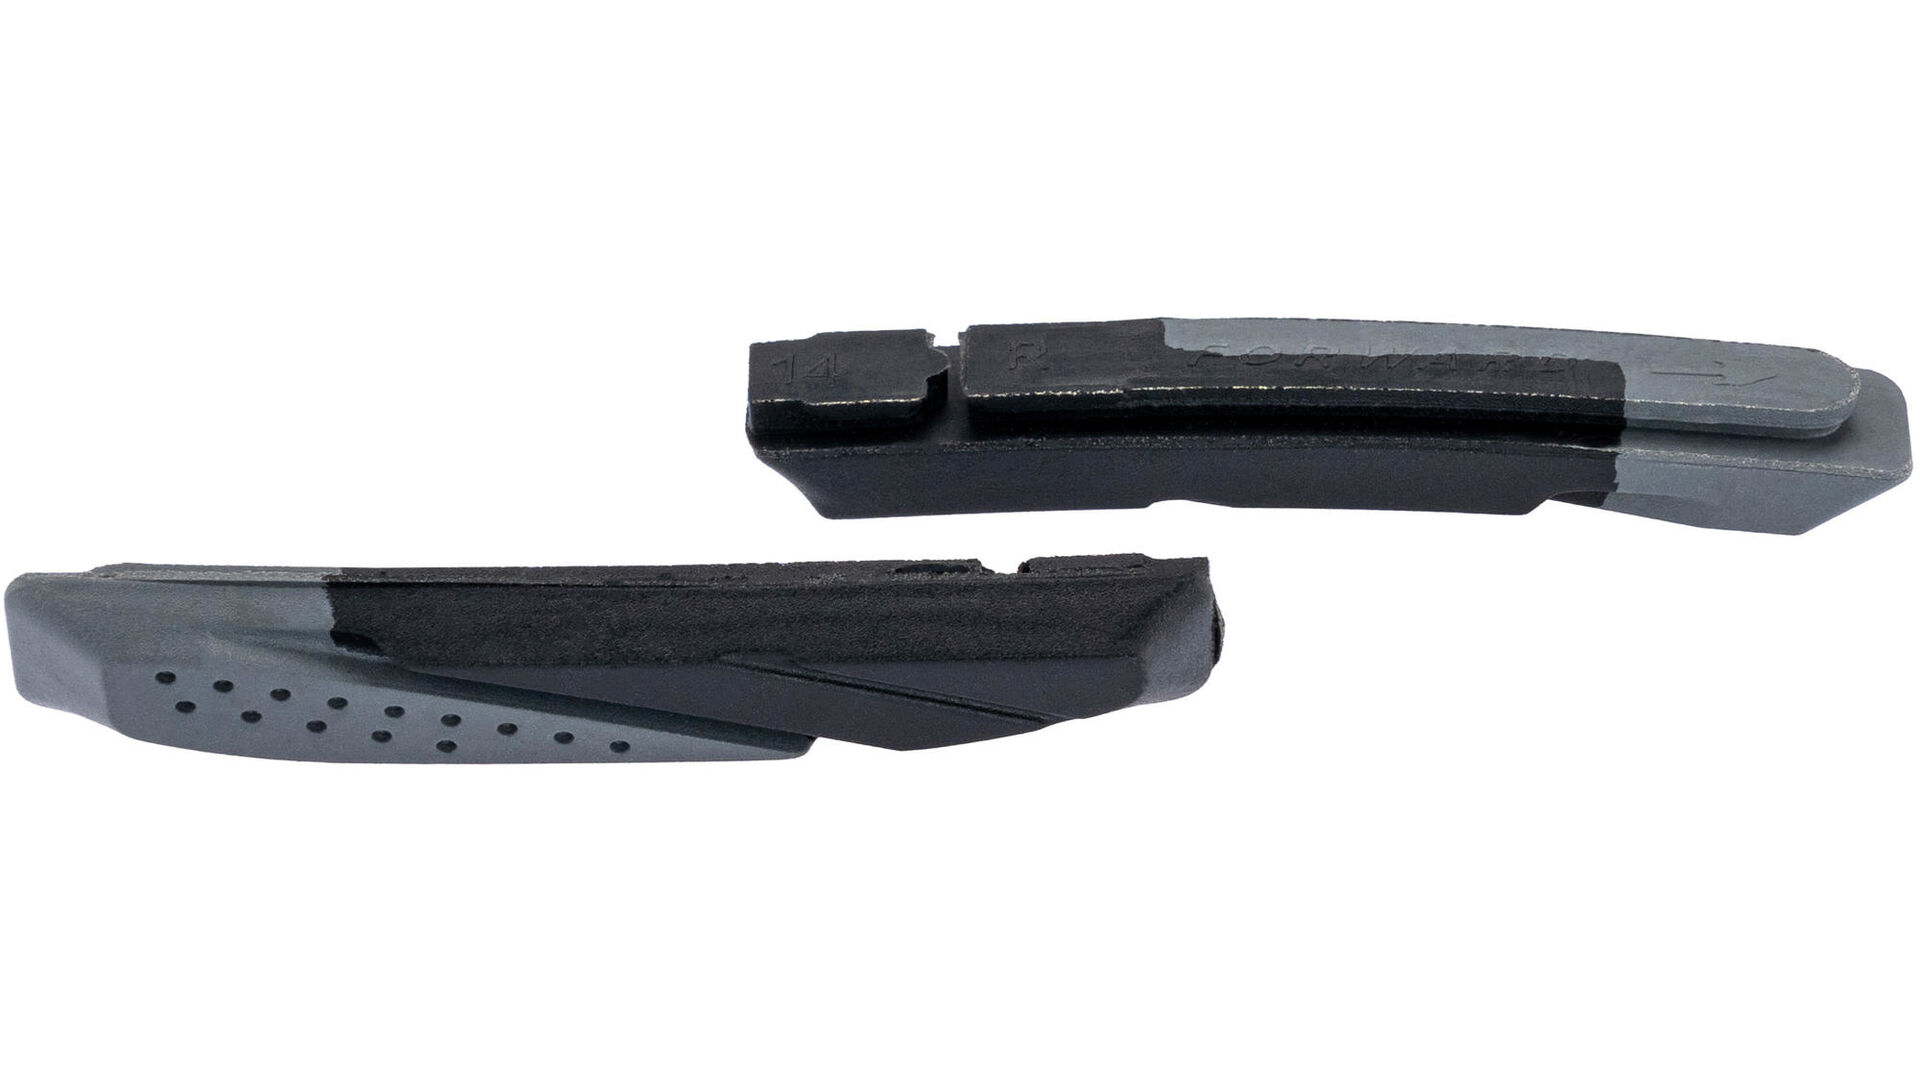
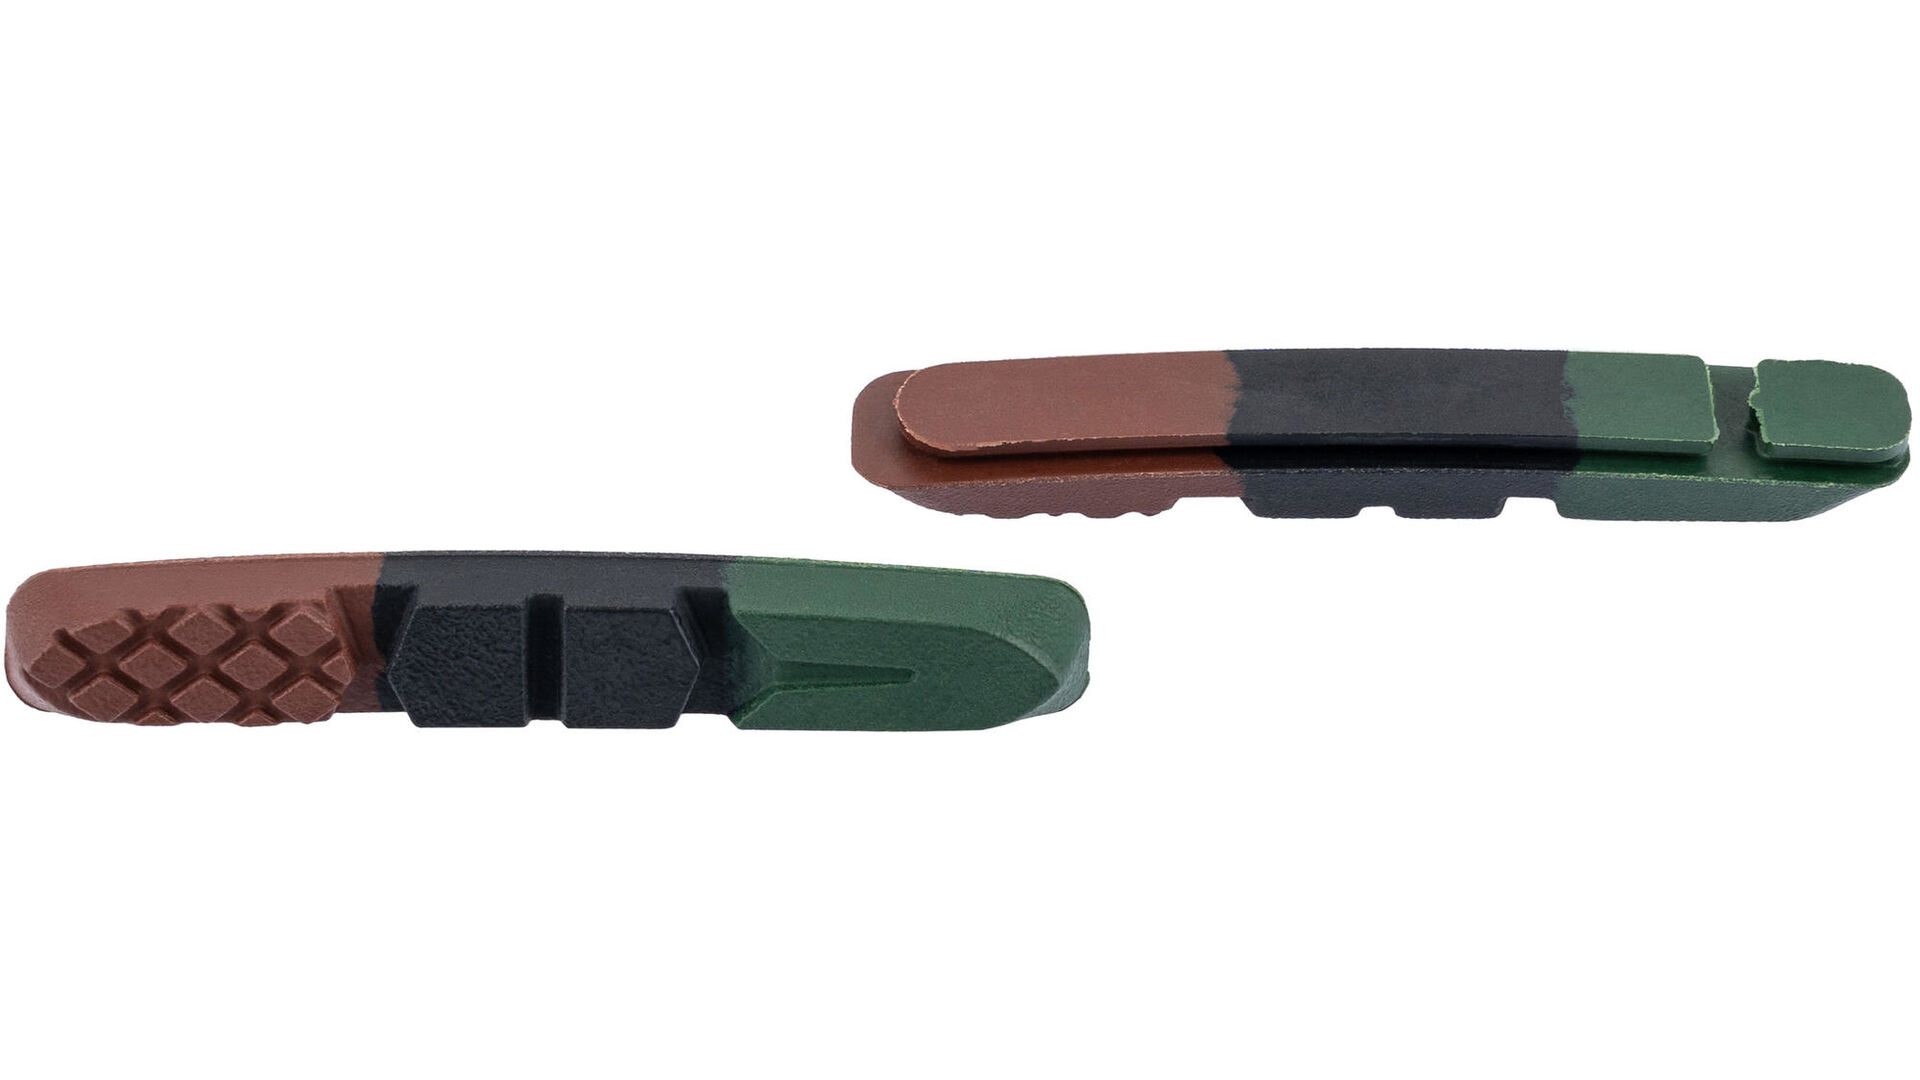
Replace the brake pads on a mechanical rim brake
While disc brakes dominate the premium bicycle sector in particular, many standard bicycles continue to have rim brakes. These, like disc brakes, are available as low-cost cable pull brakes or as hydraulic rim brakes.
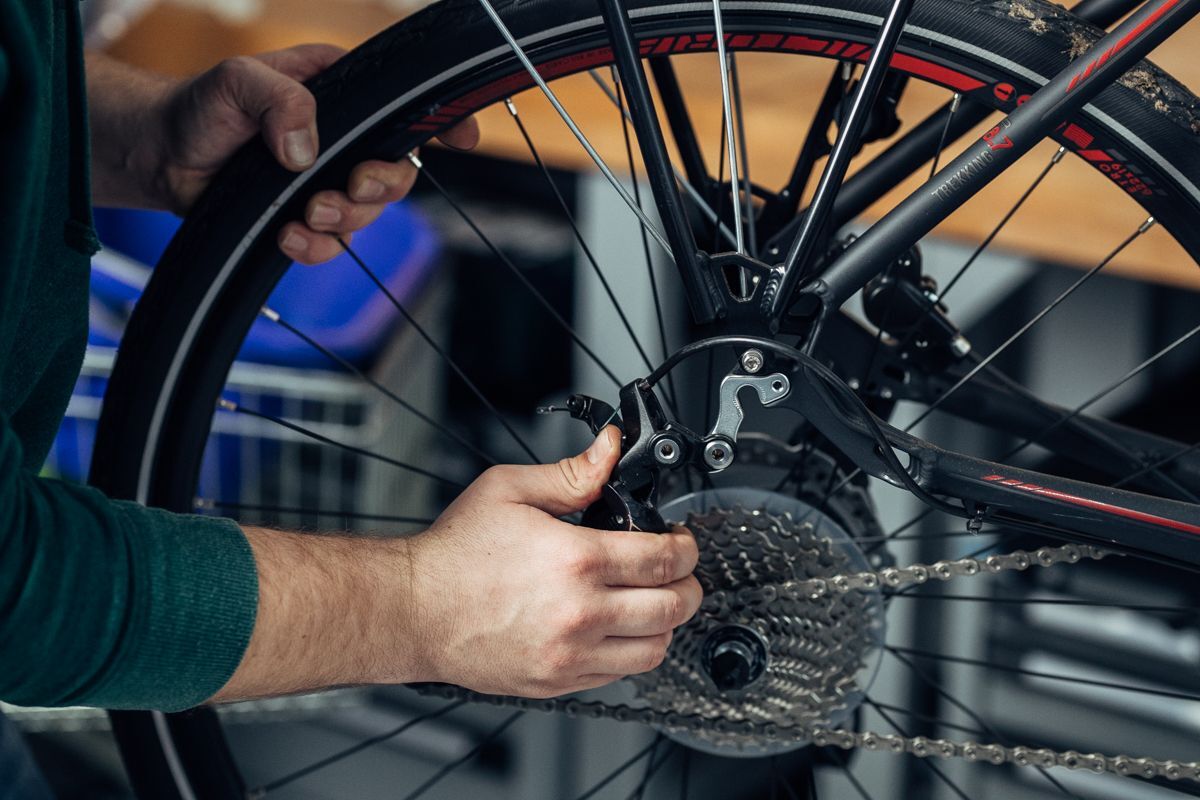
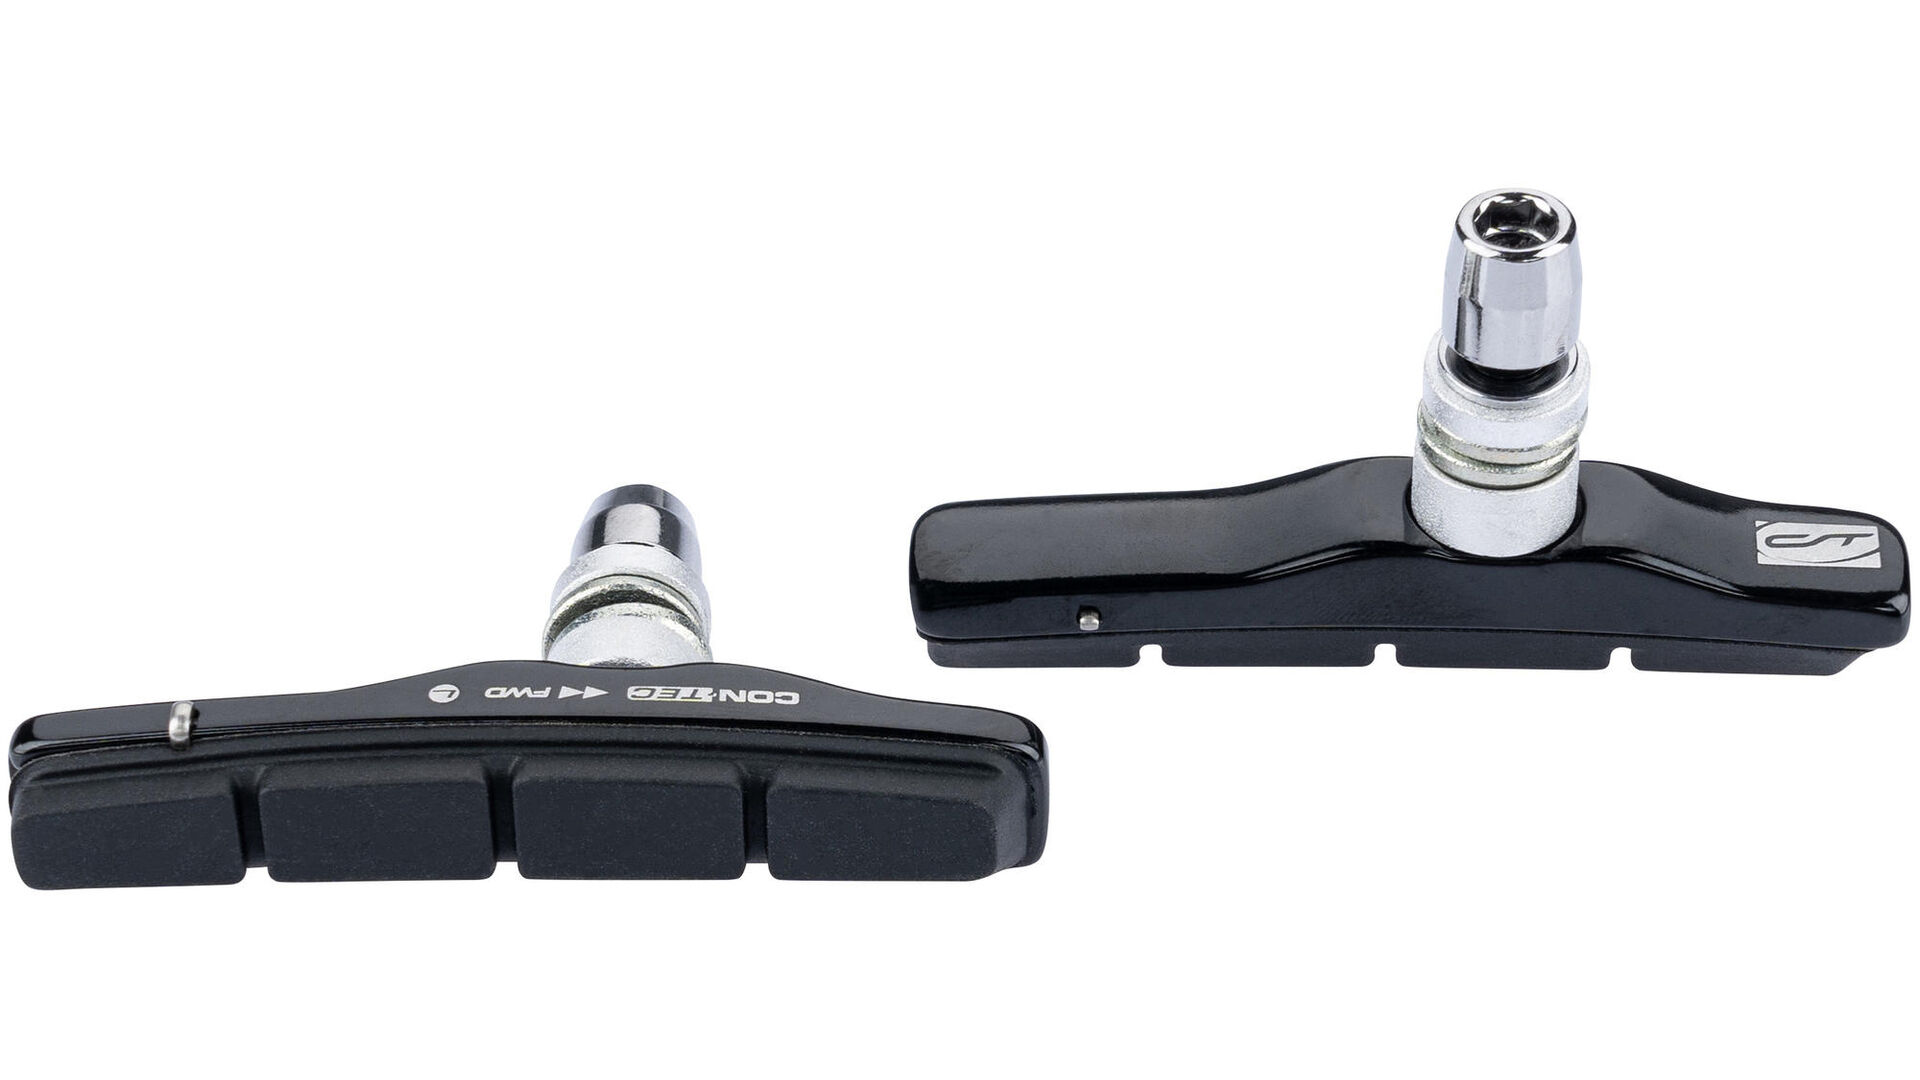
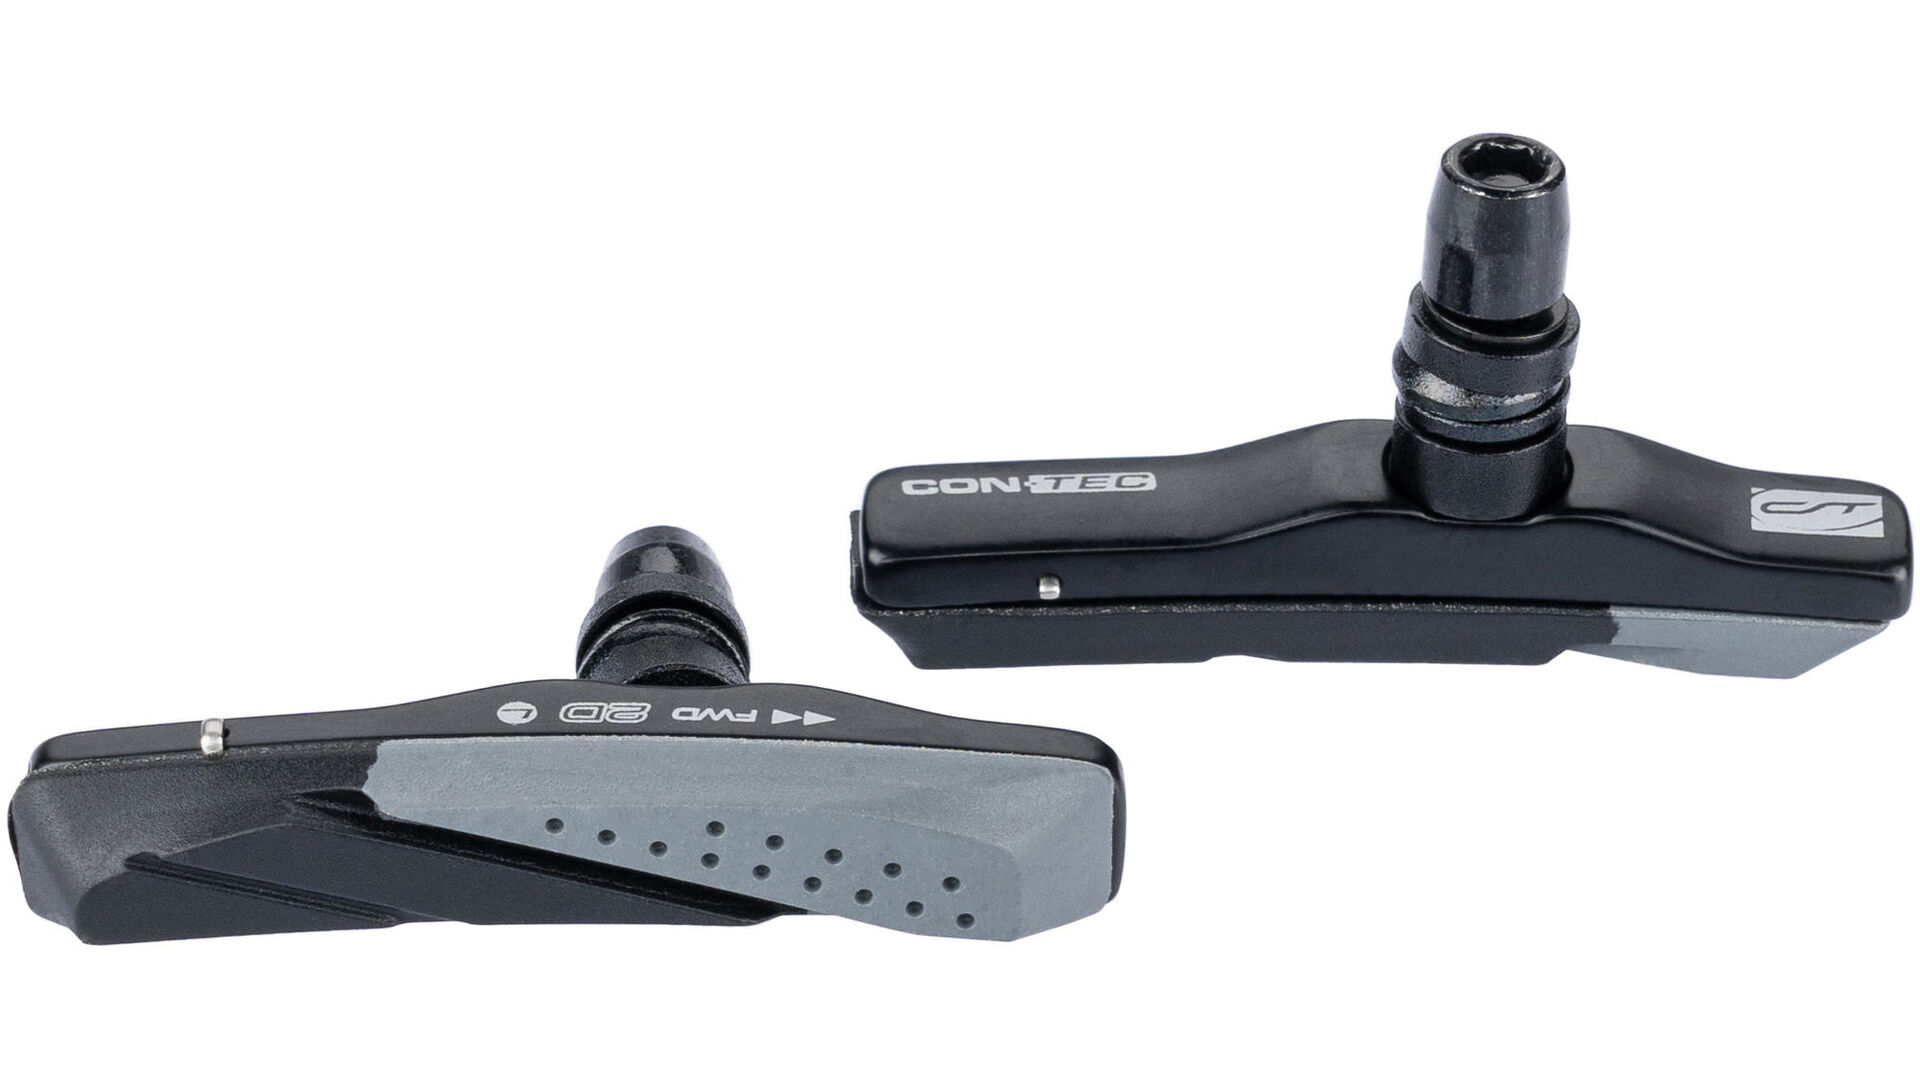
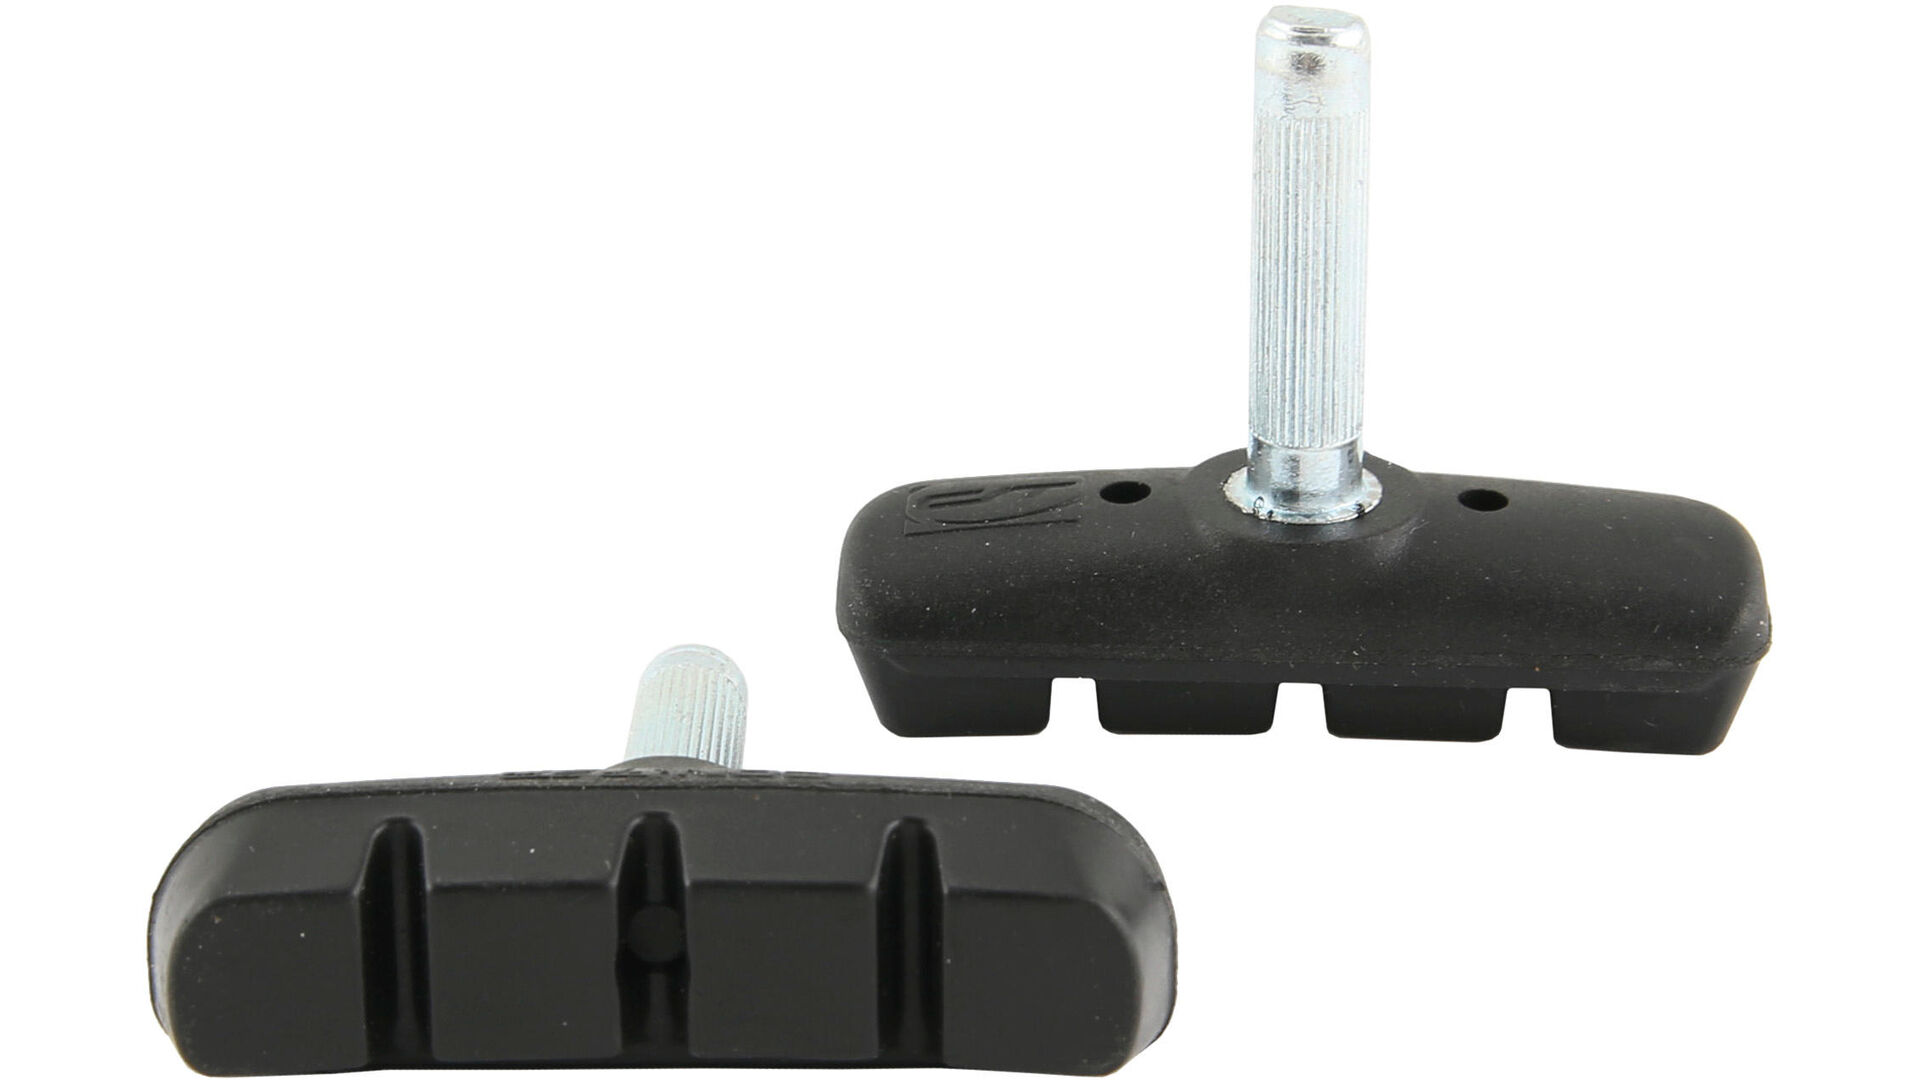
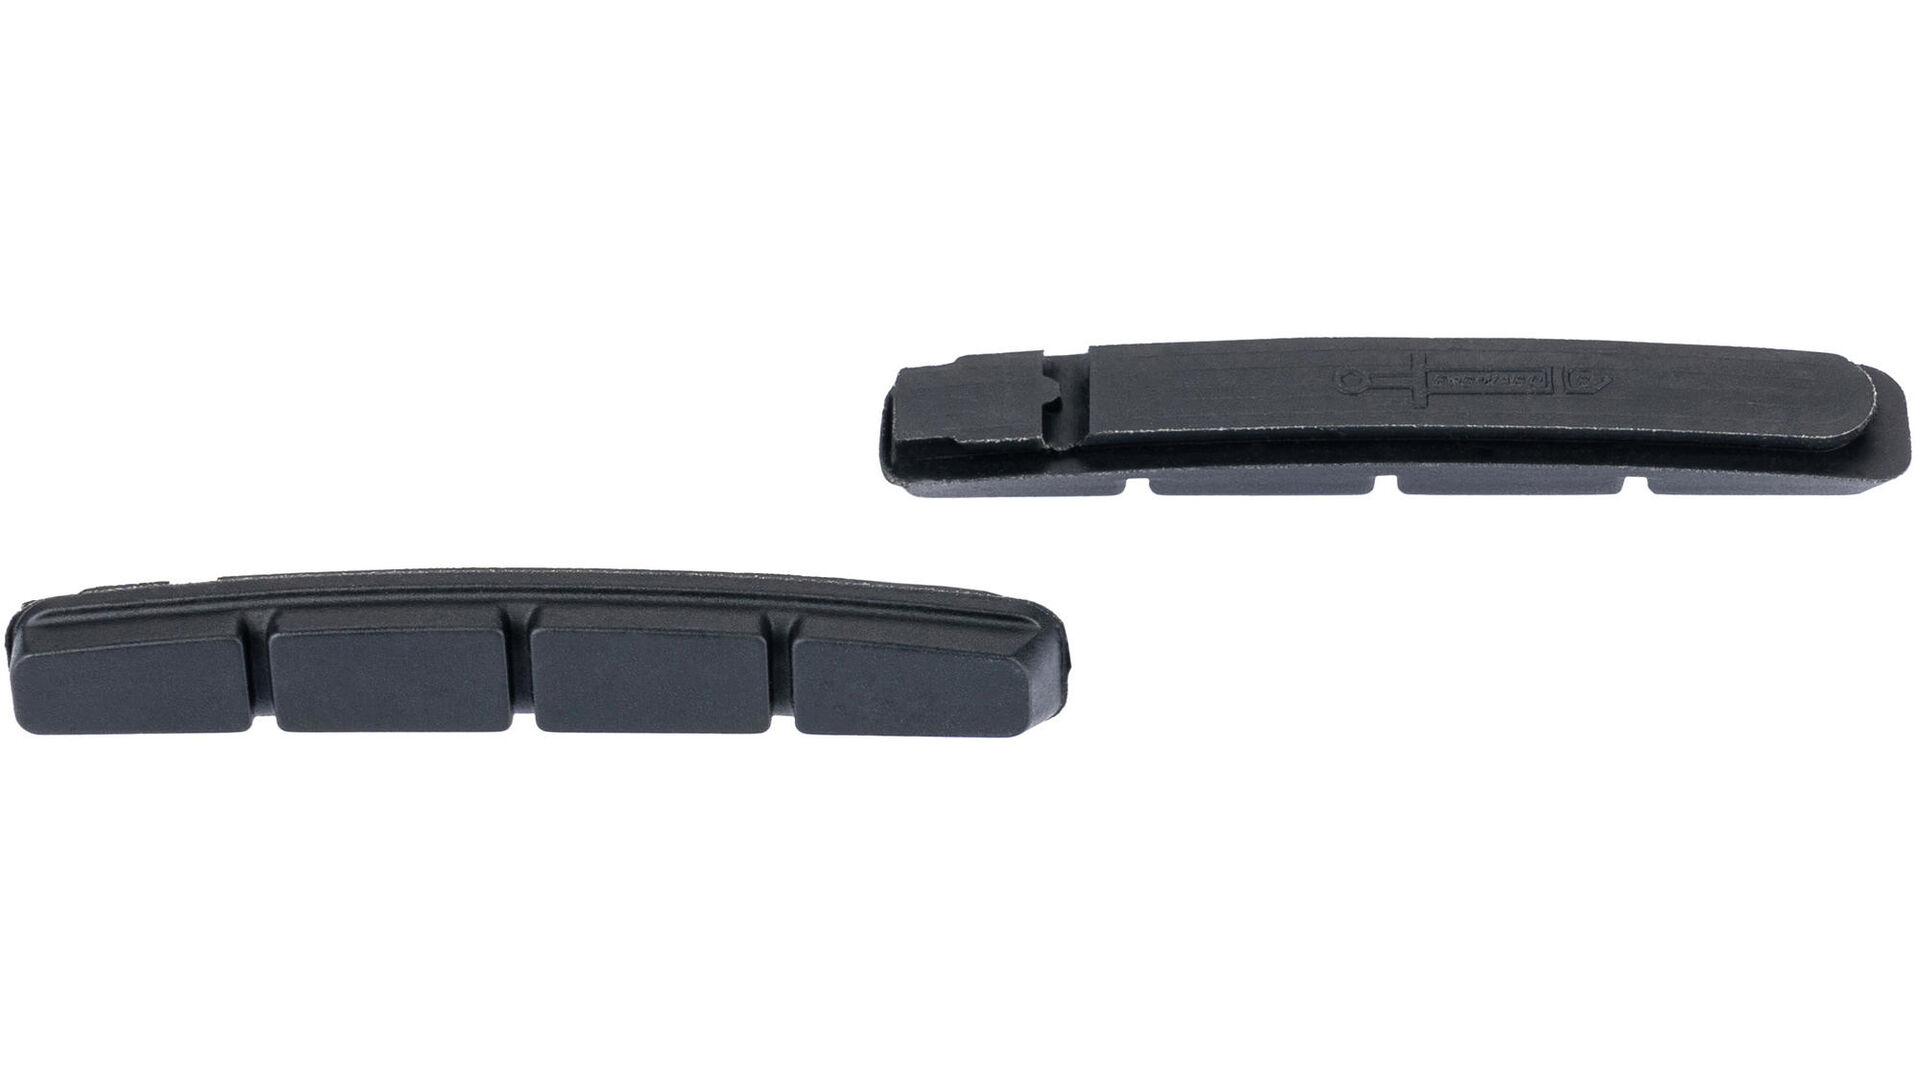
Step-by-step instructions: Replacing brake pads on a bike with V-brakes
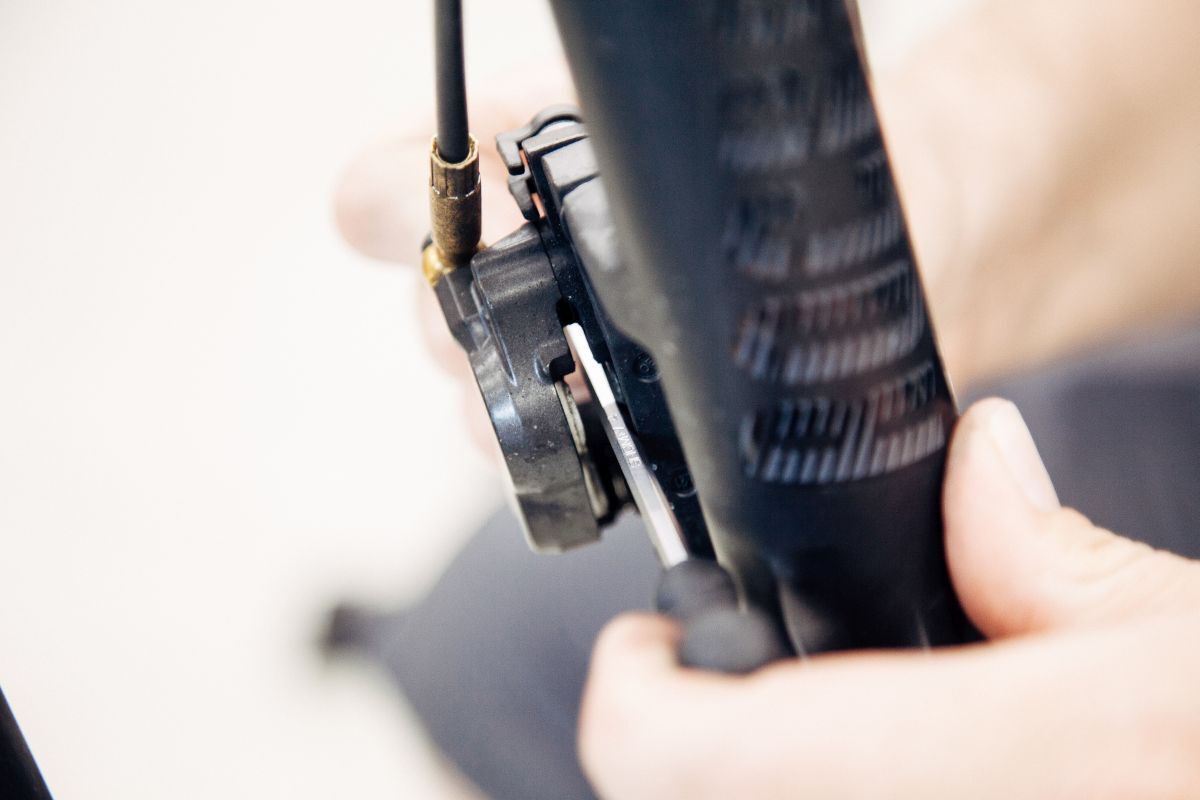
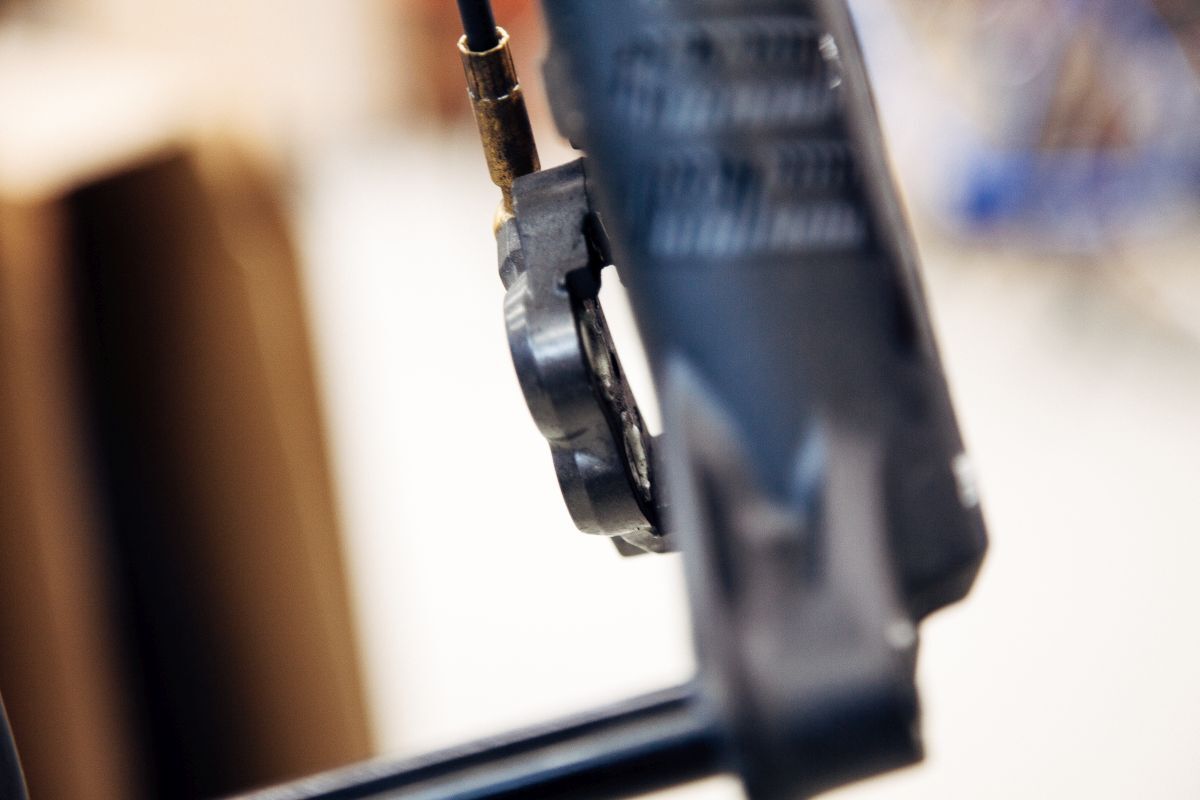
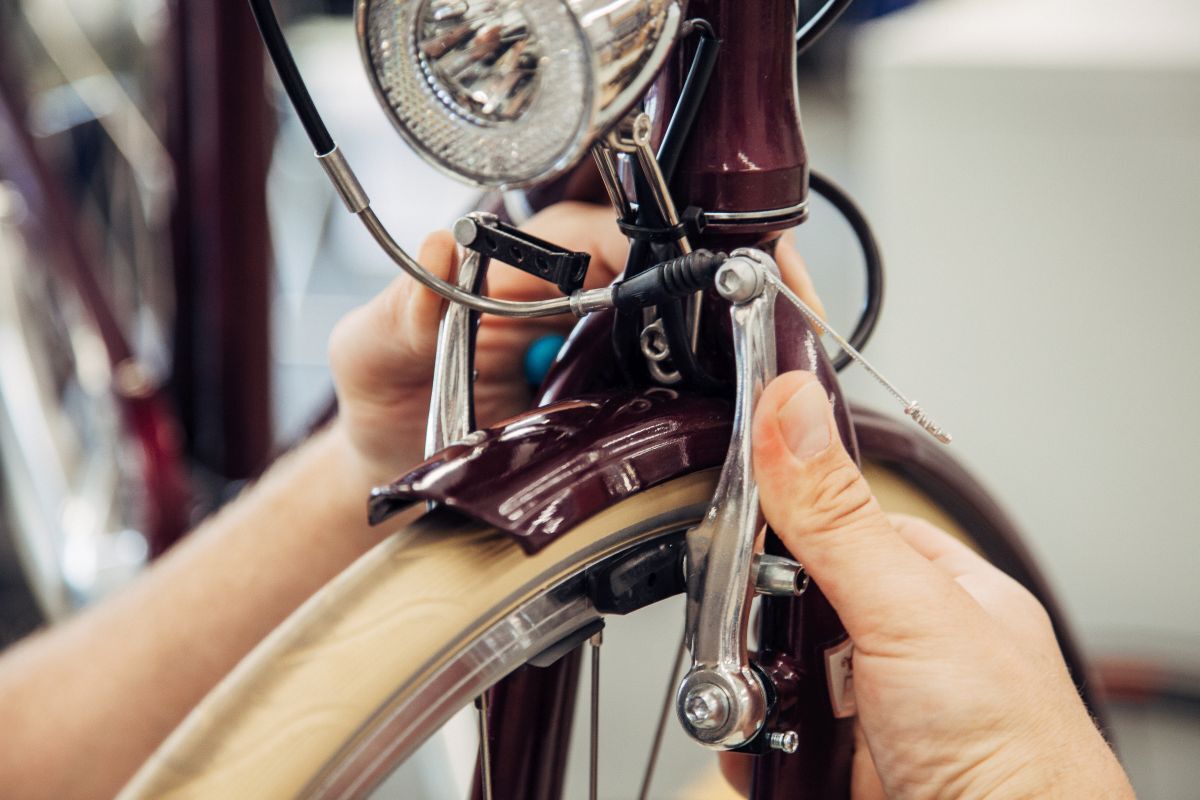
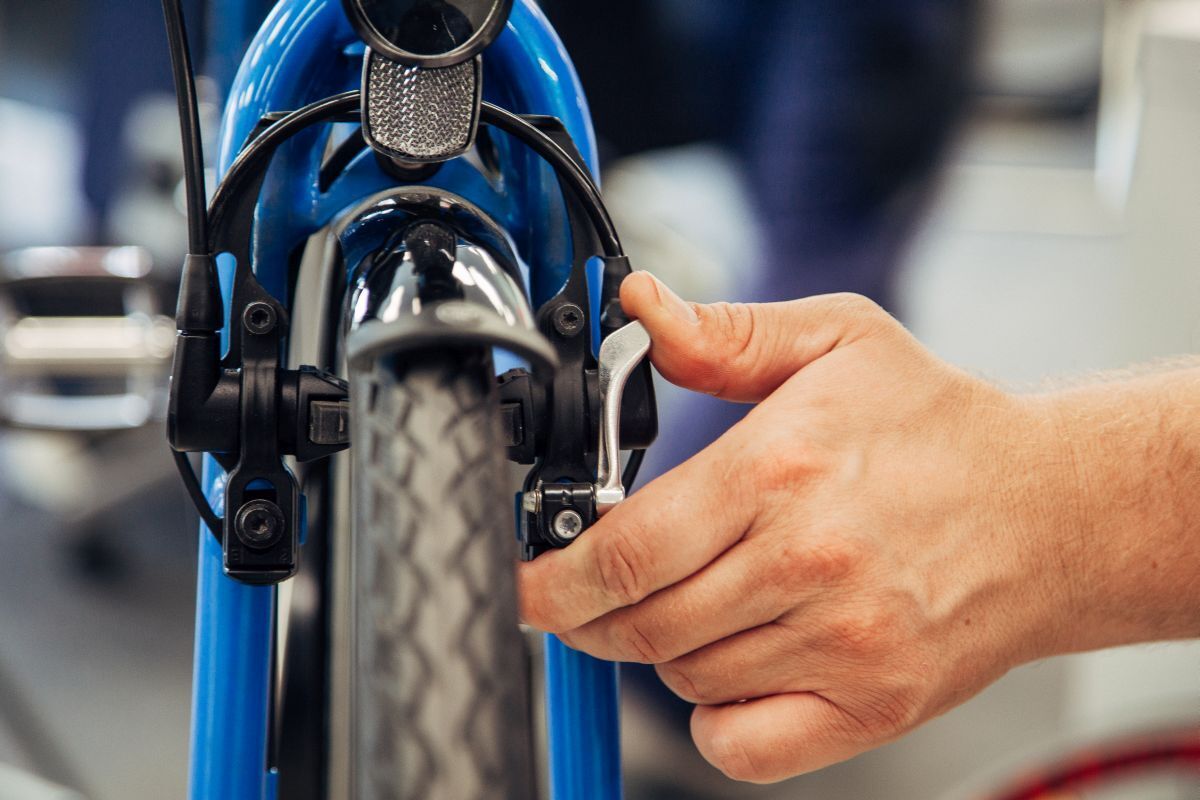
Step 1: Disengage the brake

First, disengage brake cable from the rim brake. If necessary, remove the brake noodle first.
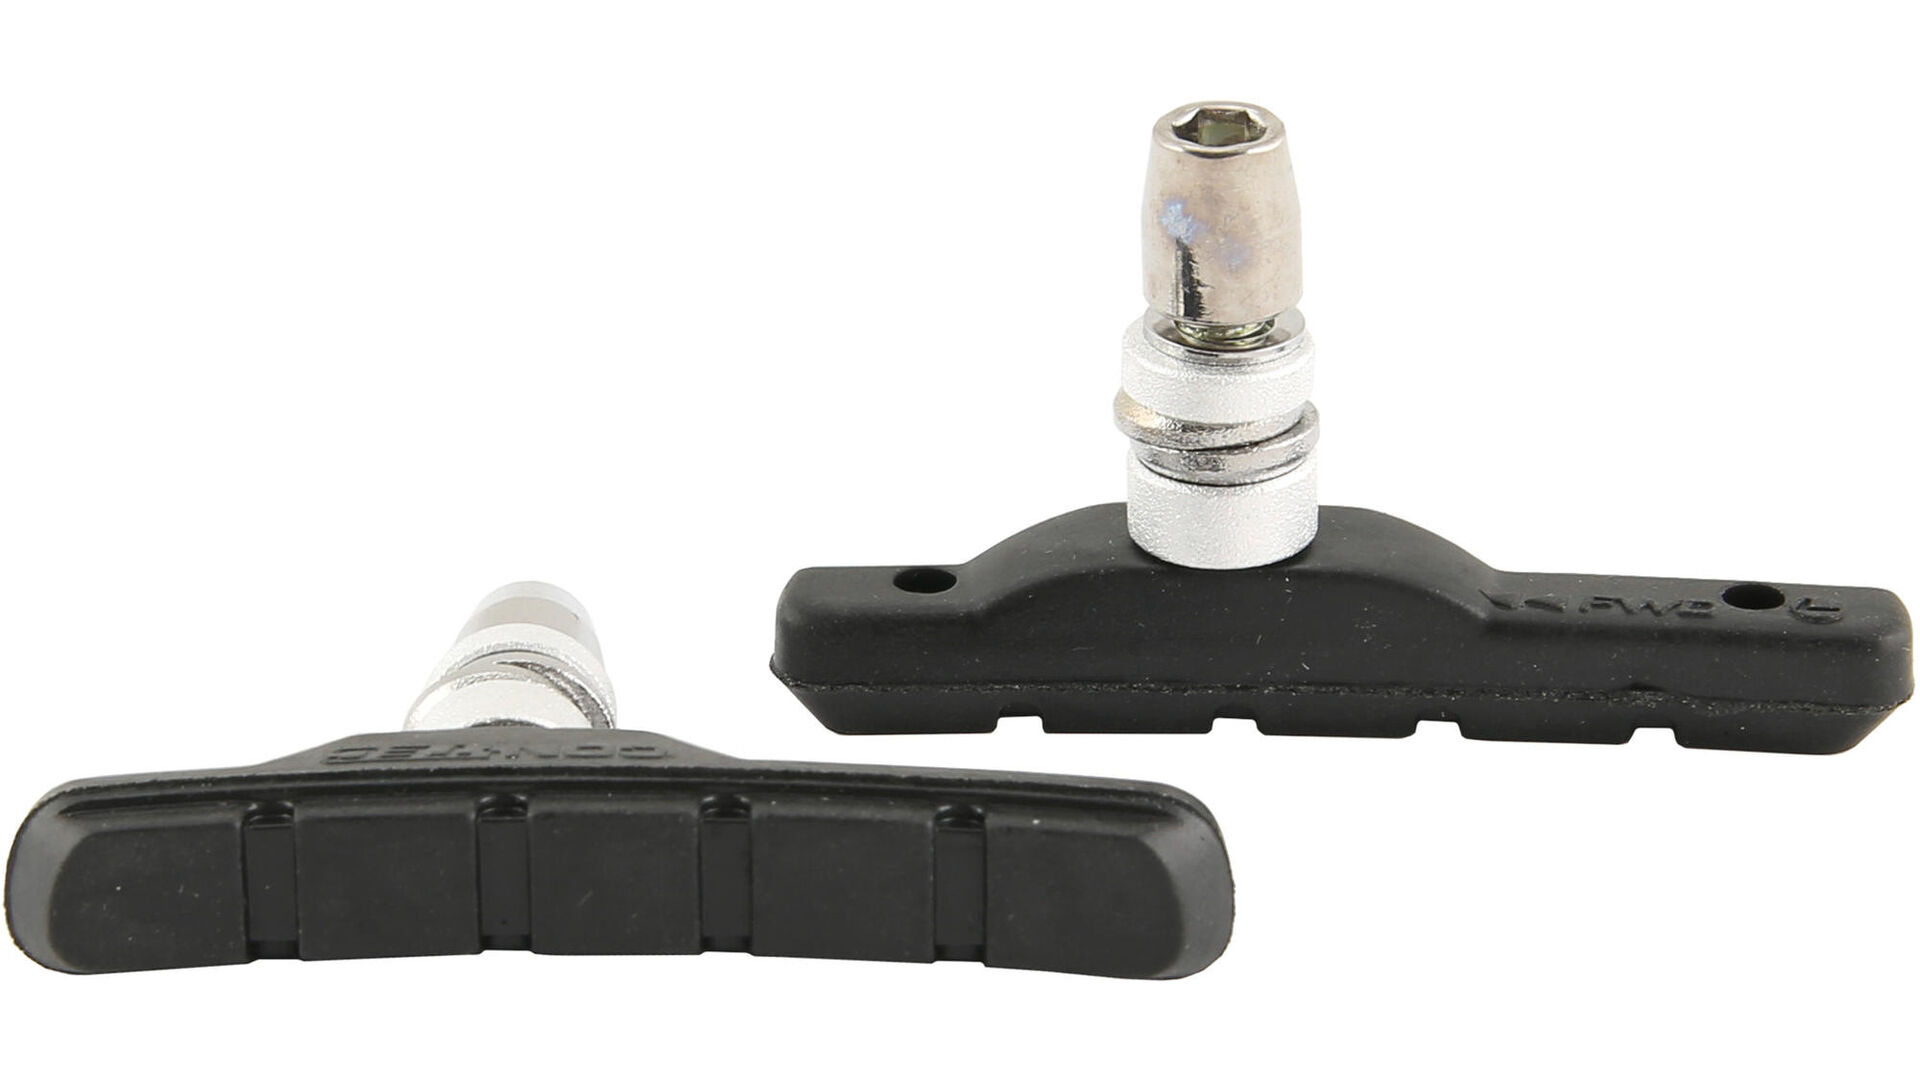
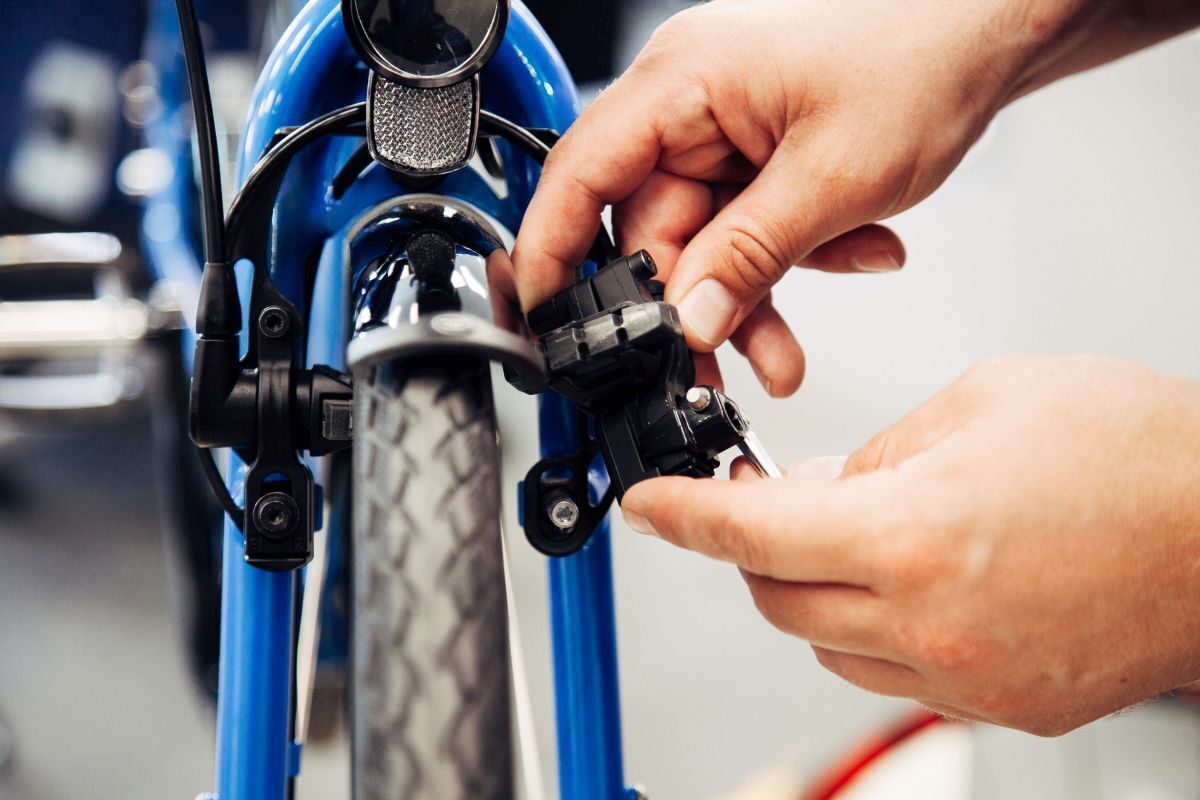
Step 2: Unscrew the brake pads
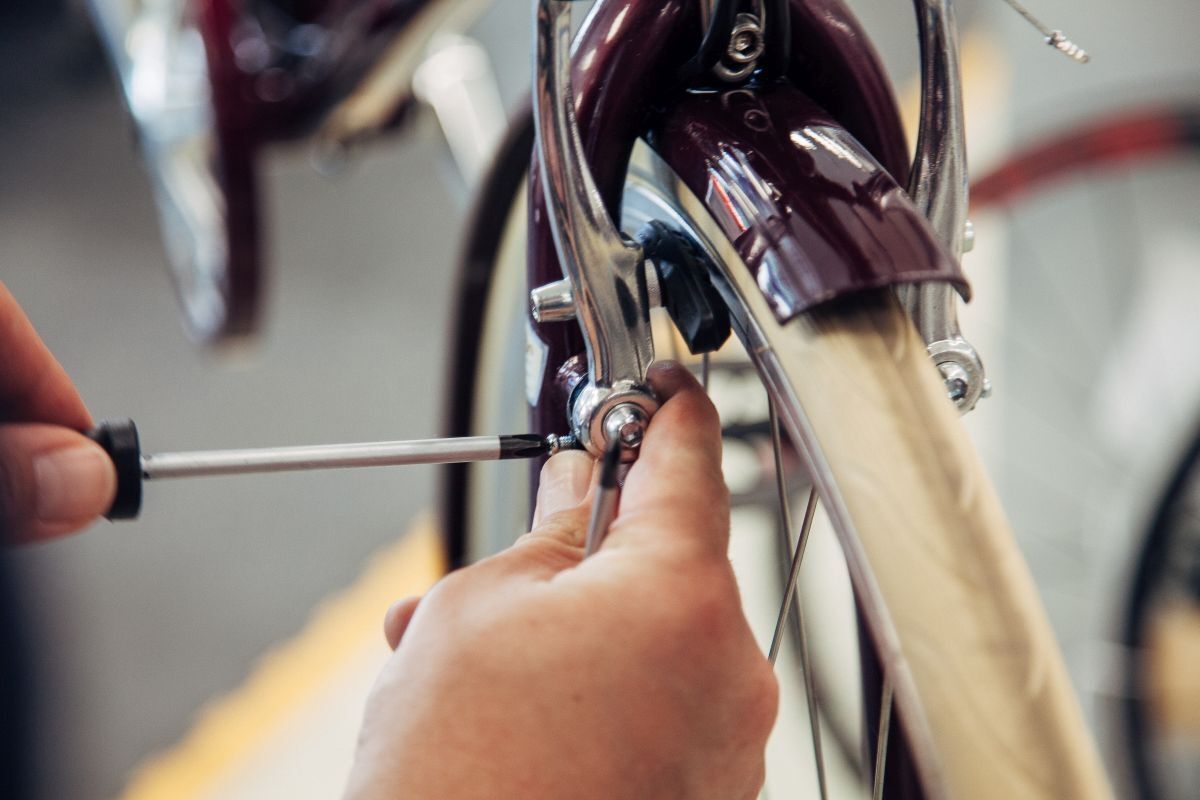
Using an Allen key, loosen the screws on both sides to remove the brake pads.
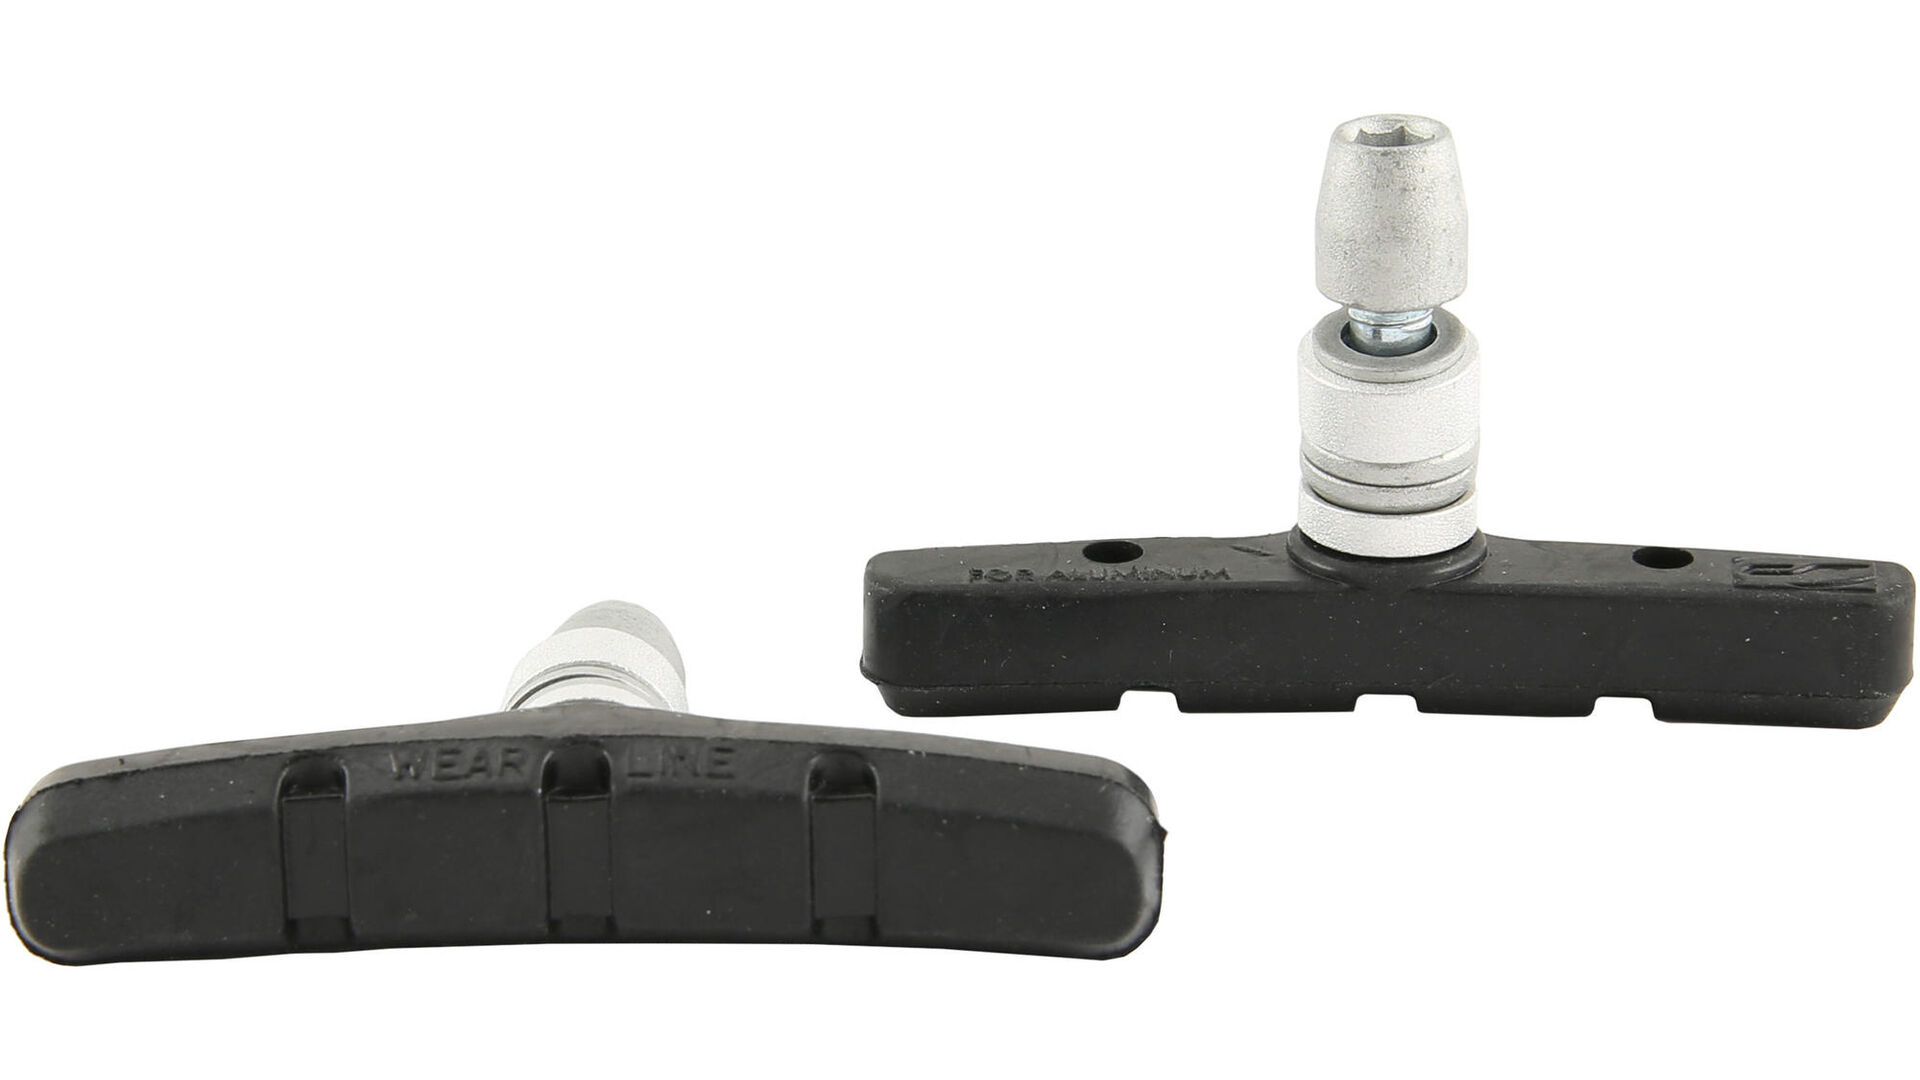
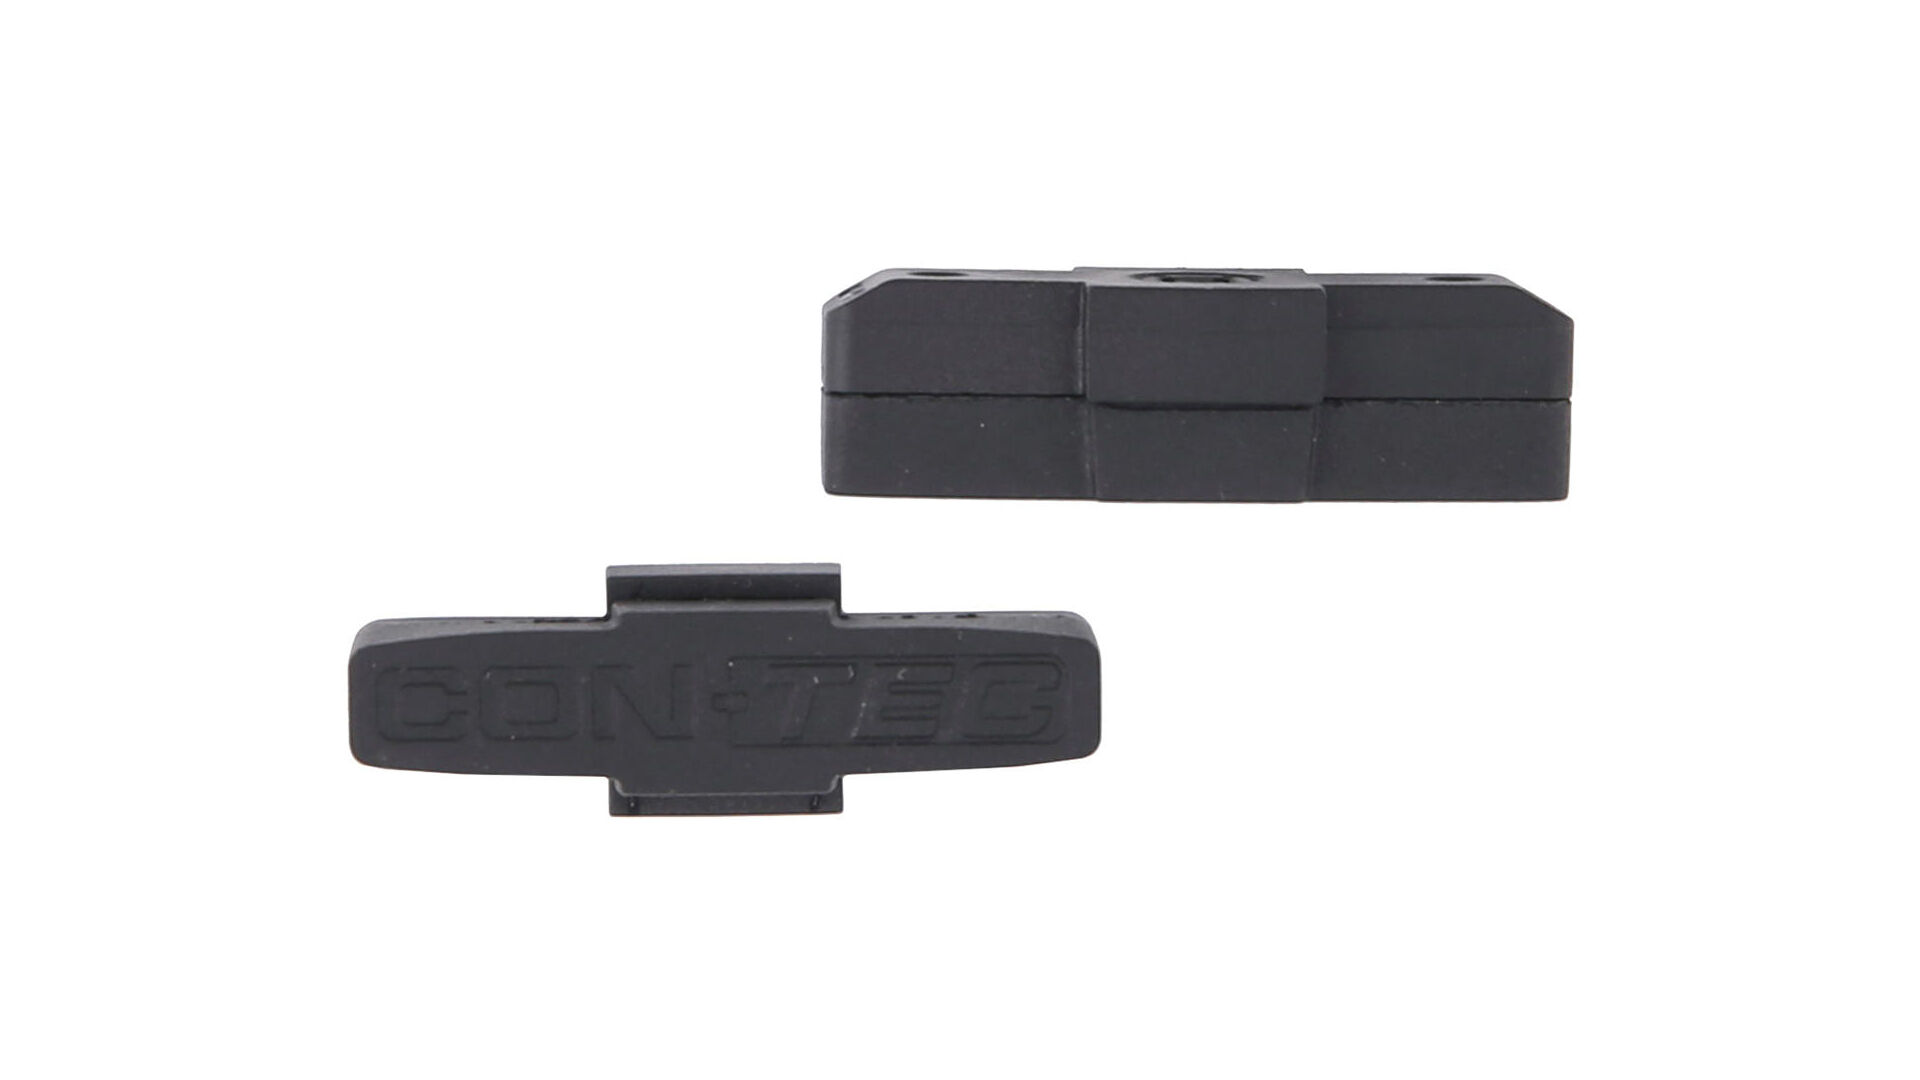
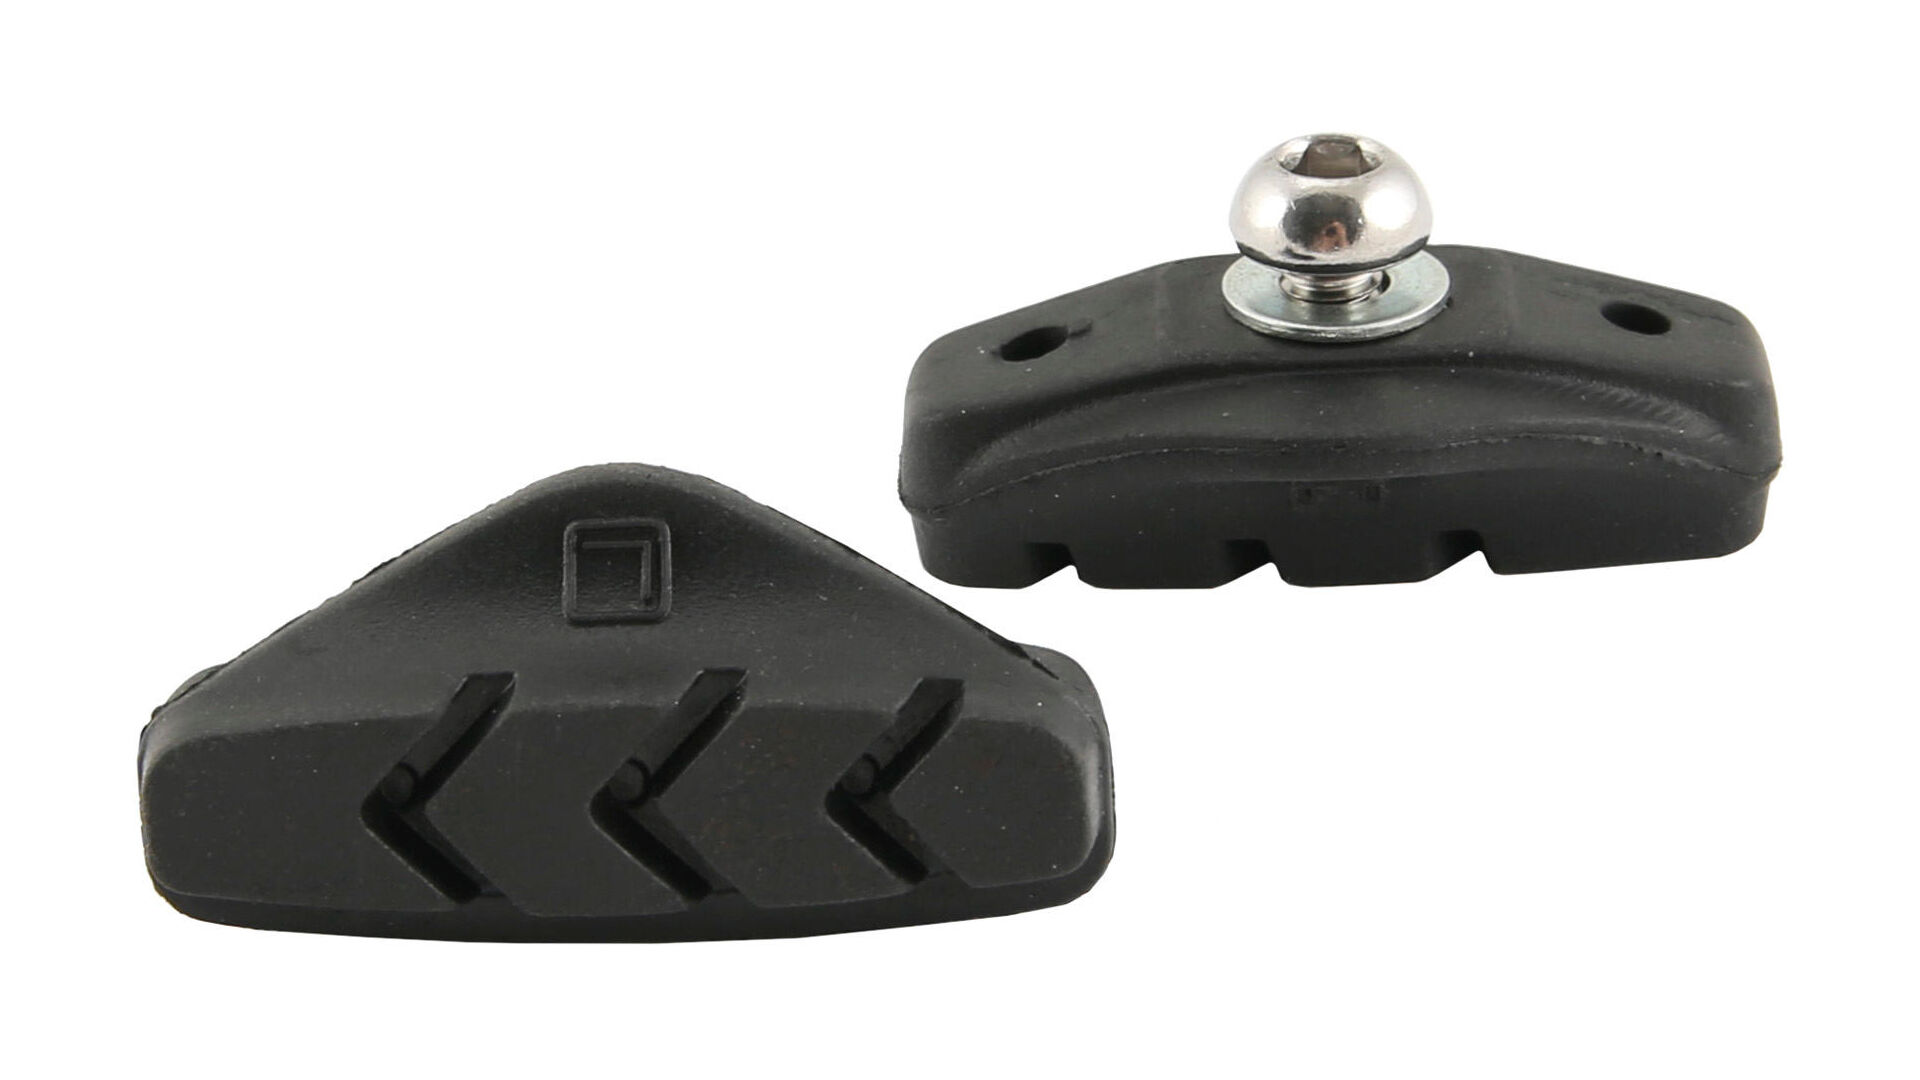
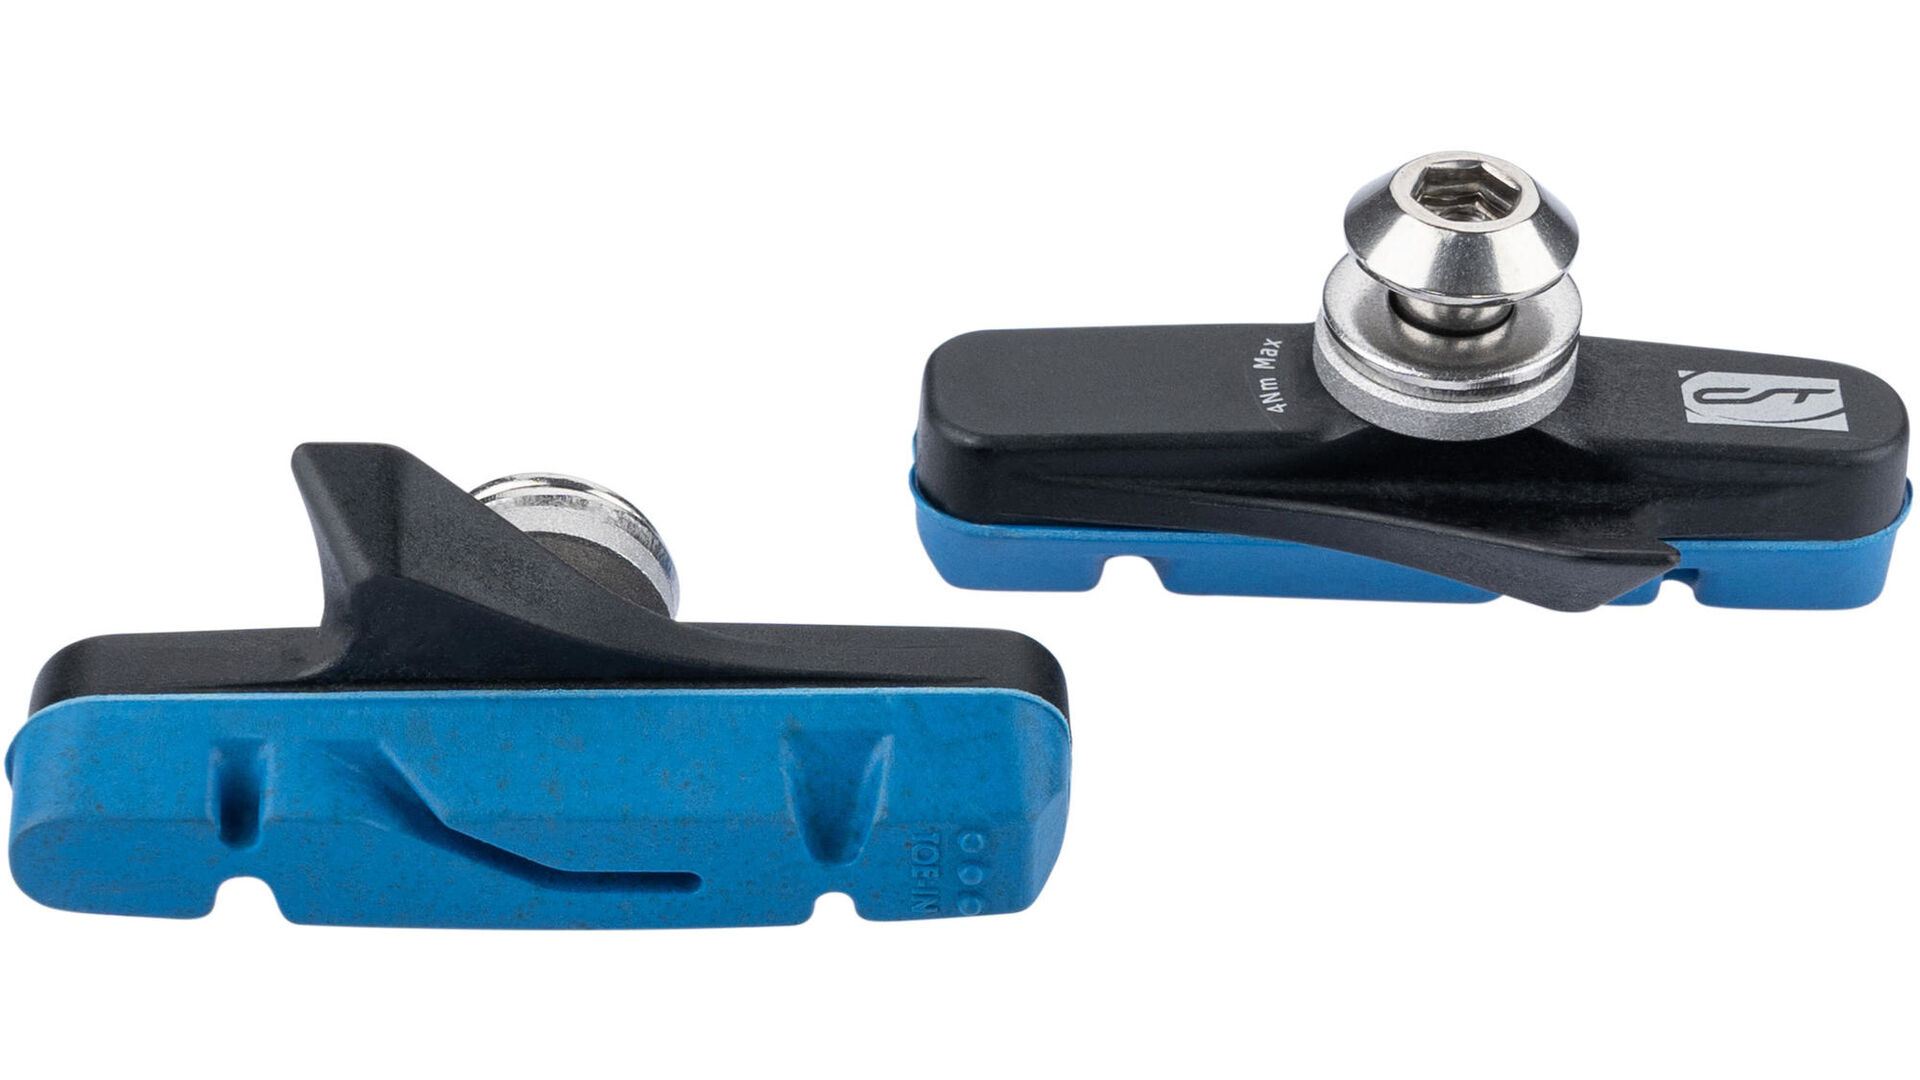
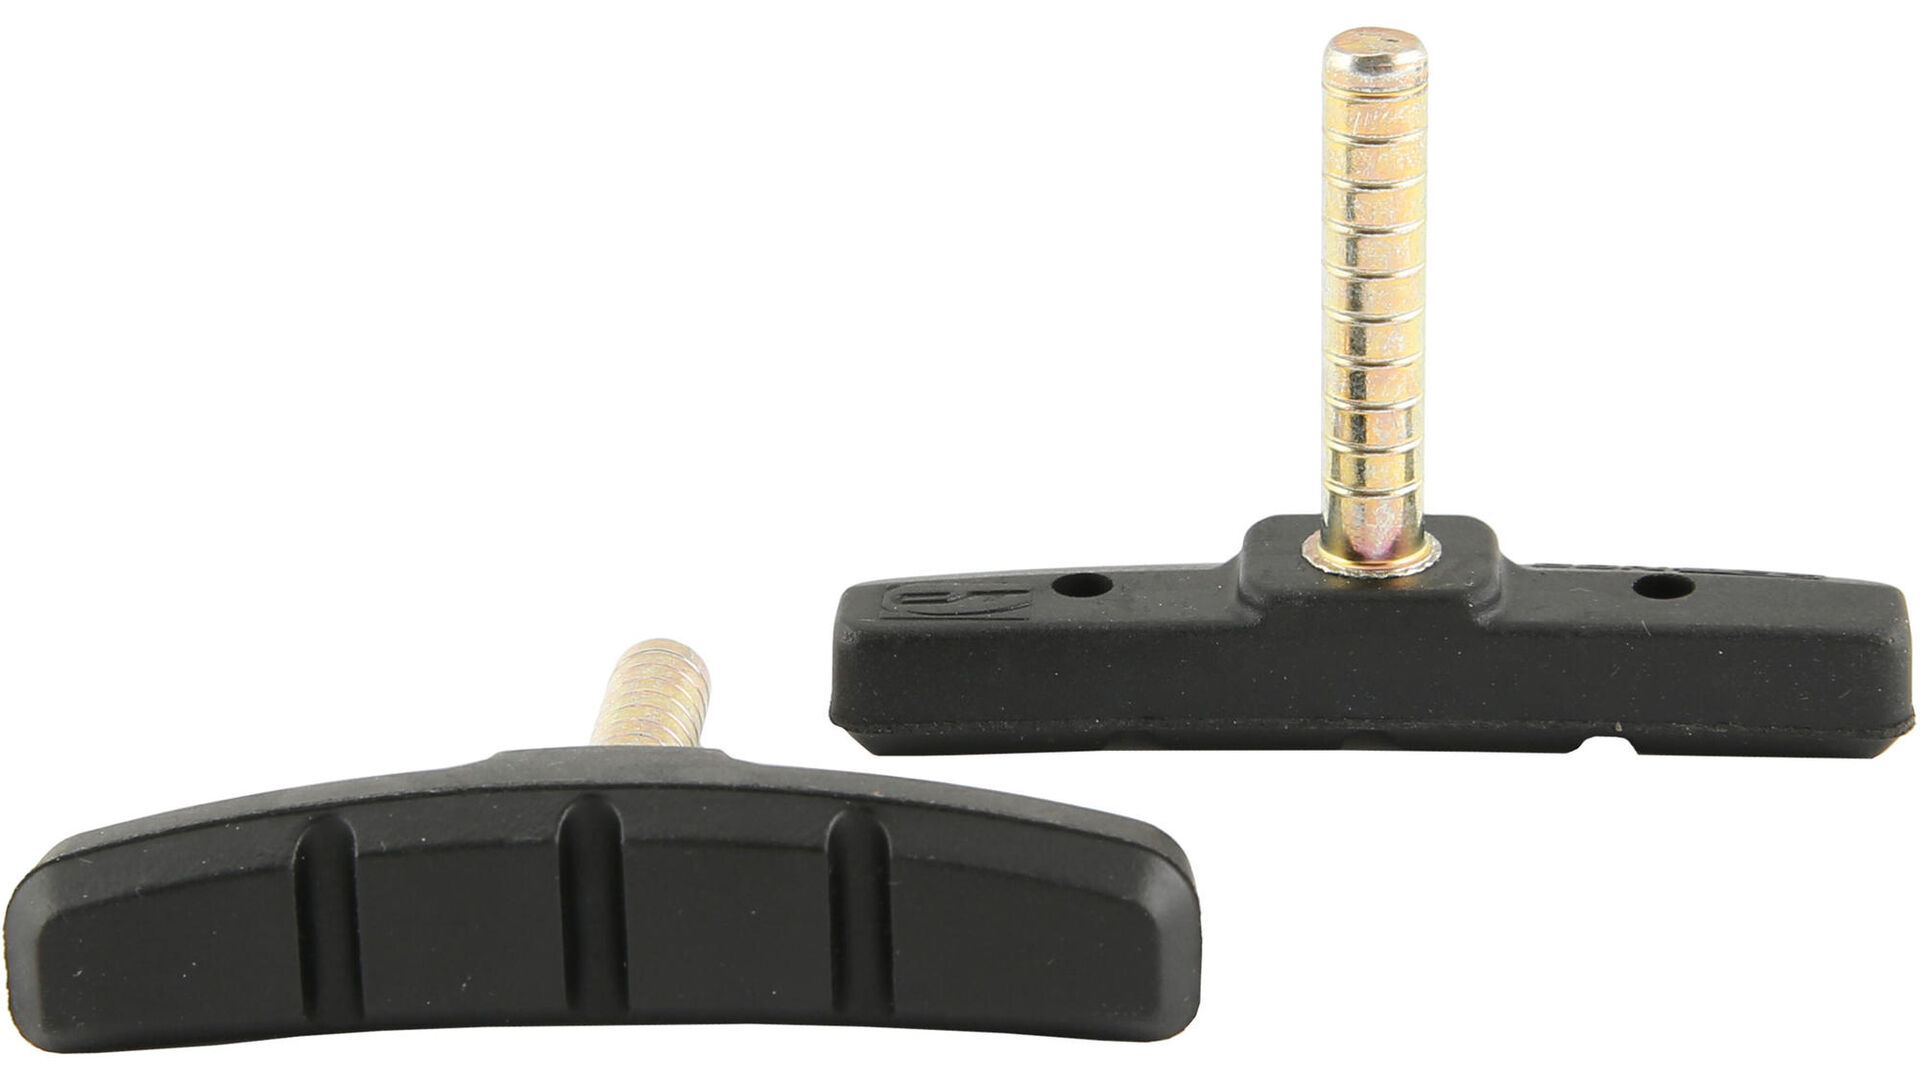
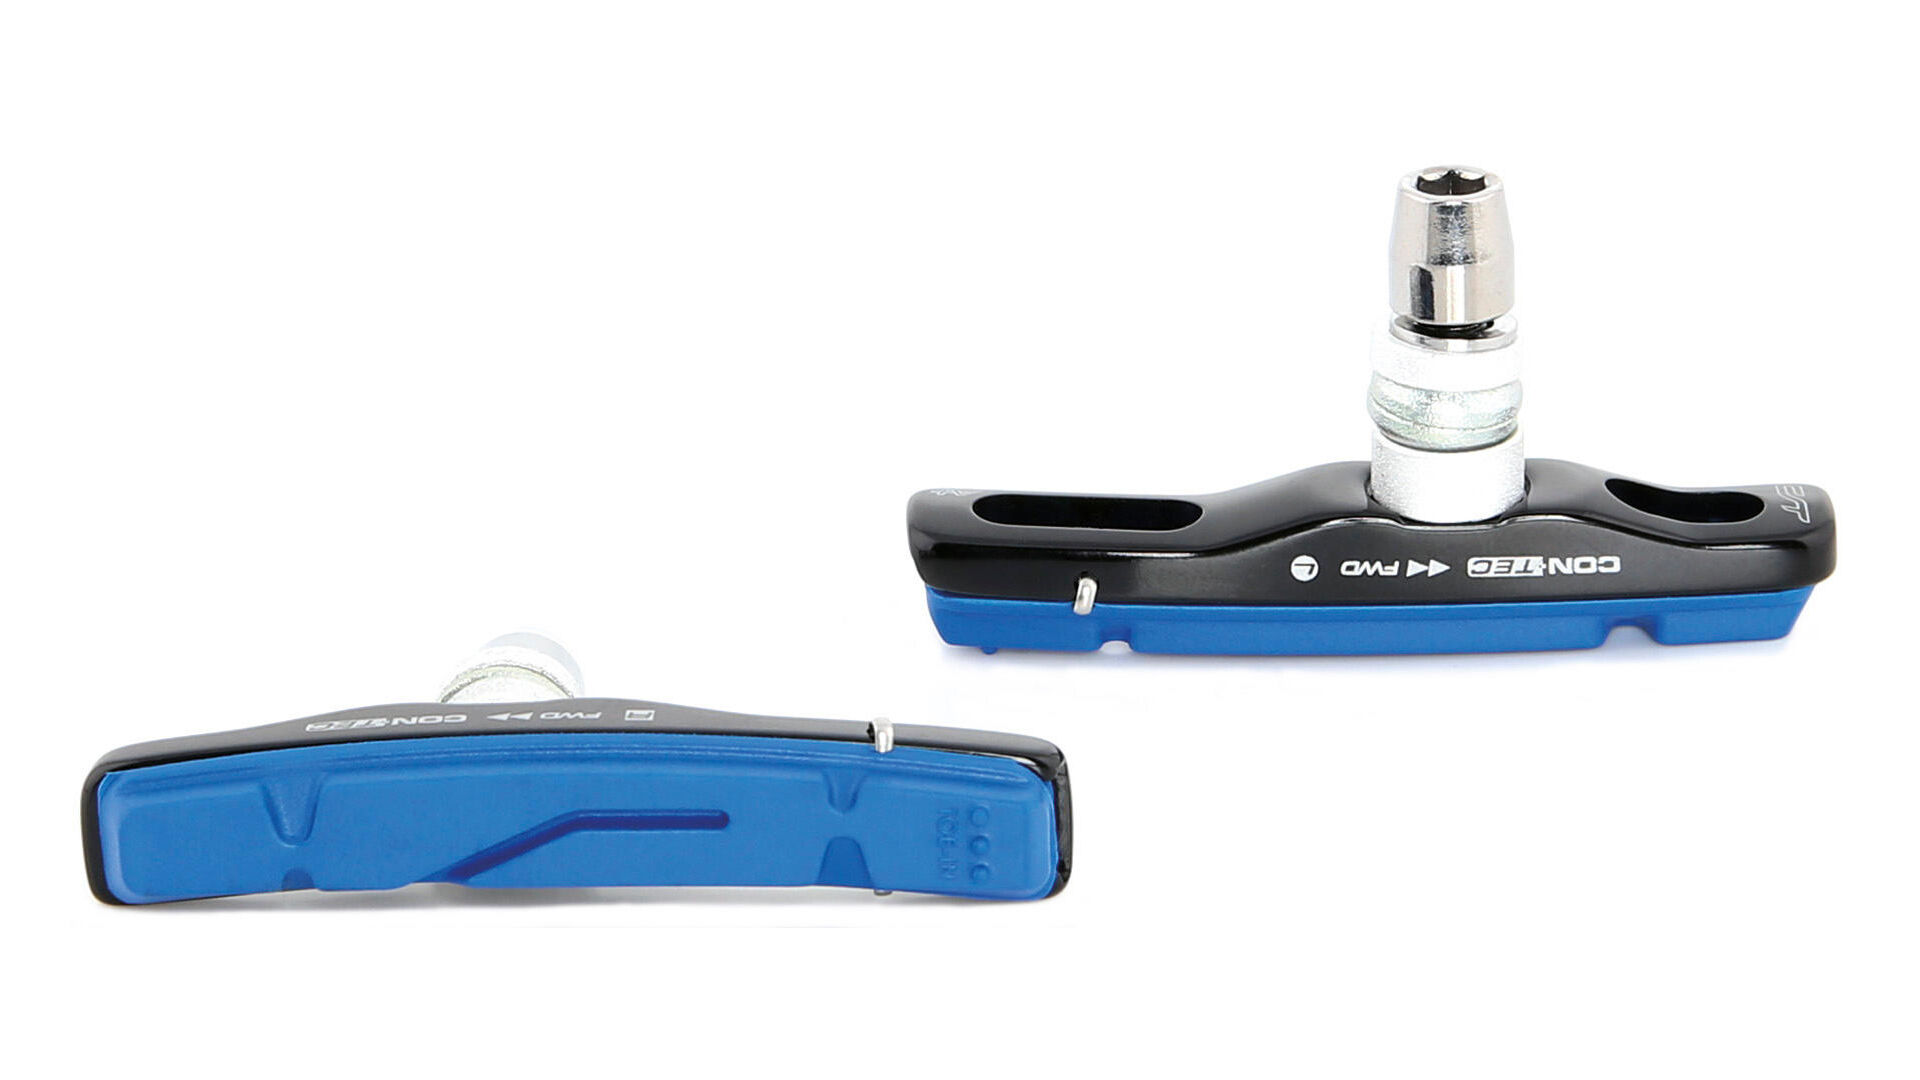
Step 3: Install new brake pads
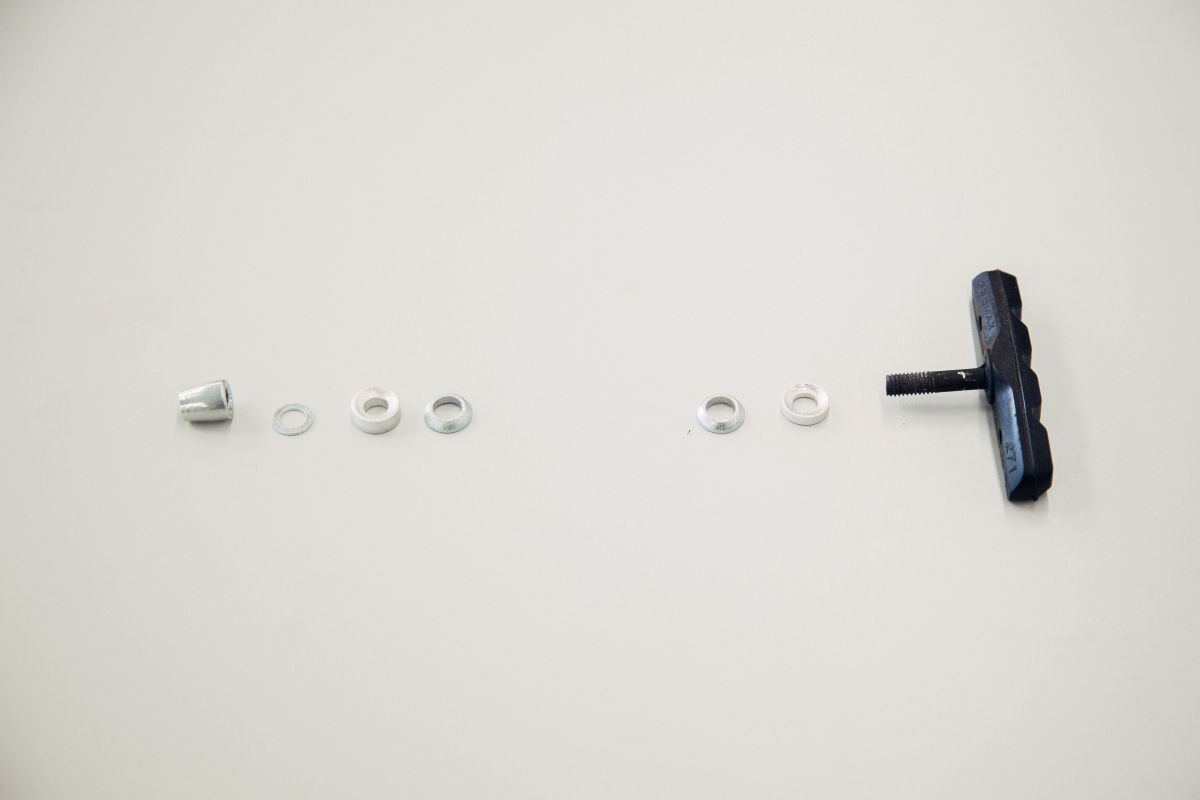
First put the shims on the new brake pad post and then a washer. Now you can attach the new brake pad to the brake and put another washer on it. Note the correct order of the shims. The pad is then tightened with an Allen key.
Repeat steps 2 and 3 on the other side of the bike.
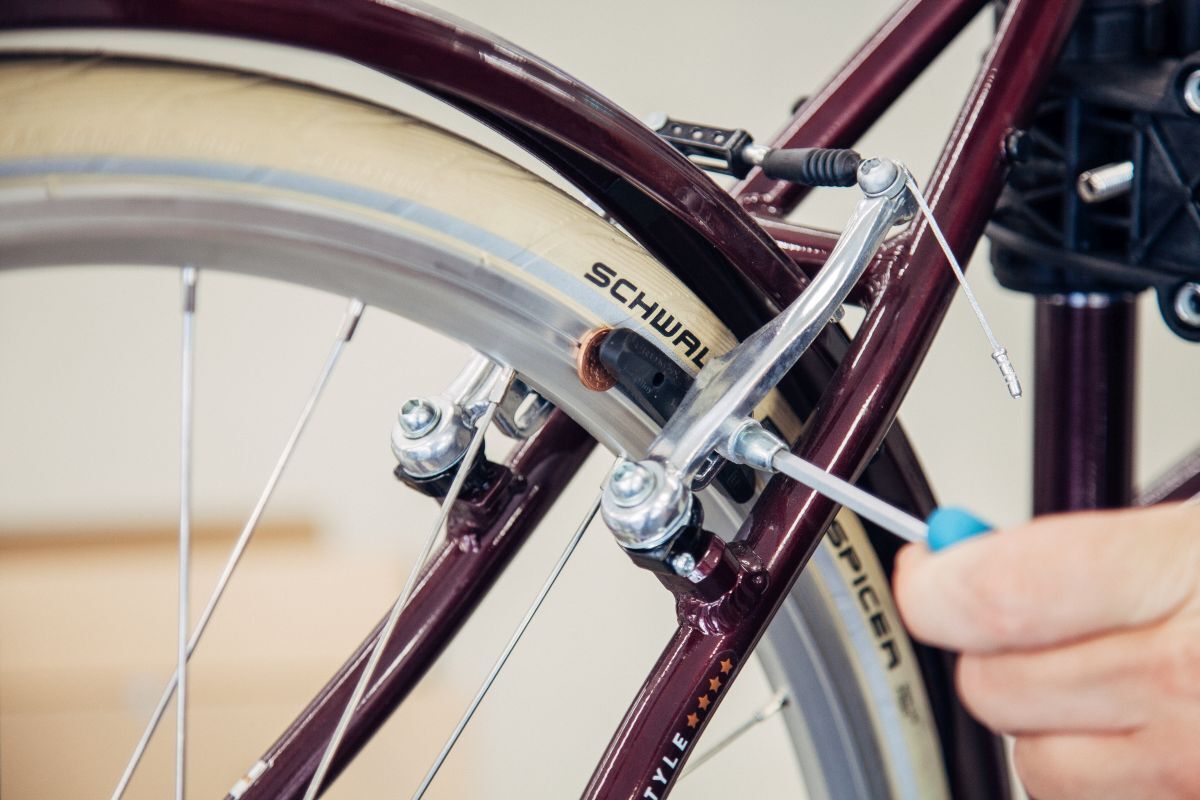
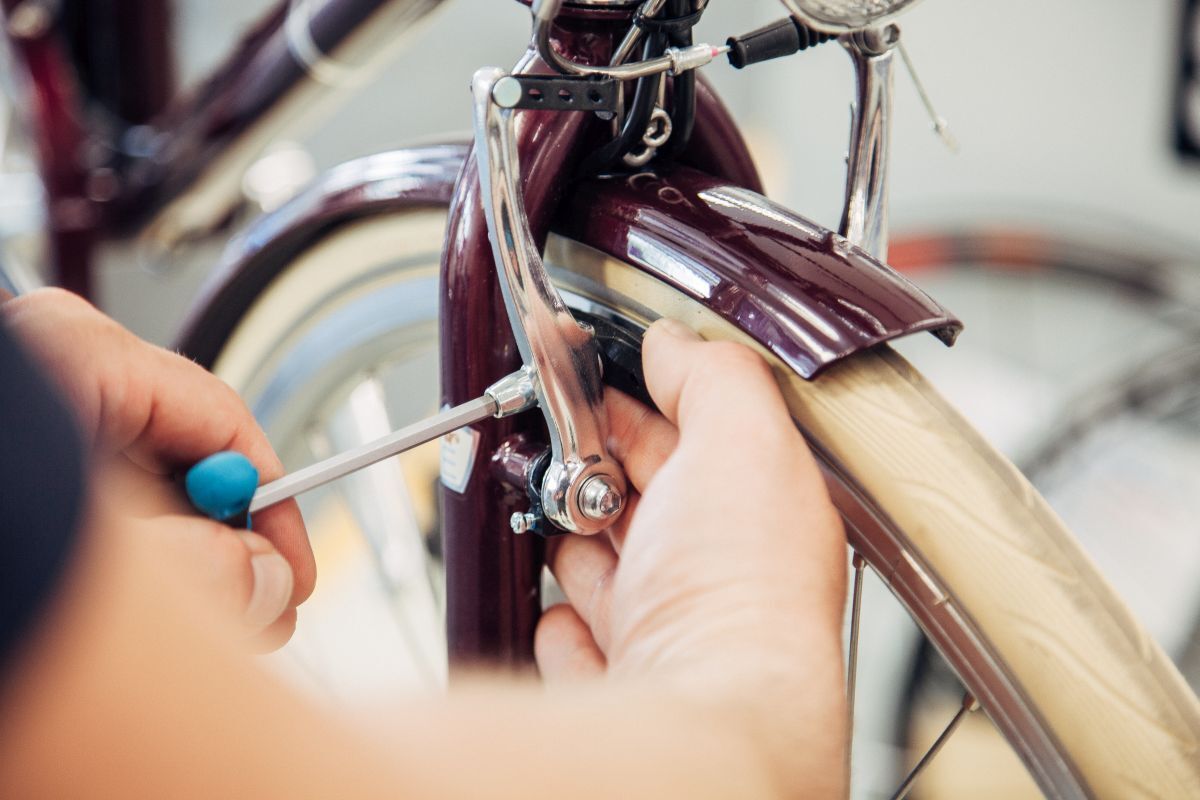
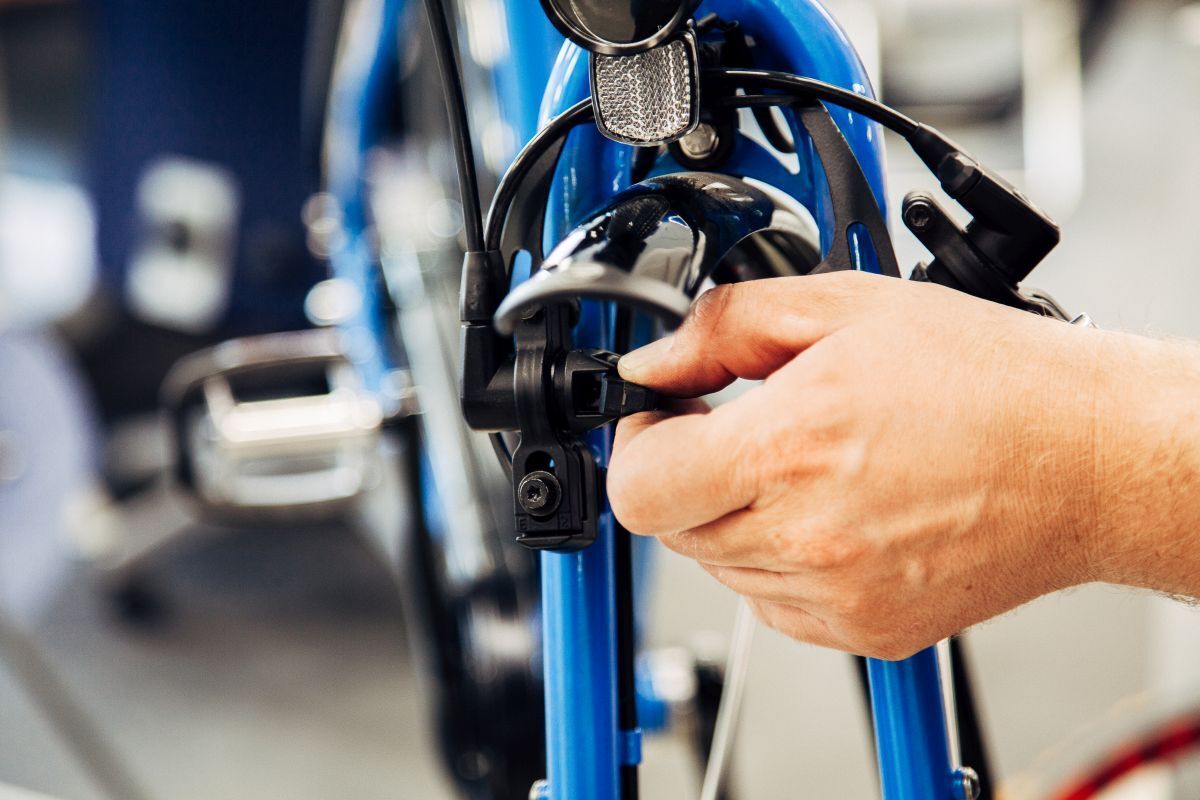
Step 4: Align the rim brake
Once the new pads are installed, the brake must be aligned – because the new pads have more material than the old ones. With the adjusting screw on the brake lever, you can relax the brake cable slightly to give room for the new pads. Now apply the brake and check the alignment of the brake pads. If you look at the pads from the side, they should be level and on the brake flank completely. The pad is ideally located about 1 mm below the top of the rim edge. Change the orientation accordingly, if this should not be the case.
In order to minimise squeaking and ensure optimal braking, the brake pads should first touch the front of the of the rim and make full contact with the brake is pulled all the way.
Check this by slowly applying the brake and seeing where the pads first touch the rim. To optimally adjust this angle, simply insert a 1 cent piece between the pad and the rim and then tighten down the brakes.
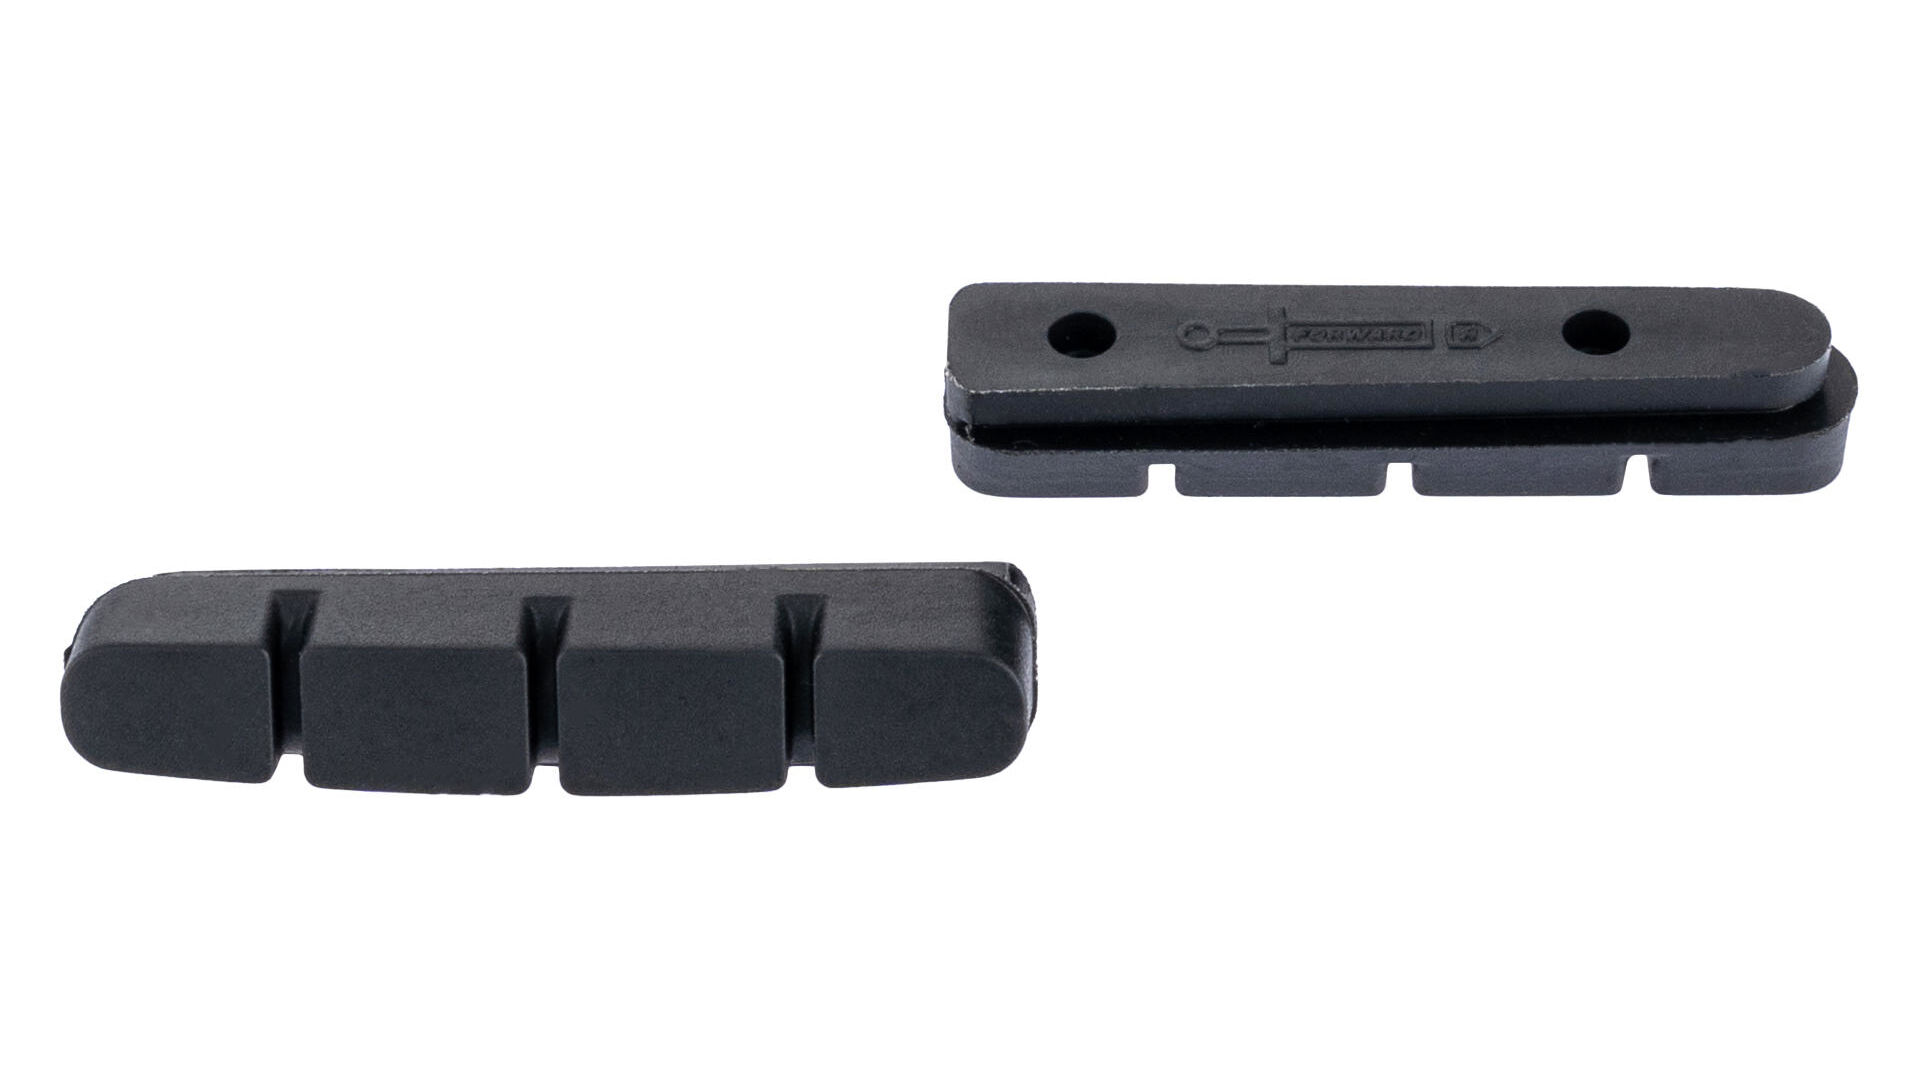
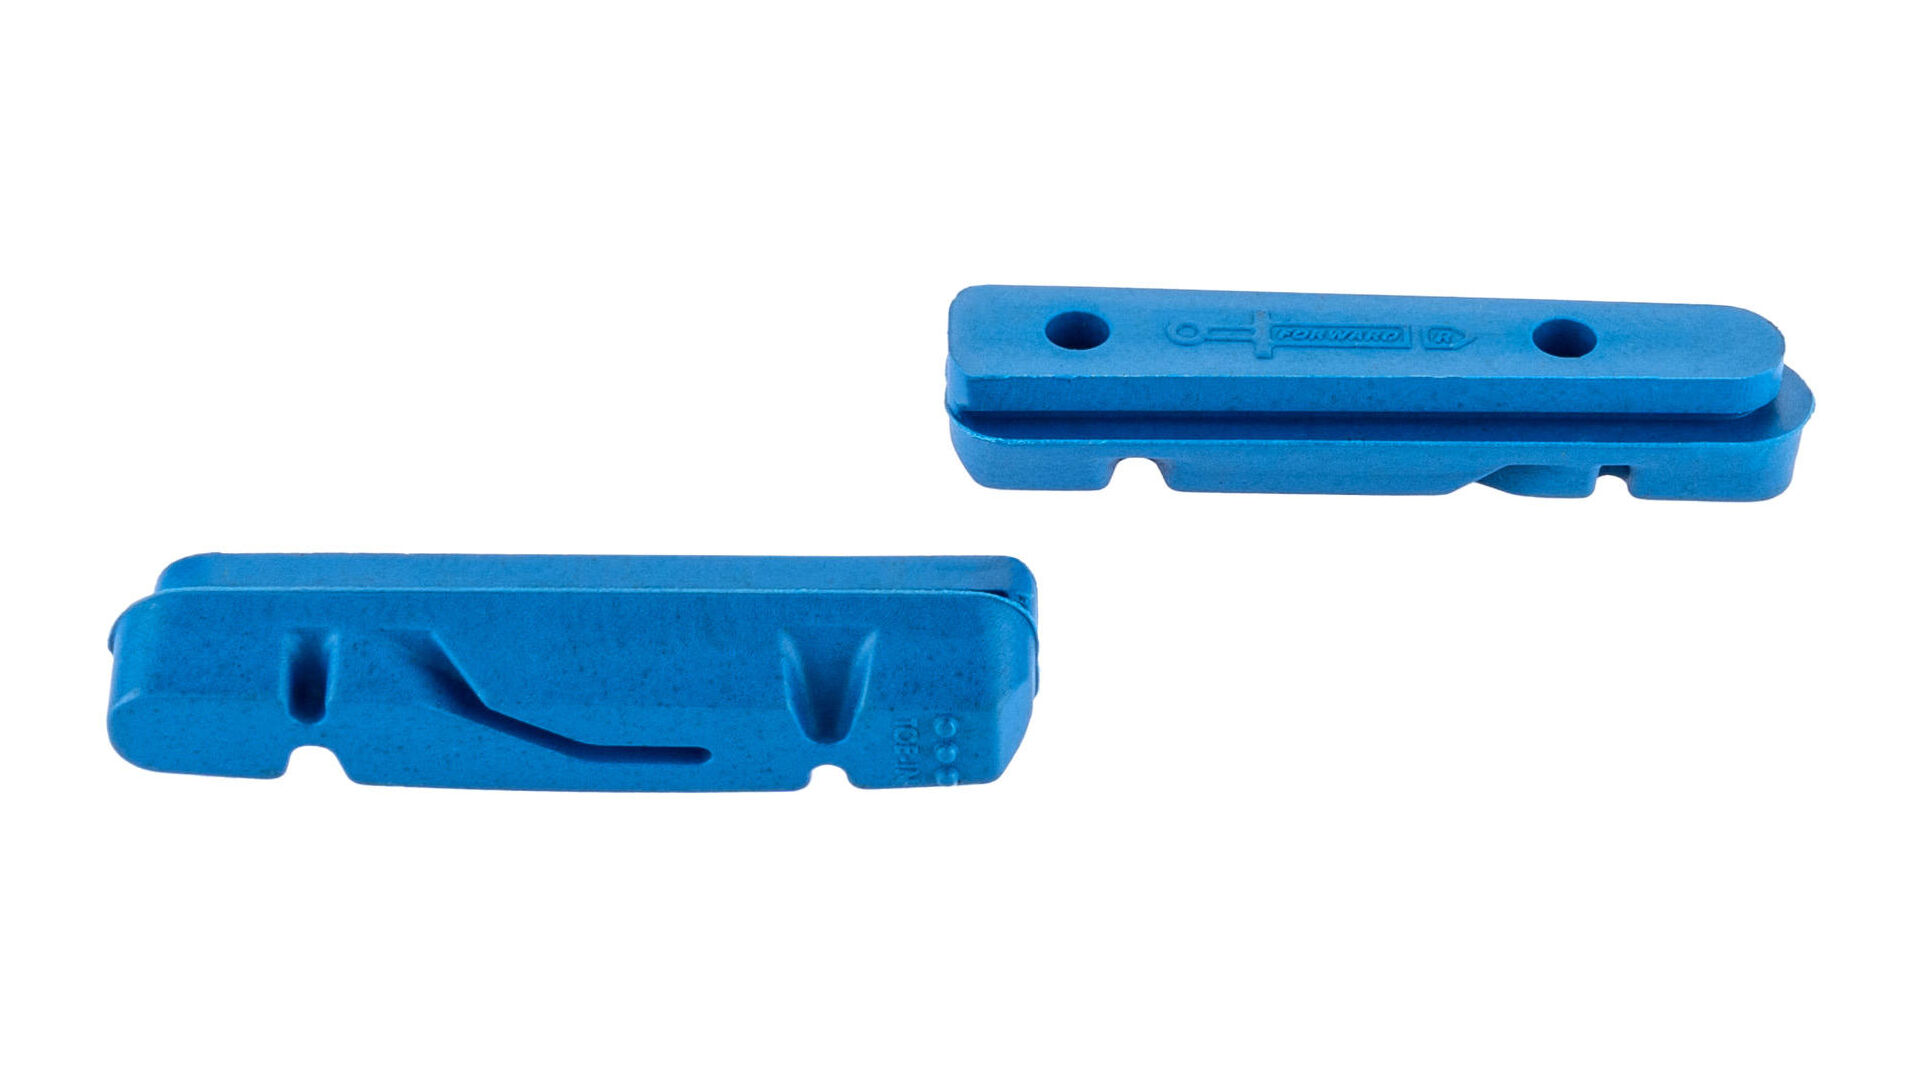
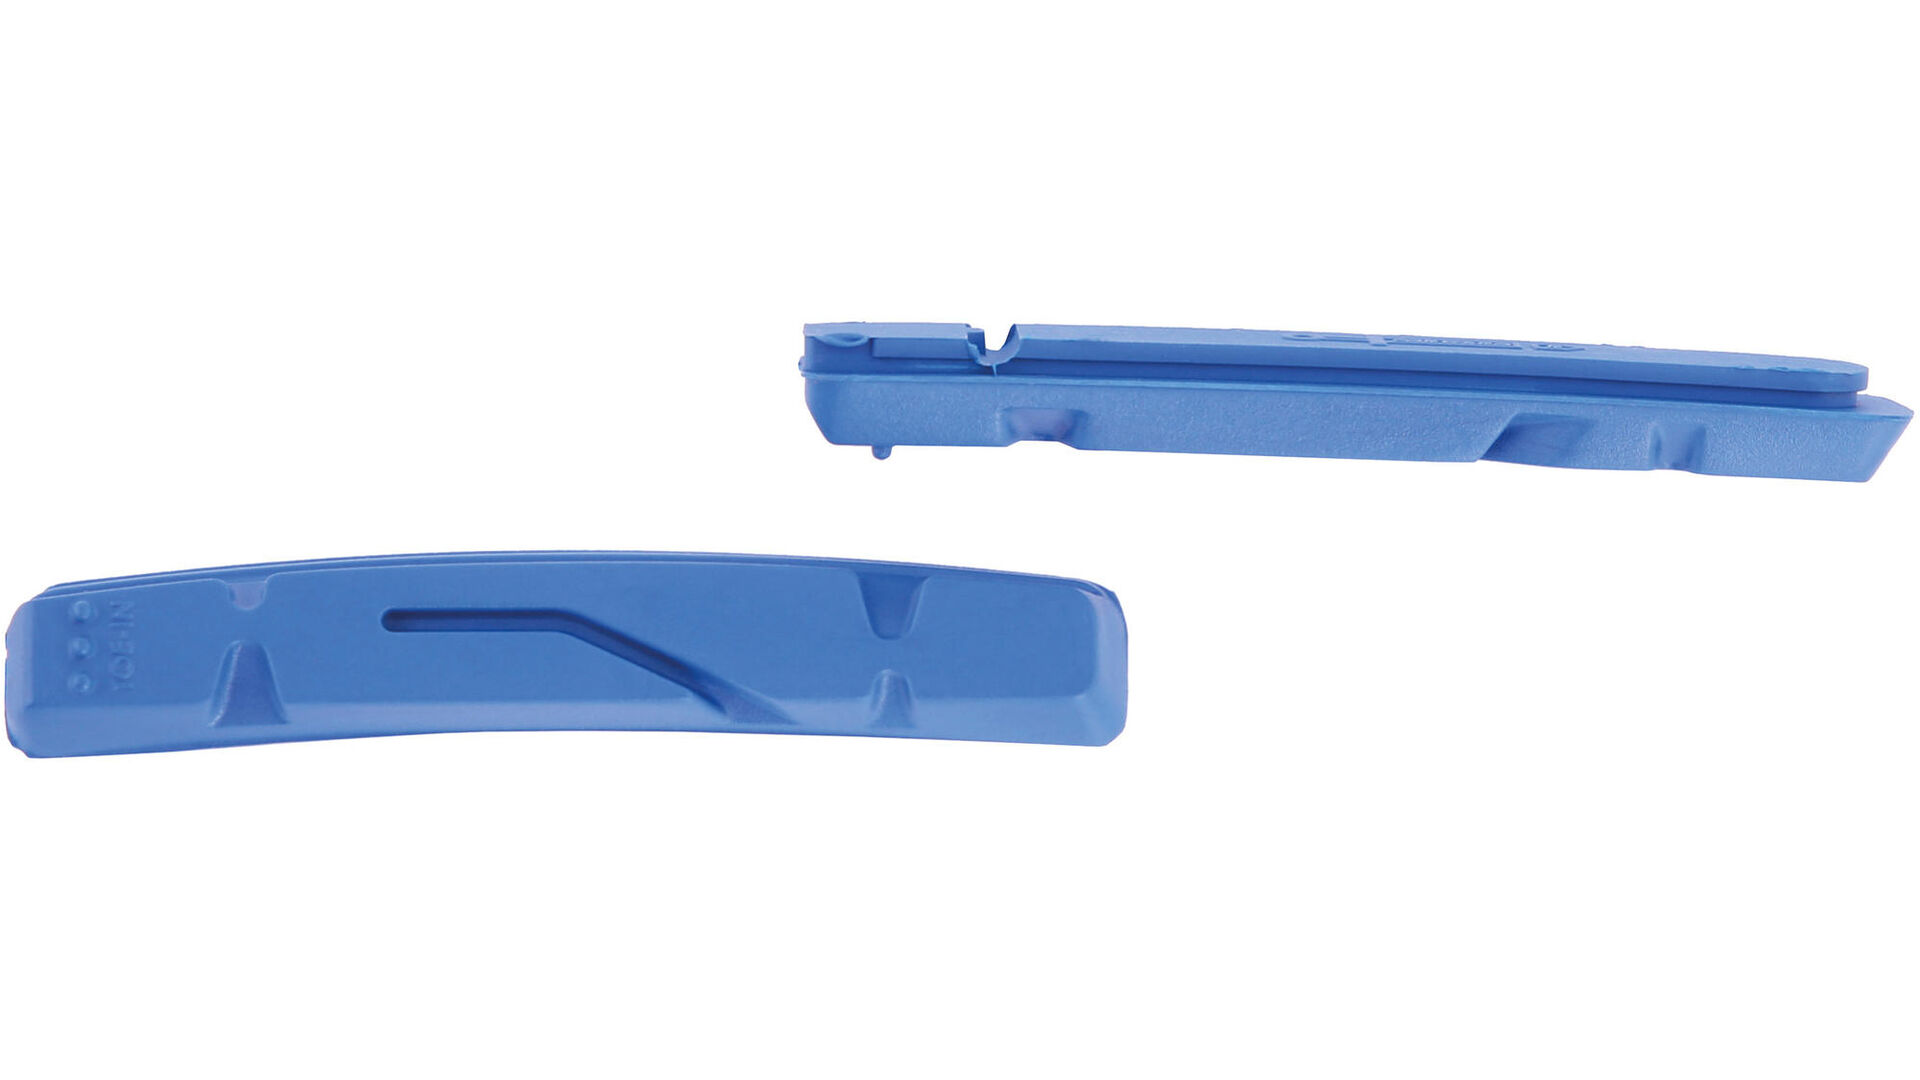


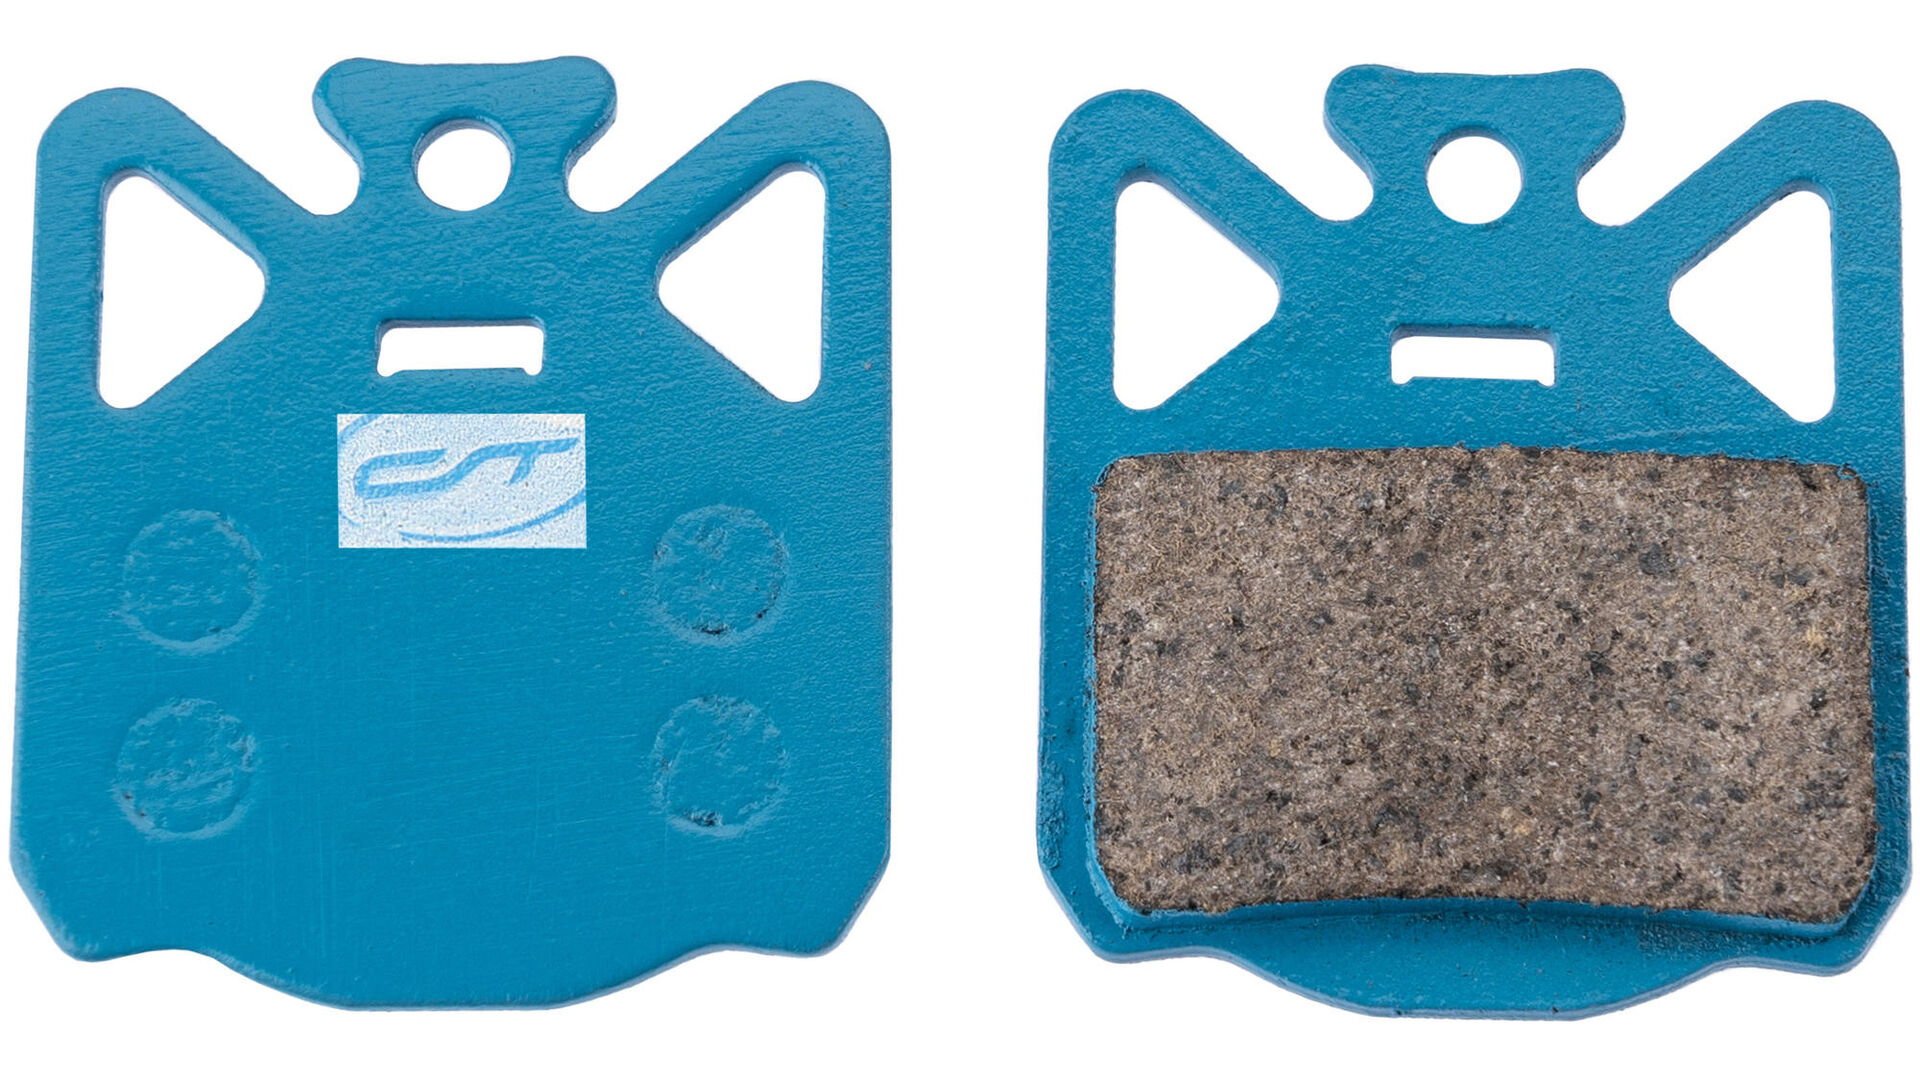
Replace the brake pads on the hydraulic rim brakes
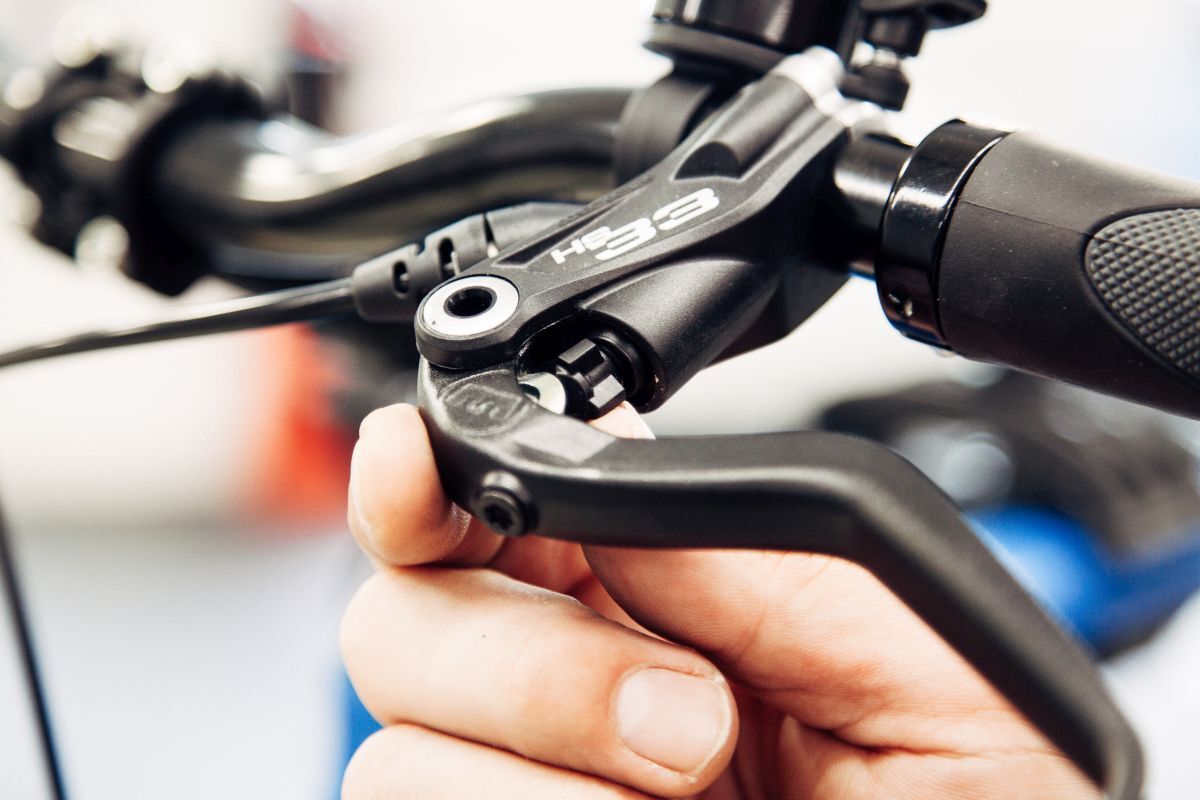
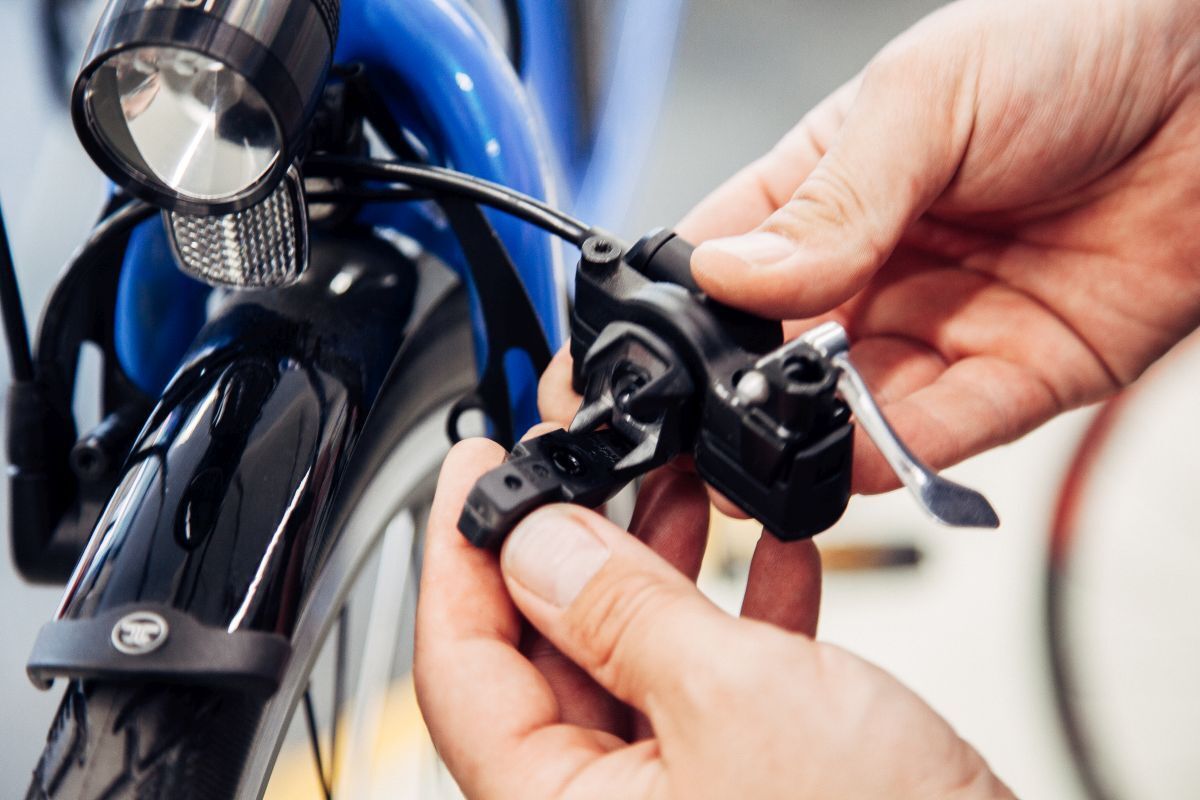
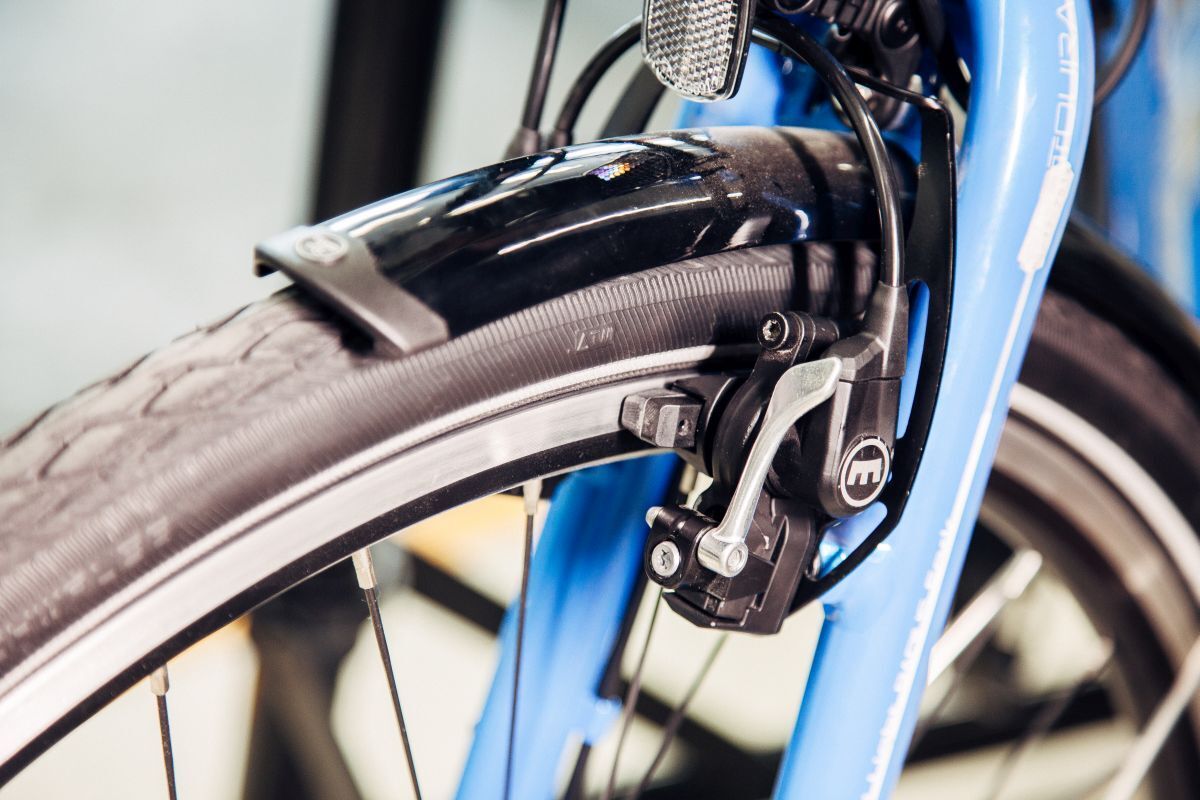
A well-known hydraulic rim brake is made by MAGURA. You can simply click on the brake pads of the German manufacturer here. However, before changing the pads, you should loosen the pad wear adjuster completely. Otherwise, the rim will not fit between the new pads. Once you have changed the MAGURA rim brake pads, they should have a distance of 2 - 2.5 mm from the rim and be parallel to it. You can correct this setting at the brake lever on MAGURA’s "HS" series: Depending on the model, using a barrel adjust or an Allen bolt.

Always check both the front and rear brakes – the wear of the brake pads can vary depending on the wheel.

Change the brake cable
Brake pad has been replaced, but the brake is still rubbing? Then it could be the brake cable. We’ll show how to change the brake cable.