
A solid post - correctly mount seatposts

The seatpost together with the saddle forms one of the three contact points on a bike and is a relevant safety component. Therefore, you should consider a few aspects when installing on in the bicycle frame:
1. Matching outer diameter
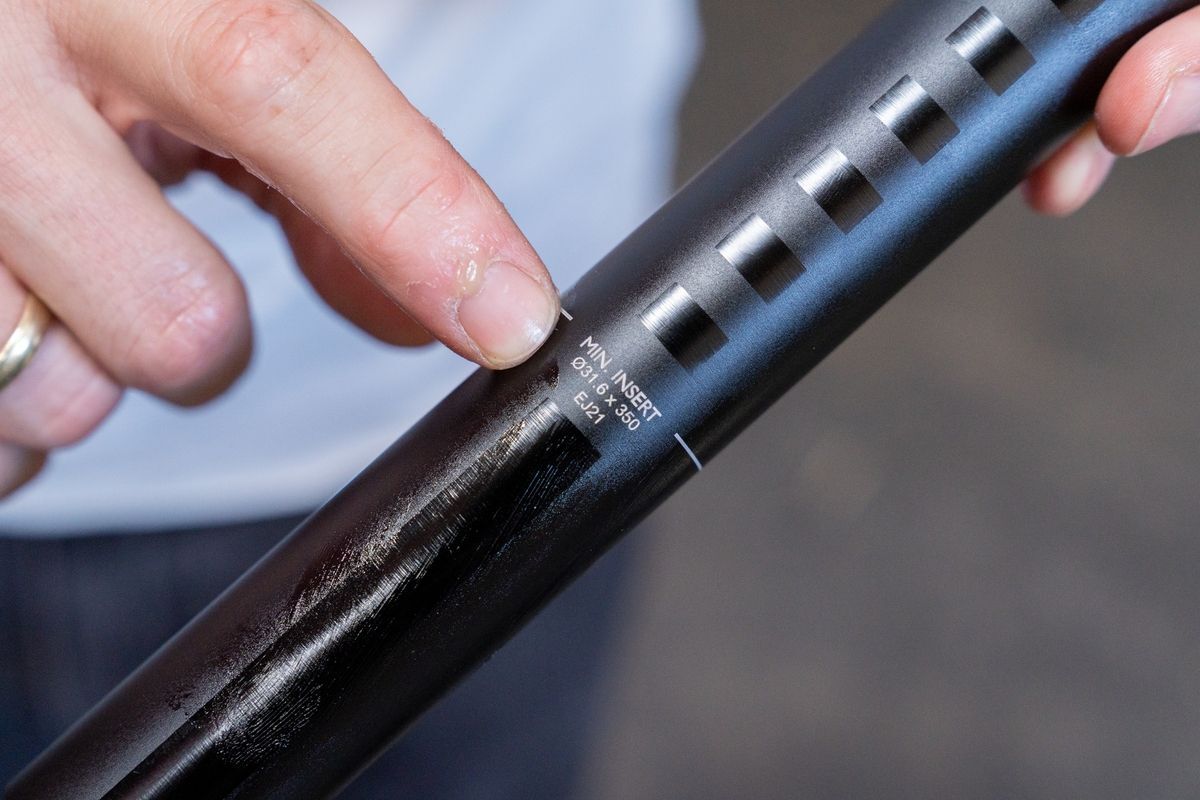
For the seatpost to fit in the frame correctly, it must have the exact same outer diameter as your old model. You can often read the diameter, as well as the length of the post, at the bottom. Here, for example, 27.2 mm and 350 mm length are stamped on the seatpost. If you can’t find any information about the diameter, your bike dealer will be happy to help you. Alternatively, you can measure the diameter yourself with a caliper.
2. Use the correct torque
Do not over do it: The aim is to secure the seatpost in the frame safely and without it slipping. Do not over tighten the hex or Torx bolt that is integrated into the frame or on the seatpost clamp (!). This can cause unnecessary damage, especially to sensitive carbon seatposts.

Werkzeug-Checkliste – das benötigst du:
- 1 Montagefett
- 1 Carbon-Montagepaste (je nach Material der Stütze)
- 1 passender Innensechskant- oder Torxschlüssel
- 1 Drehmomentschlüssel
Step 1: Clean the seat tube
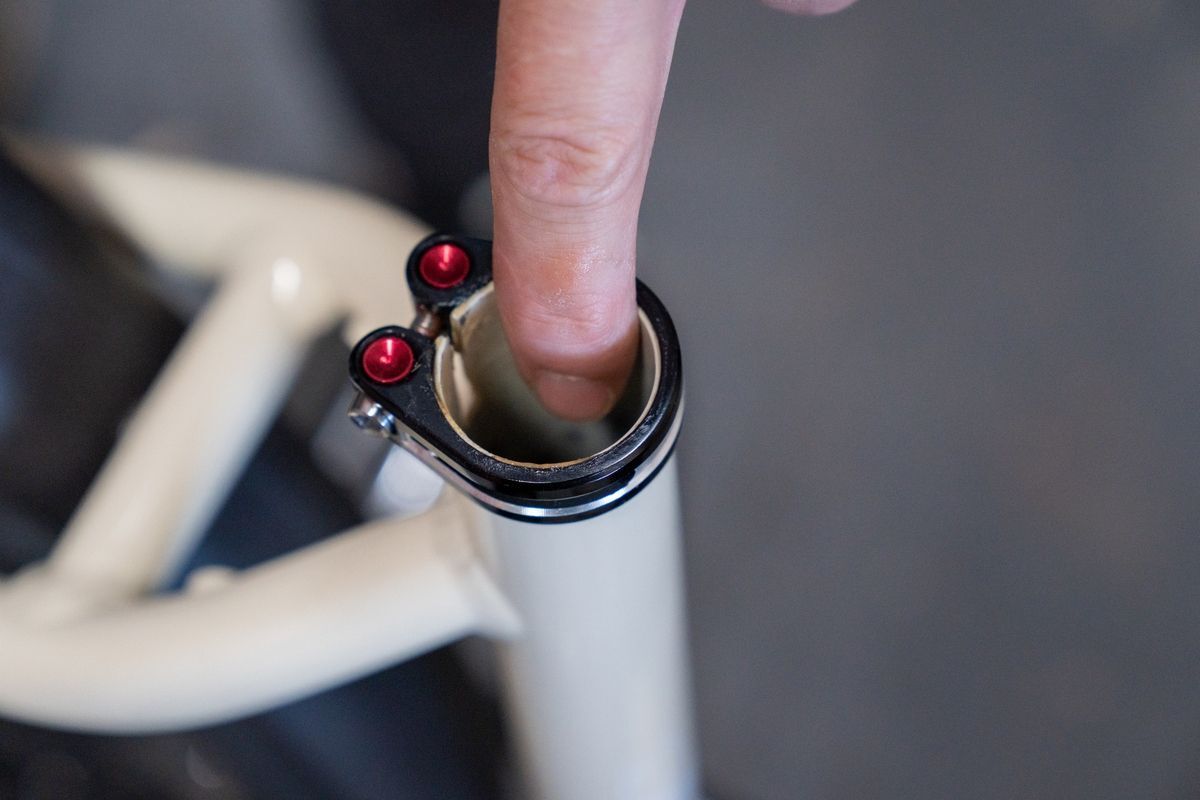
Before you install your new seatpost in the frame of your bike, make sure that the seat tube is free of burrs that could damage the post when raised and lowered. If the seat tube needs to be clean out, your dealer can do it with a reamer.
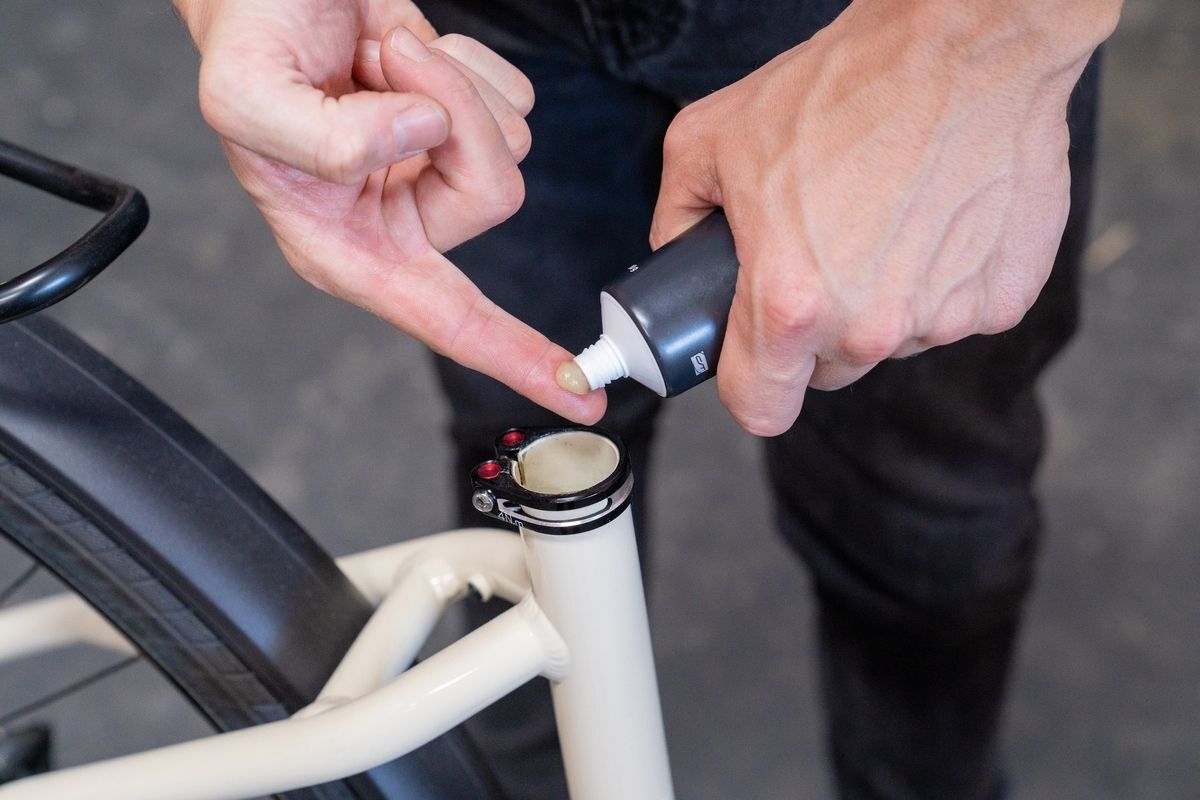
Step 2: Apply assembly paste
Once this has been done and the seat tube is smooth, the assembly paste or grease can be applied to the seat tube and to the lower end of the post with a brush or index finger. This allows the seatpost to be moved easily in the seat tube for saddle height adjustment later; in addition, the lubricating film prevents subsequent contact corrosion between the steel or aluminium frame and aluminium post.
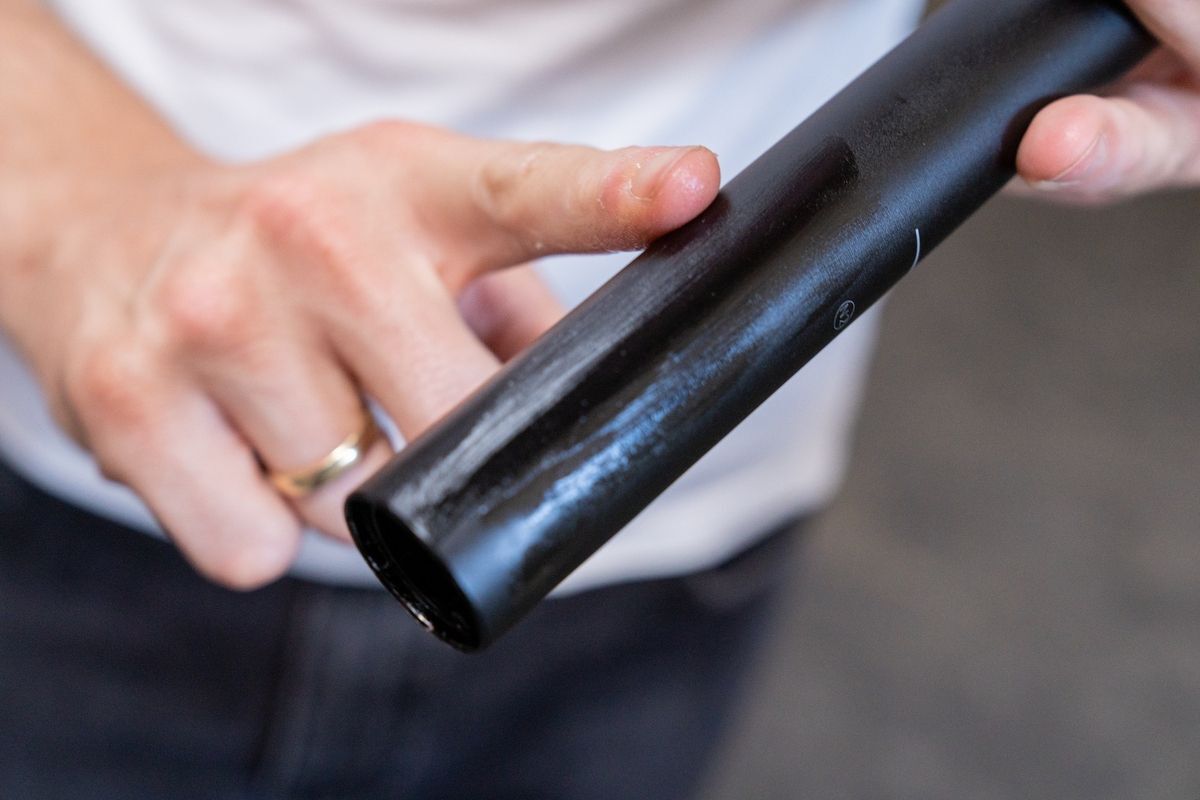
Note: Carbon posts
Things are different when mounting a carbon post, especially in a carbon frame. It is mounted `dry´, i.e. without the grease. This, as well as the use of a special carbon assembly paste, considerably increases the friction between the carbon post and the (carbon) frame; the carbon post can be clamped with less tightening torque to protect the material.

Step 3: Push in the seatpost
After you have loosened the clamp hex bolt, you can slide the new seatpost into the seat tube with slight twisting movements. Important: A mark is placed on each seatpost at the bottom end, which shows the maximum extension of the post. This maximum extension of the seatpost should be noted, otherwise damage to the frame could occur if the post is not placed deep enough into the seat tube.

Step 4: Tighten the seatpost
Finally, fix your new post by gently tightening the bolt on the frame or clamp with the appropriate Allen key. After, tighten the bolt with a torque wrench, but only after you have installed the saddle, aligned it and fine-tuned the saddle height. Done!


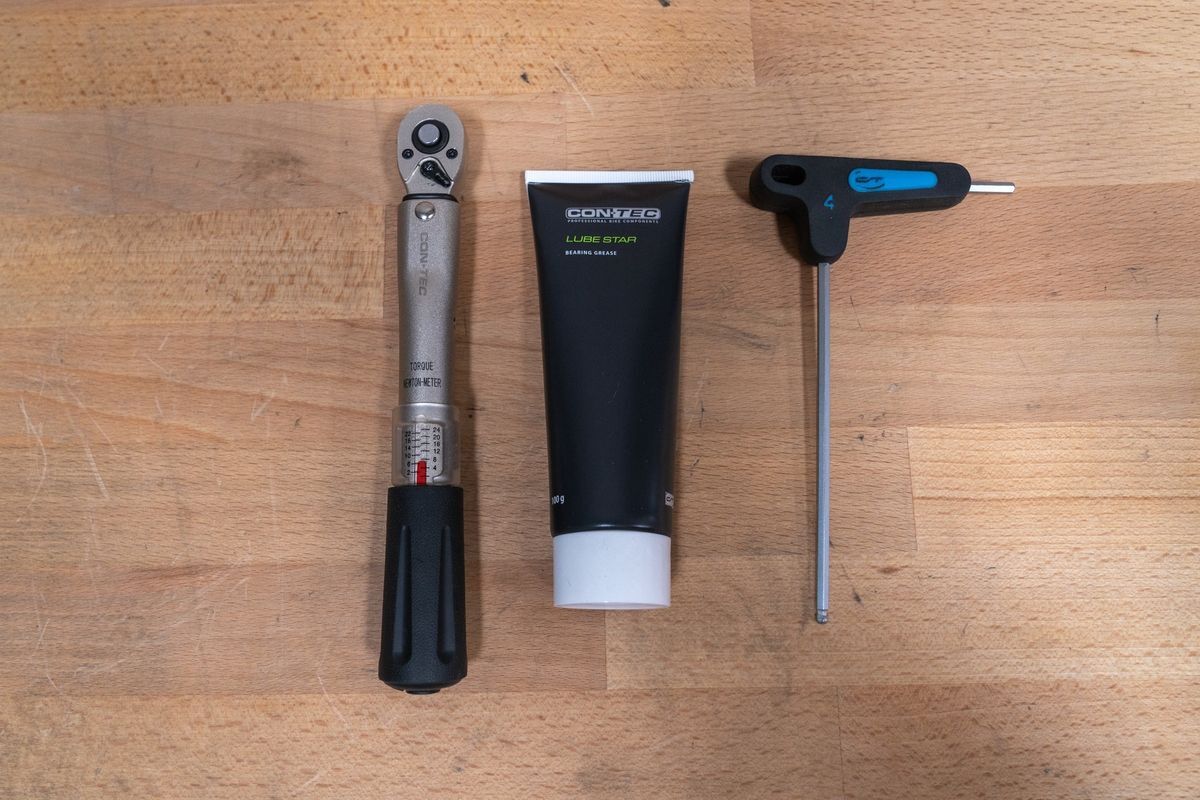
Tools checklist – you need:
- 1 Assembly grease
- 1 Carbon assembly paste (depending on the material of the post)
- 1 Matching hex or Torx key
- 1 Torque wrench

Use a torque wrench
On the saddle clamp or on the frame there is often a maximum torque in Newton meters. This needs to be followed!
Take care with carbon seatposts!
Carbon posts are mounted without grease. For the necessary friction on carbon posts, apply some carbon assembly paste!

Upgrade to a dropper post
Mountain bikes often have a dropper post. In another how-to you can learn how to install a dropper post.
Install a saddle
Find out how to replace your saddle and what you need to watch for in another how-to.

