


Repair a dynamo bicycle light
There are many reasons why lighting might not work. Without the right tool, it isn’t possible to test the entire lighting system. Since not everyone has a multimeter or soldering iron at home, this guide deals with the wiring and the connection between the individual lights and their power source. We recommend the following steps:
If you have checked all the plugs and connections, and even changed a wire, we recommend that you make an appointment with your local dealer.
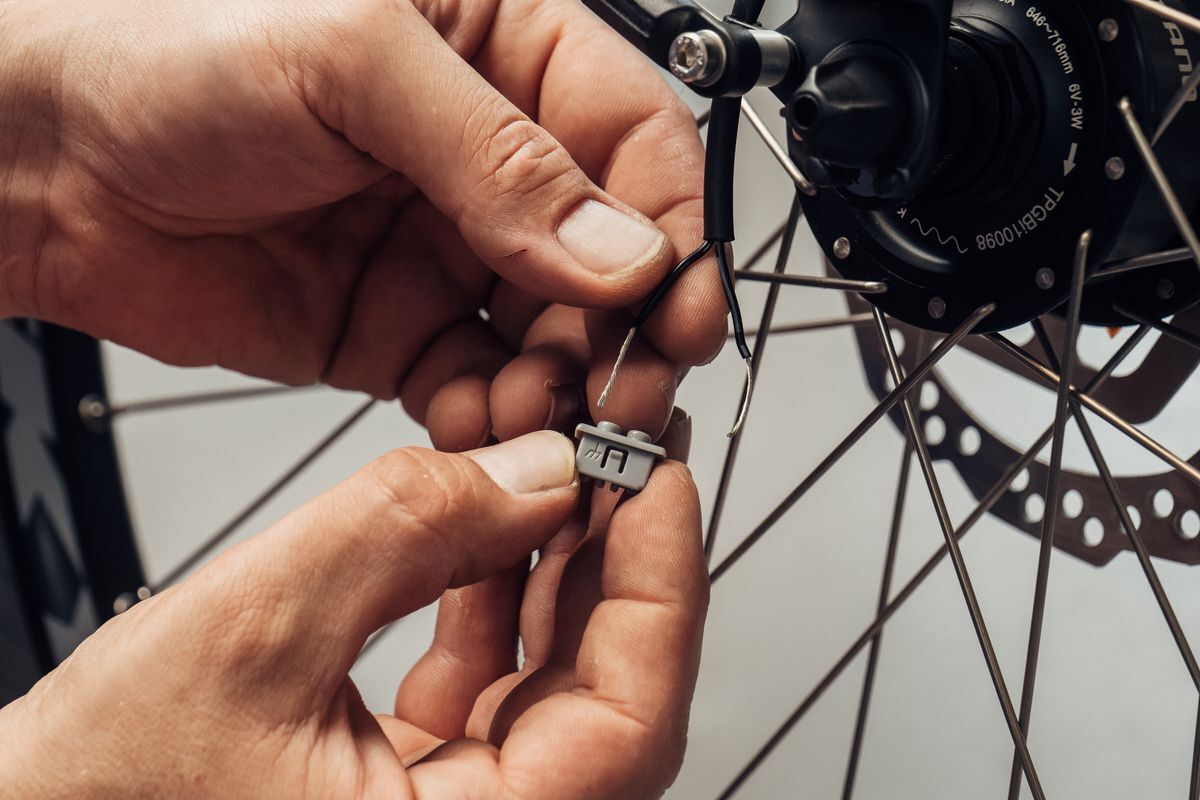
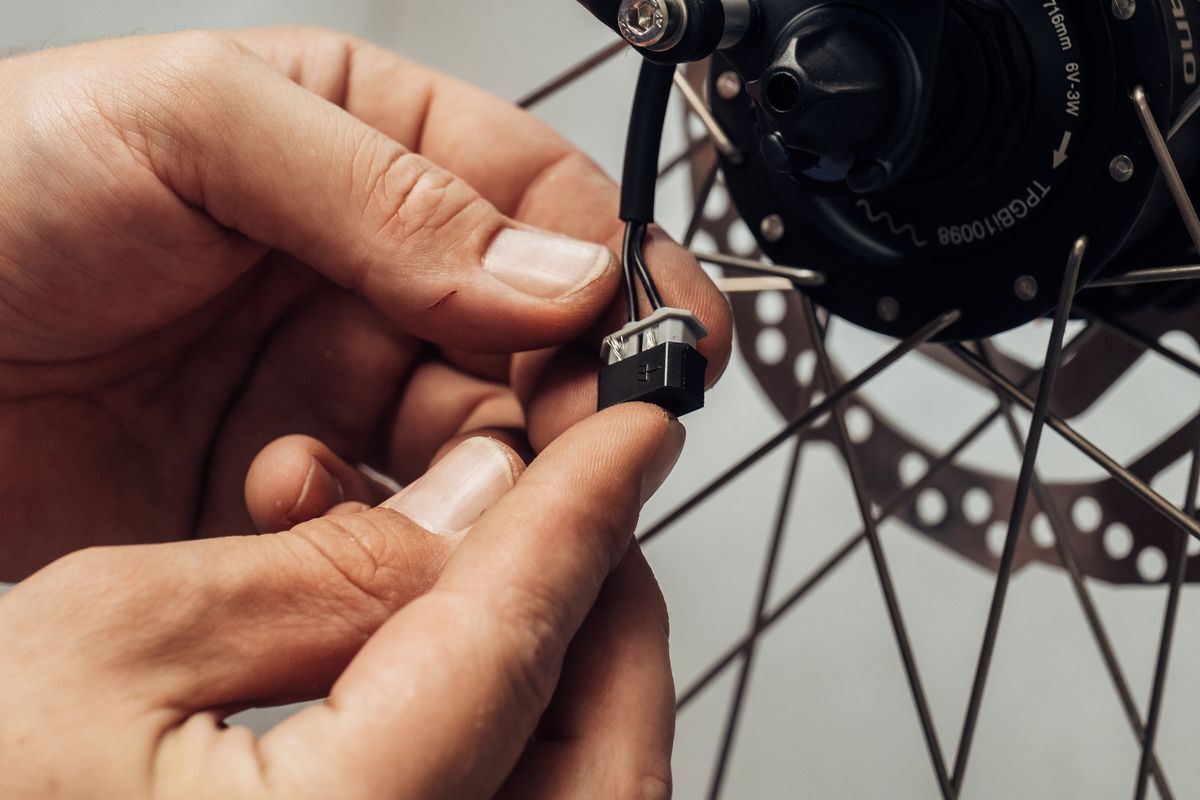
Check the plugs
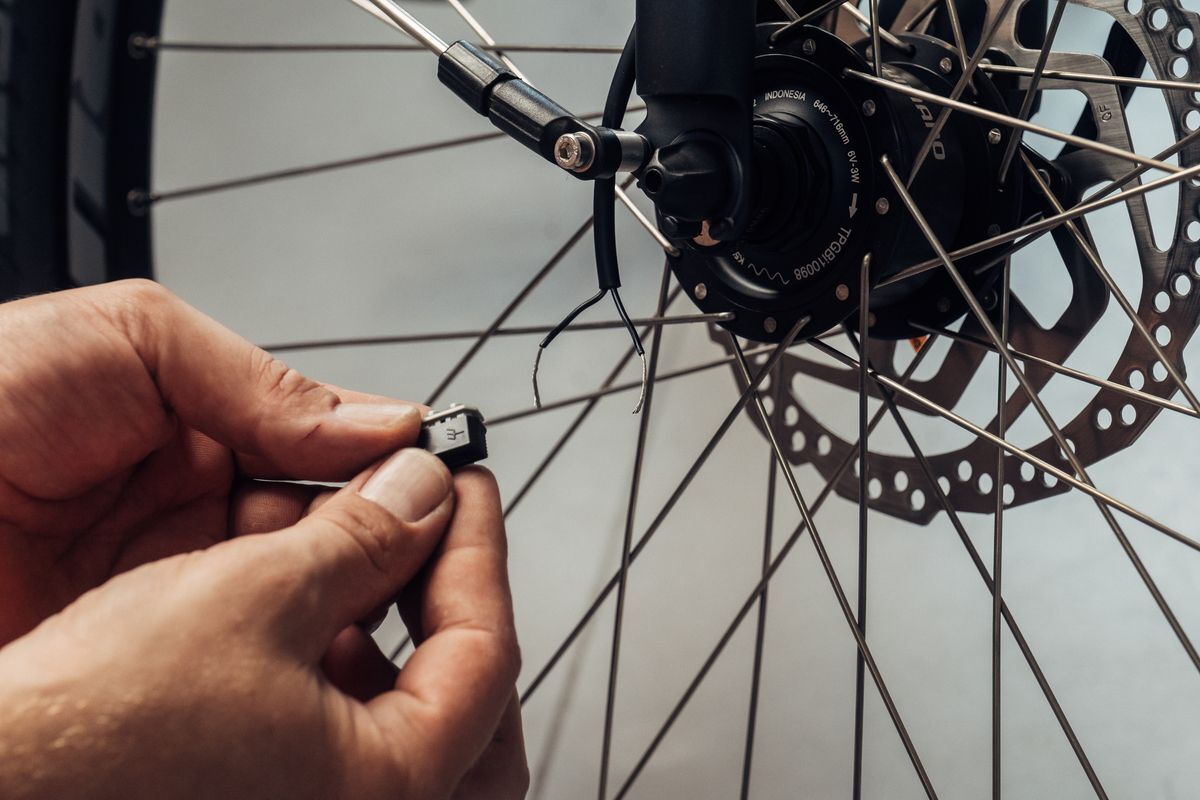
The plugs can also become loose over time meaning they don’t make contact or come off completely. Be sure to push the wire plugs firmly onto the contact again to make sure that it is properly seated.
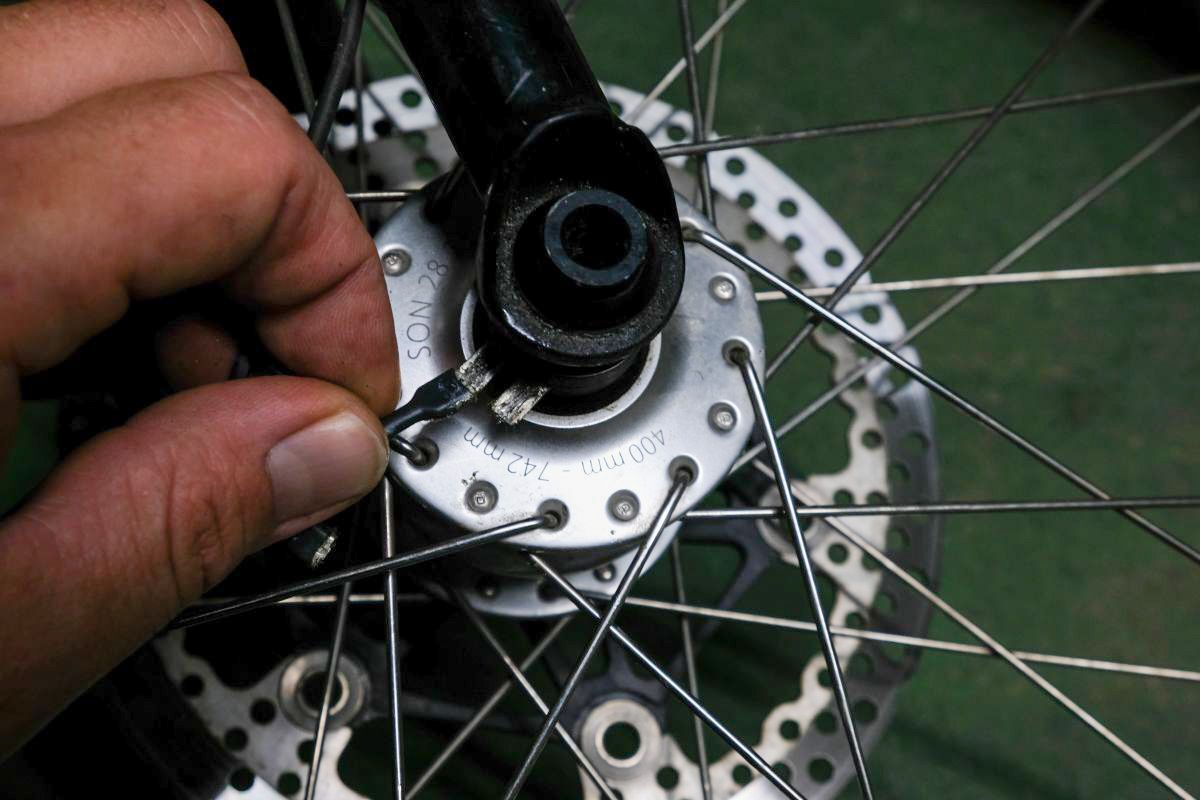
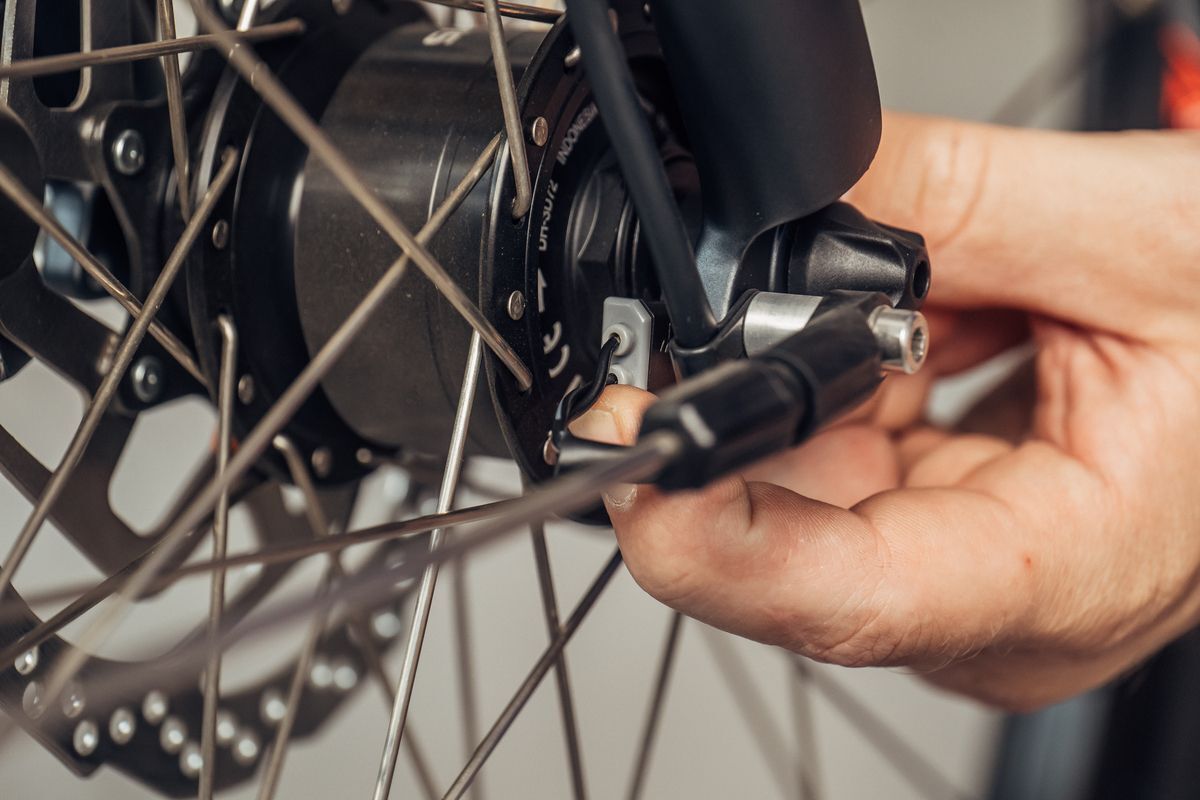
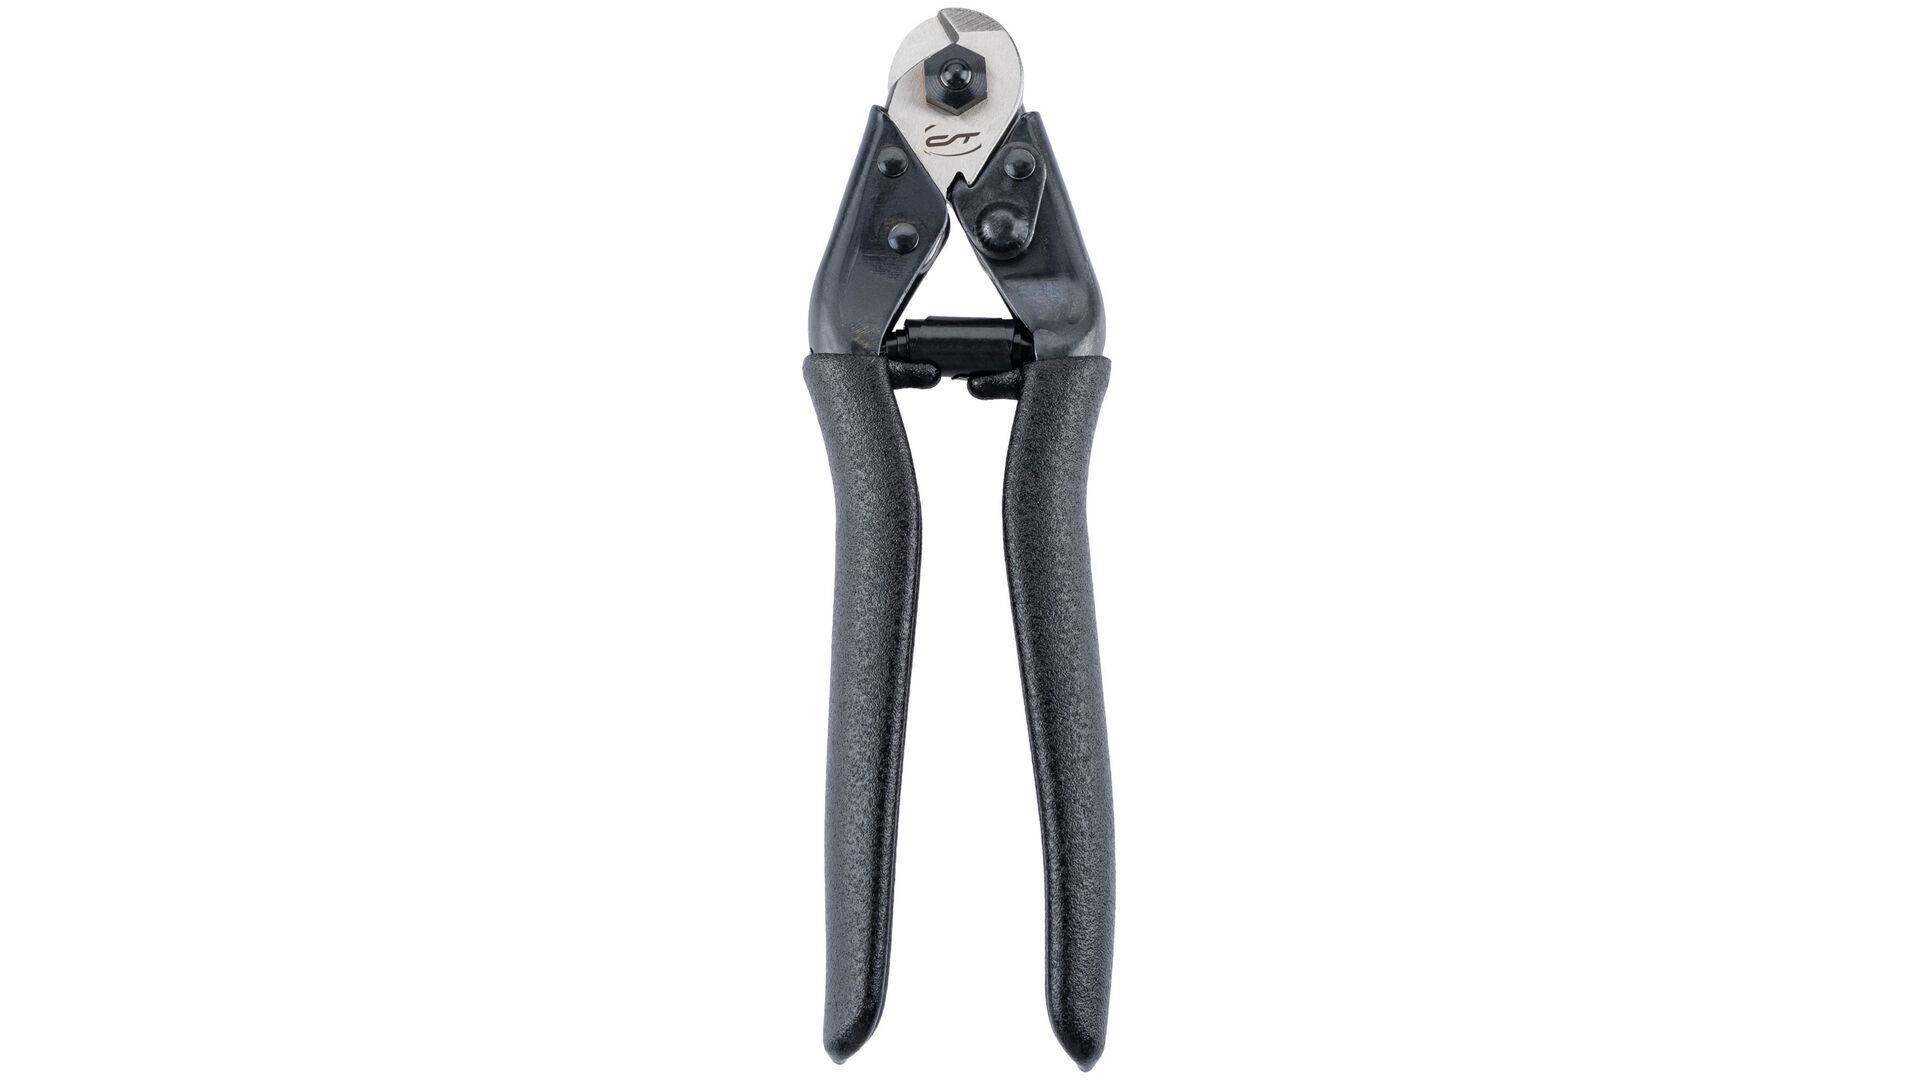
The plug on the dynamo should also be sitting properly. Go ahead and check the plug on the dynamo. Often, the wires in the plug have simply slipped or the stripped ends of the wire are so dirty that they no longer make contact. In this case, simply cut off the stripped end of the lighting wire, remove a similar length from the wire's insulation, and reconnect the plug and wire.
Replacing a lighting wire
If the insulation of a wire is damaged, you should also replace the wire. Replacing a wire for your bike lighting is not difficult. The prerequisite is, of course, that the wires are interchangeable or that they can be removed from the lights.
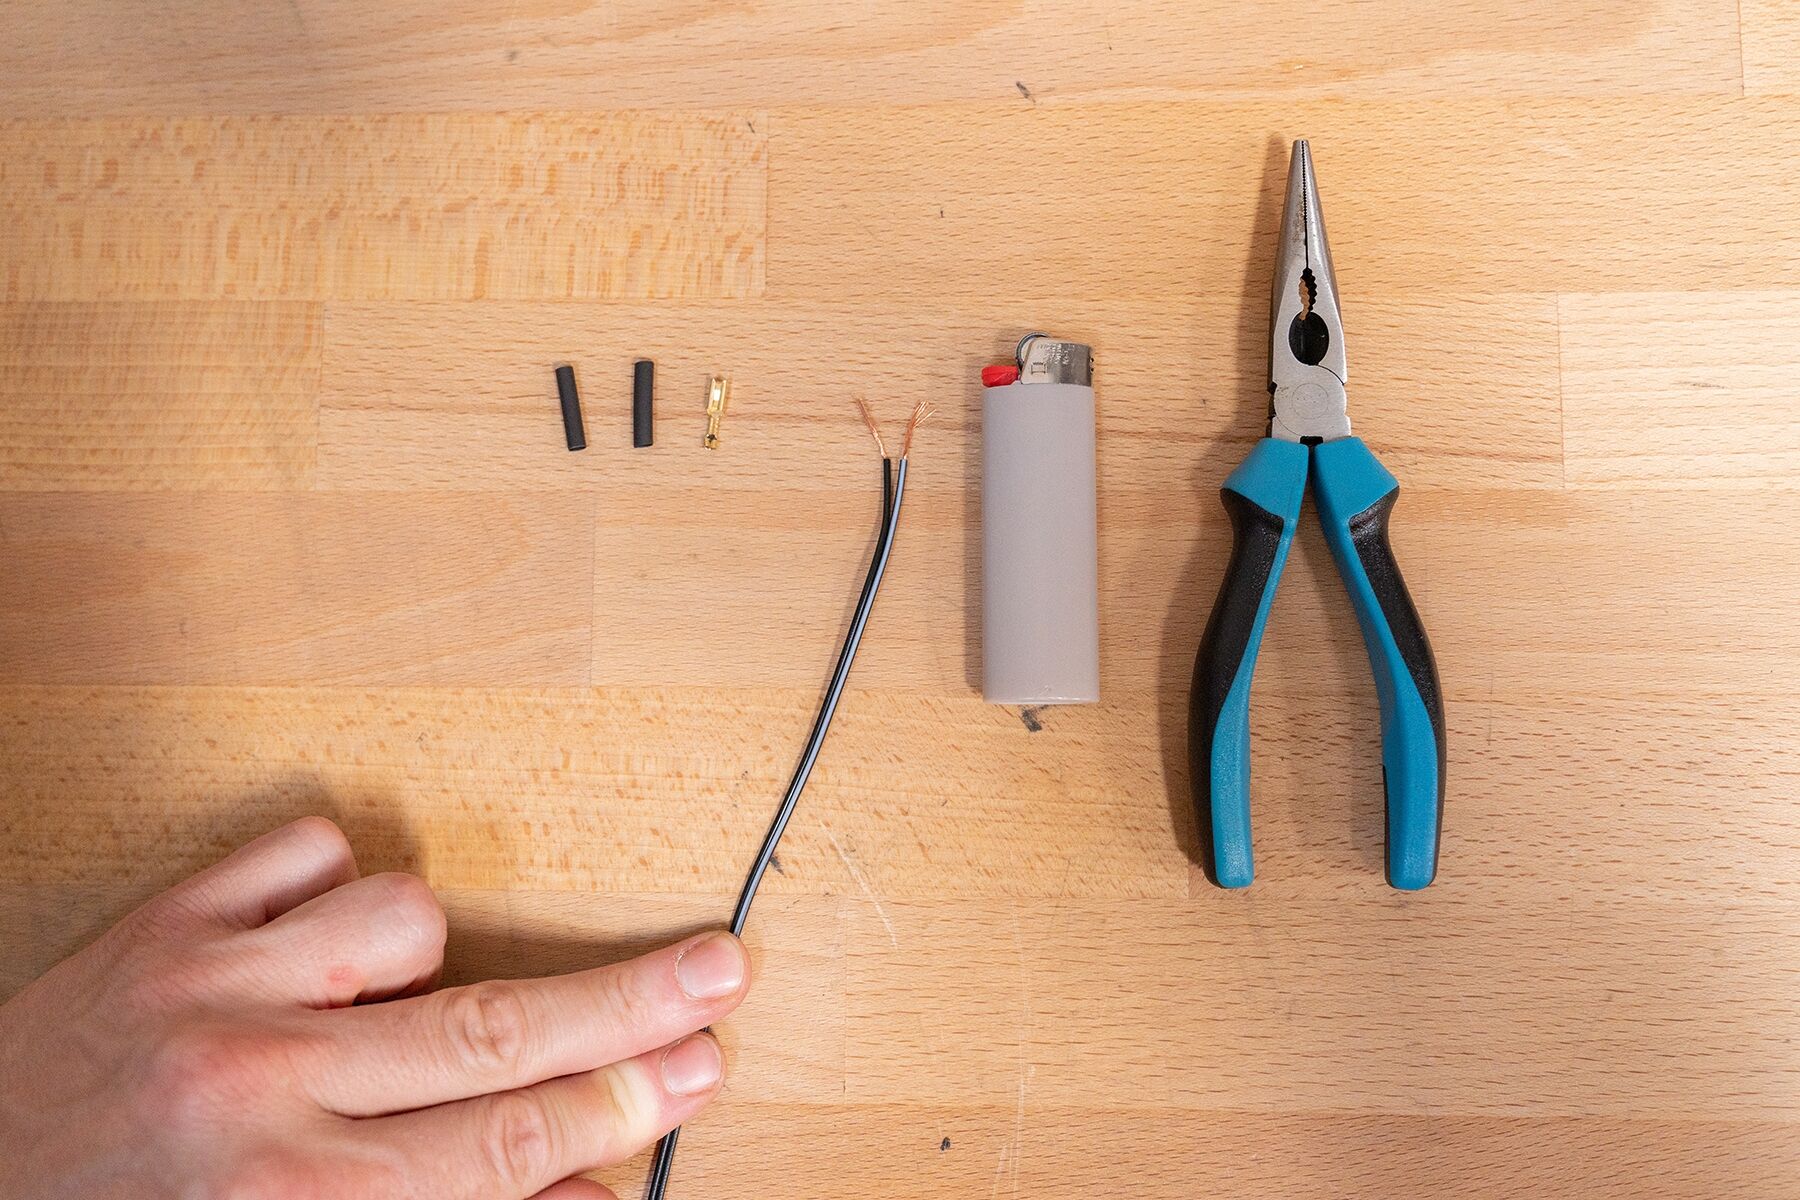
To replace a wire, you first need the right plugs. Look at the plugs on your bicycle lighting, in a bicycle shop or in an electronics stores you can find the right plugs for almost every type of lighting. You should also get some heat-shrinkable tubing in the right size and the right wires. There are also complete light wire sets with pre-assembled wire plugs, where you only have to adjust the length of the wire.
Routing the new wire
First, look at the routing of the wiring and see how long the wire must be. Just place the new wire next to the old one and run it along the frame in the same way.
Internal lighting wire
If the wires are routed in the frame, do not pull out the old wires yet. The old wires can be used to help re-insert the new wires. To do this, simply connect the new wire to the old wire and pull out the old one. You can connect the two wires with some electrical or duct tape. Naturally, you should pull the wires through the frame before installing the plugs.
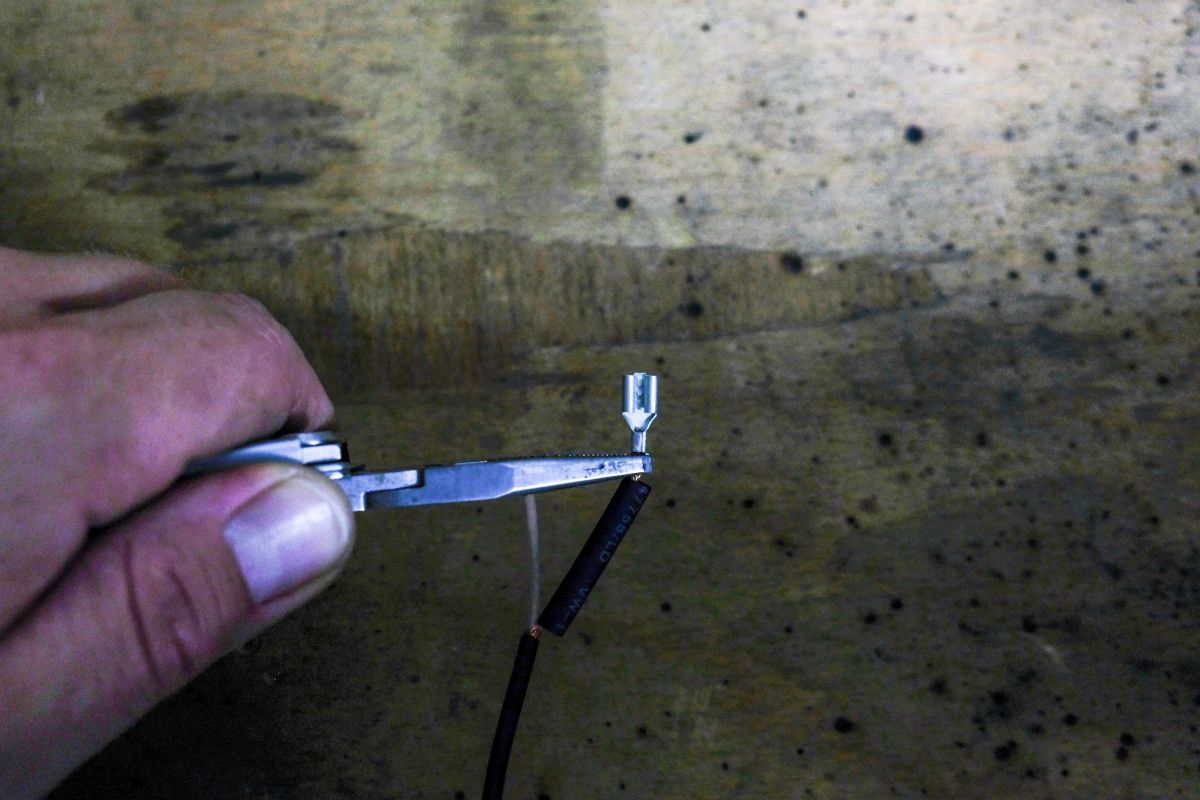
Installing the plugs on the new wire
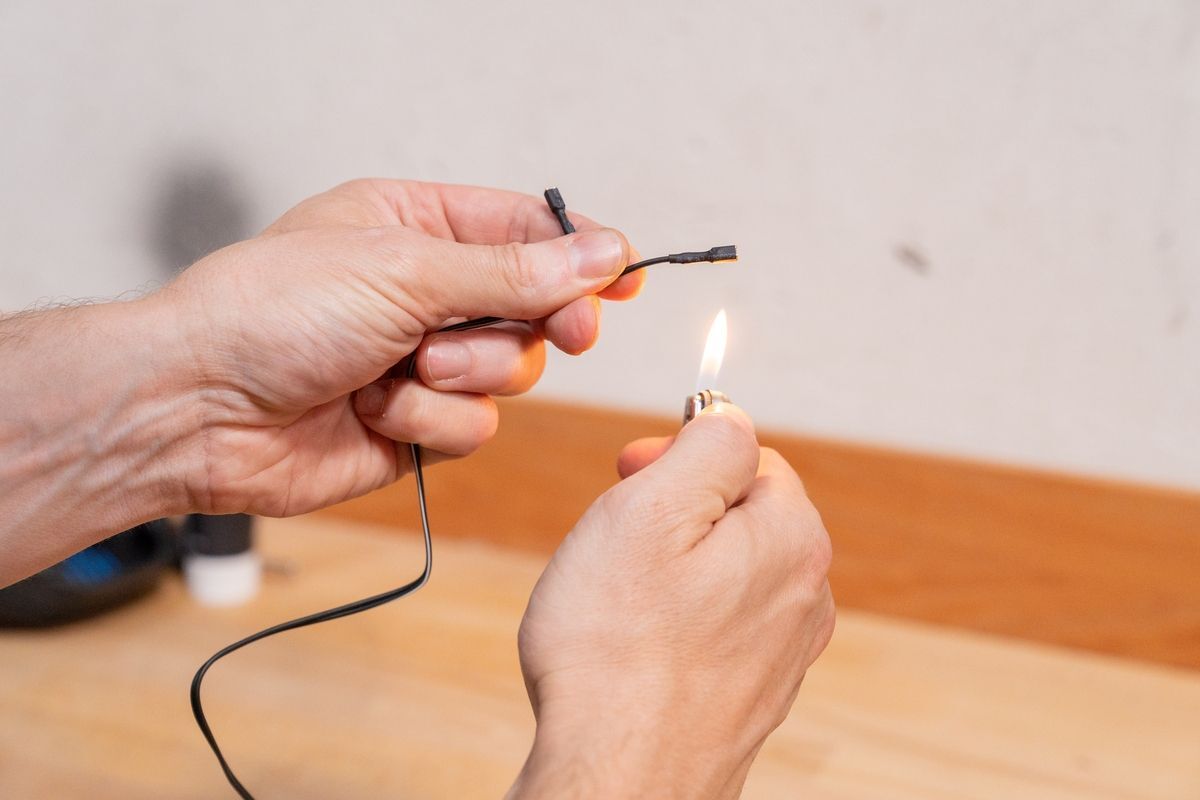
Now your new wire has the right length. To install the wire plugs, all you have to do is strip the ends of the wire. Before installing the plugs, you should slide the heat-shrinkable tubing onto the wire, at the length needed. Now connect the plug to the wire. This is often done by clamping. The wire is inserted into the clamp and pressed together with a pair of pliers. Finally, slide the heat-shrinkable tube over the plug. With a lighter, you can carefully heat the heat-shrinkable tube, which shrinks it and fits perfectly around the plug. Do the same thing for the other end.
Connecting wires and lights
Once you've installed all the plugs and run the wire, you can connect everything back together. Now the lights should work again.
Light still not working
If the lights still don’t work despite an intact wire and plugs, the only thing left is defective components. The dynamo, front or rear light may be damaged.
UIn order to determine which component is the cause of the defect, we recommend that you visit your dealer. Here you will receive competent advice on a potential new light and can also have it installed directly.
We hope we were able to help you with our tips and wish you a good ride.
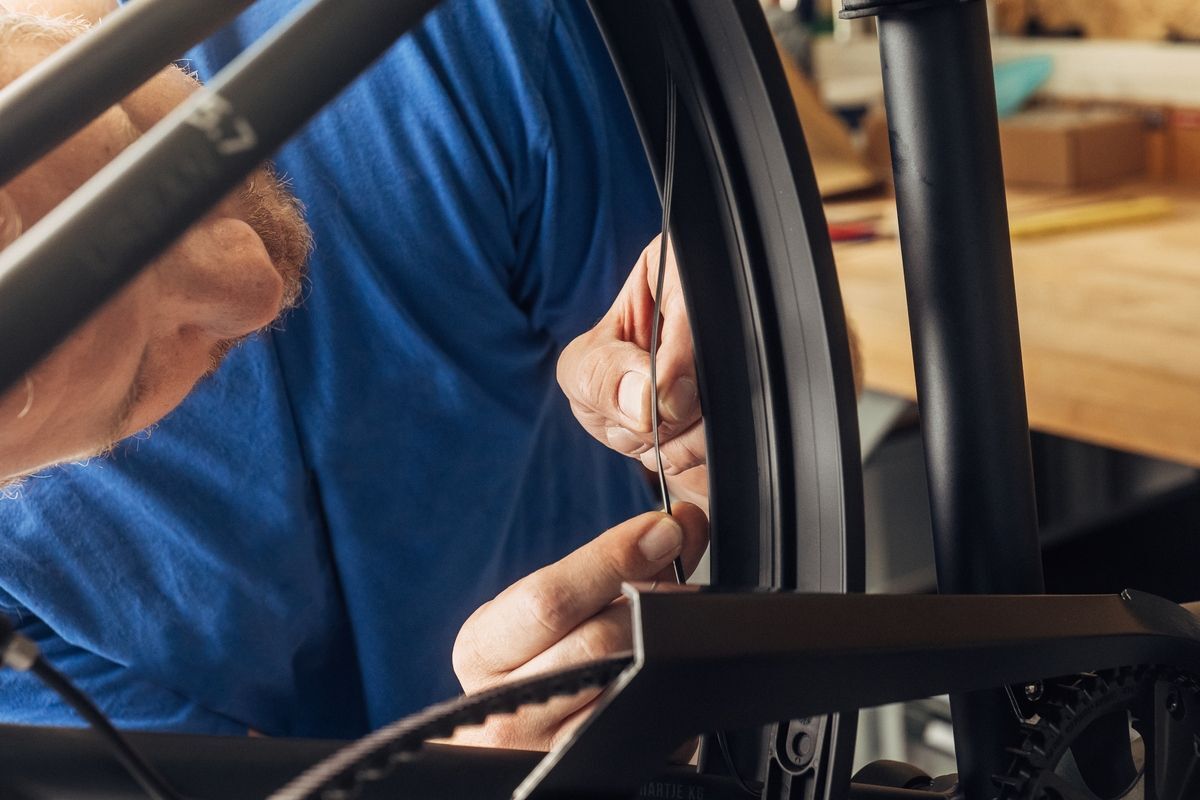
Check the wires for damage
The lighting wires may wear out as the bike is used. In most cases, the wire insulation is damaged by vibrations and the associated friction. This often occurs where the wire bends and moves a lot. If the wire is exposed, it can short circuit or prevent the electricity from flowing. And then the light doesn’t turn on.


The rear light often gets it’s power from the front light and is therefore not directly connected to the dynamo.

Replacing the bicycle lights
We explain how to change your bicycle lighting in a separate how-to.