Adjust a bicycle front light correctly – this is how it works
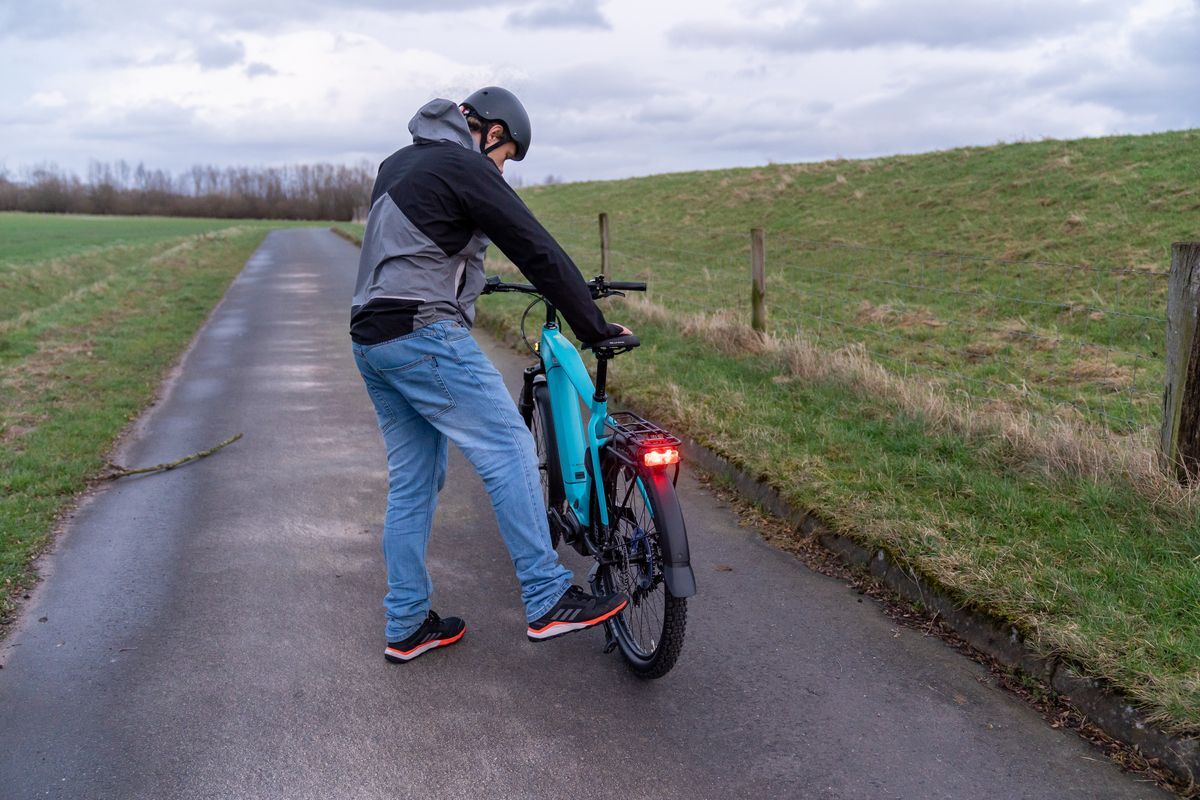
Seeing and being seen: Optimally adjusted front are essential on any bicycle so that you can ride safely on the road and avoid blinding other road users. But how do you properly set up your permanently mounted / battery light when you're already out in the dark and have no tools available? We'll tell you step by step what to do.
Adjust the front light – on the go
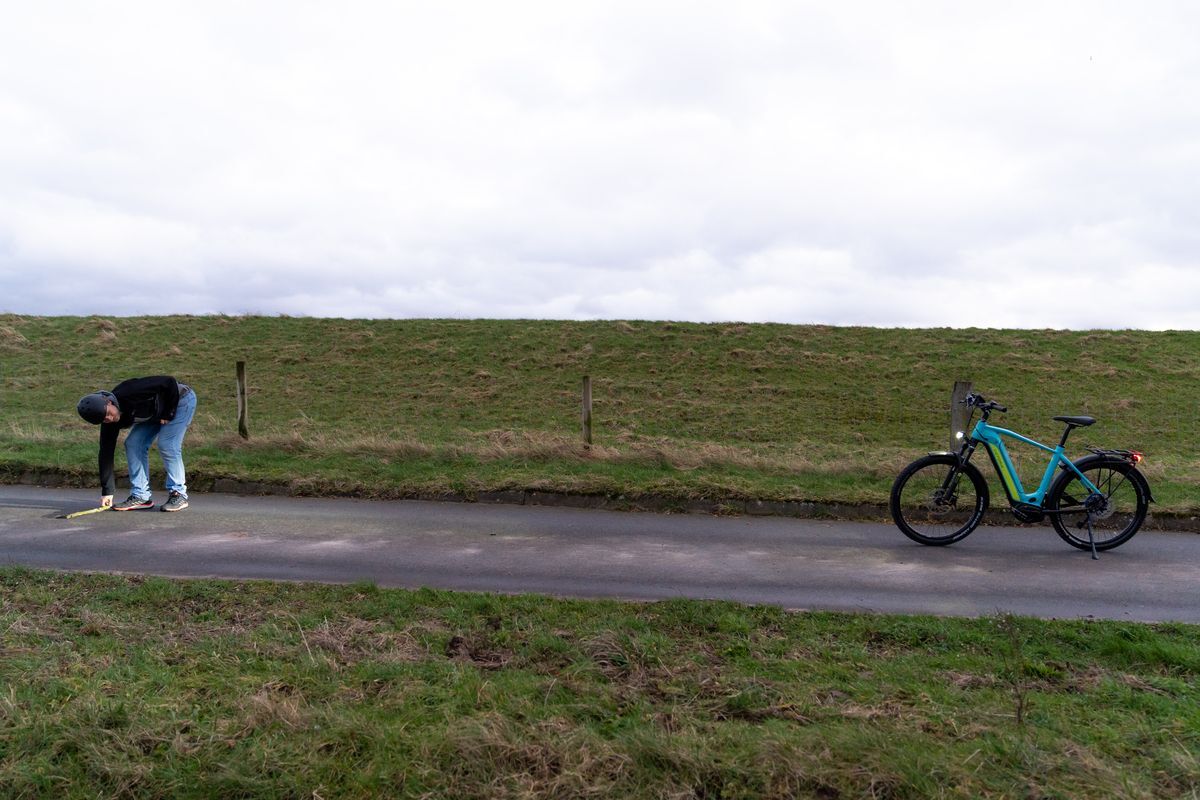
If you find something wrong with your front light setting on the go, stop somewhere safe first.
- Put your bike on its’ kickstand and walk seven steps in front of it.
- Place something here – if you don't have anything, you can use a branch or stone to do it.
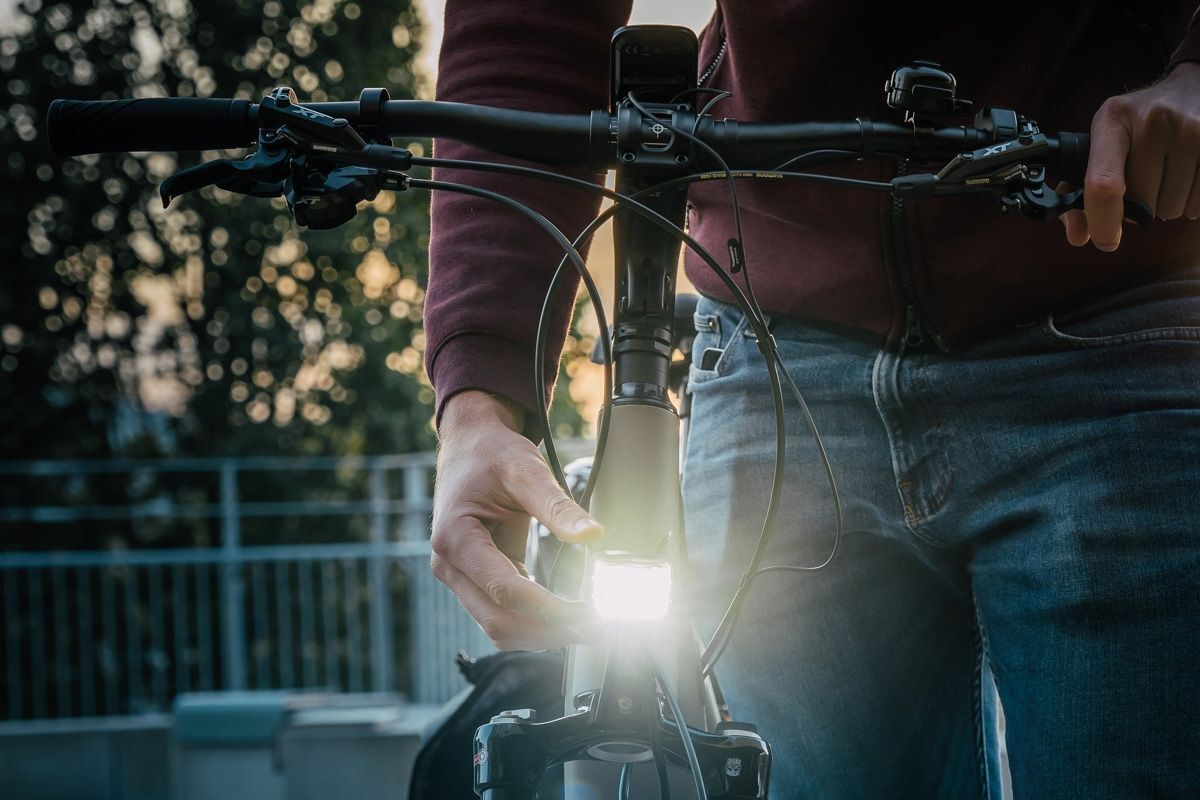
- Return to your bike and point your front light in the direction of the object.
- Adjust the angle of your front light so that the top edge of the light cone touches the object. This way the area in front of you is optimally illuminated and the oncoming traffic is not blinded.
Overview of the tools required
- Yardstick
- Tape
- Allen key
The following steps are required:
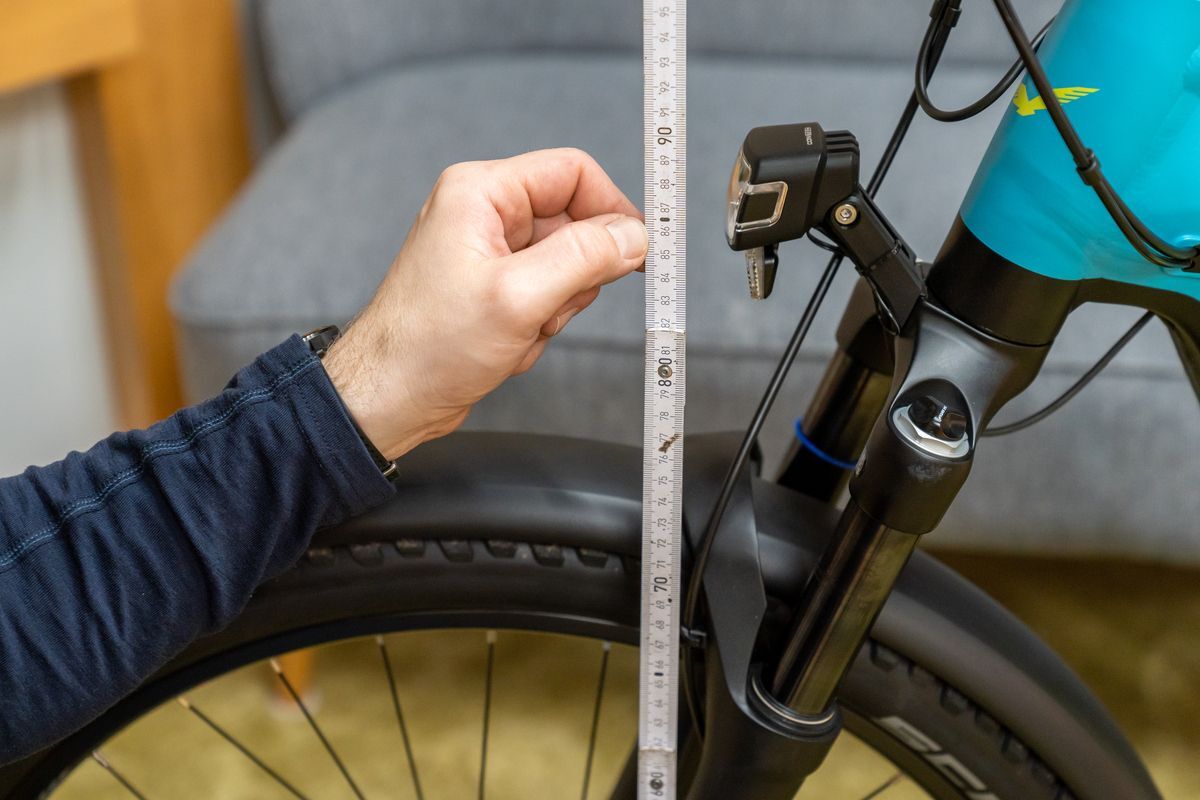
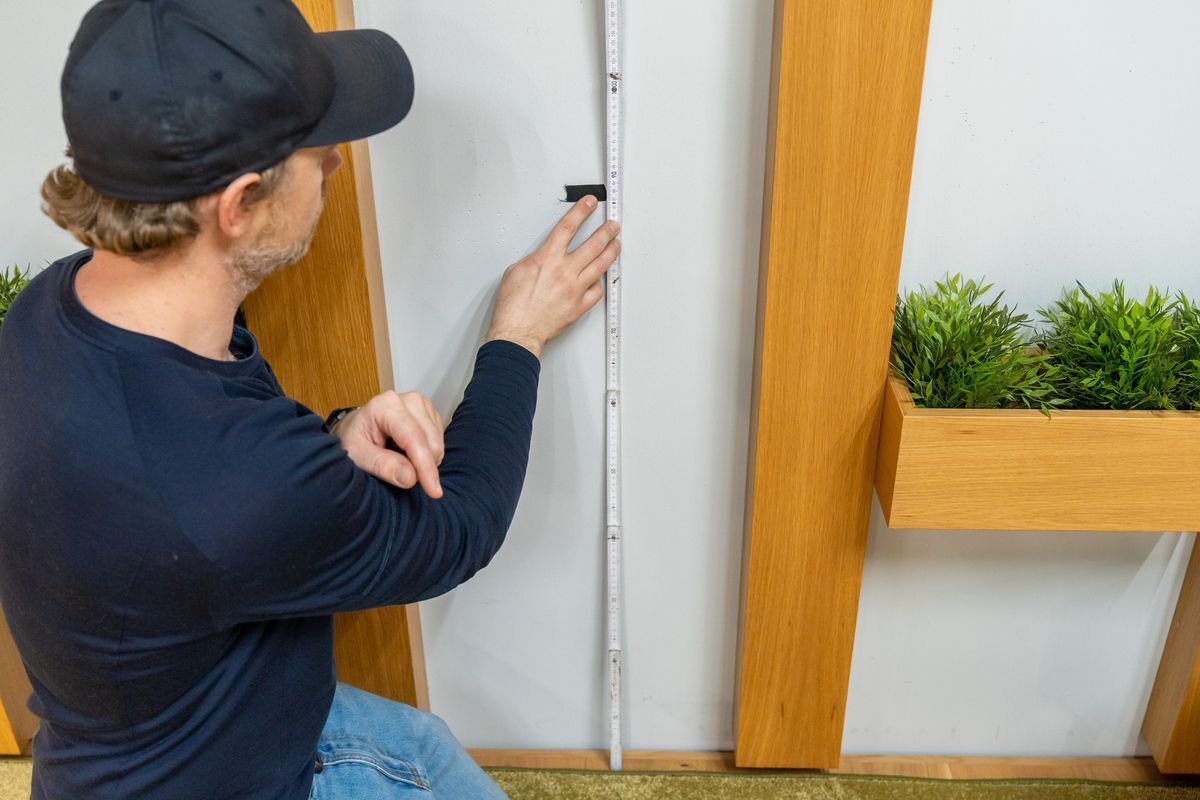
Step 1: Measure & mark height of the front light
To determine the height of your front light, measure the distance from the ground to the light. Stick a piece of tape to the wall at this height.
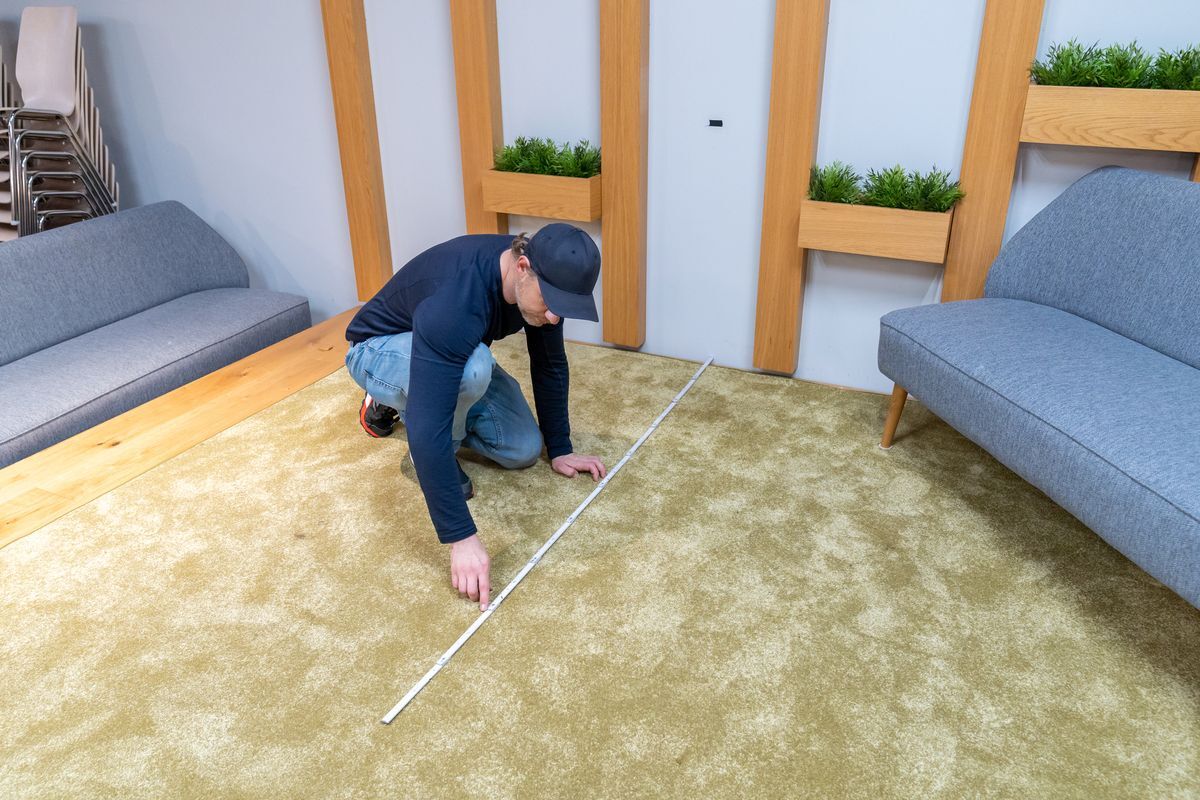
Step 2: Park the bike
Now place your bike so that the distance between the front light and the mark on the wall is exactly five meters (about five big steps). Now: Turn on the light. Our battery lights or our E-Bike lights can be simply switched on. If you have a dynamo light installed on your bike, lift the front wheel slightly and turn it.
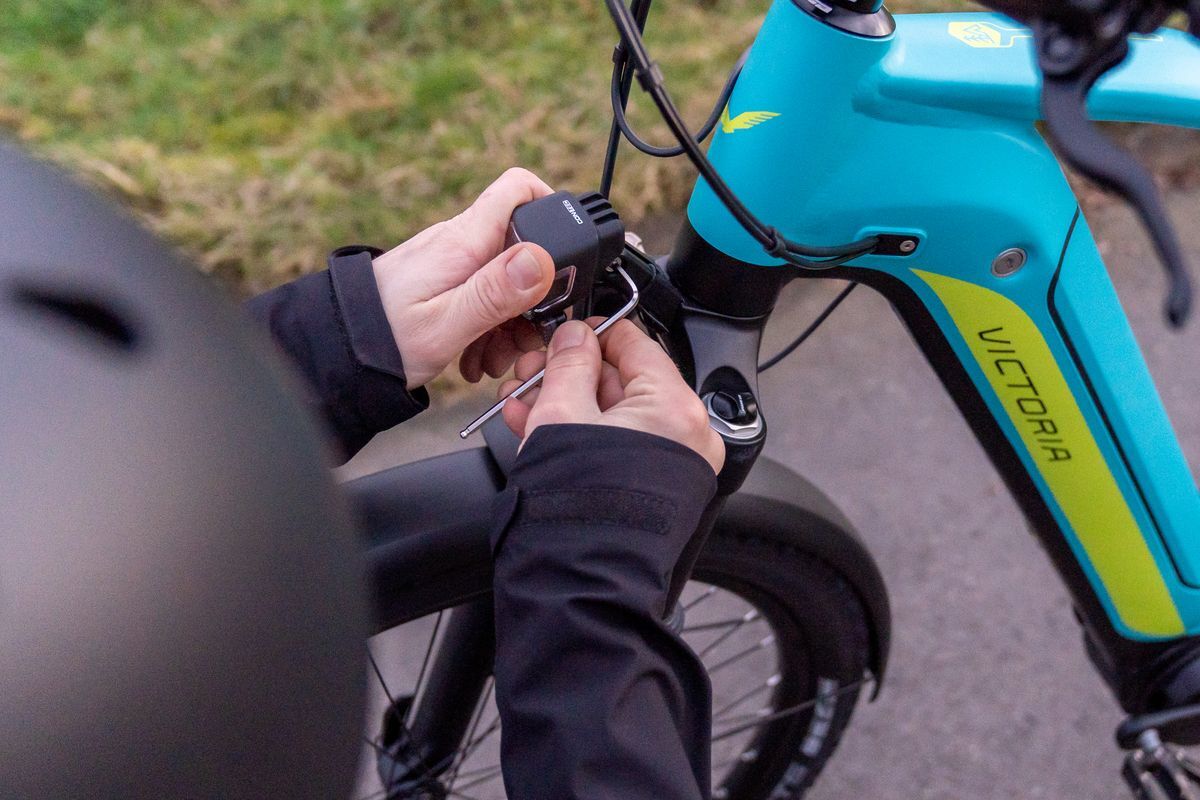
Step 3: Adjust the light cone
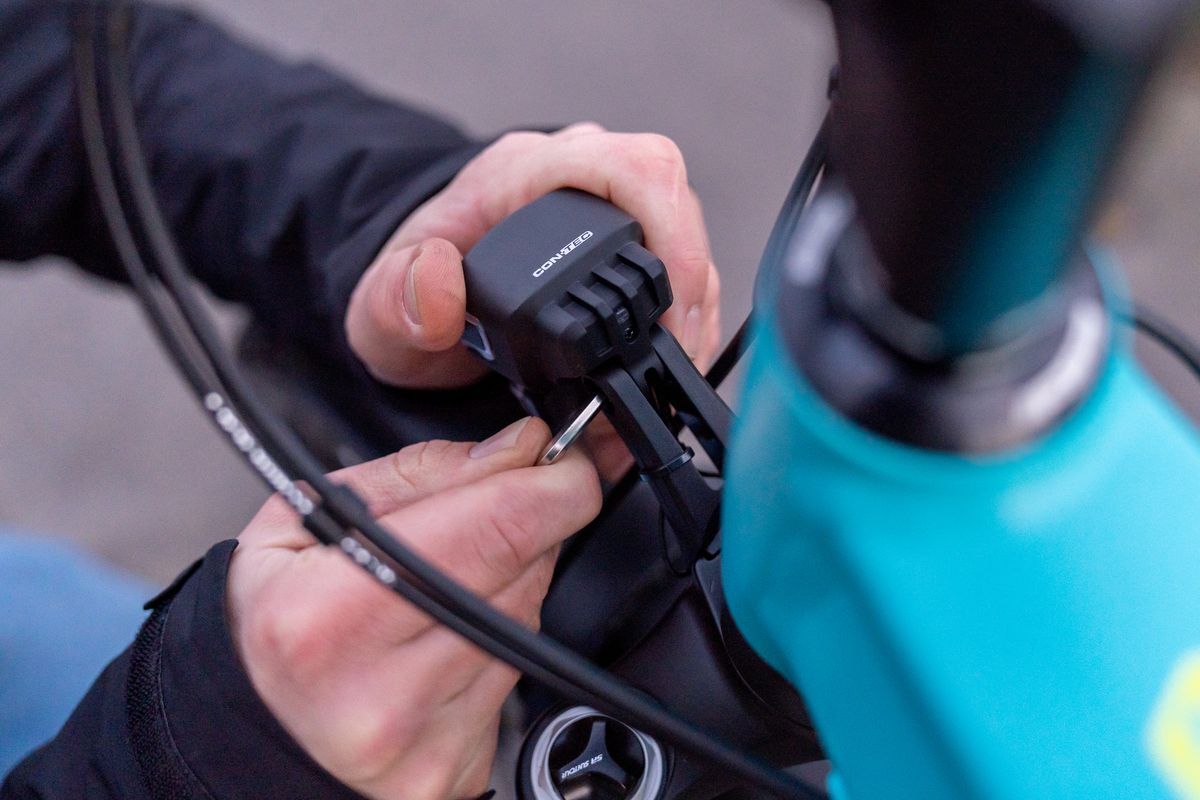
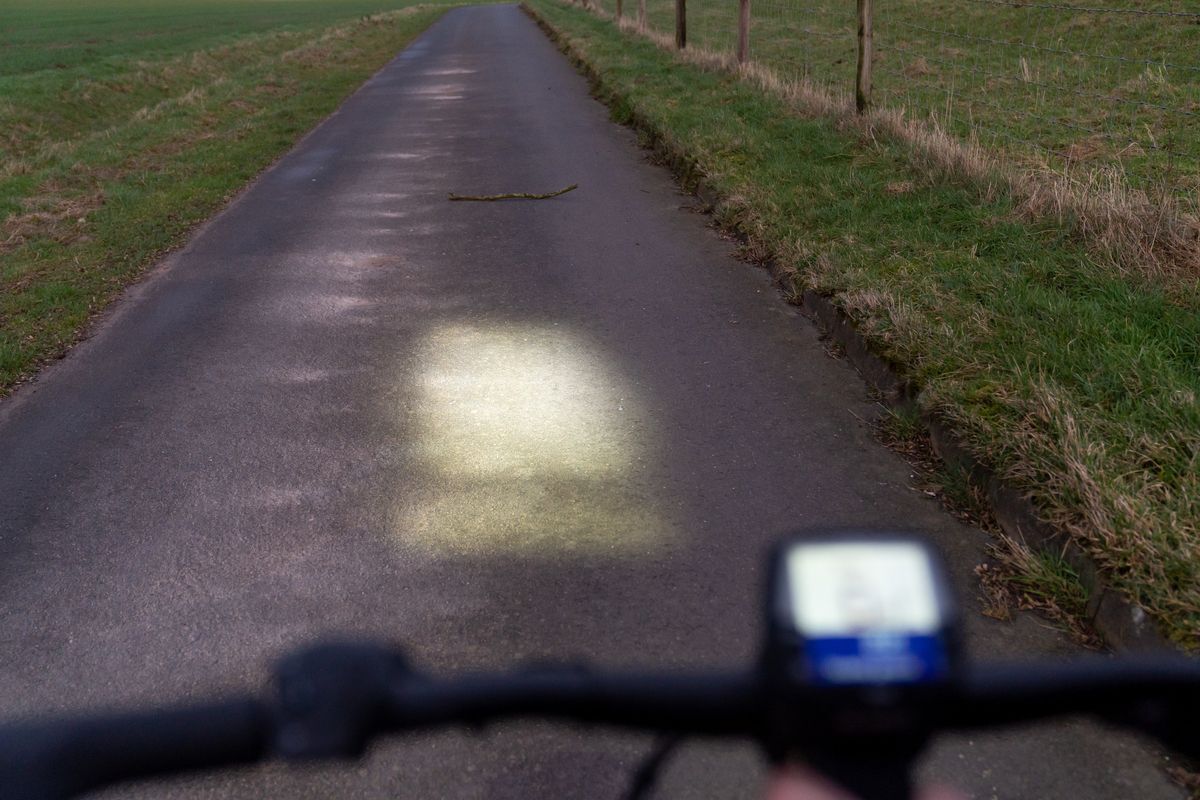
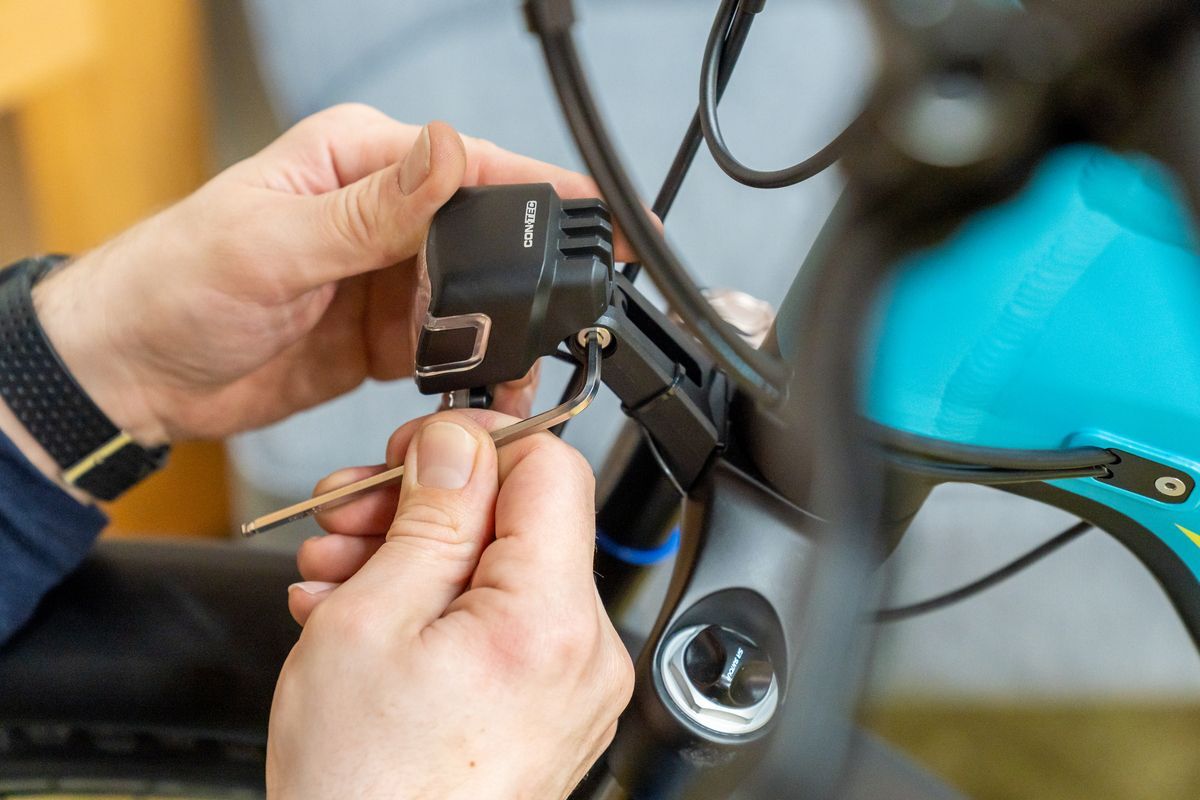
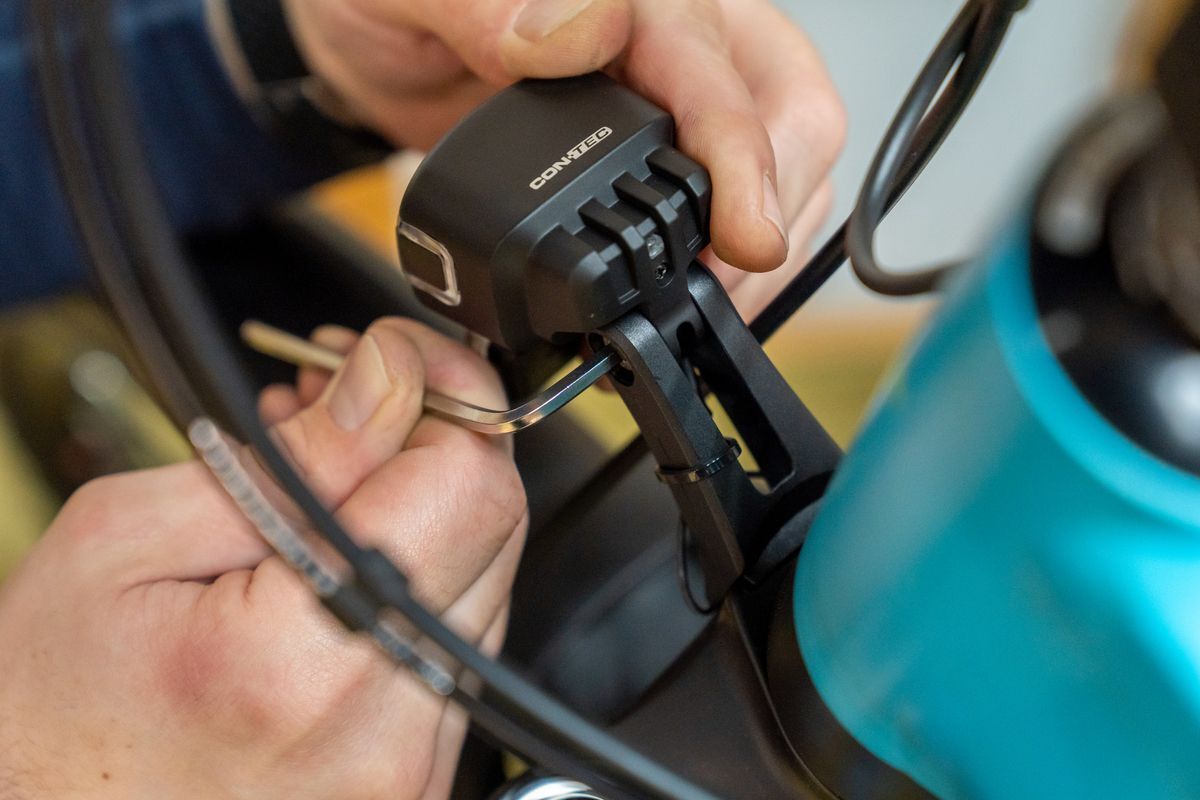
If the light cone hits higher than the mark placed on the wall, you need to angle the light downwards. For a permanently mounted light, use an Allen key to loosen the front light mount and turn it downwards. If the front light is set too high, other road users may be blinded and thus also be at risk.
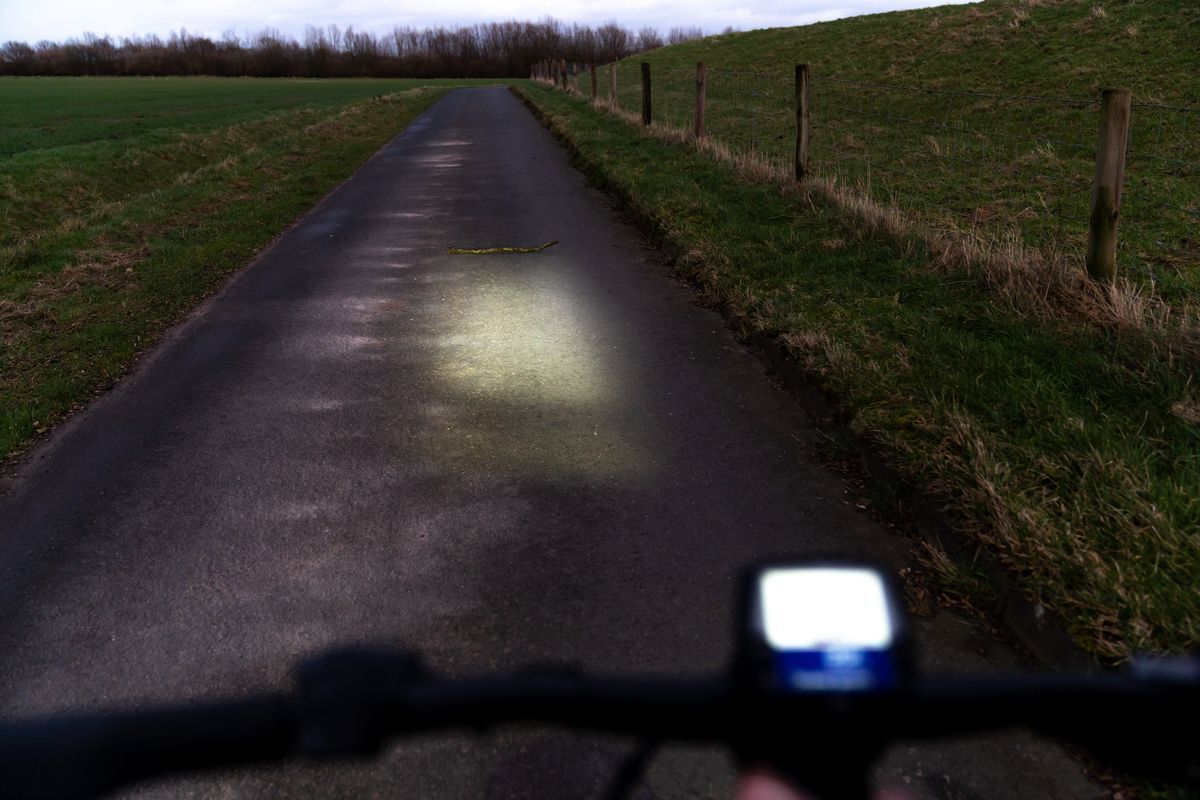
If the light beam illuminates the area far below the wall mark, the front light should be adjusted upwards. For permanently mounted lights, you also use an Allen key to loosen the front light mount and turn it upwards. This is the only way to ensure that your illuminate obstacles in front of you while riding.
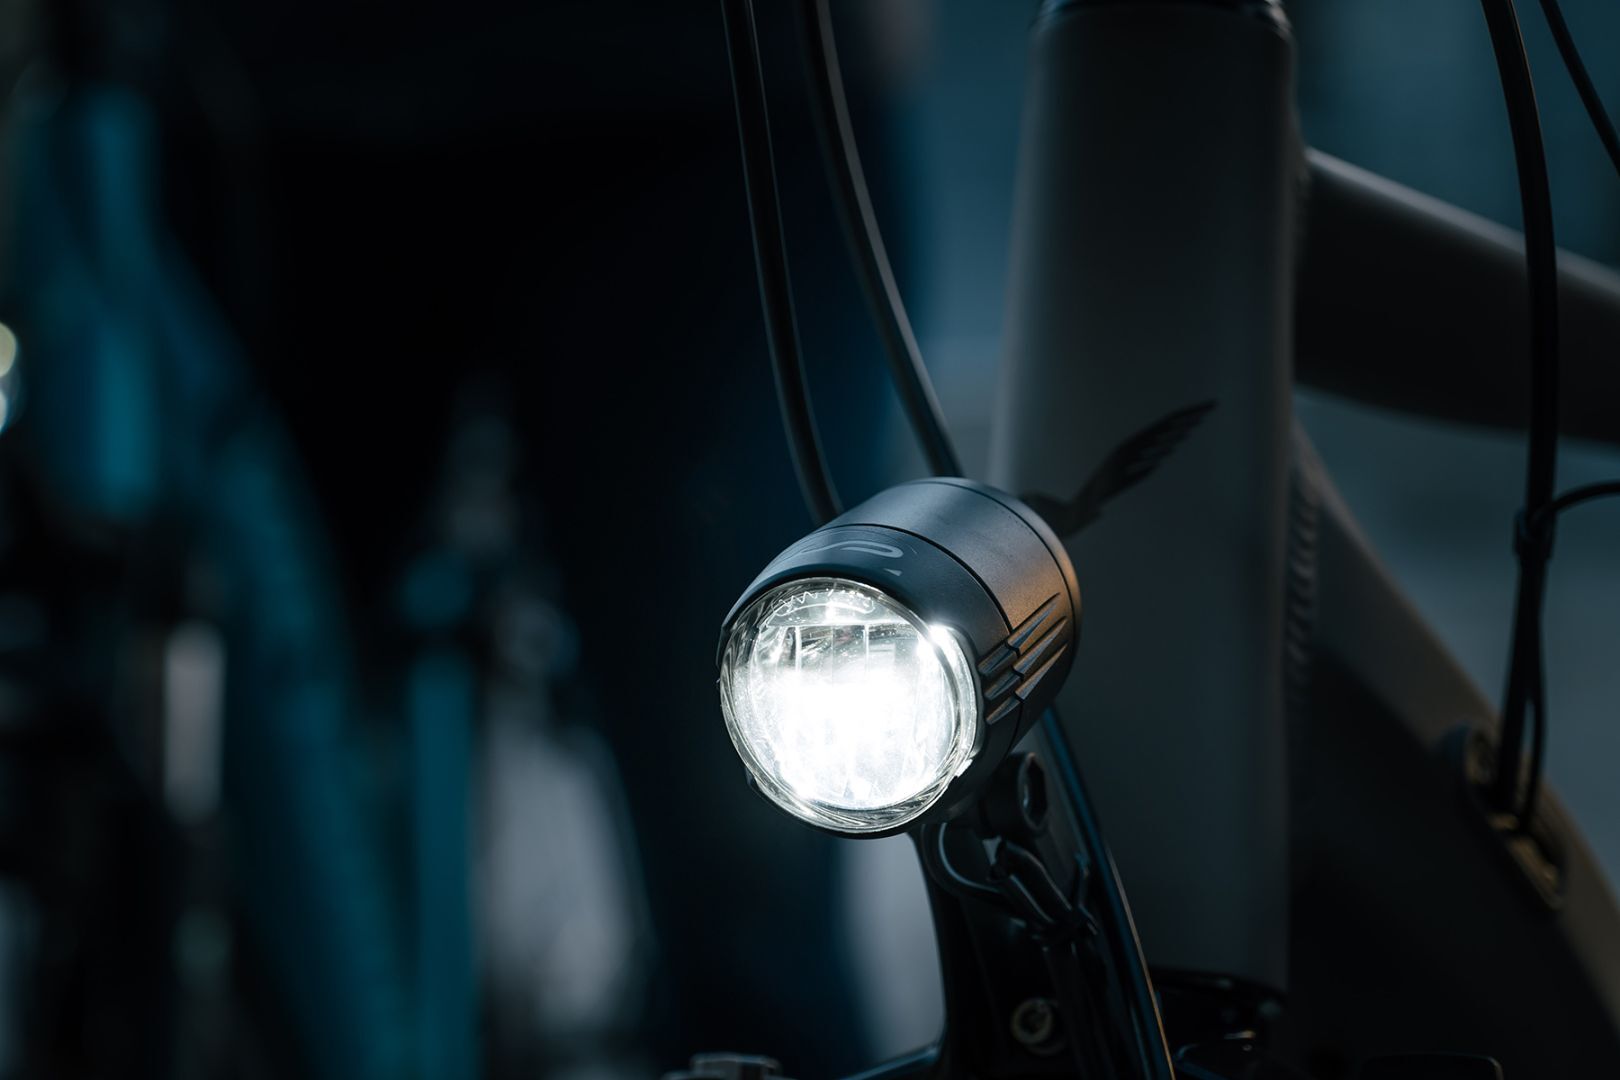
Ideally, the light cone hits the wall just below the mark: No one is blinded and the area in front of you is optimally illuminated.
Adjust the front light – at home


Don’t forget to get the object you set down. If you used a stone or a branch, move it out of the way so no one is injured later.
Frontlicht einstellen – unterwegs
Wenn du unterwegs feststellst, dass mit der Einstellung deines Frontlichts etwas nicht stimmt, bleib am besten an einer sicheren Stelle stehen.
- Stelle dein Fahrrad auf dem Ständer ab und gehe in Fahrtrichtung sieben Schritte nach vorne.
- An dieser Stelle platzierst du einen Gegenstand – falls du nichts dabei hast, kannst du dafür auch einen Ast oder einen Stein einsetzen.
- Kehre zu deinem Fahrrad zurück und leuchte nun mit deinem Frontscheinwerfer in die Richtung des platzierten Gegenstandes.
- Stelle den Winkel deines Frontlichts so ein, dass die Oberkante des Lichtkegels den Gegenstand berührt. So wird der Bereich vor dir optimal ausgeleuchtet und der Gegenverkehr nicht geblendet.