Installing or replacing bicycle lighting (for e-bikes and dynamos)
If the lights on your bike stop working, you should do something about it as quickly as possible so you can get back on the road. Is your light or dynamo broken? Or is there a wiring defect? Maybe you want to use a brighter light on your bike, so you can be safer on the road with better visibility. In either case, you can bring (more) light back into the dark with our workshop tips.
Overview of the tools required:
- Allen key Listeneintrag
- A spanner, if necessary
- Cable ties
- Electrical tape or heat-shrinkable tubing
The following steps are required:
- Troubleshooting
- Disassembly of the lights
→ Disconnecting the cable
→ Removing defective lights - Mounting the lights
- Connecting the lights
- Special case: Defective wiring
→ Removing the old cable
→ Running a new cable into/on the frame - Check and see if it works
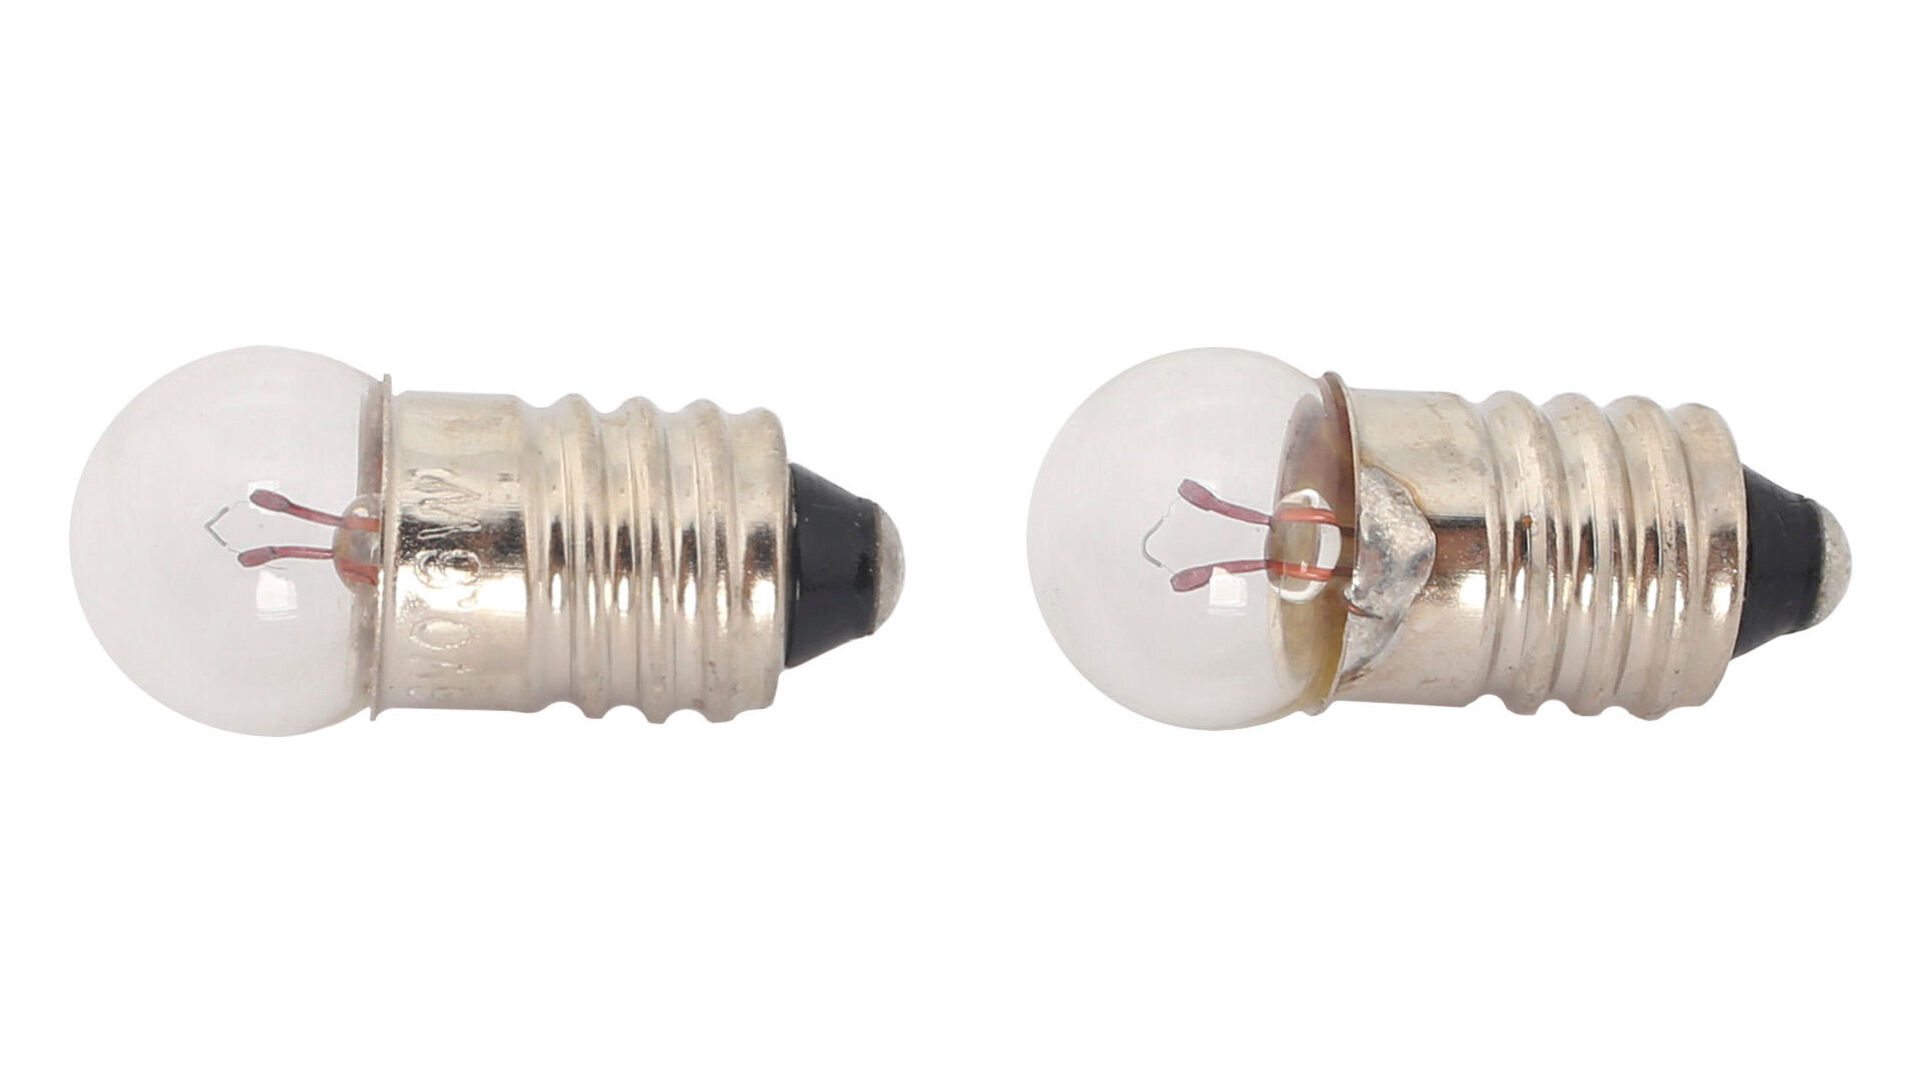
Troubleshooting
There may be several reasons why you bike lighting is no longer working. The most likely is that either the light itself is defective, the cables are worn, or the dynamo is broken.
Notes:
- If only one light is off, there is a high probability that the light, not the cable, is defective. But first, you should check if the connection between the cable and the light has come loose.
- If both lights are off, the wiring is likely to be damaged. In this case, check for any chafing on the cable, or if the cable is cracked in one place, or if a connector has come loose and is not making contact.
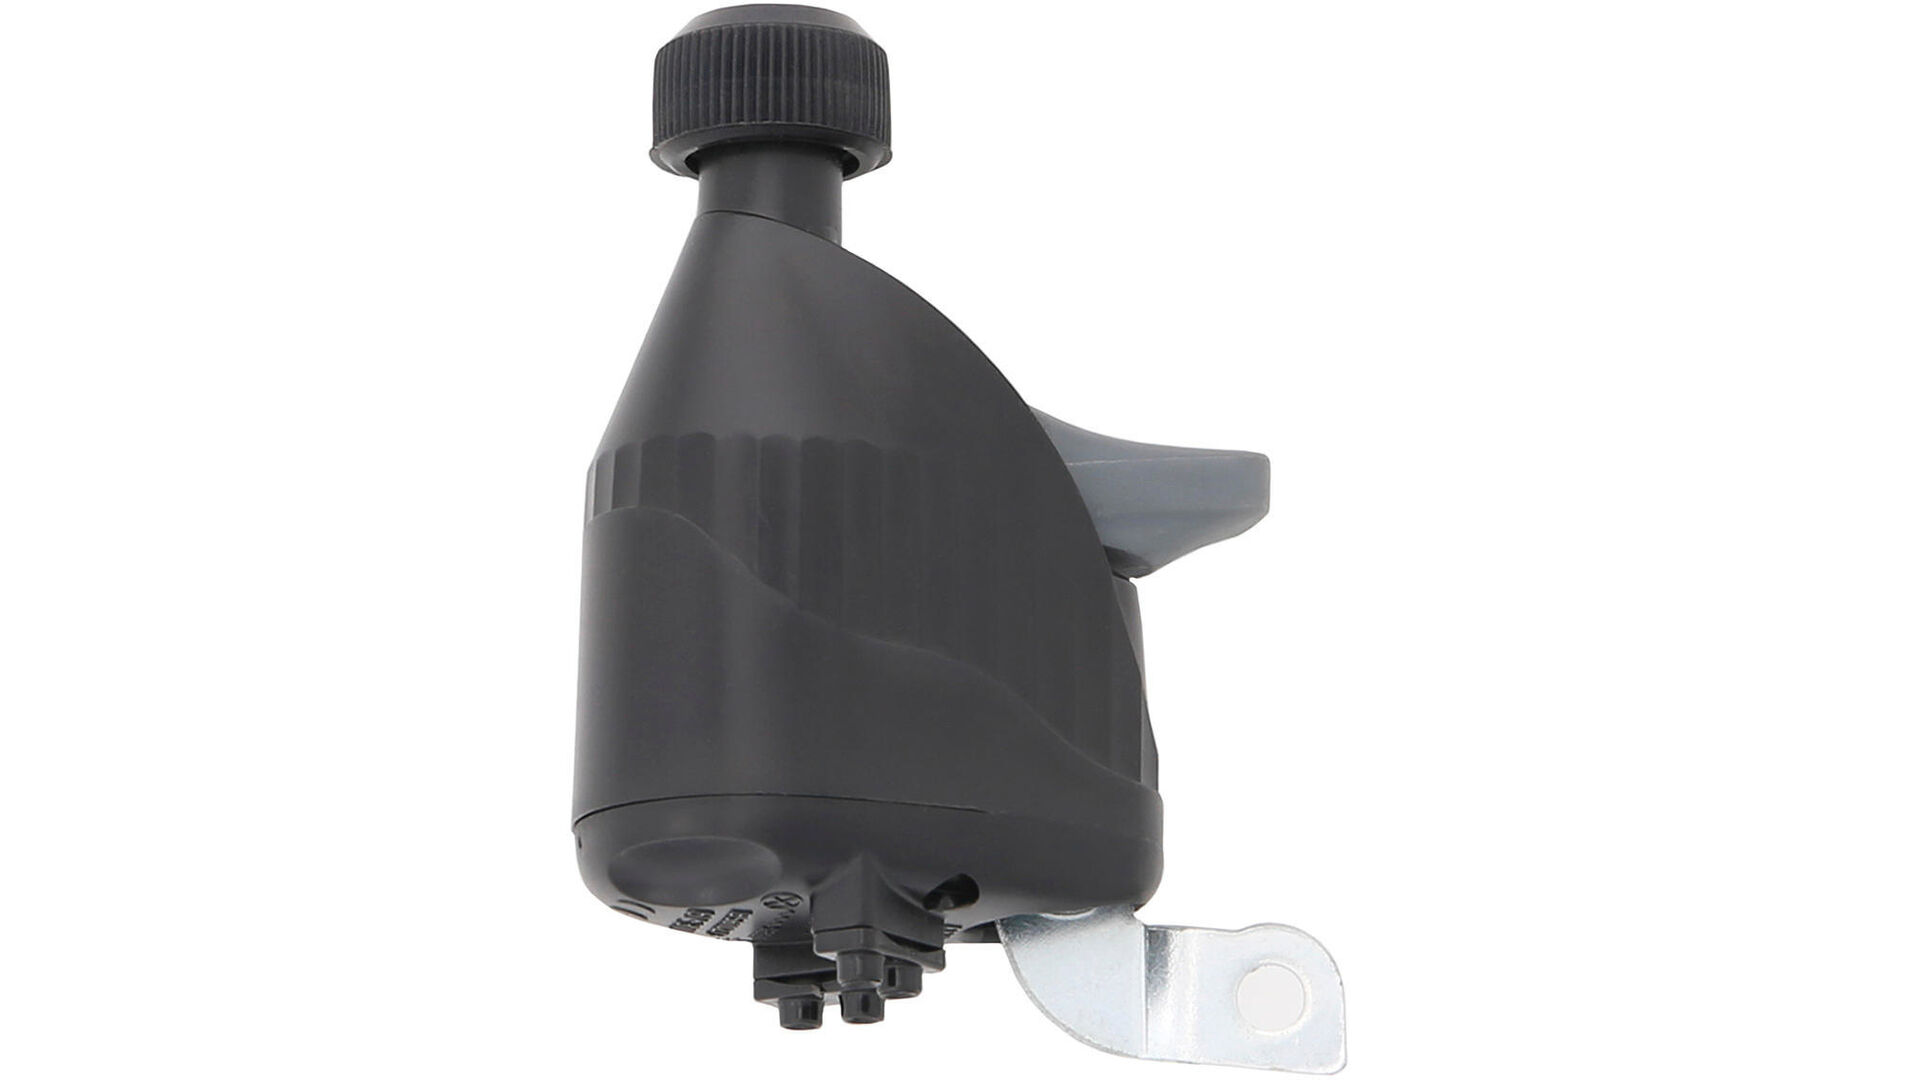
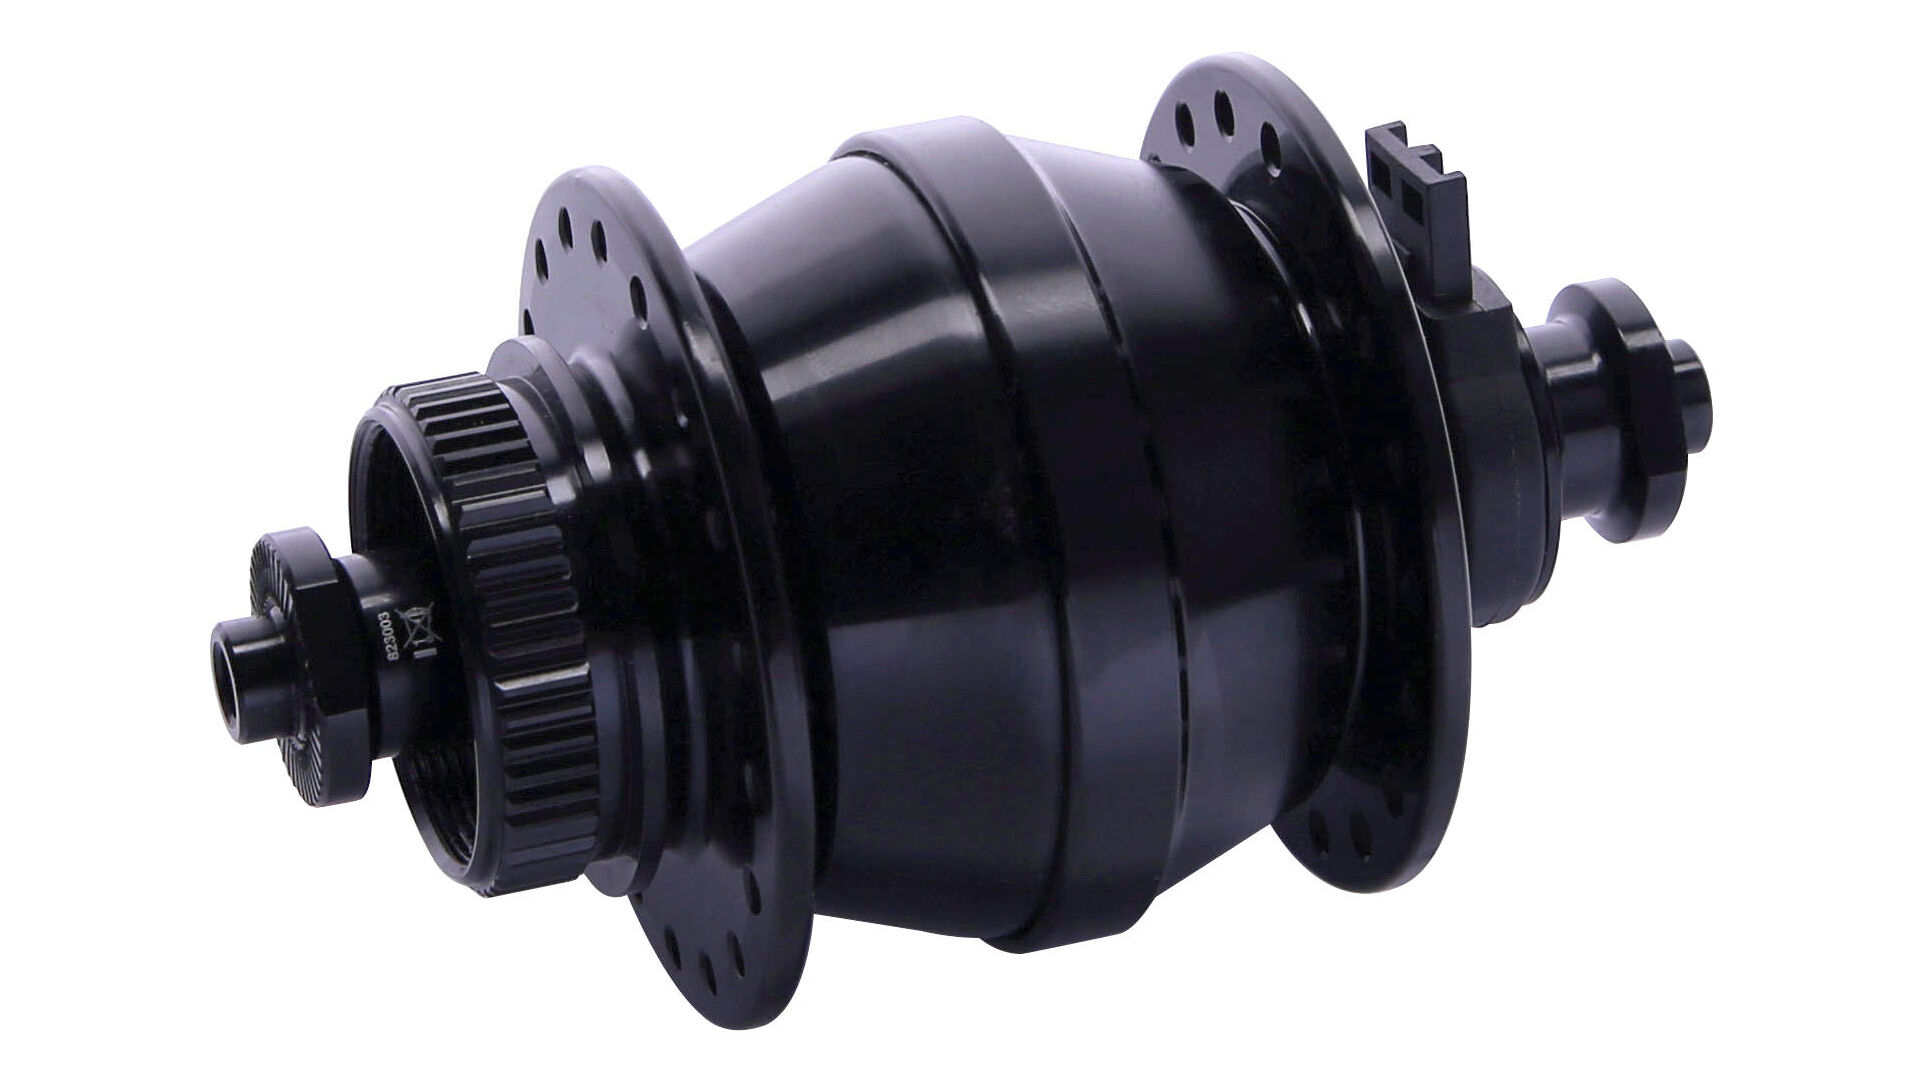
- If both lights stop working, the dynamo may also be damaged. On a bottle dynamo, check whether it rolls on the tyre properly.
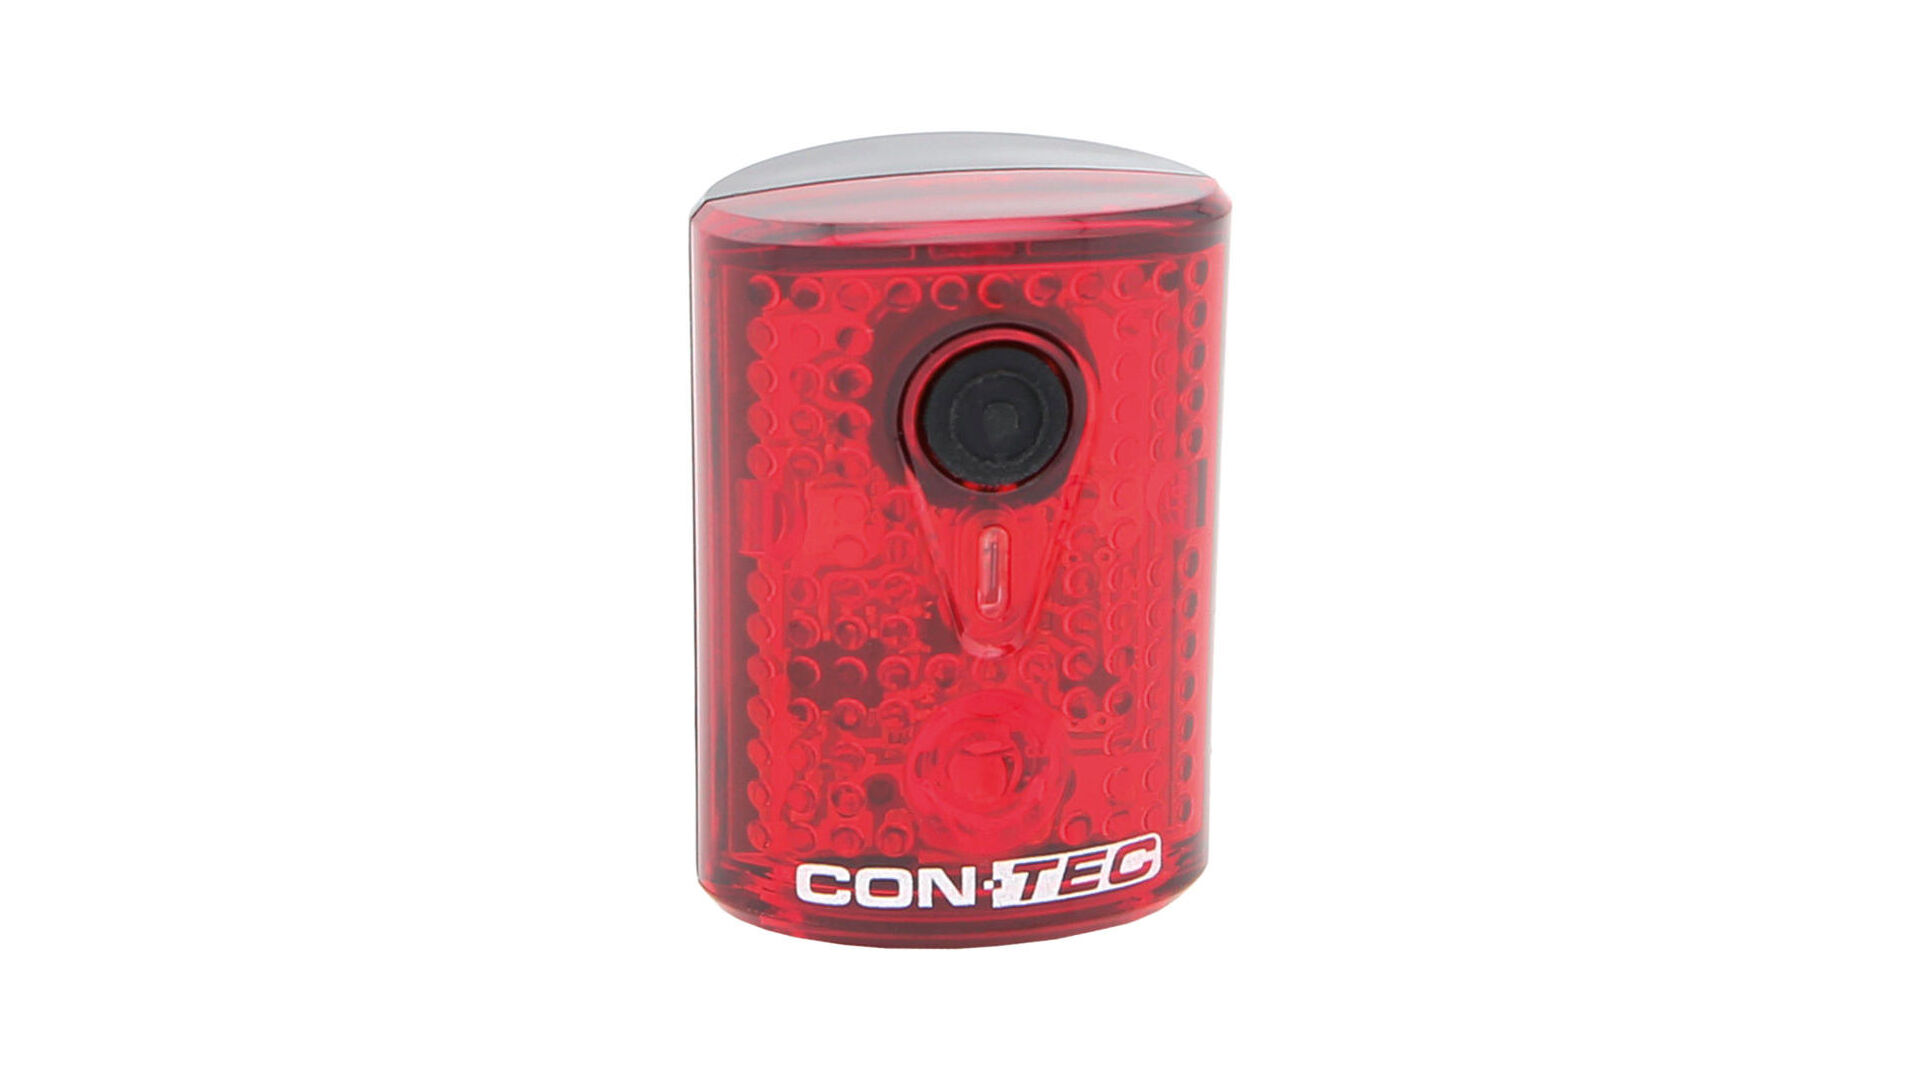
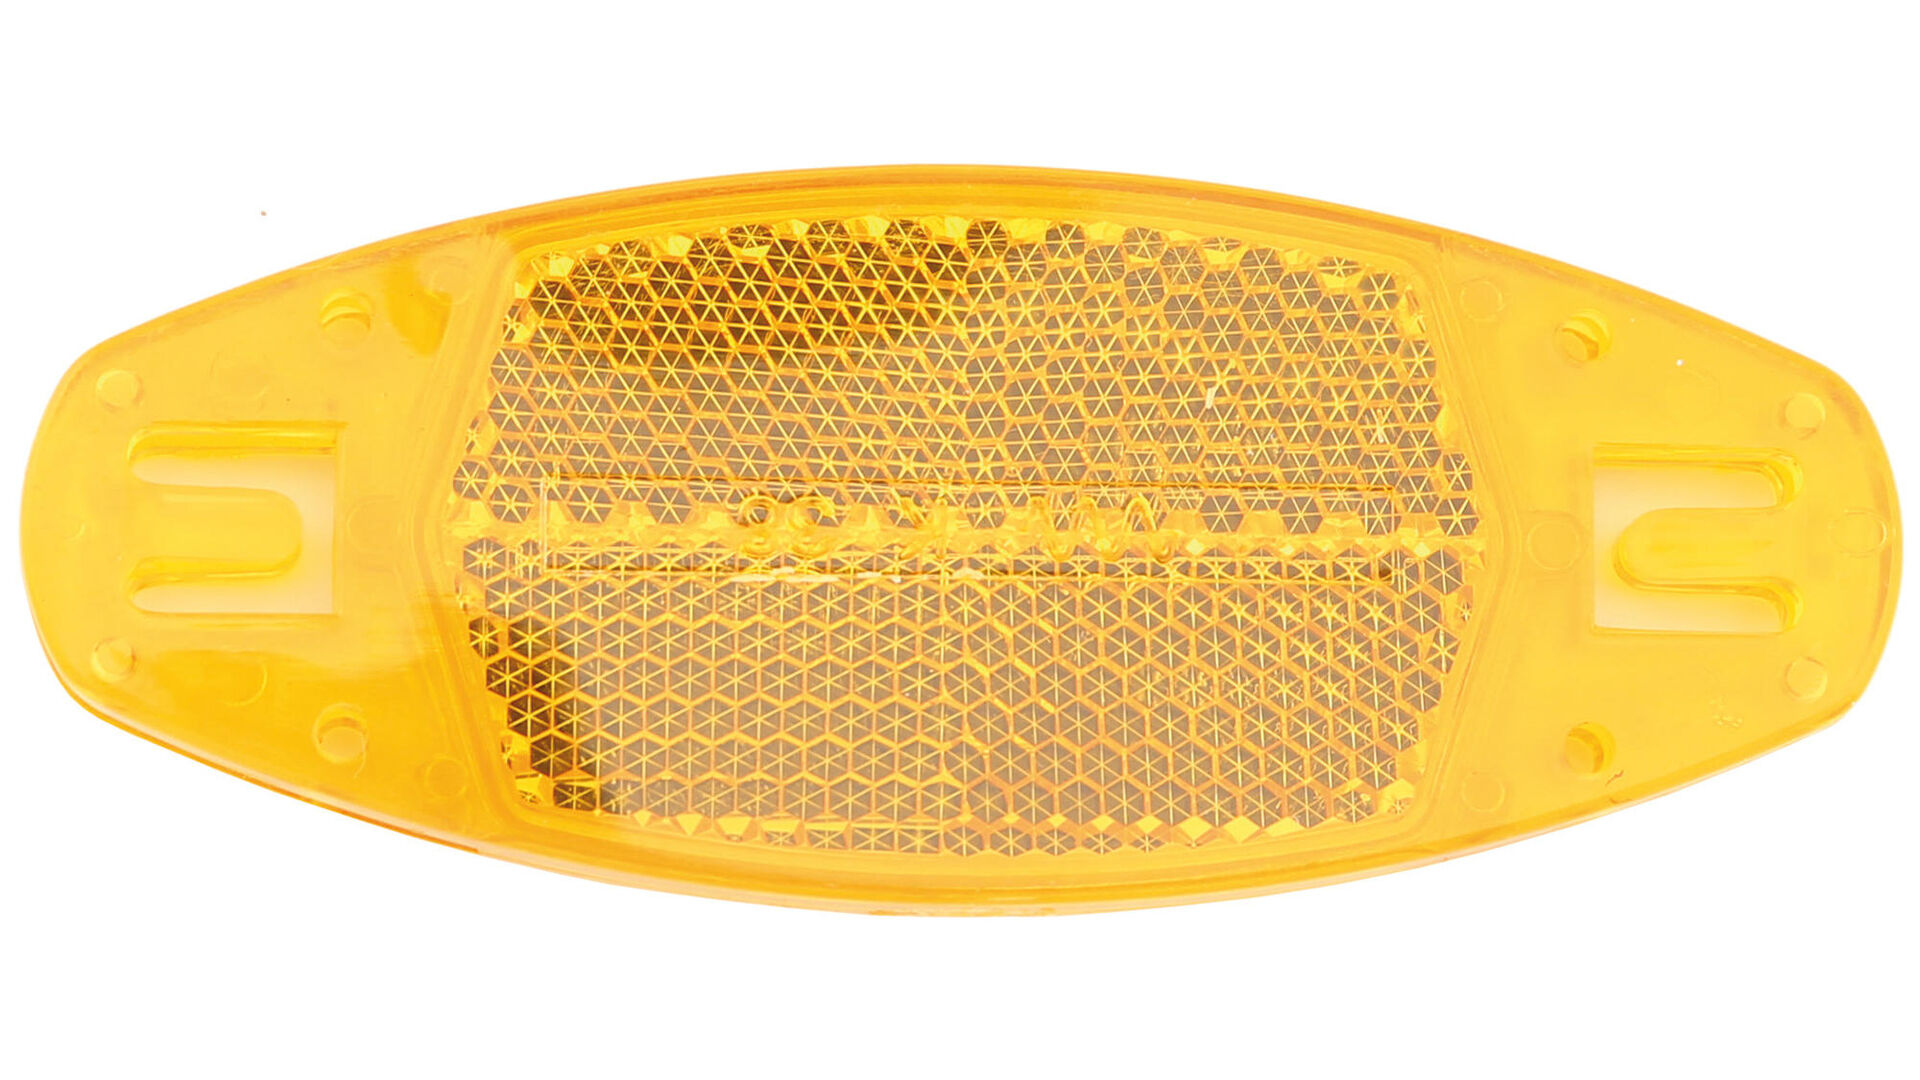
Defective lights – lighting disassembly
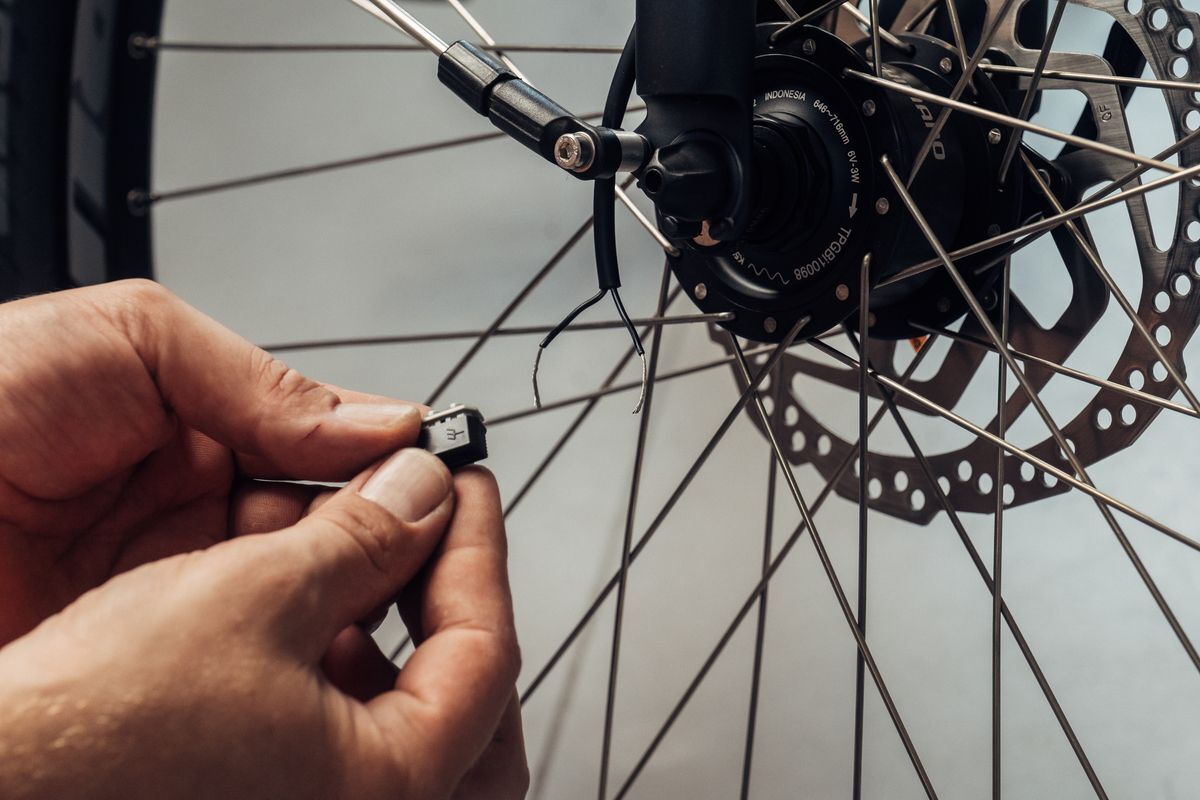
Step 1: Disconnecting the cable
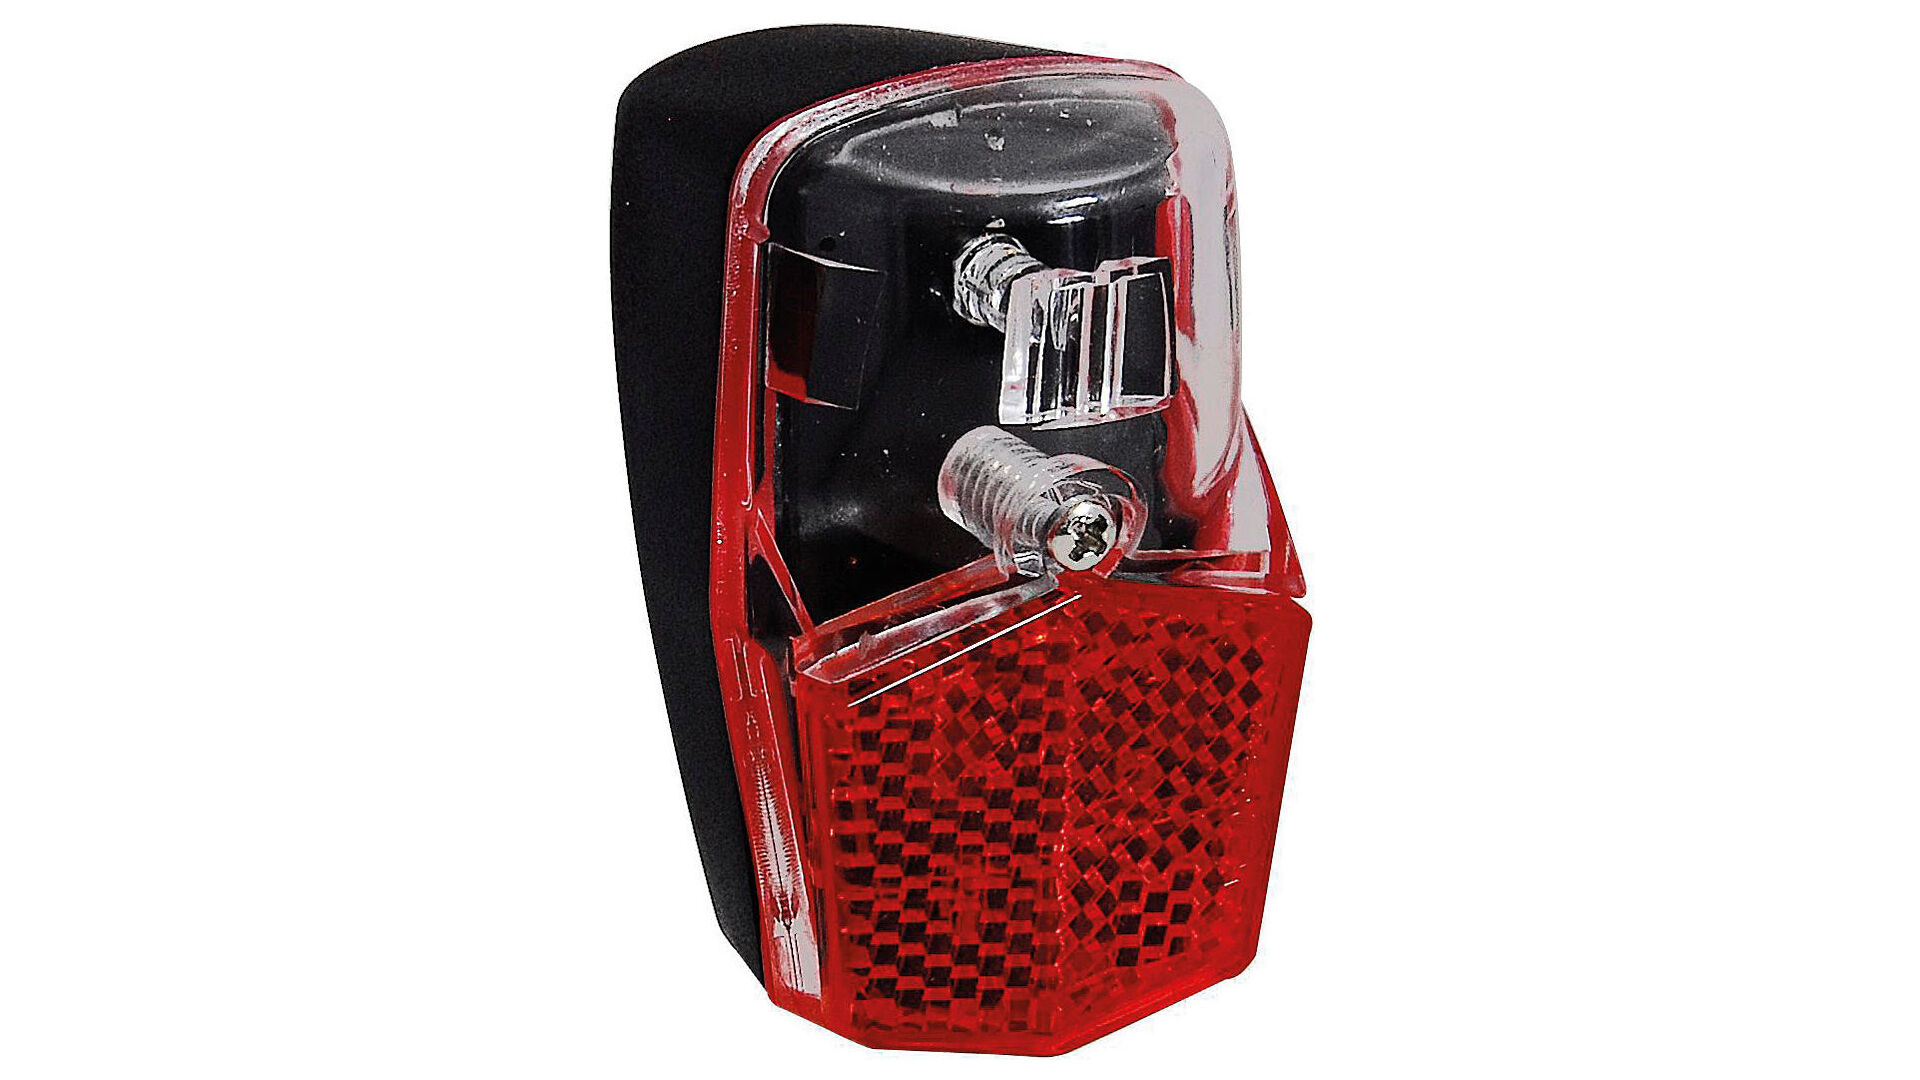
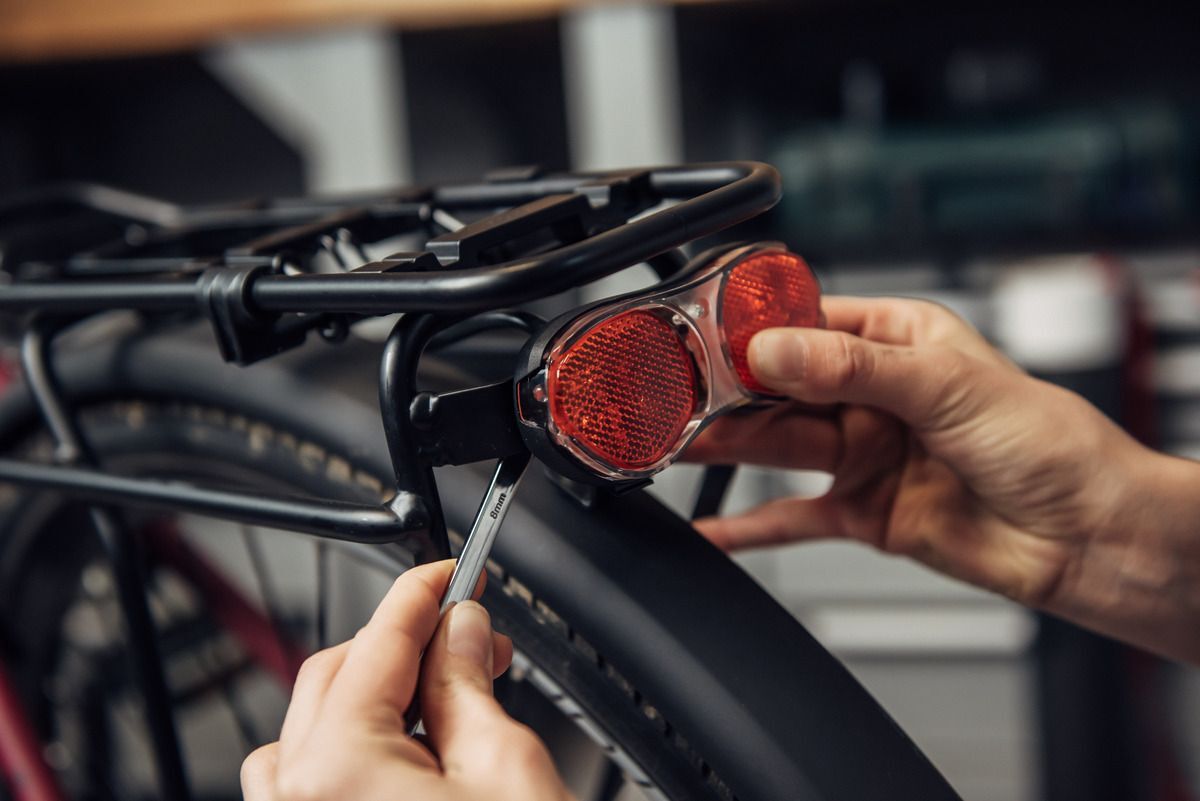
If your front or rear lights are broken or both lights are no longer working, you will need to remove the broken or old lights. To do this, you disconnect the respective cable connection. Depending on the light model, the cable is clamped with a clip or screw. You need to disconnect this.
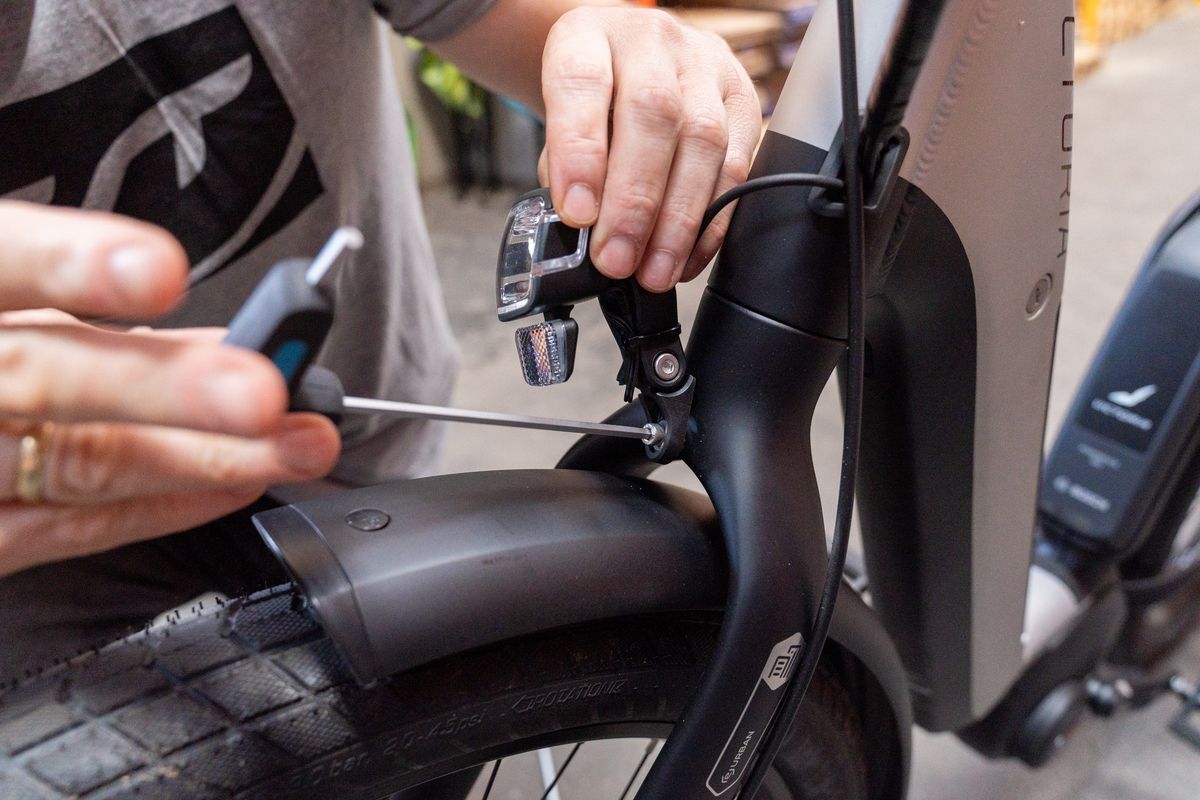
- If the front and/or rear lights are no longer connected to the cable, you can remove the light. To do this, loosen the appropriate bolts.
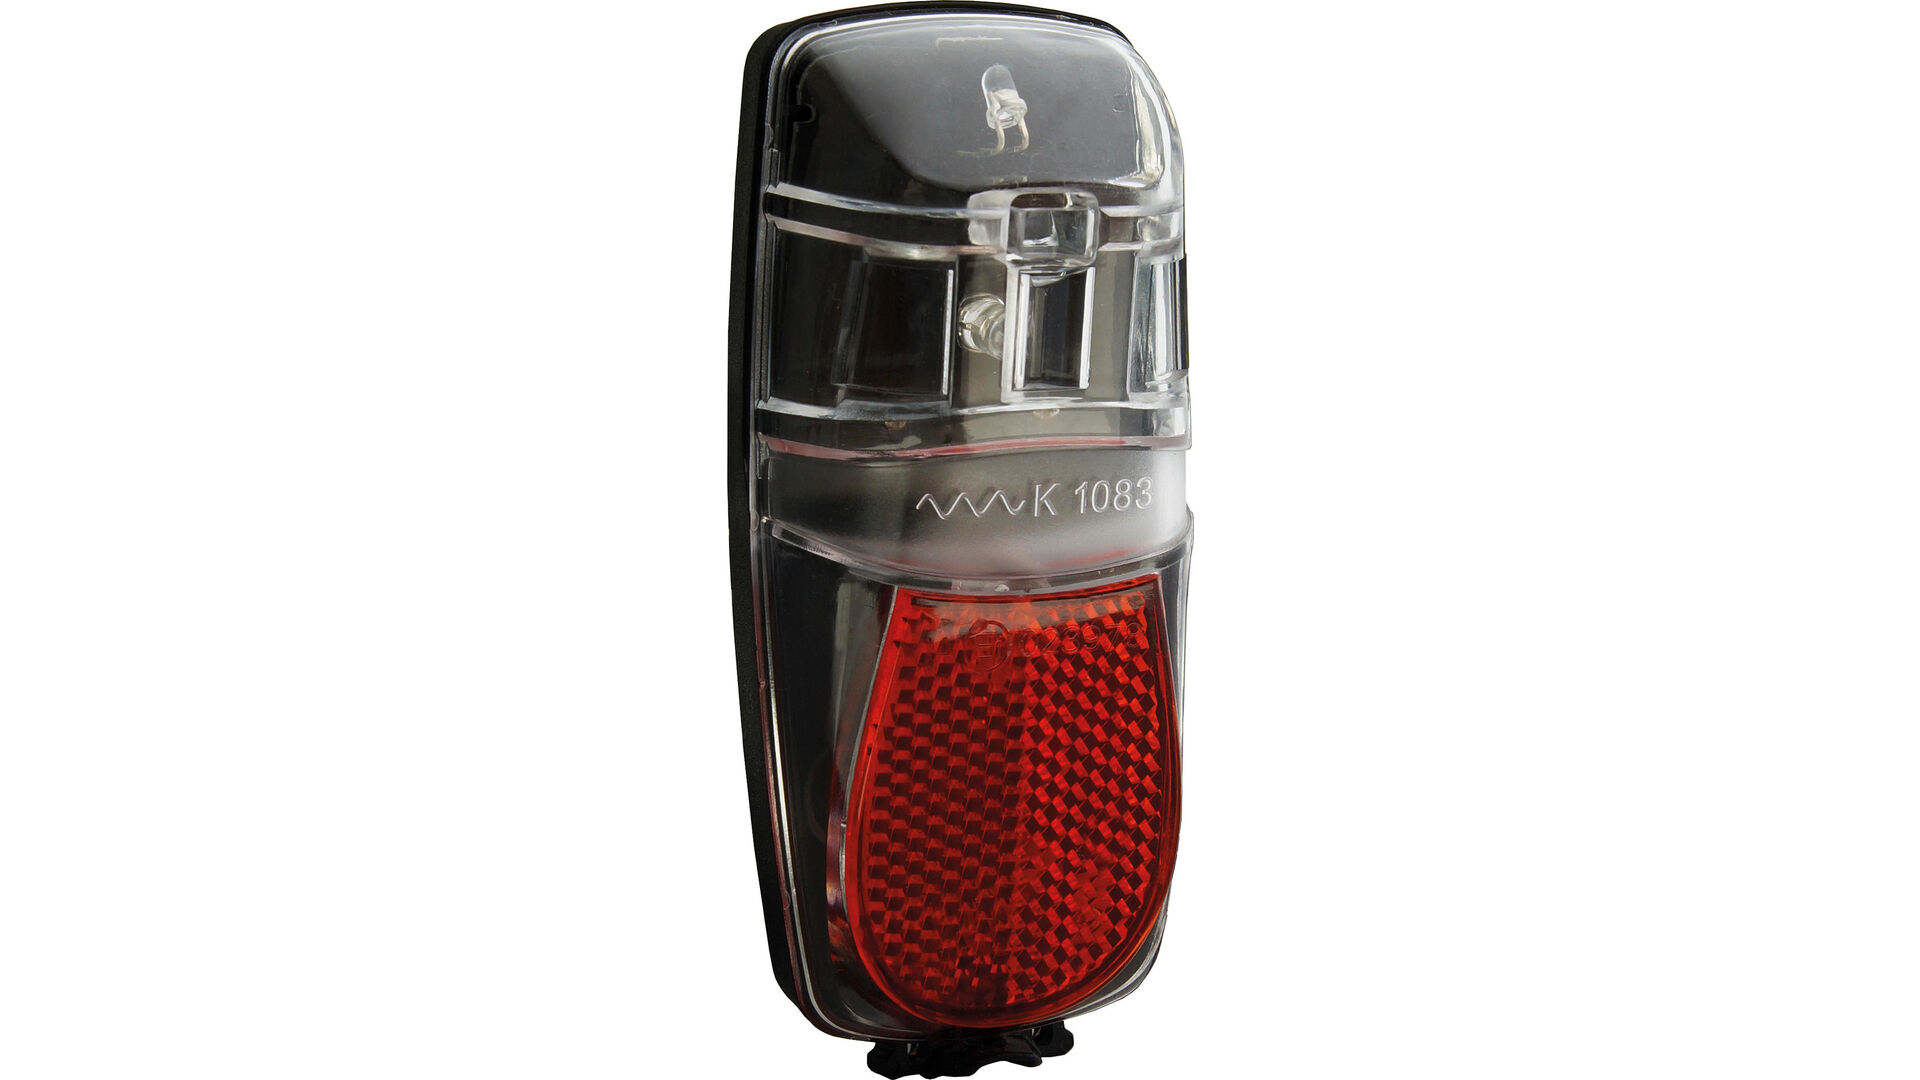
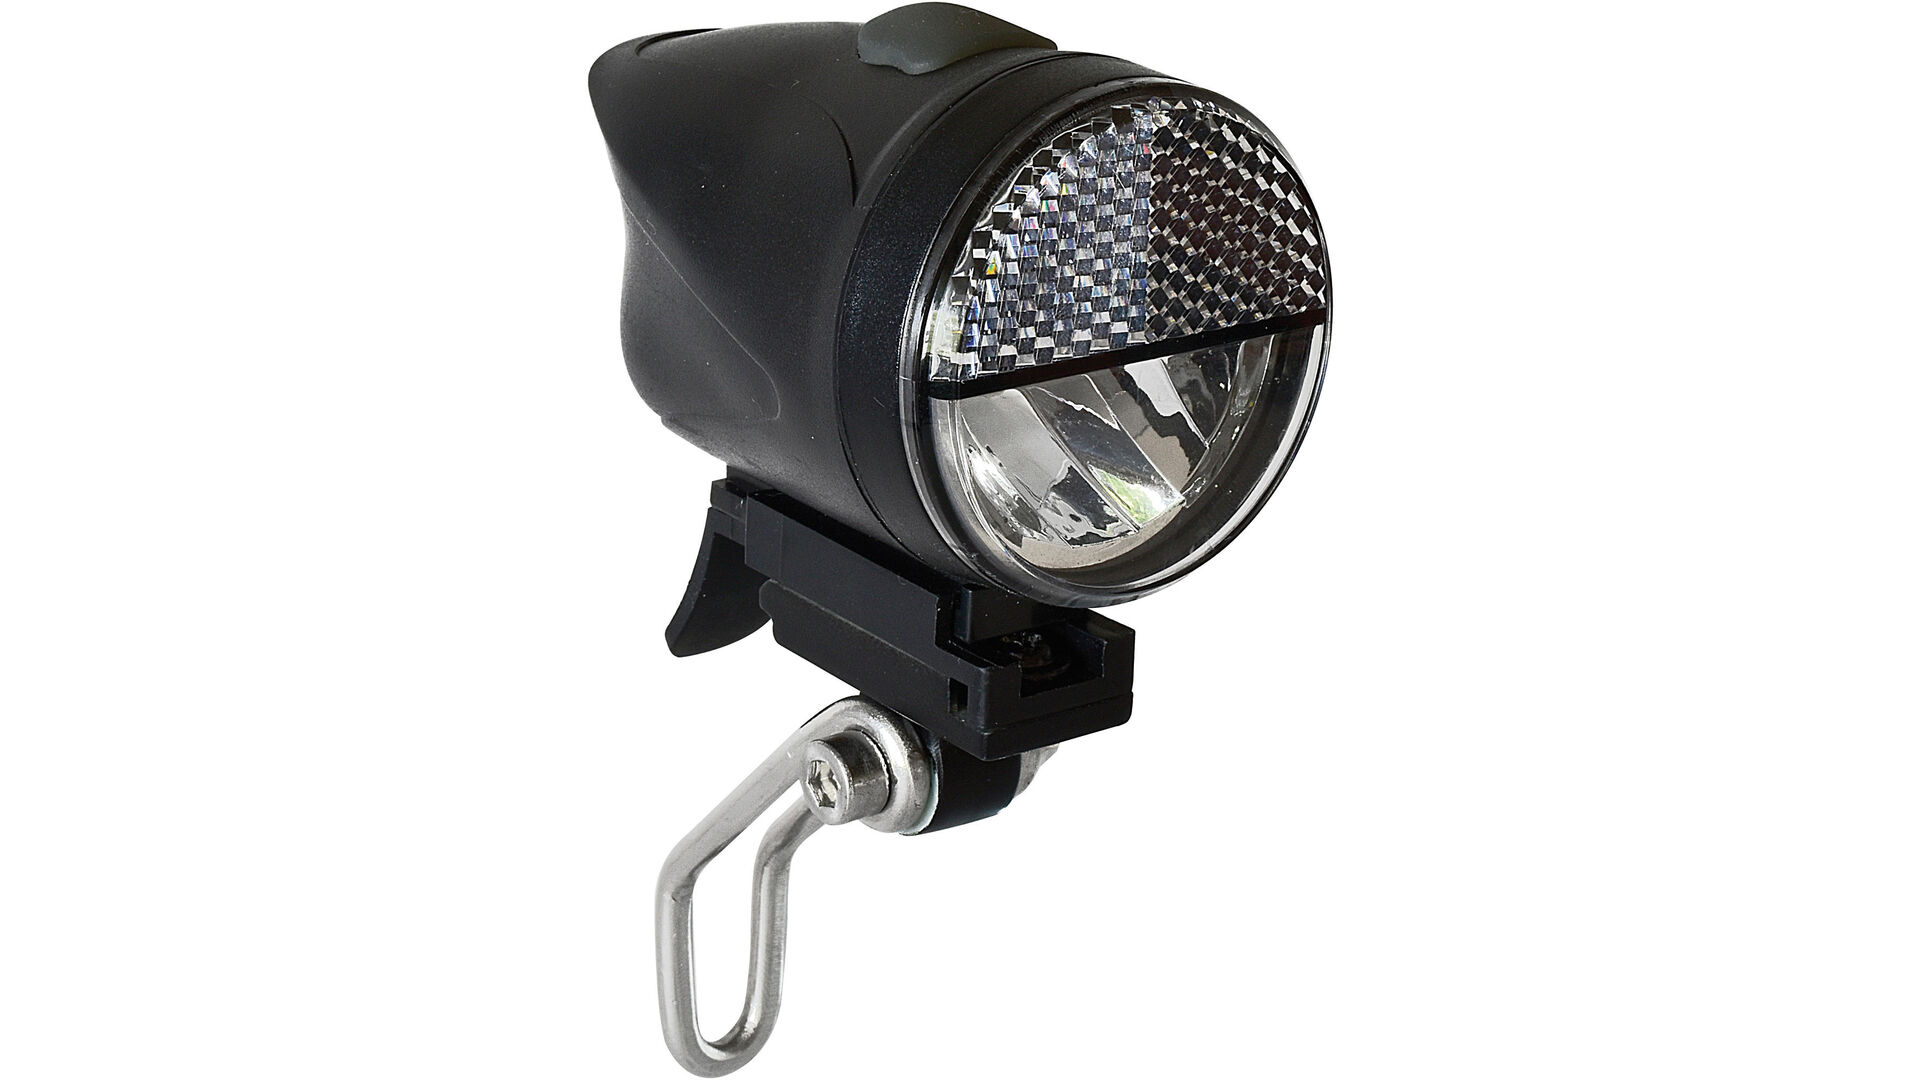
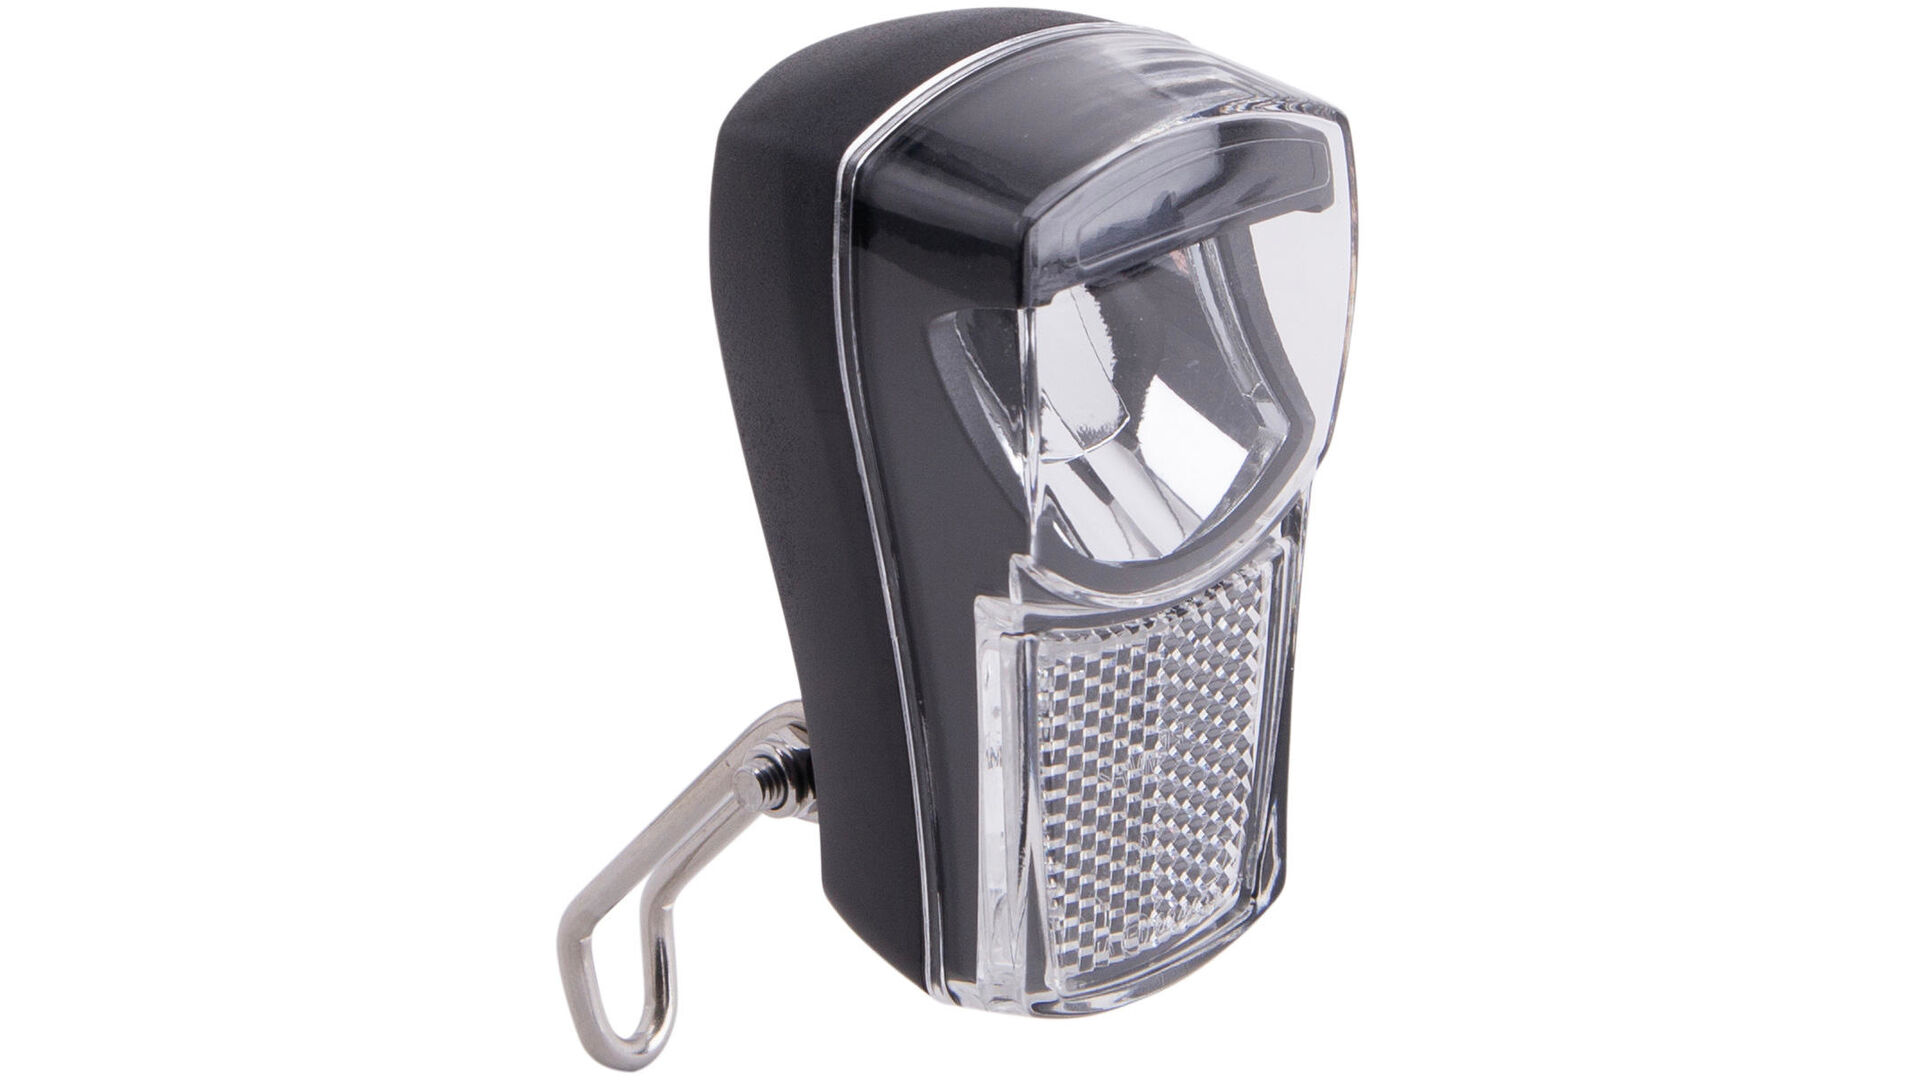
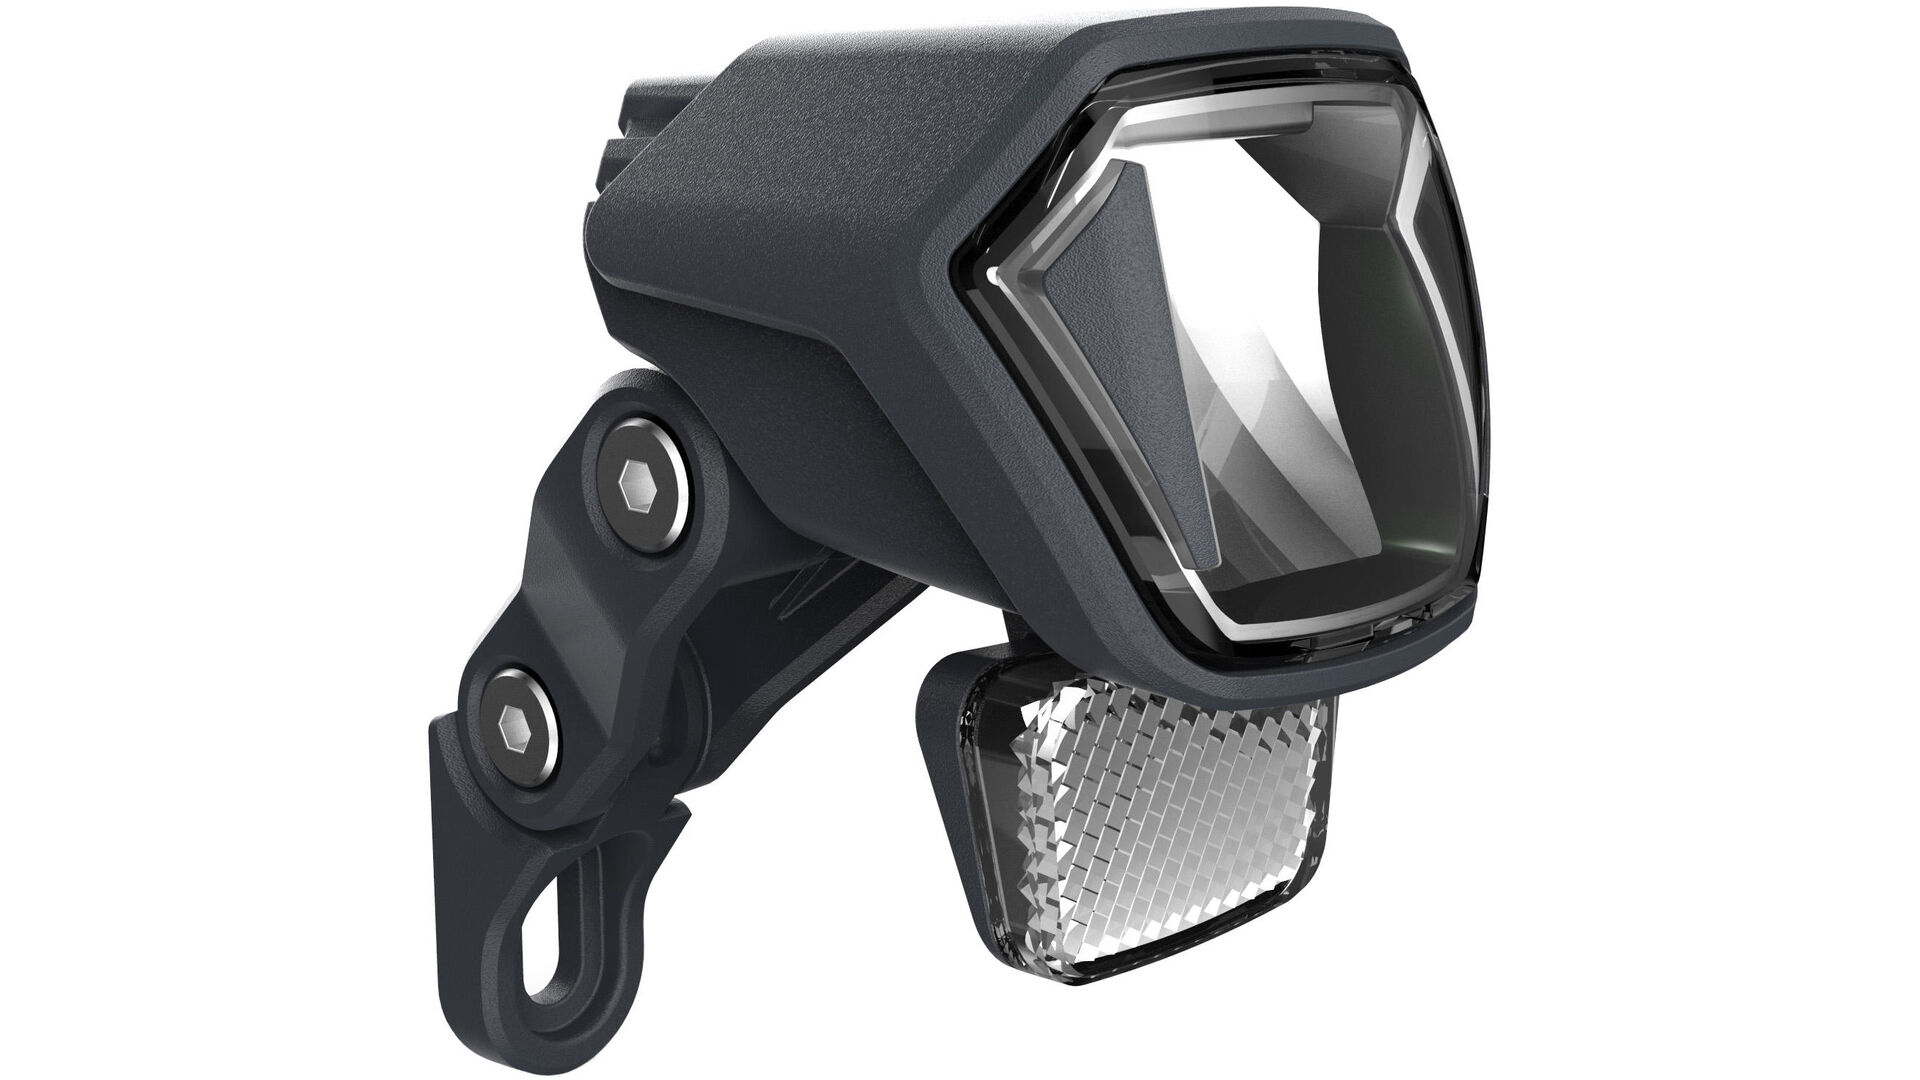
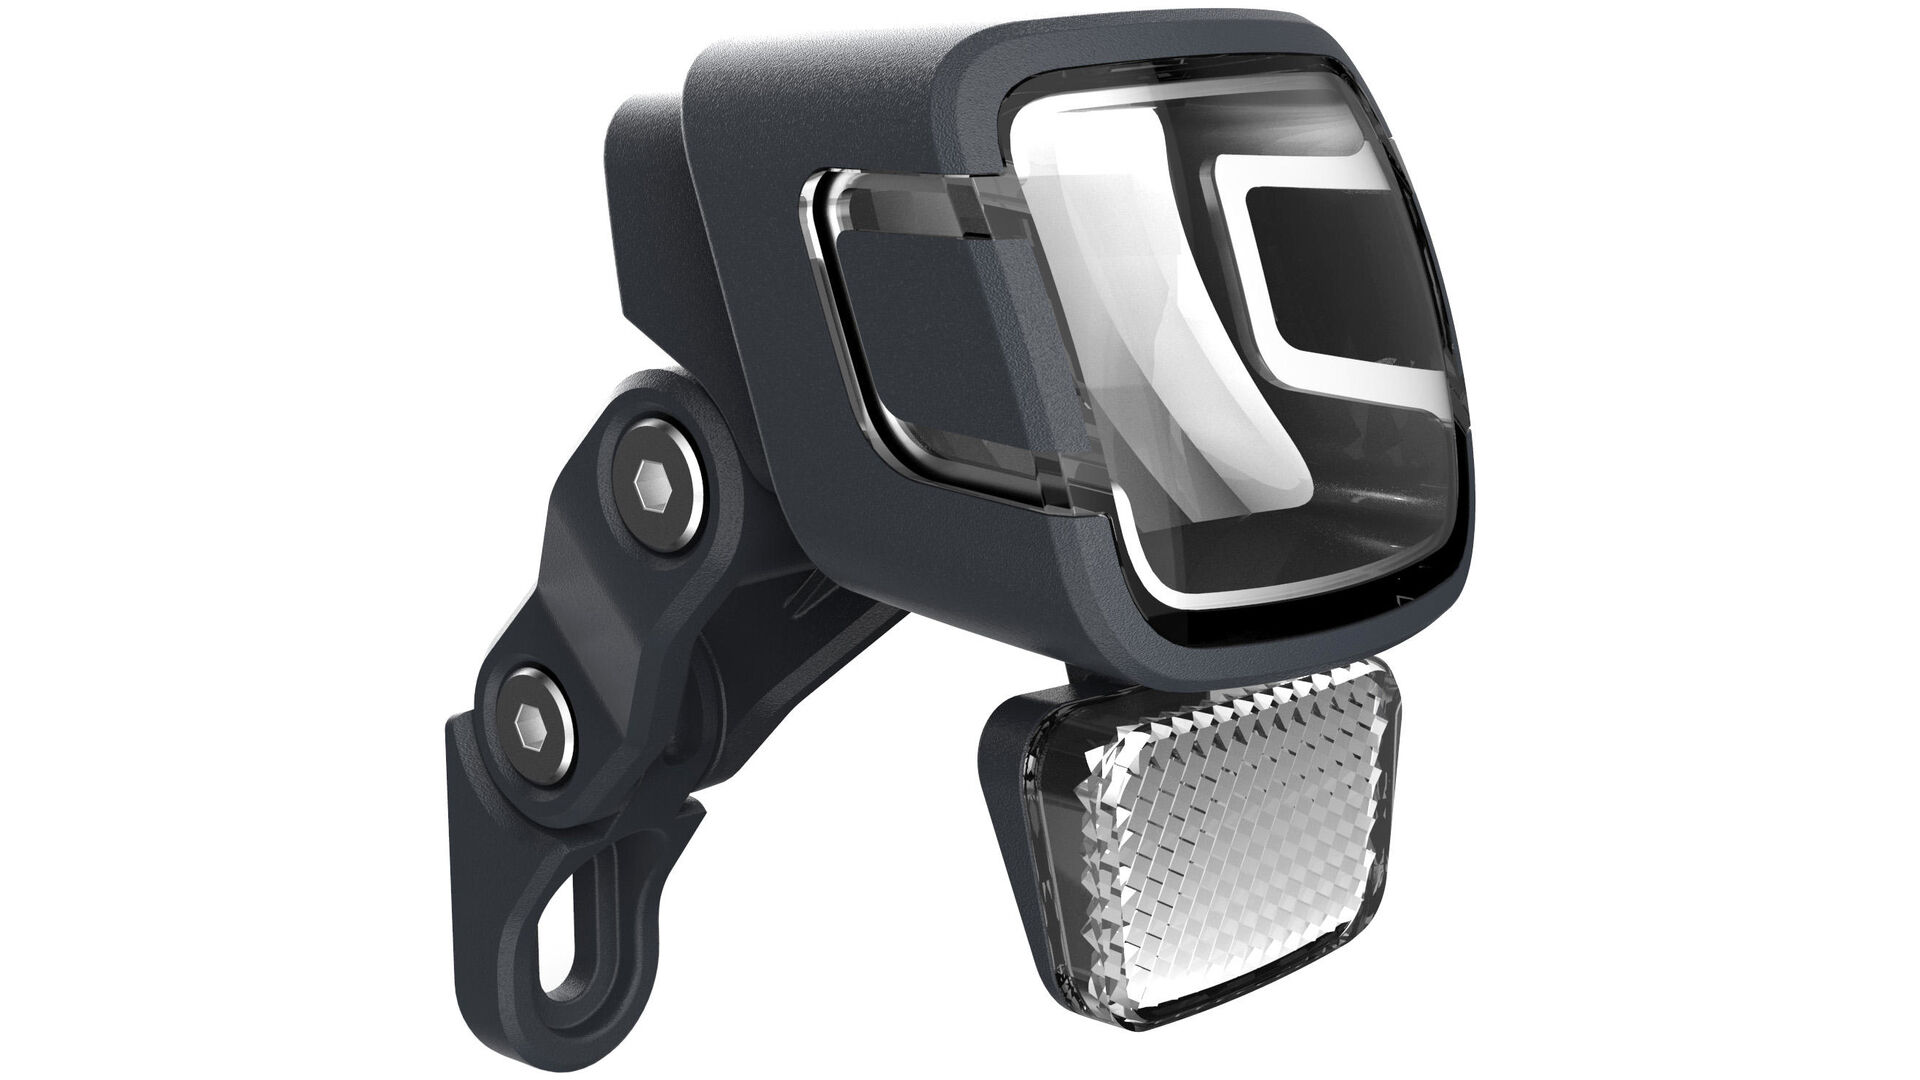
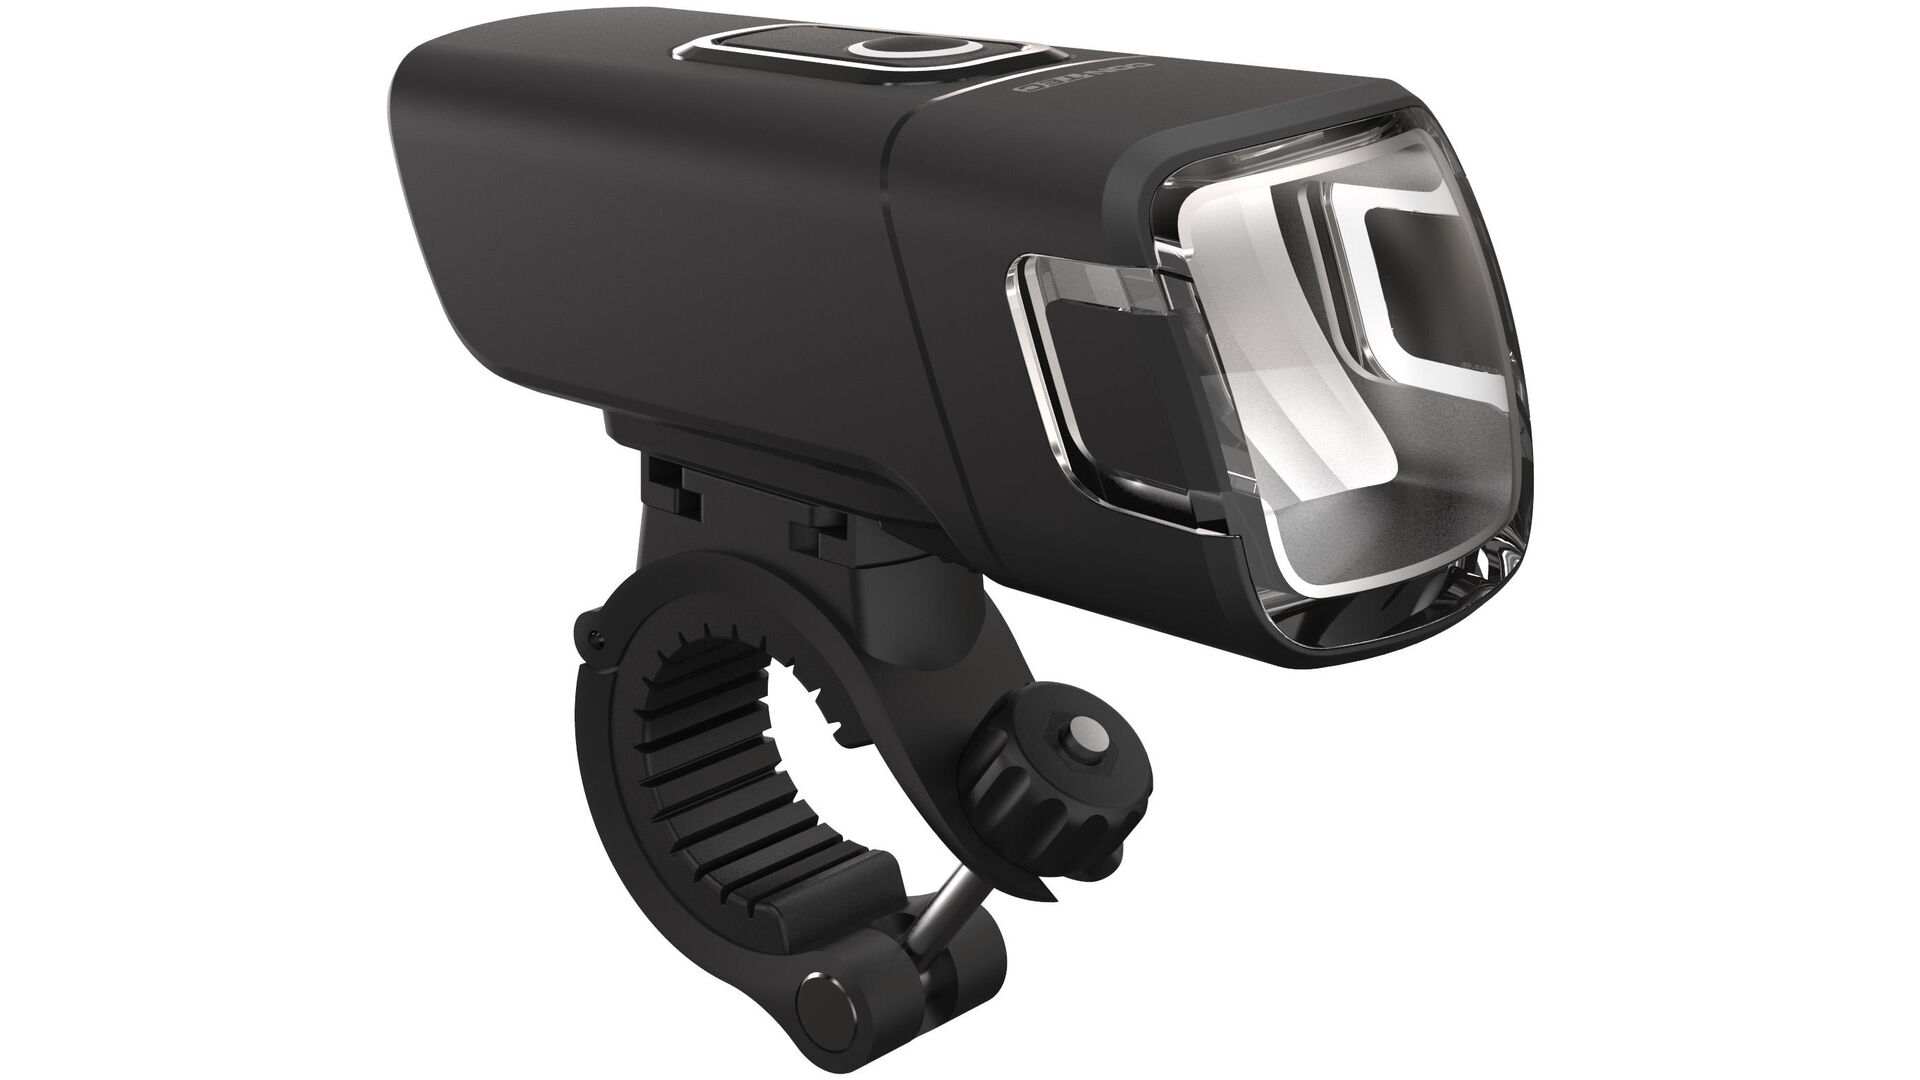
- The front light is either screwed on the fender or fork.
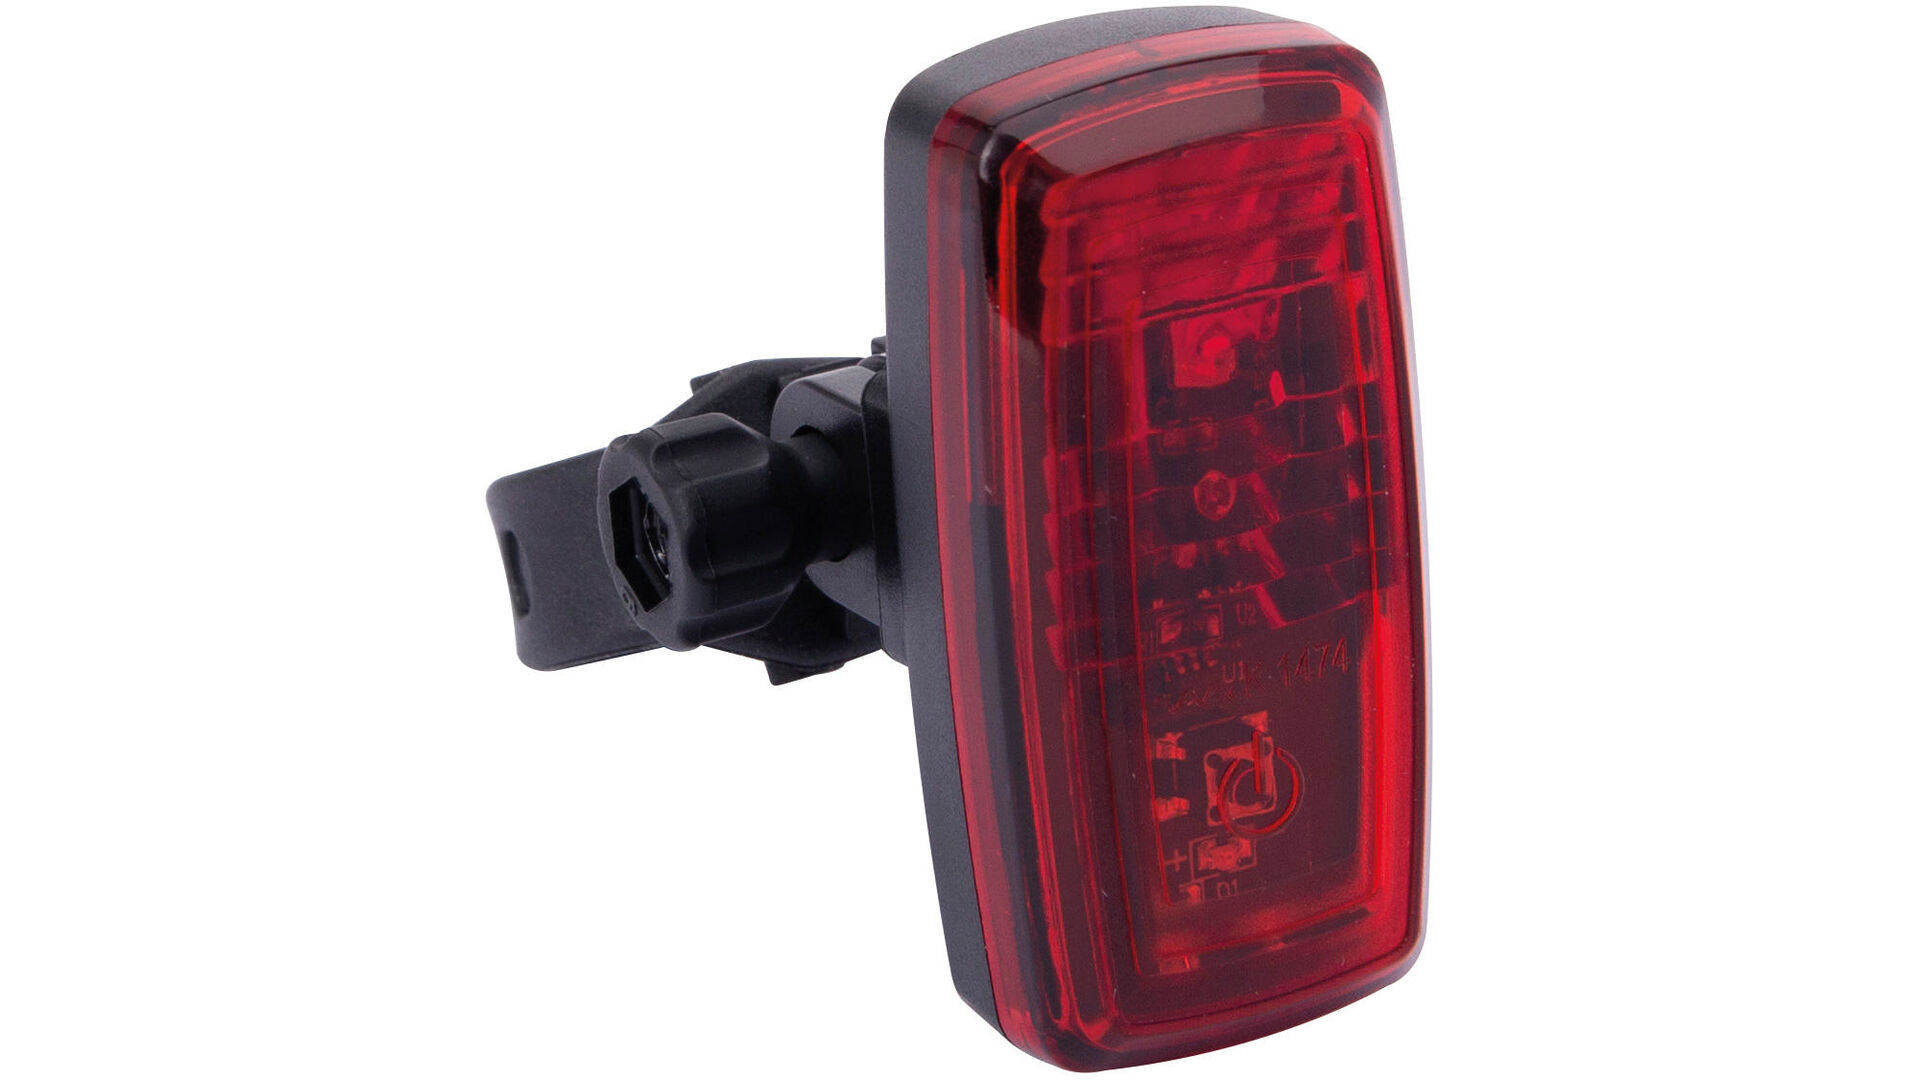
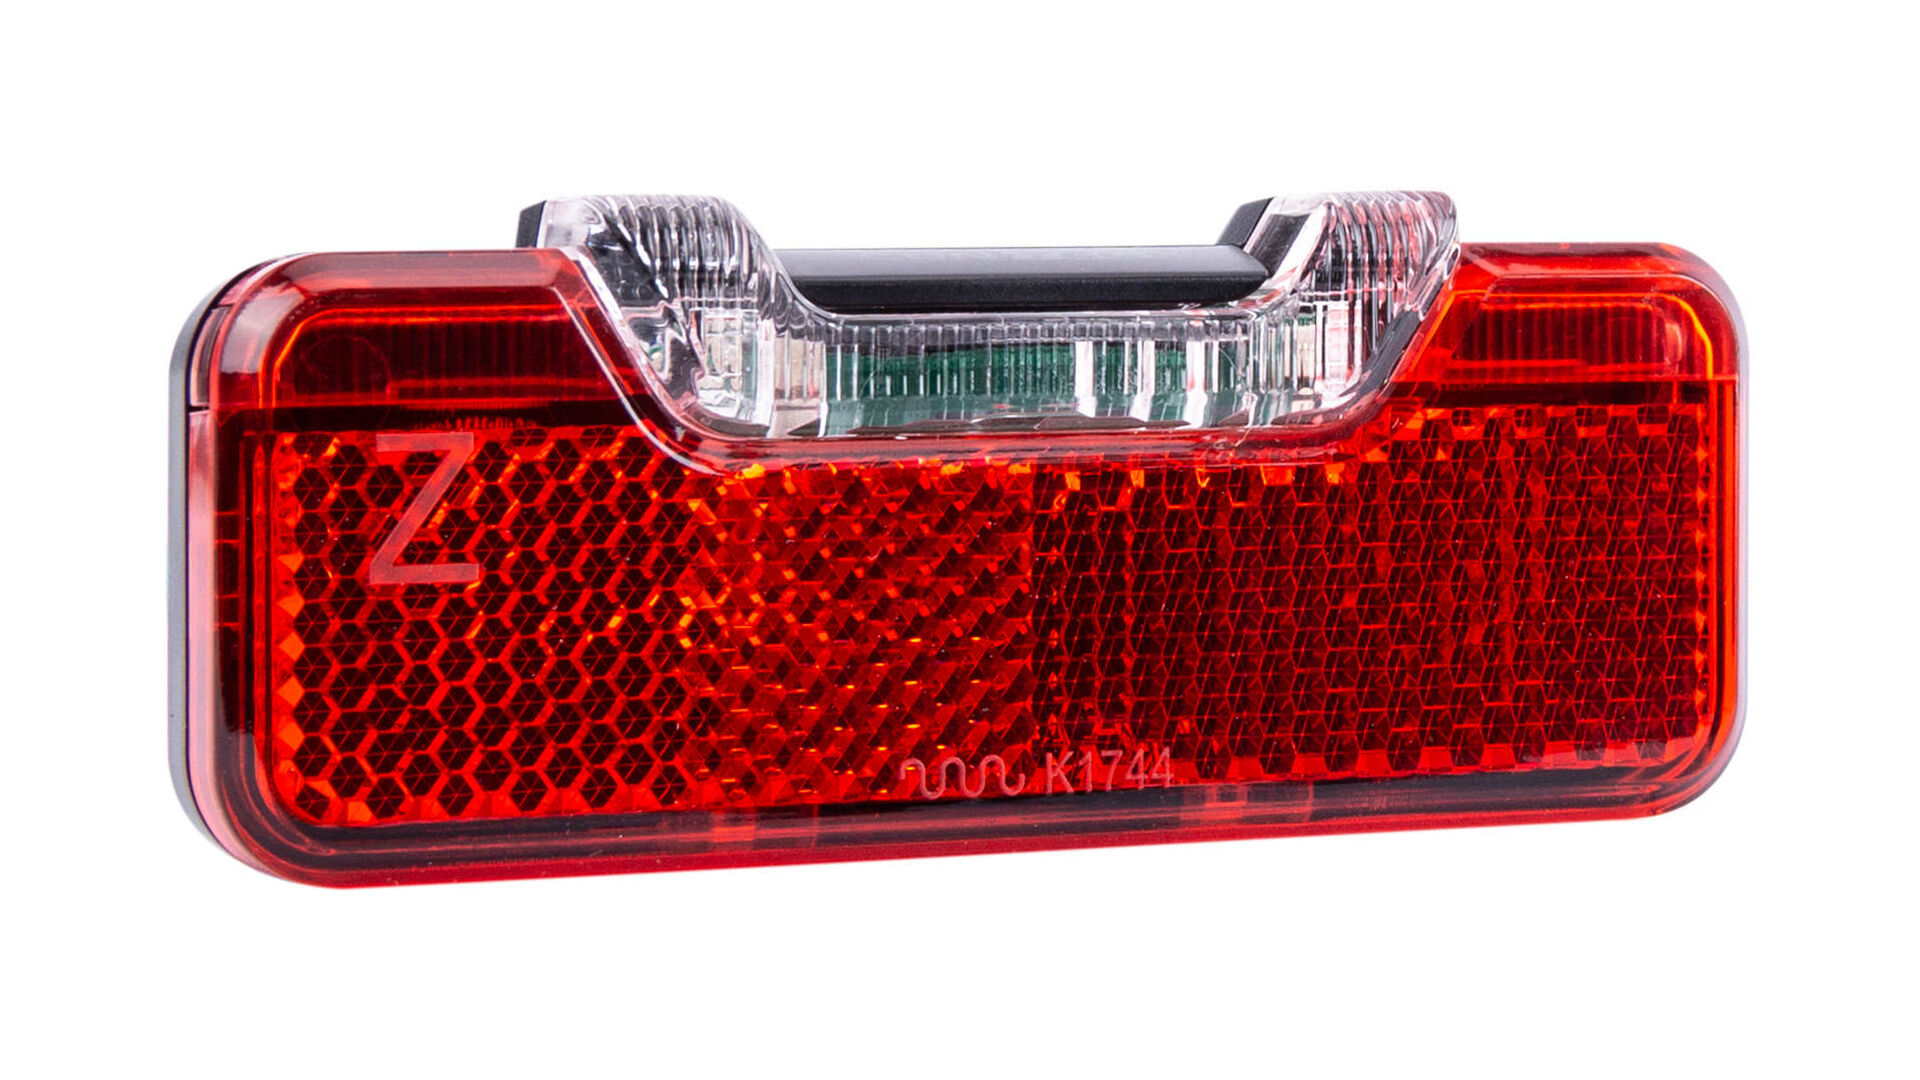
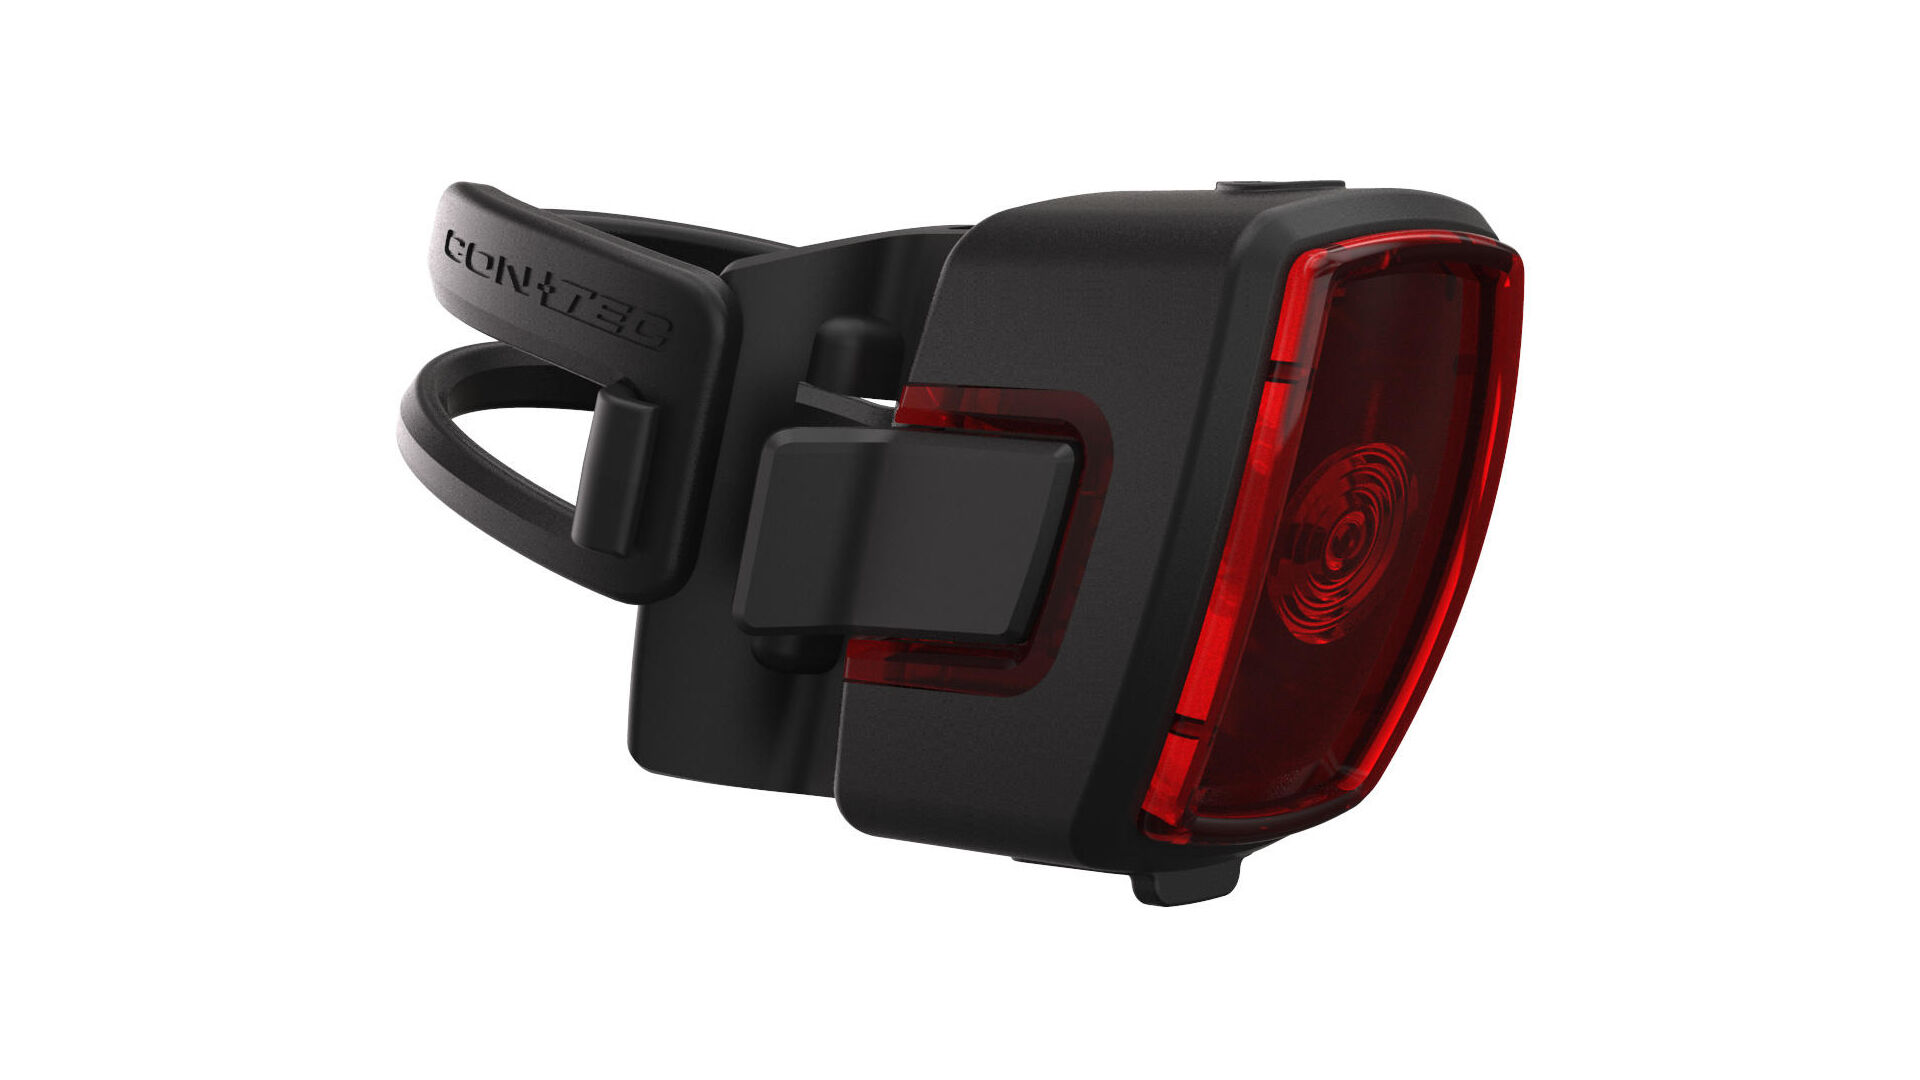
- Rear lights are attached to either the rack, fender or the rear triangle. Loosen the bolts with the corresponding Allen key and remove the light.
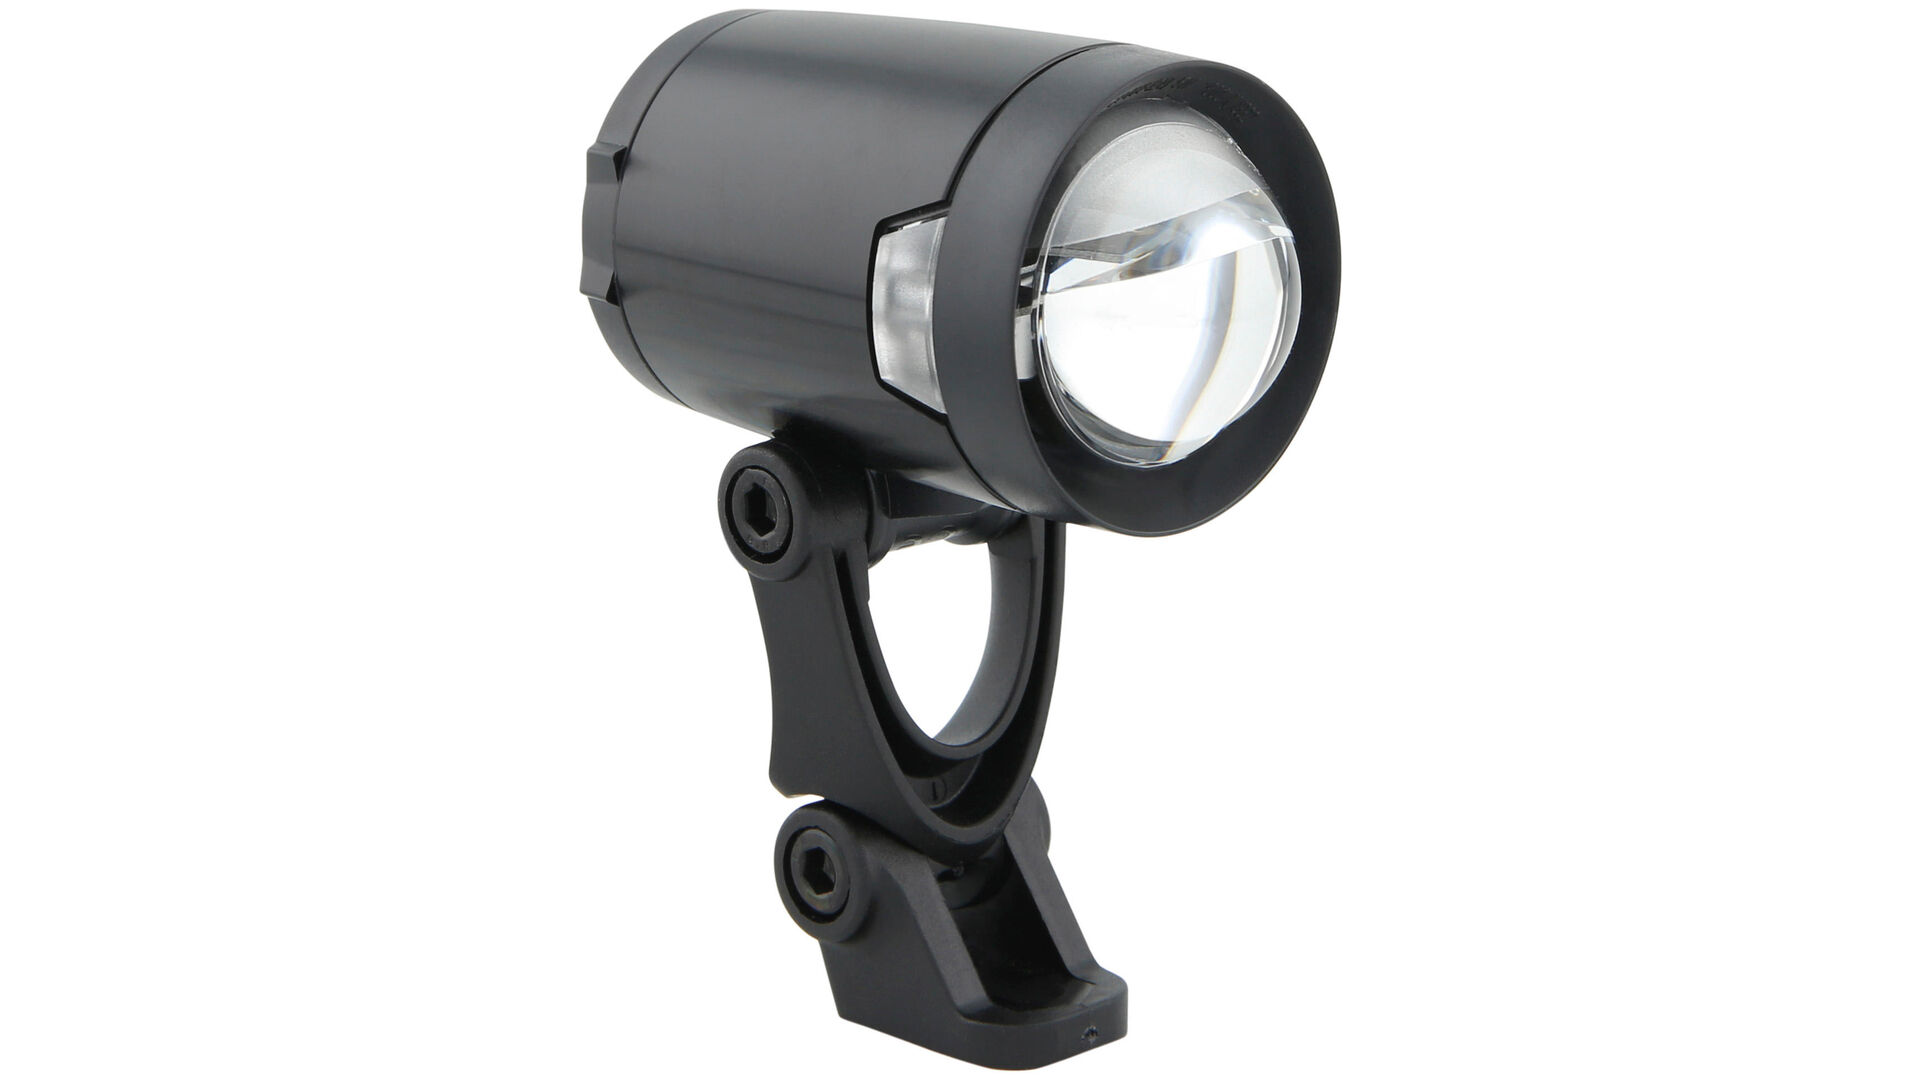
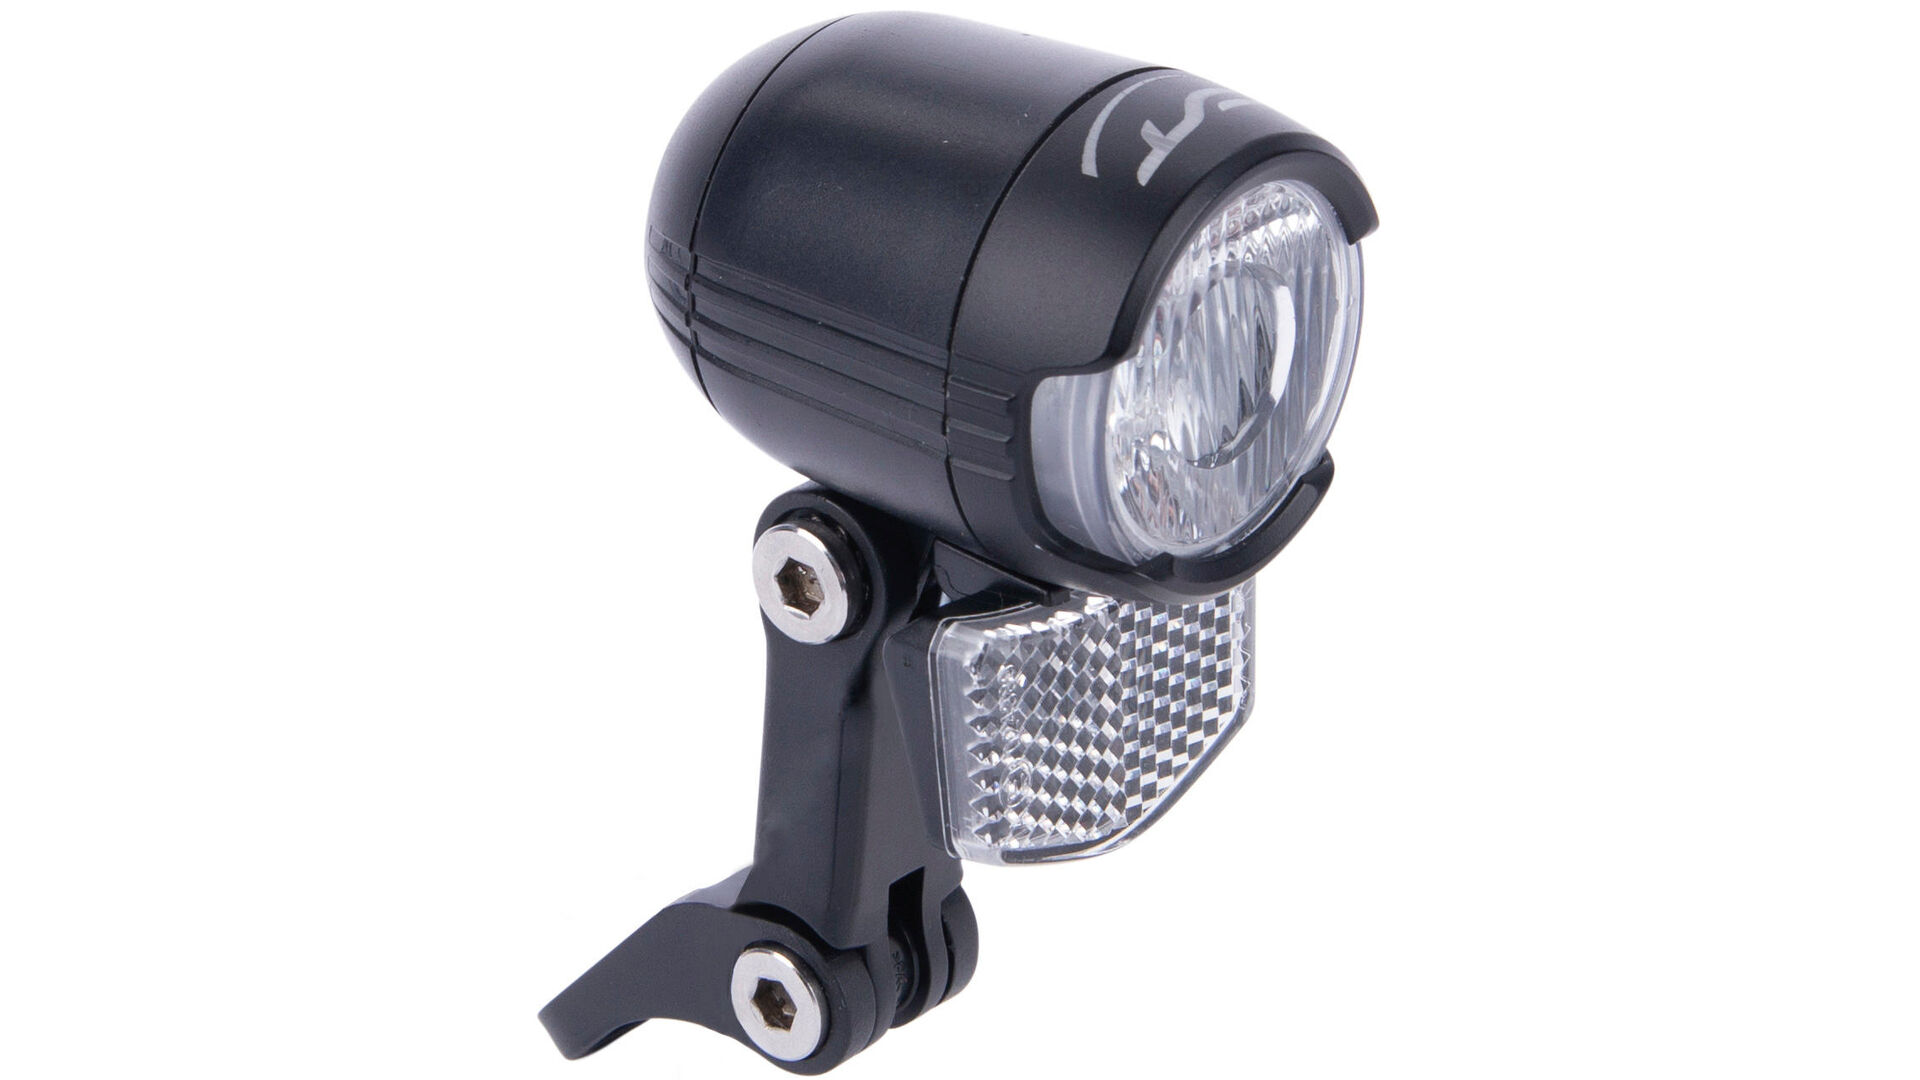
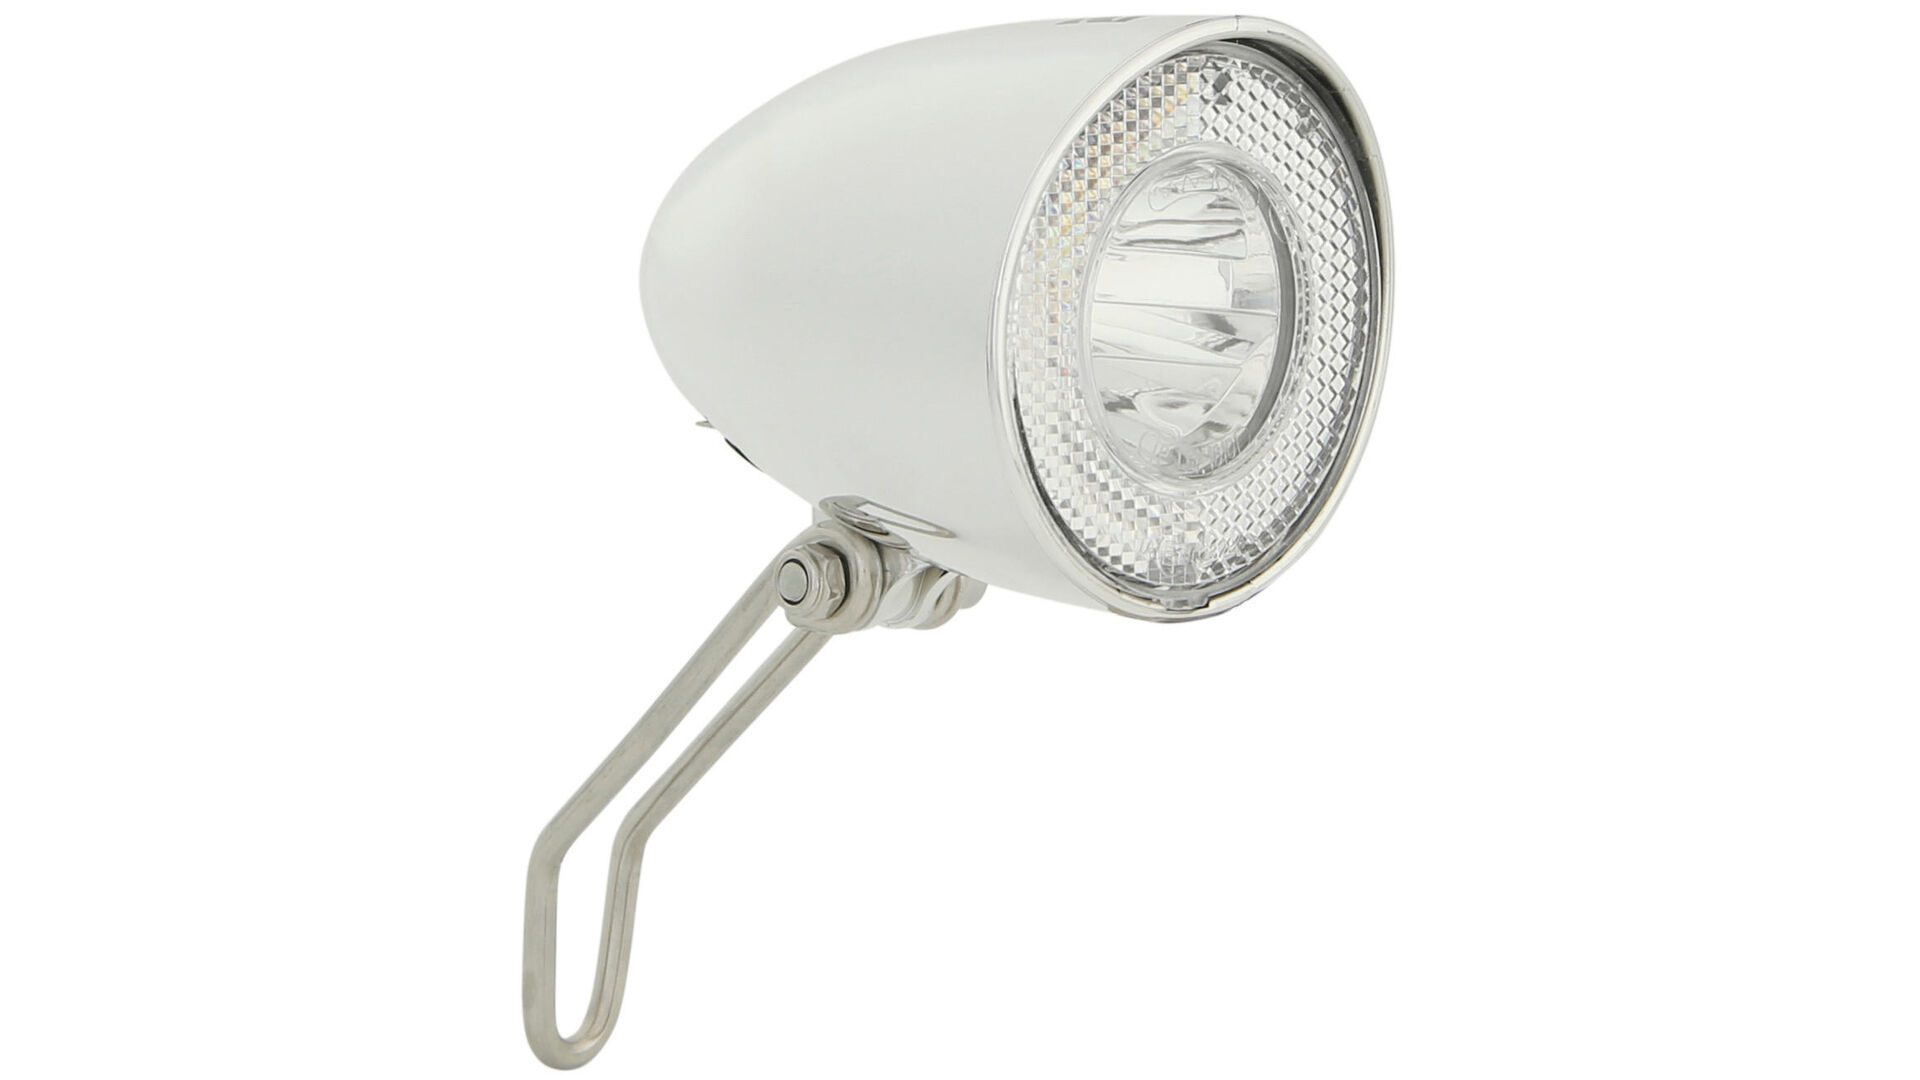
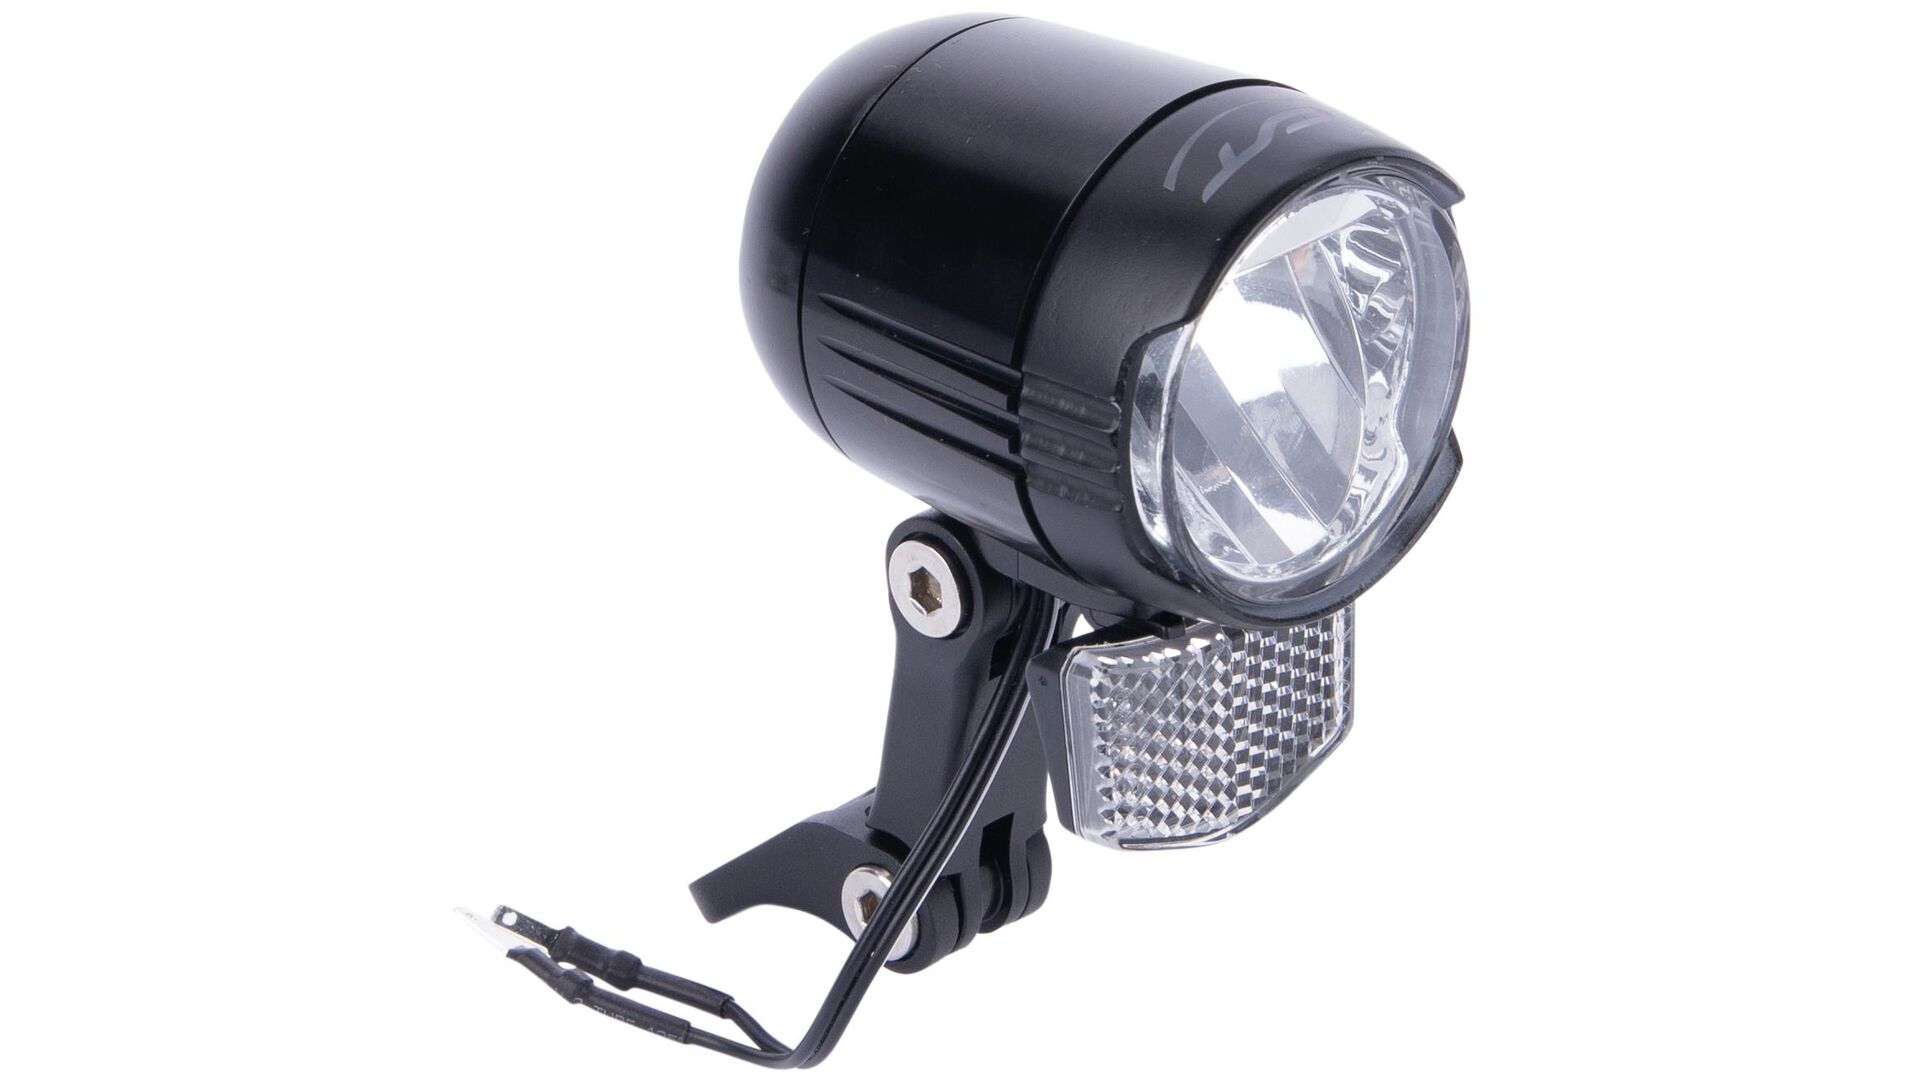
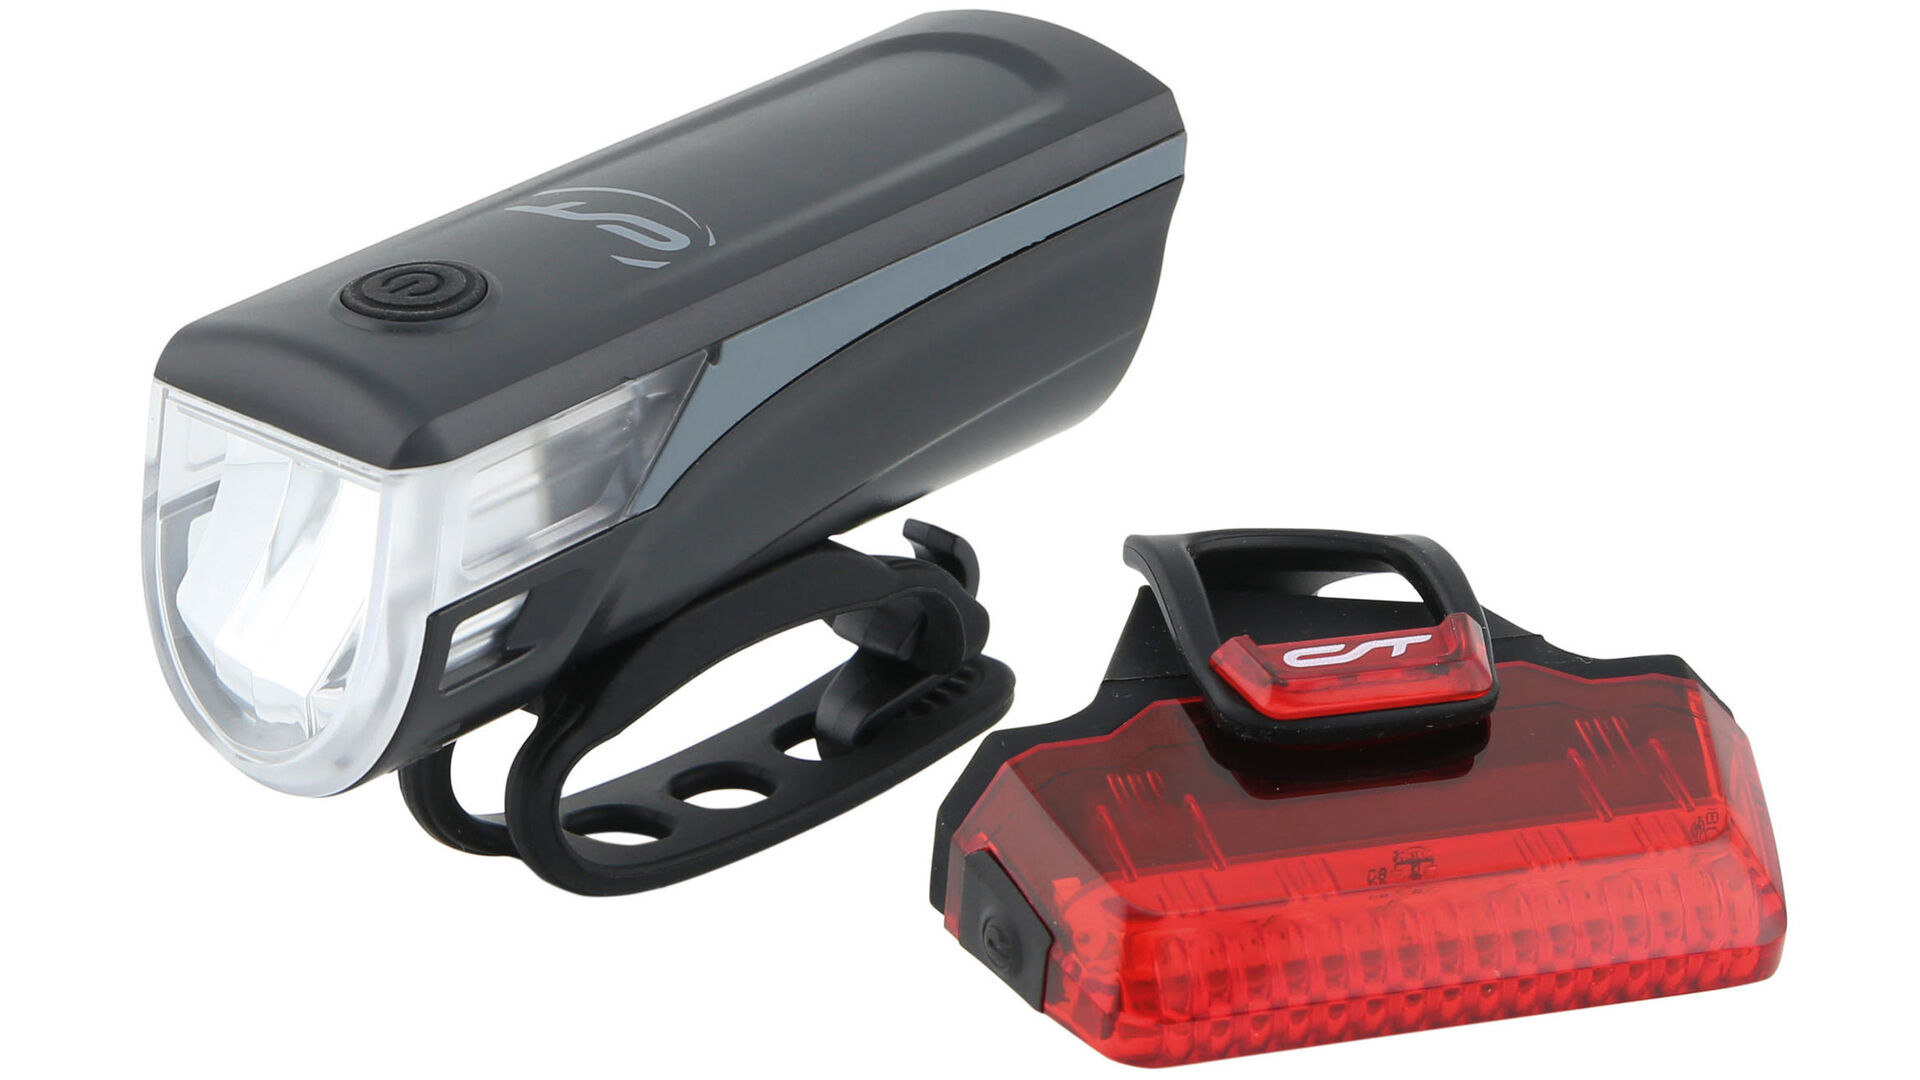
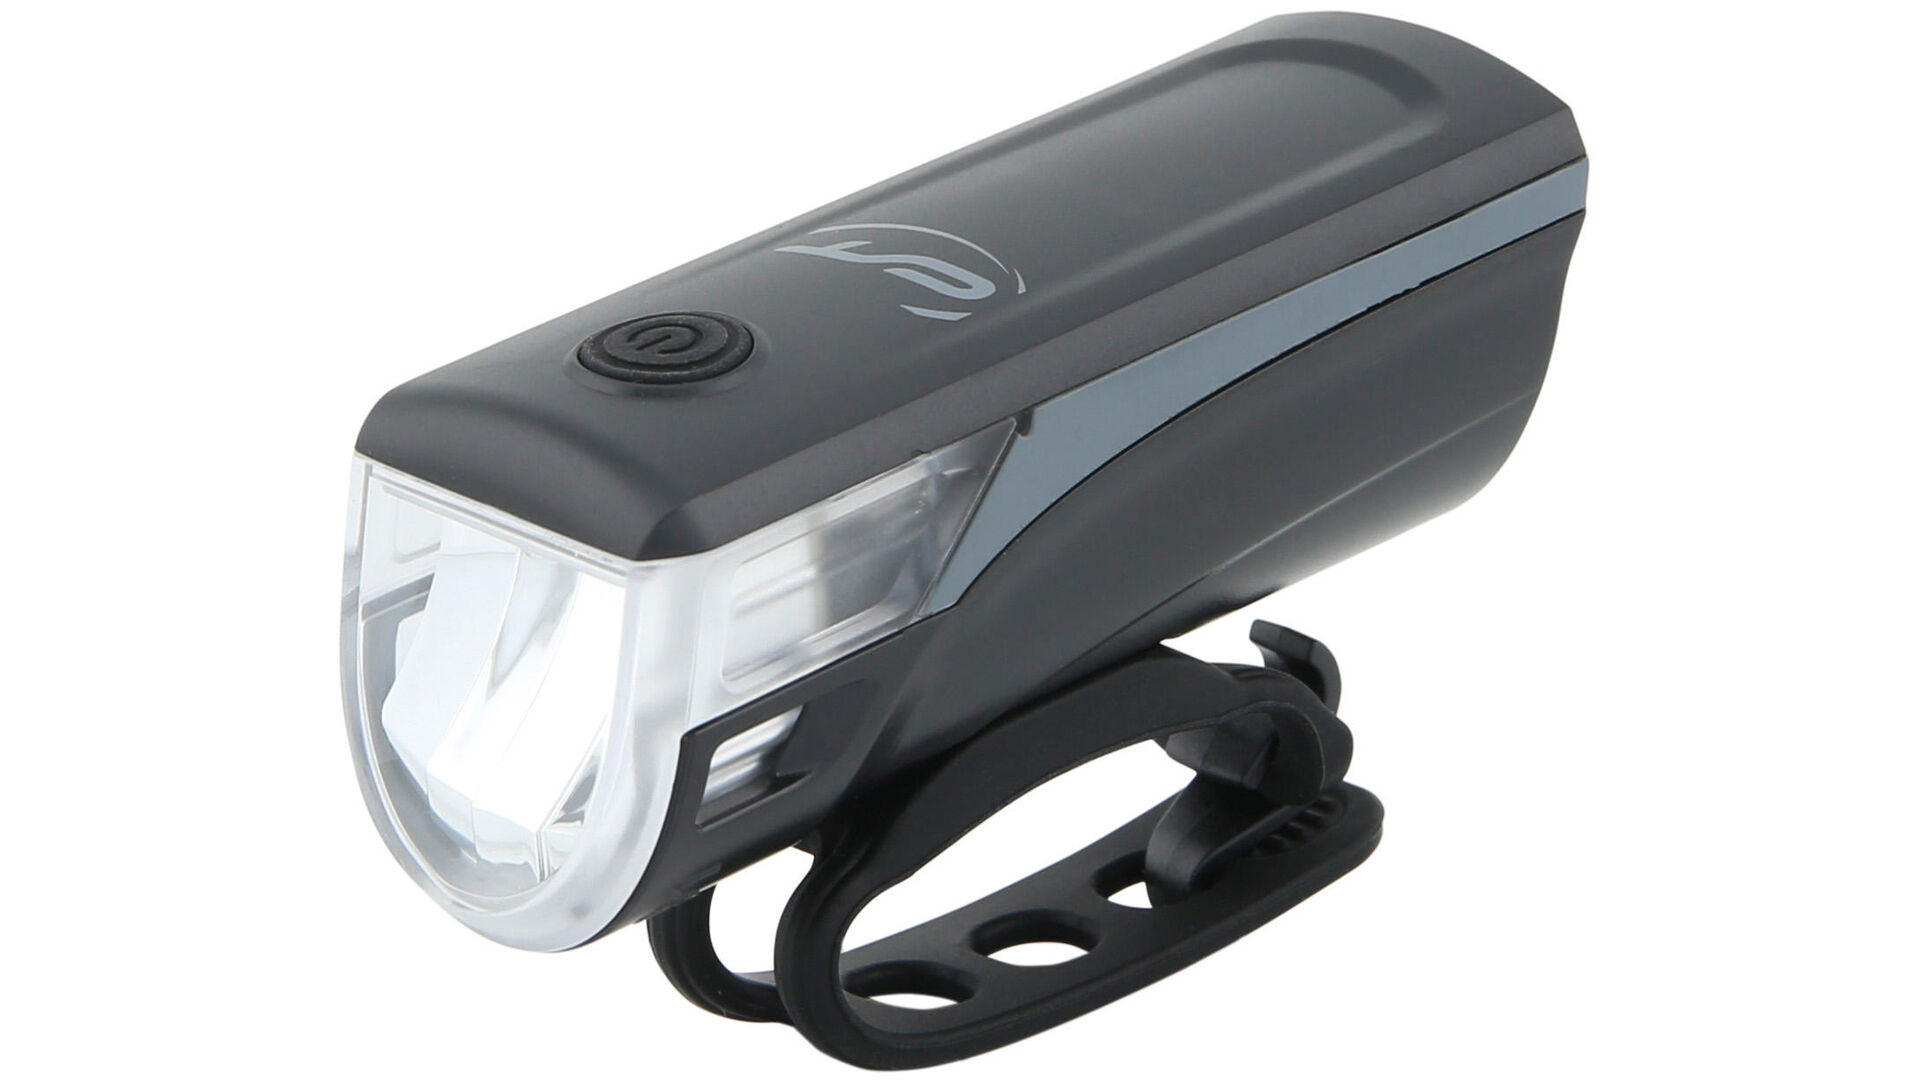
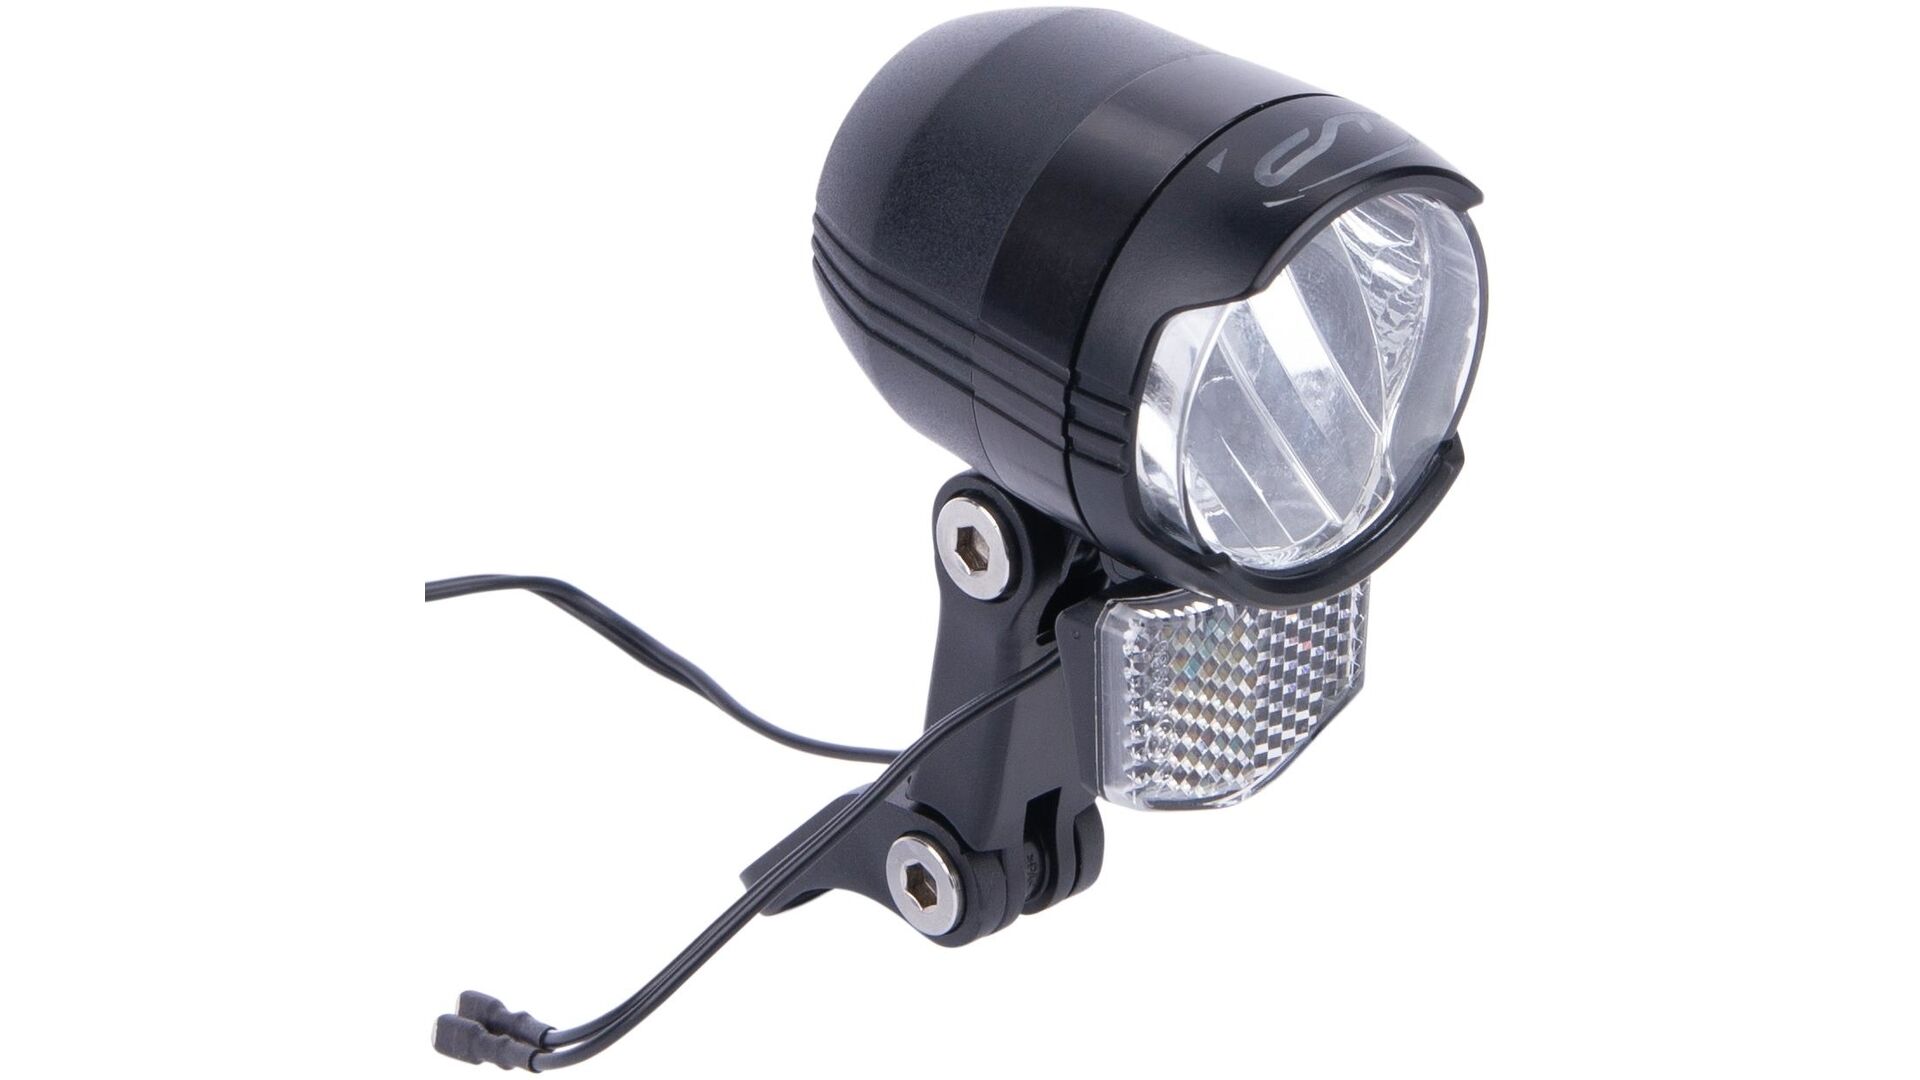
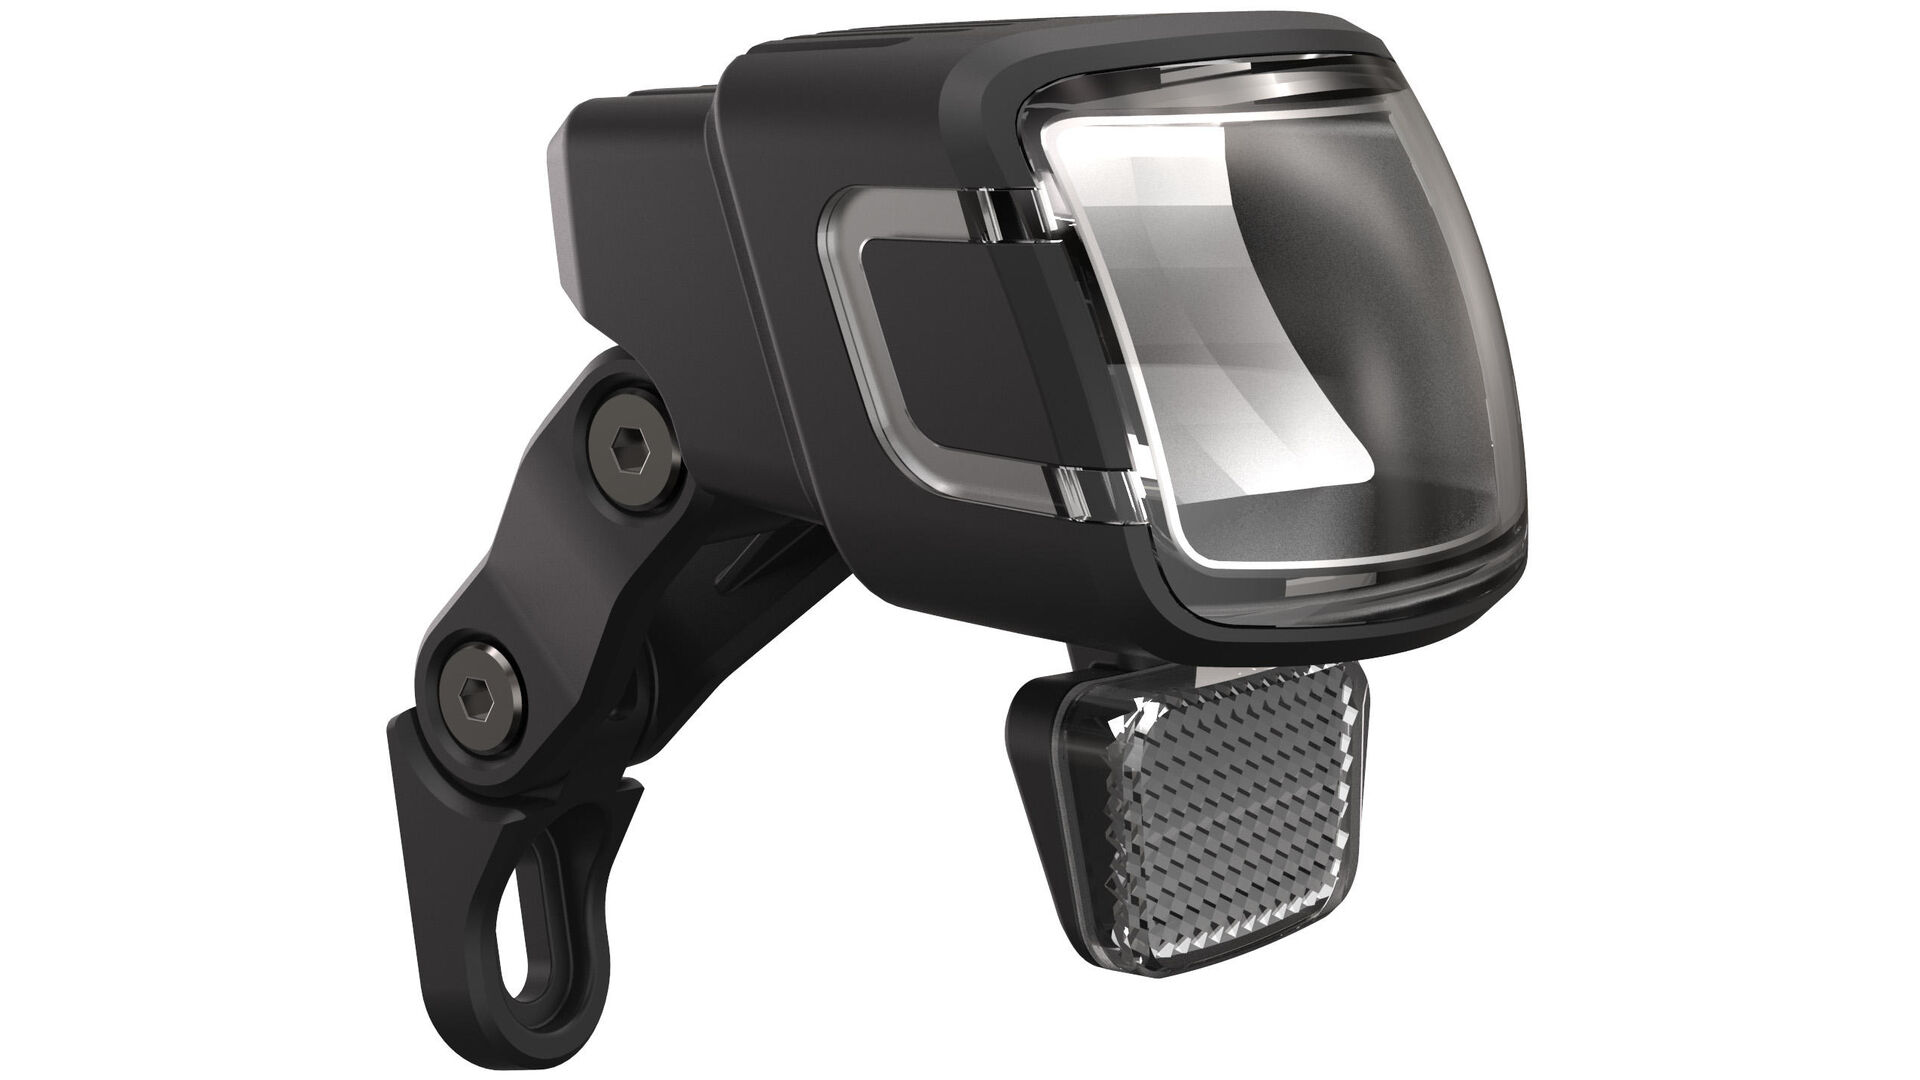
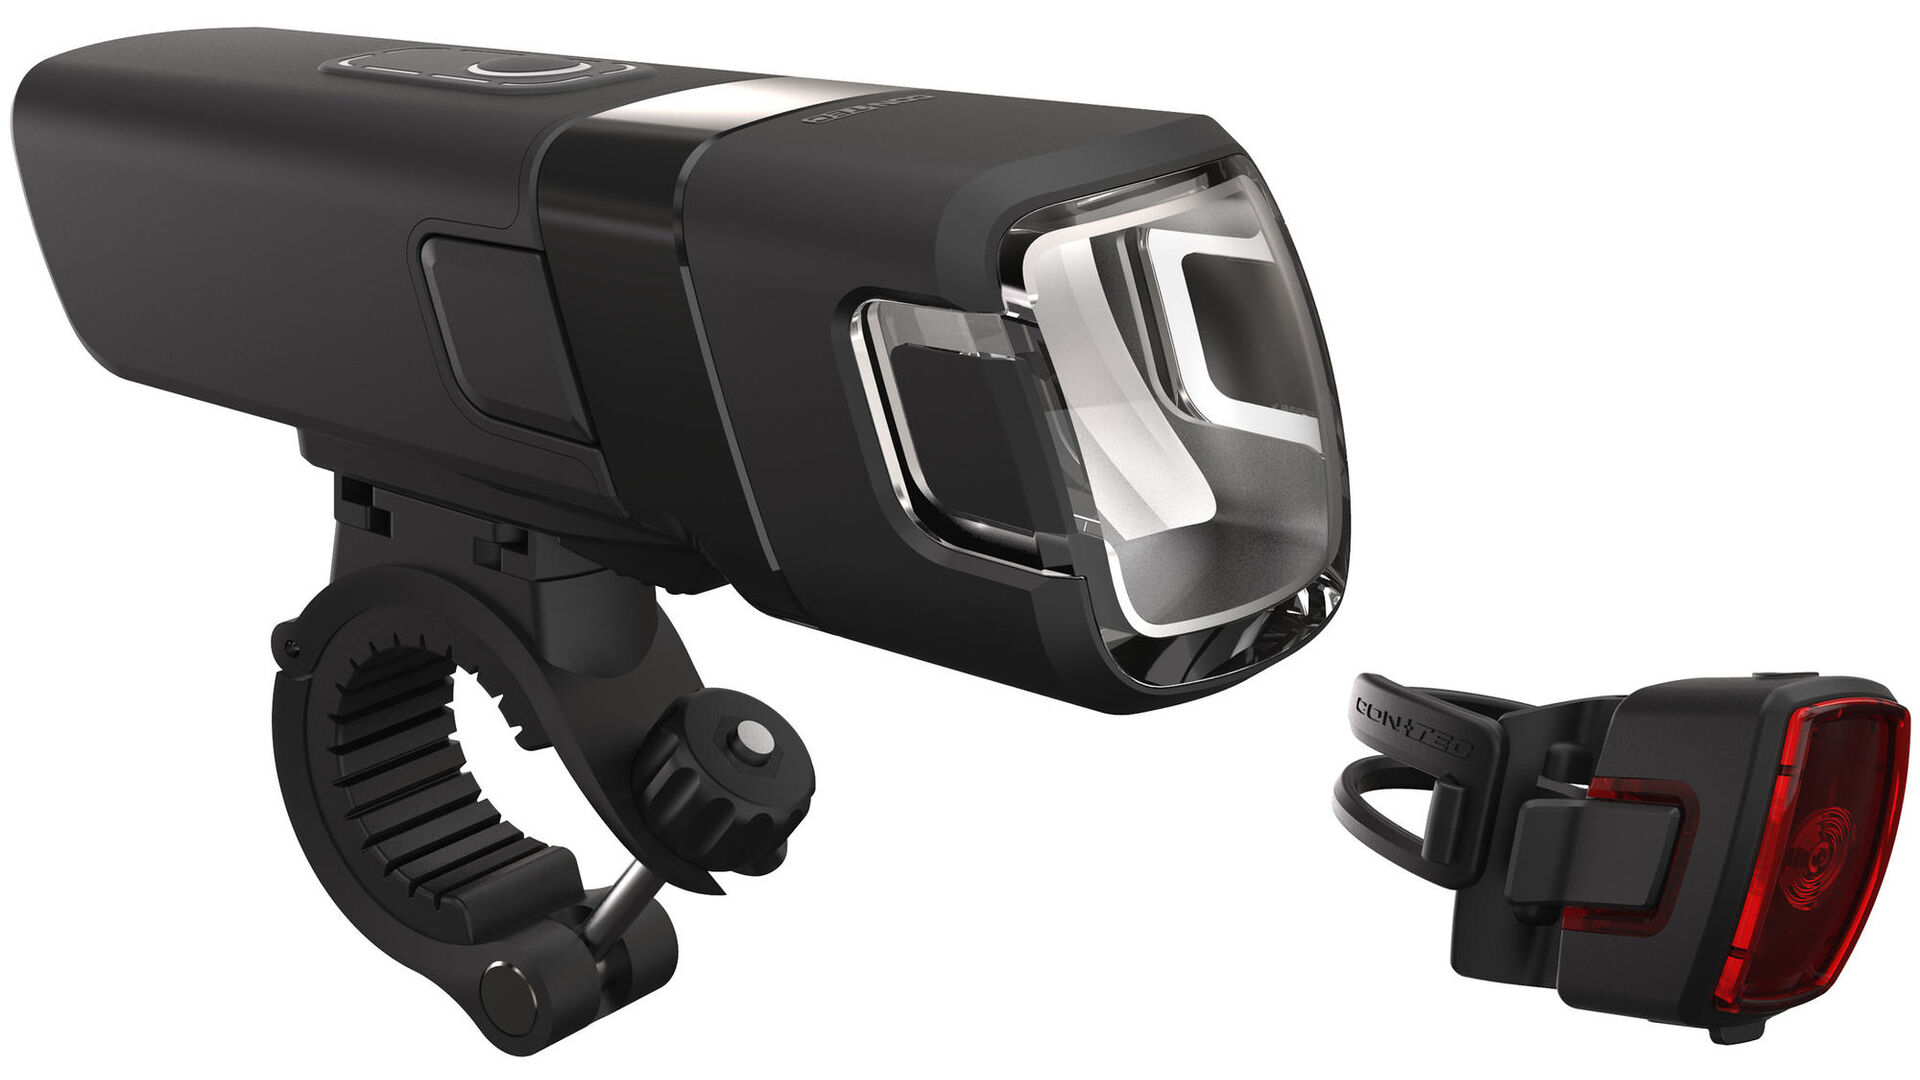
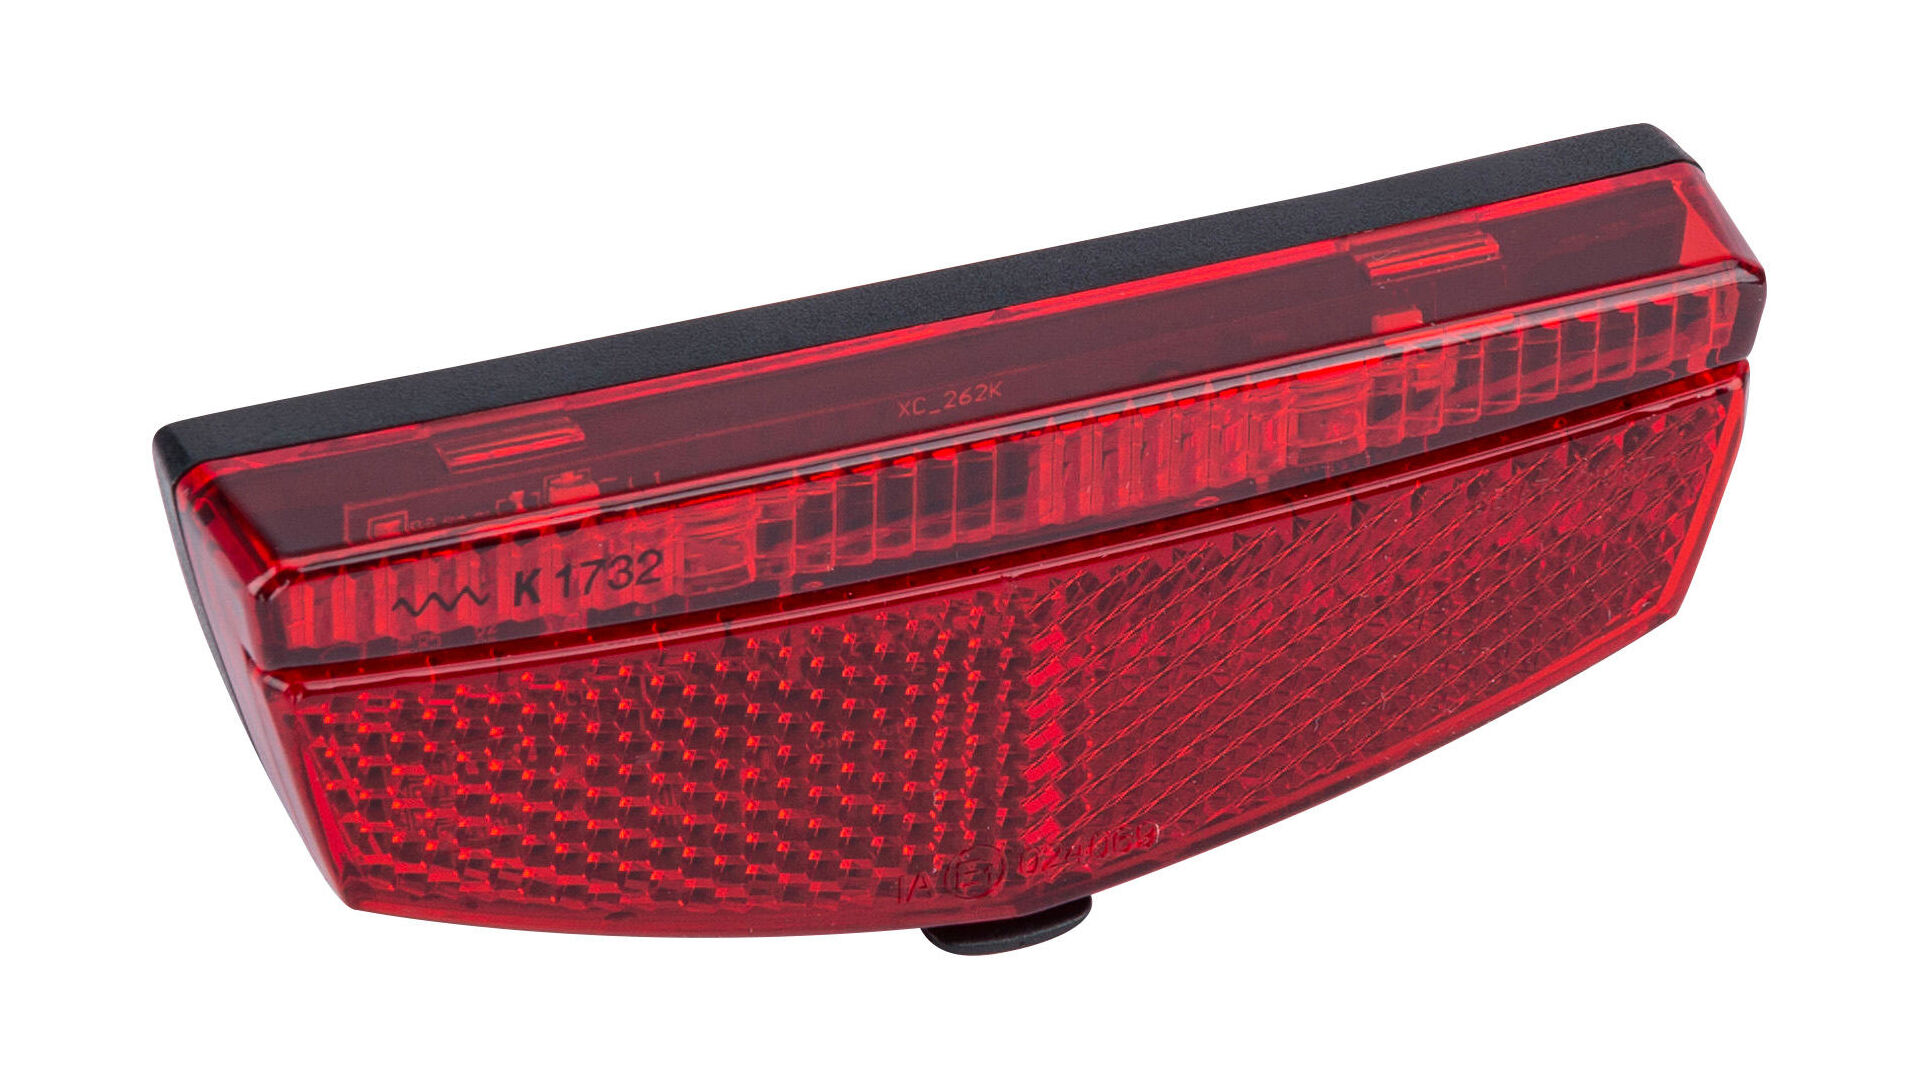
Defective lights – lighting installation
Note: Light selection
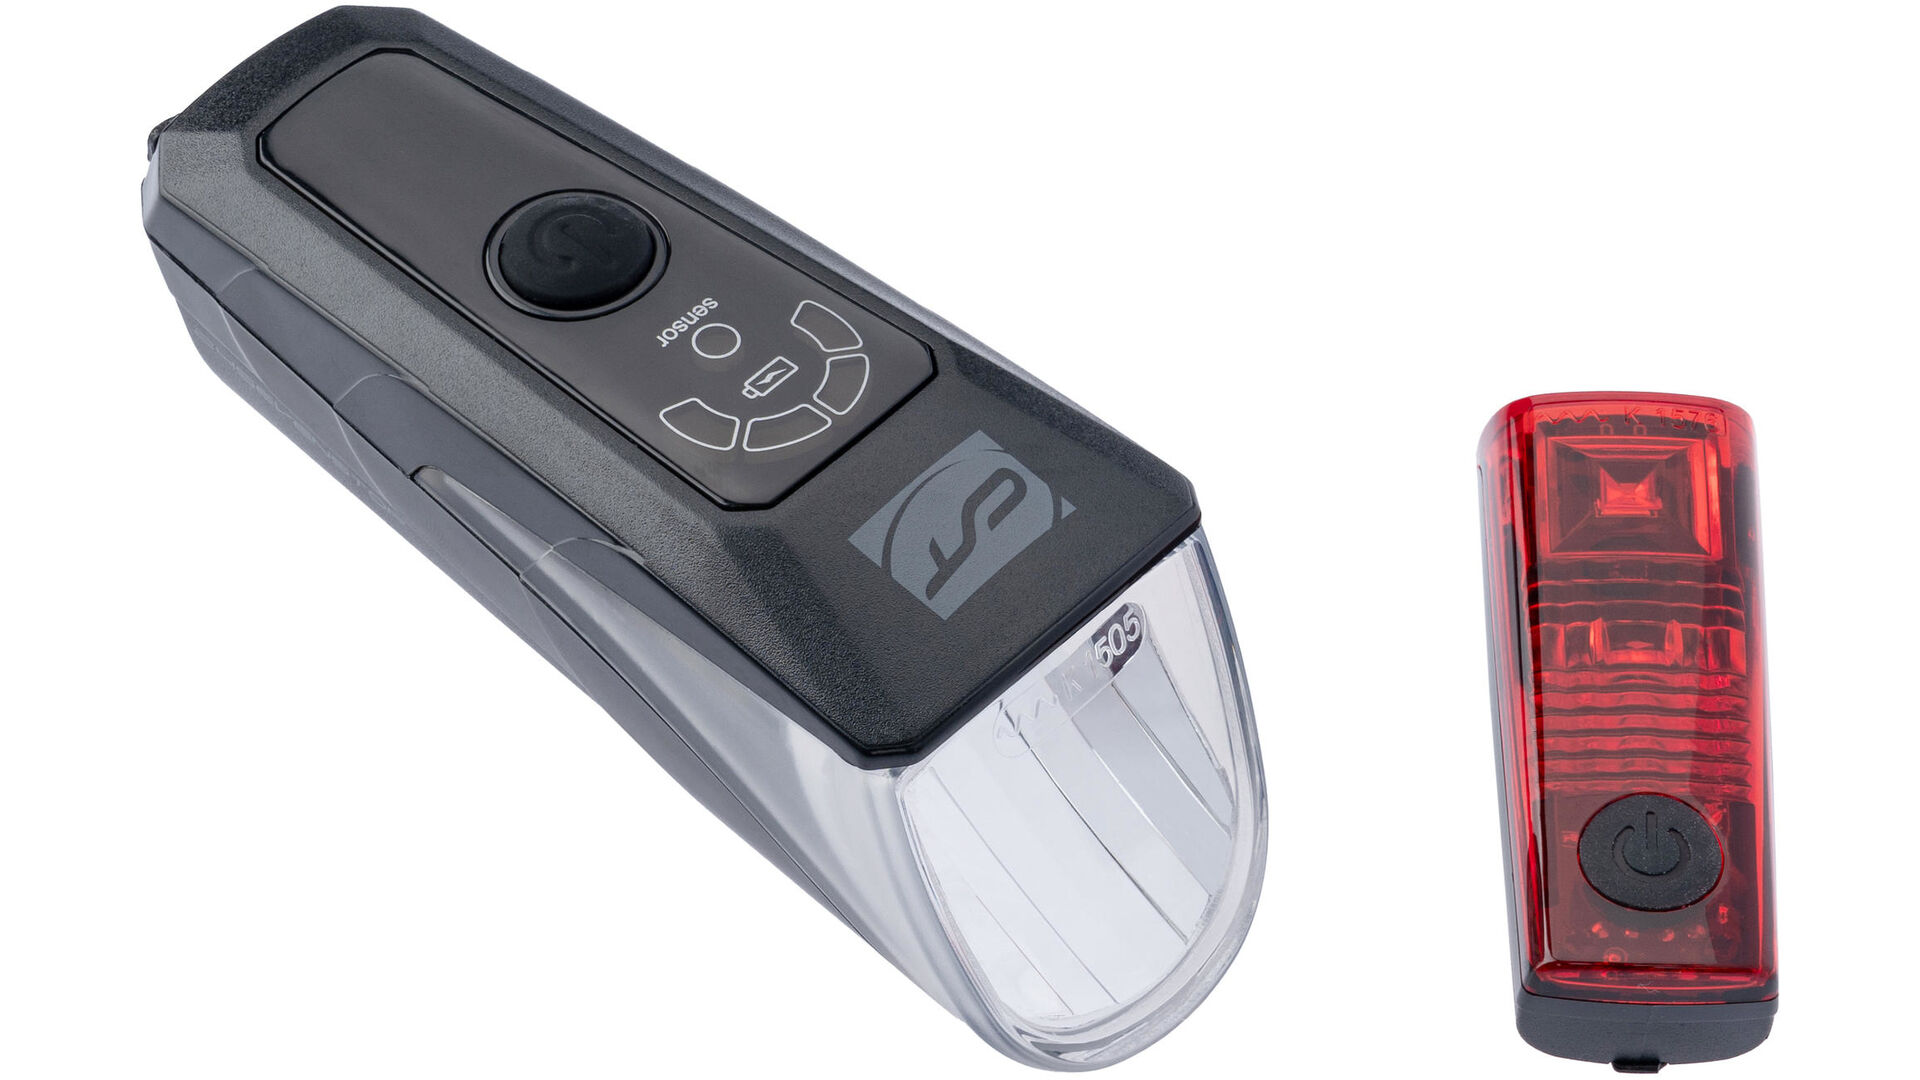
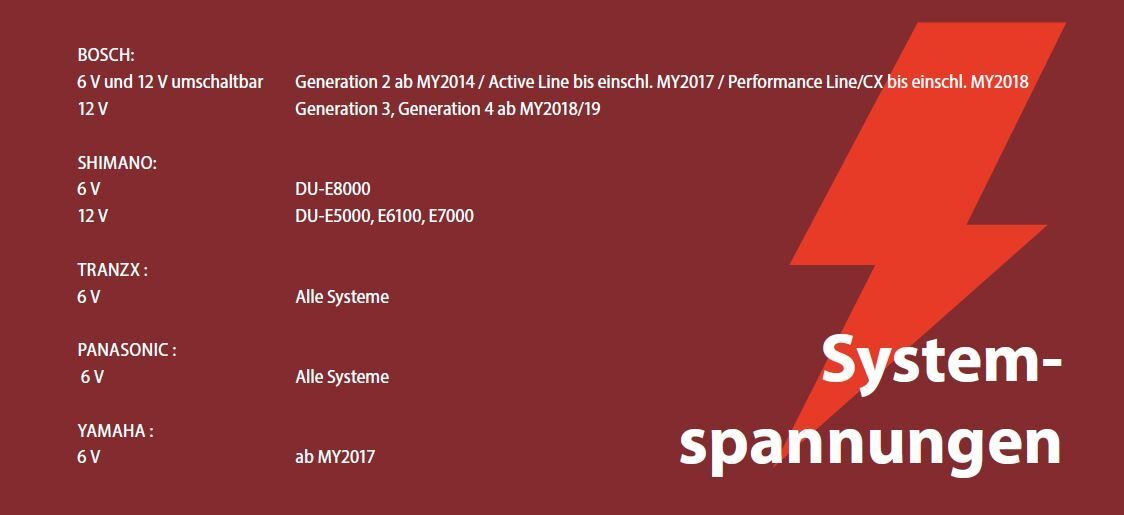
When you buy your new light, make sure that it fits your bike. You should have a look at where and how it is to be mounted (front: On the fender, or fork; rear: On the fender, frame, or rack). You should also have a look at whether you need a light with alternating current (dynamo) or a light with direct current (e-bike). For e-bikes, you must also pay attention to the system voltage you need (for example, 6 or 12 volts).
You can find out which light is suitable for which E-bike battery in our table:
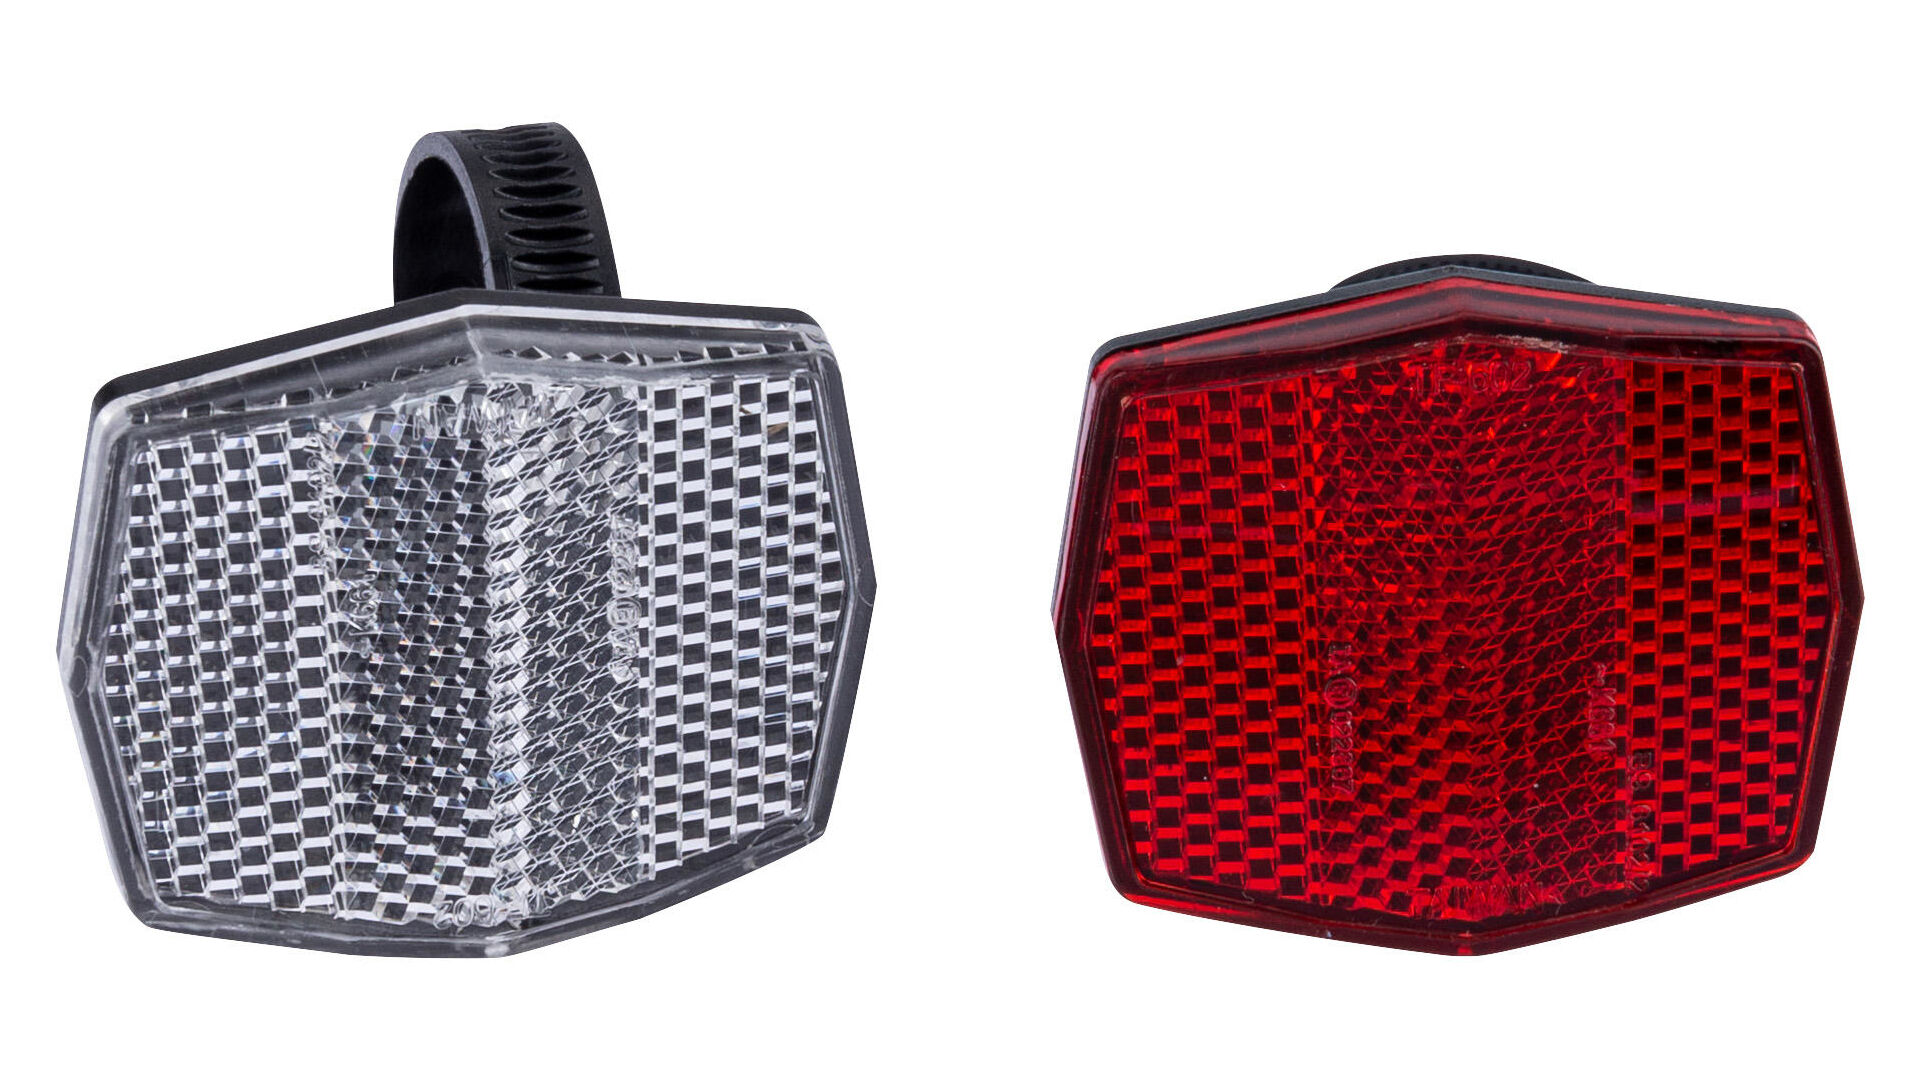
Besonderheit Hecklicht
Wenn du dein Hecklicht am Gepäckträger montieren möchtest, musst du beachten, dass es verschiedene Lochabstände gibt (50 oder 80 Millimeter). Das Licht und die Montagemöglichkeit müssen dementsprechend übereinstimmen.
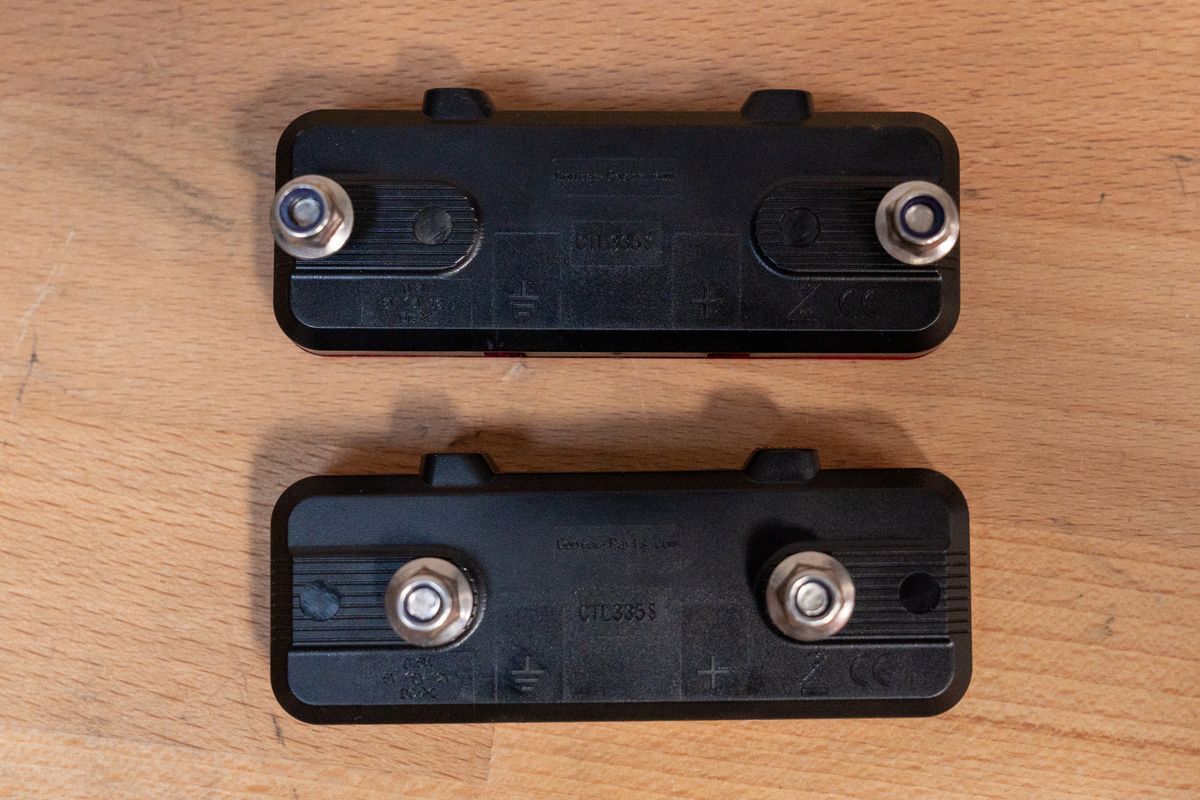
- After your light is mounted, you need to connect it to the cable. It is important to connect the black/white and black wires to the correct connector on the light.
- The black/white cable is the ground cable and belongs in the negative pole. It is marked with the ground symbol.
- The black cable must be connected to the unlabelled connector.
Achtung:
Sollten die Kabel an deinem Fahrrad im Rahmen verlegt sein, darfst du sie nicht einfach herausziehen. Sie dienen dir als Führungskabel, um die neuen Kabel in den Rahmen zu ziehen.
- If the cable routing on your bike is in the frame/fork/fender, you will need to connect the old cable to the new one at one end. For example, use electrical tape.
- Now you can pull the old cable from the frame at the other end. The new cable is run into the frame/fork/fender at the same time.
- If the cable is not internally run, you can route it along the frame and along the fork. It helps when you wrap the cable around the fork or the rear triangle and attach it with cable ties or electrical tape.
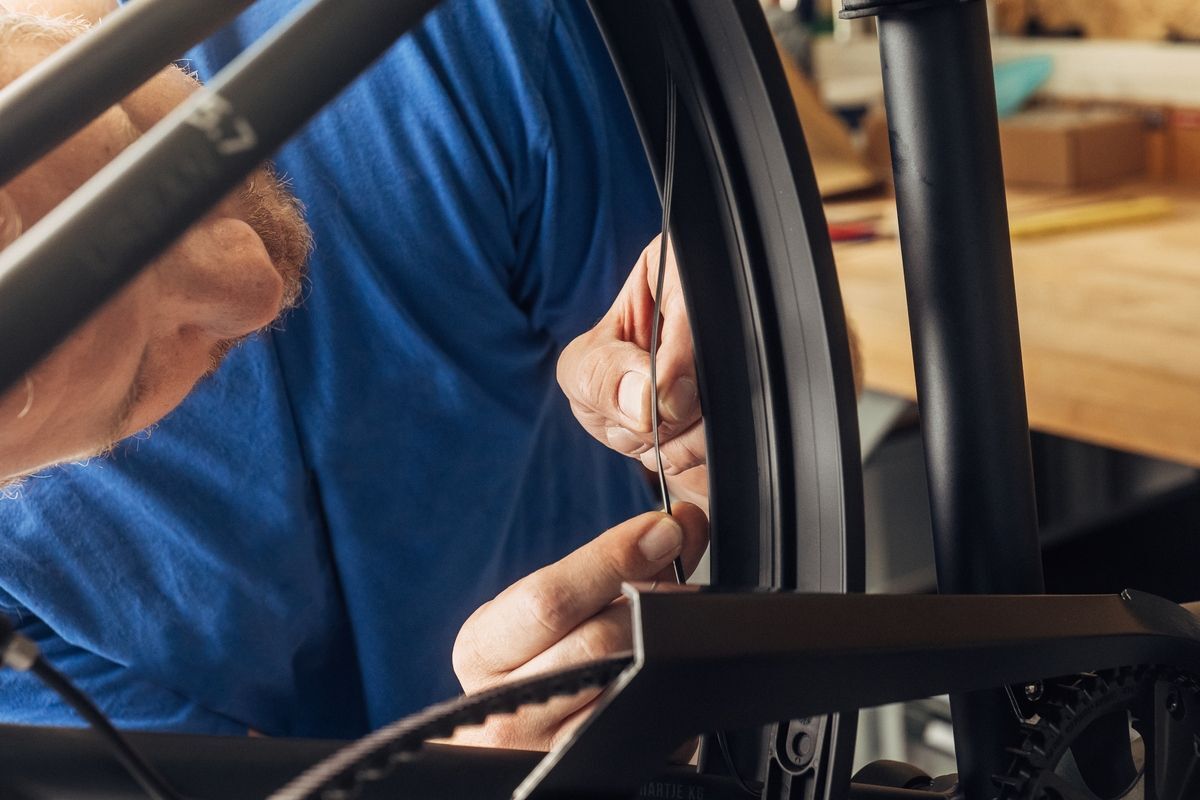
- Make sure that the wiring is tight against the frame and fork and that there is no way for it to get caught in the wheel.
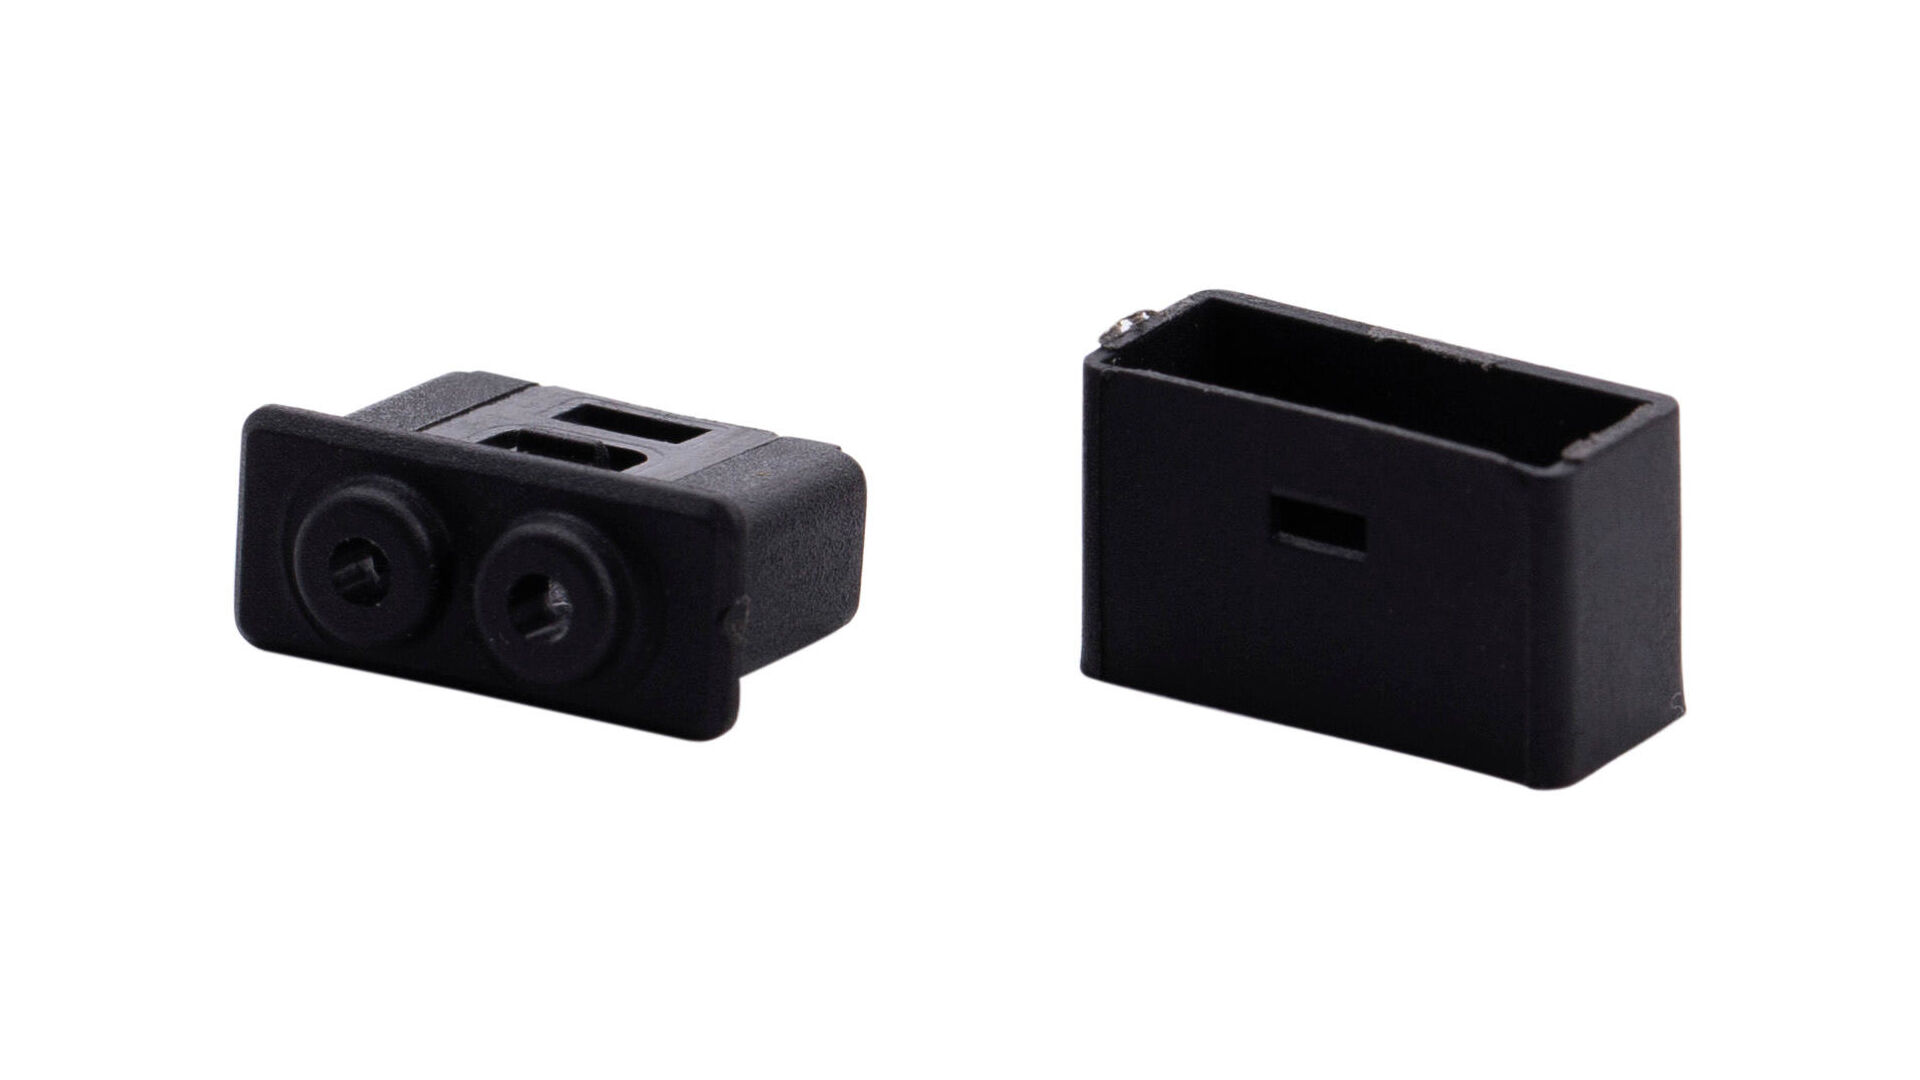
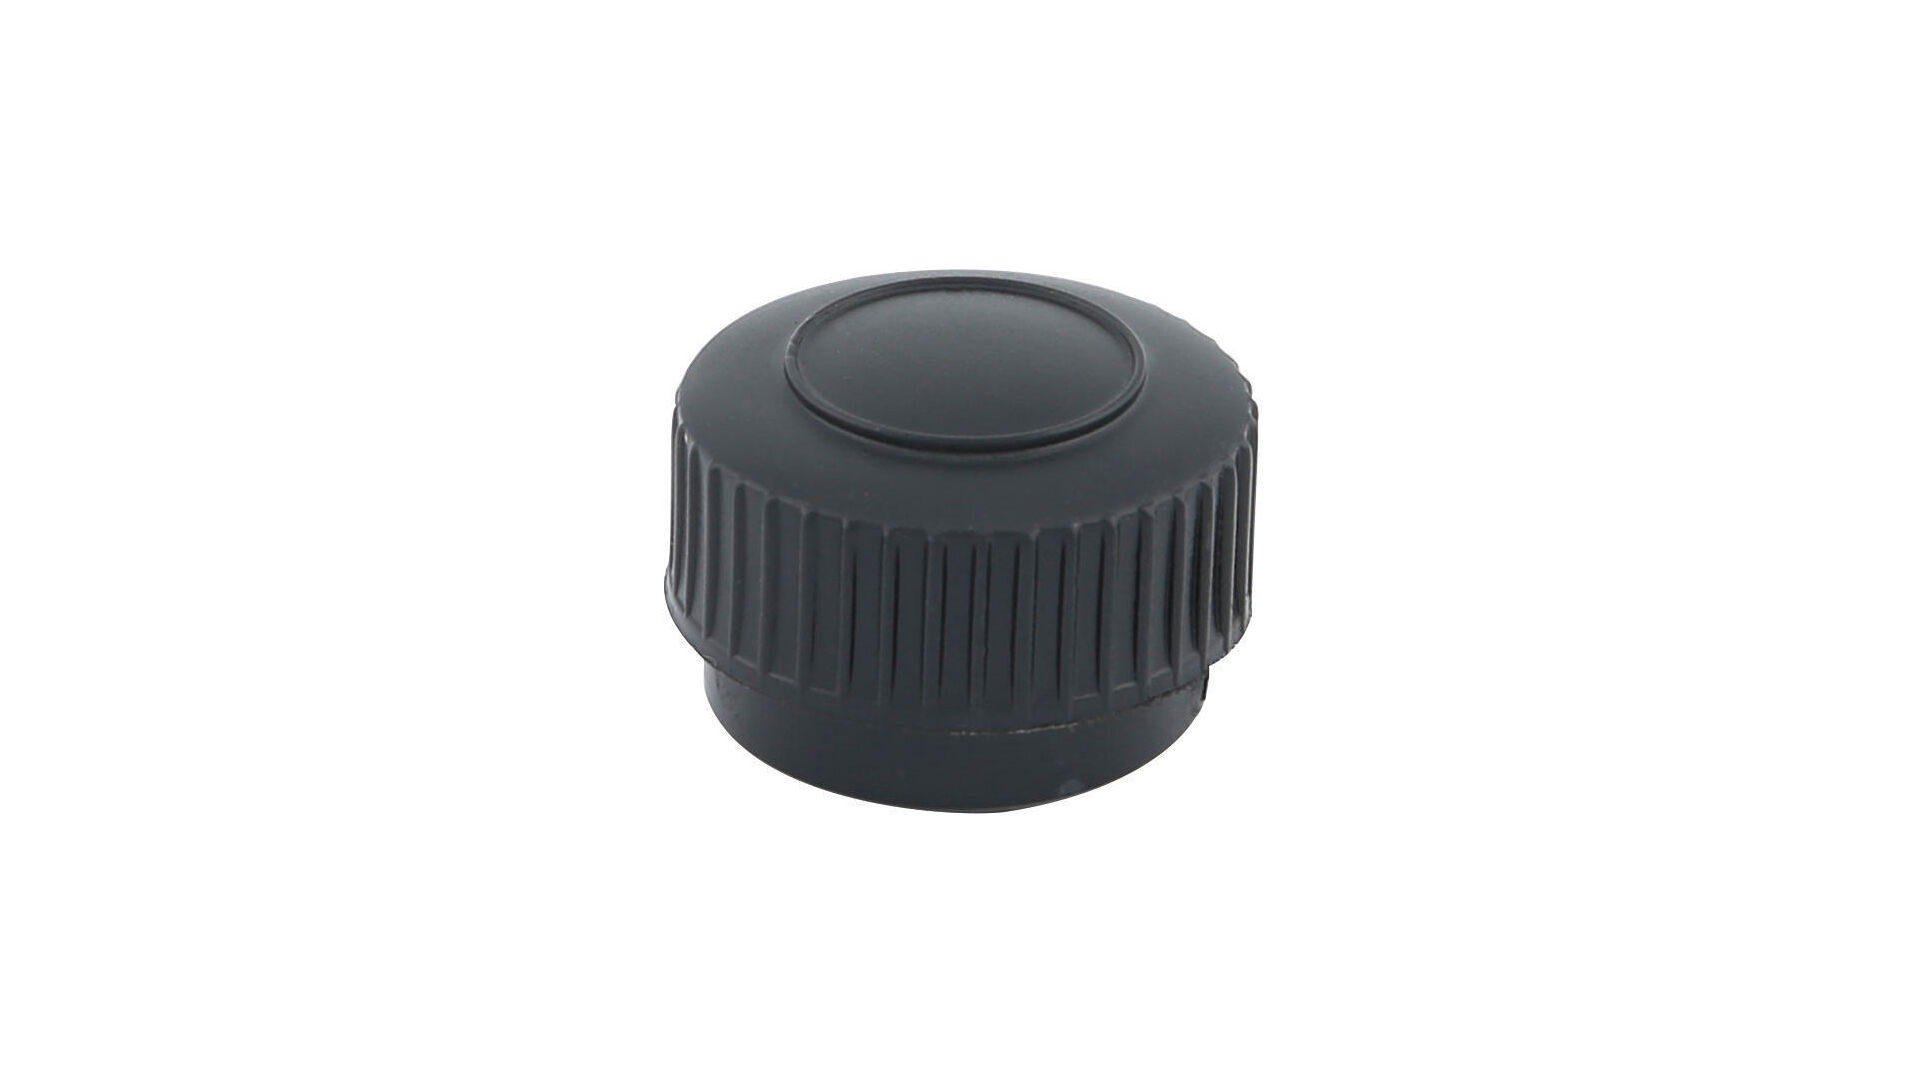
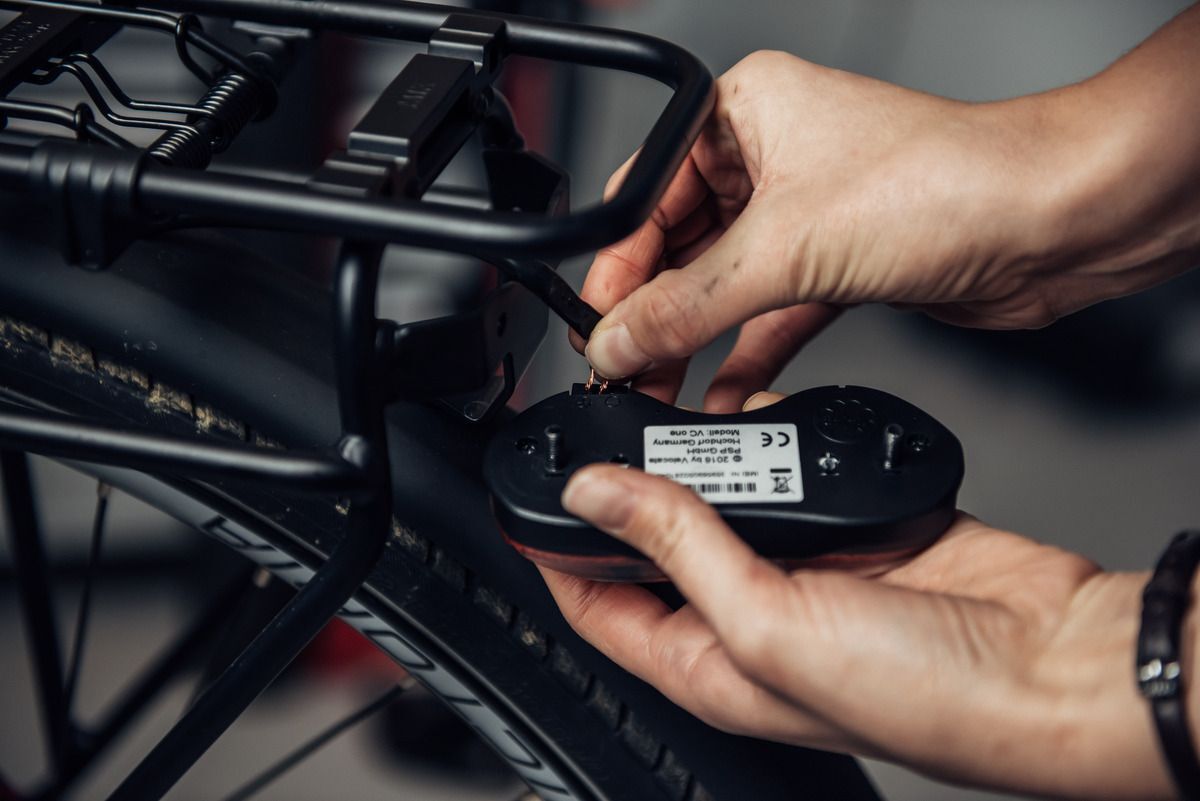
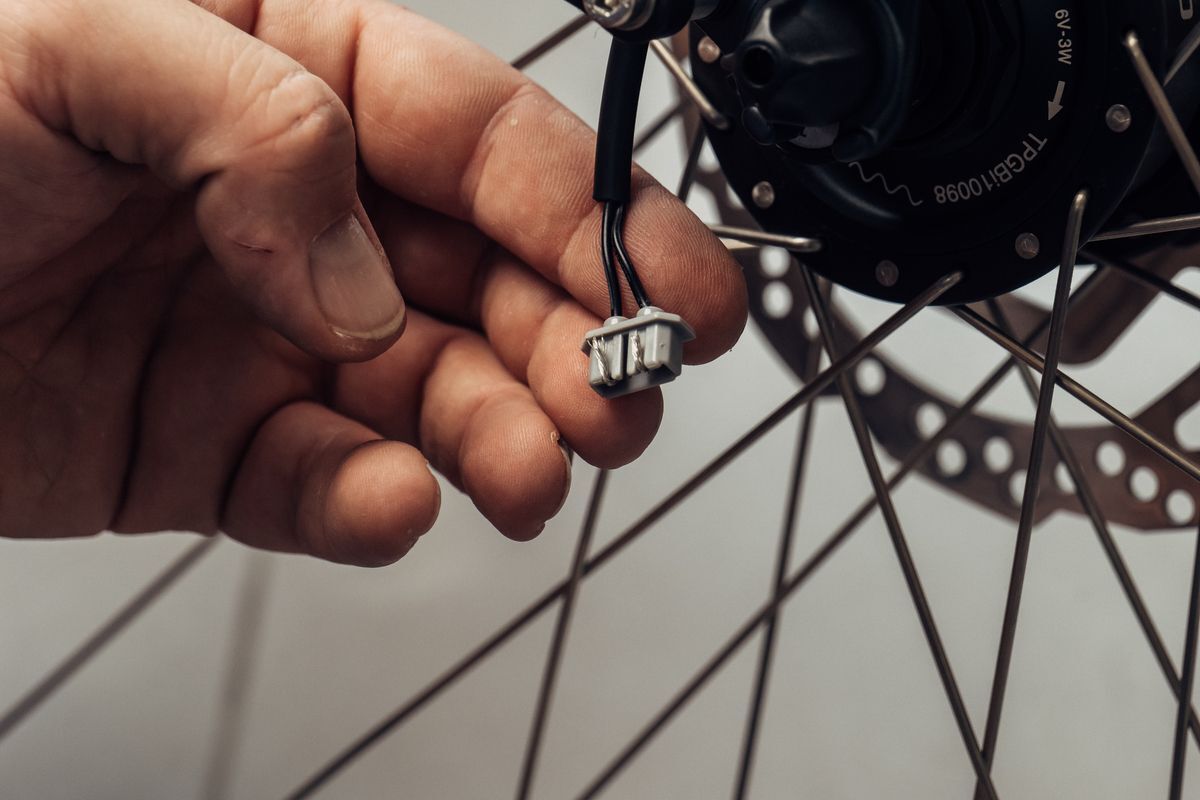
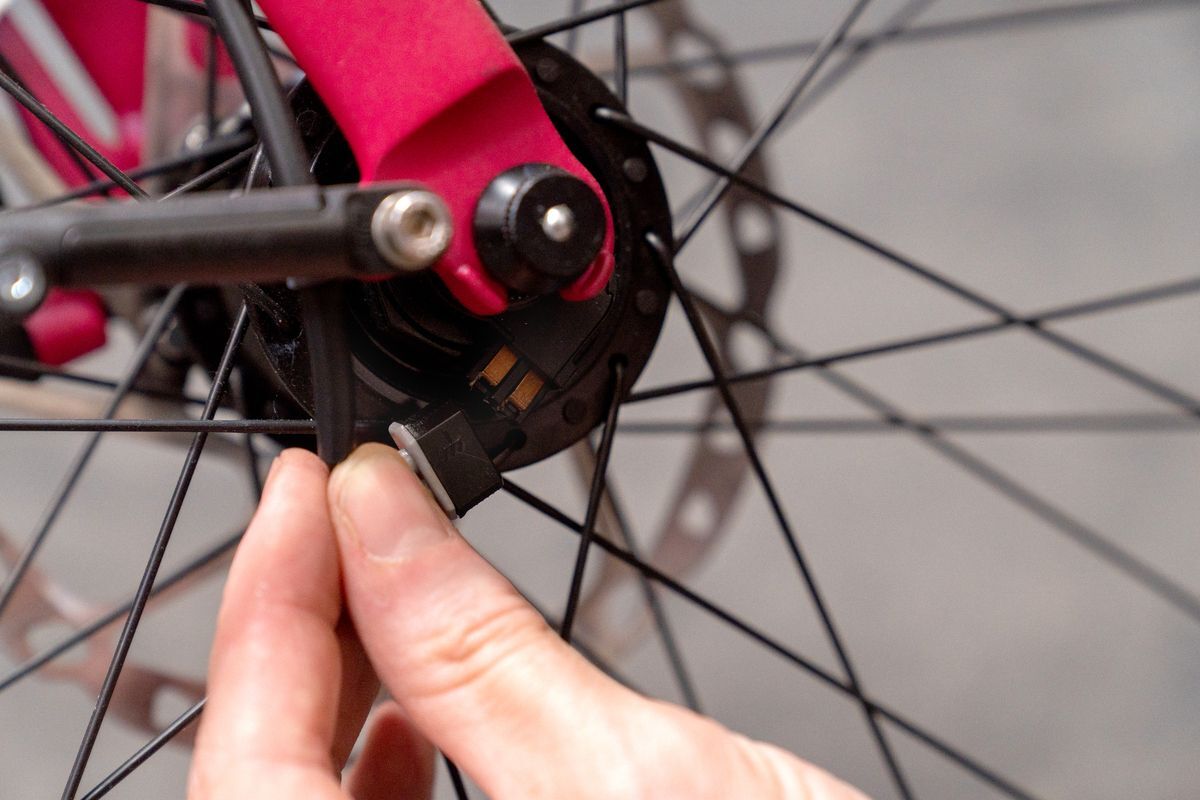
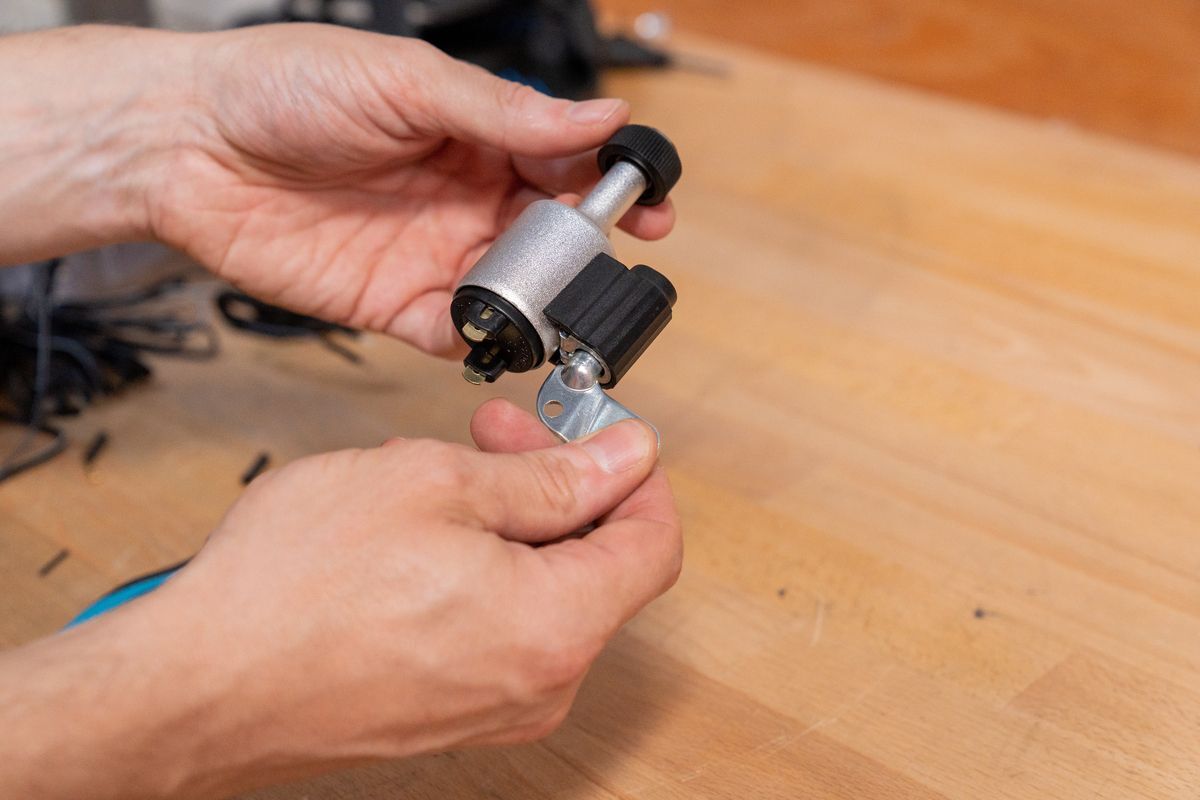
- After you have run the cables, you need to connect the light and the dynamo. The dynamo is connected via a plug. This must be connected to the cable. To do this, remove the plug cap.
- Next, you can twist the stripped copper wires to prevent them from fraying and to make it easier to push them into the small holes of the plug.
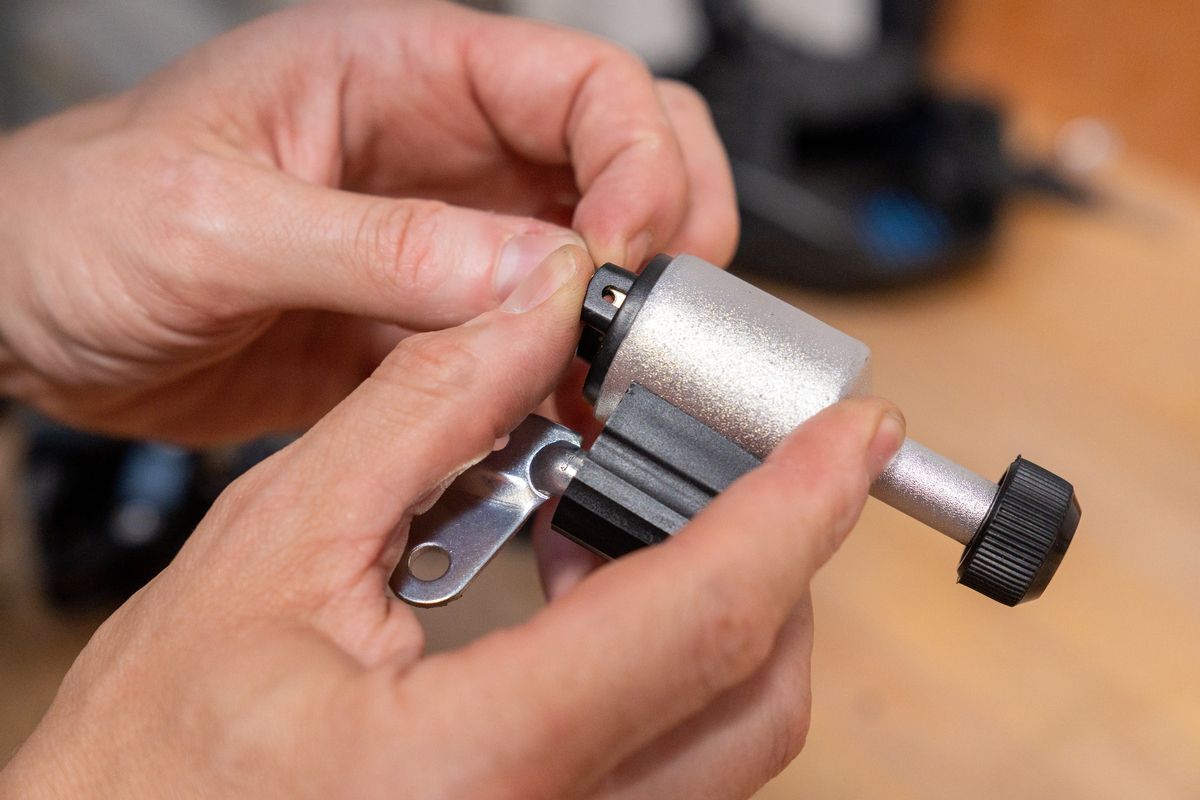
- Make sure that you insert the black/white cable into the hole with the ground symbol.
- The cable with black insulation belongs in the opening without a symbol.
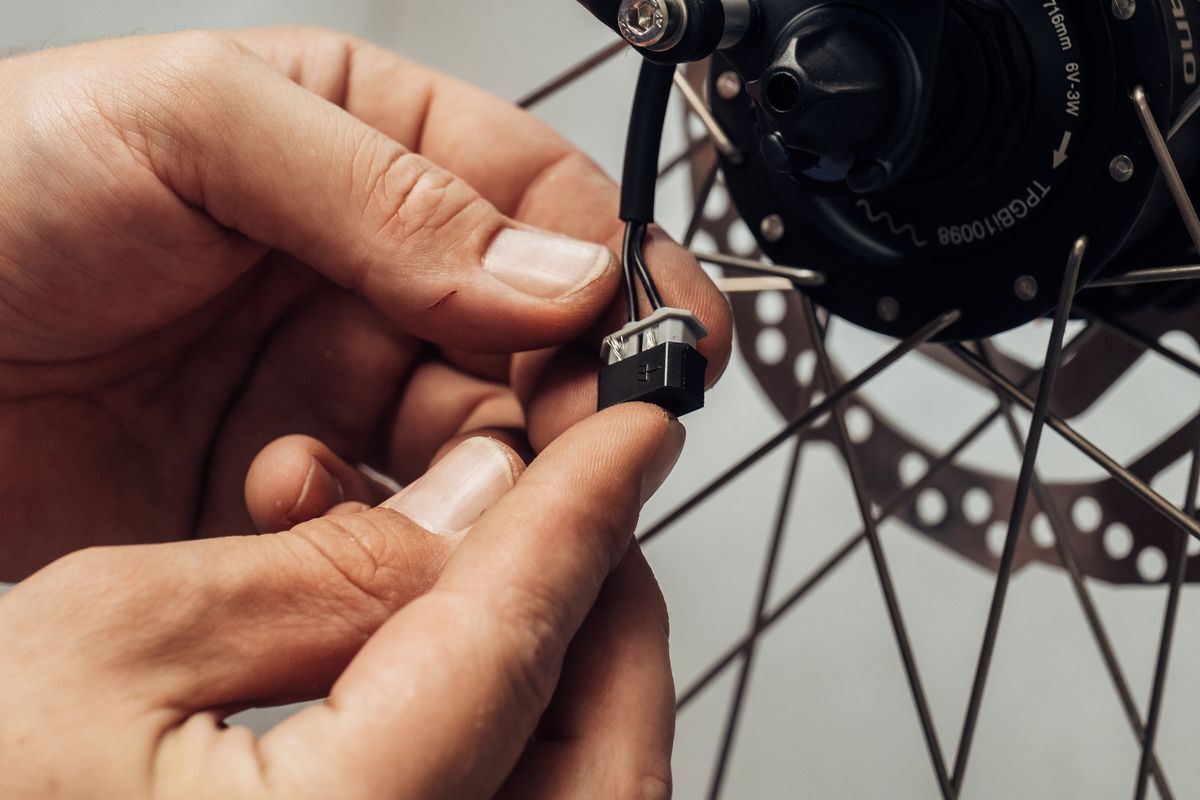
- When both copper wires are inserted into the openings, you can bend them and push them into the recess provided. Now push the cap over the plug again.
- Finally, connect the plug to the dynamo hub.
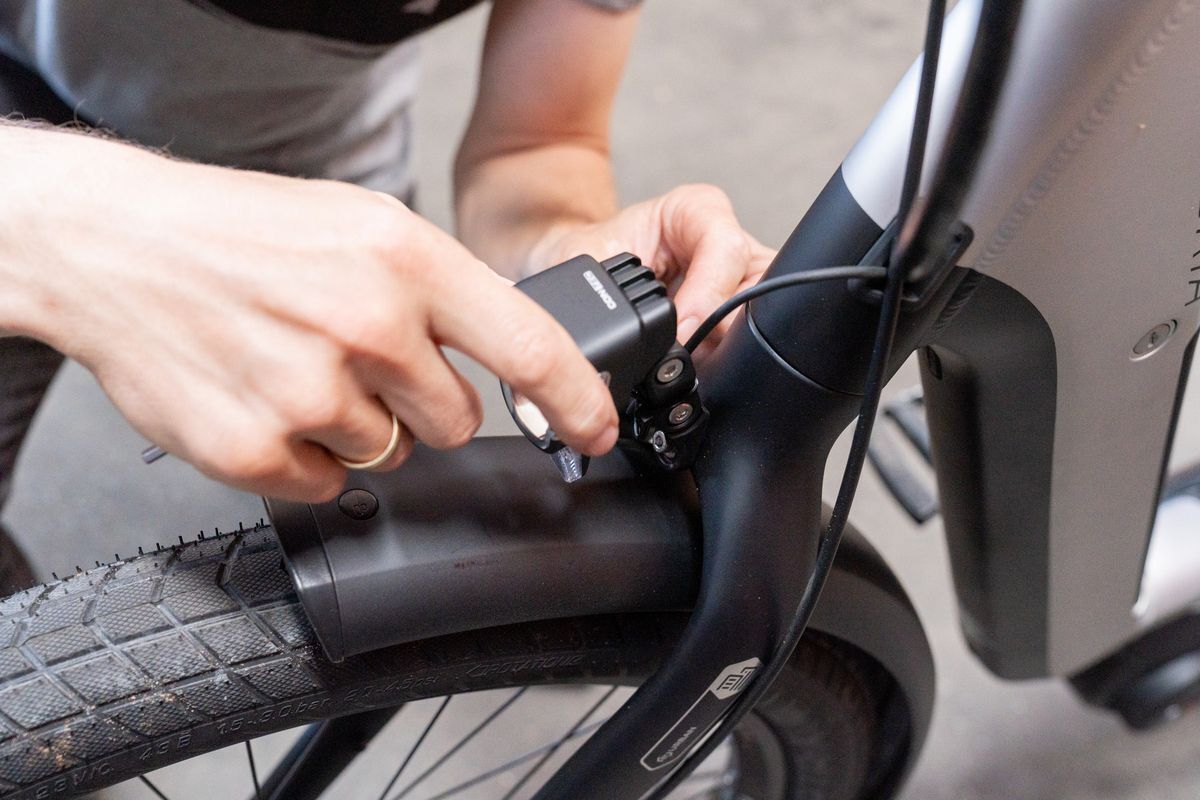
- For the front and rear lights, also make sure that you connect the black/white and black wires to the correct connector on the light.
- The black/white cable is the ground cable and belongs in the negative pole. It is marked with the ground symbol.
- The black cable must be connected to the unlabelled connector.
Before you start riding your bike again, you should see if everything works. Are all lights on? Are all cables tight against the frame? Nothing is rubbing? If everything works fine, it's time to get going.

If you'd like to know how to adjust your front light – on the road or at home – then check out this post.
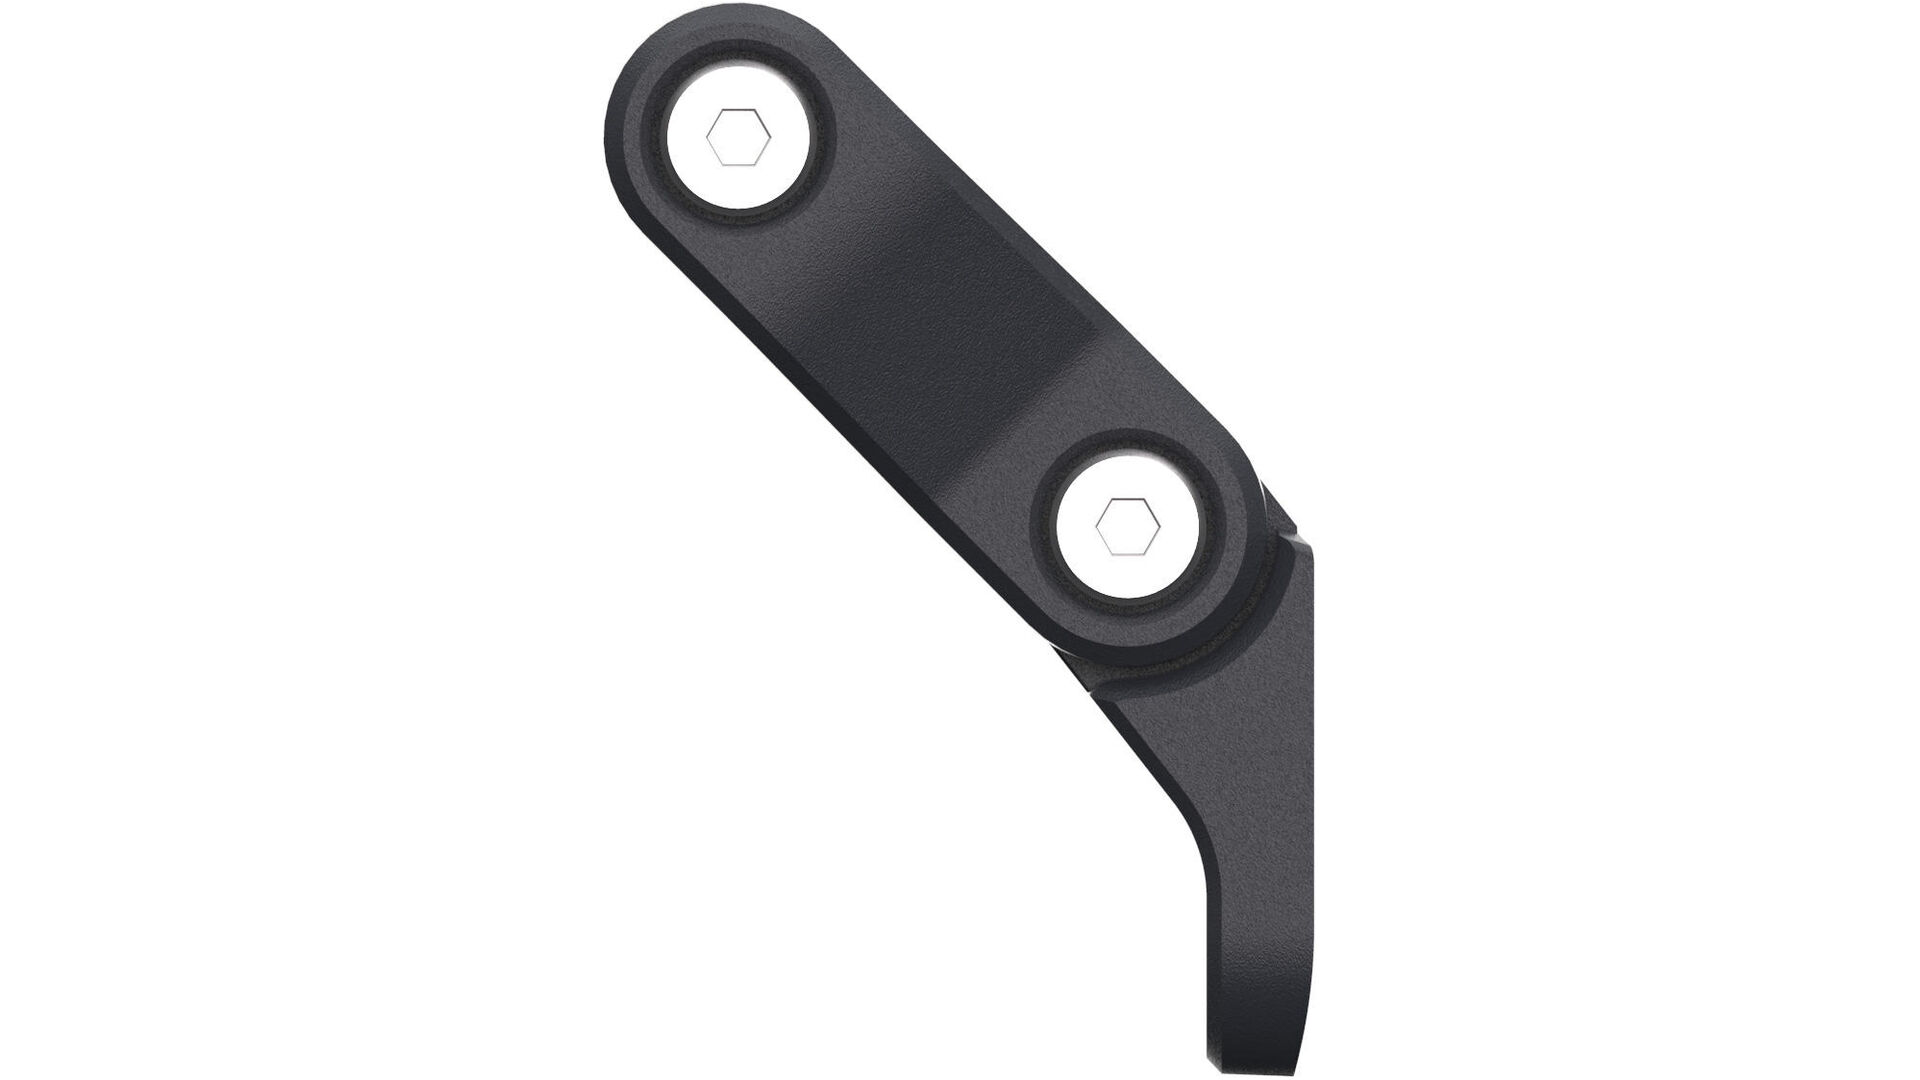
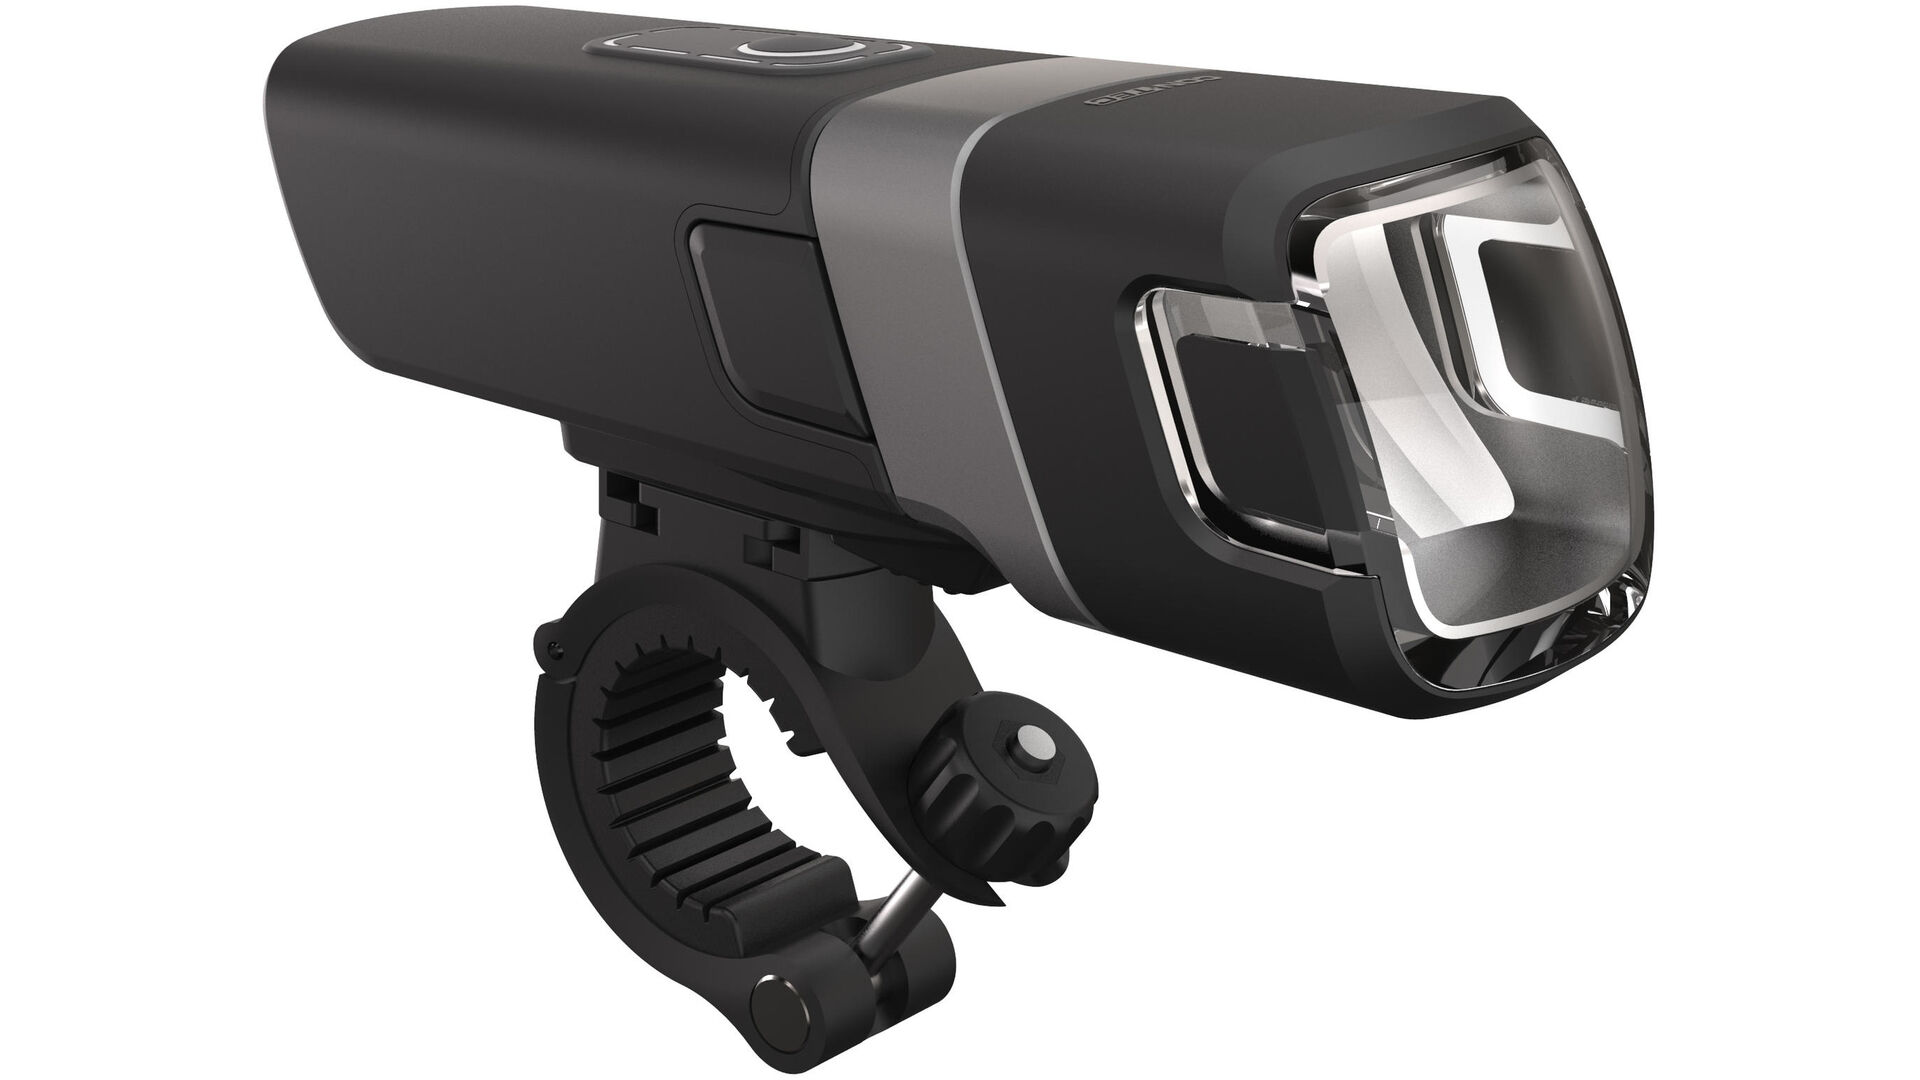
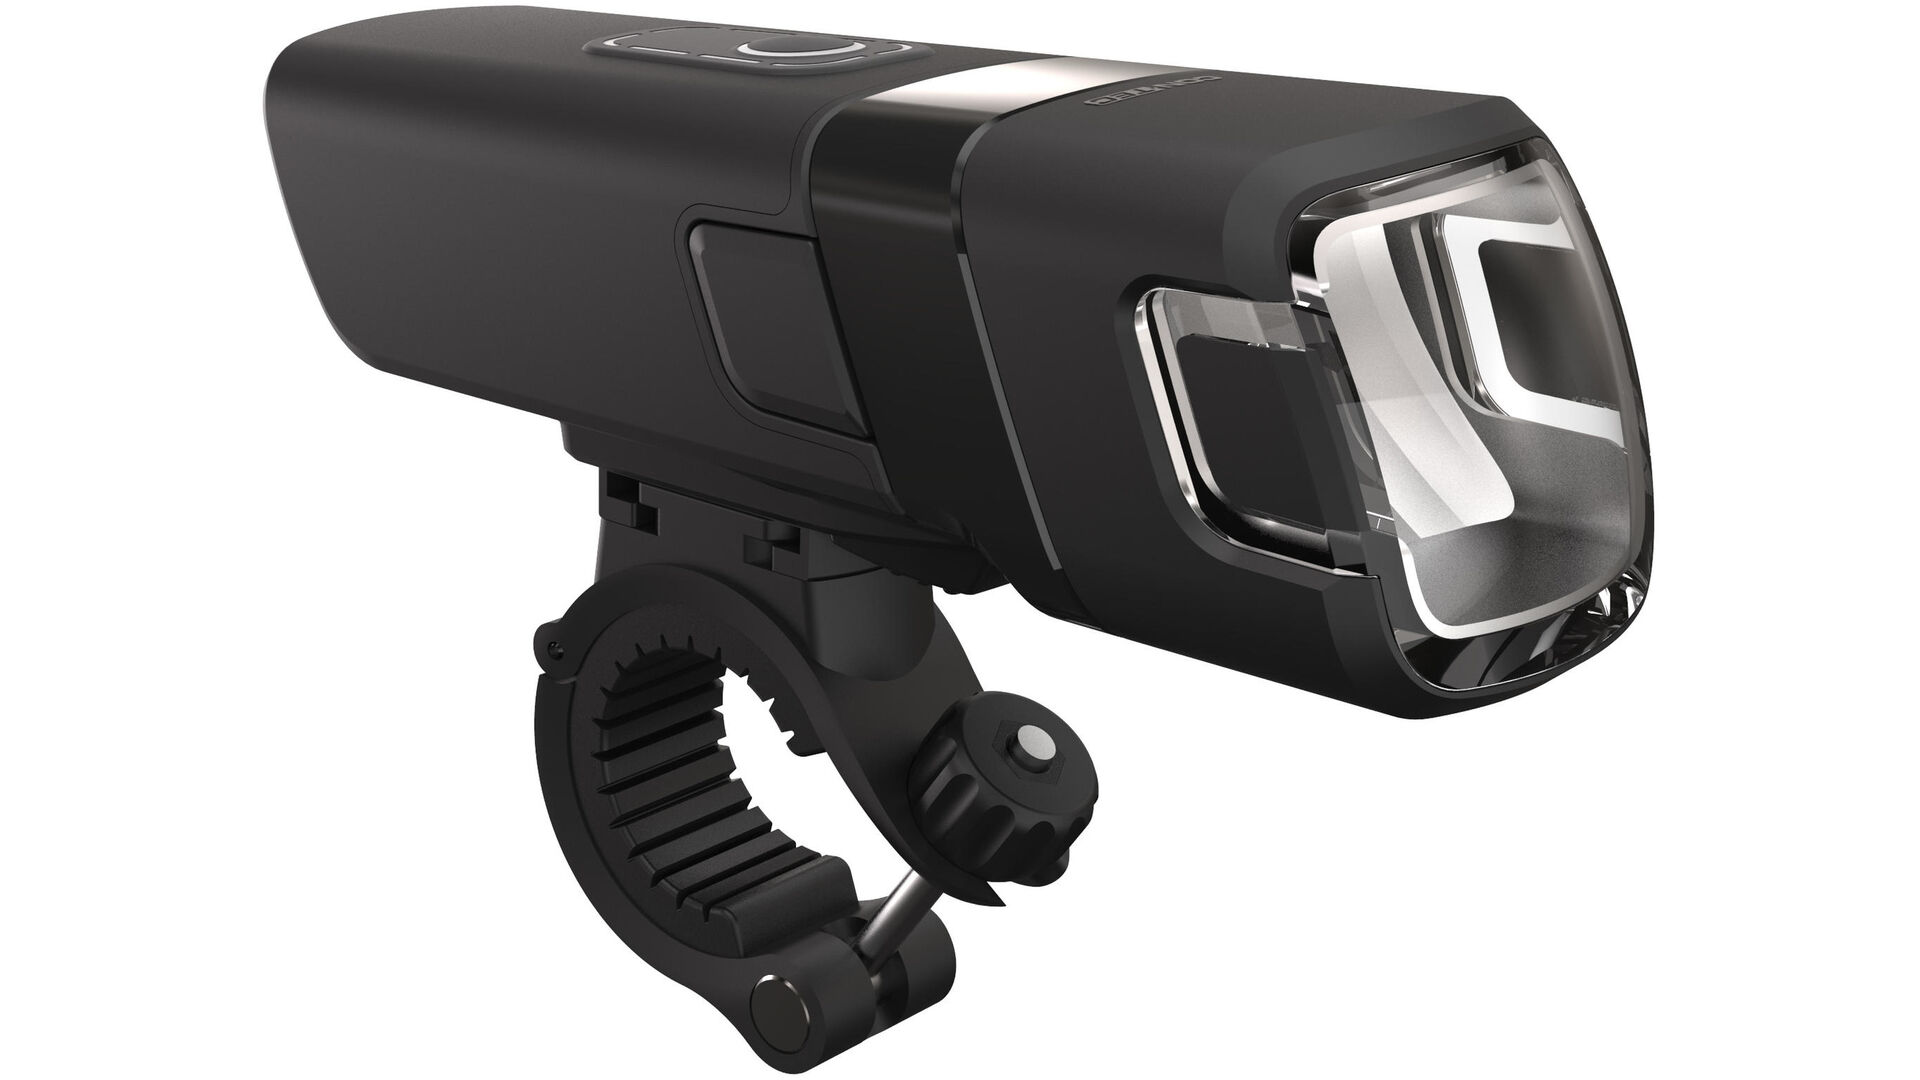
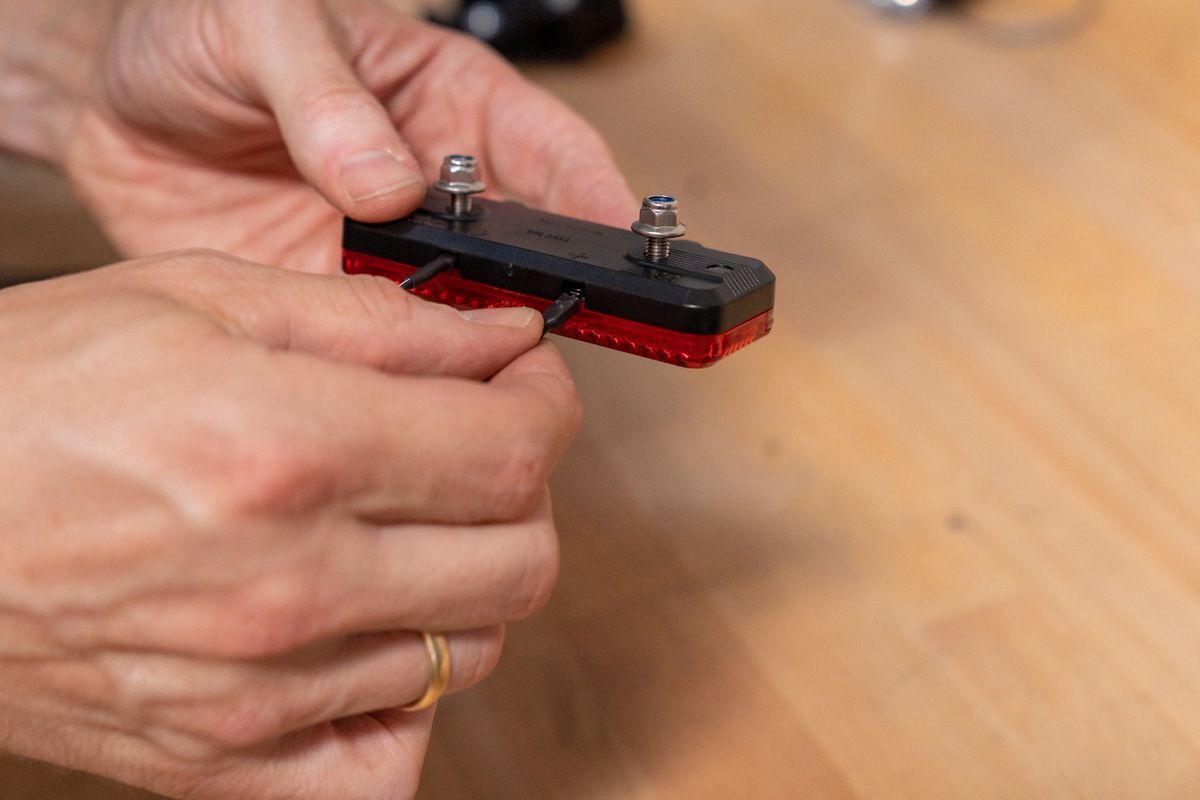
Step 1: Mounting the lights
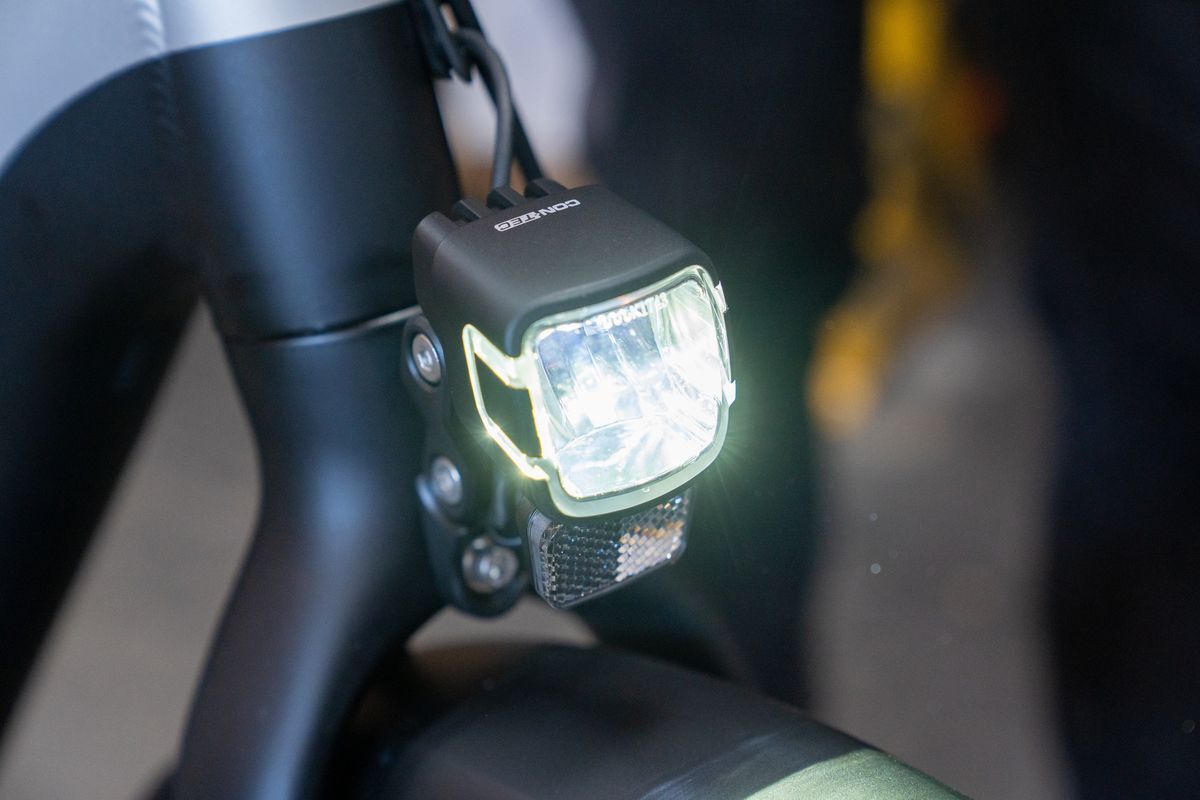
- If you've got the right light for your bike, you can mount it to right place.
- Screw the front mount onto the fender or fork.
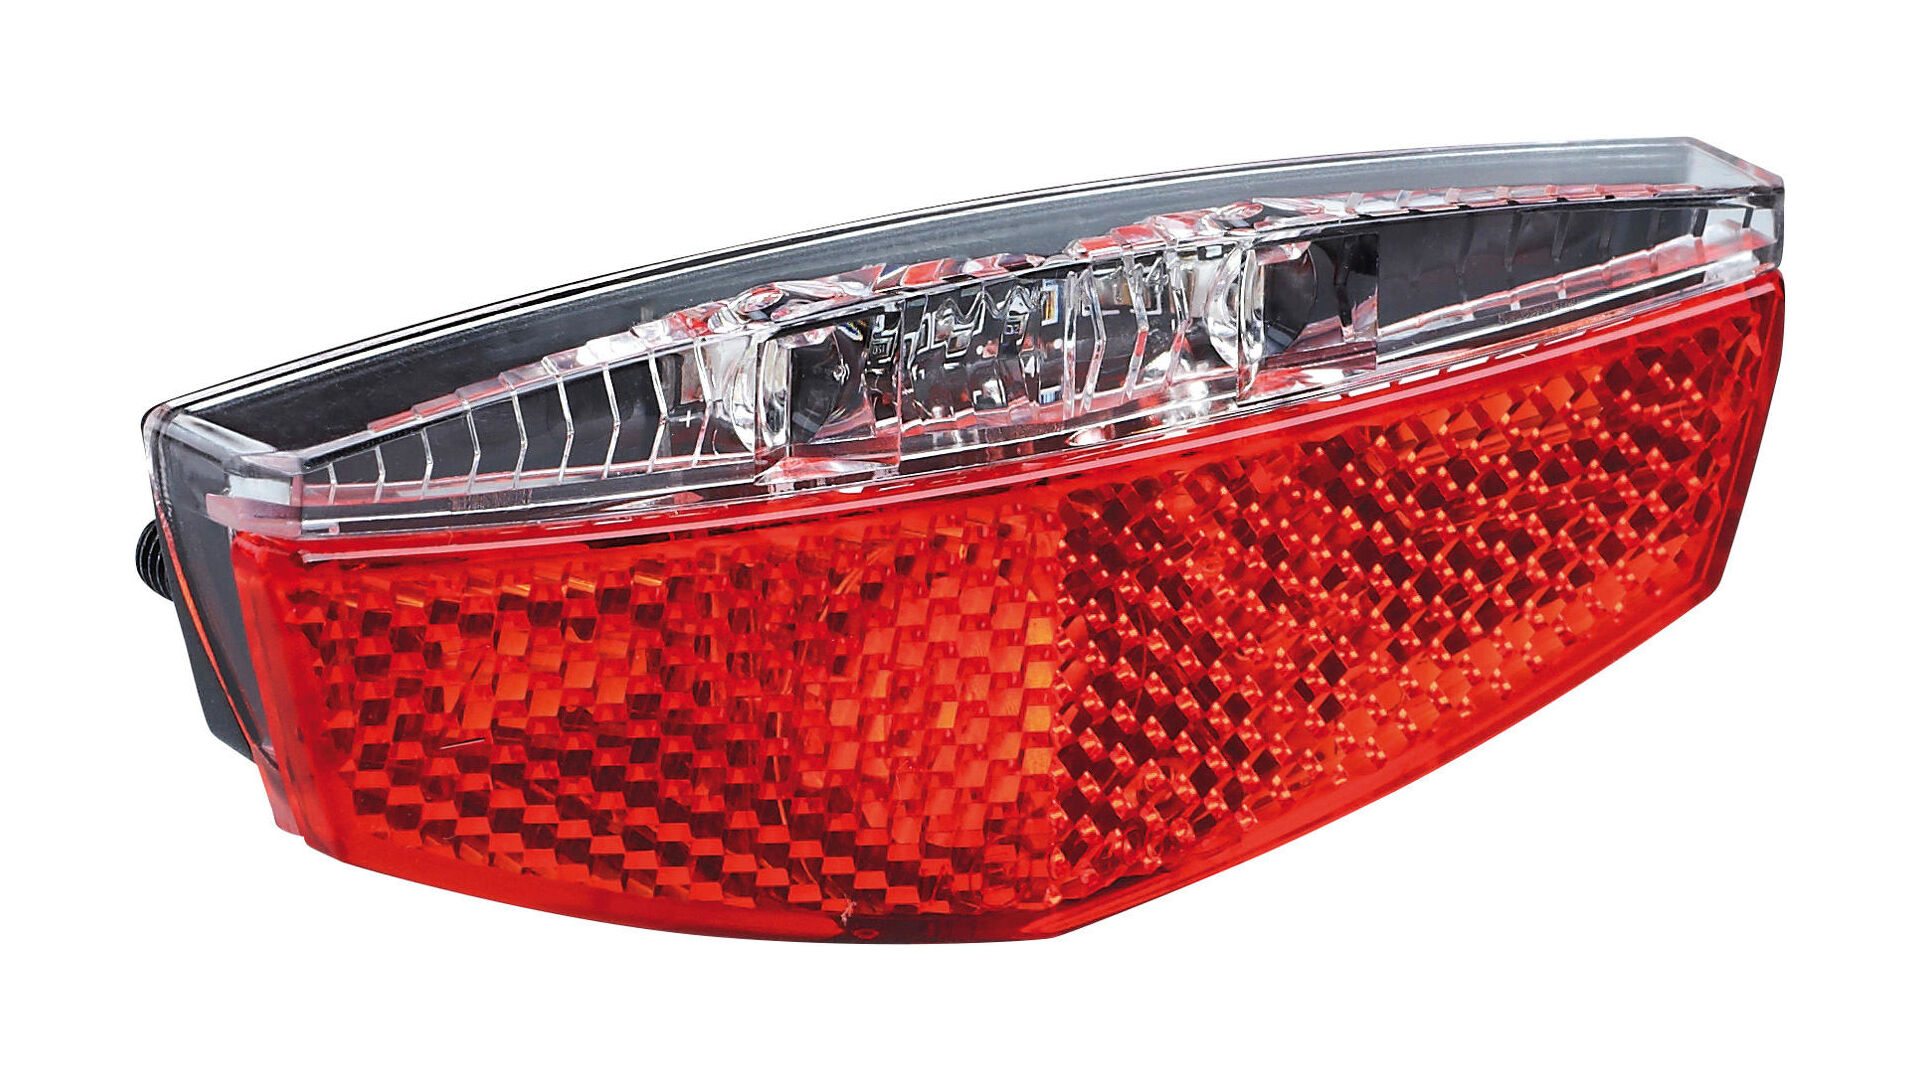
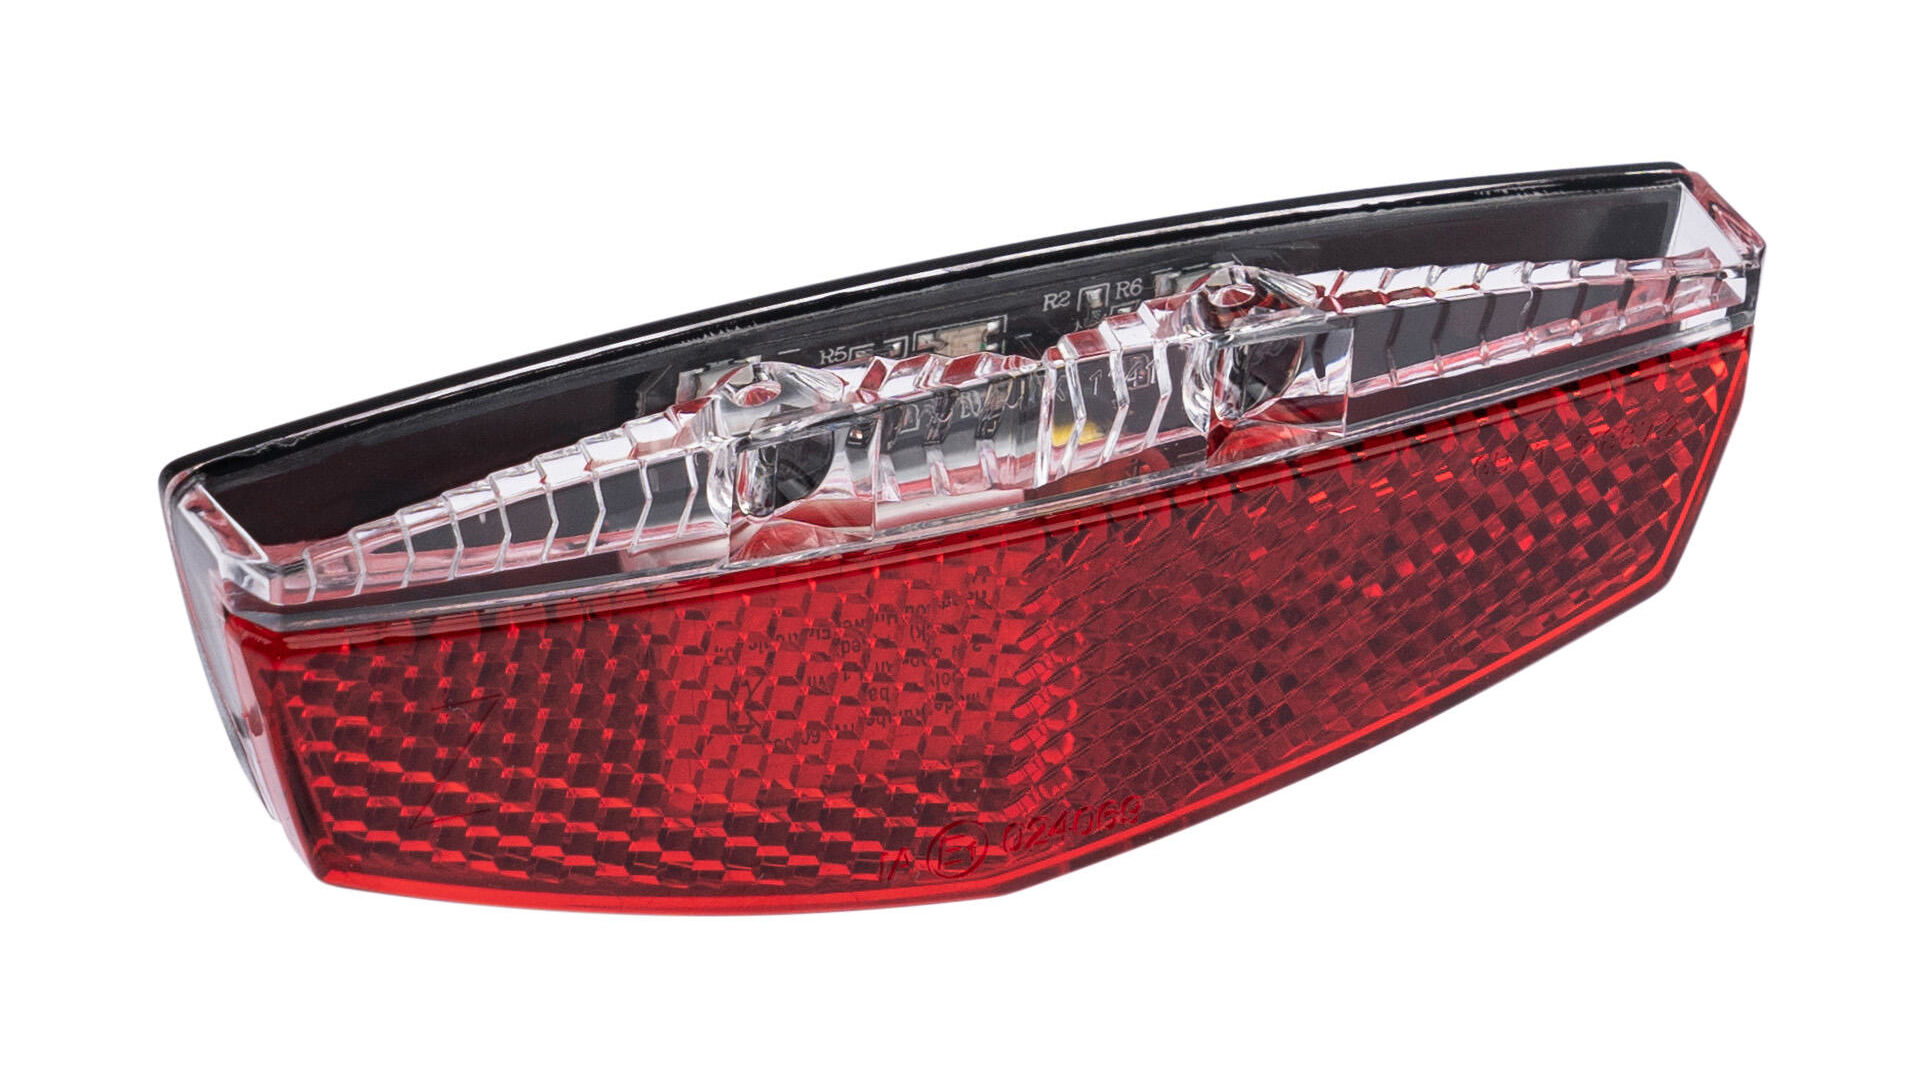
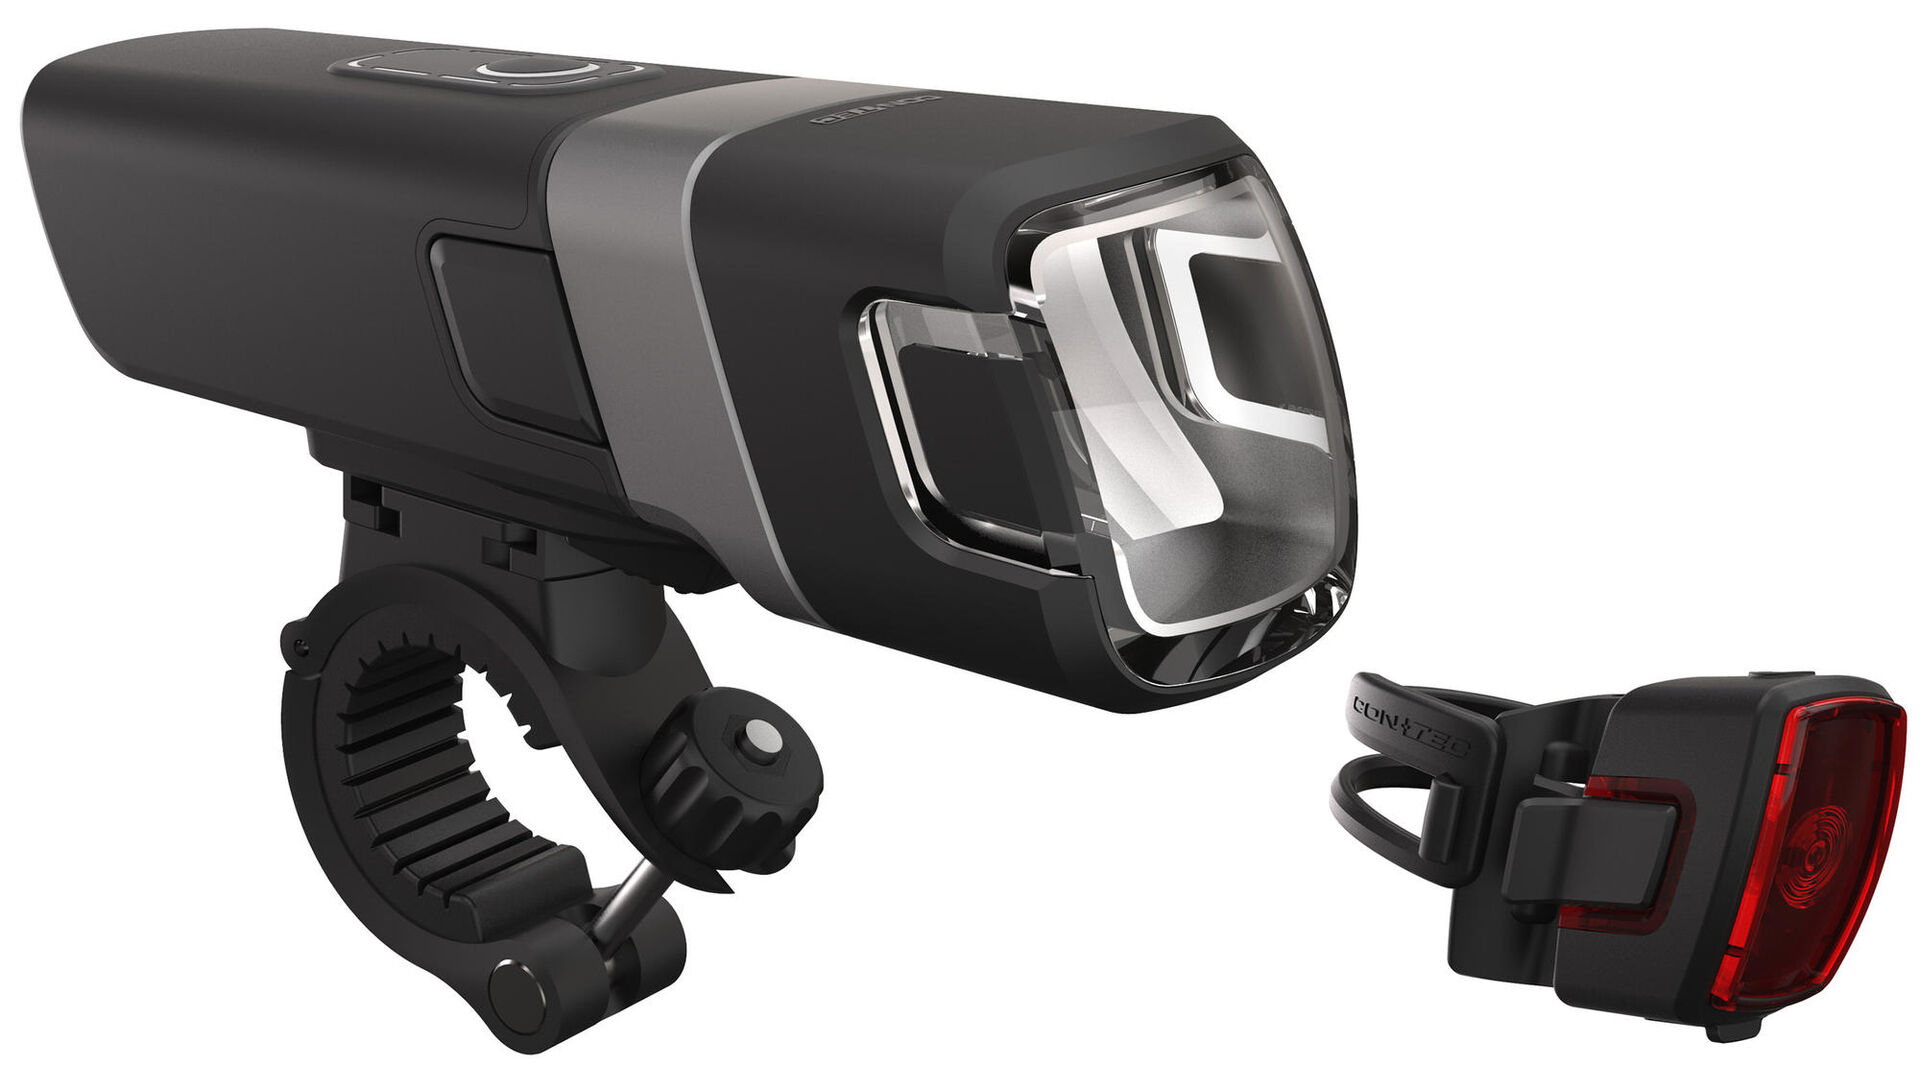
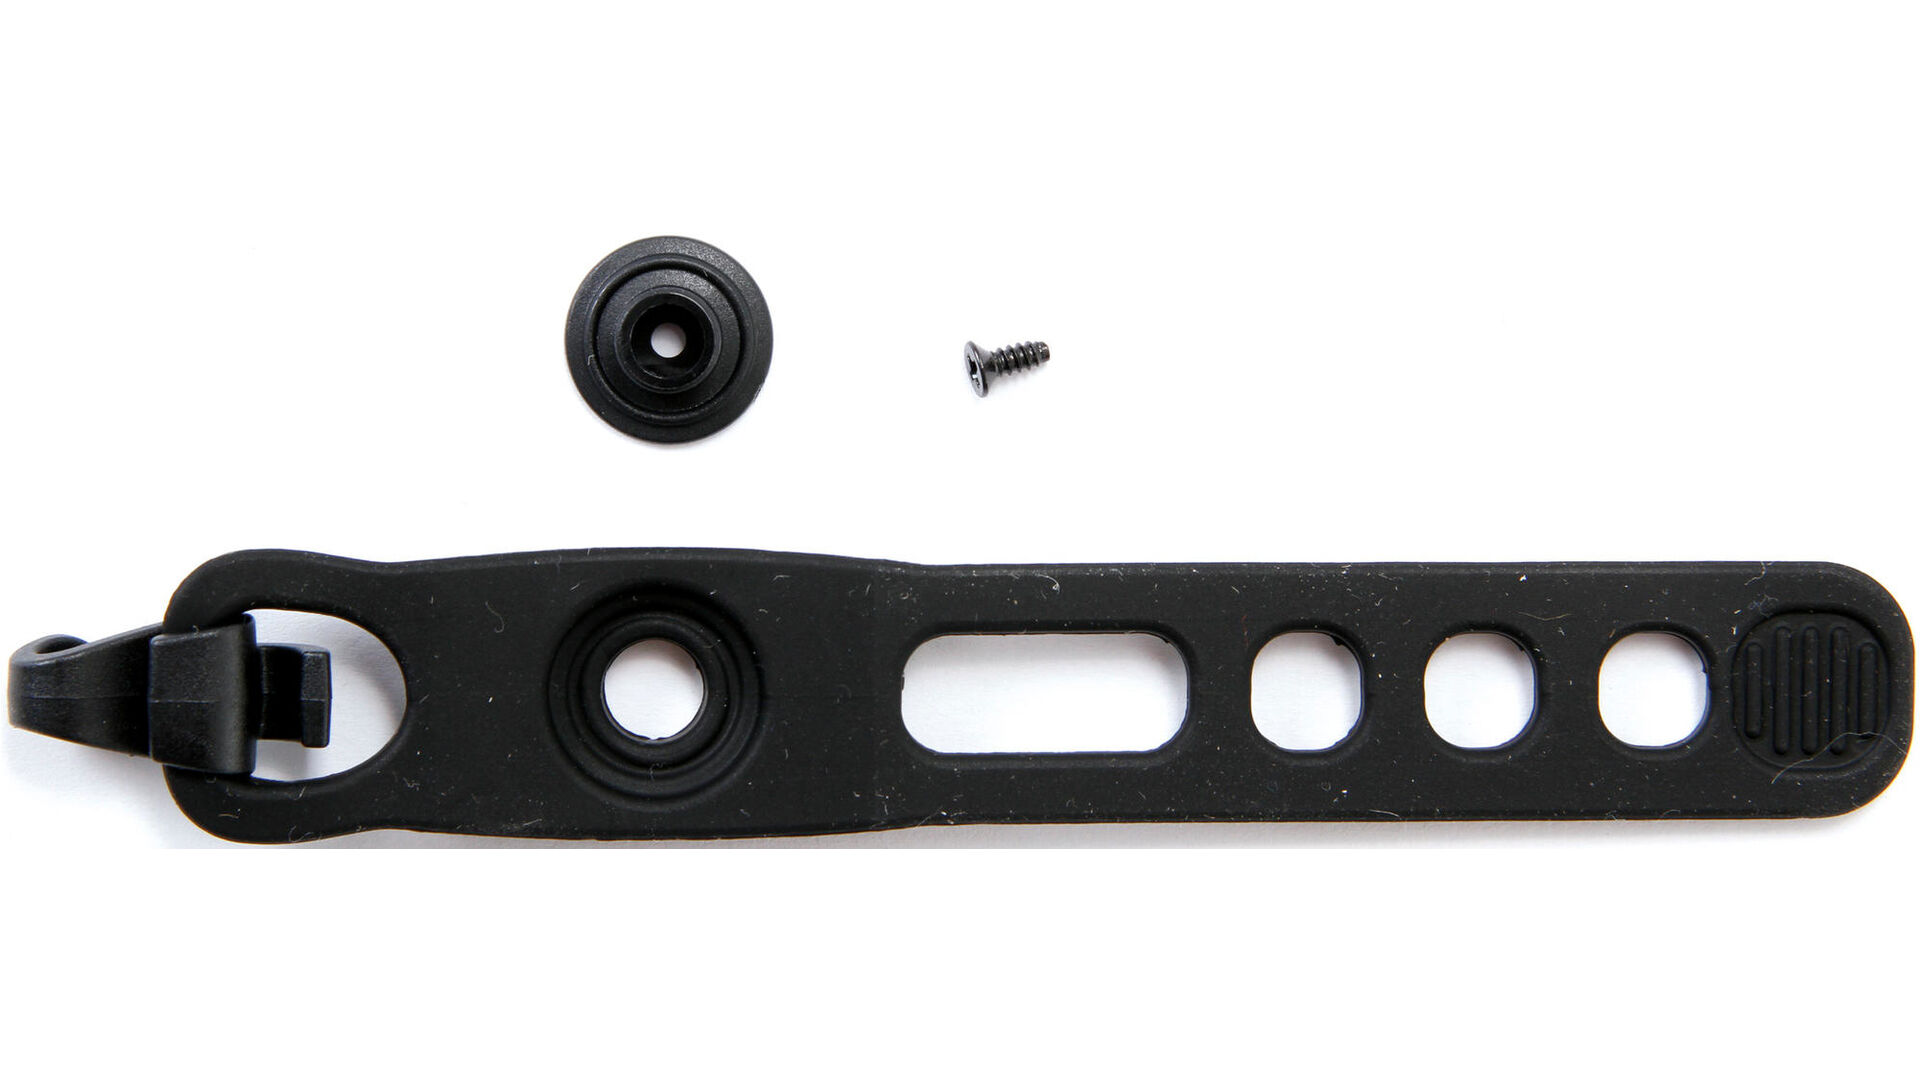
- You can attach the rear mount to the fender, rack or the rear triangle (note that the hole spacing on your rear light and on your rack needs to be the same).
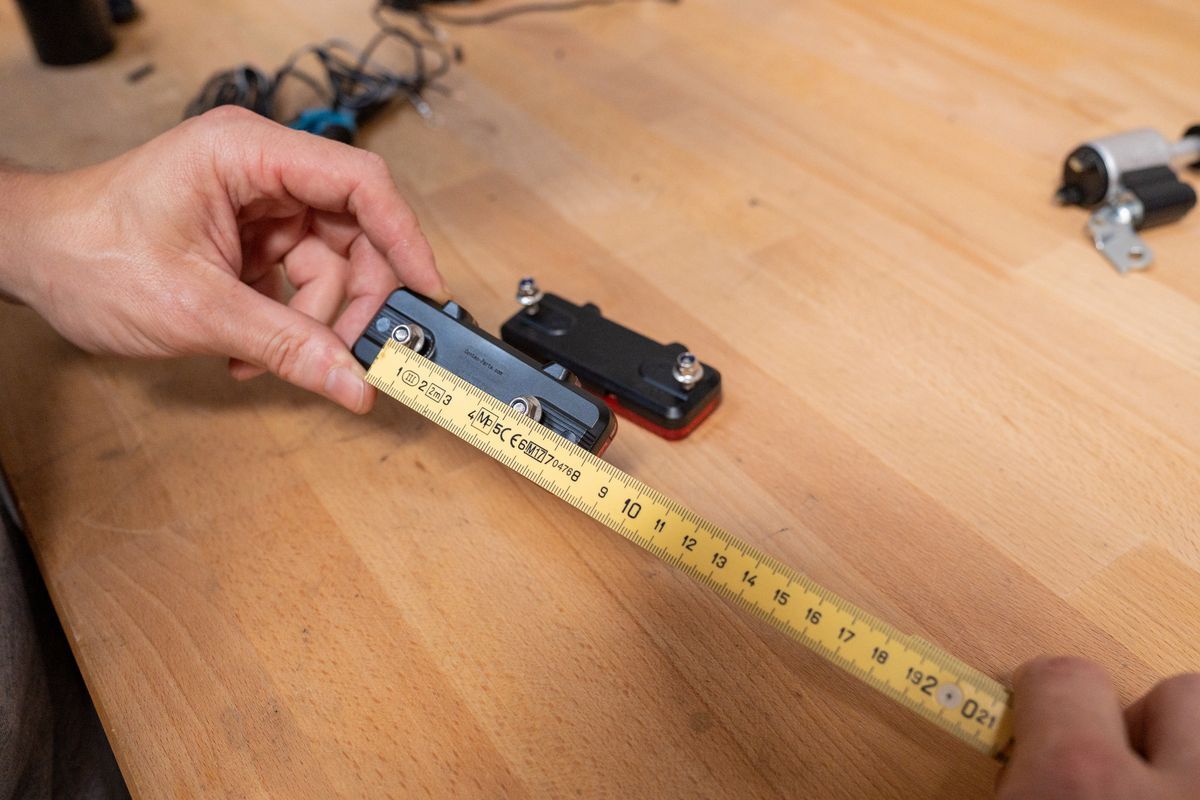


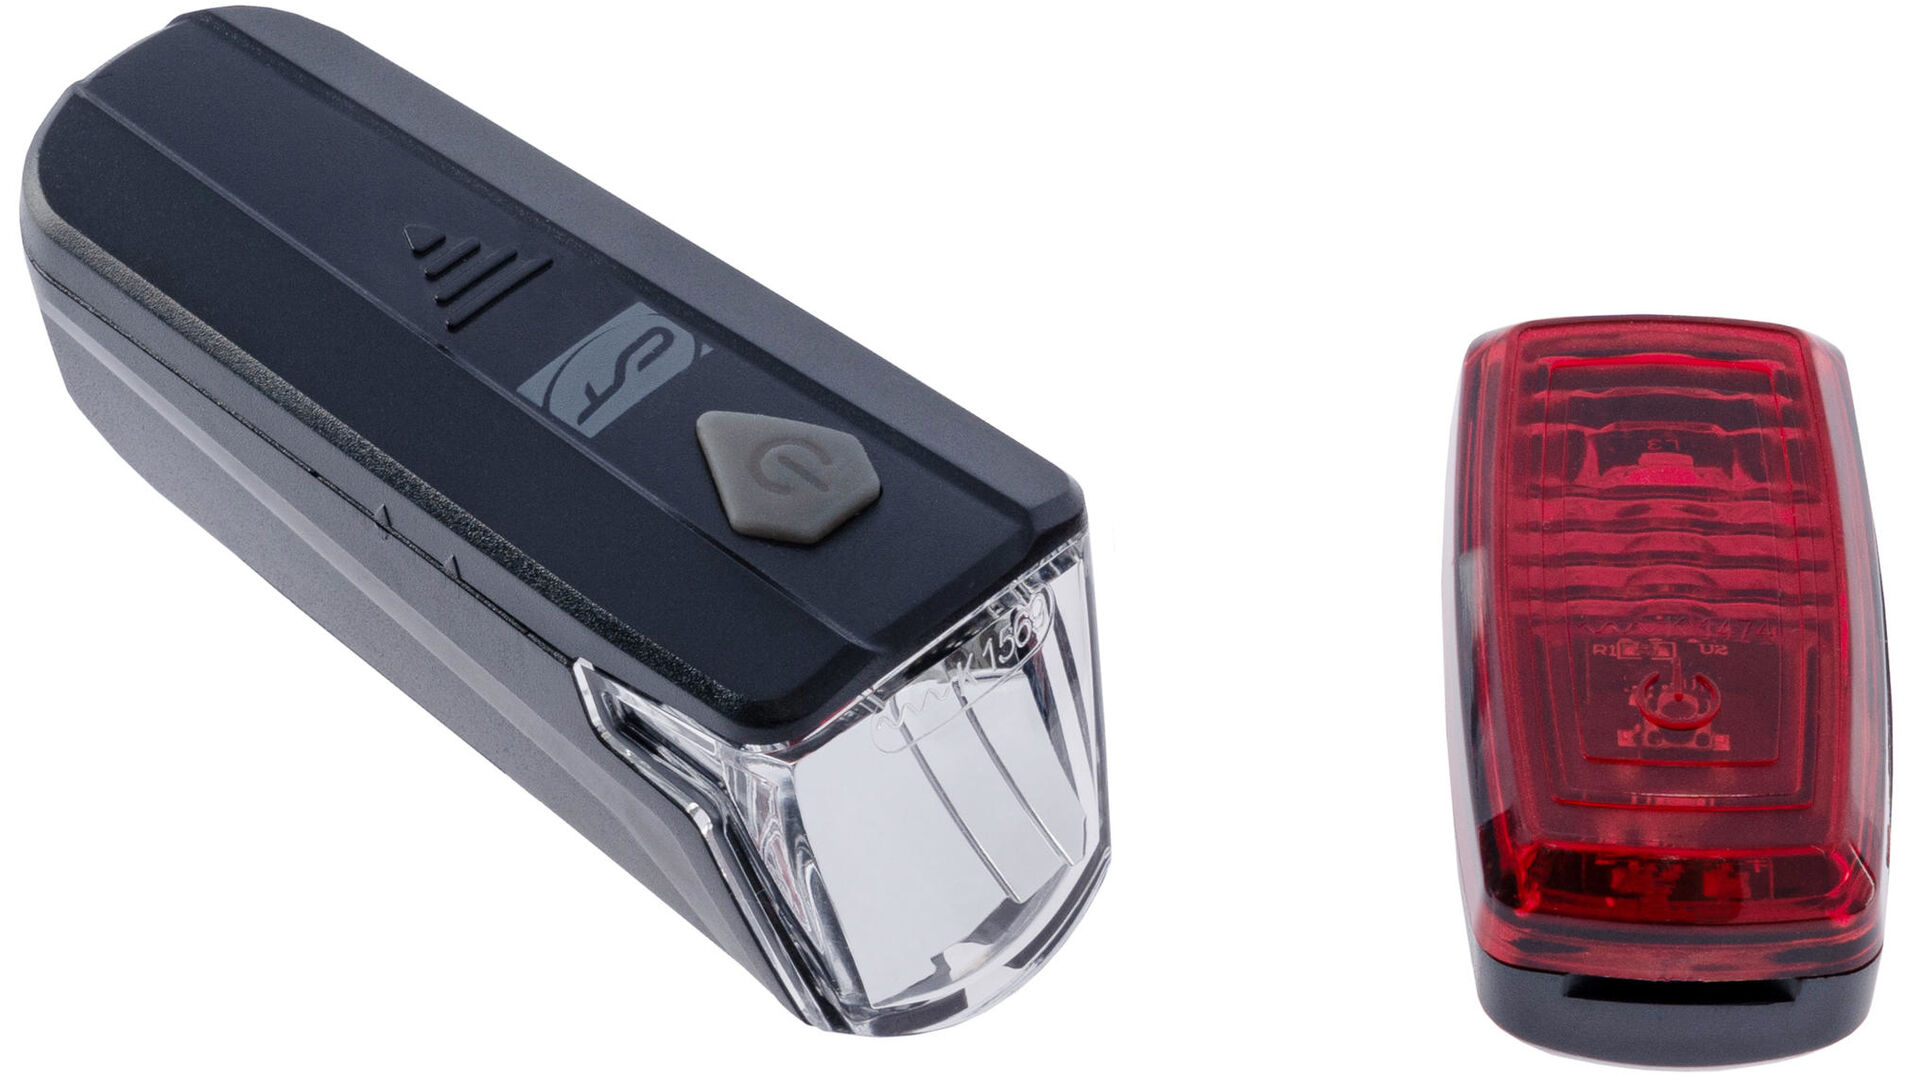
Rear light feature:
If you want to mount your rear light on a rack, you should note that there are different hole spacings (50 or 80 millimetres). The light and the mount must match accordingly.

Notice:
If the cables on your bike are run in the frame, do not simply pull them out. They serve as guide cables to pull the new cables into the frame.