
Adjusting disc brakes - this is how it works!
Properly adjusted disc brakes are essential to bike safety. Because:Brakes need to be relied on – whether you want to go on long tours or just short rides around the block. Correctly fitted disc brakes give safety and control over braking distance and braking force. Find out what to look for when adjusting disc brakes, what tools you need and how to do it here!
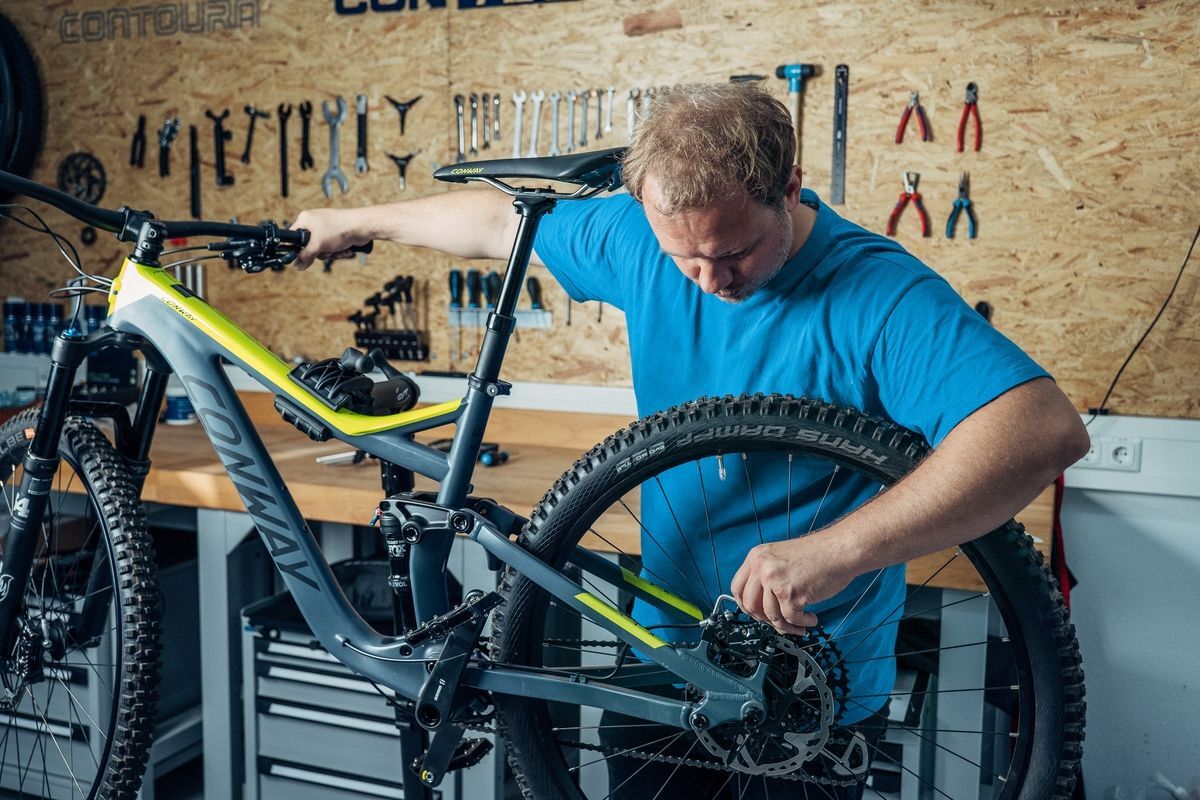
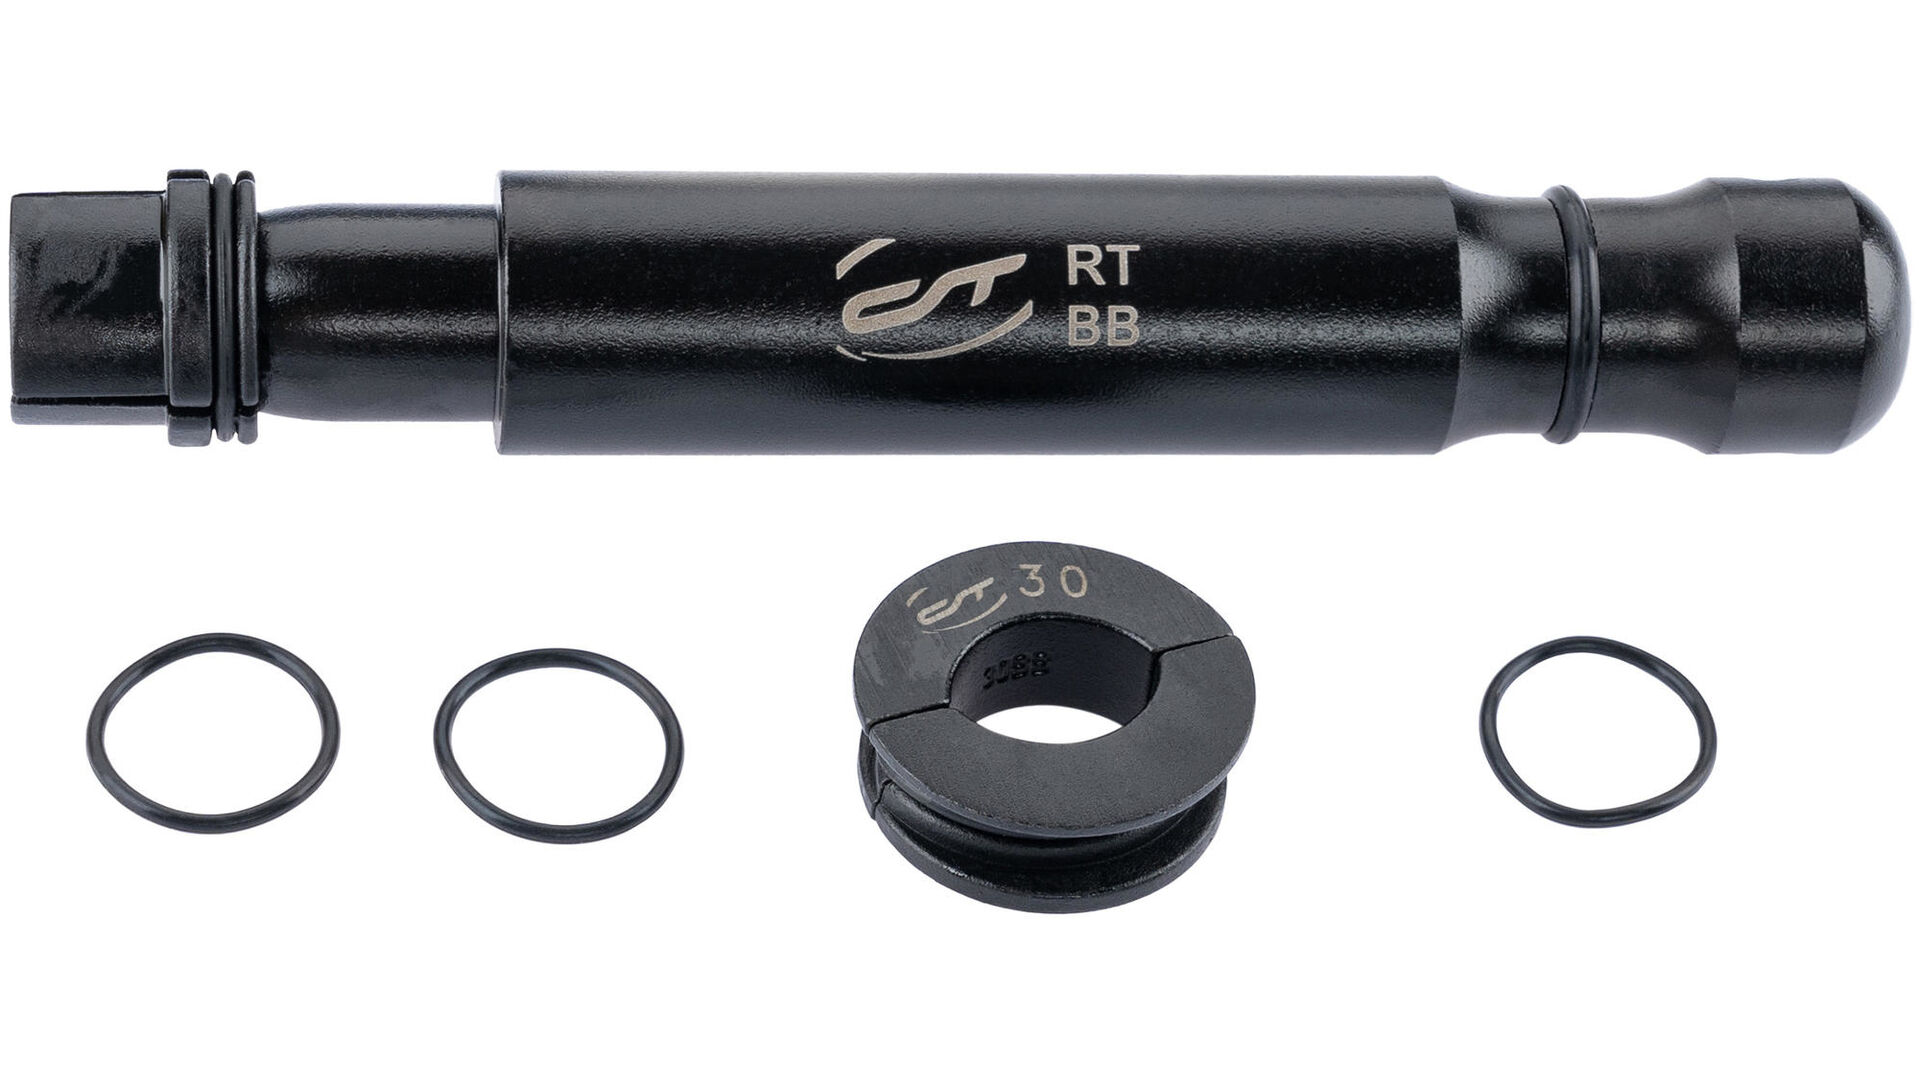
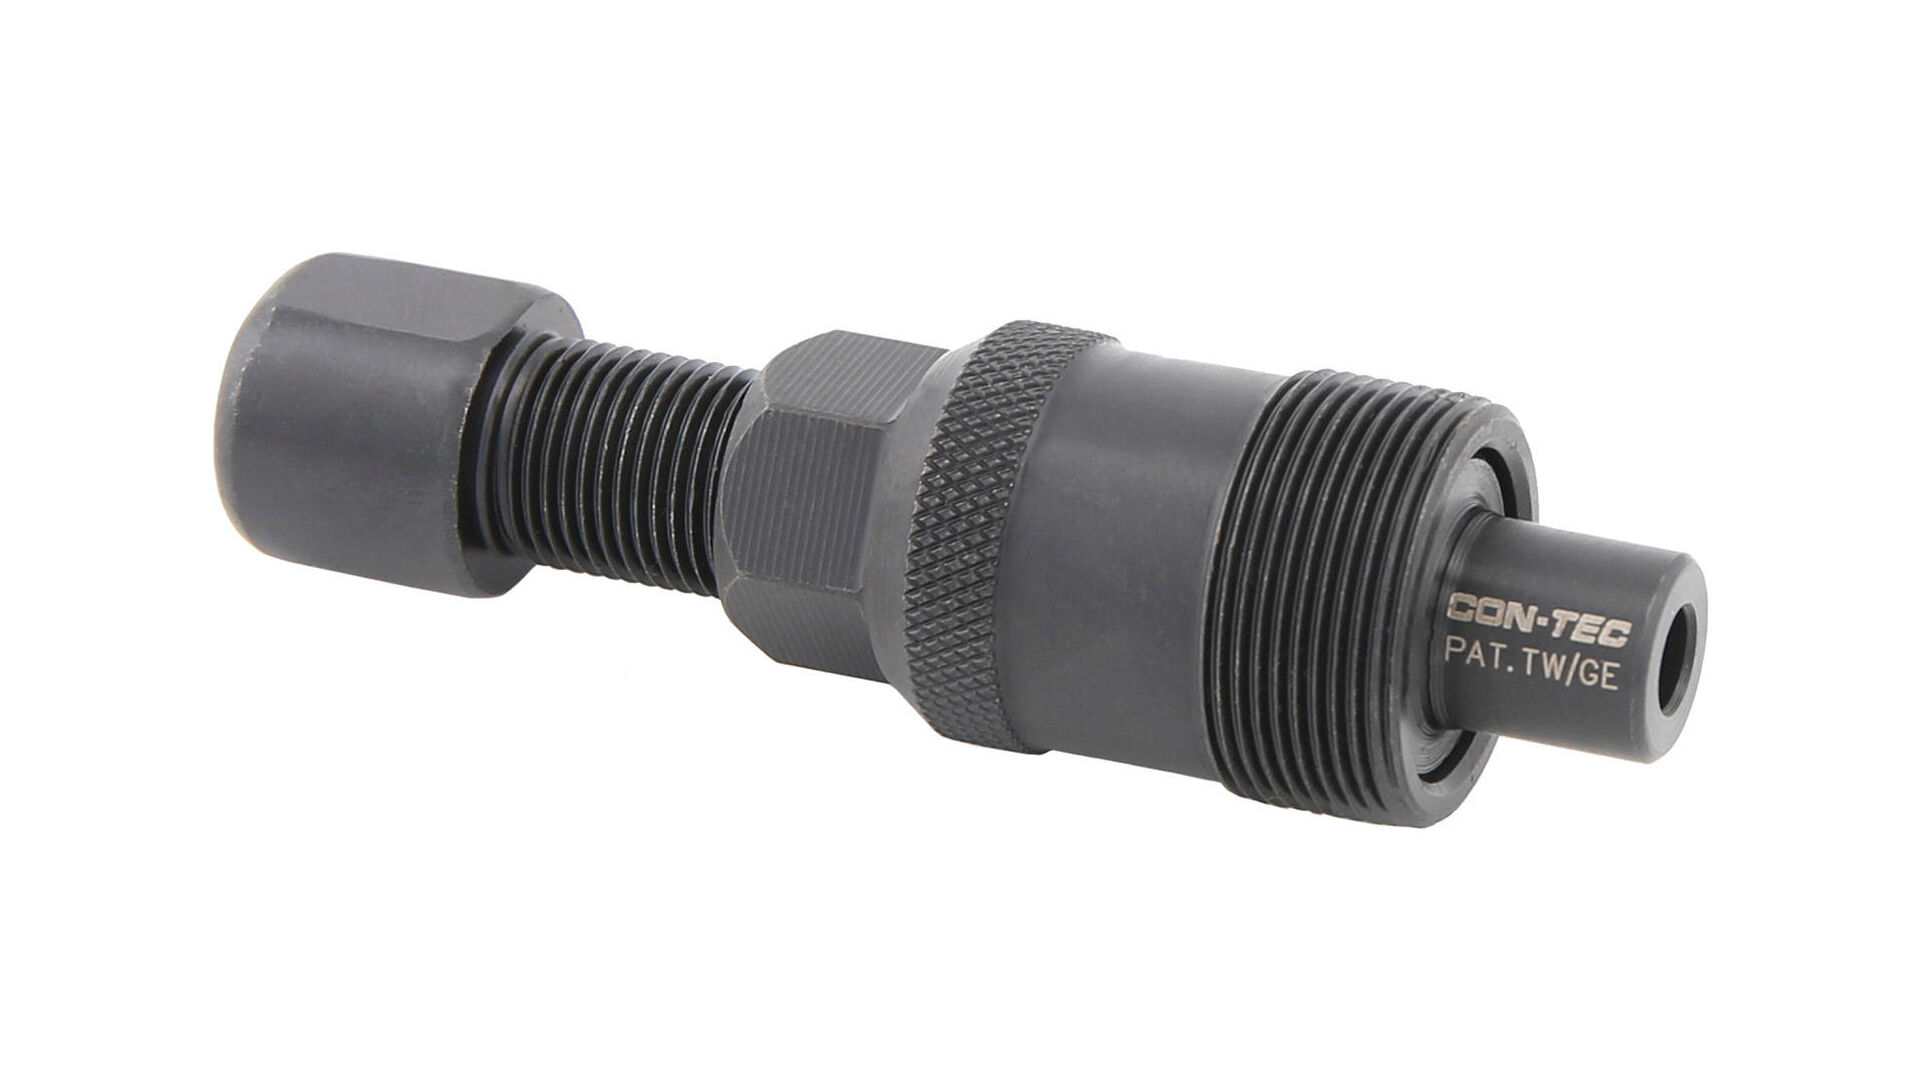
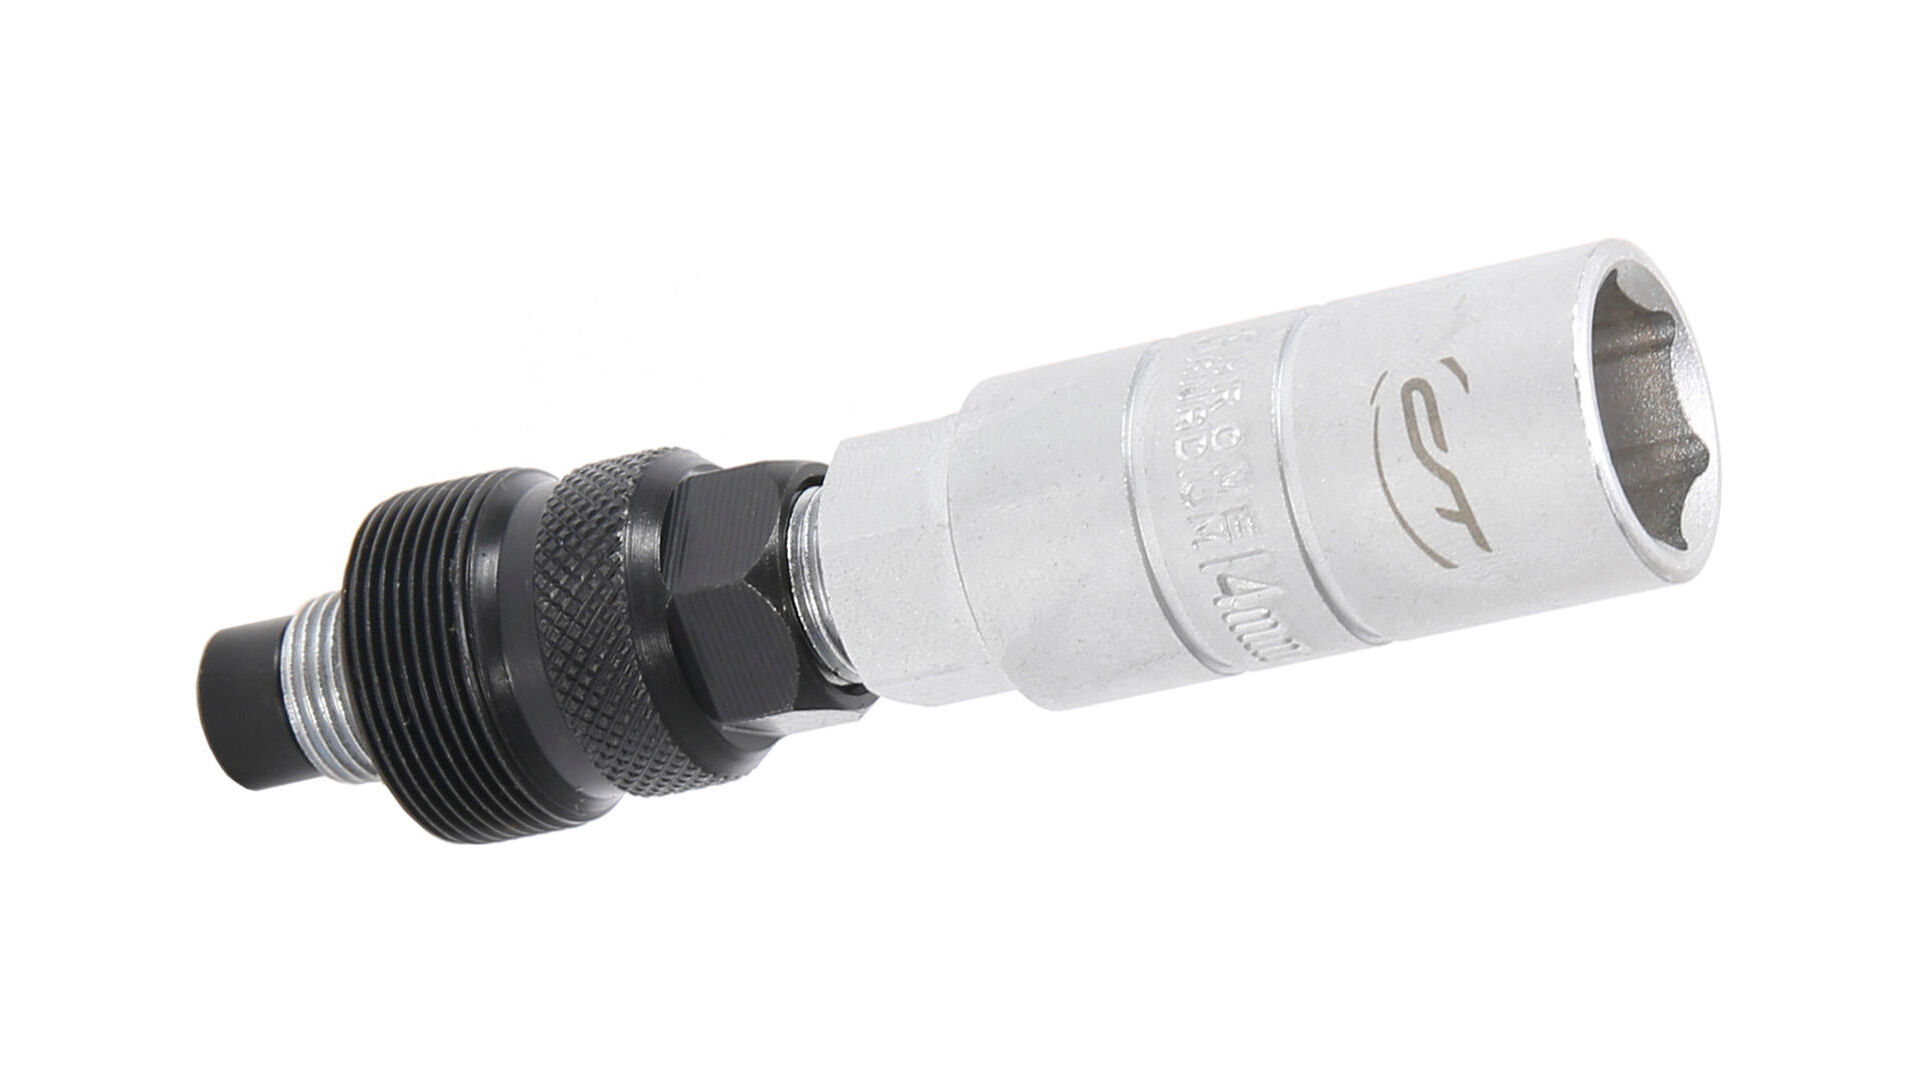
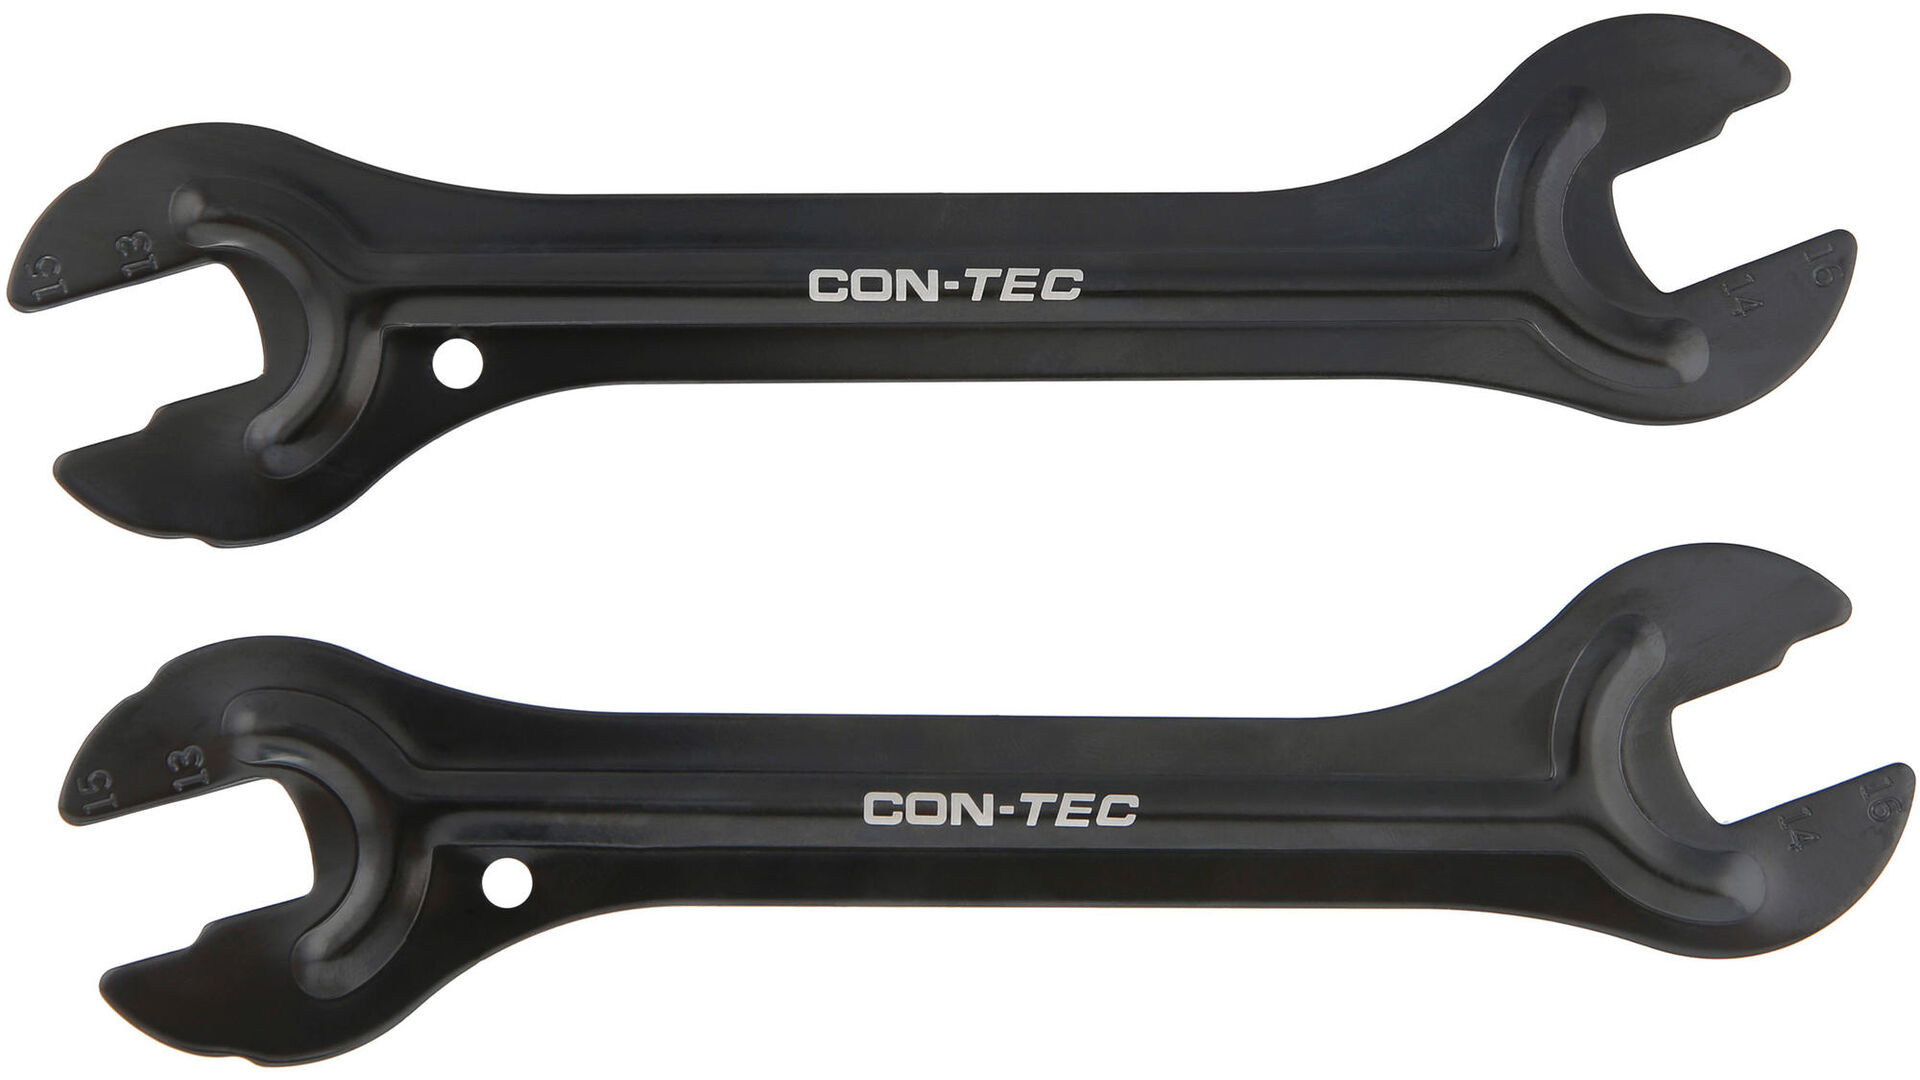
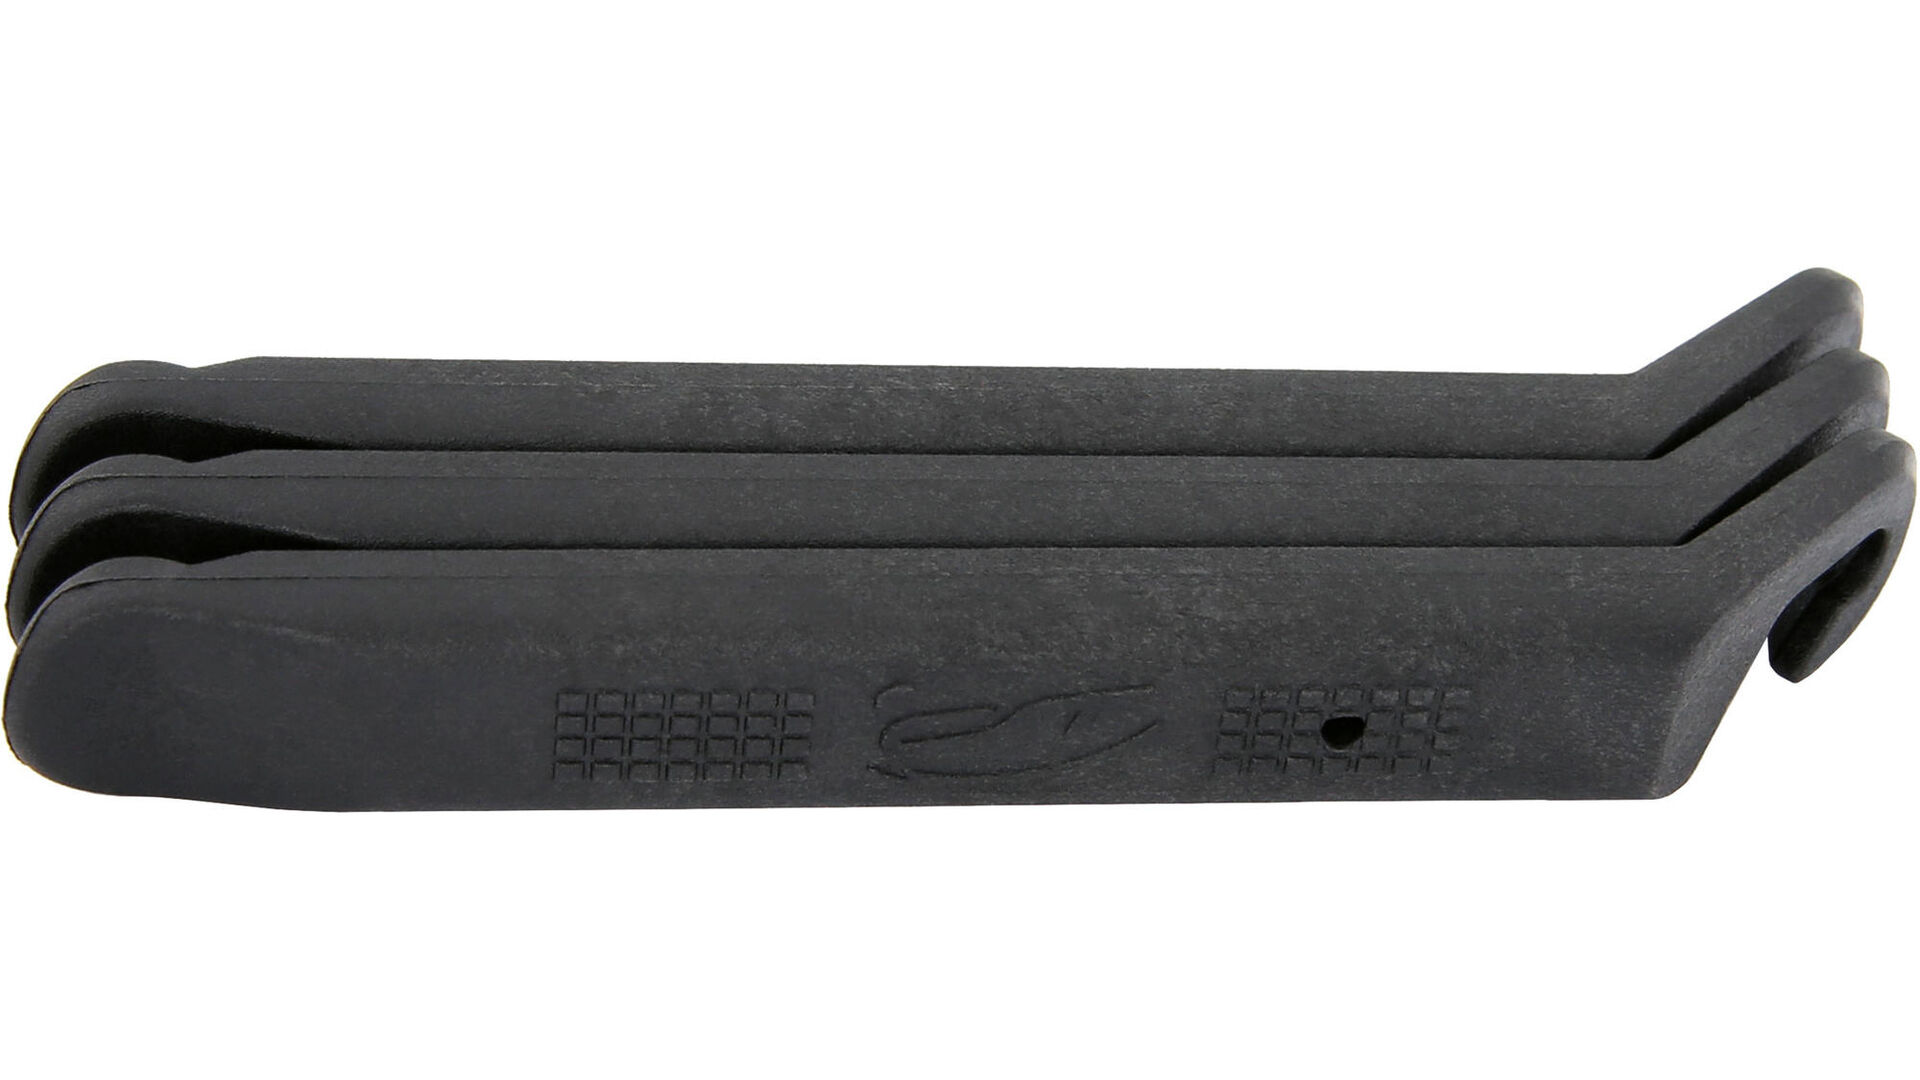
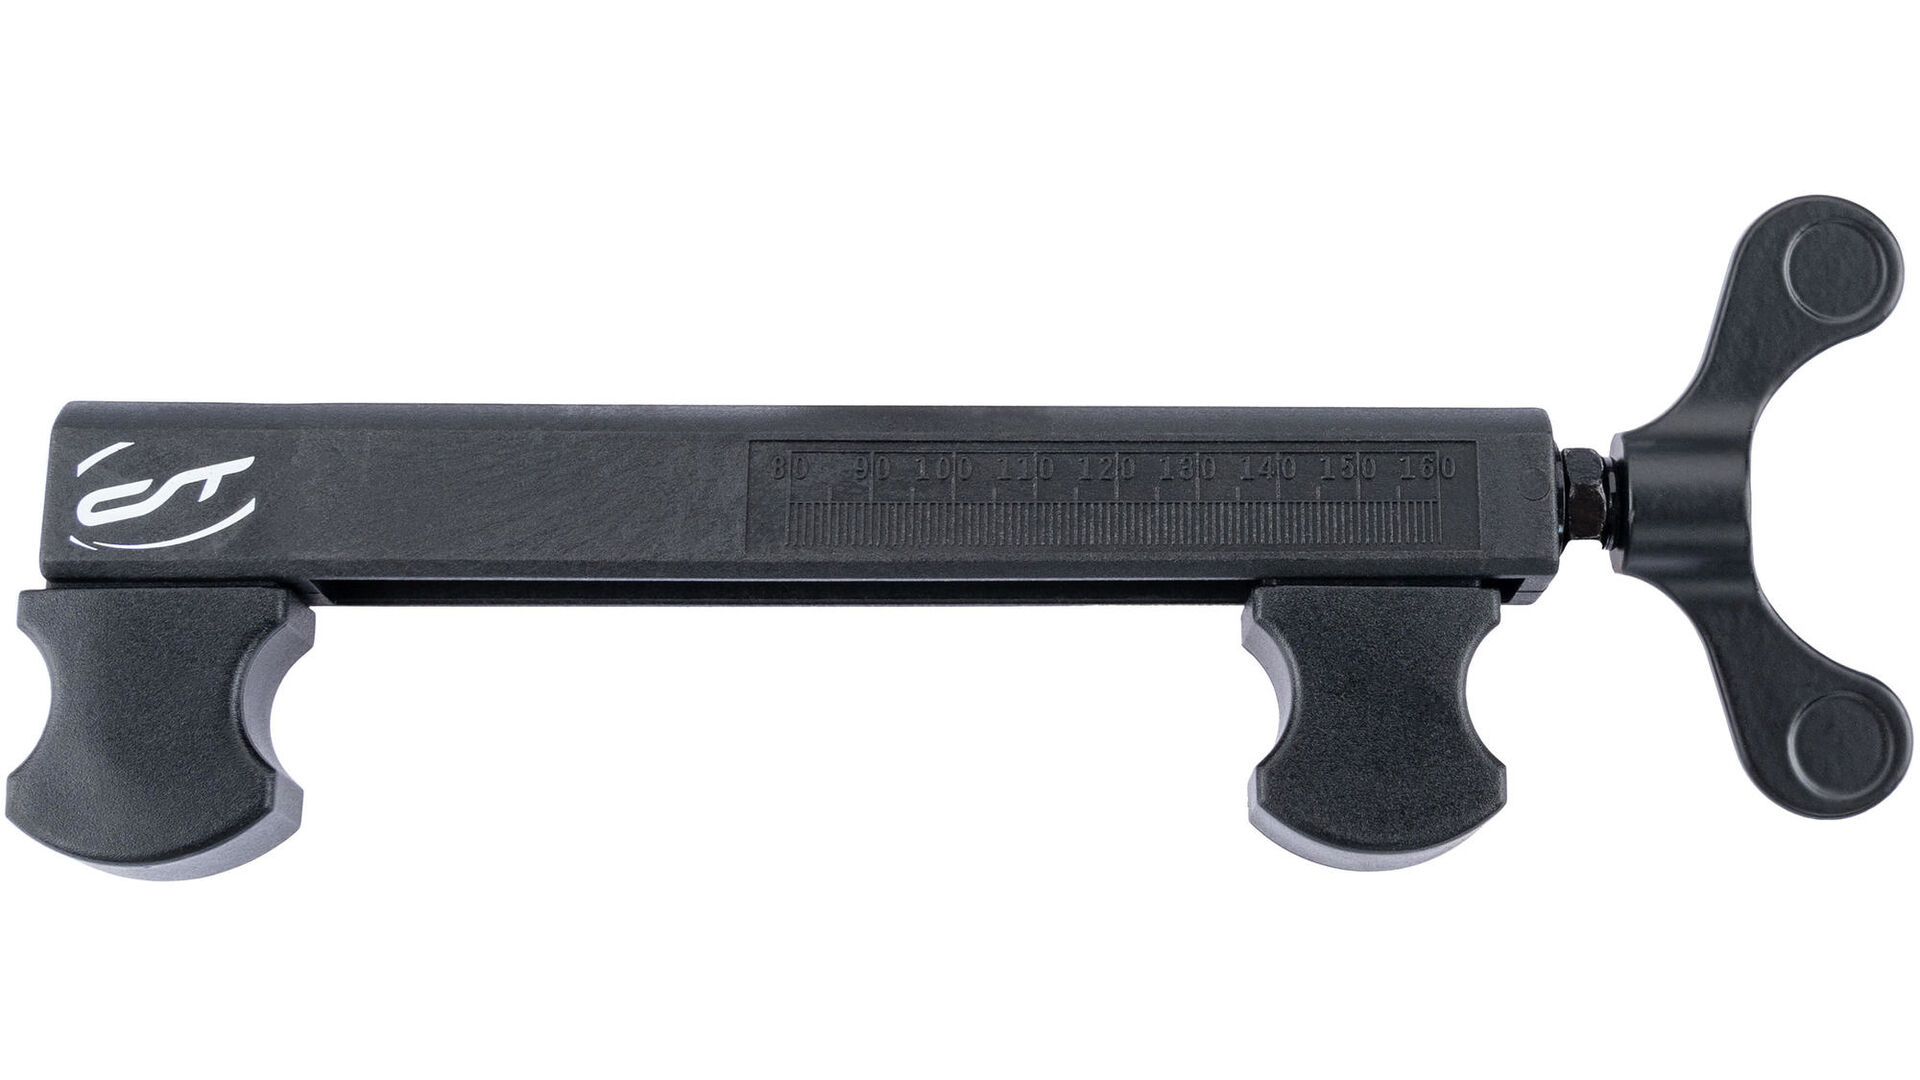
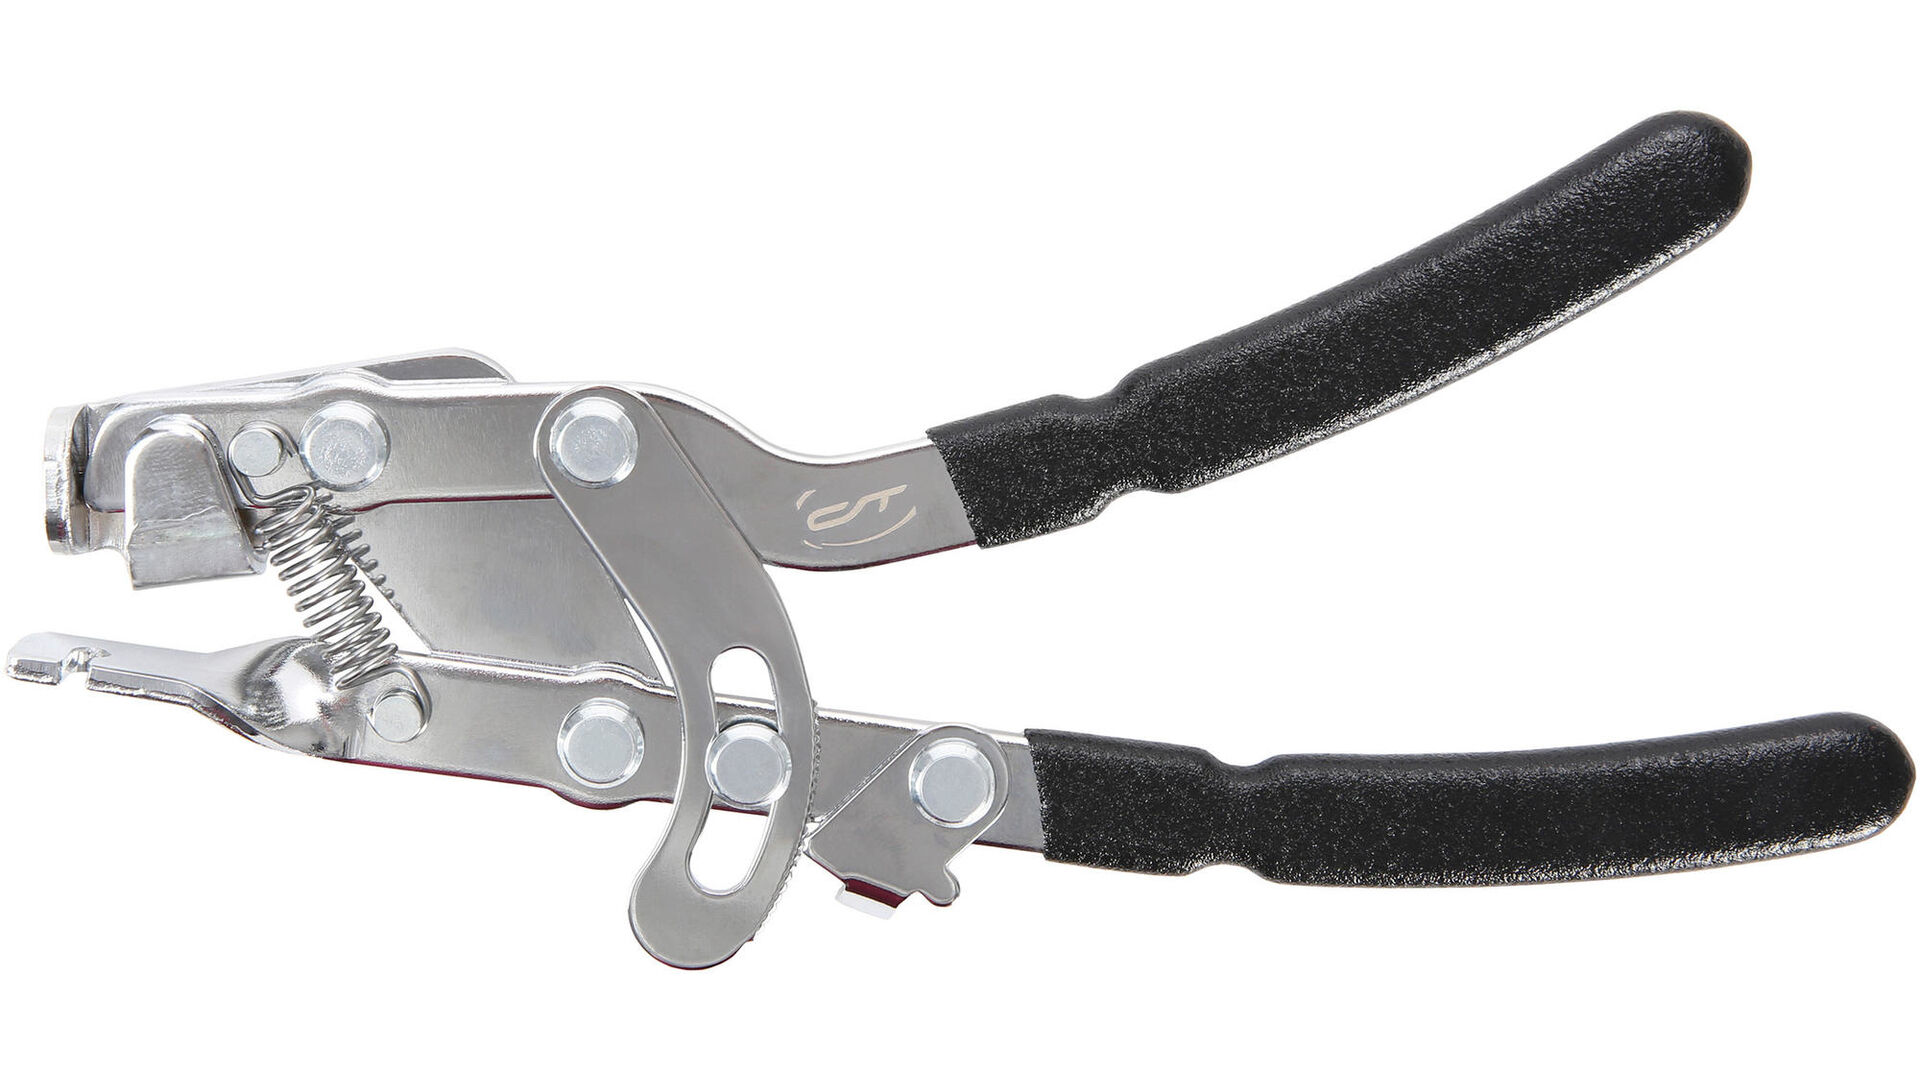
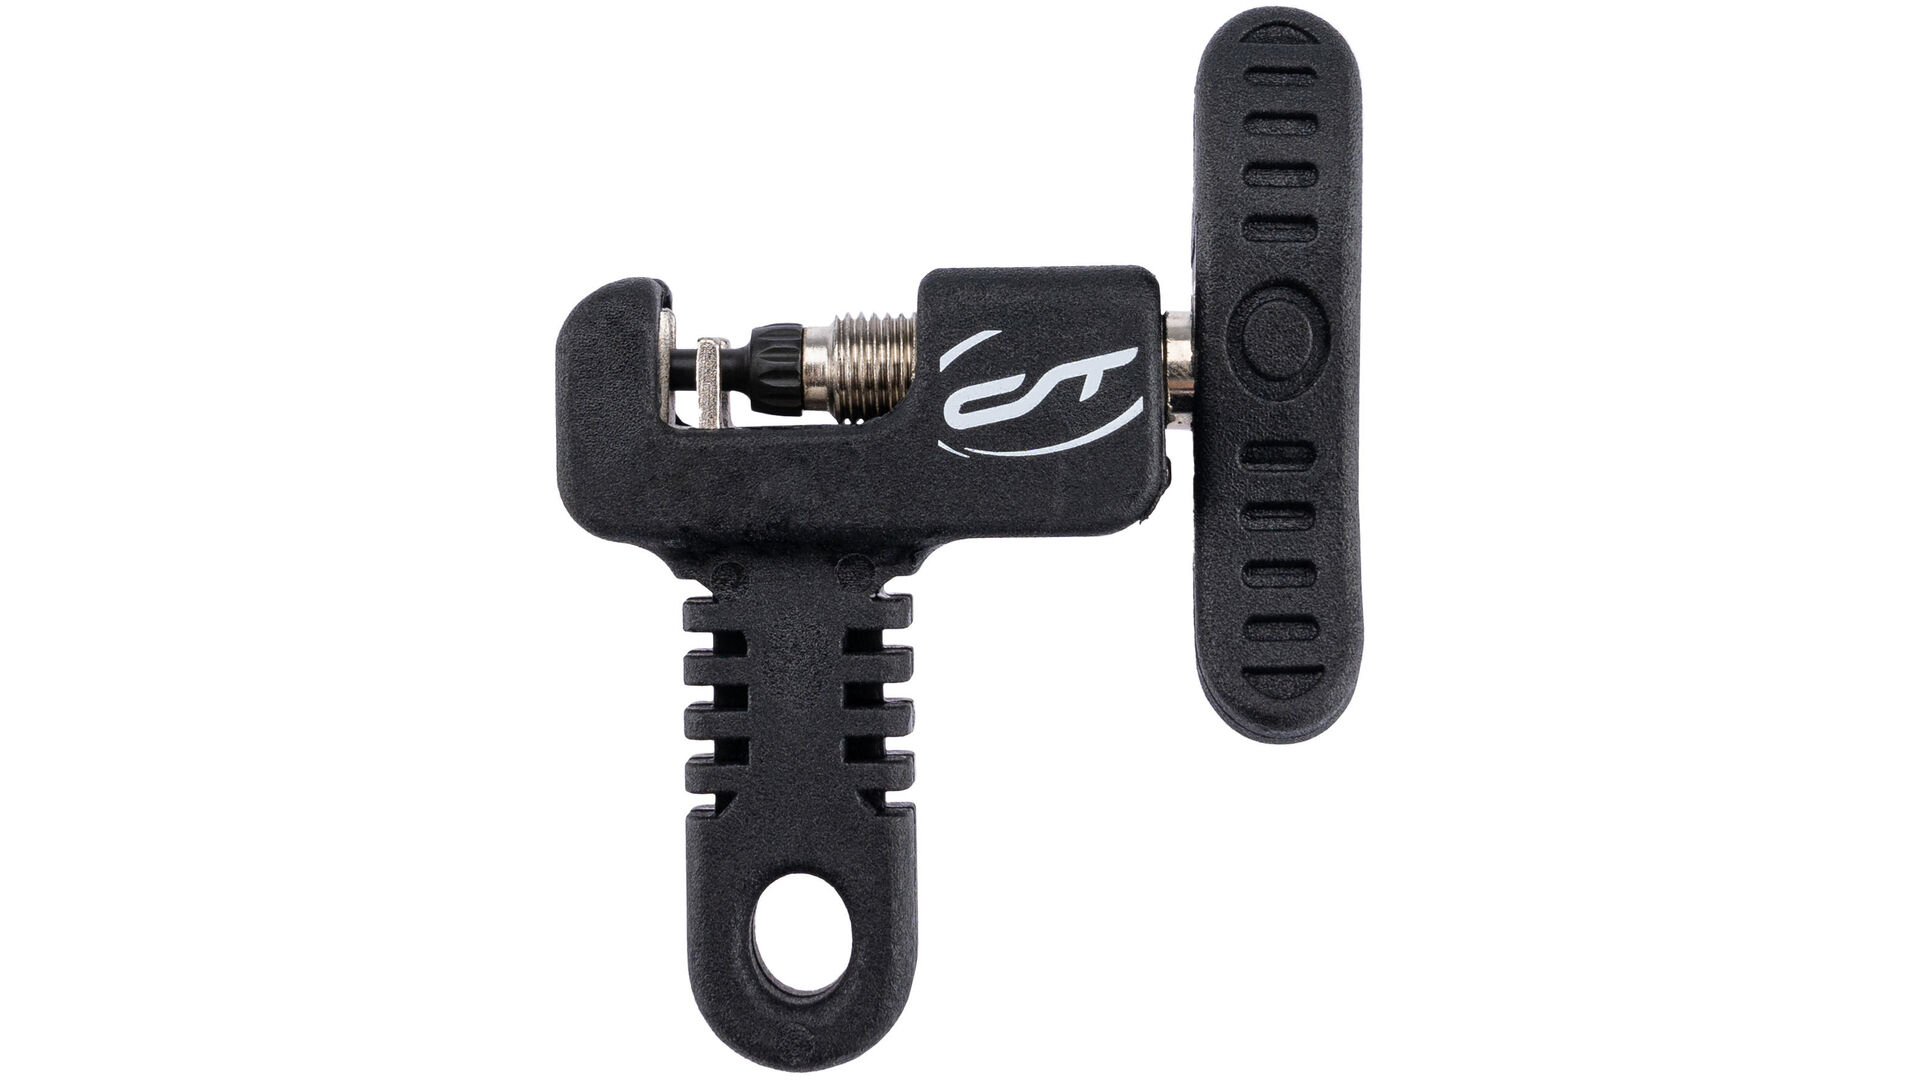
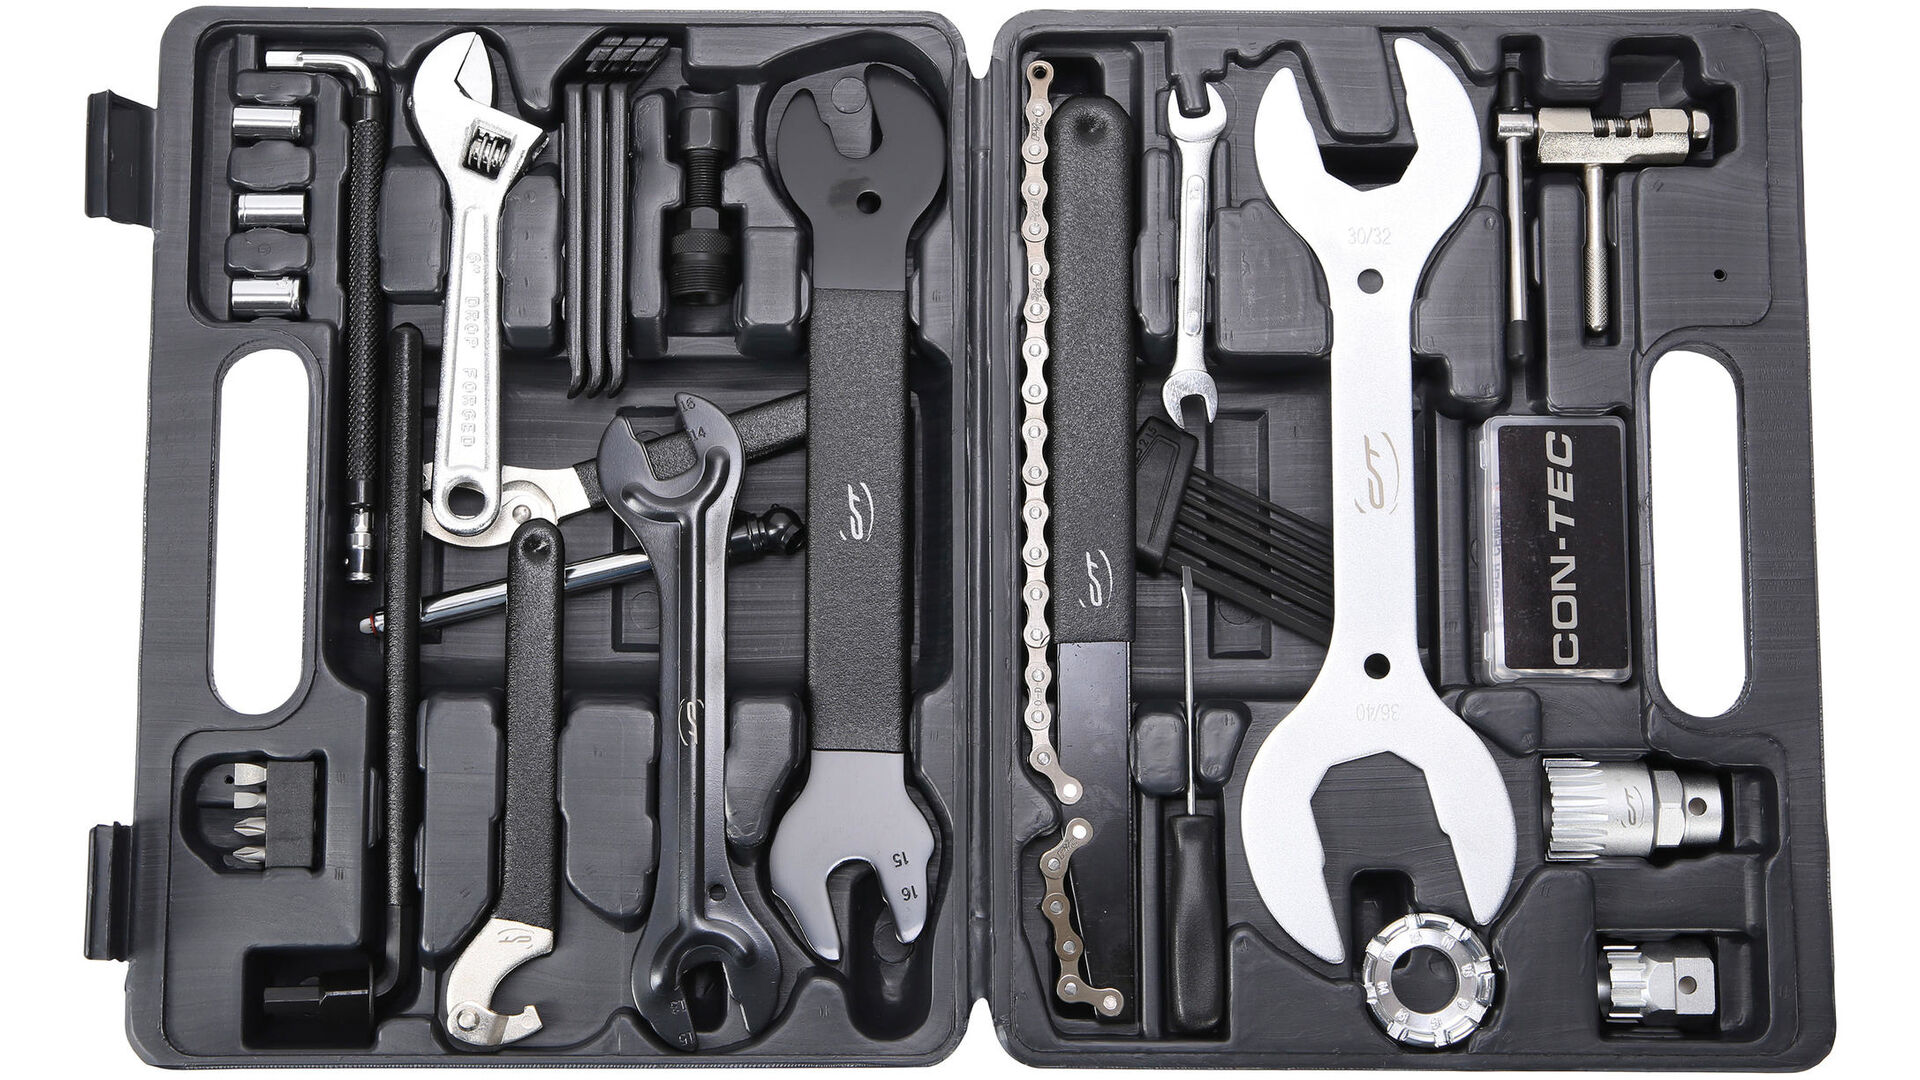
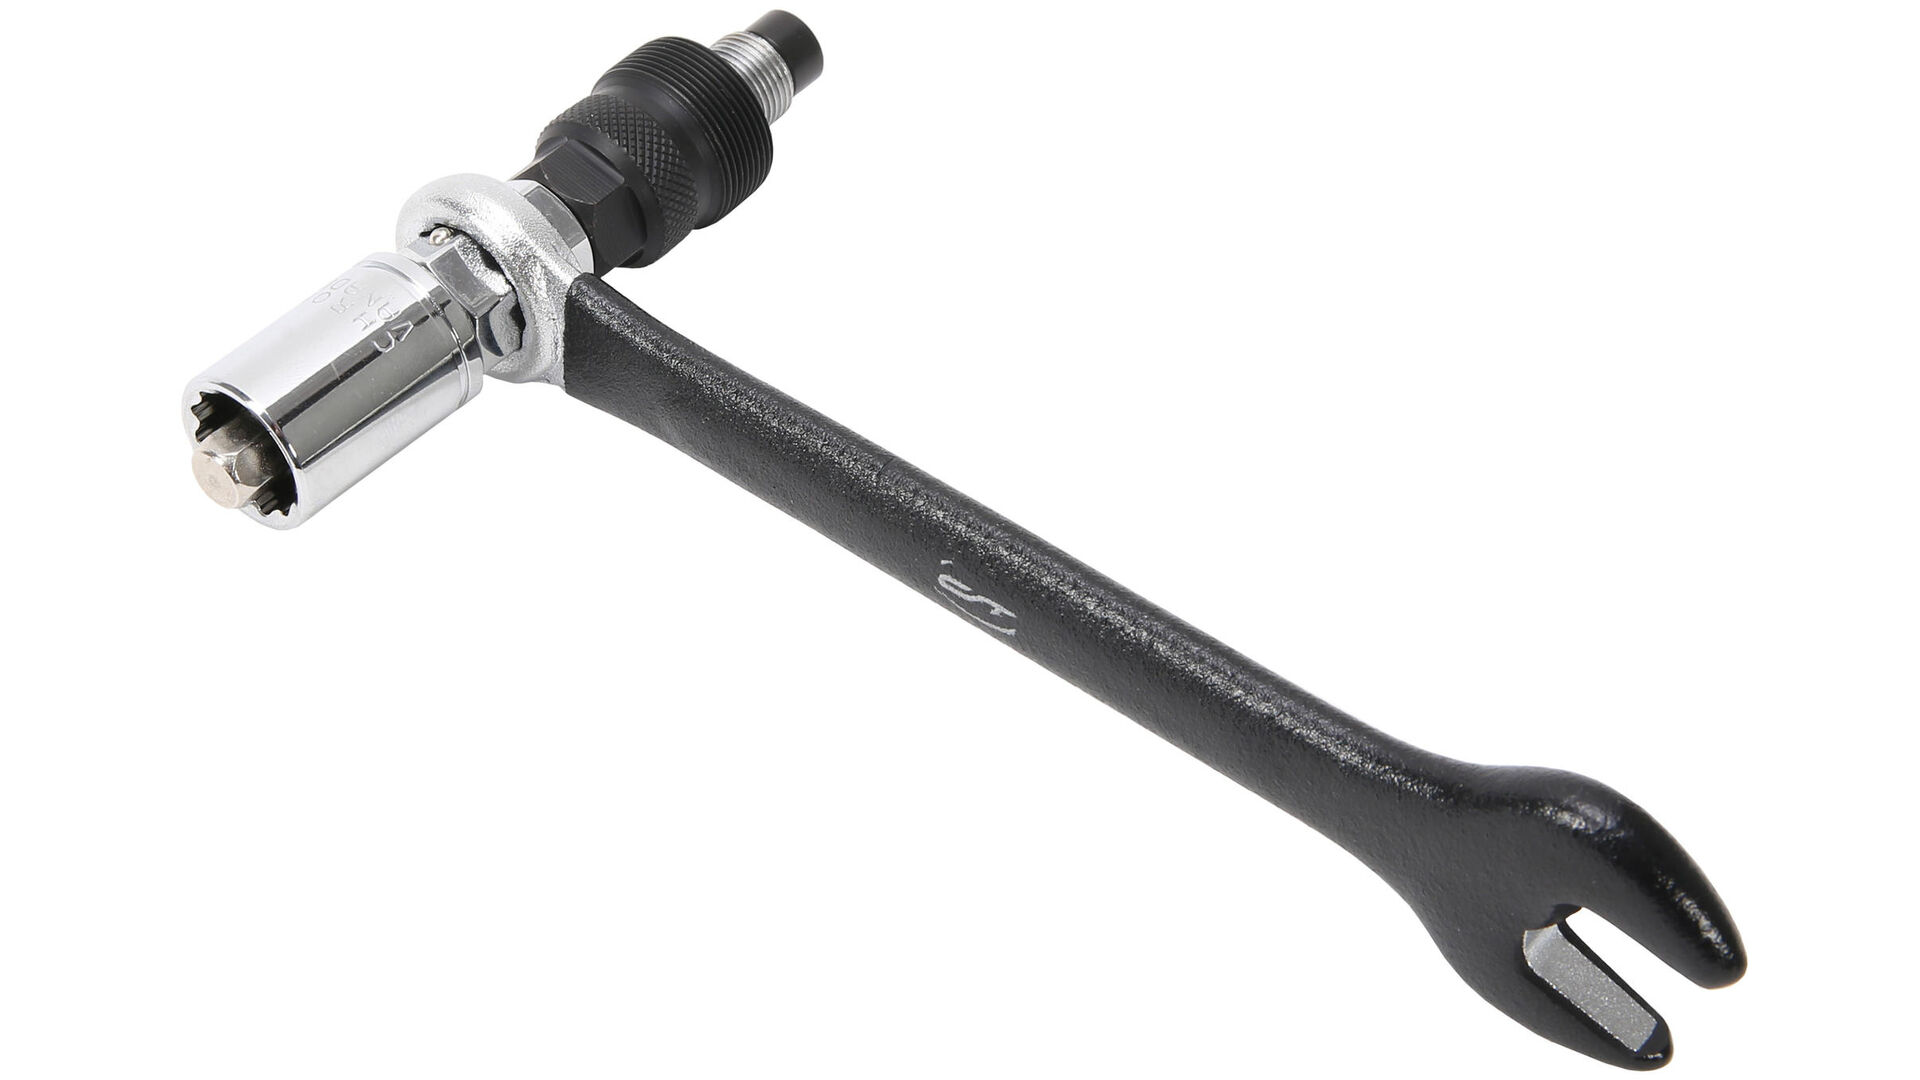
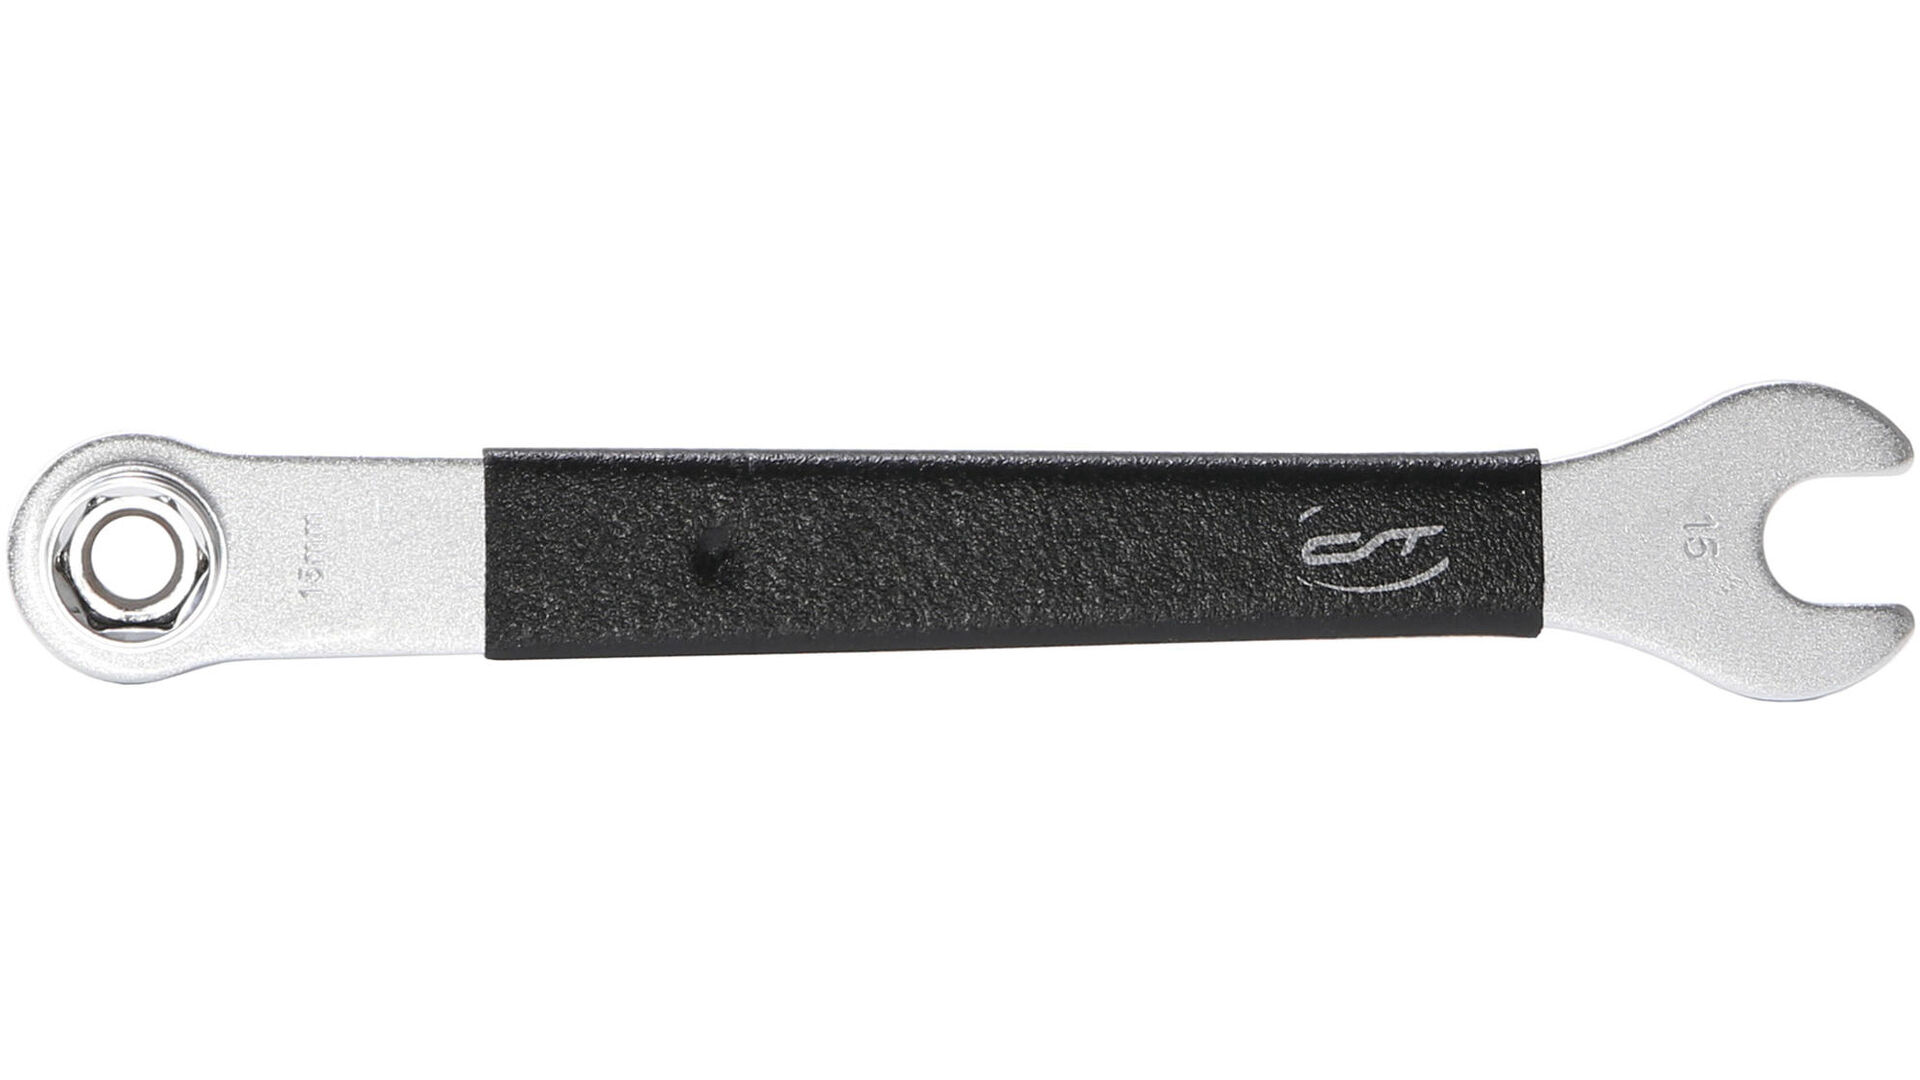
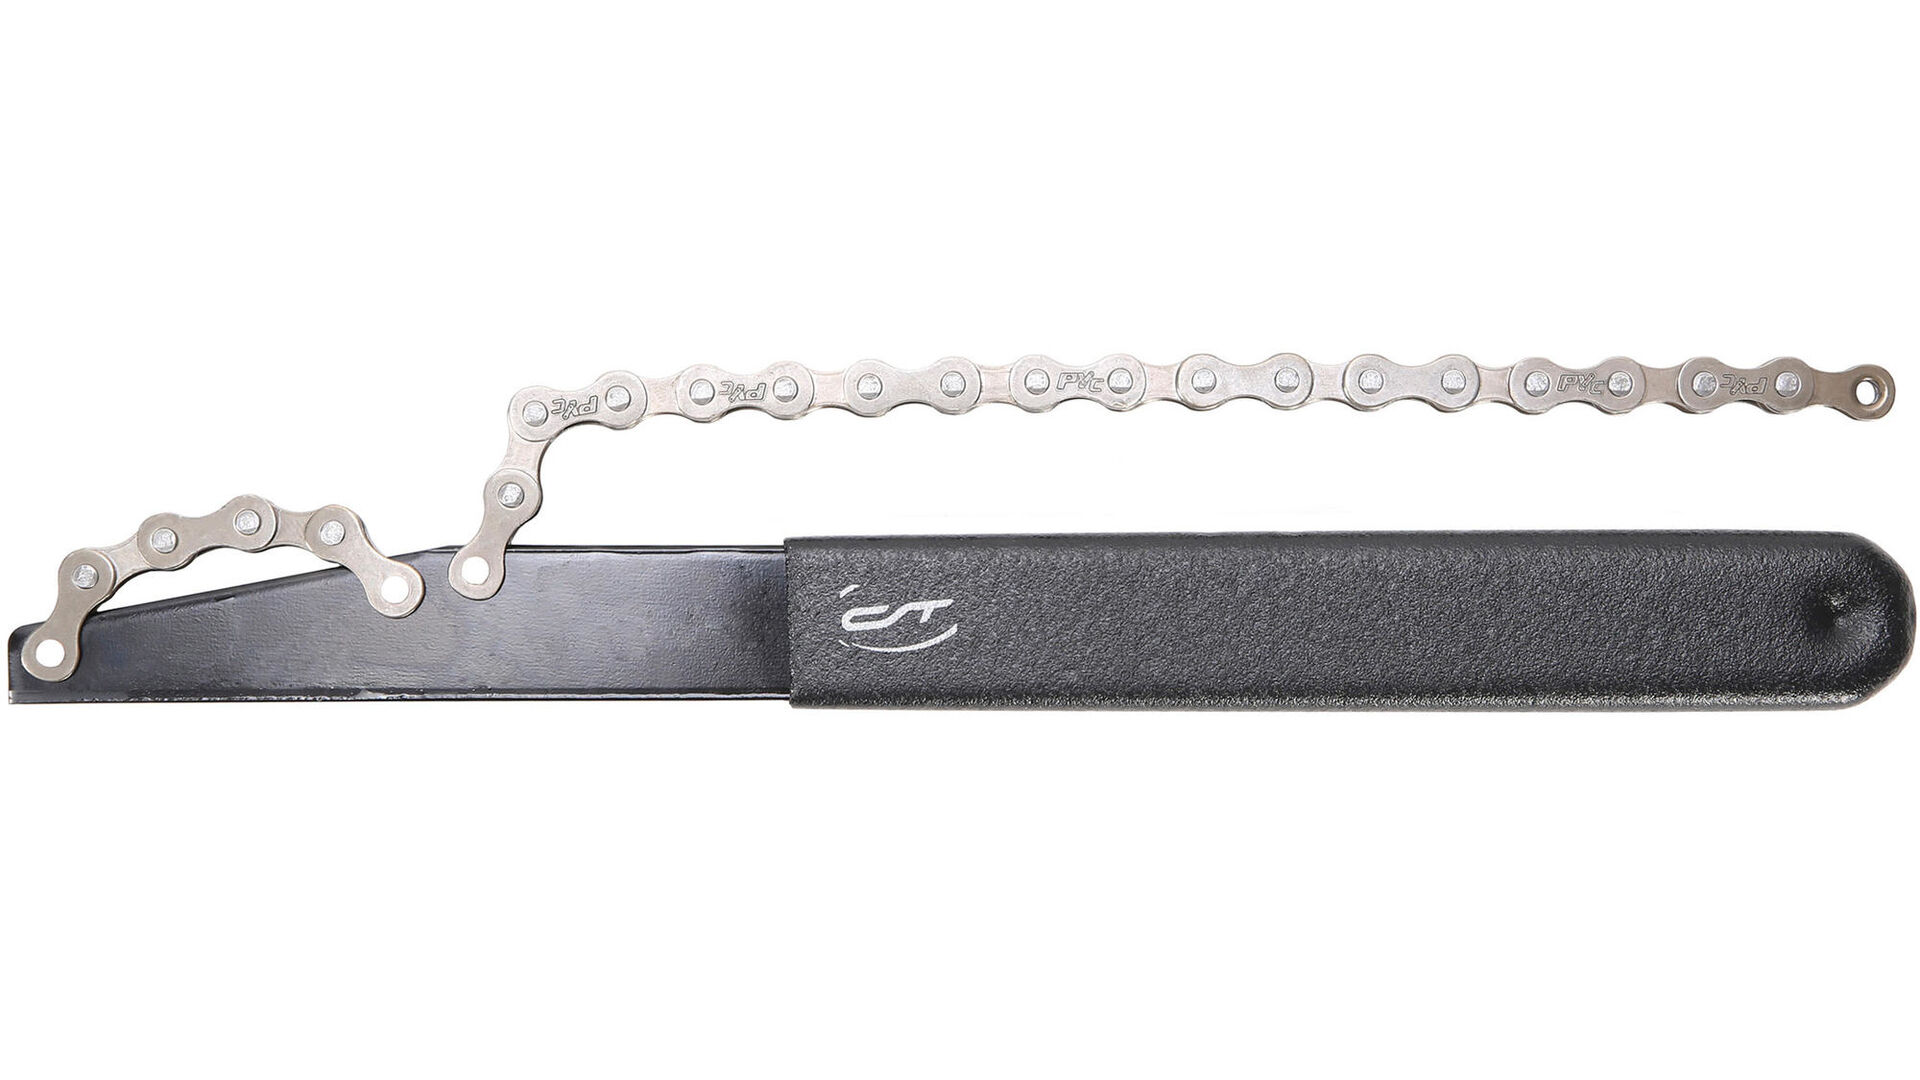
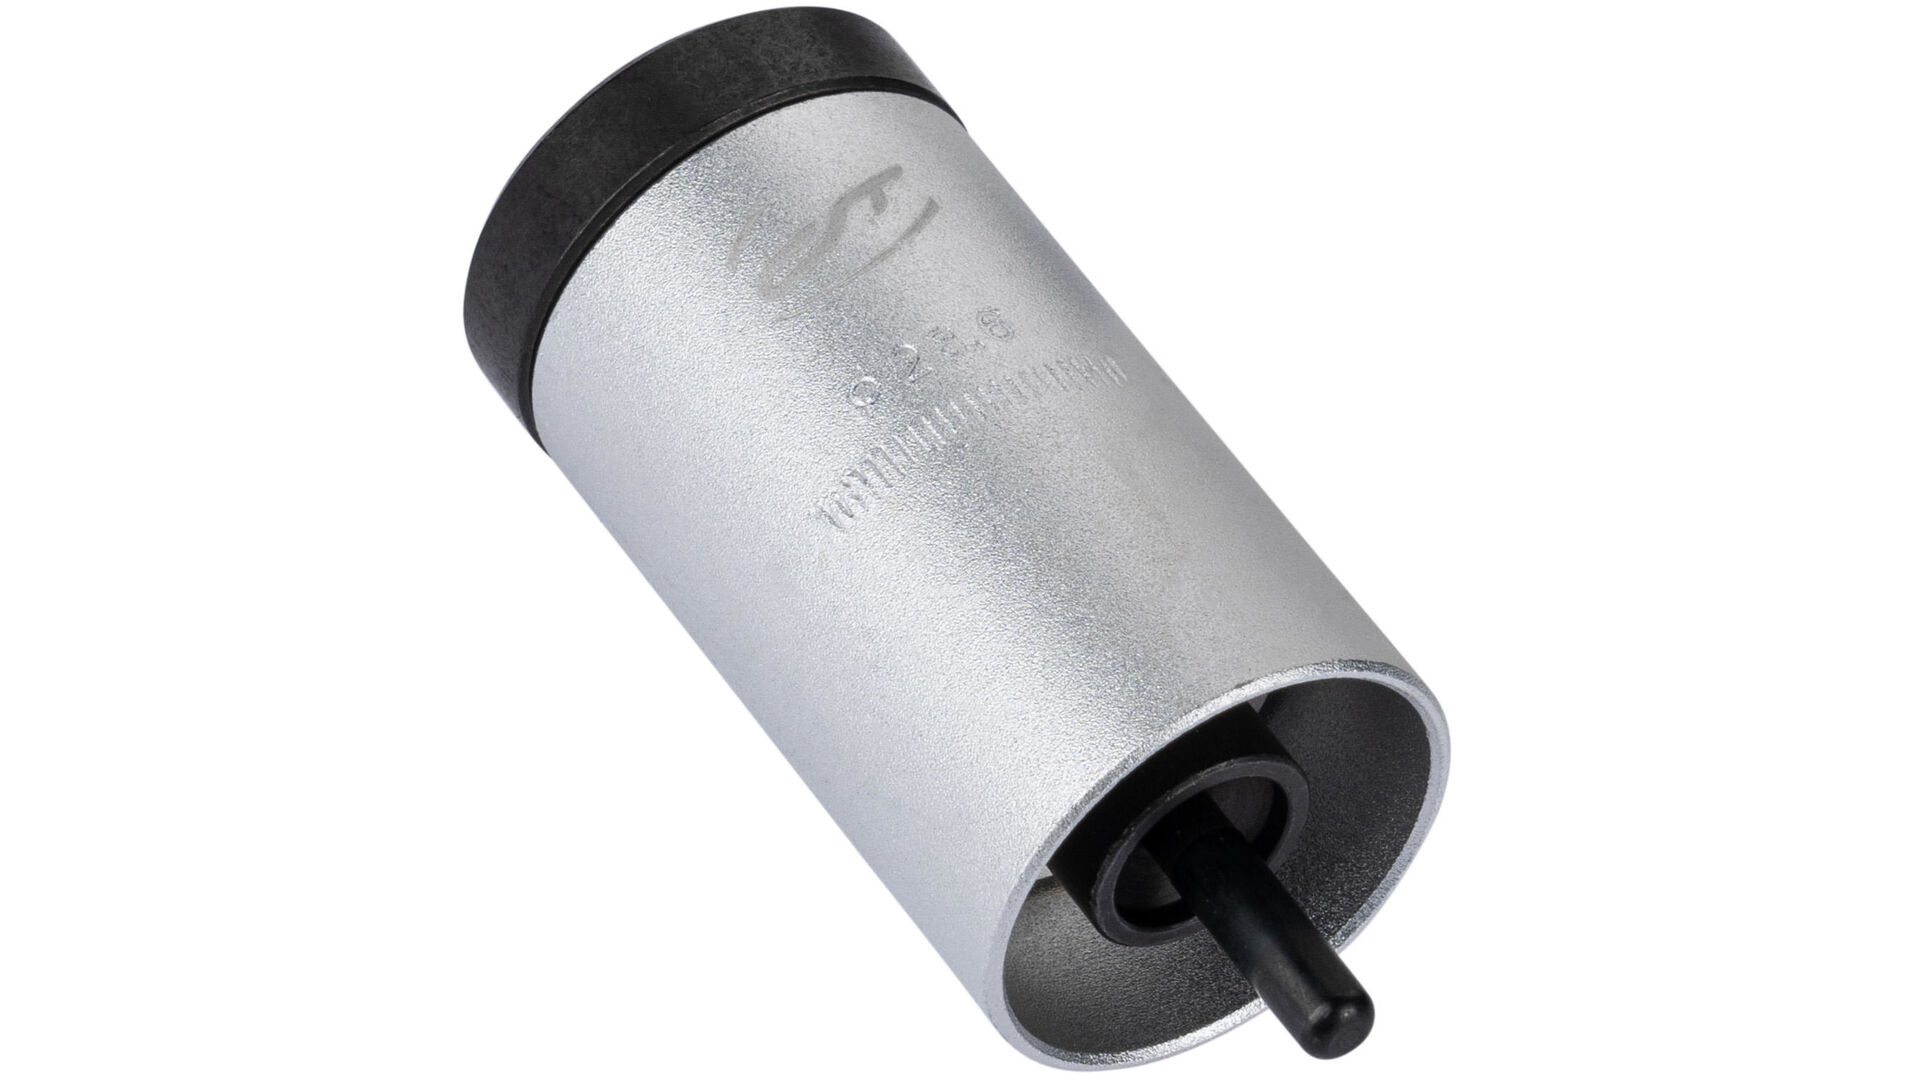
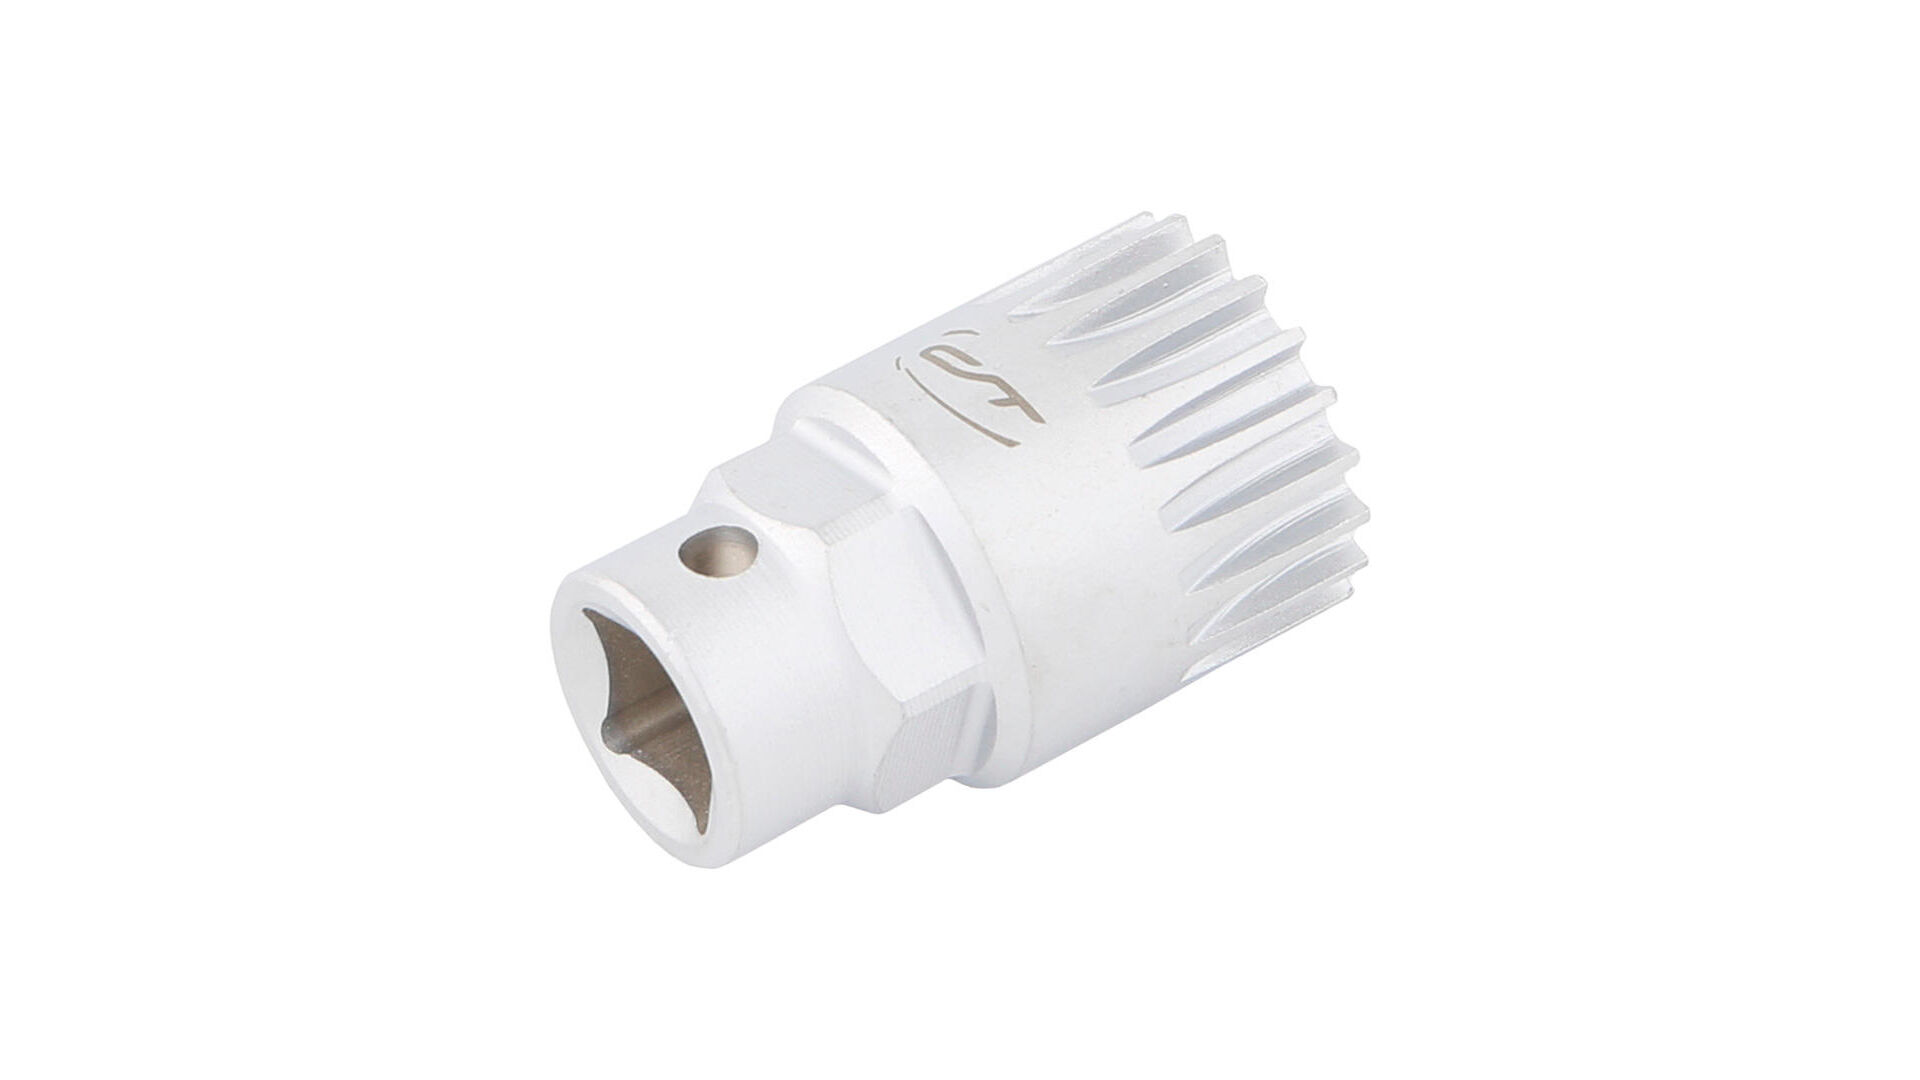
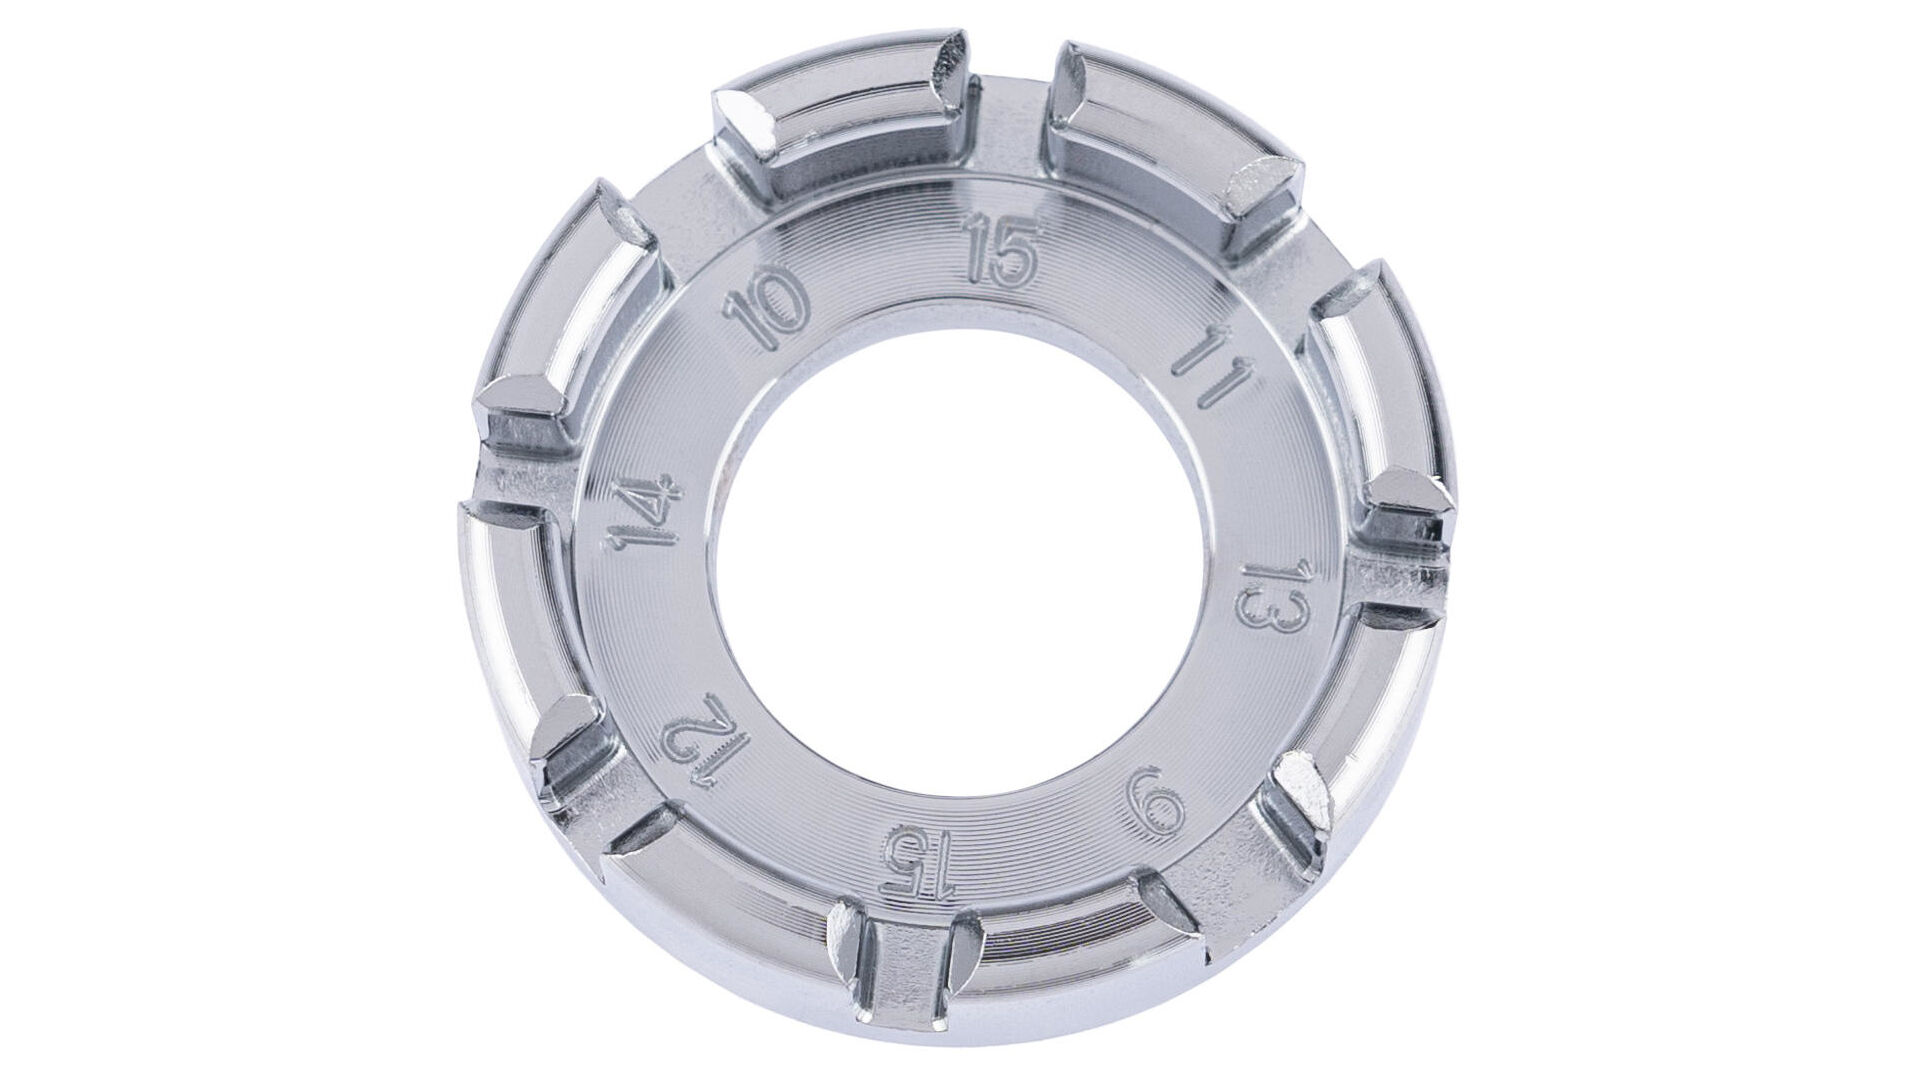
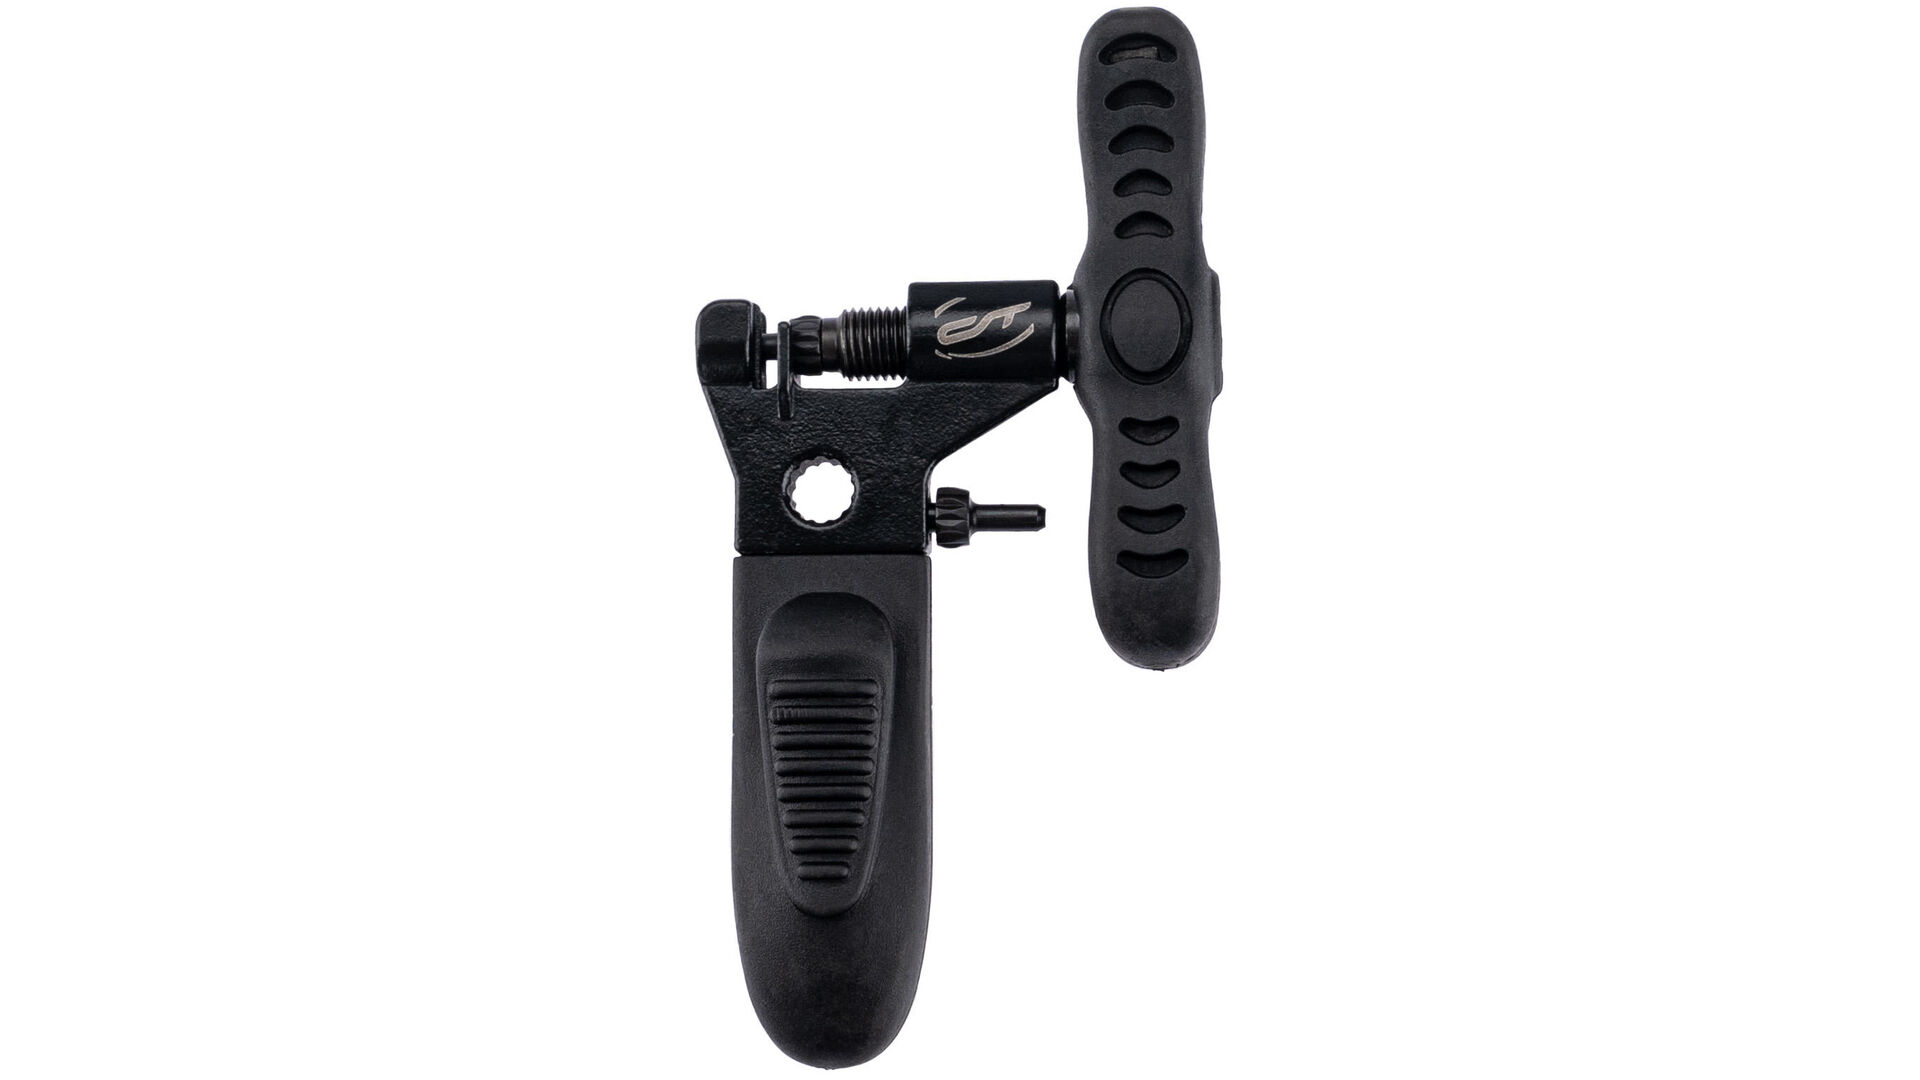
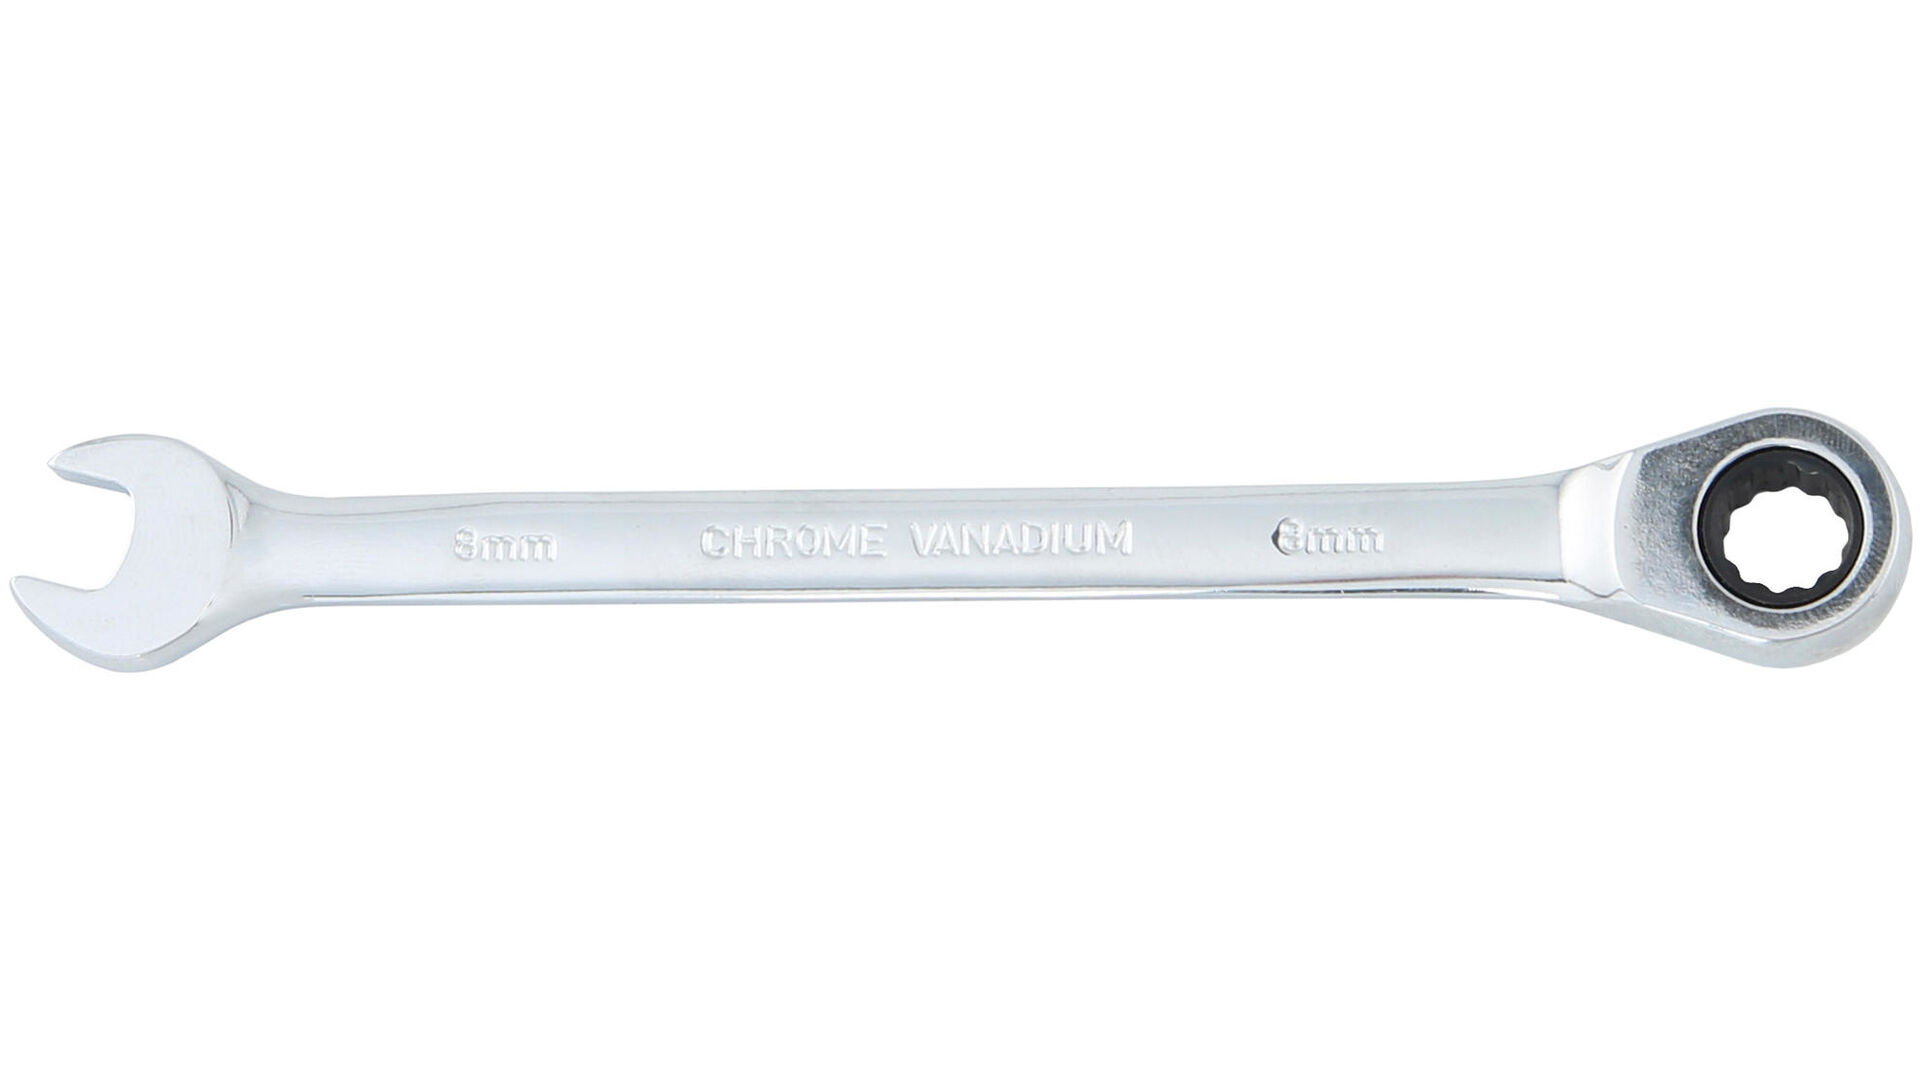
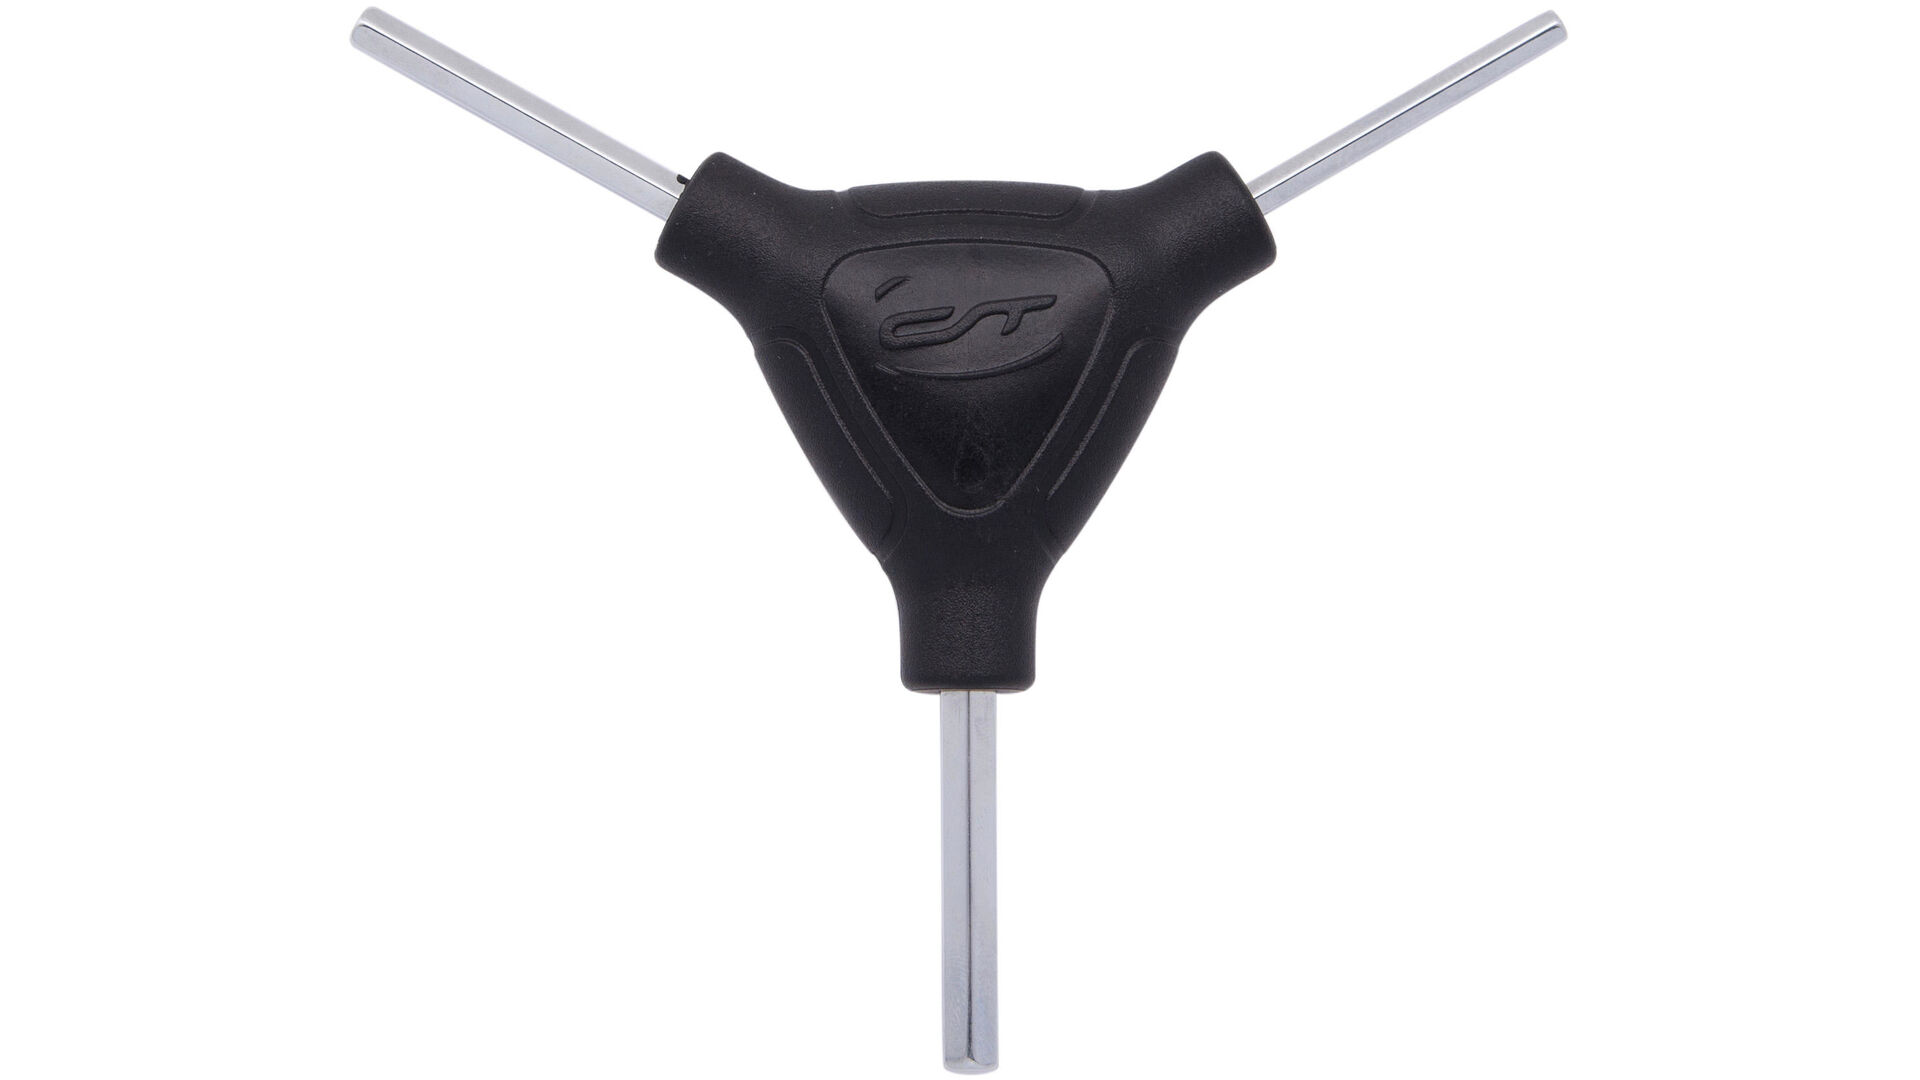
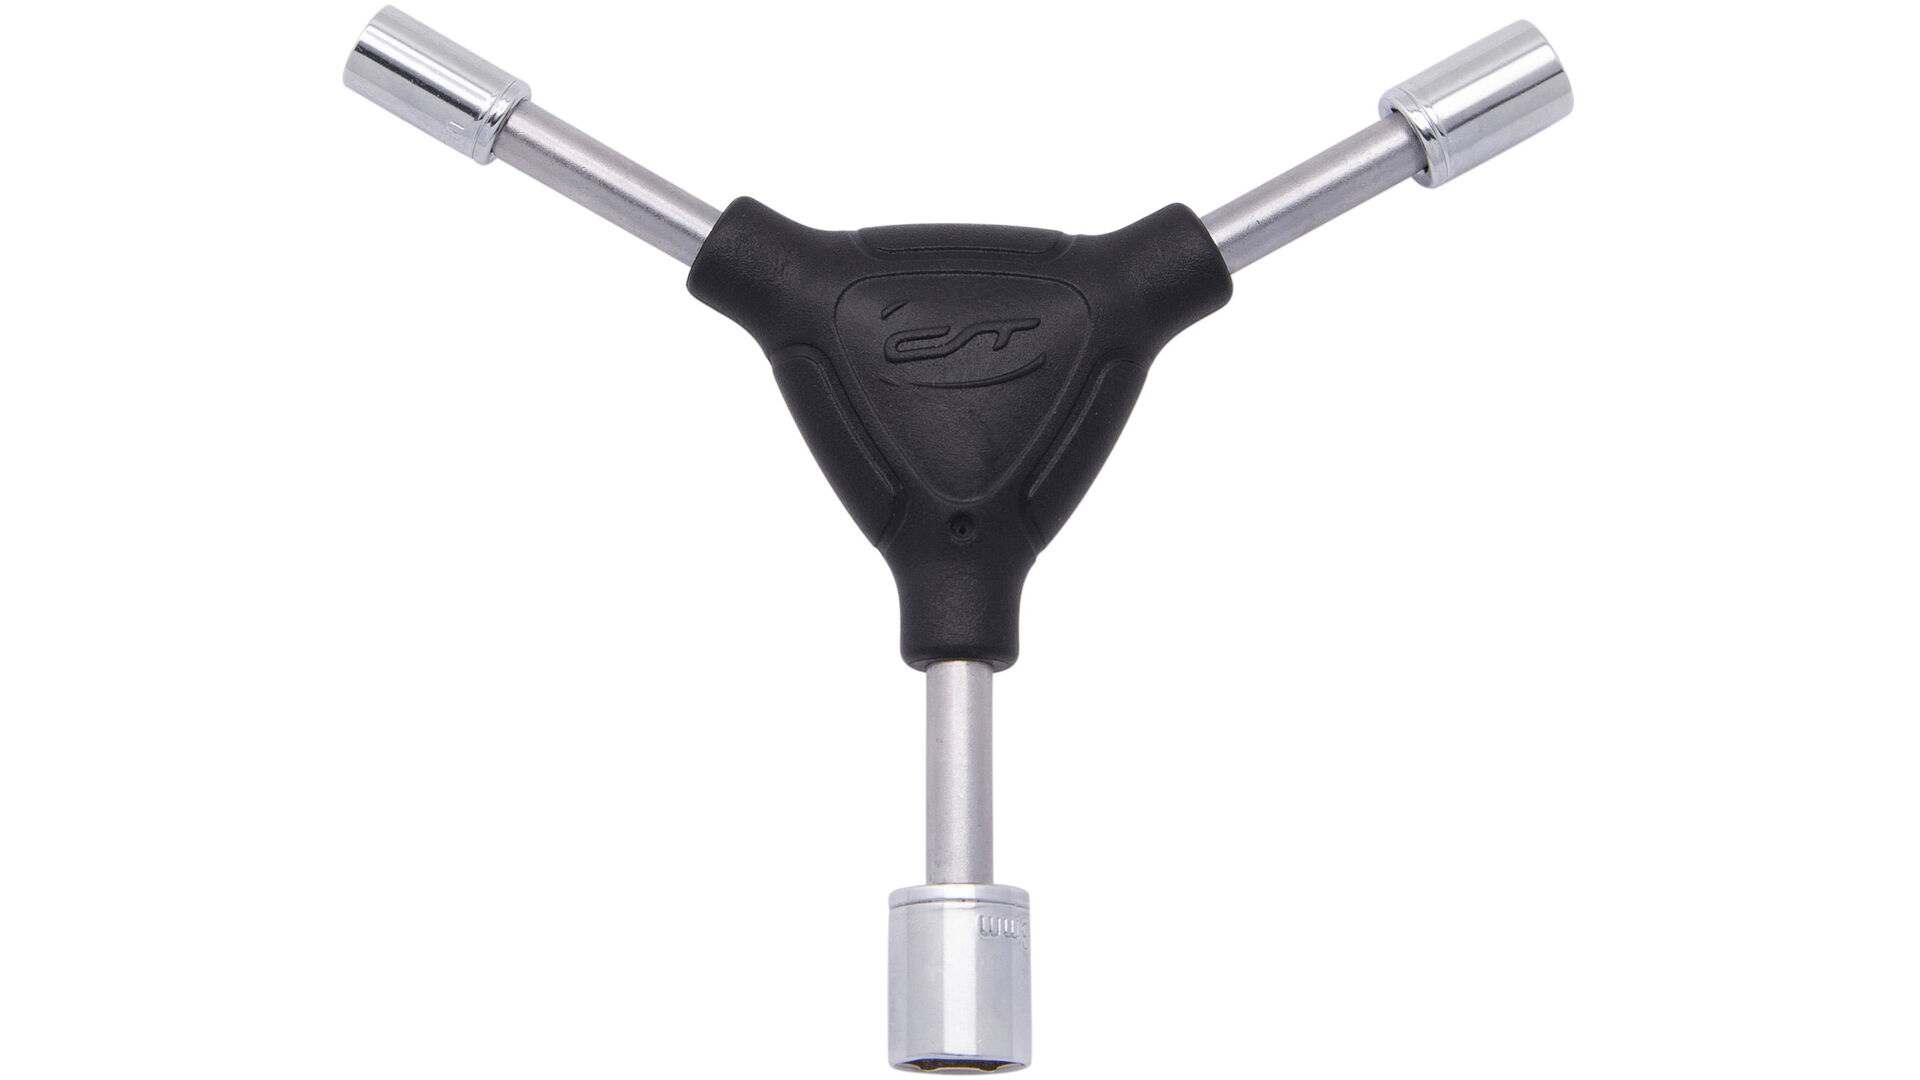
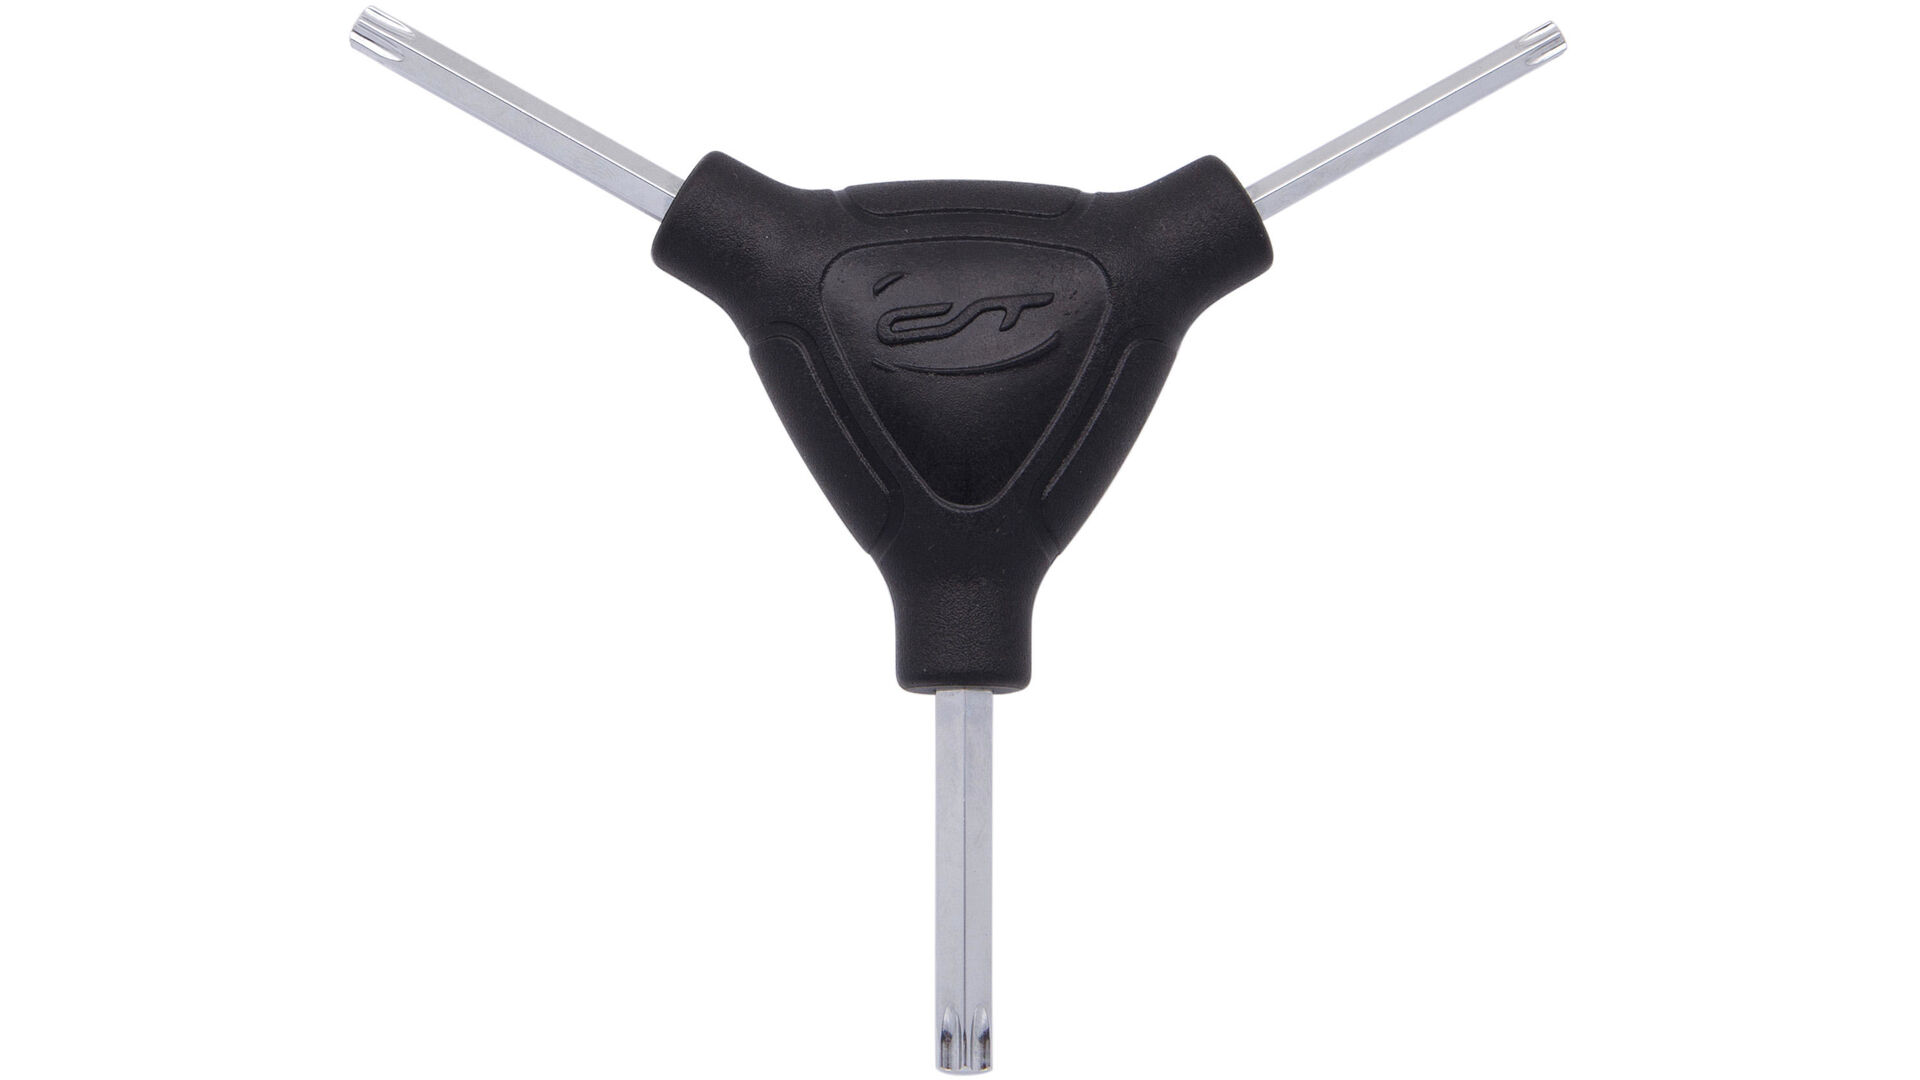
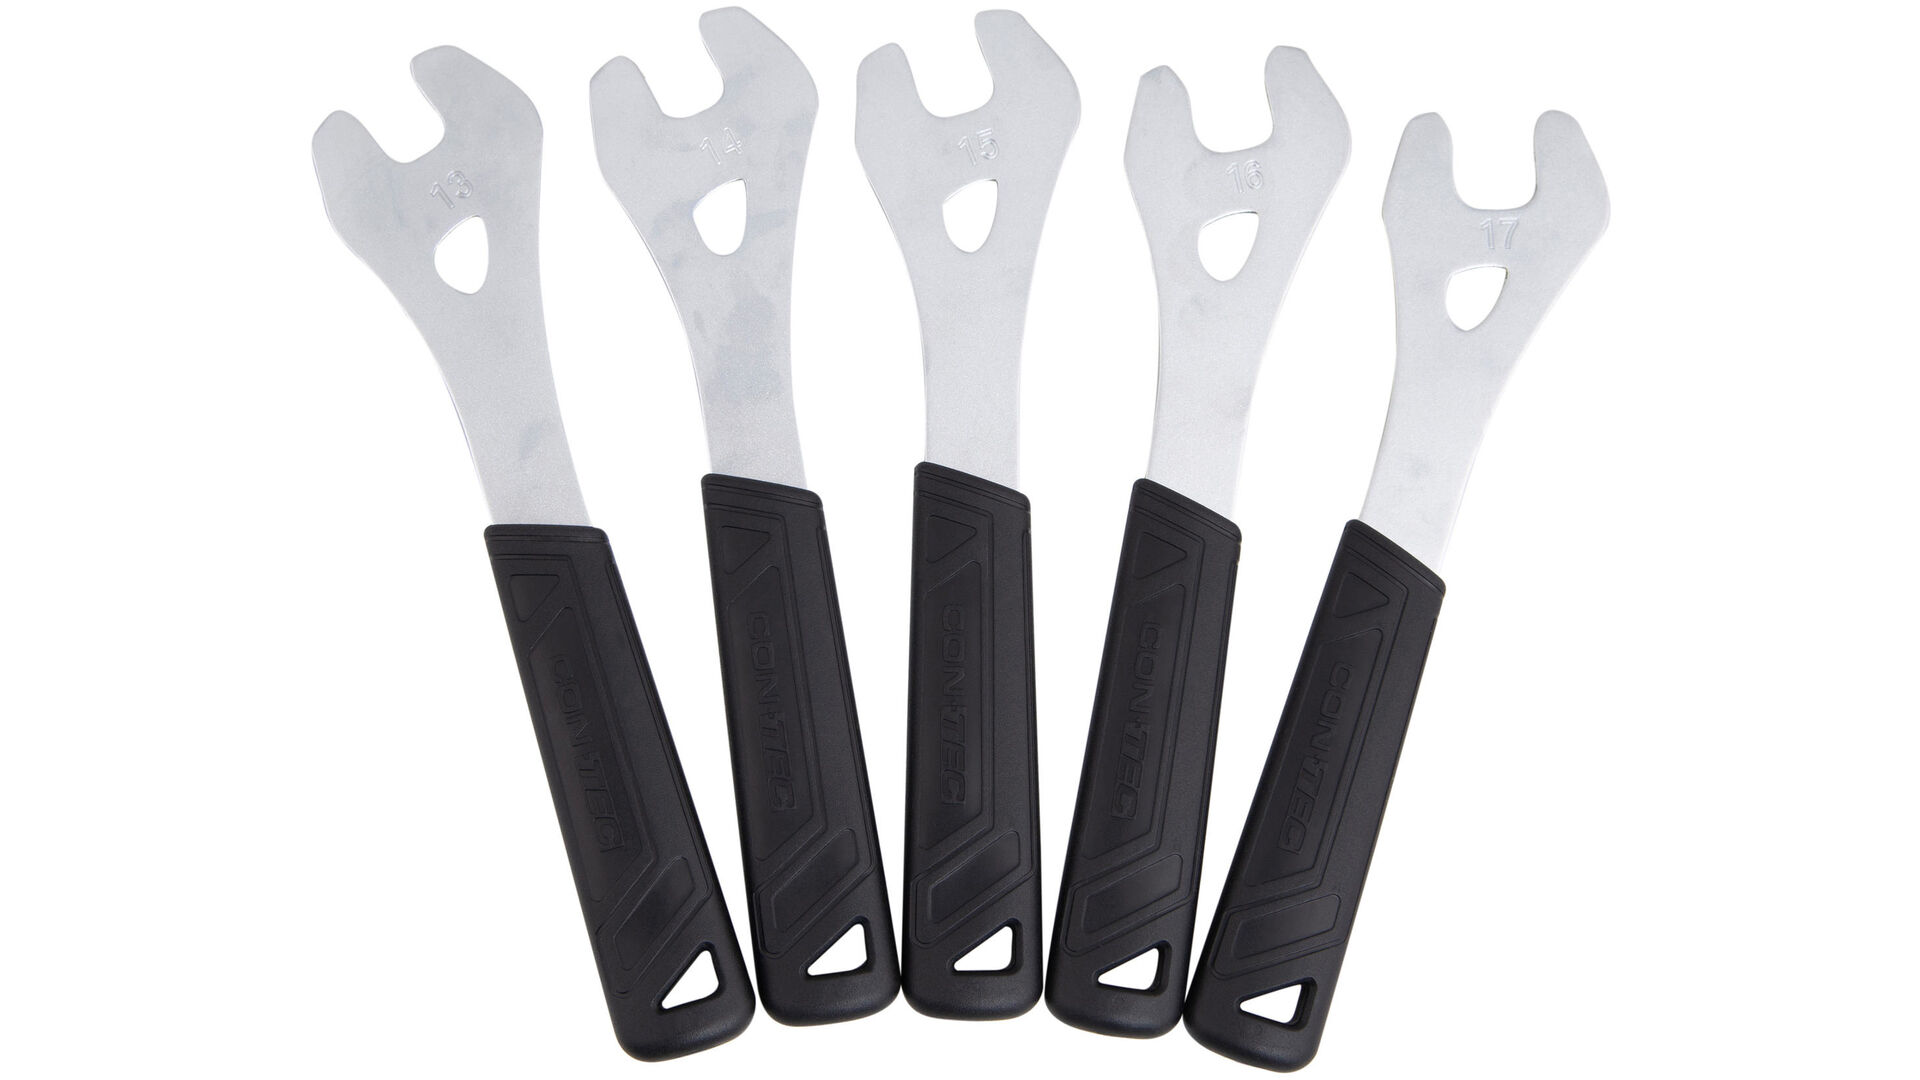
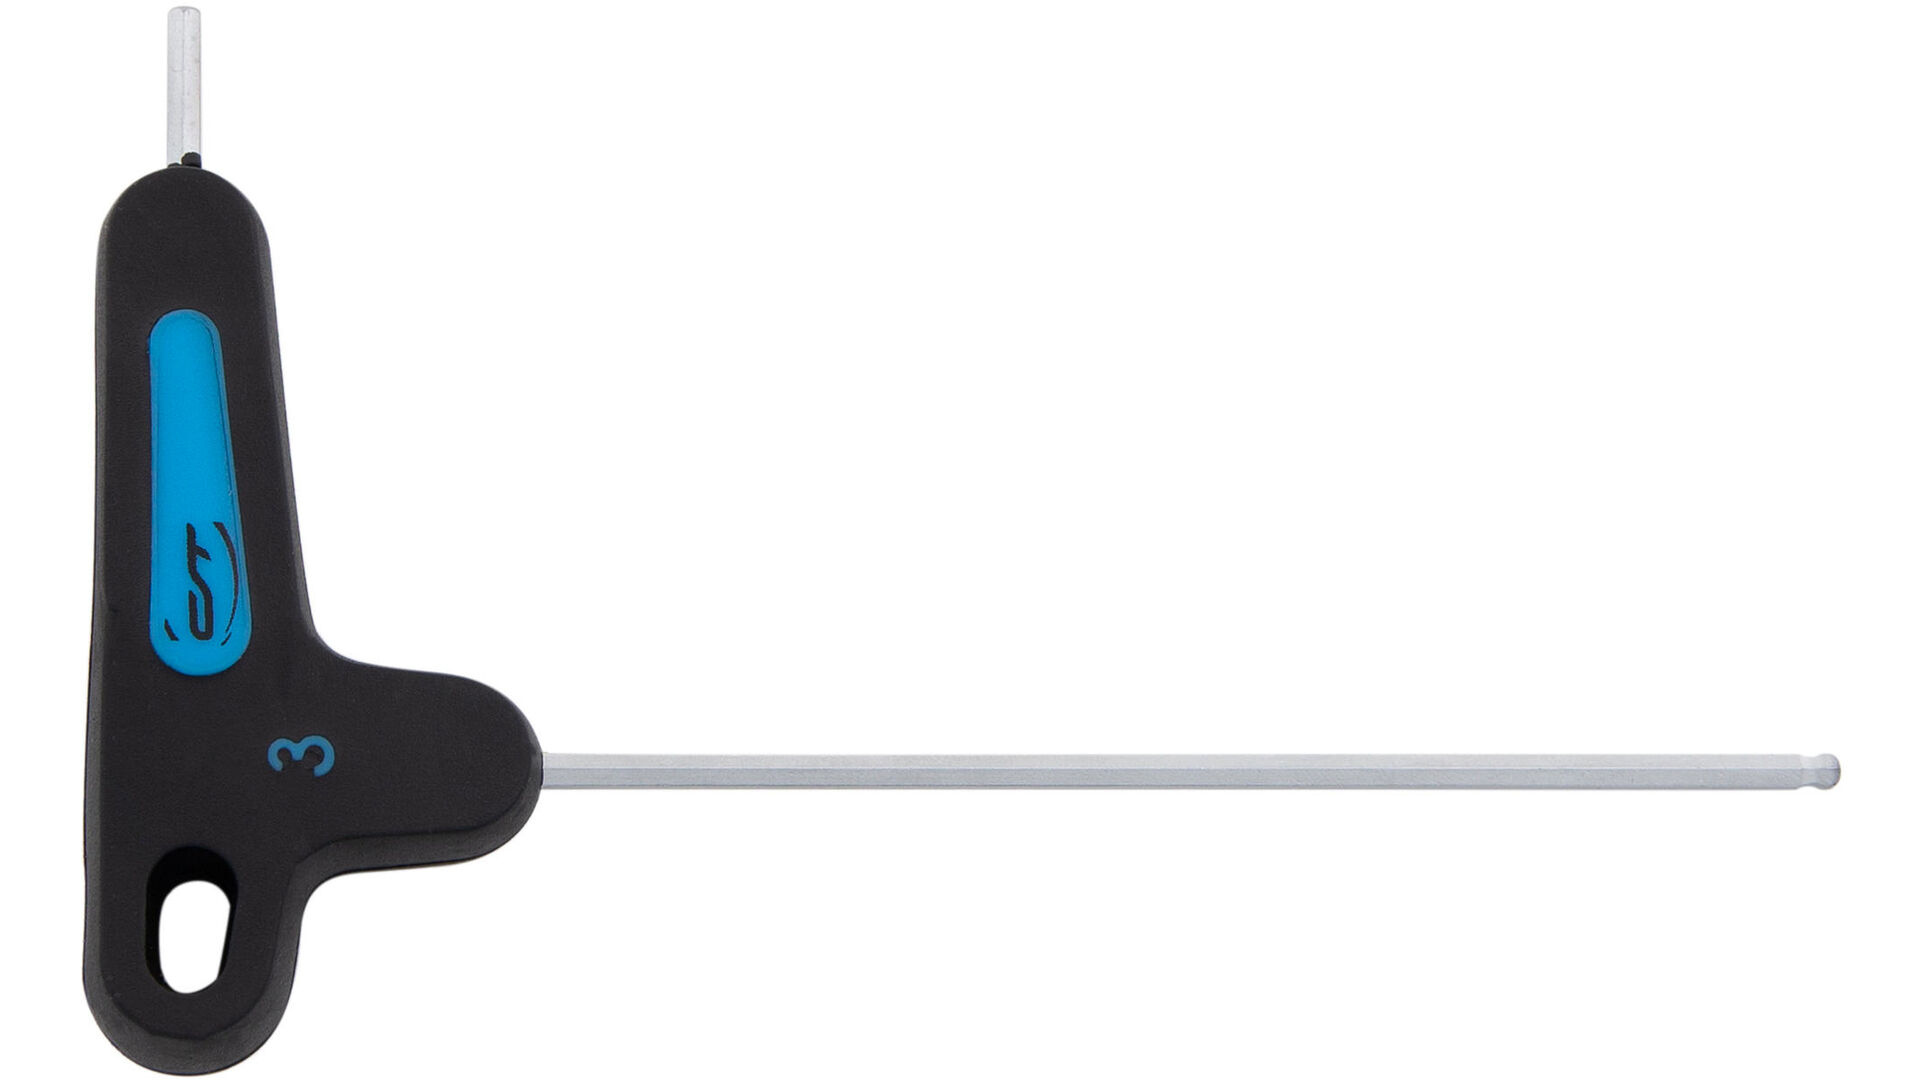
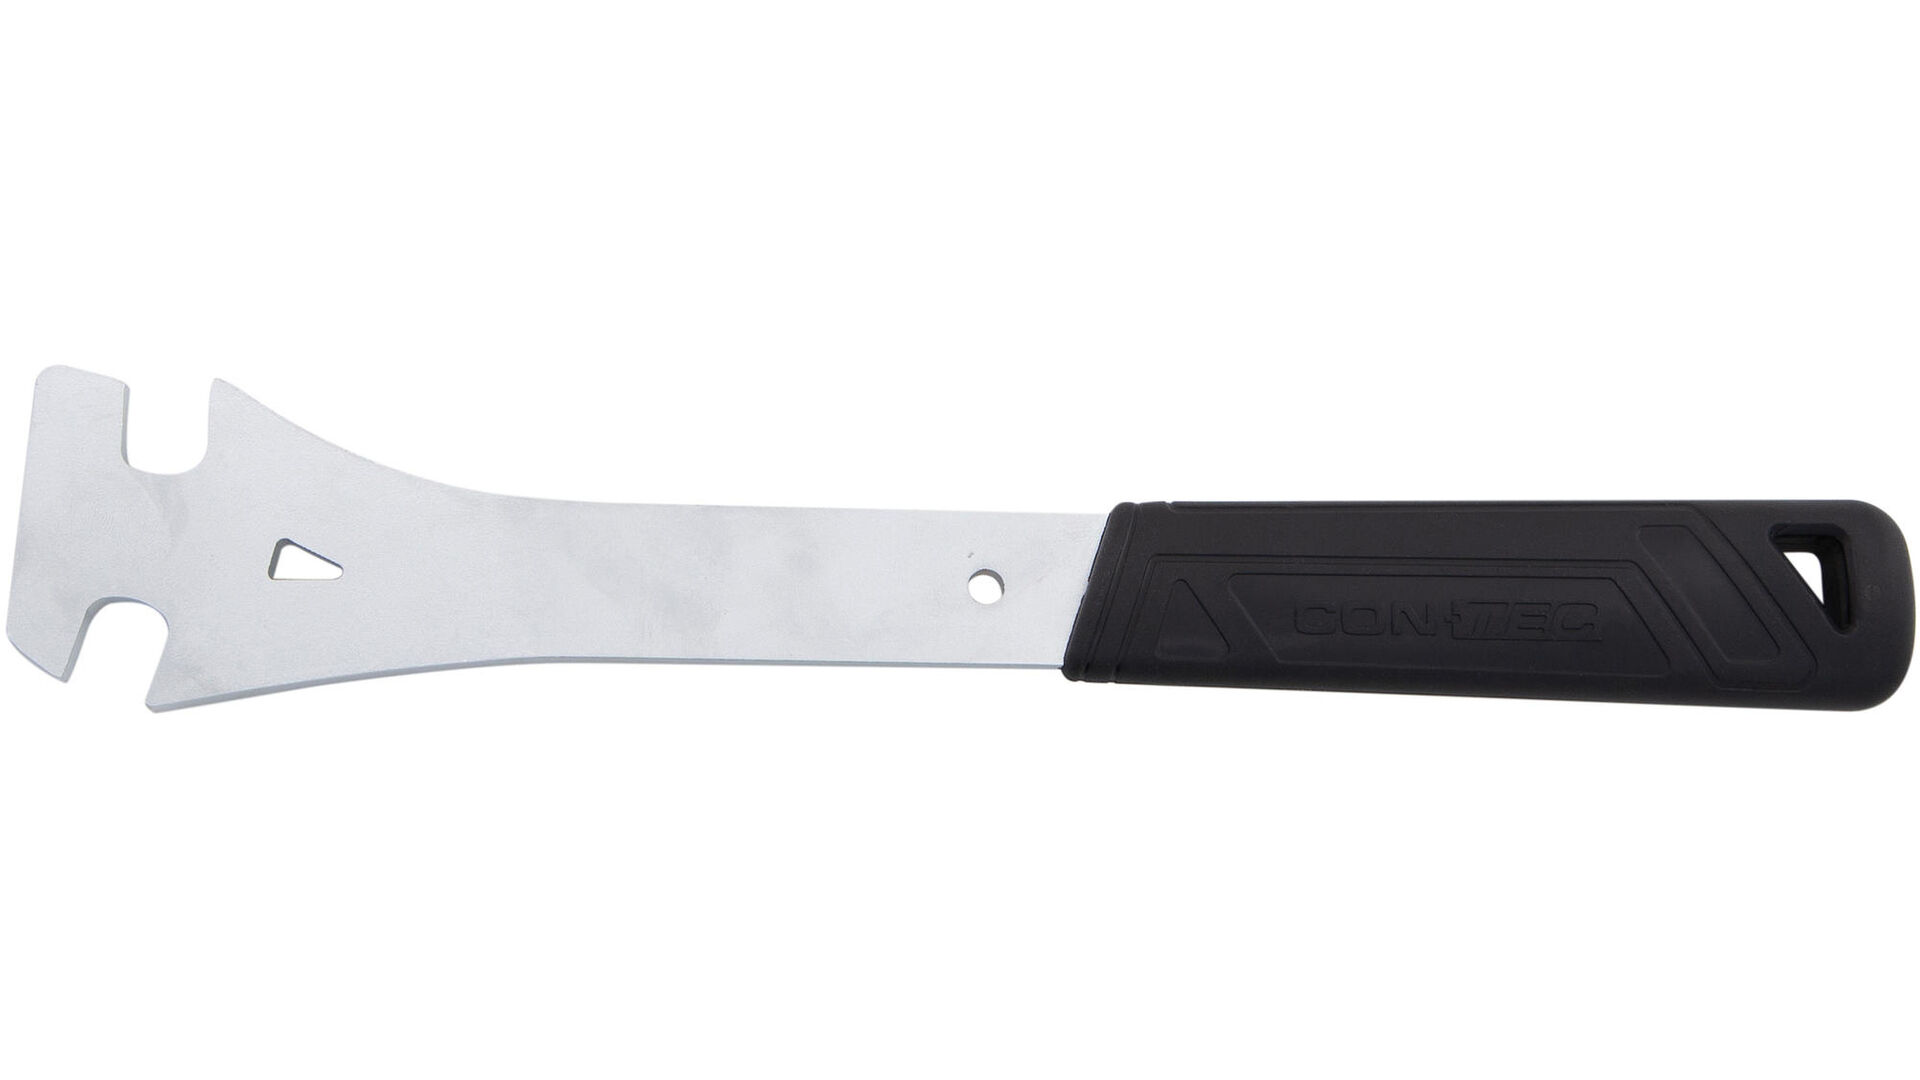
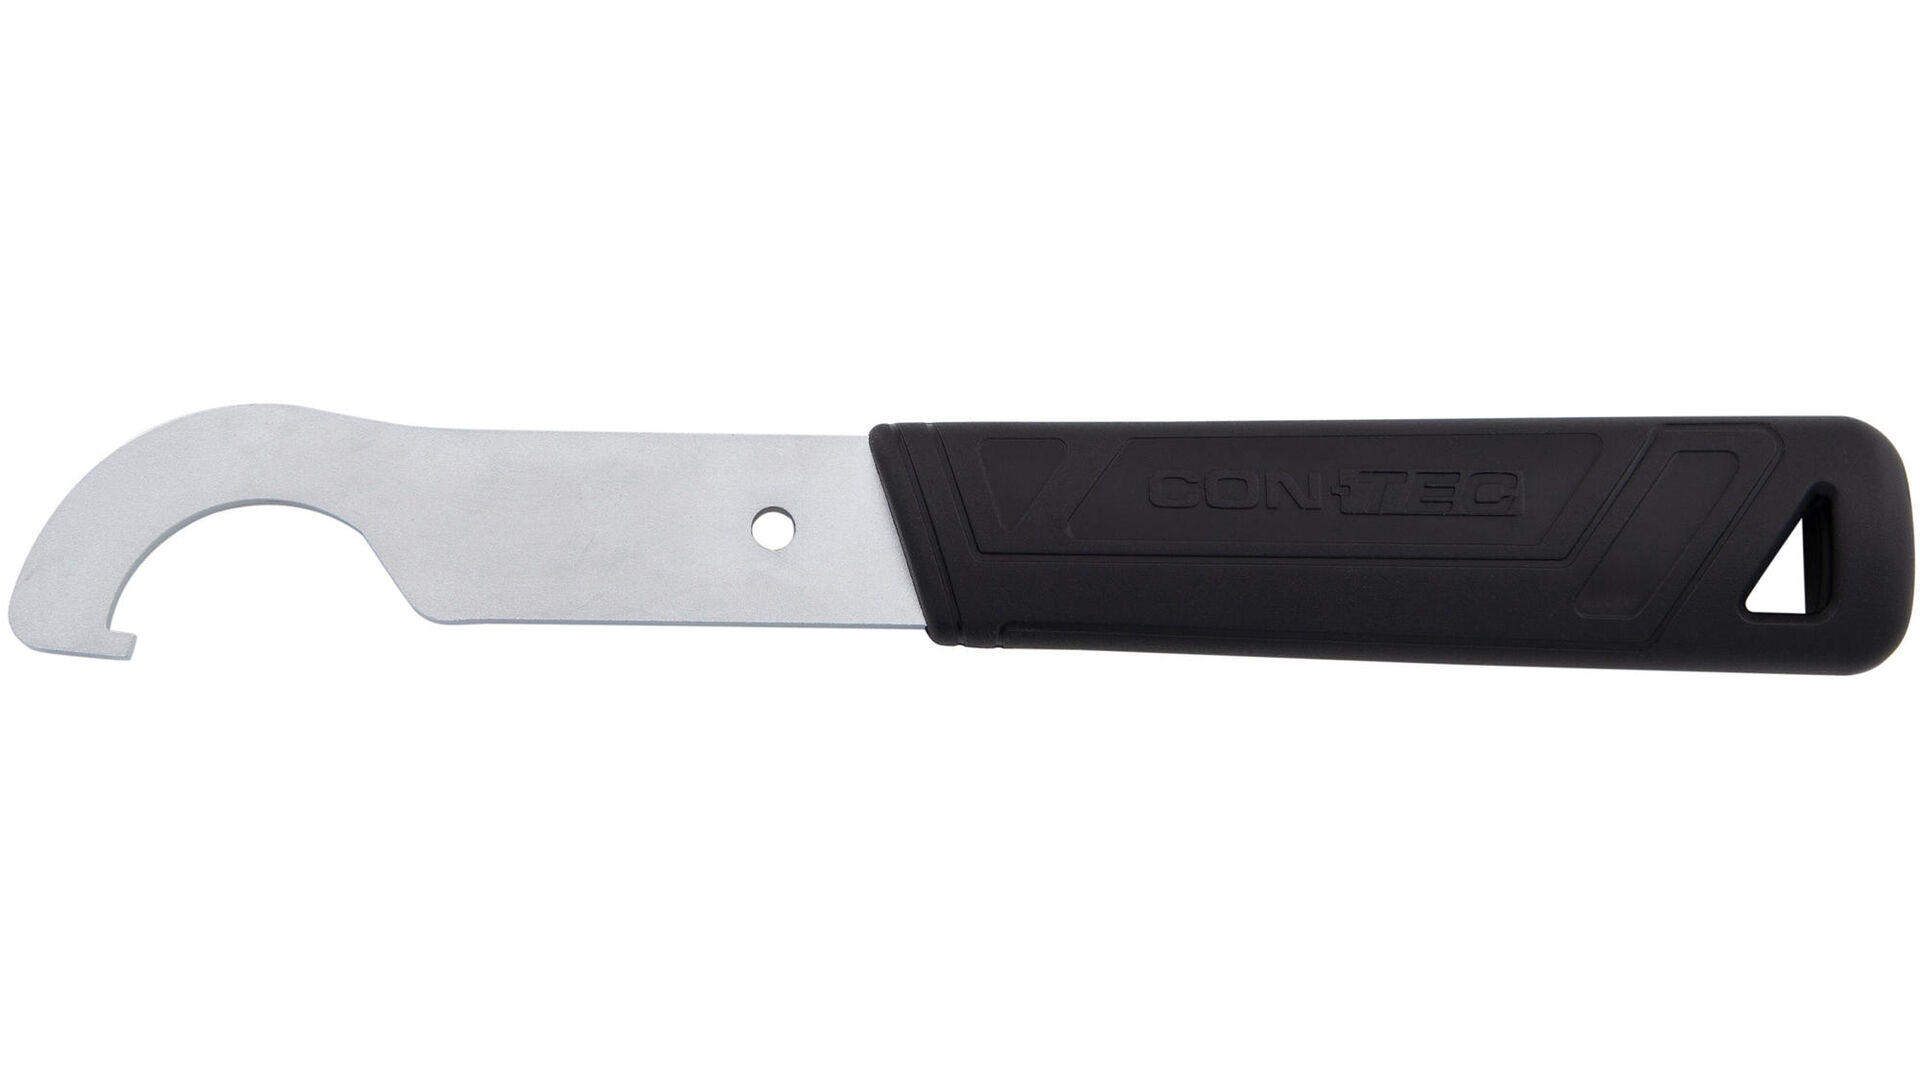
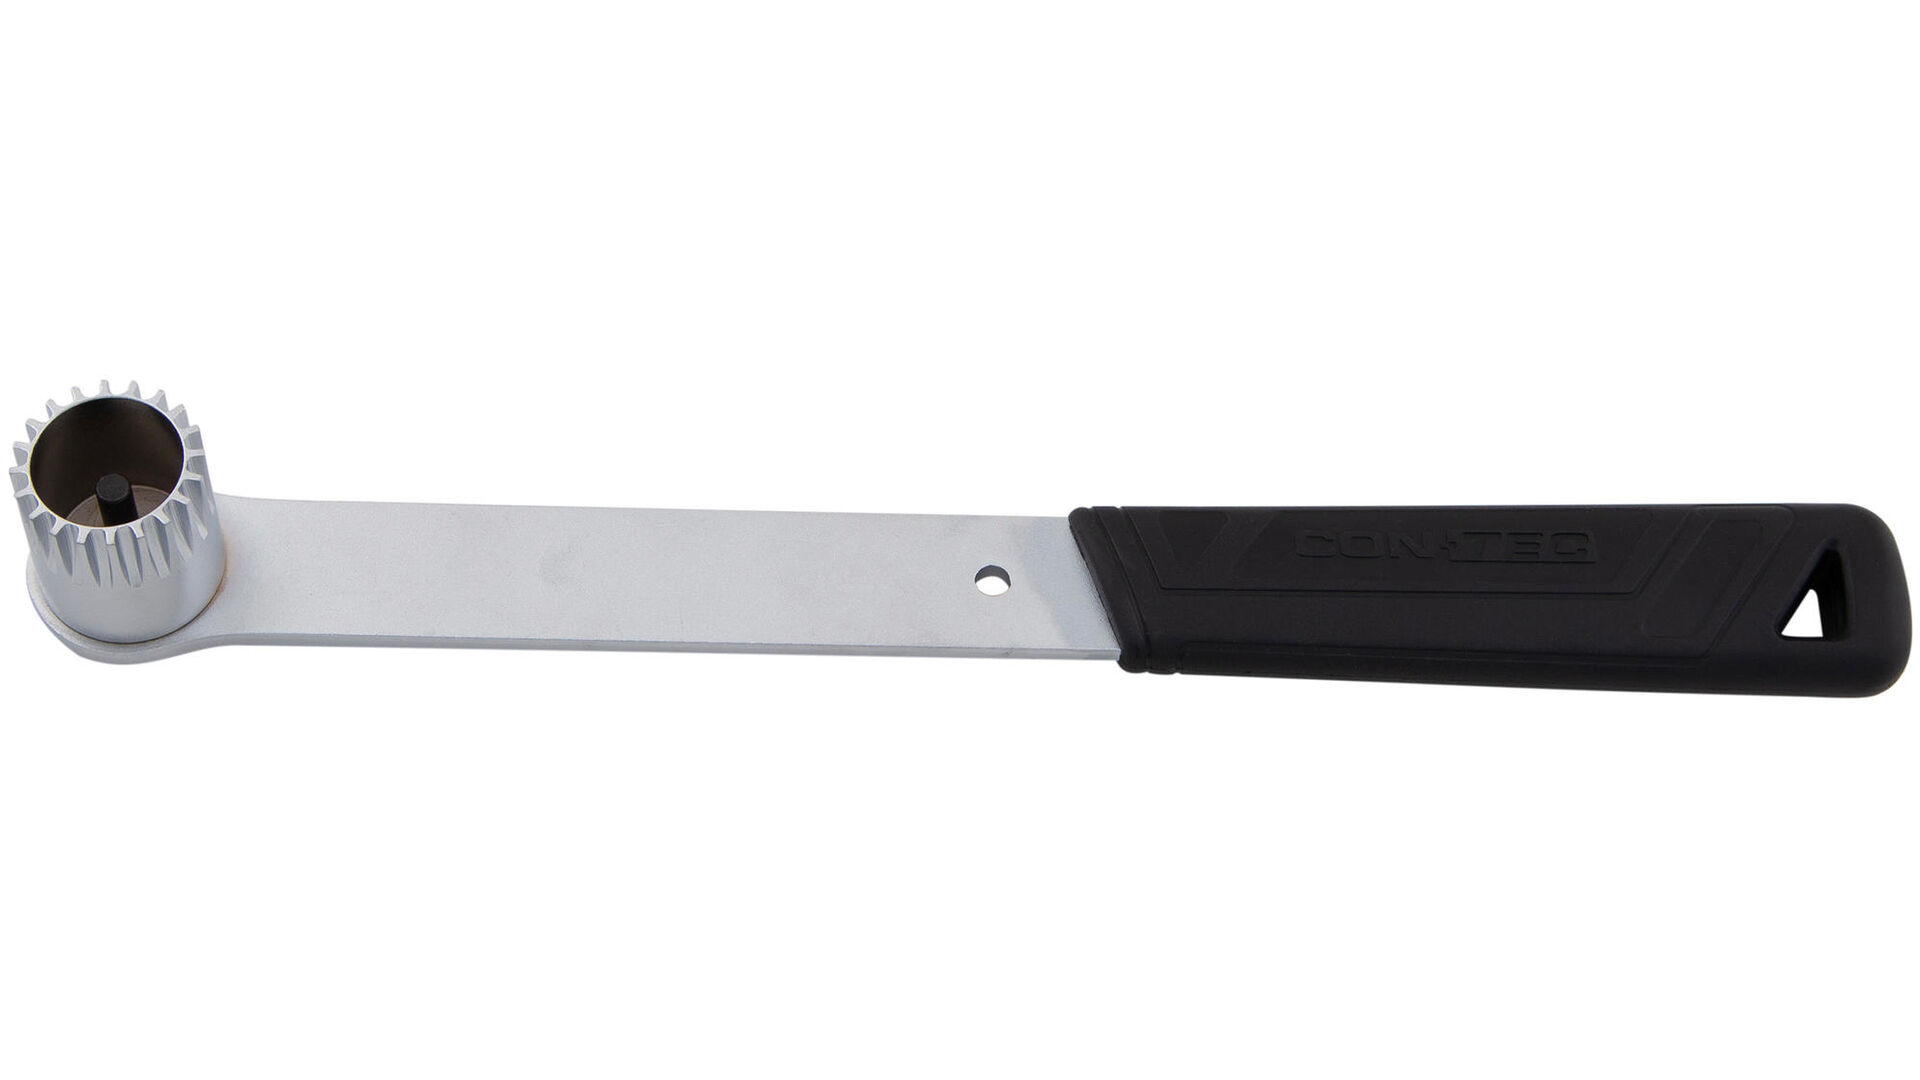
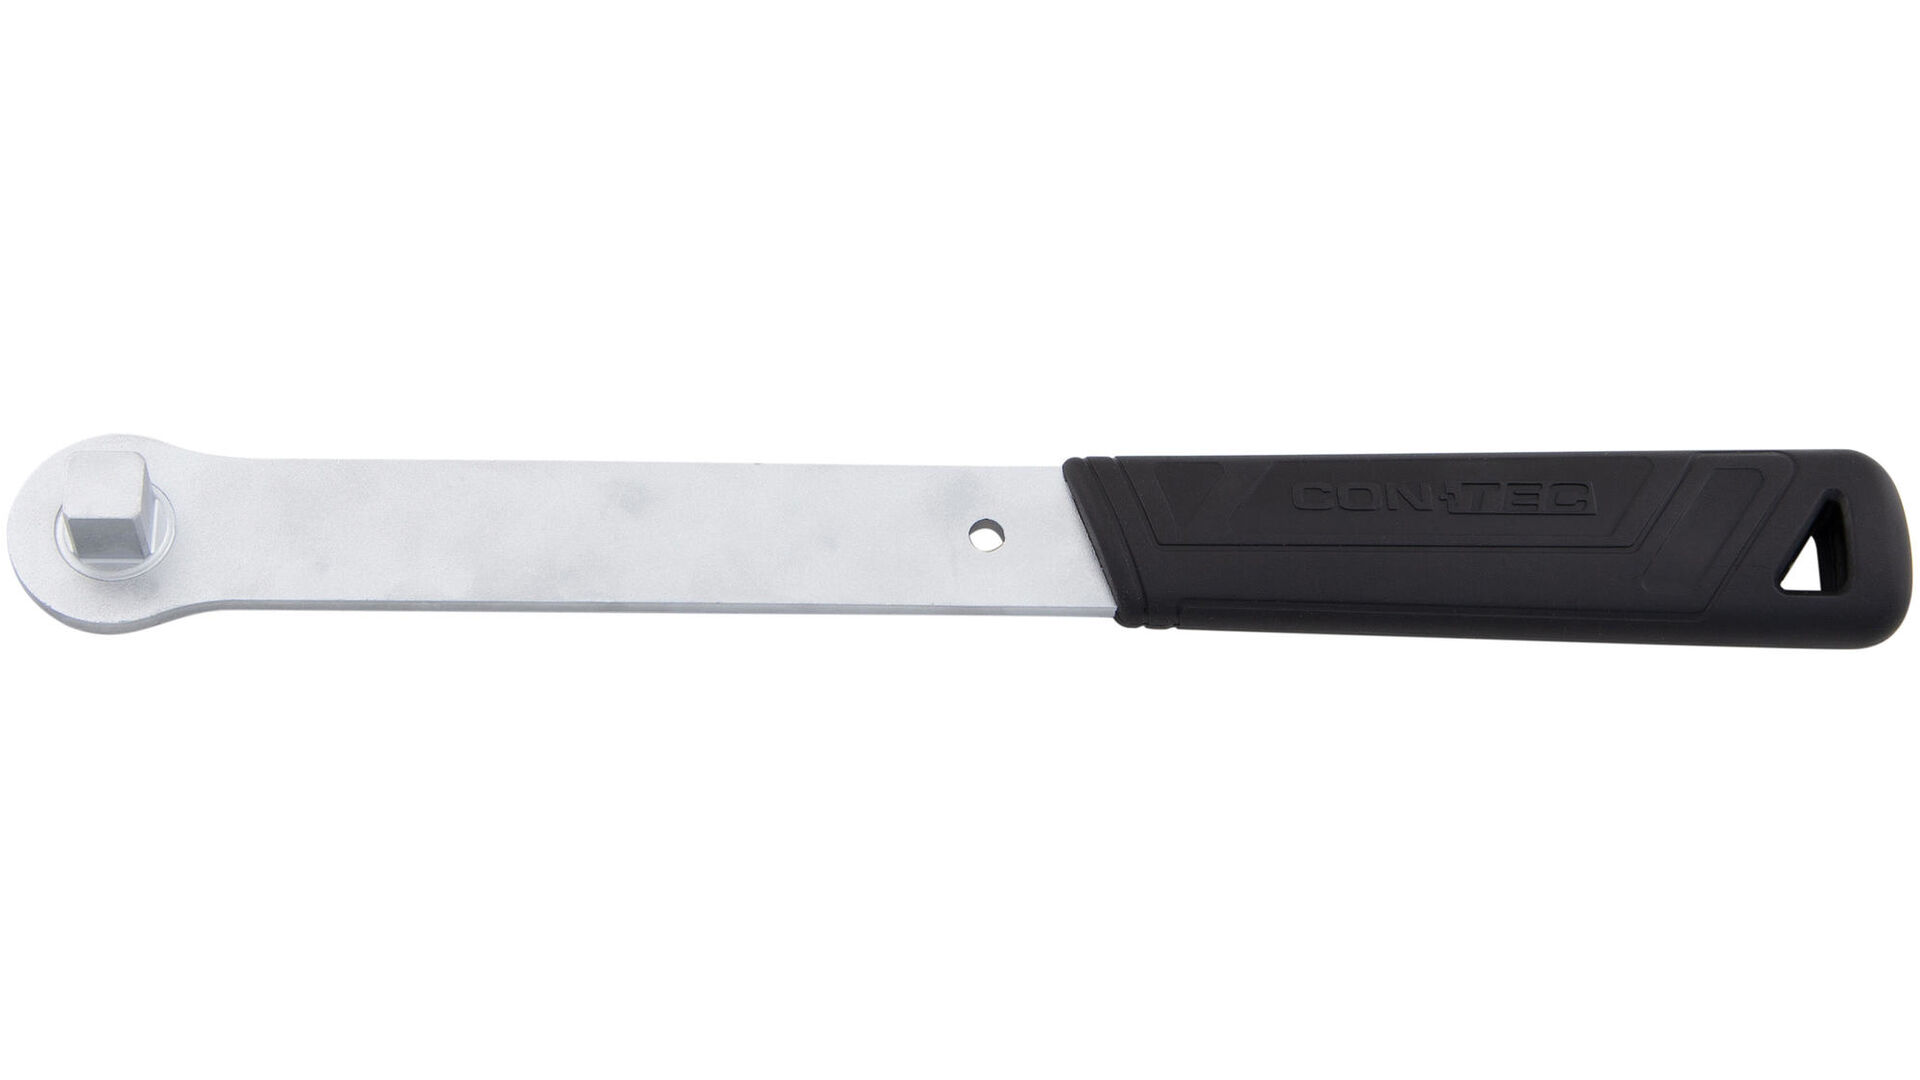
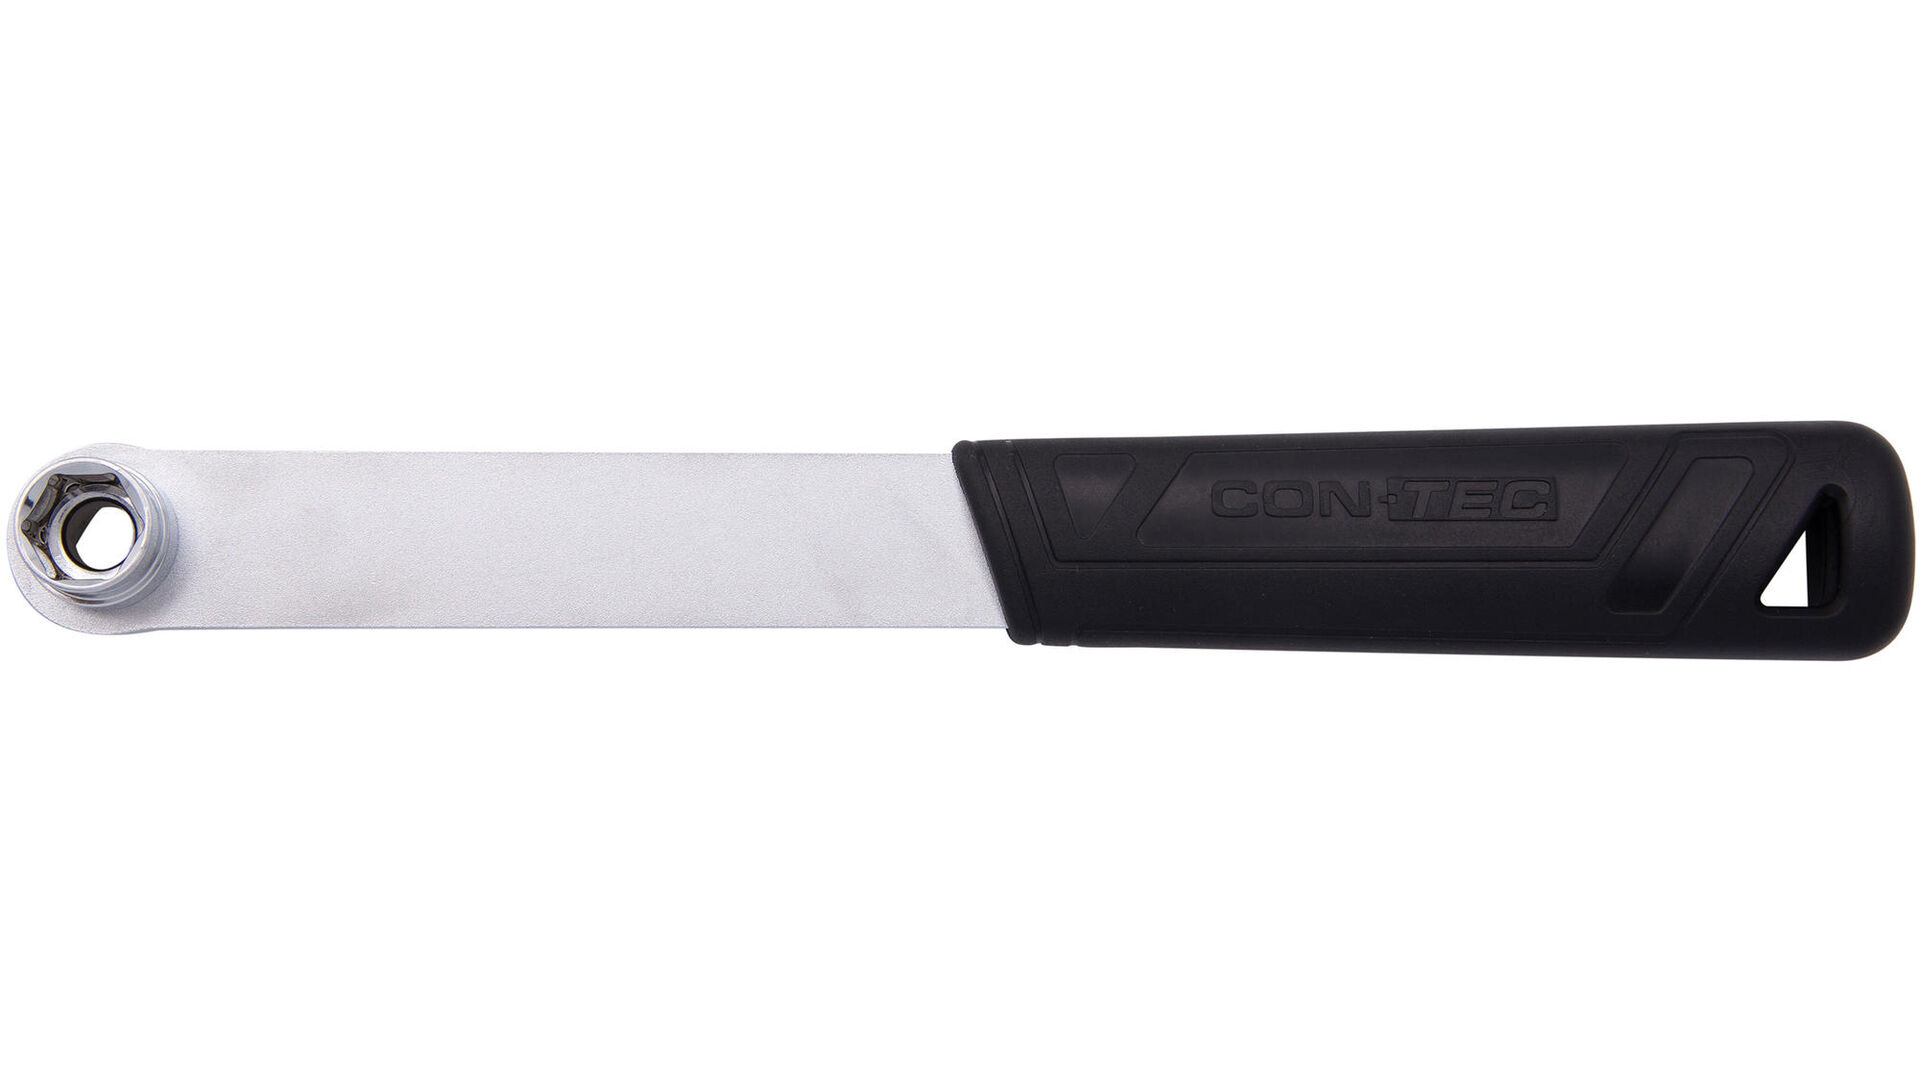
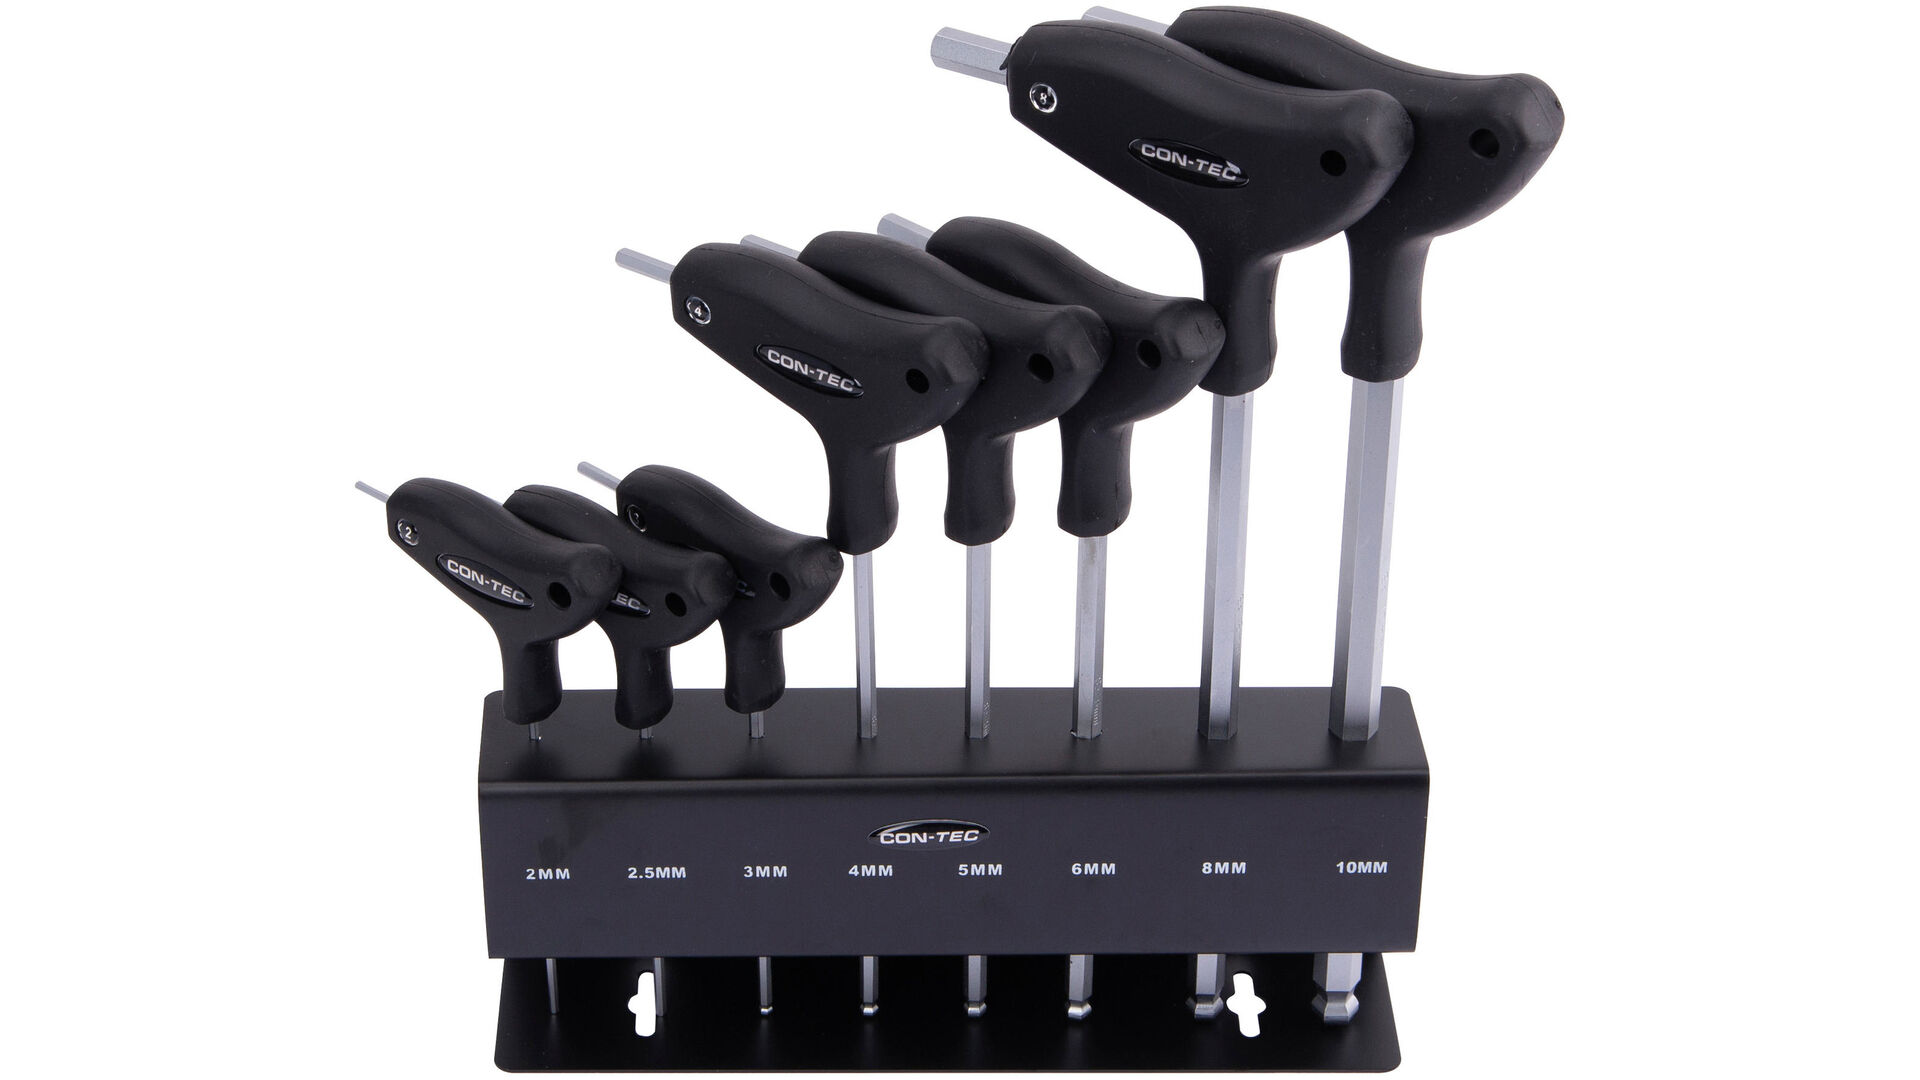
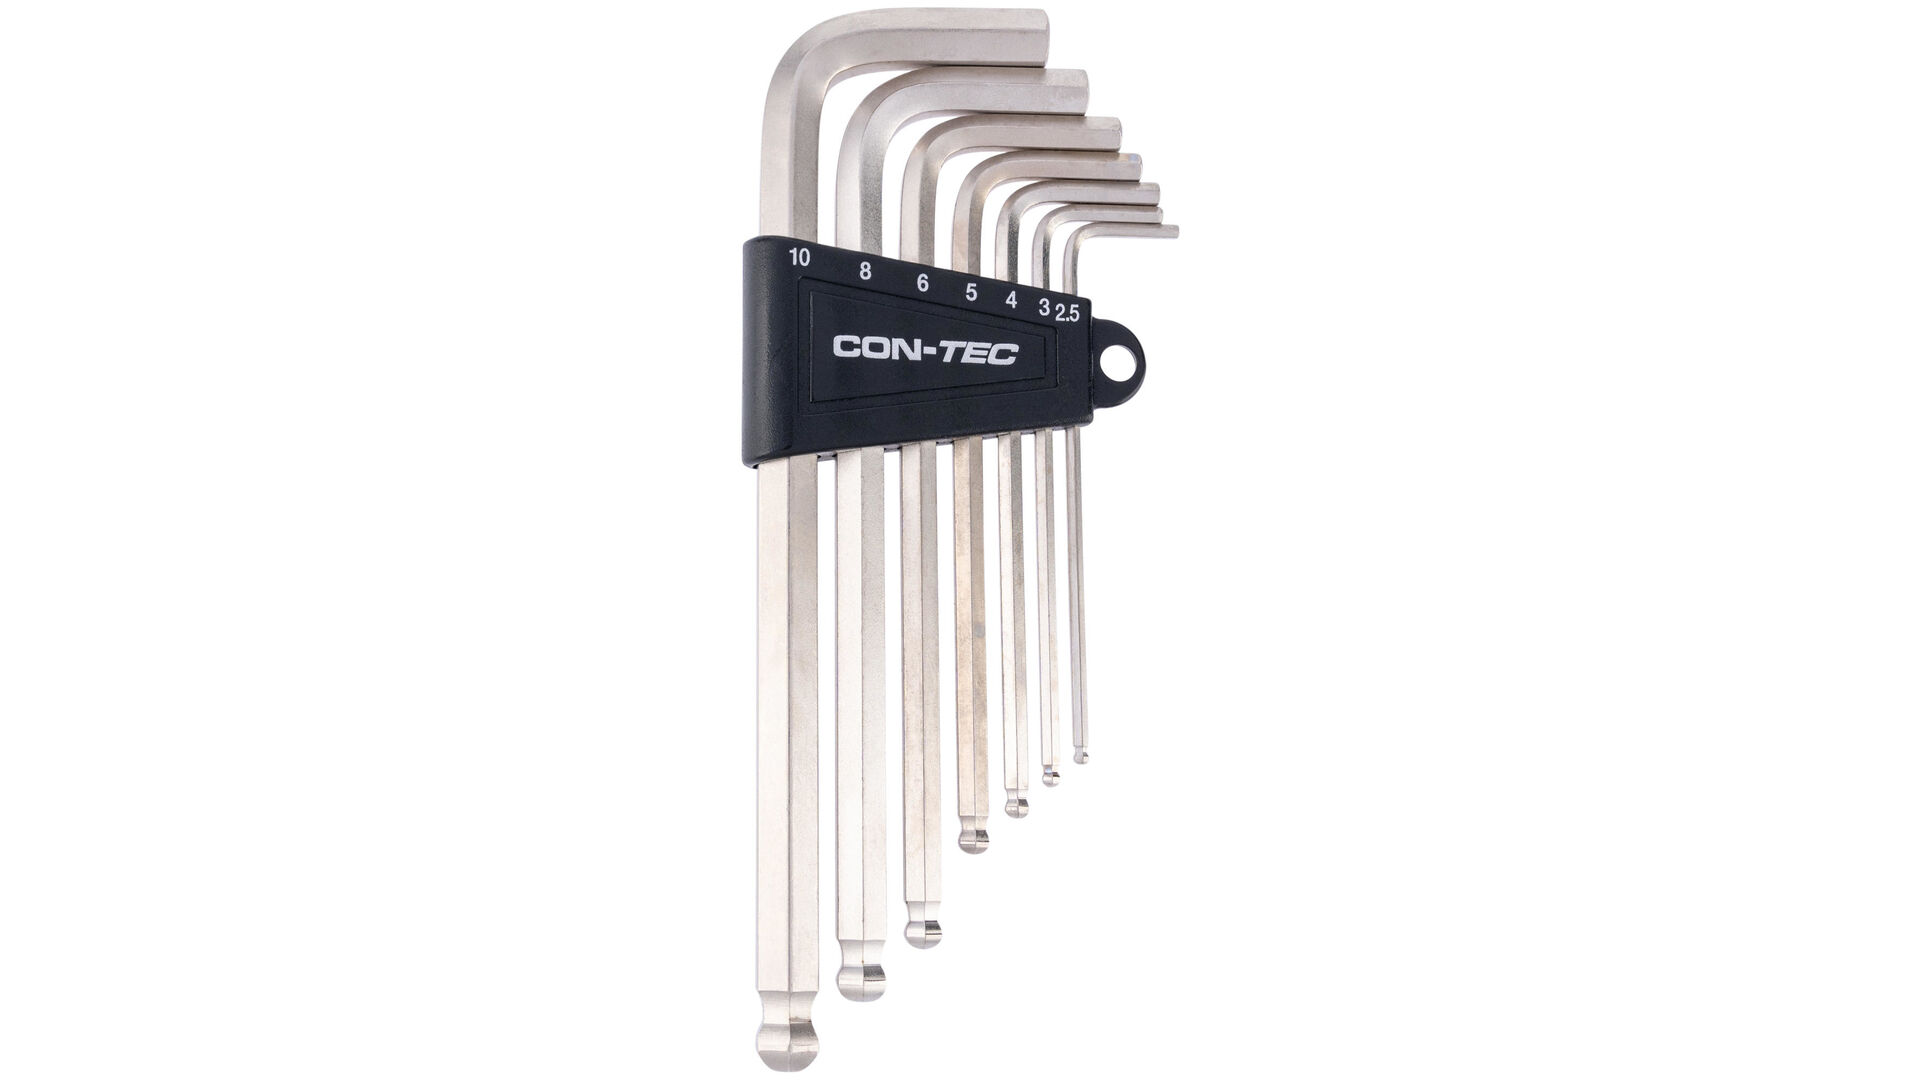
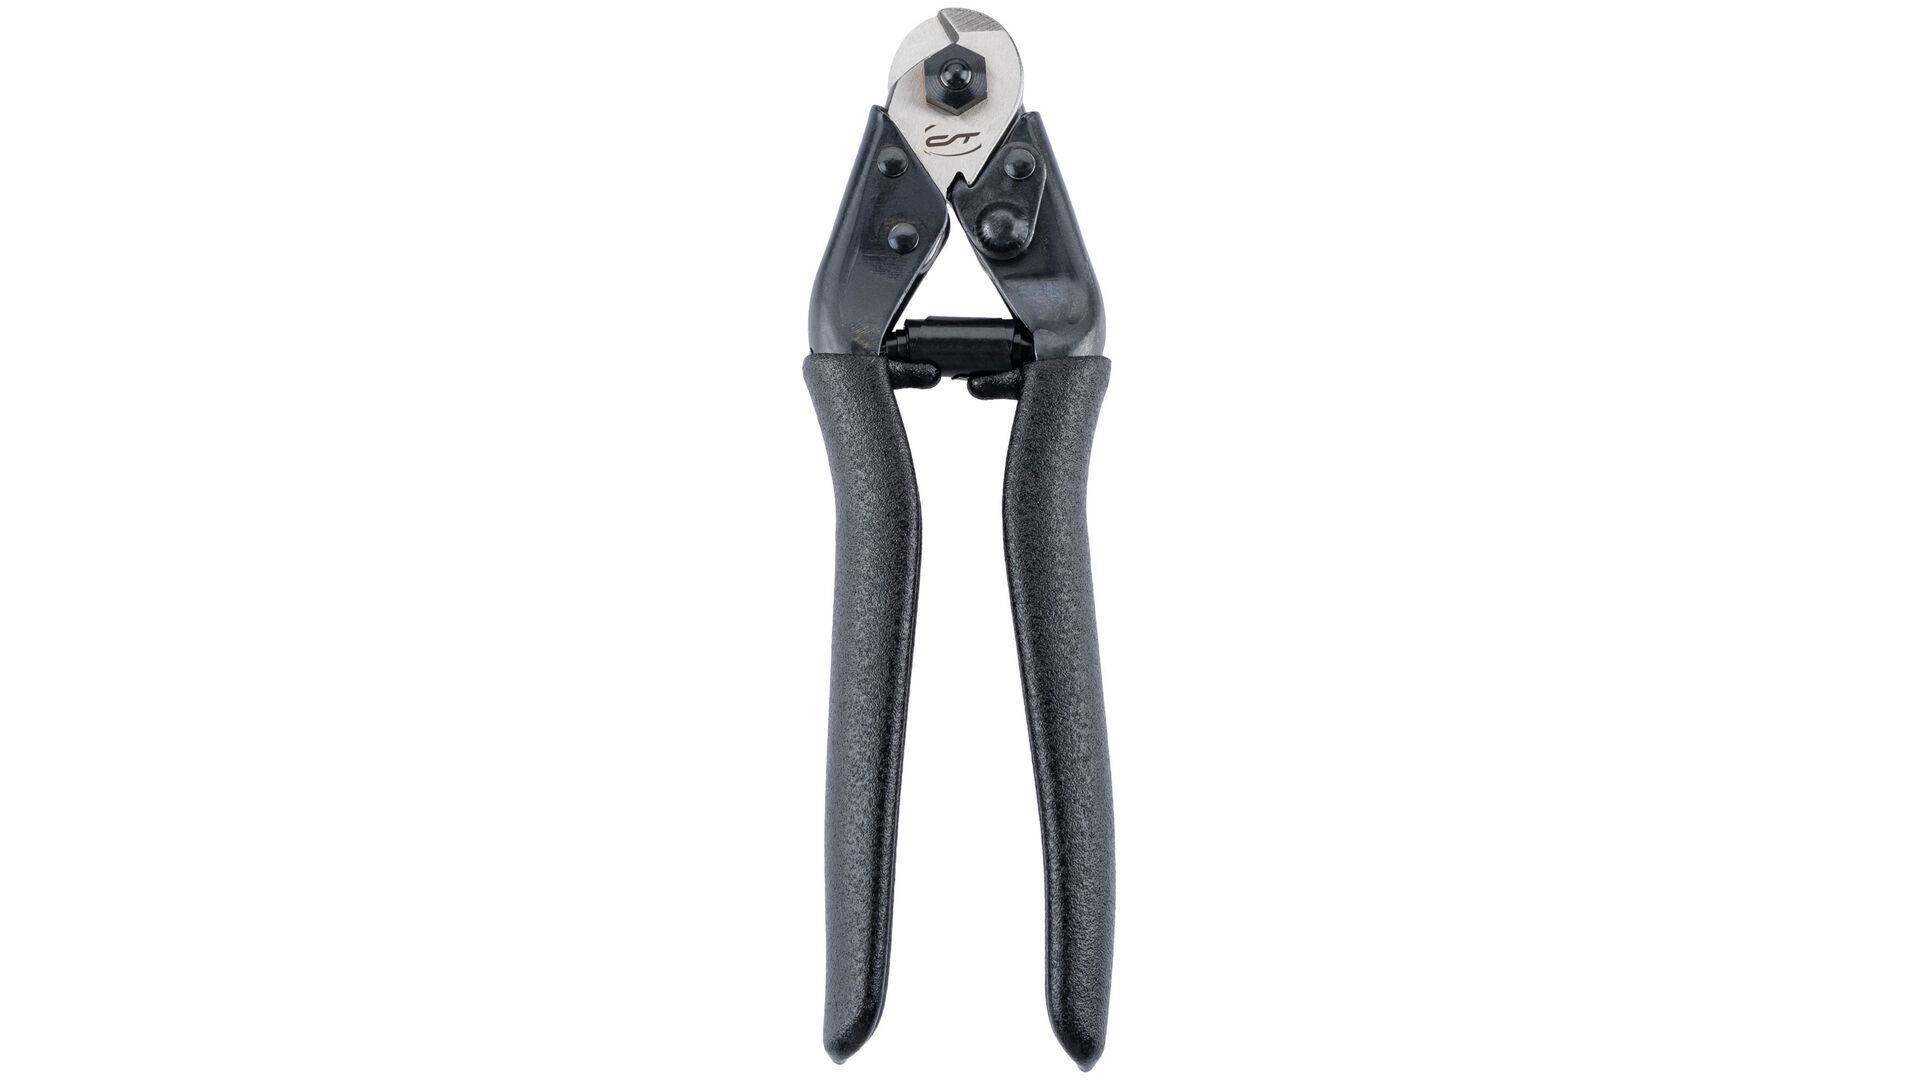
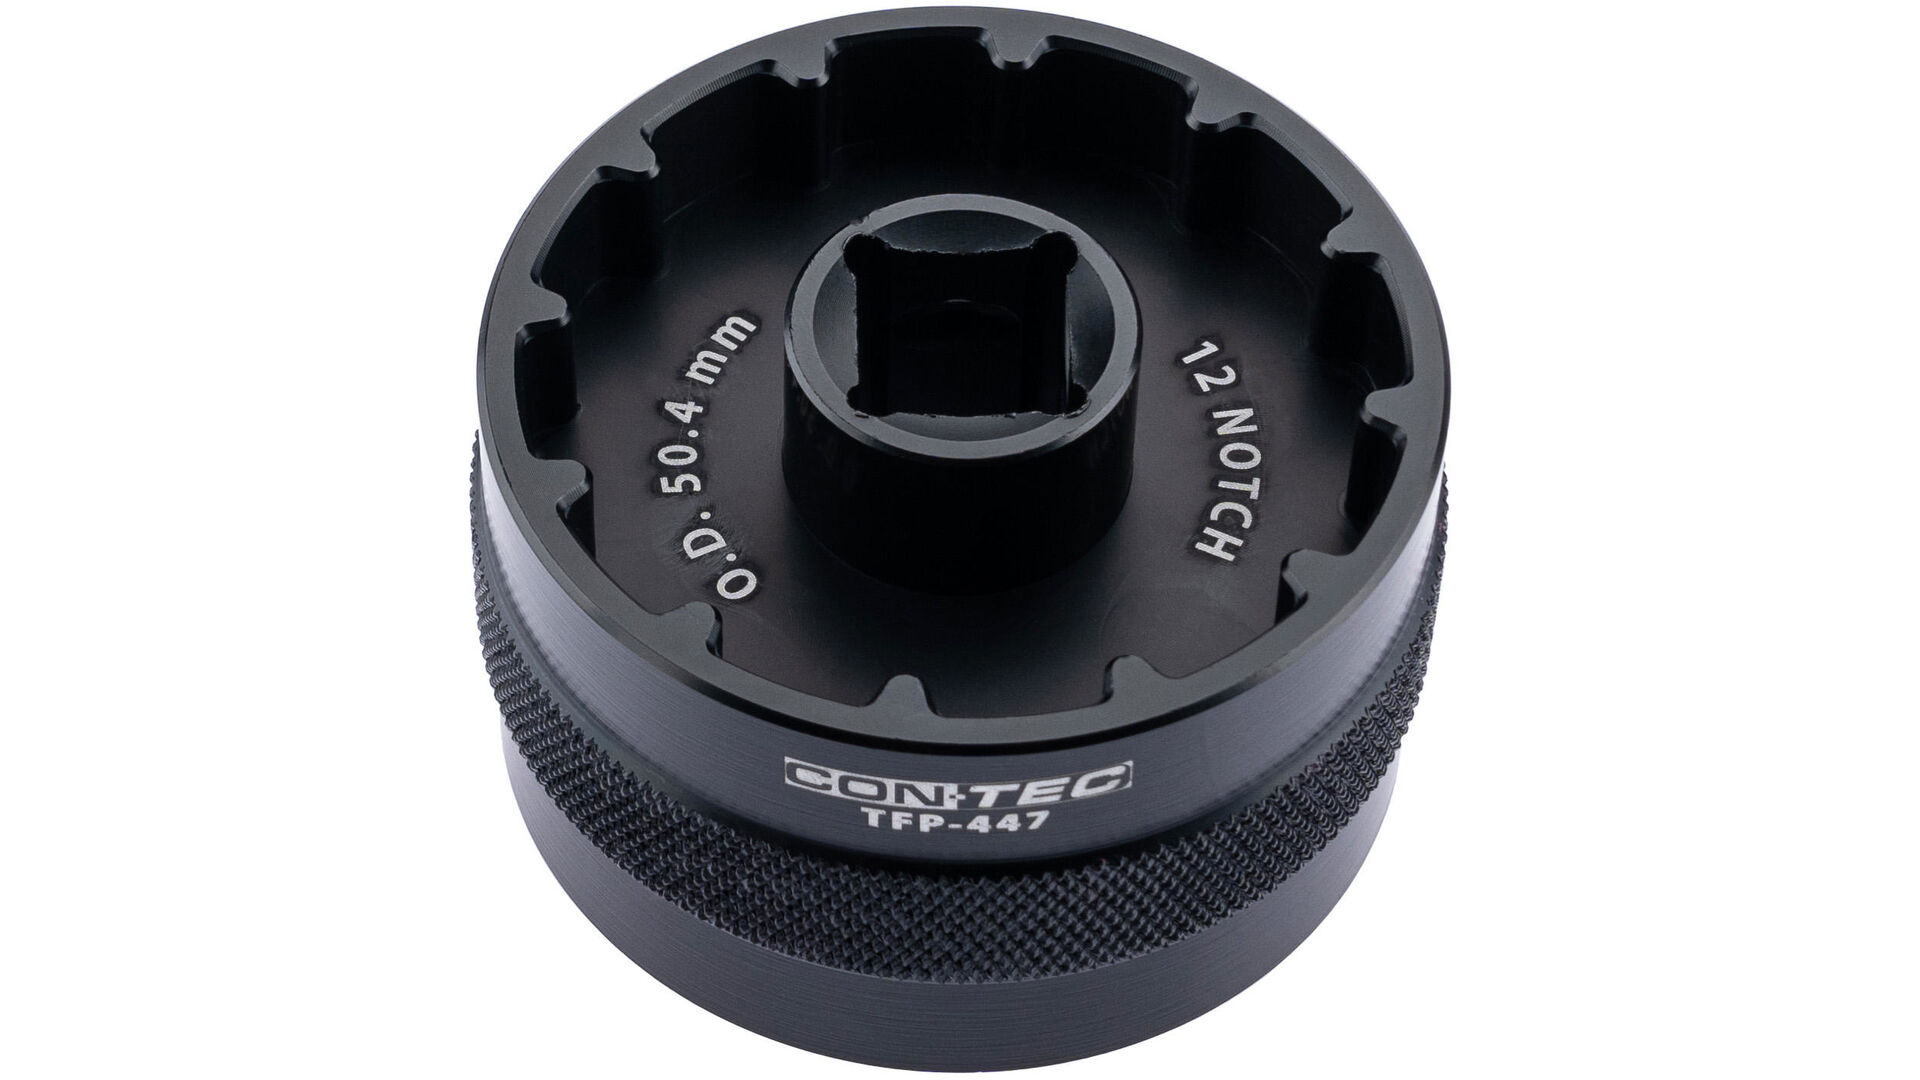
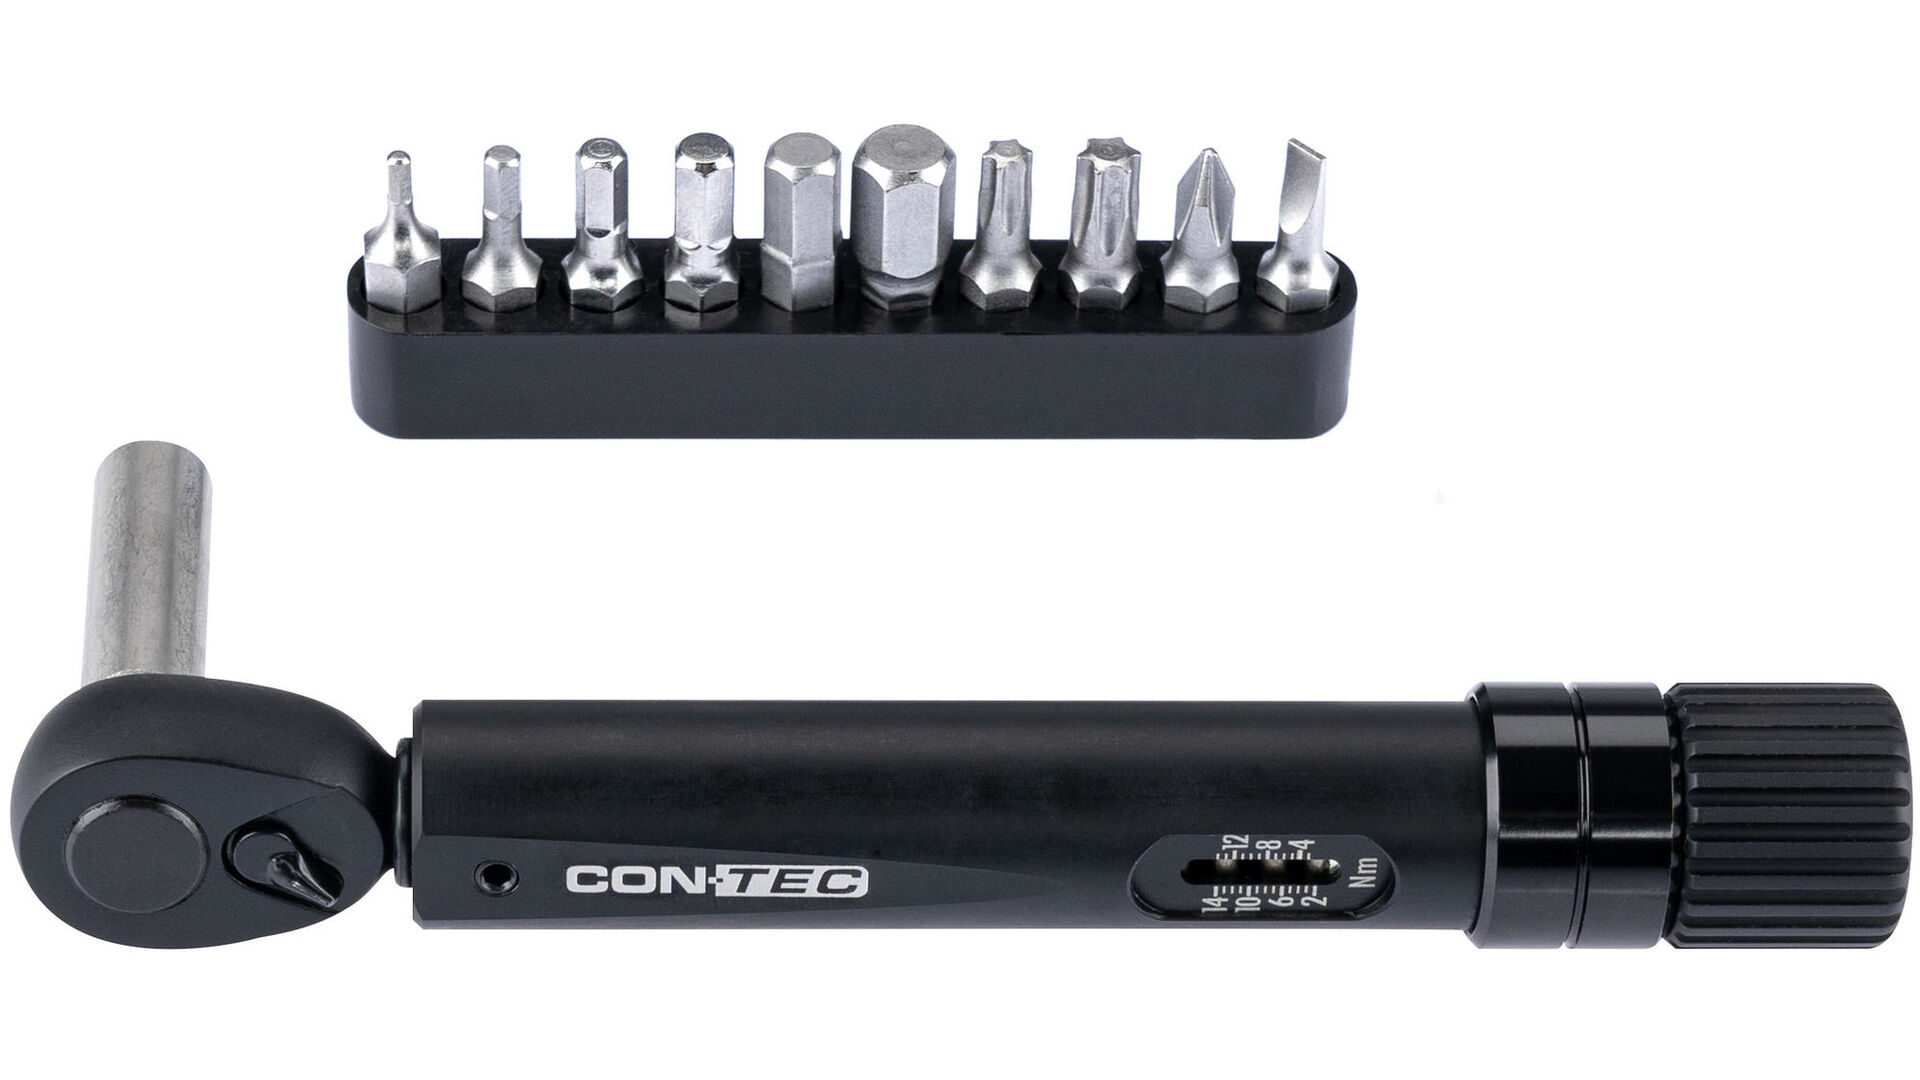
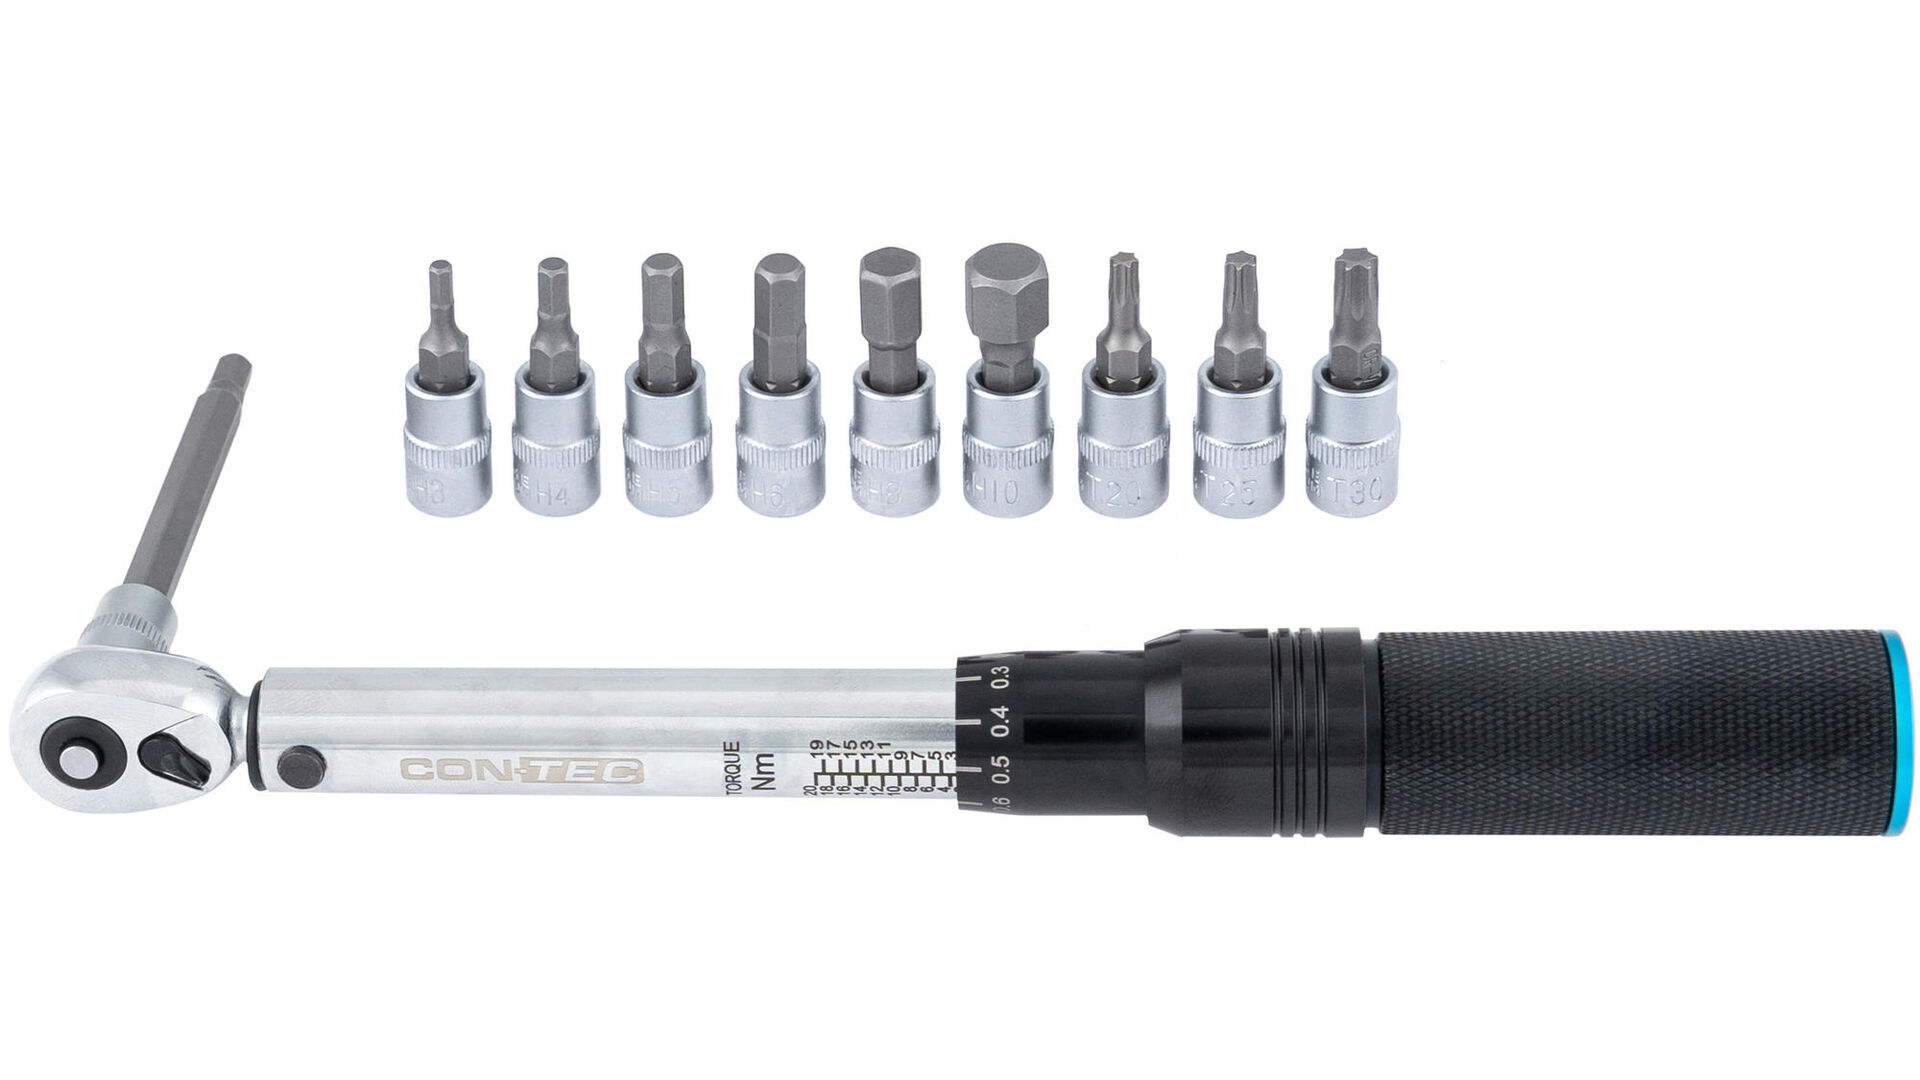
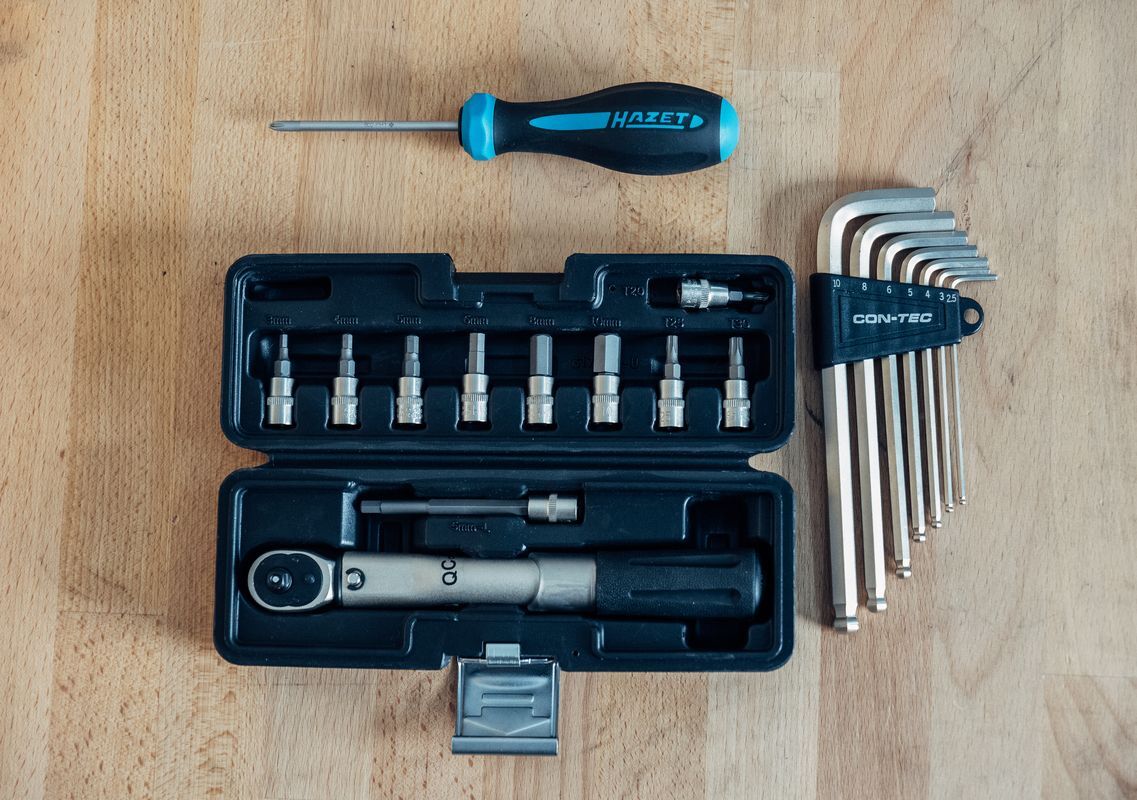
Adjusting disc brake - what you need


Adjusting disc brakes: When the disc brake is rubbing
If the brake is rubbing, the caliper is usually not adjusted correctly. When the brake caliper isn’t straight, the pad and the rotor slightly touch each other. There are two ways to adjust disc brakes so that the pads are only applied when braking. This way the disc brake works without rubbing:
Version 1: Adjusting the disc brake caliper
Only a few manufacturers allow for this version. However, it works without any issues with the majority of brakes:


Step 1: Loosen the two caliper bolts with a suitable Allen key. The caliper can now be moved.
Step 2: Pull the brake lever so that the brake pads are against the brake rotor. Doing this allows the caliper to centre itself.
Step 3: Now, with the brake lever pulled, carefully tighten the caliper bolts again while the brake is applied. A second person is helpful for this, or you can use a strong rubber band to fix the brake lever in place. Carefully tighten the screws alternately.Pay attention to the specified torques!
Step 4: Now relax the brake lever and check the adjustment by turning the wheels. The brake should no longer rub and the pads should not touch the rotor. If the brake still rubs, repeat the above steps again.
Version 2: Adjusting the disc brake caliper by hand
Step 1: To align the caliper, loosen the Allen bolts on the caliper mount until the caliper moves.
Step 2: Thanks to the slotted holes in the caliper, it can be moved horizontally. Slide it so that the brake rotor is centred between the brake pads.
Step 3: Then carefully tighten the bolts again.


Distance between brake rotor and brake pad
To better see the distance between the brake rotor and the brake pads, place a lamp behind the caliper to illuminate it from the back.
Another reason that brake pads rub on the rotor is a bent brake rotor. Depending on how much the rotor is bent, this results in a slight but constant braking while riding: Does the bent rotor make contact with the pads even if the brake lever is not pulled? Straightening the brake rotor is possible with a brake rotor truing tool, but it’s better to ask your bike dealer for a suitable replacement or repair.
What is lever reach?
The lever reach is the distance between the handlebar grip and the brake lever. When adjusting a disc brake, it is important to have the correct lever reach. You can adjust this distance on most brakes. The larger the rider's hands, the larger the lever reach should be. It sounds quite banal, but it is neglected again and again. A correctly adjusted lever reach is essential for comfort when braking.
How do I adjust the lever reach on disc brakes?
Modern disc brakes are usually operated with only one finger.We explain step by step how to adjust the lever reach to suit you.
First, make sure that the horizontal position of the brake handlebar clamp is correct.To make the most of the leverage, the finger should be at the outer end of the lever.In this position, it forms a line with the hand and forearm.


Check the angle of the brake lever:Depending on your riding habits, a more horizontal or angled setting may be necessary, for example, if you are frequently on steep terrain.As mentioned before:The stretched finger, hand and forearm form a line when descending.
Now let’s talk about the actual adjustment of the lever reach:Your index finger should rest on the brake lever so that you can move the first finger joint without any problems.This allows for optimal lever pull.Once the reach is set, we can move on to the contact point.

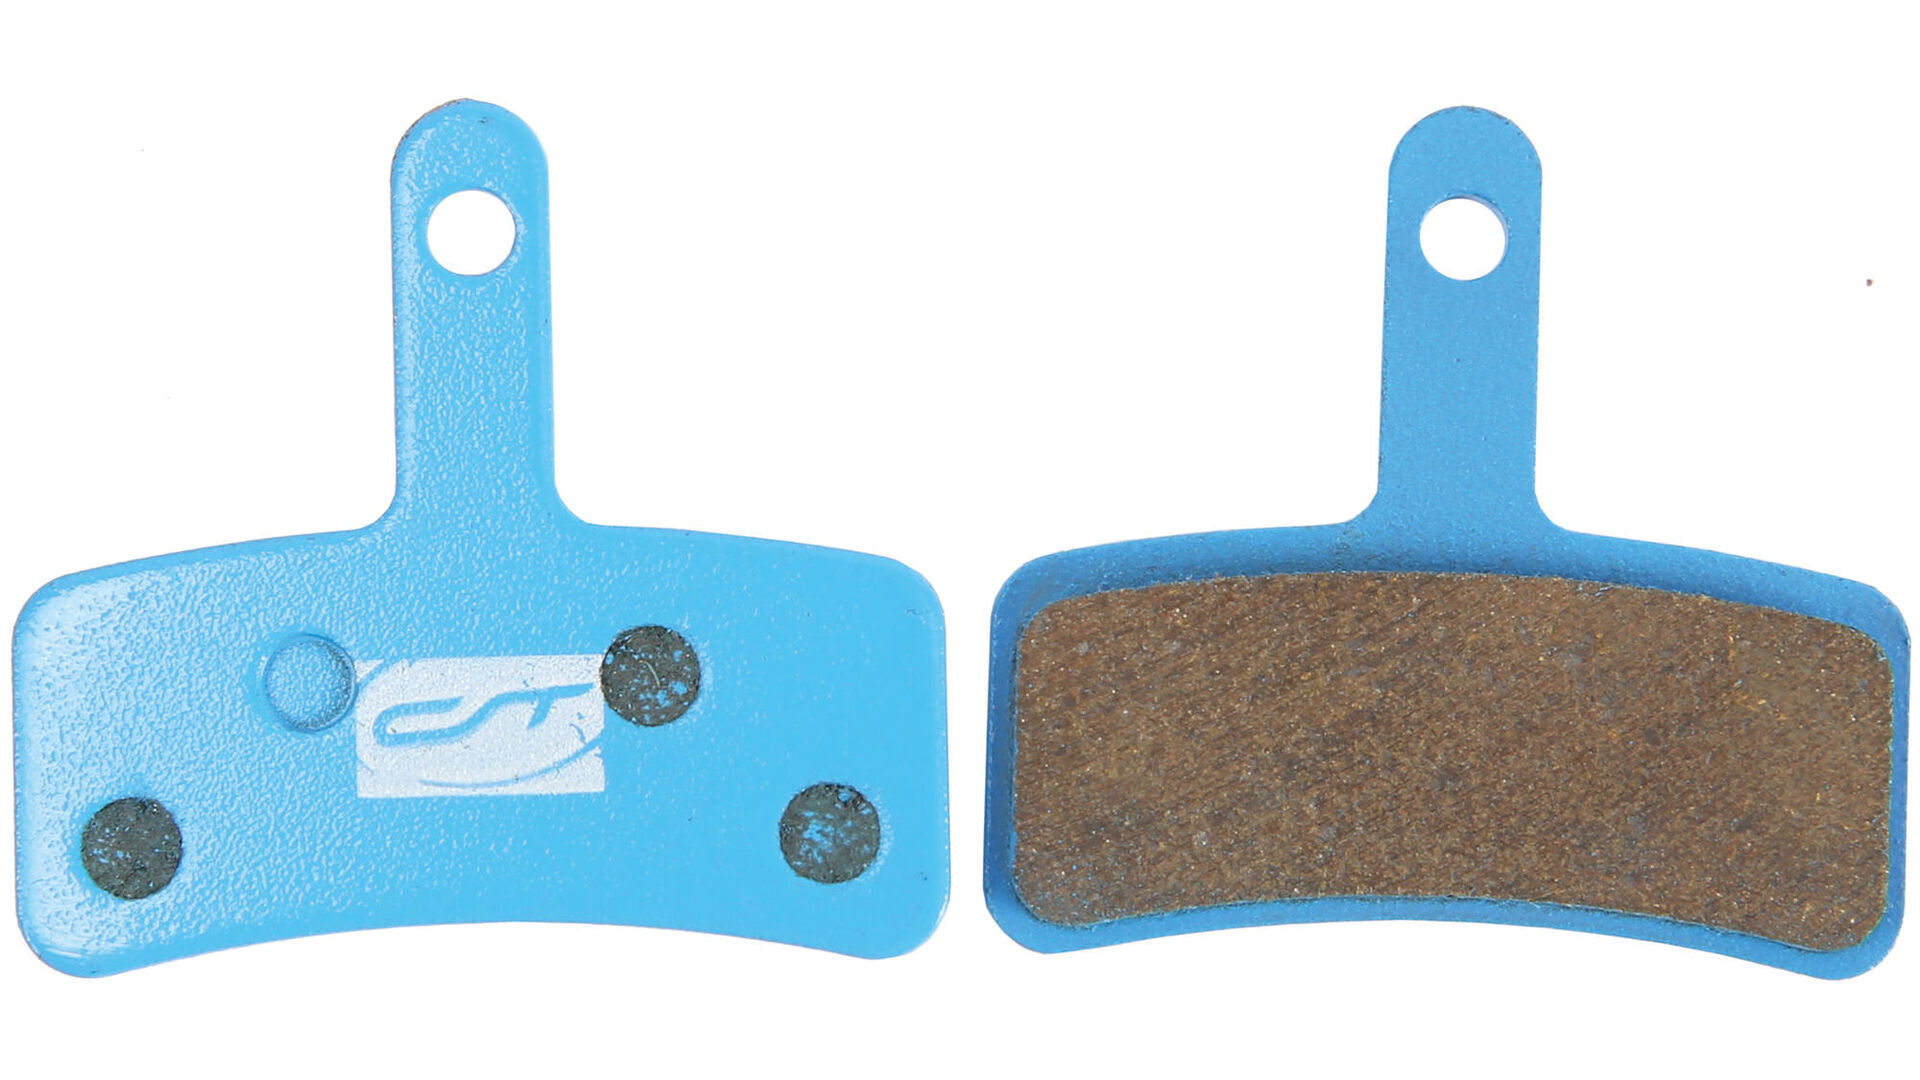
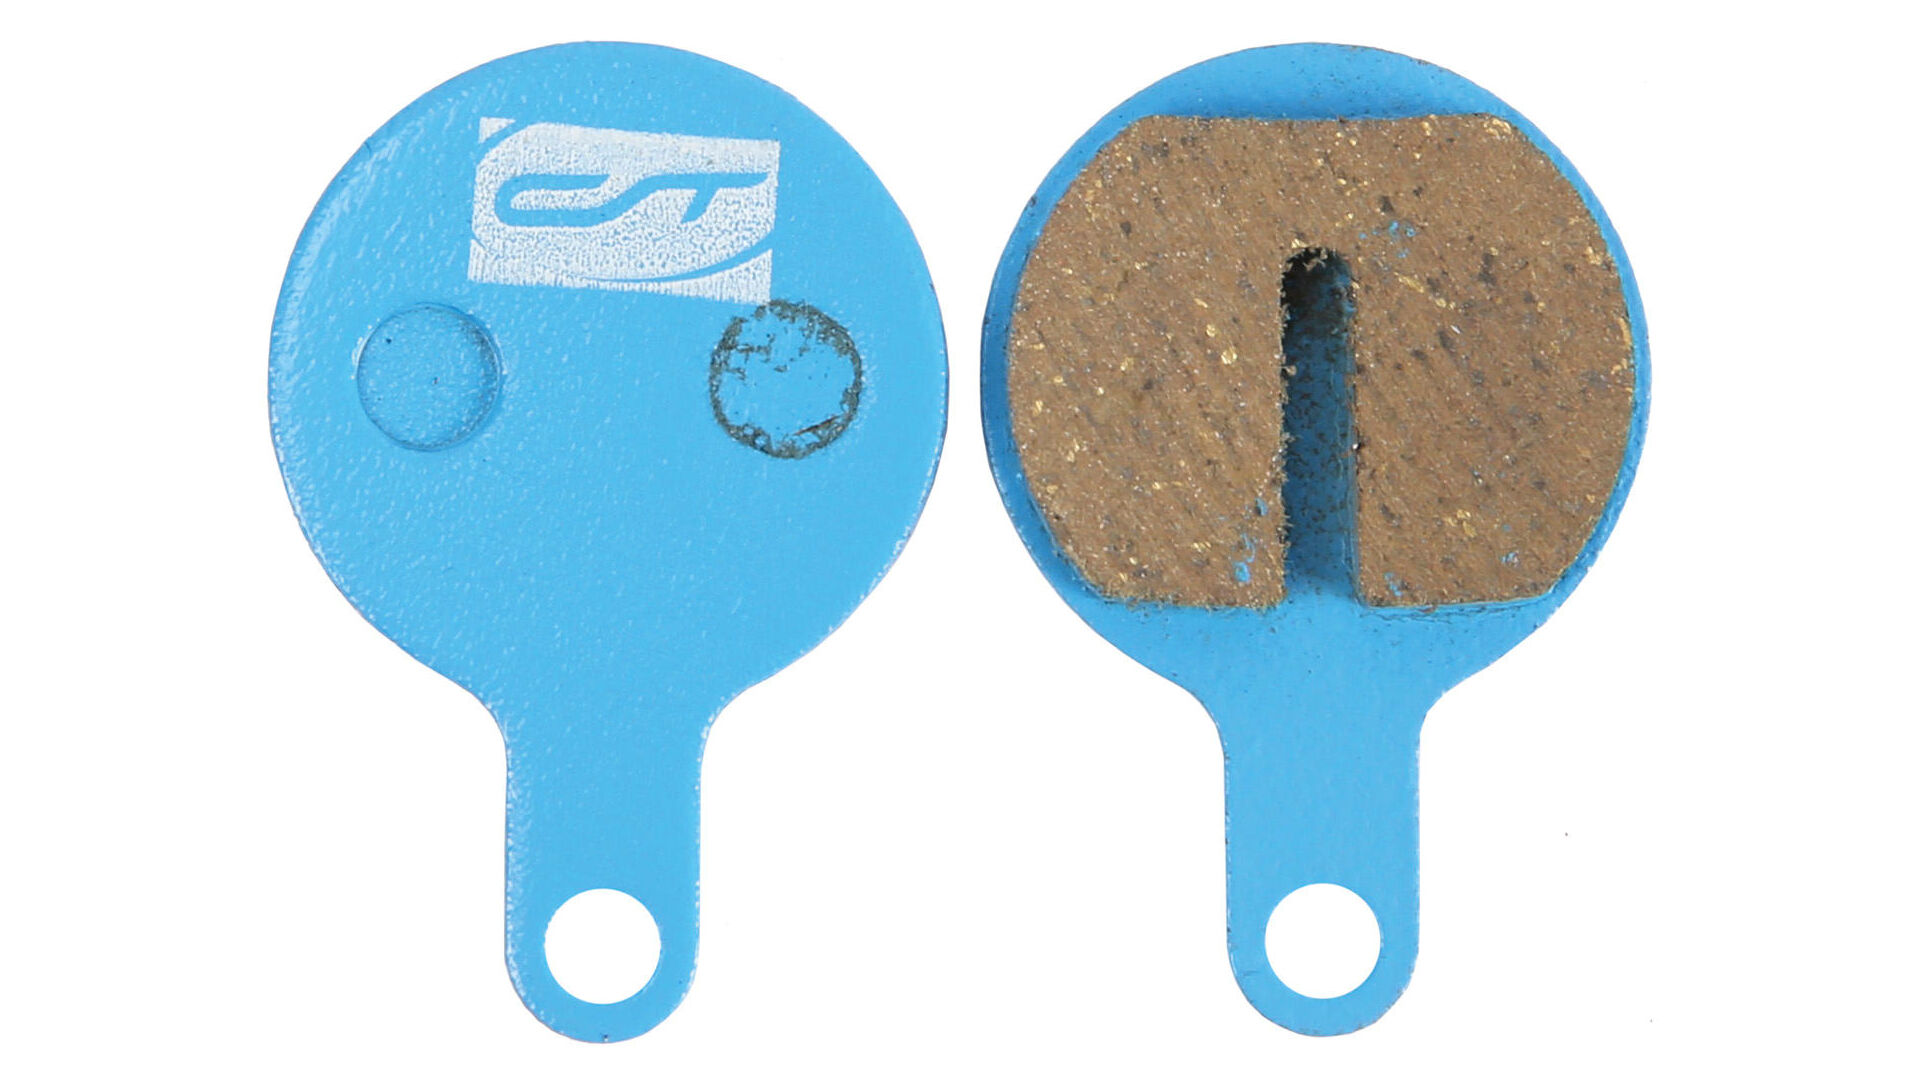
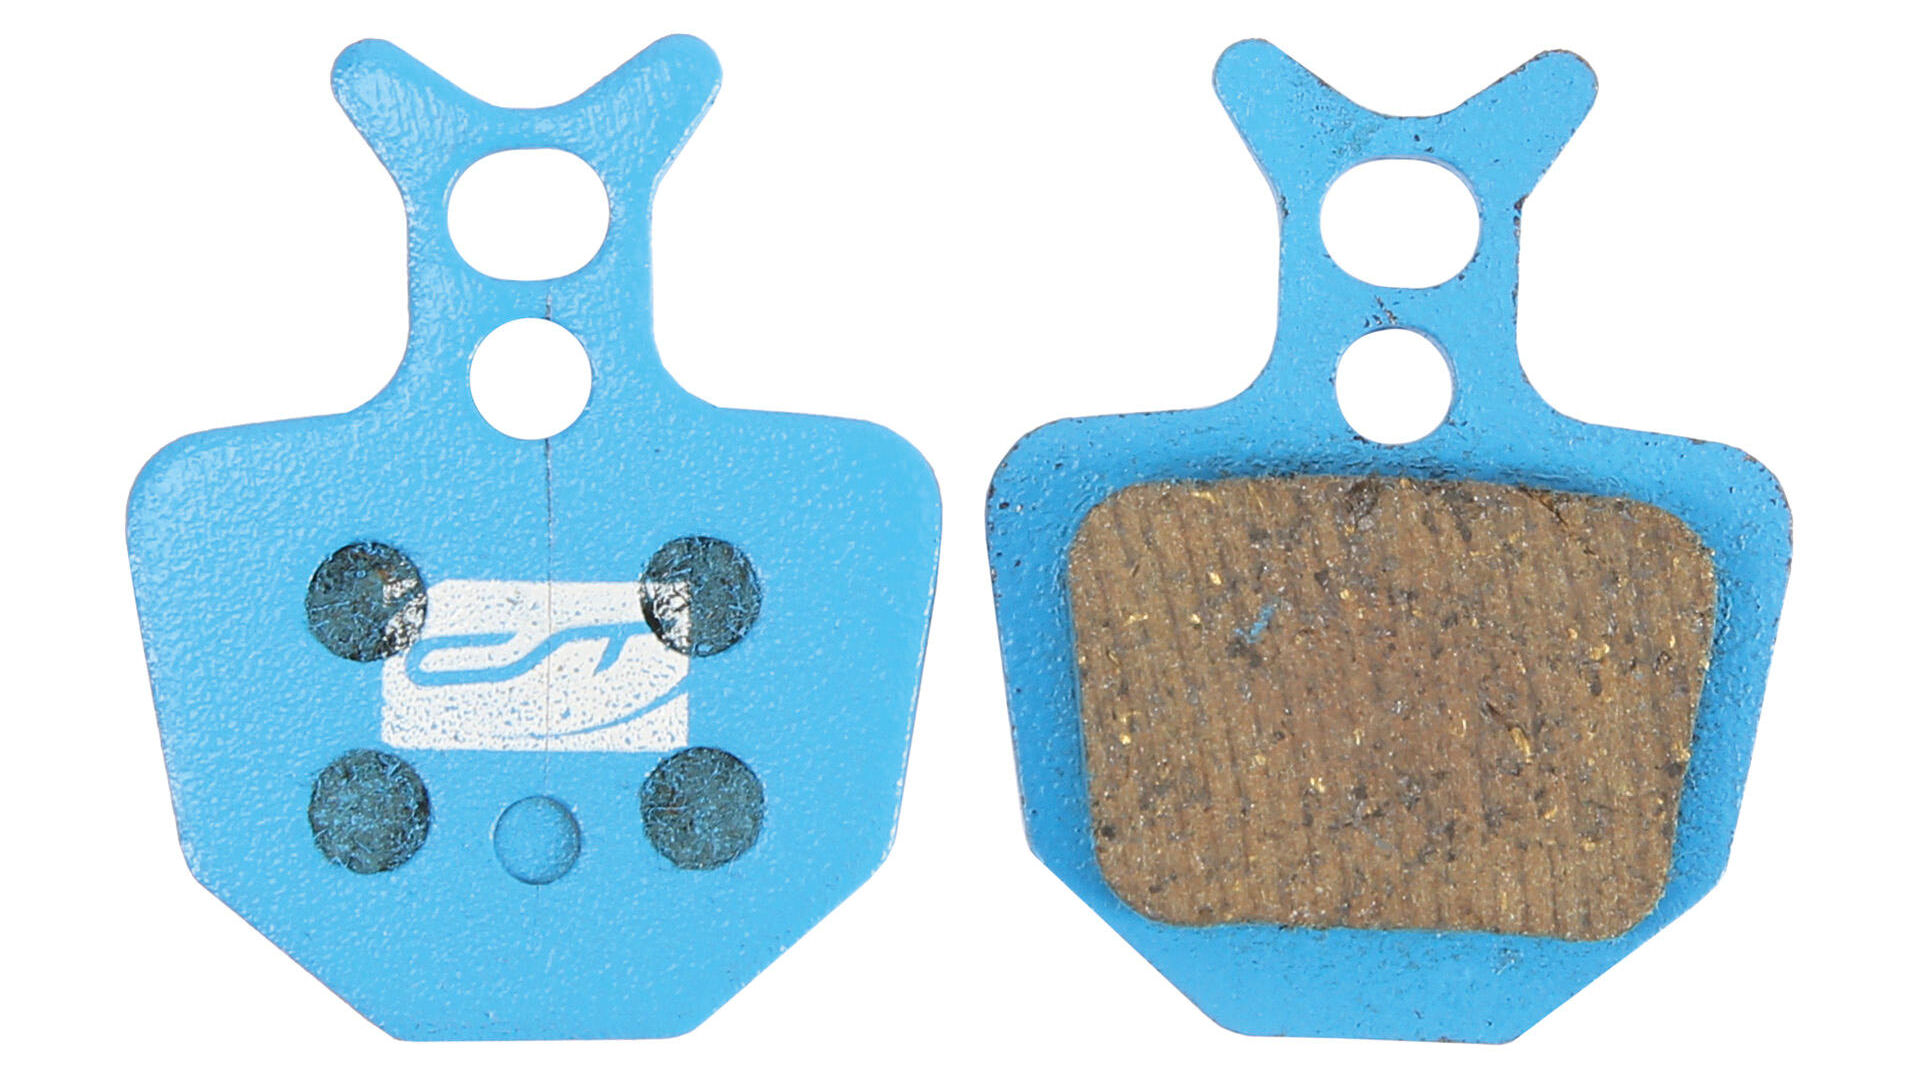
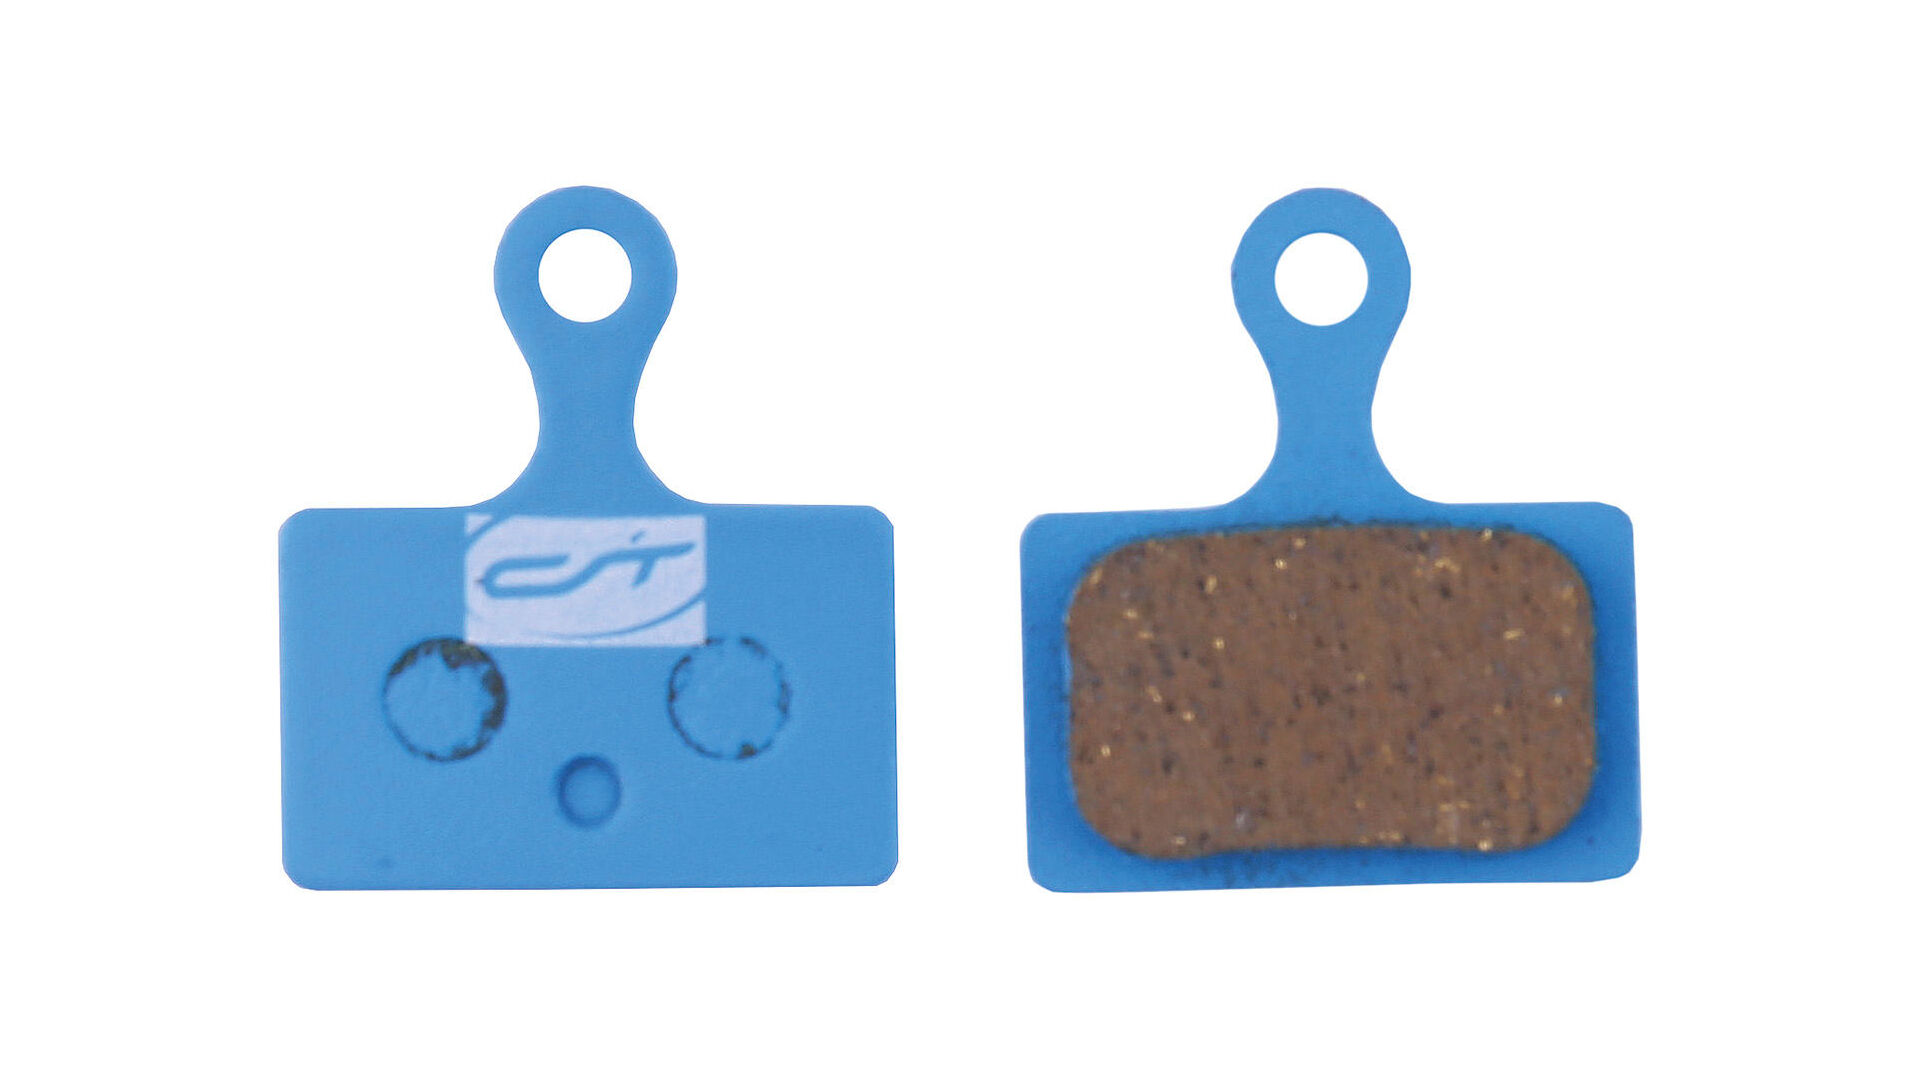
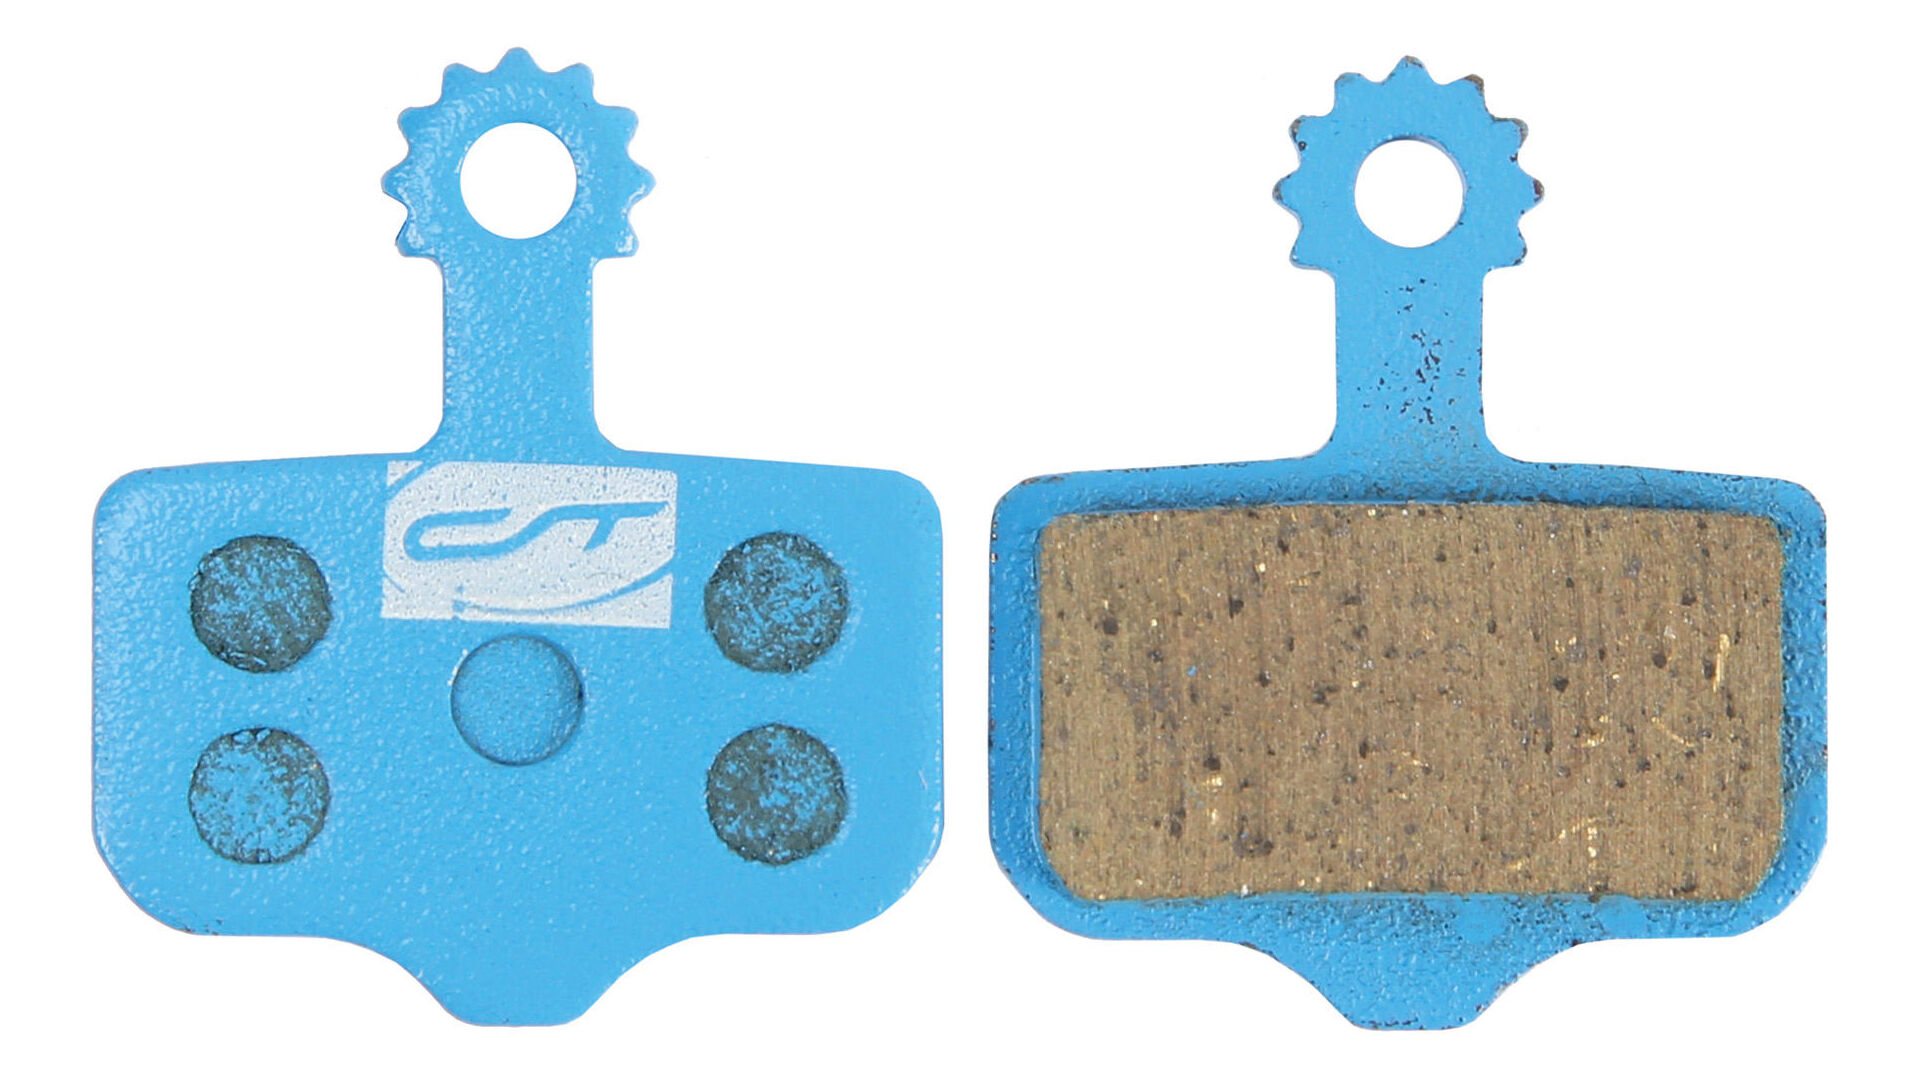
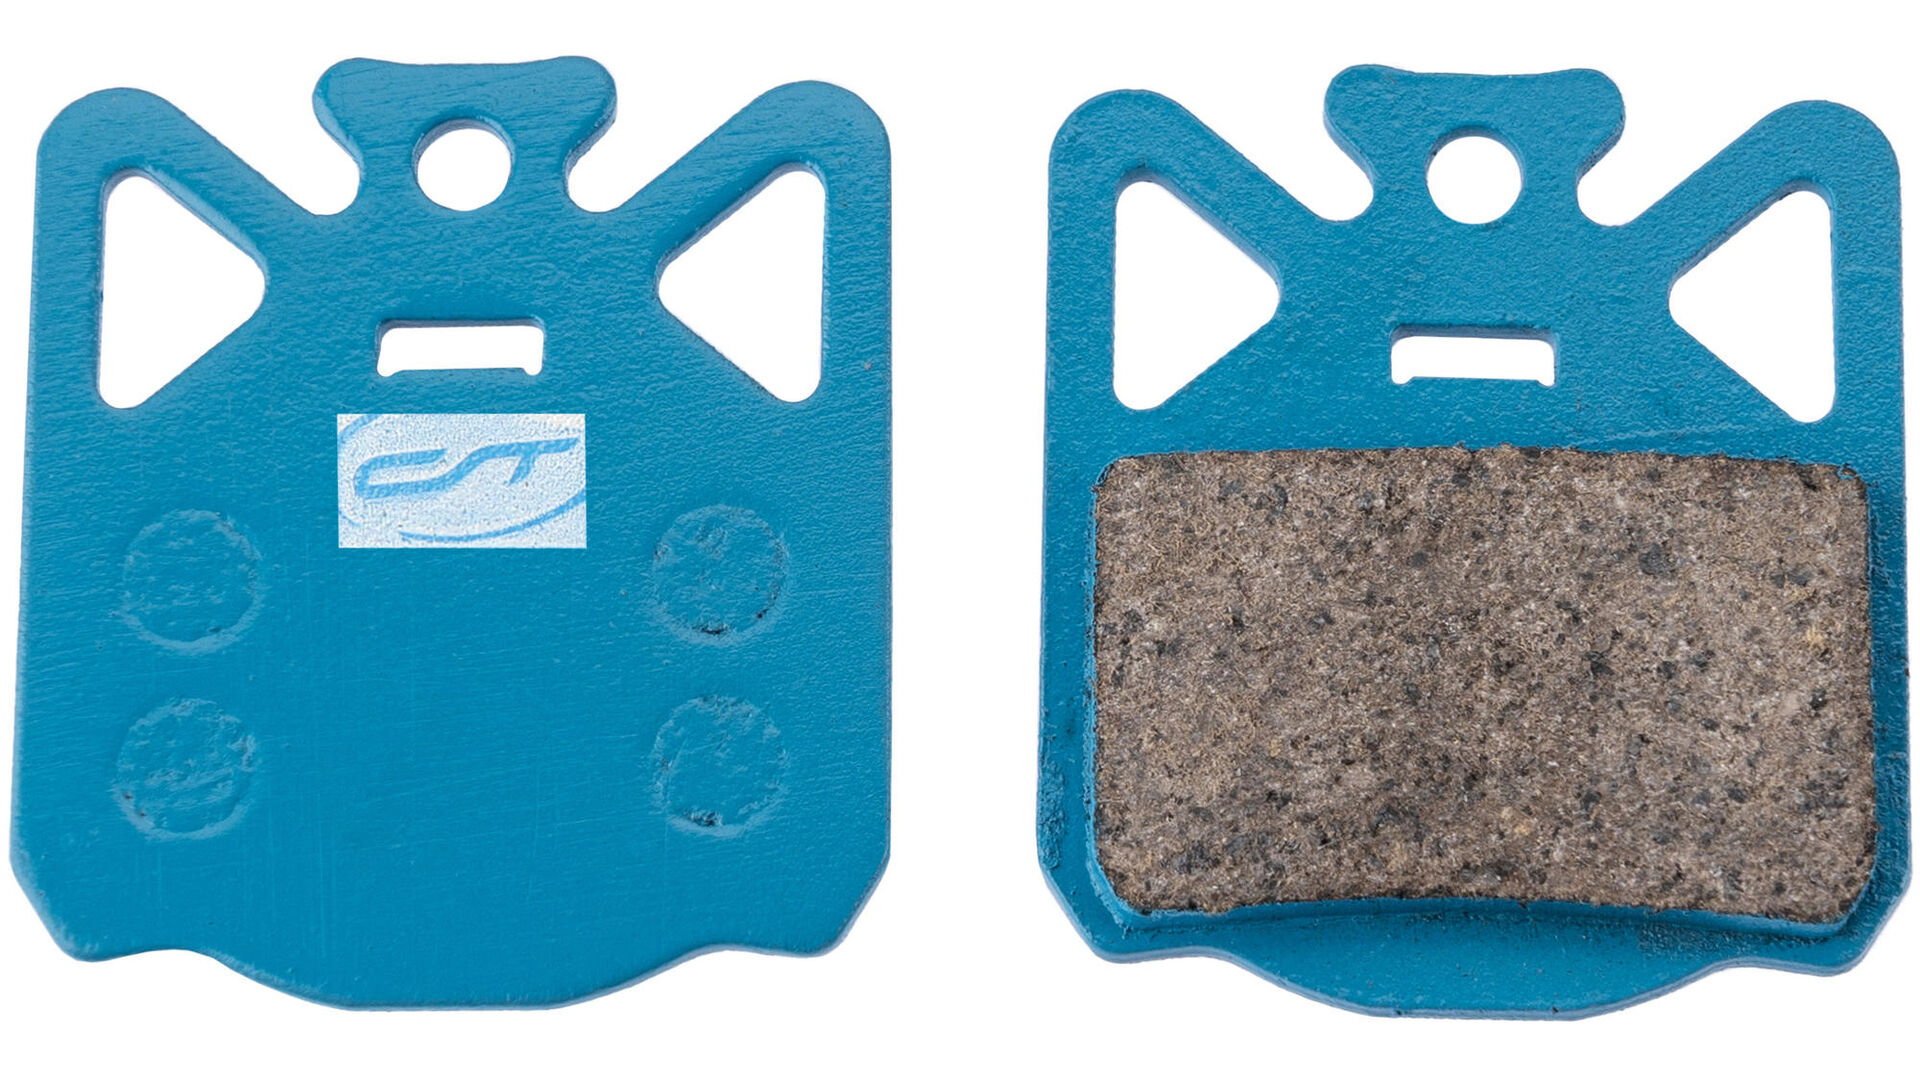
Change brake pads
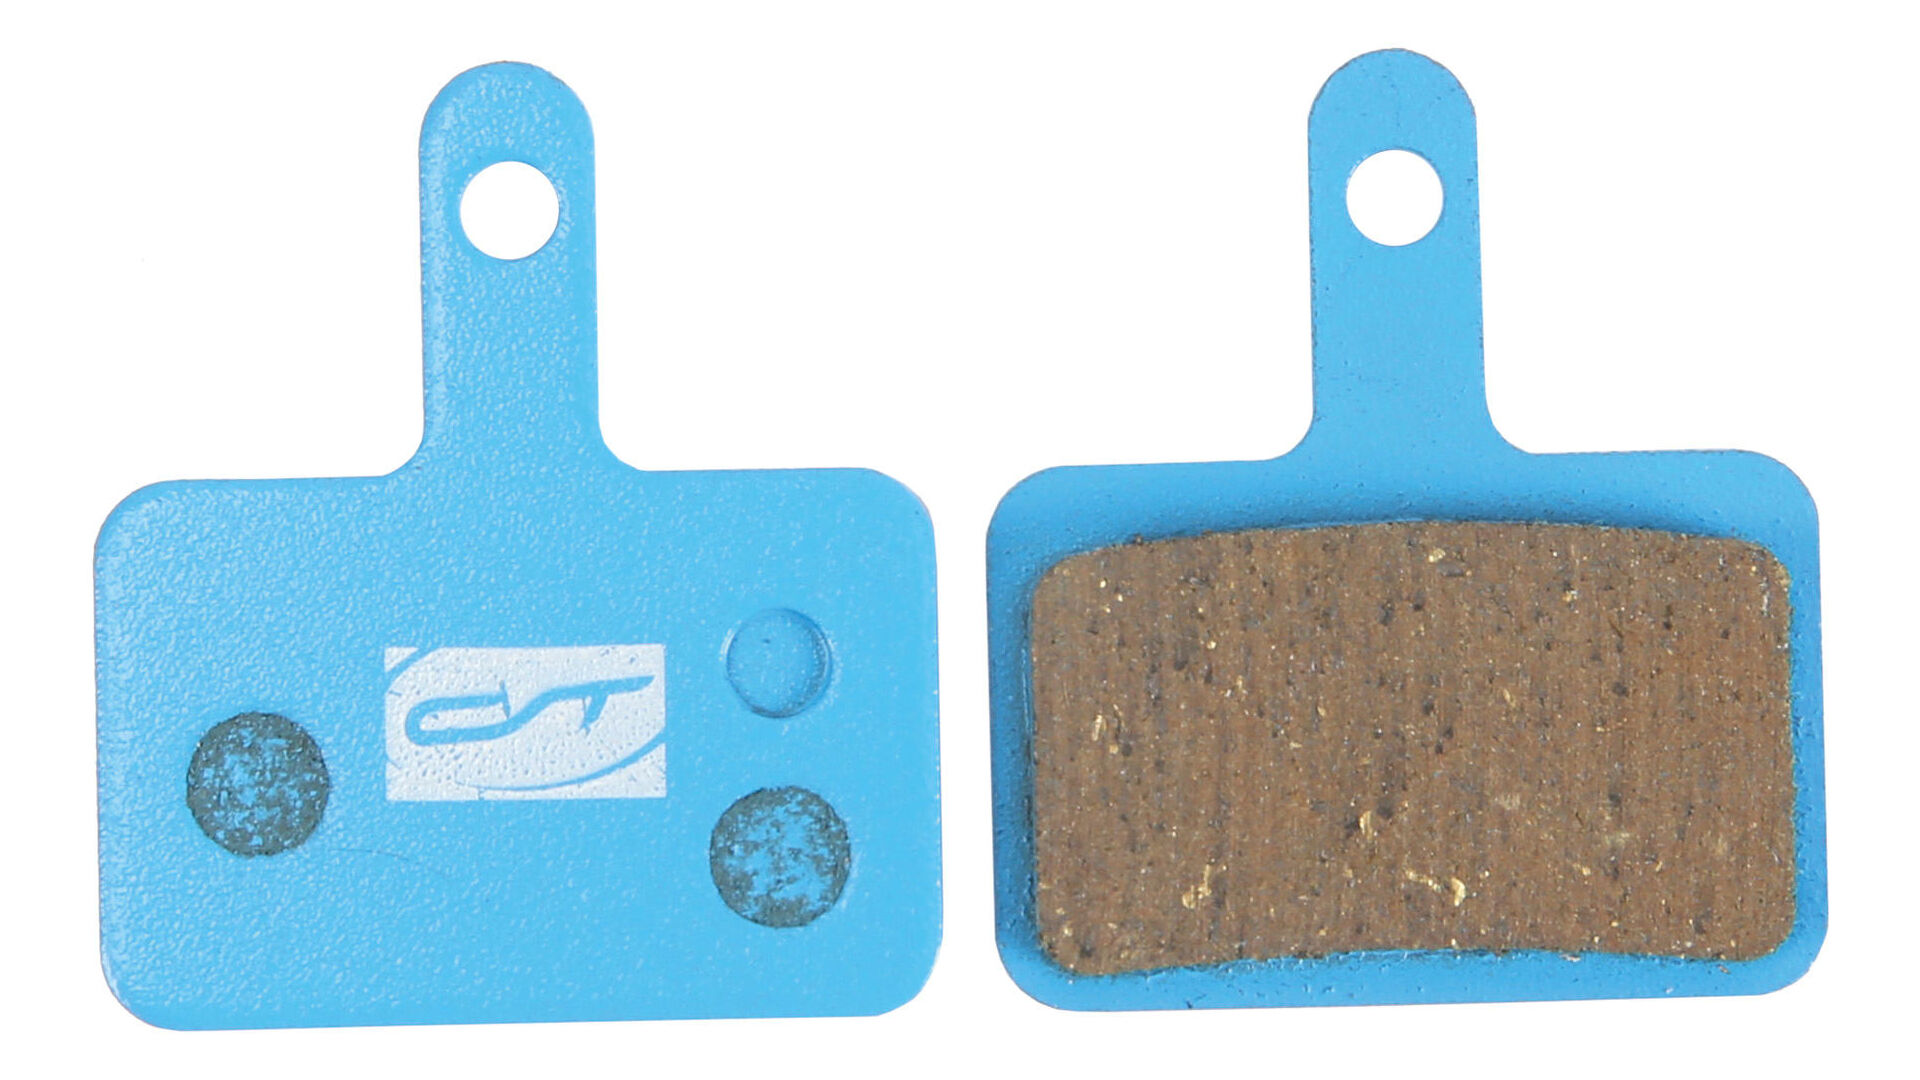
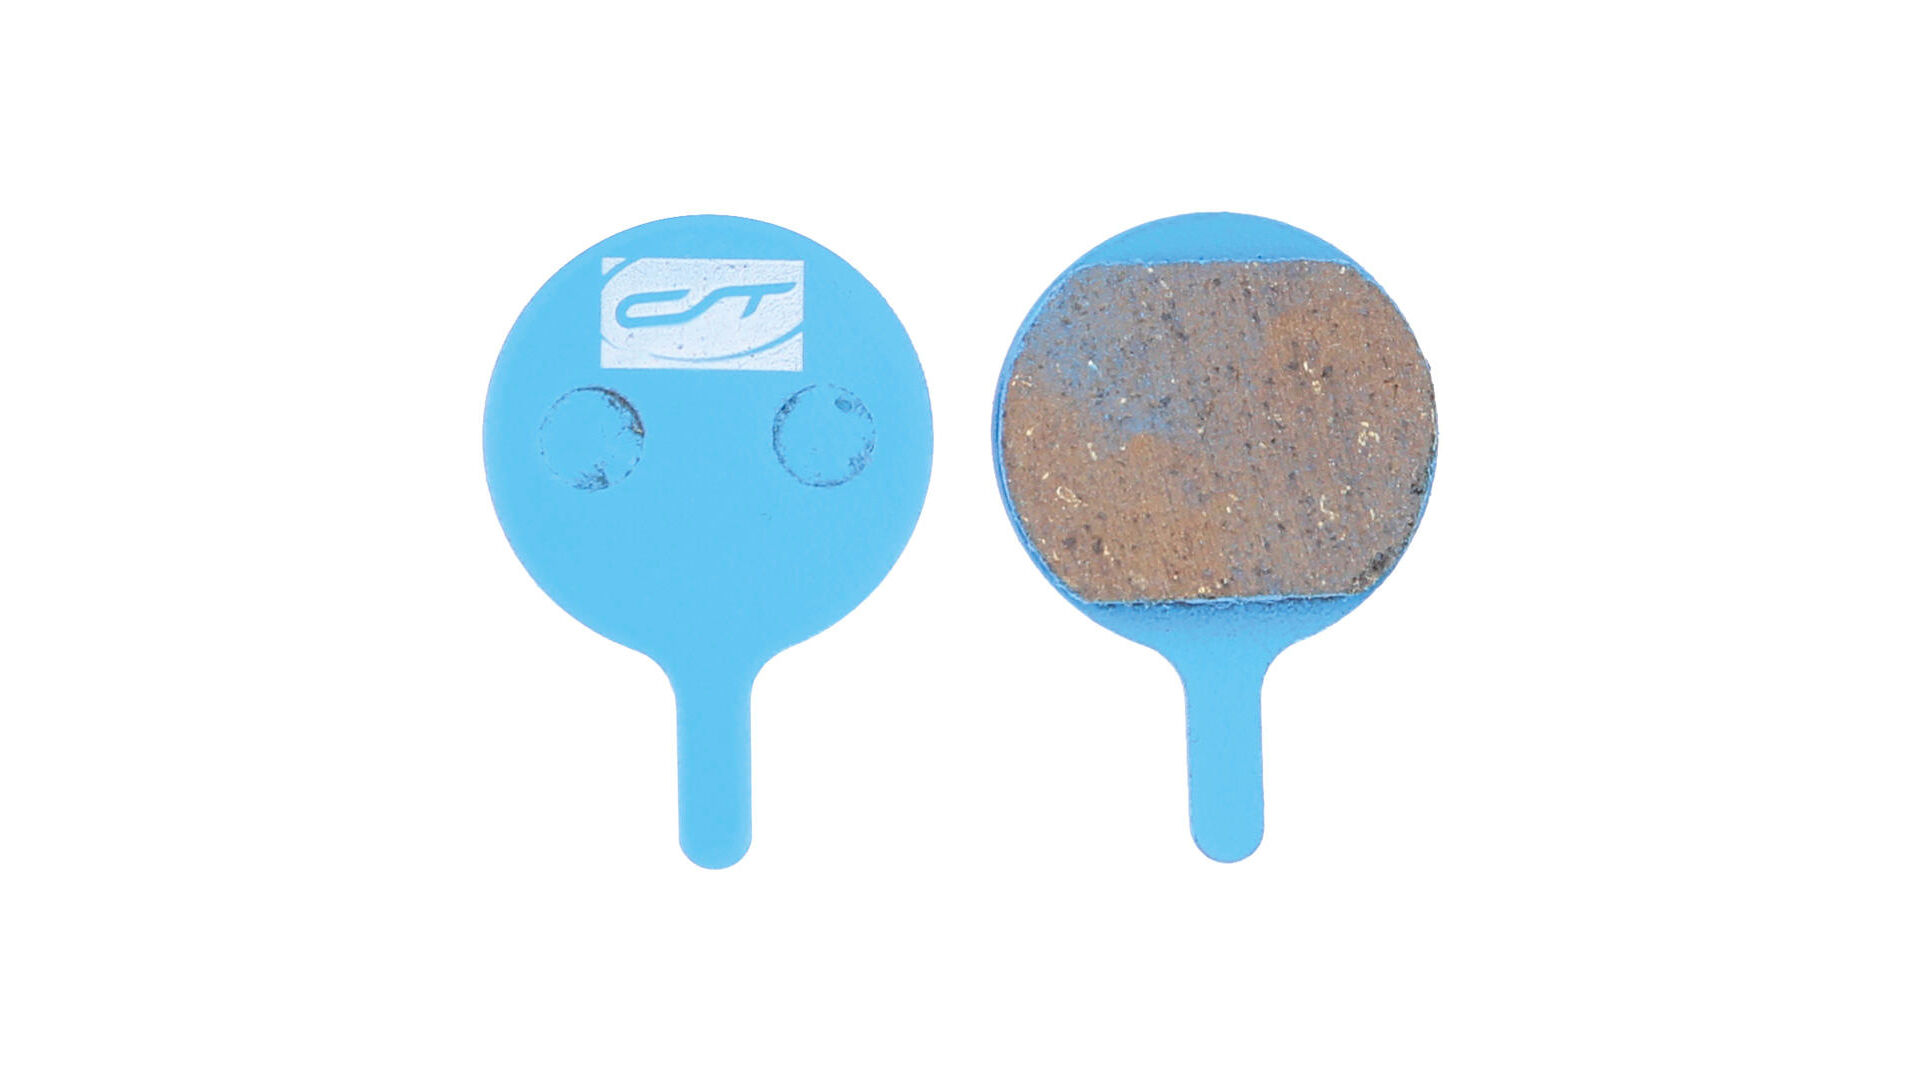
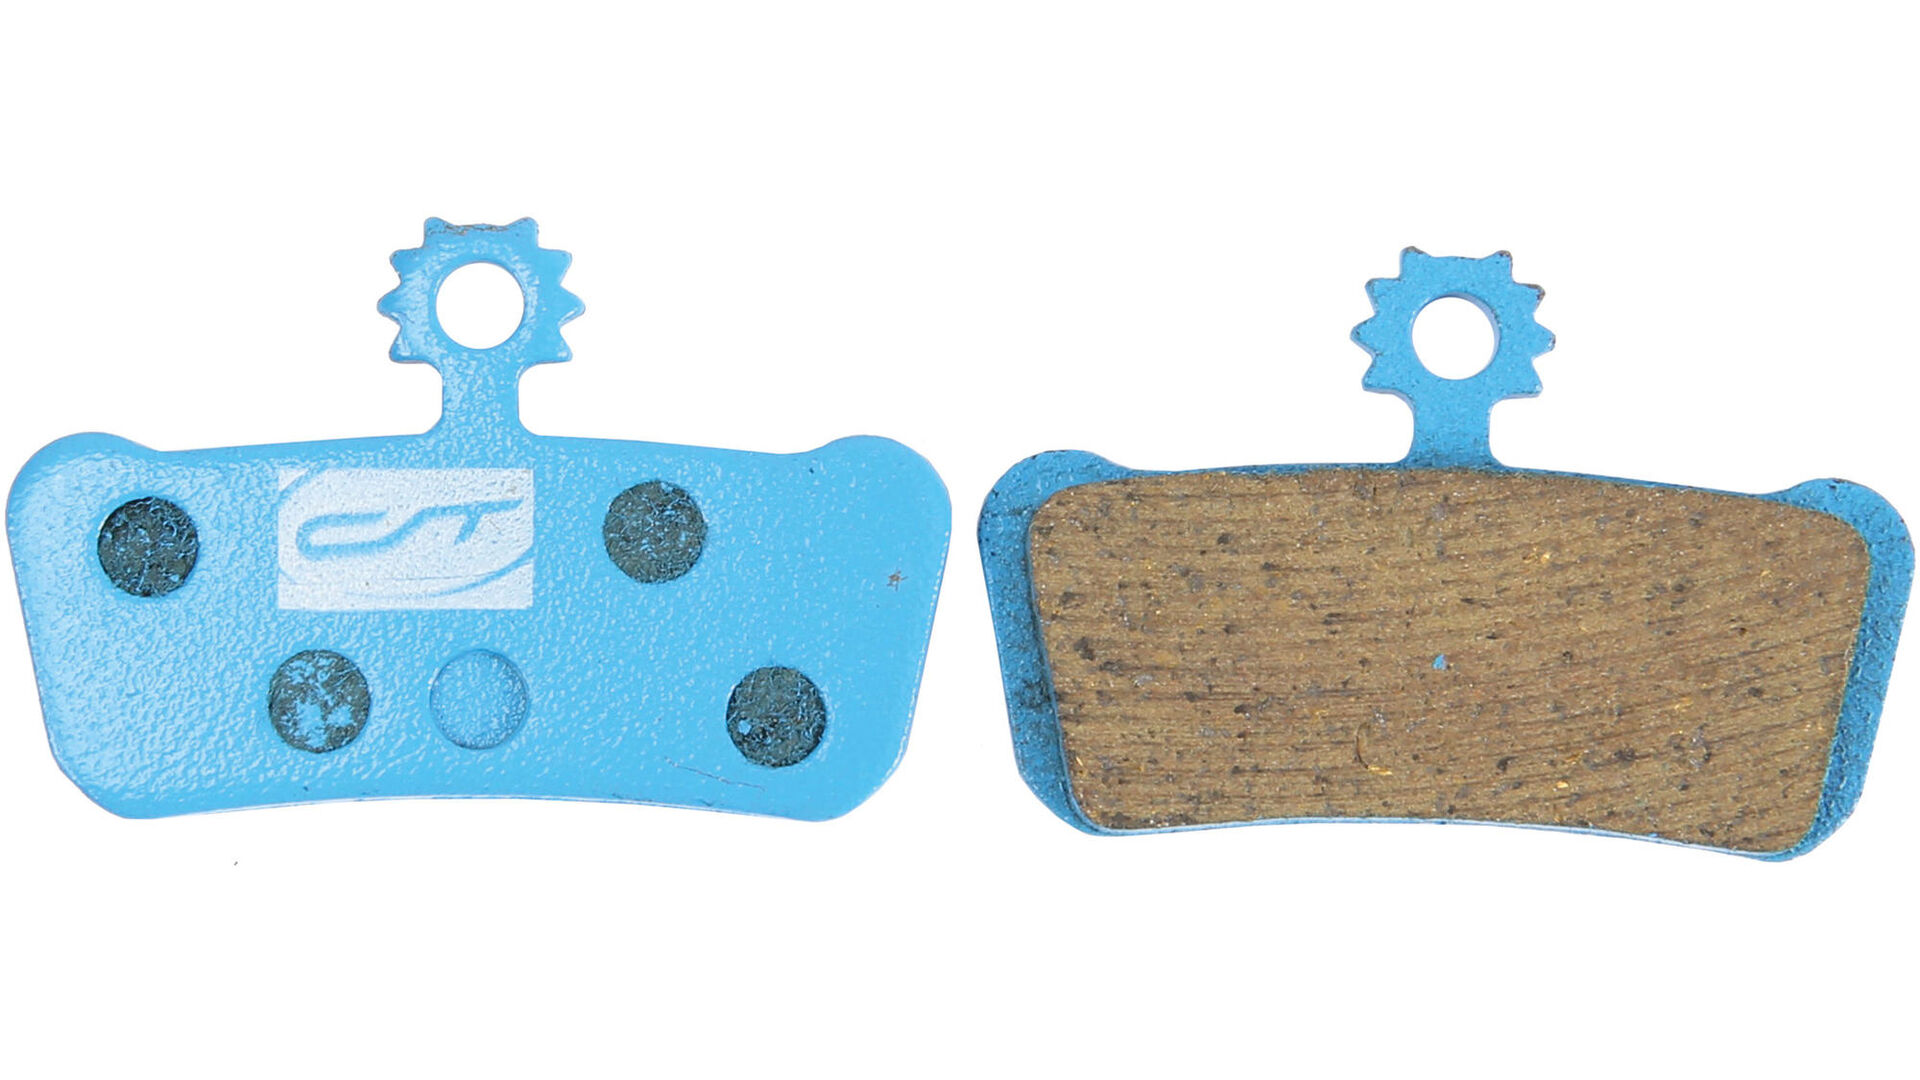
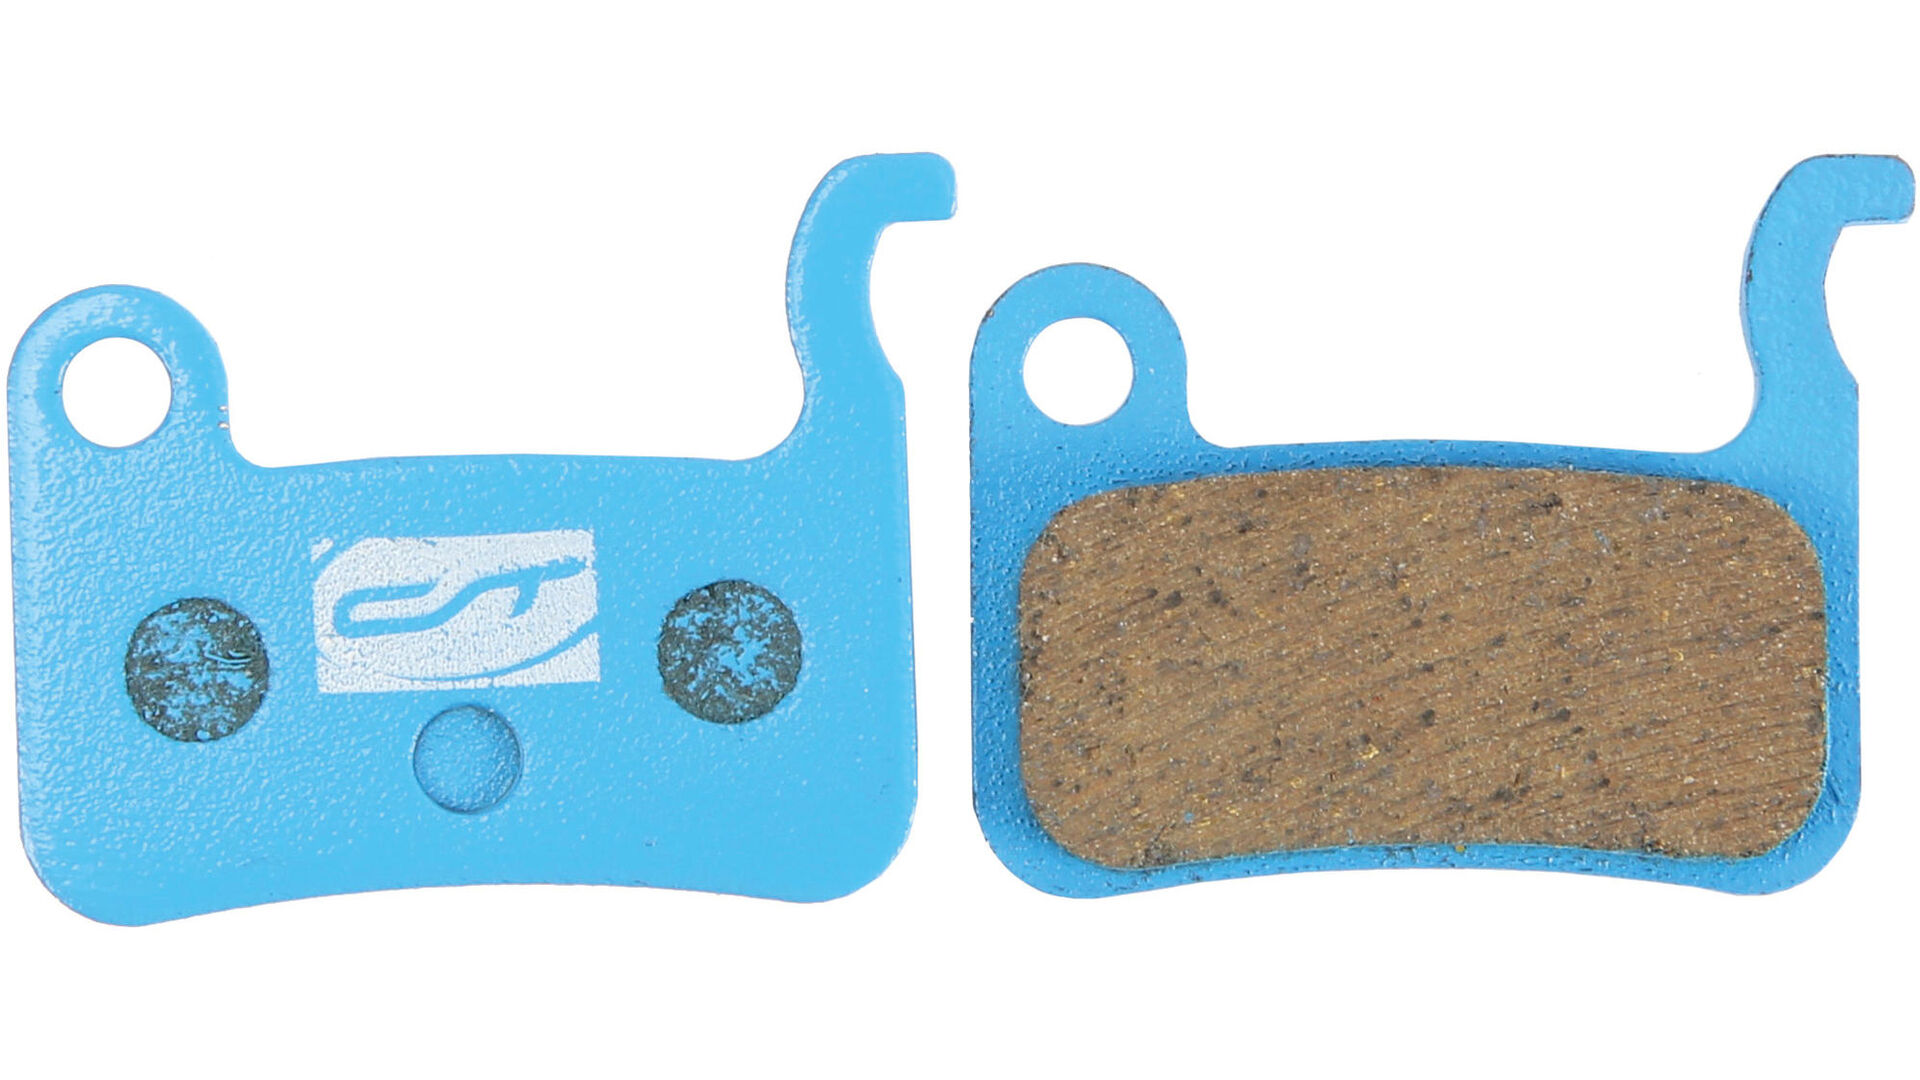
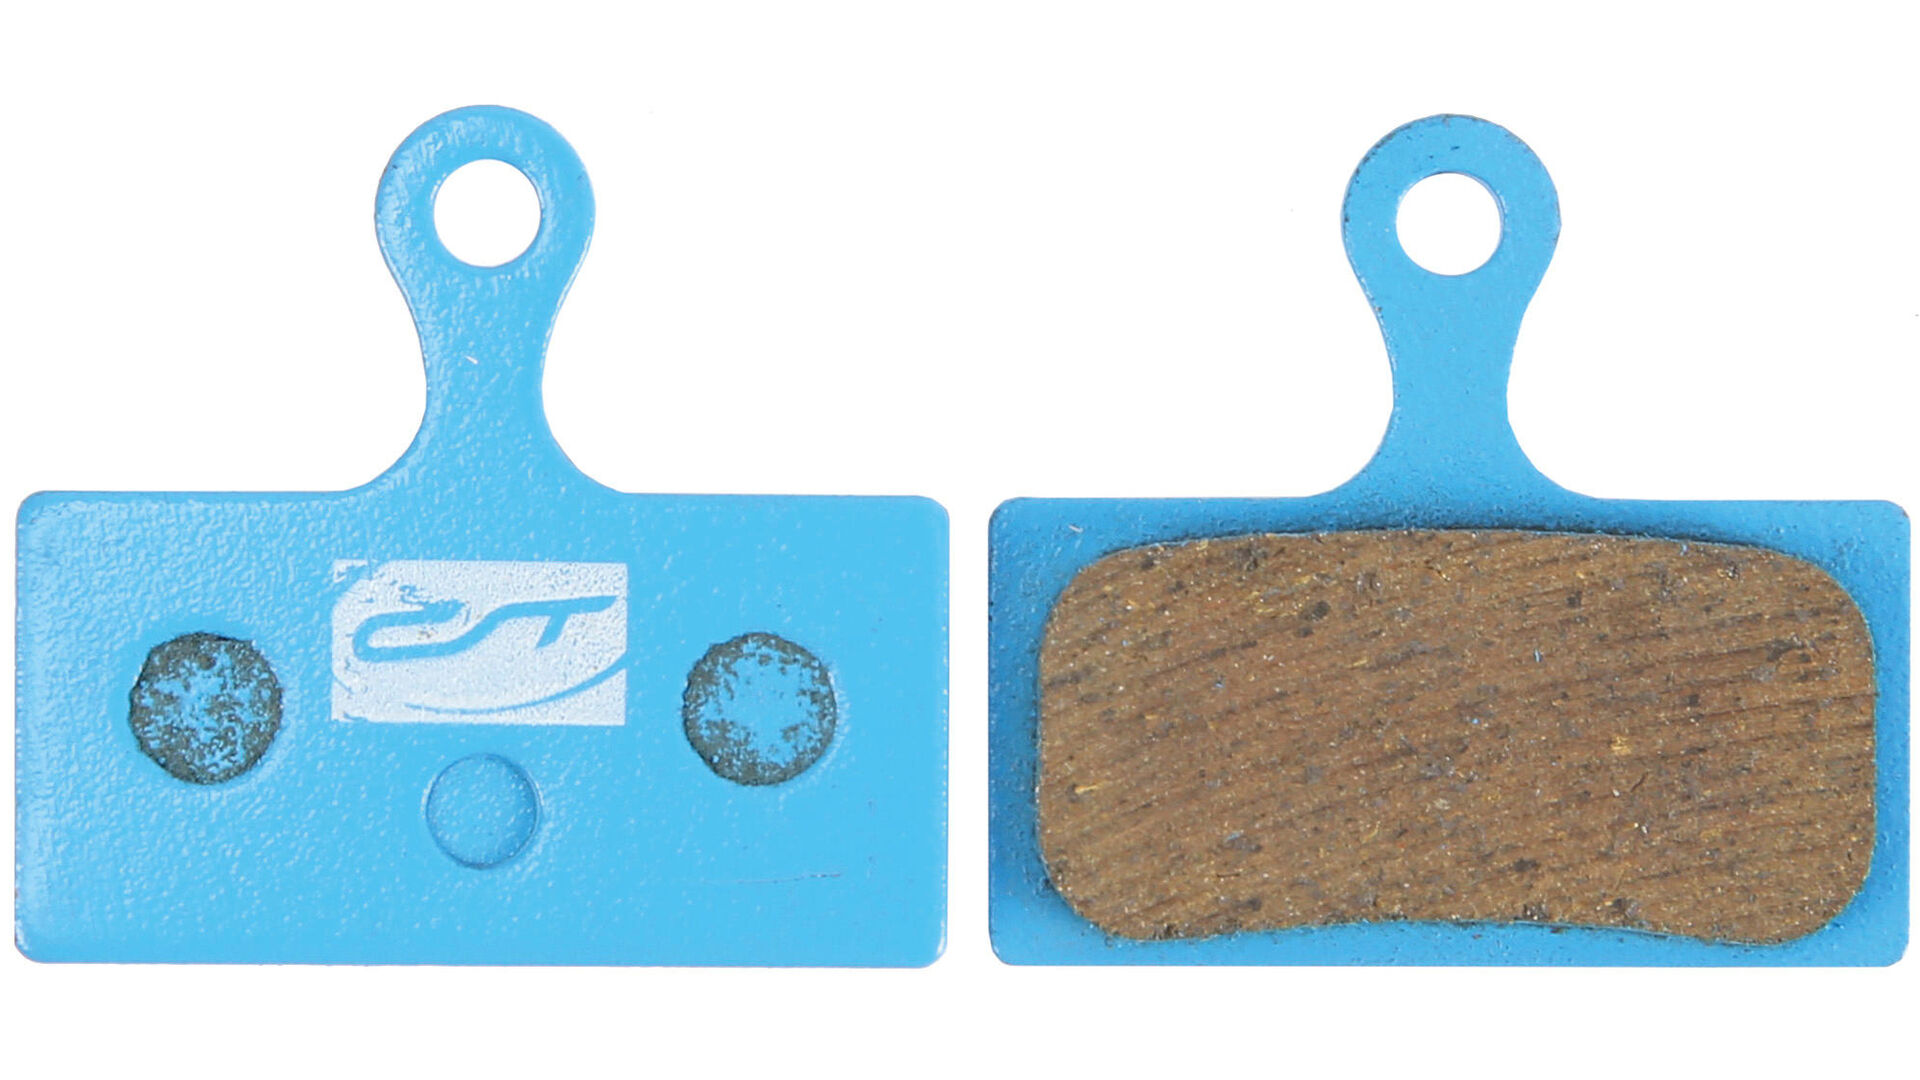
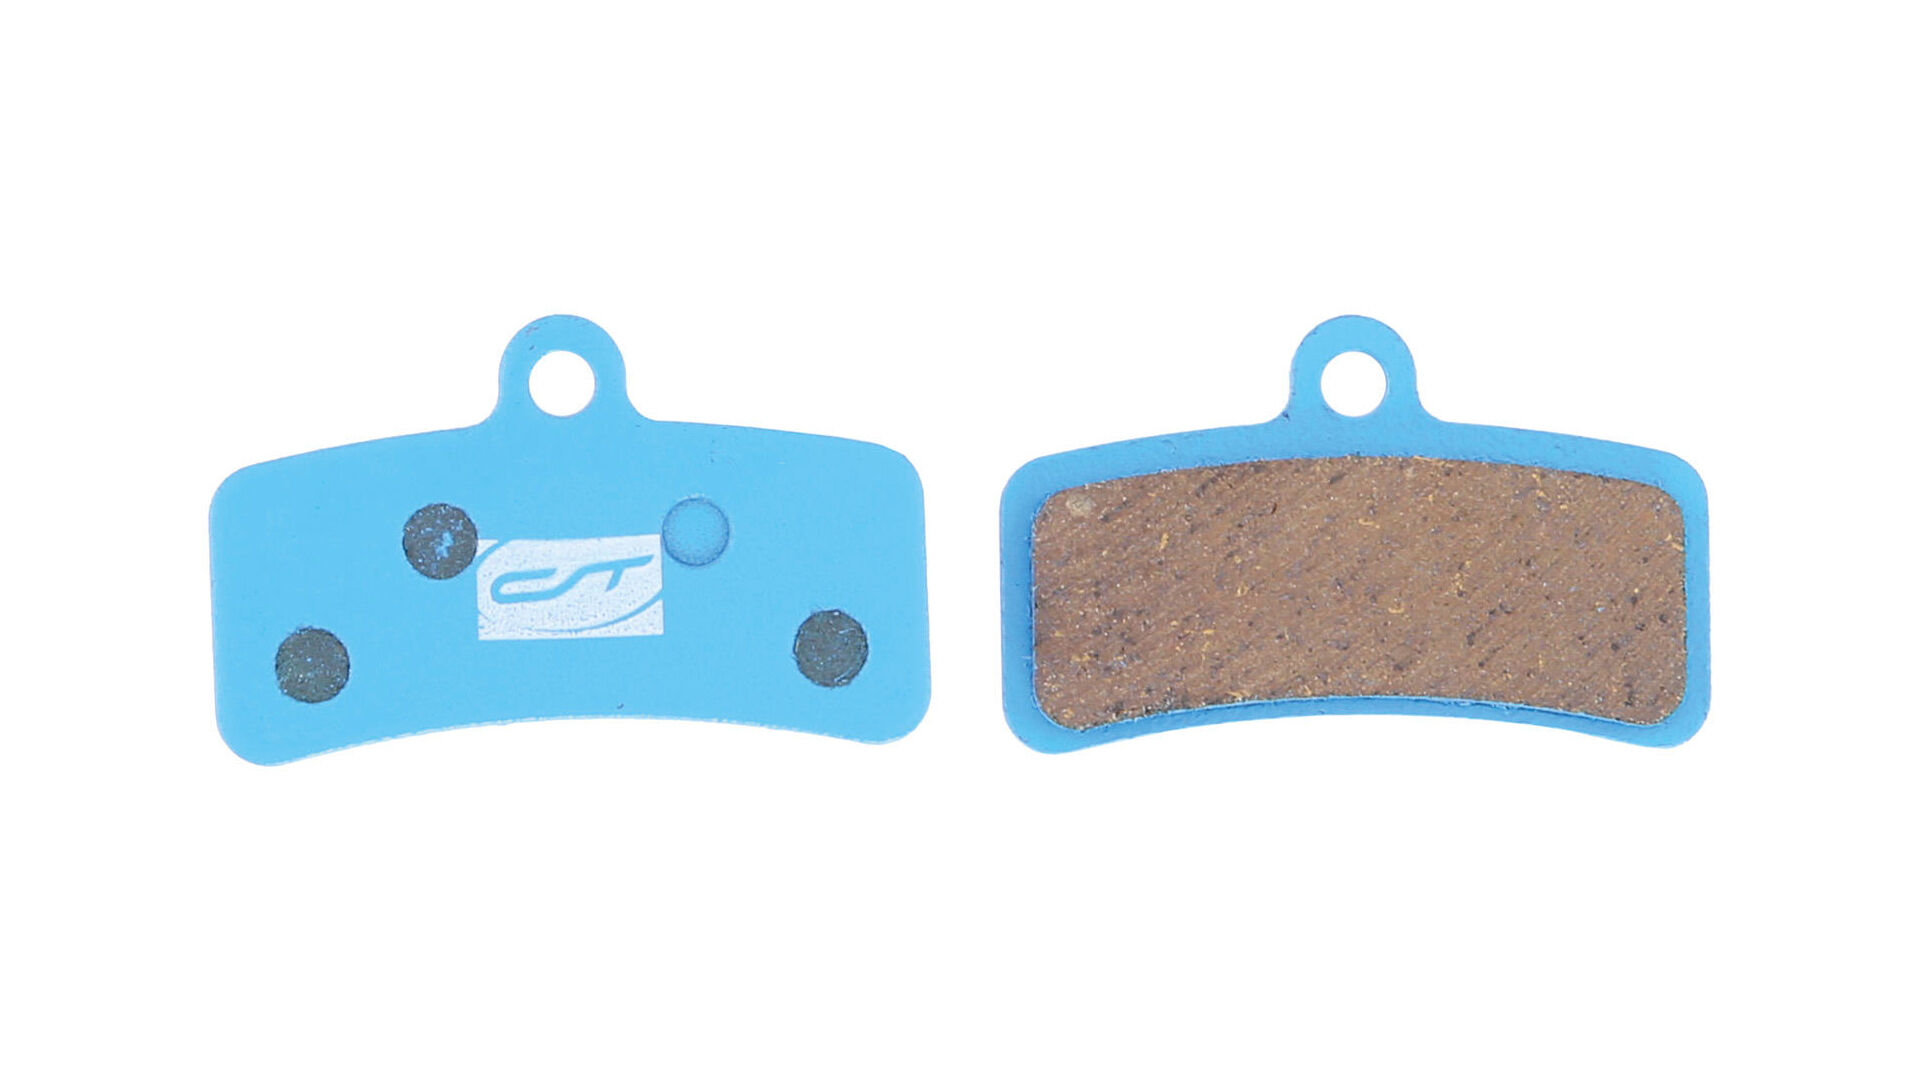
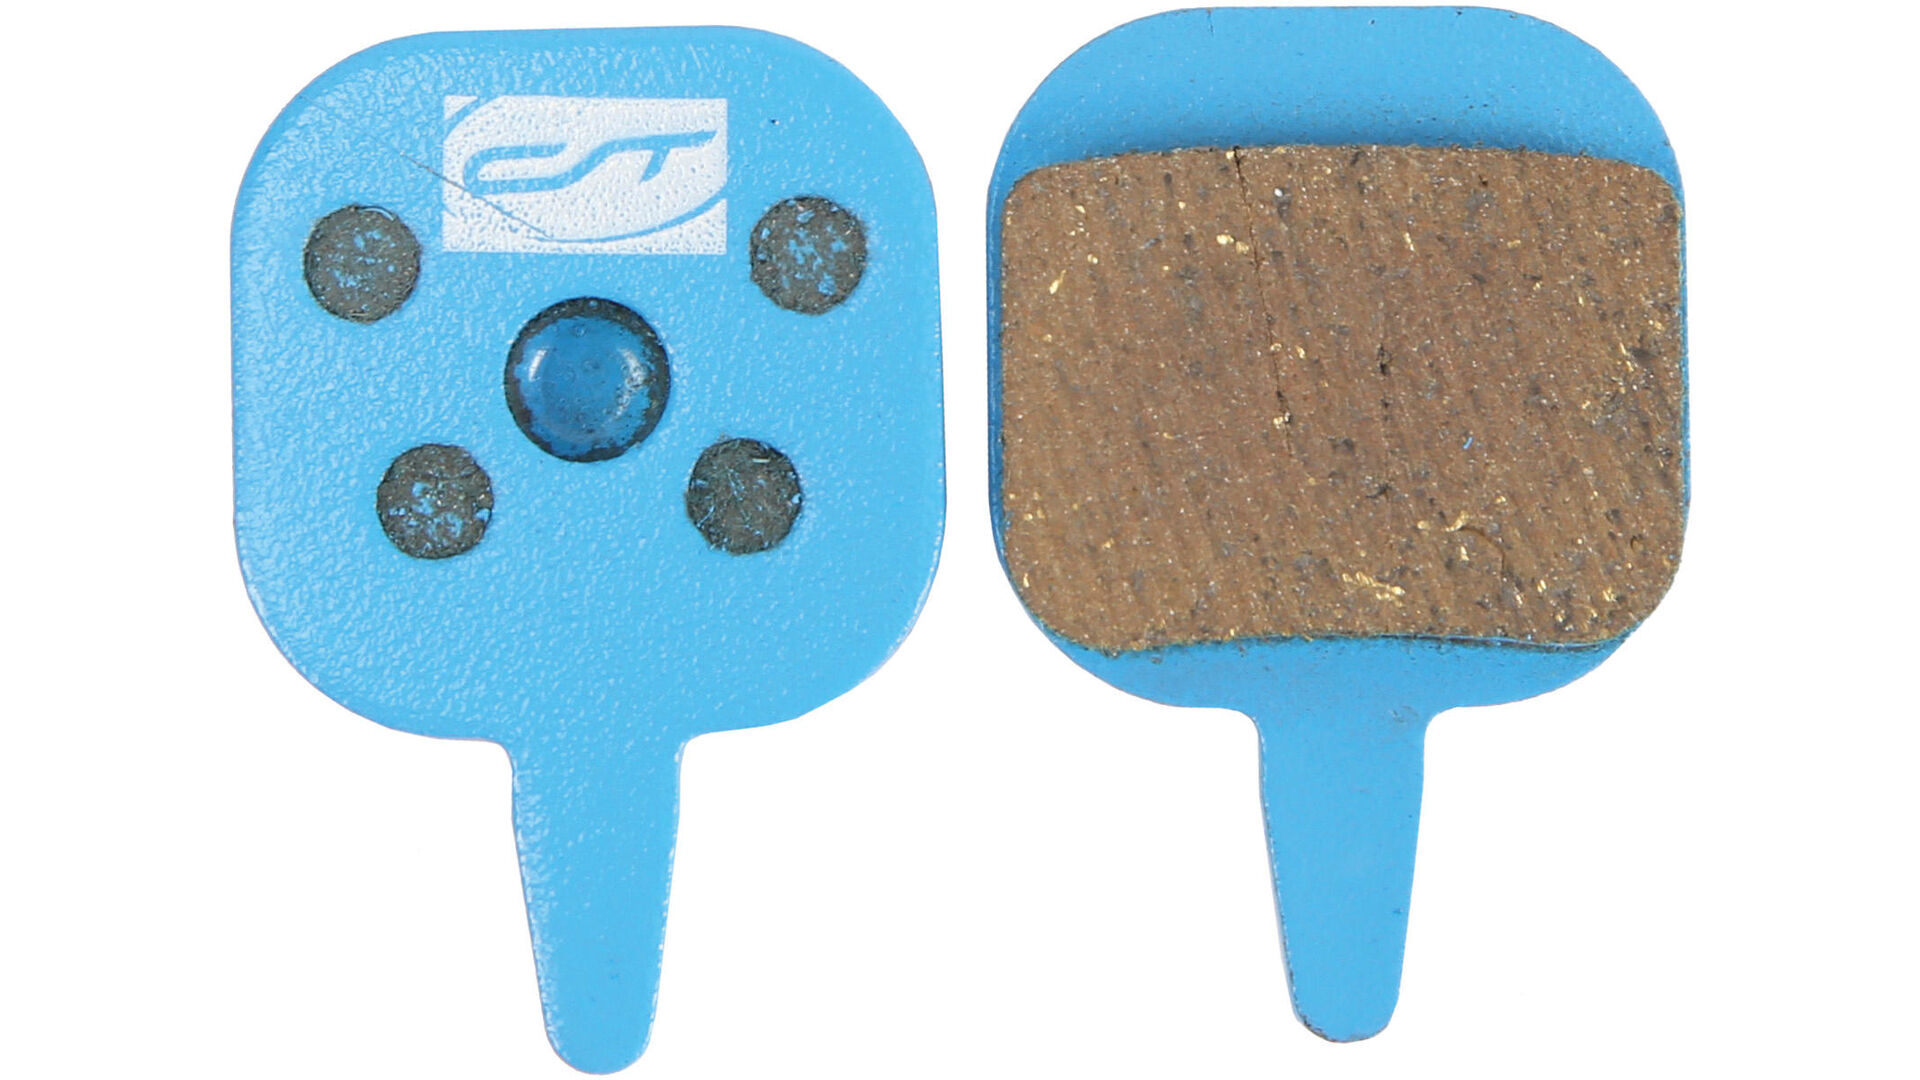
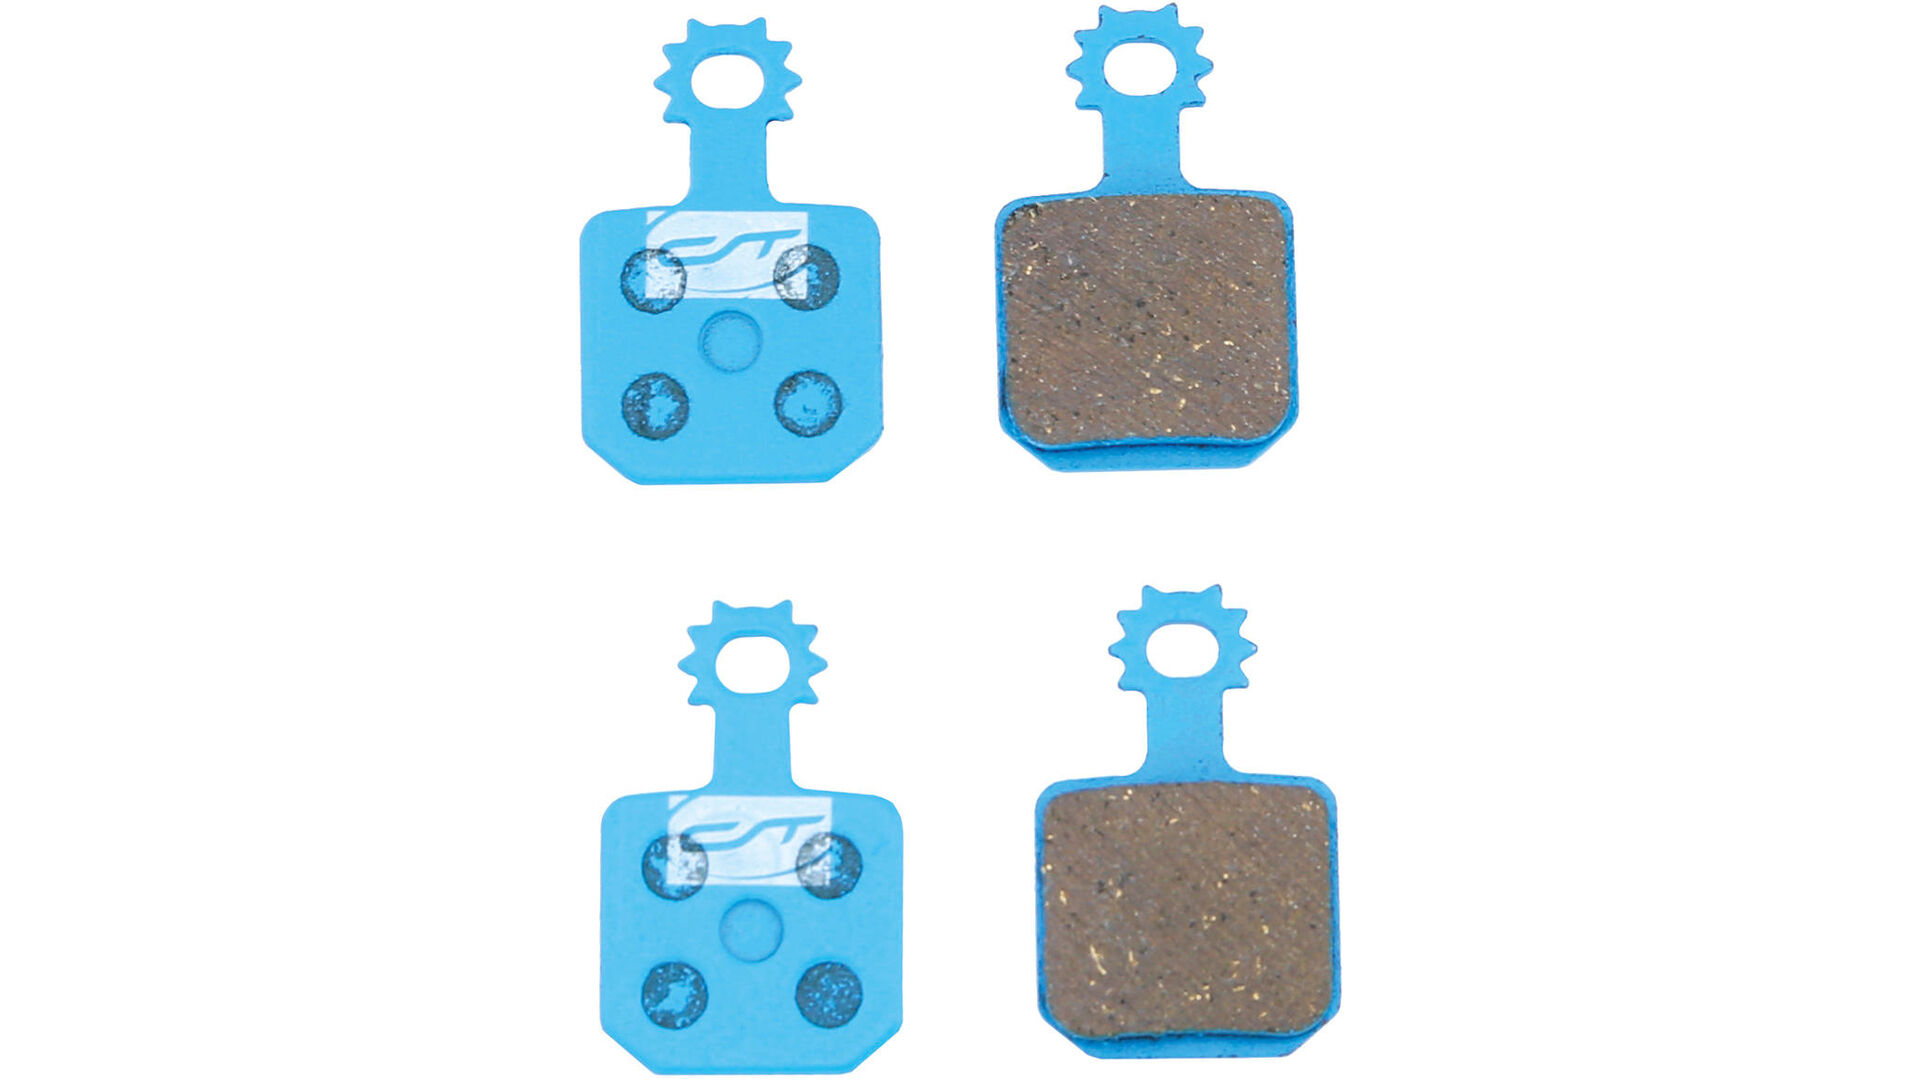
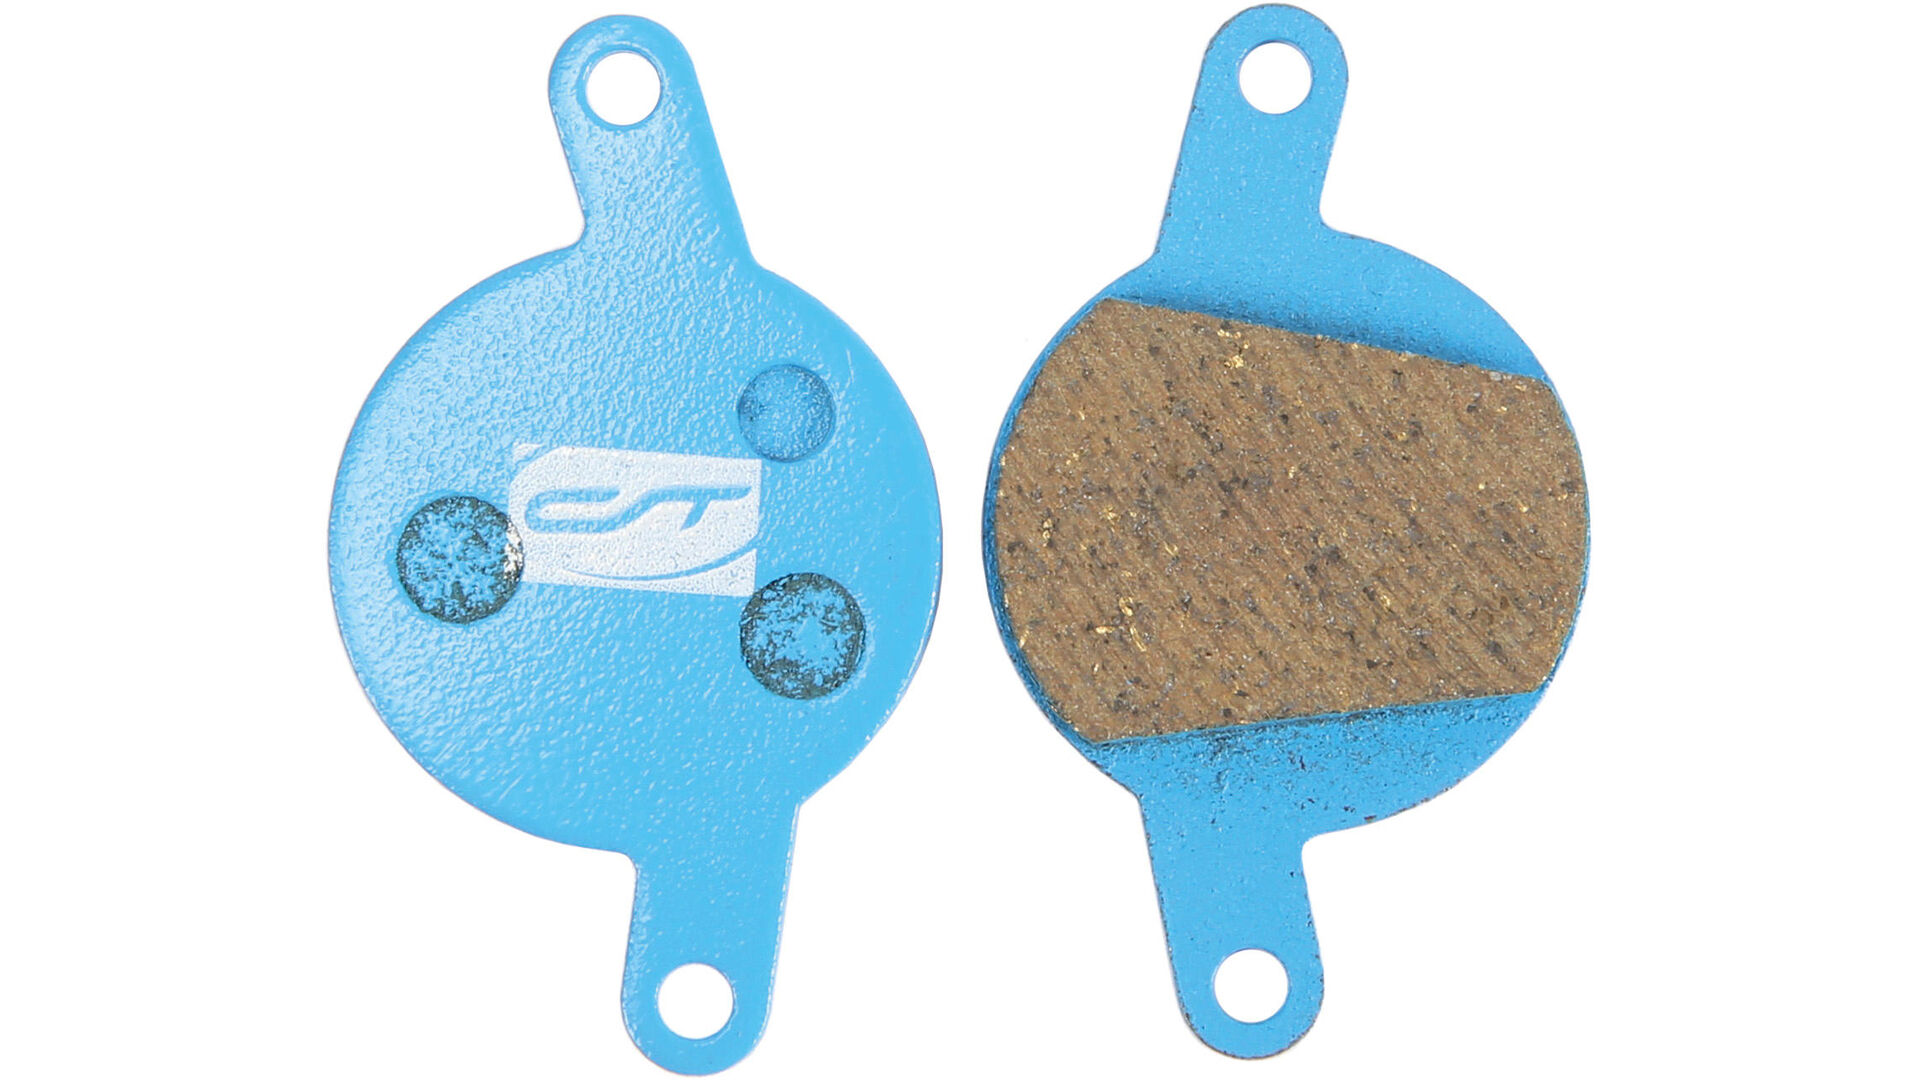
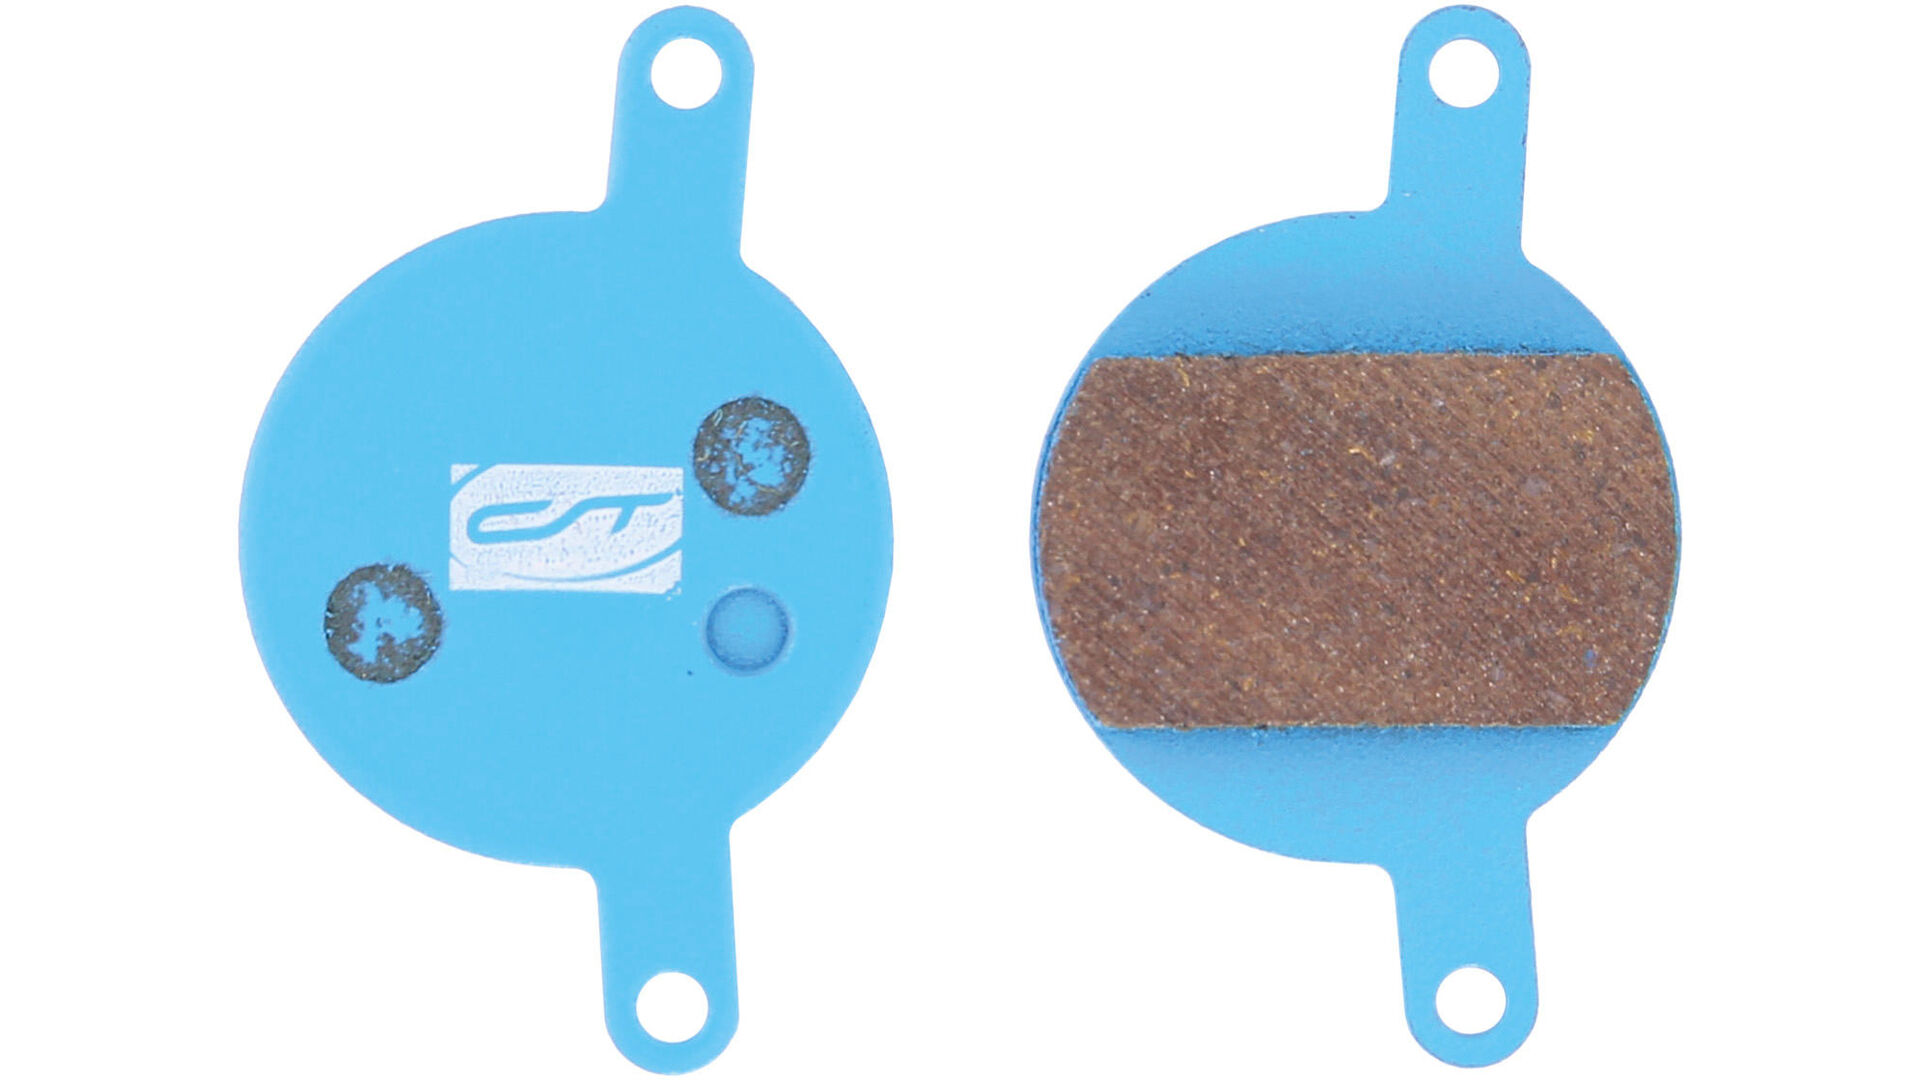
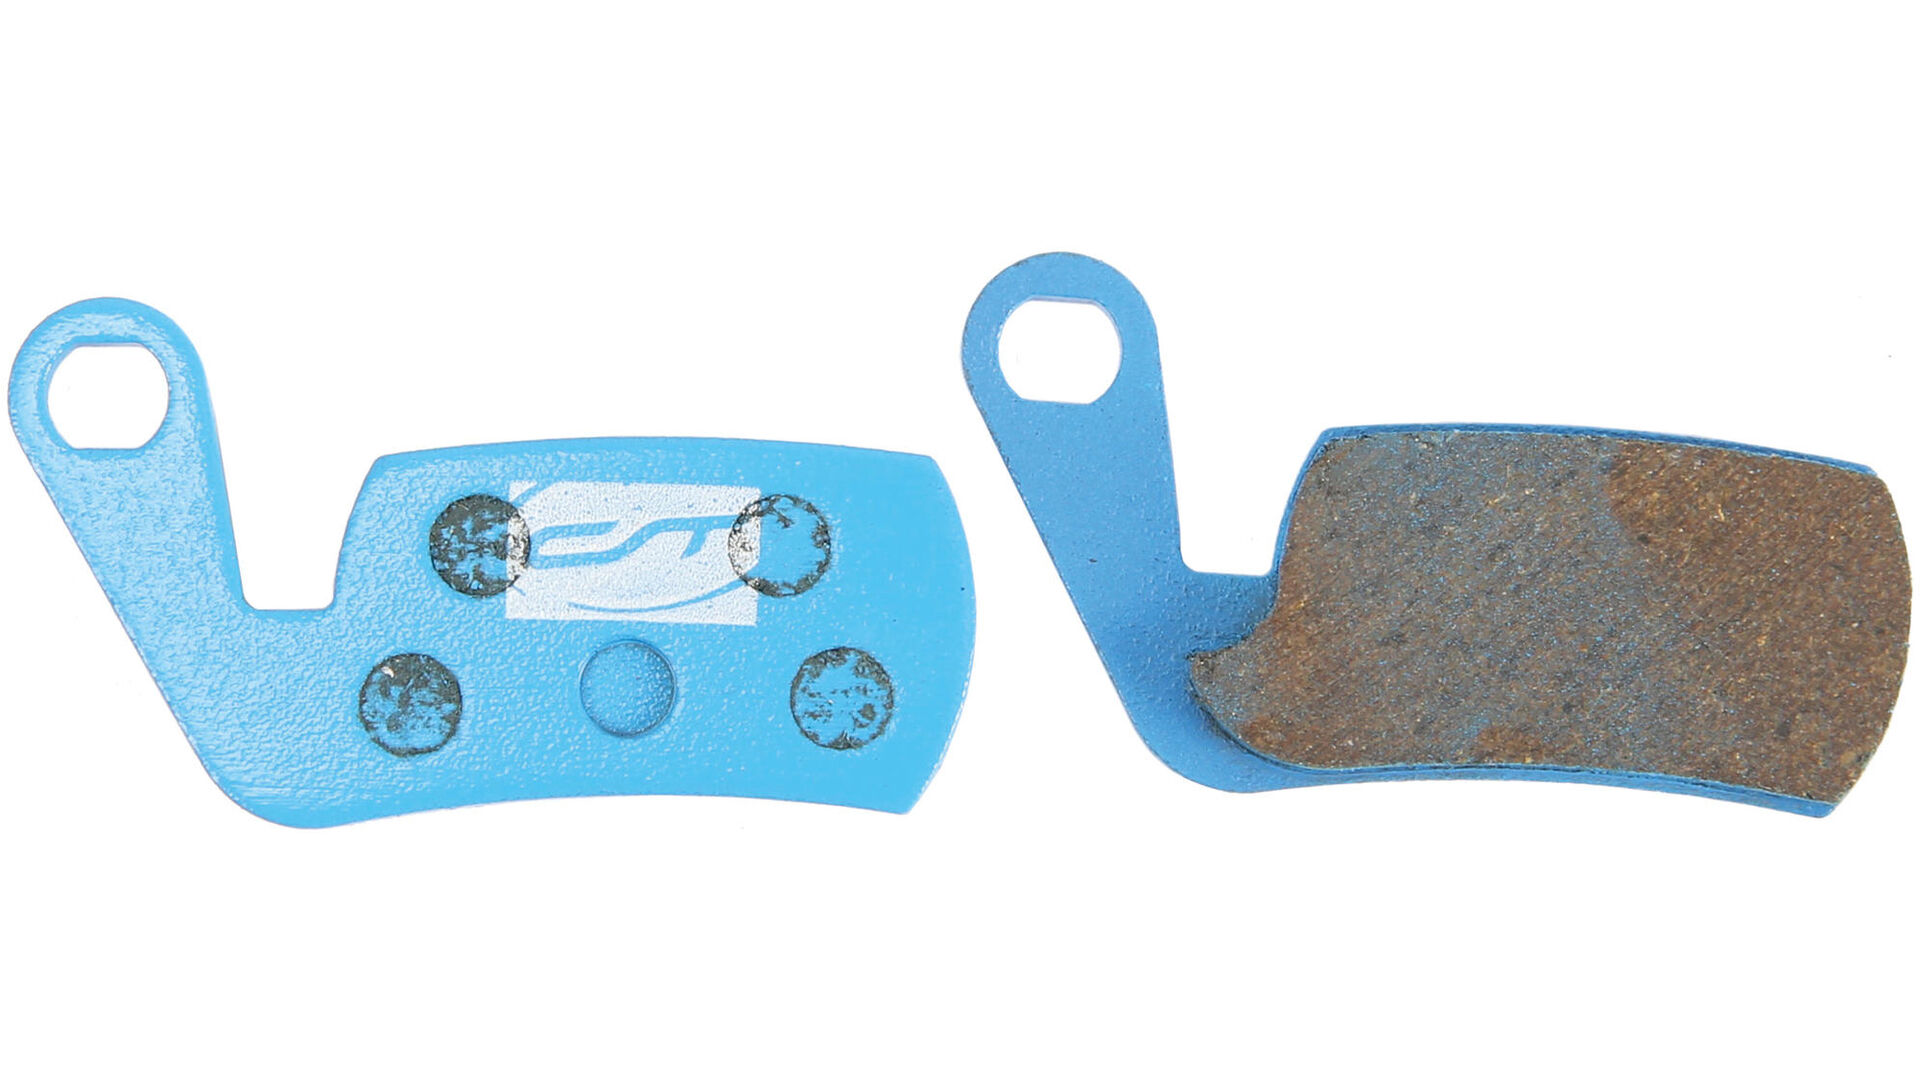
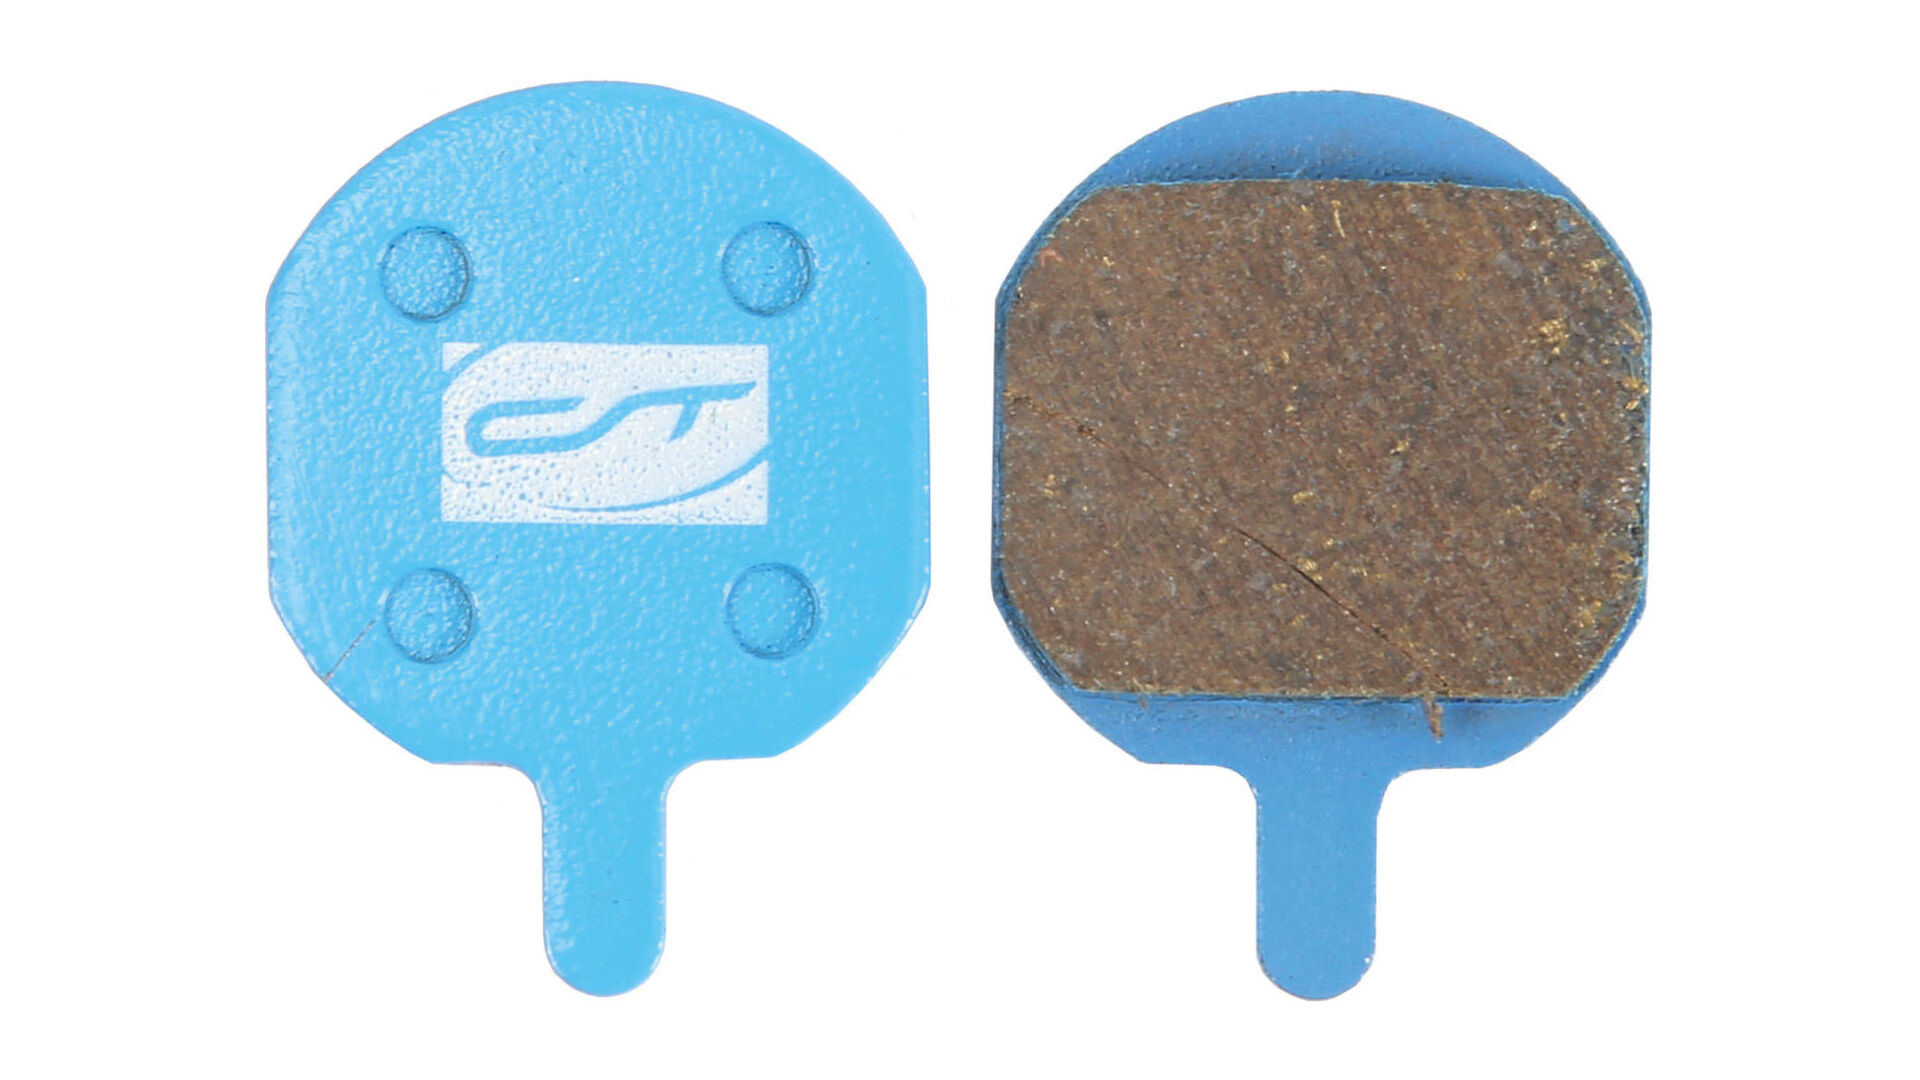
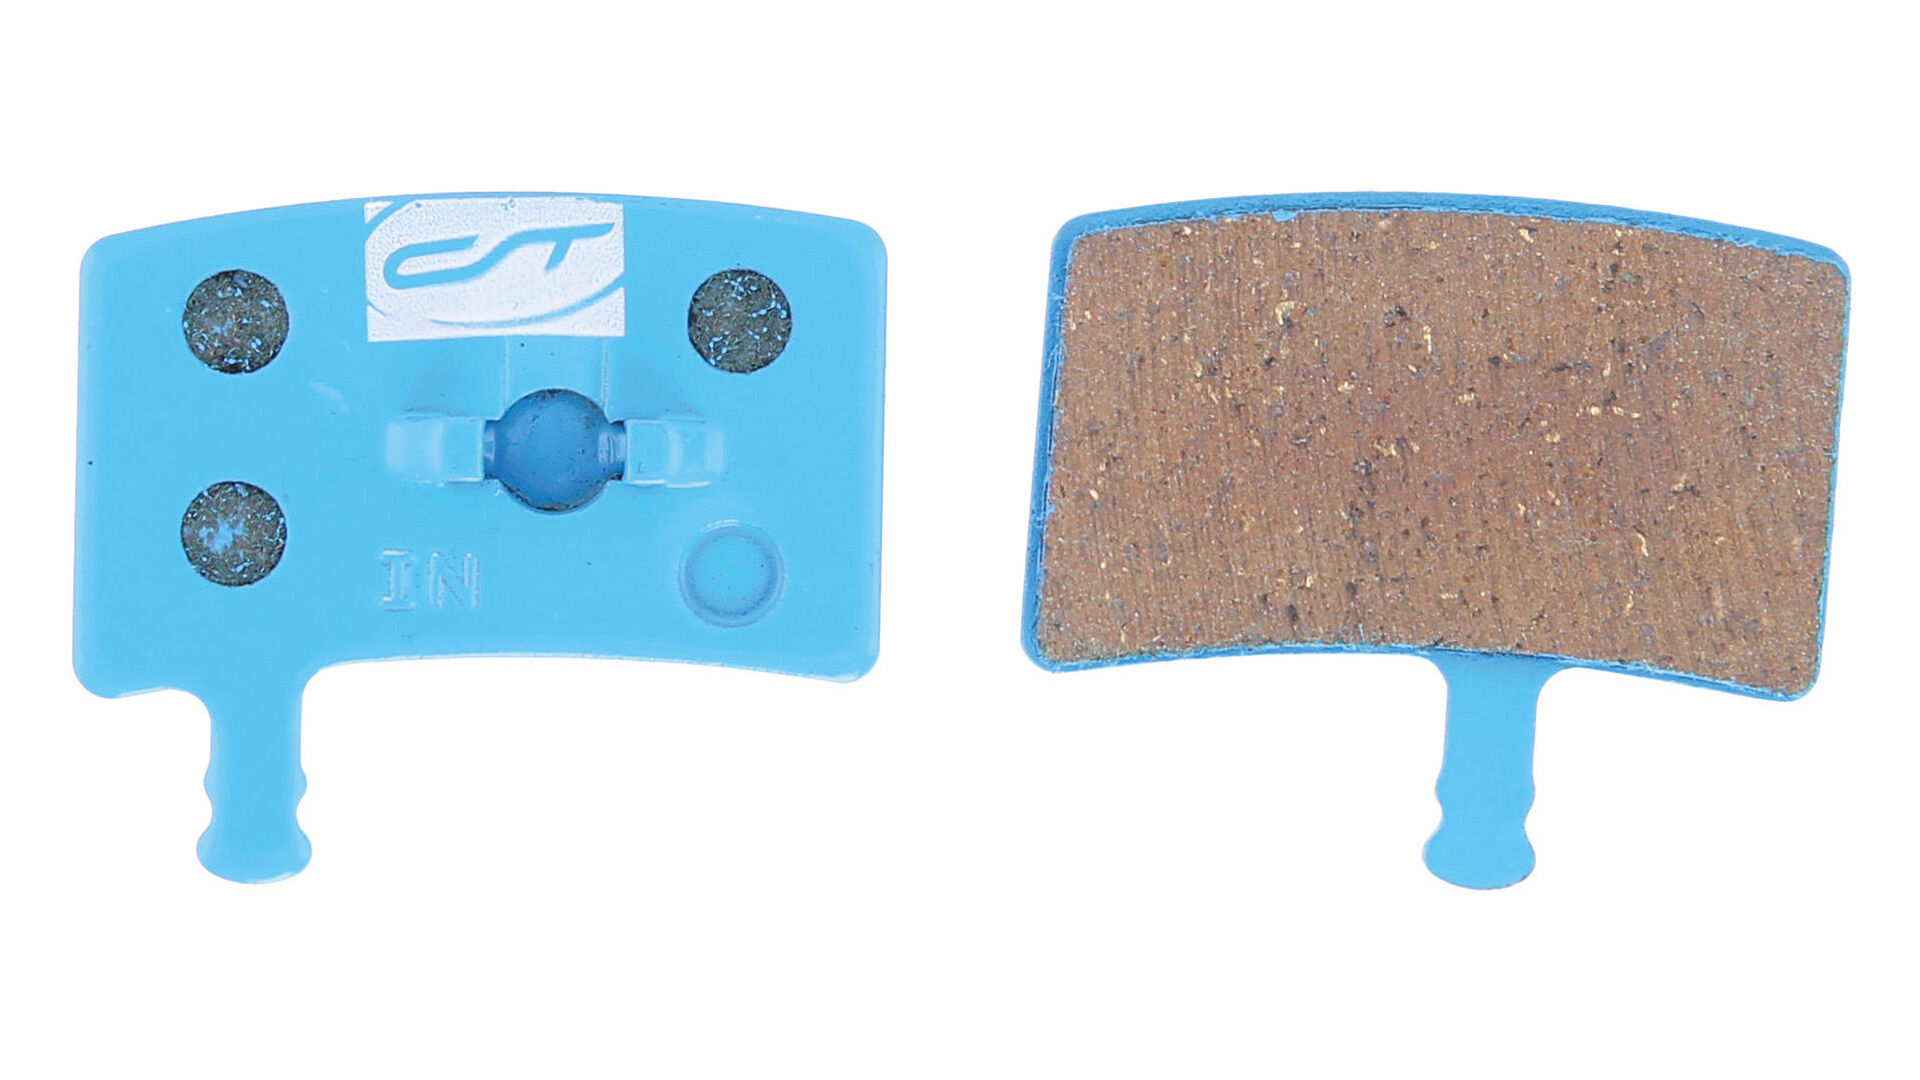
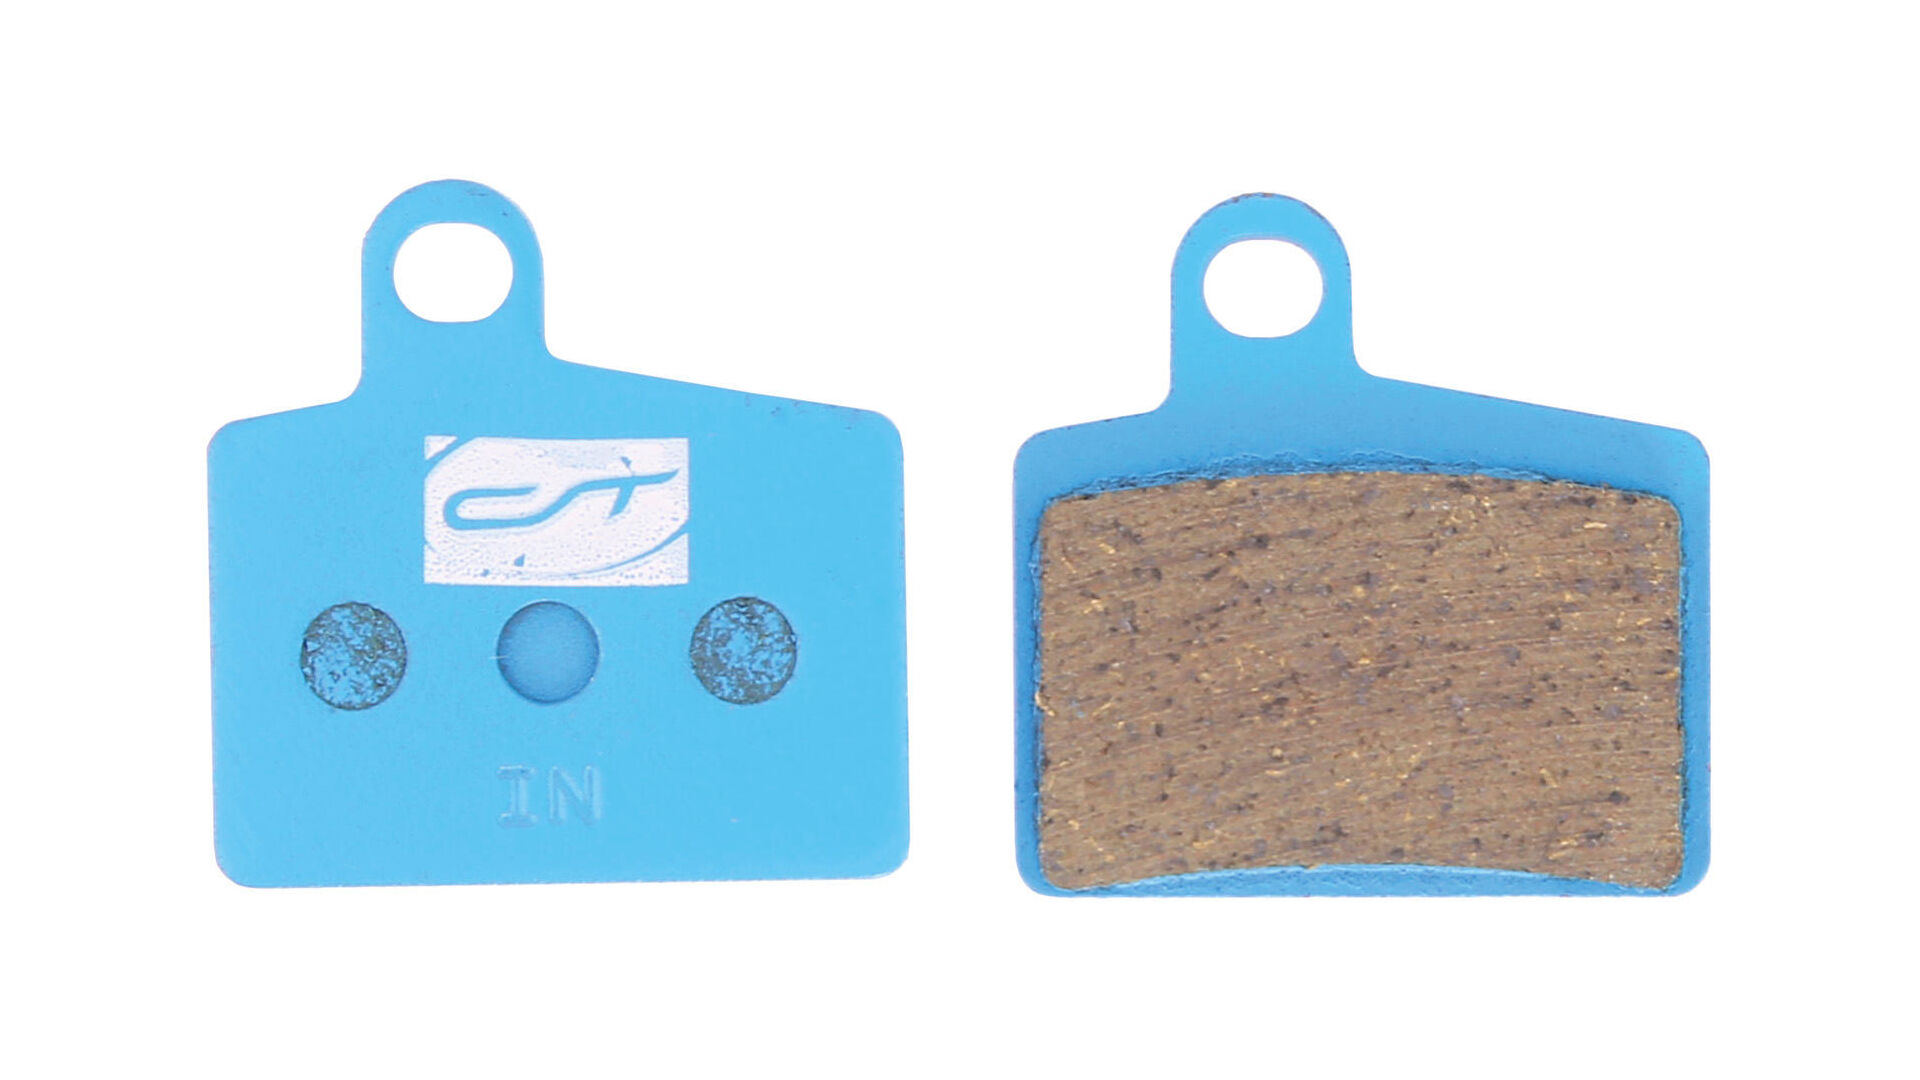
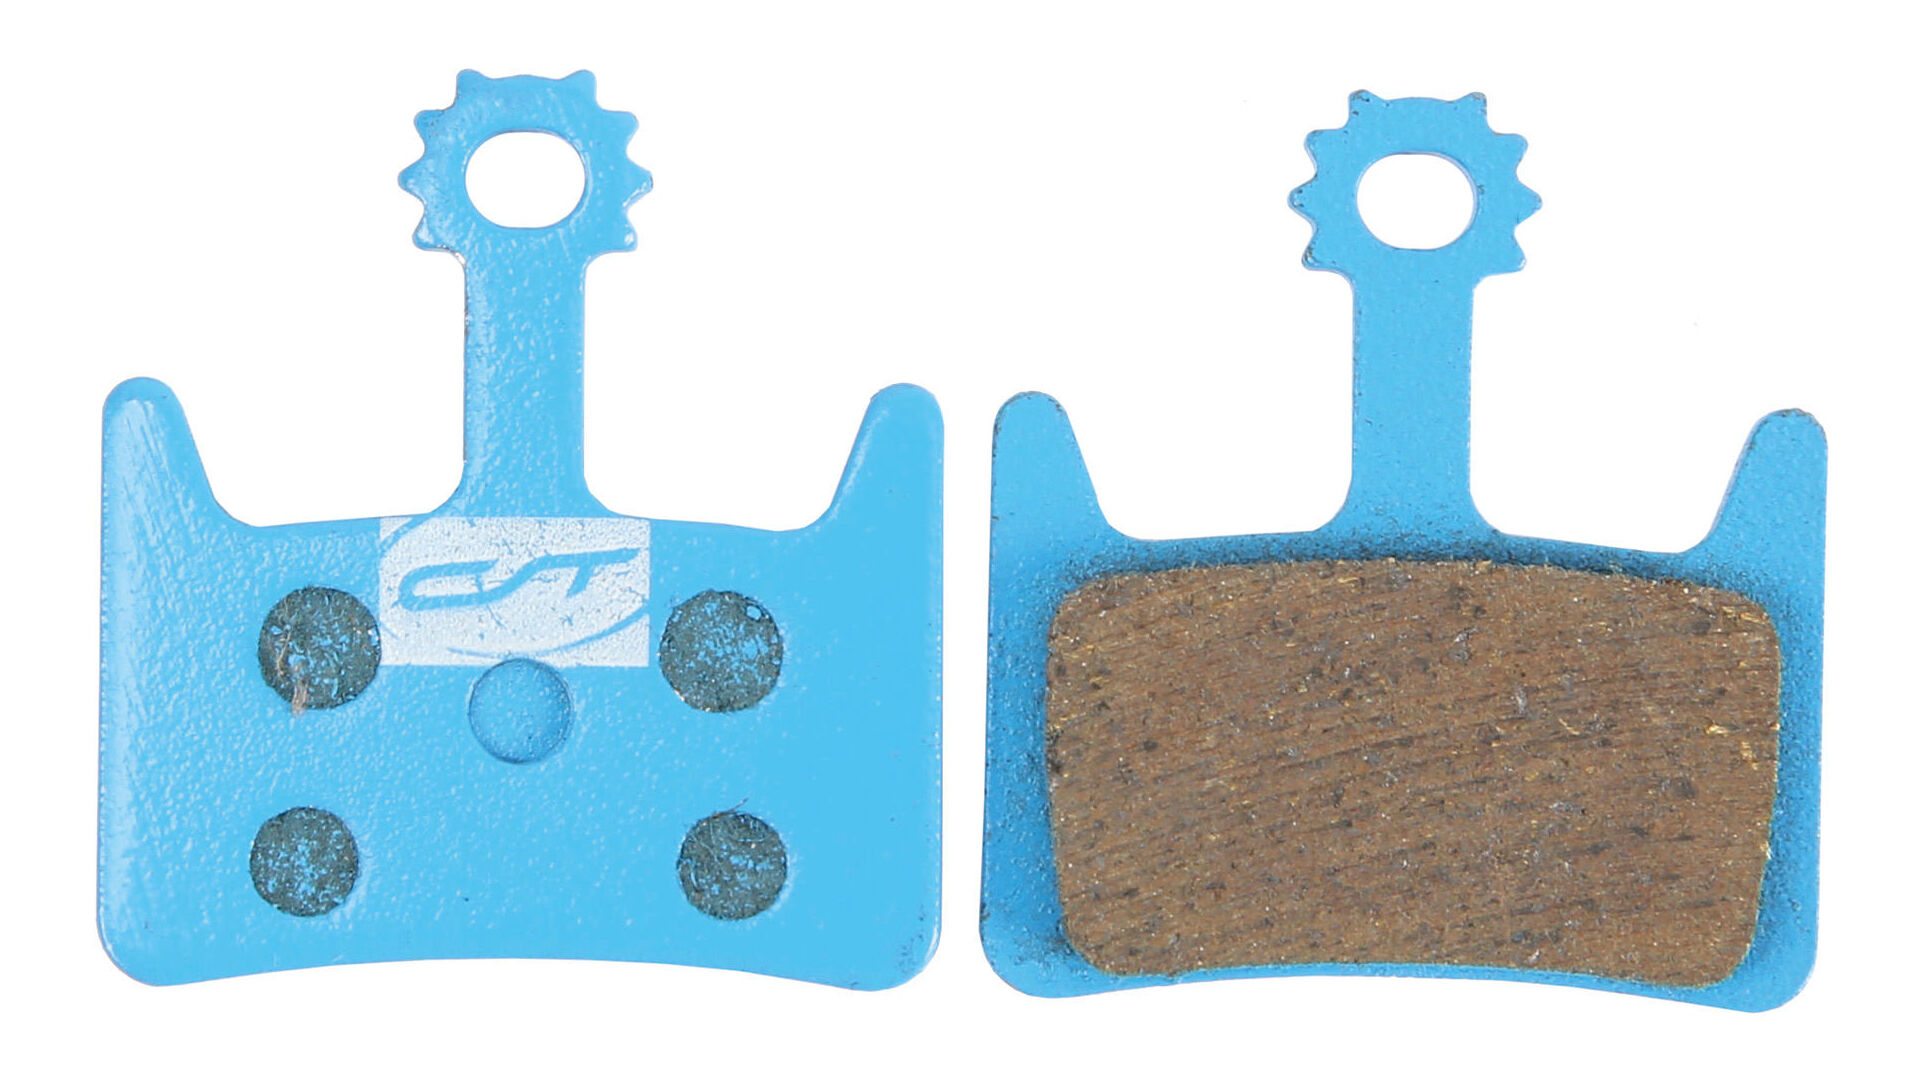
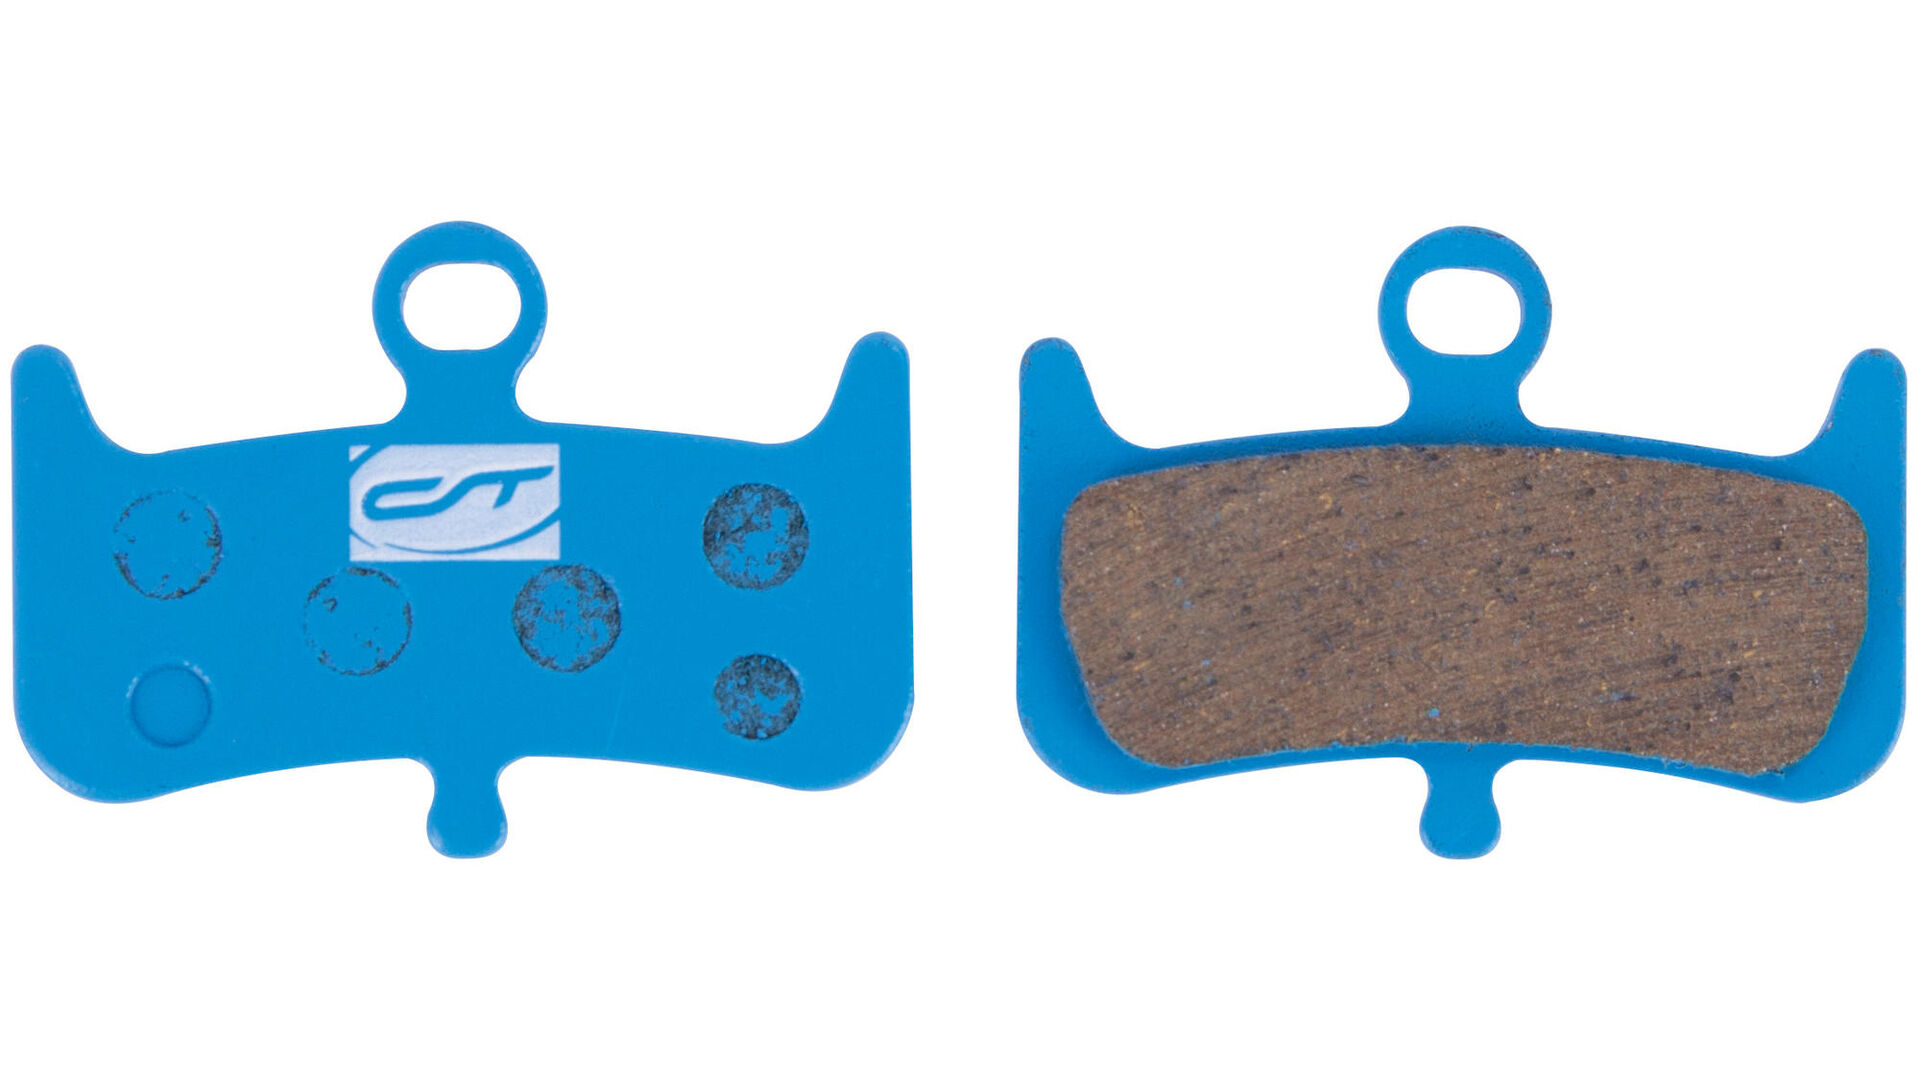
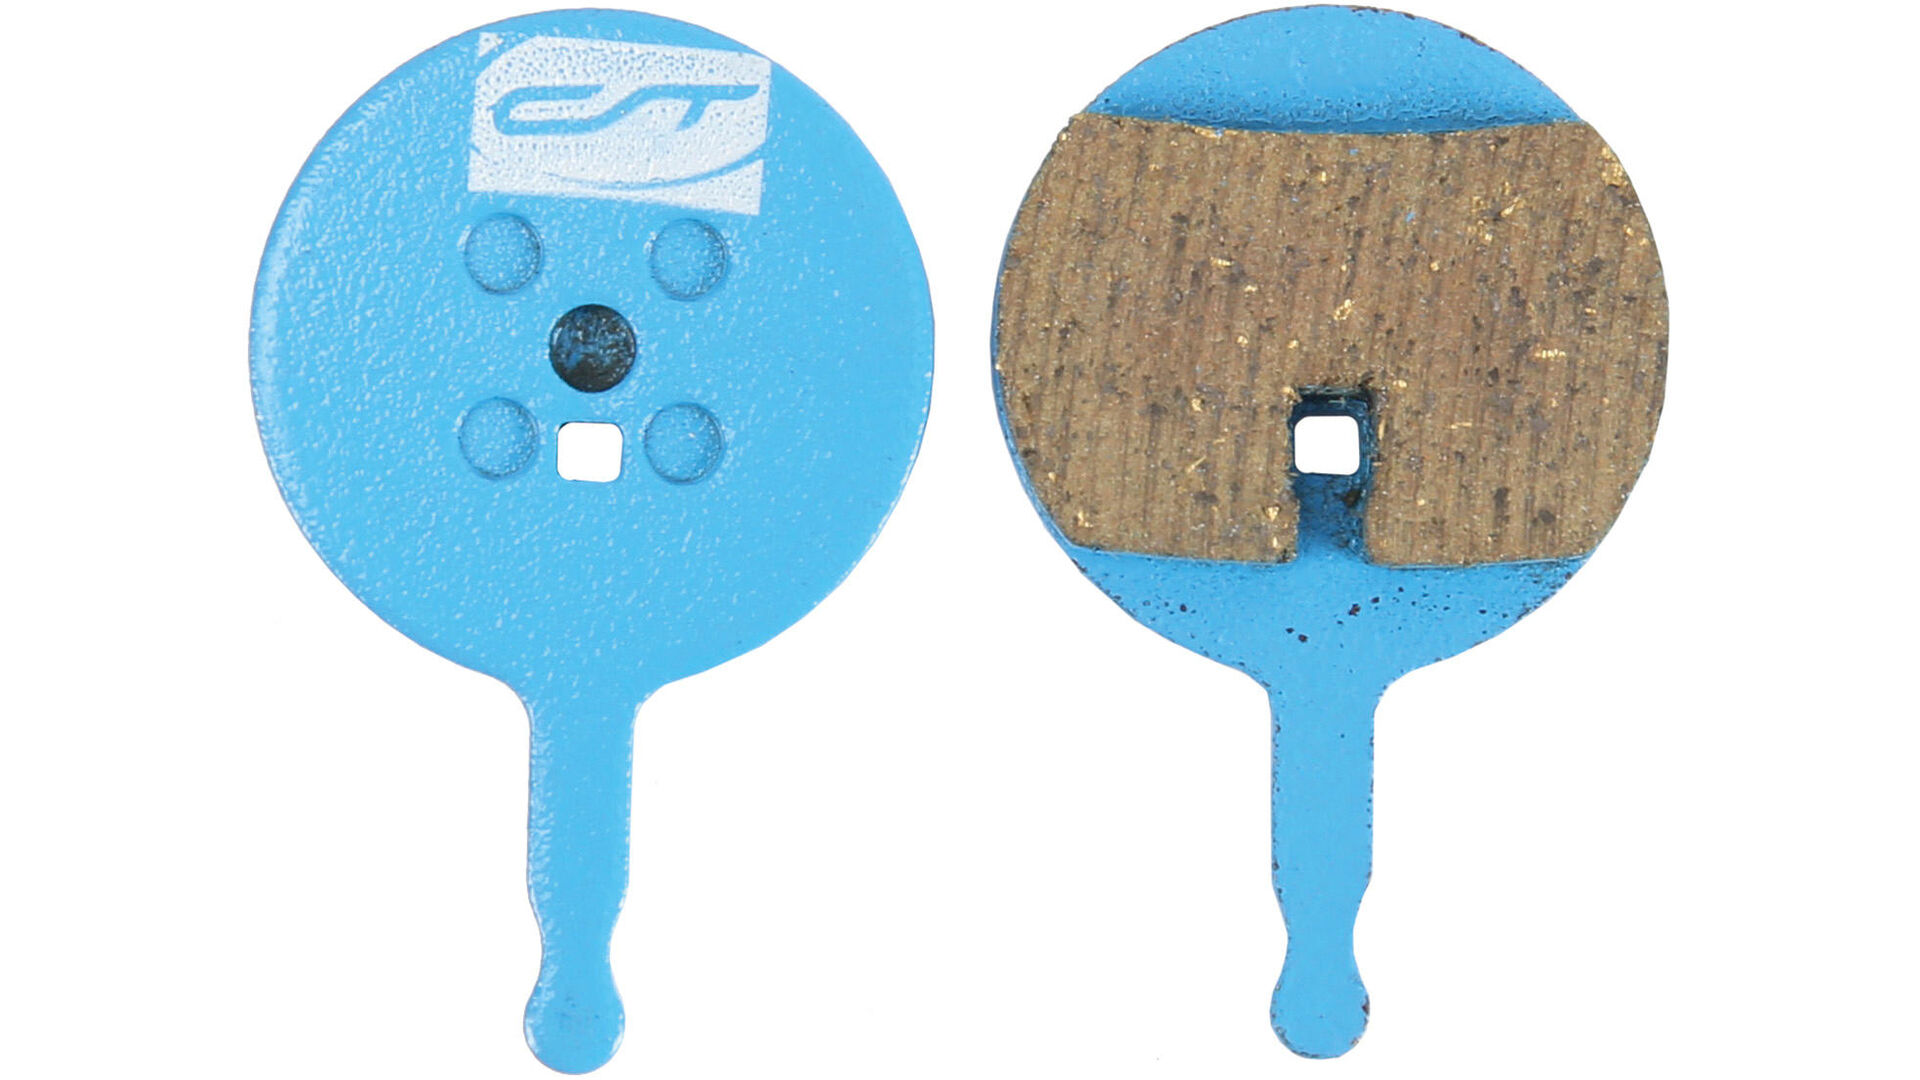
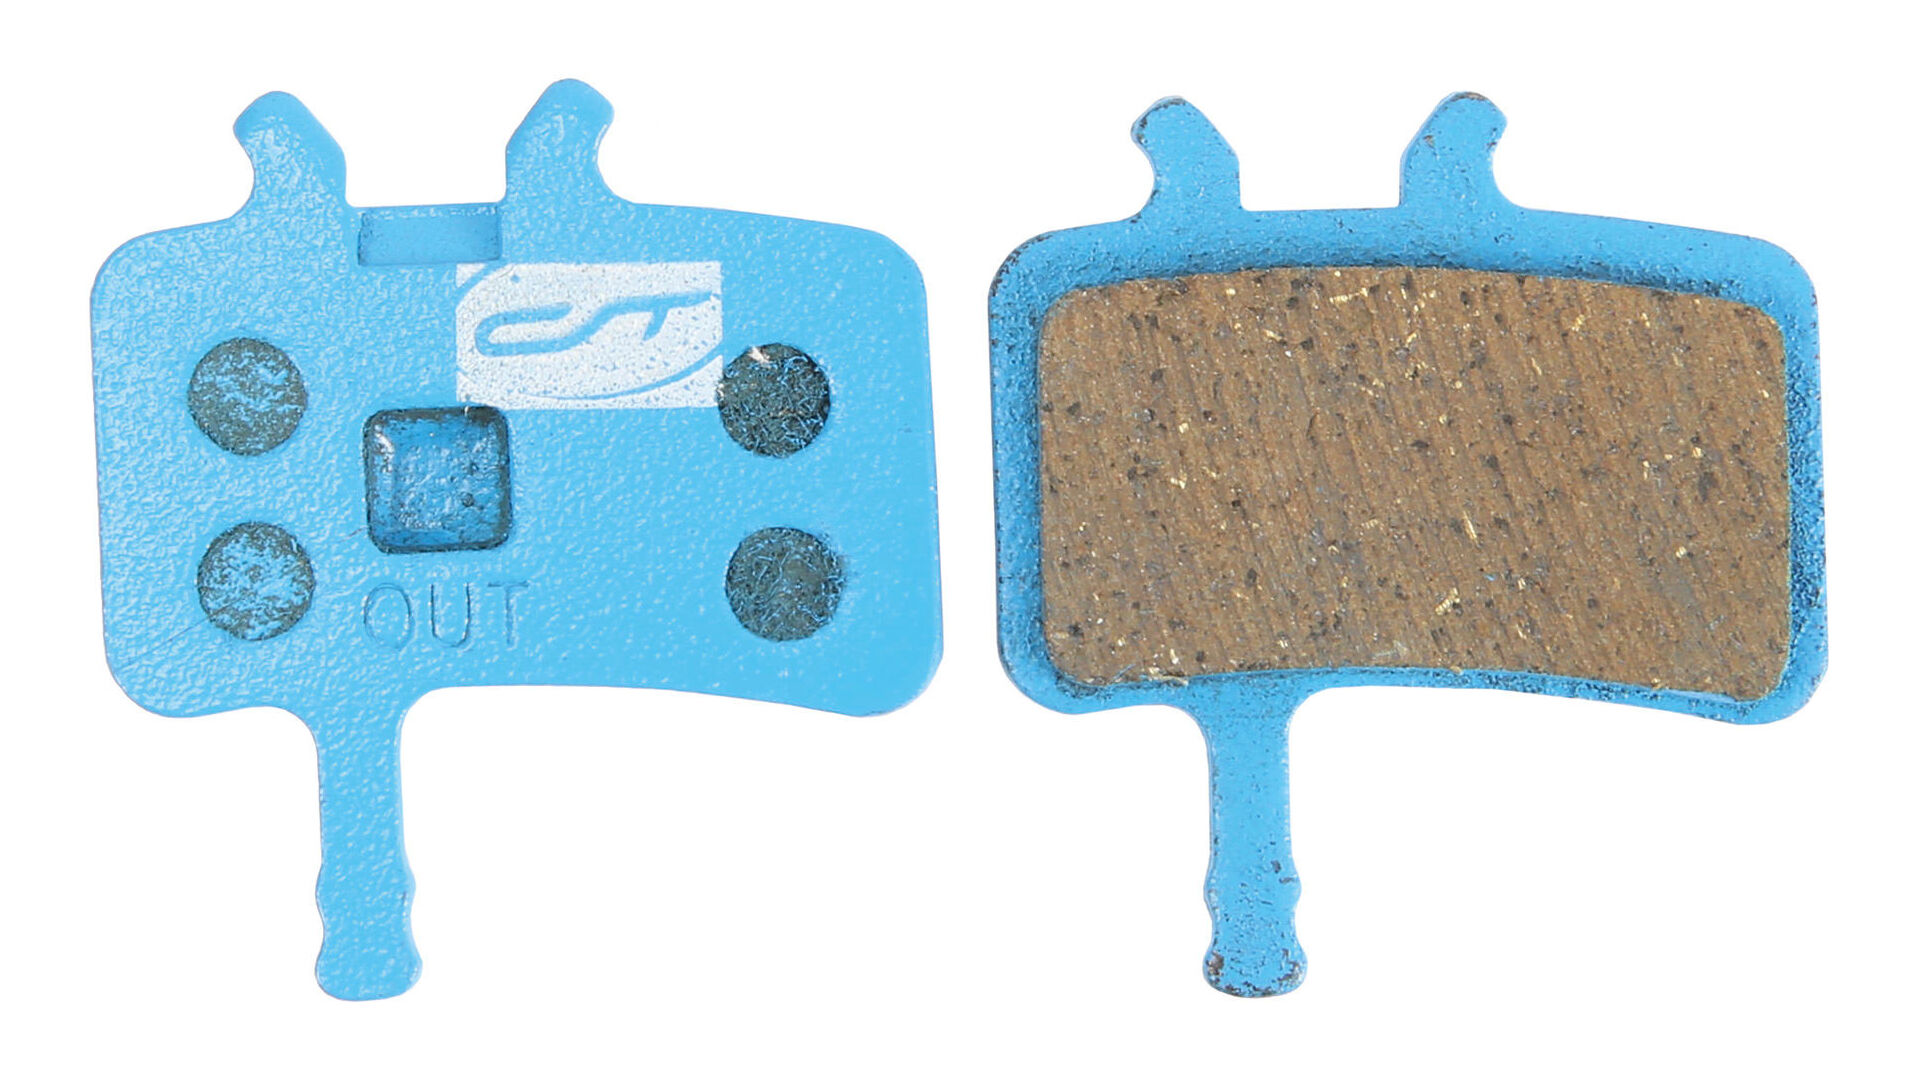
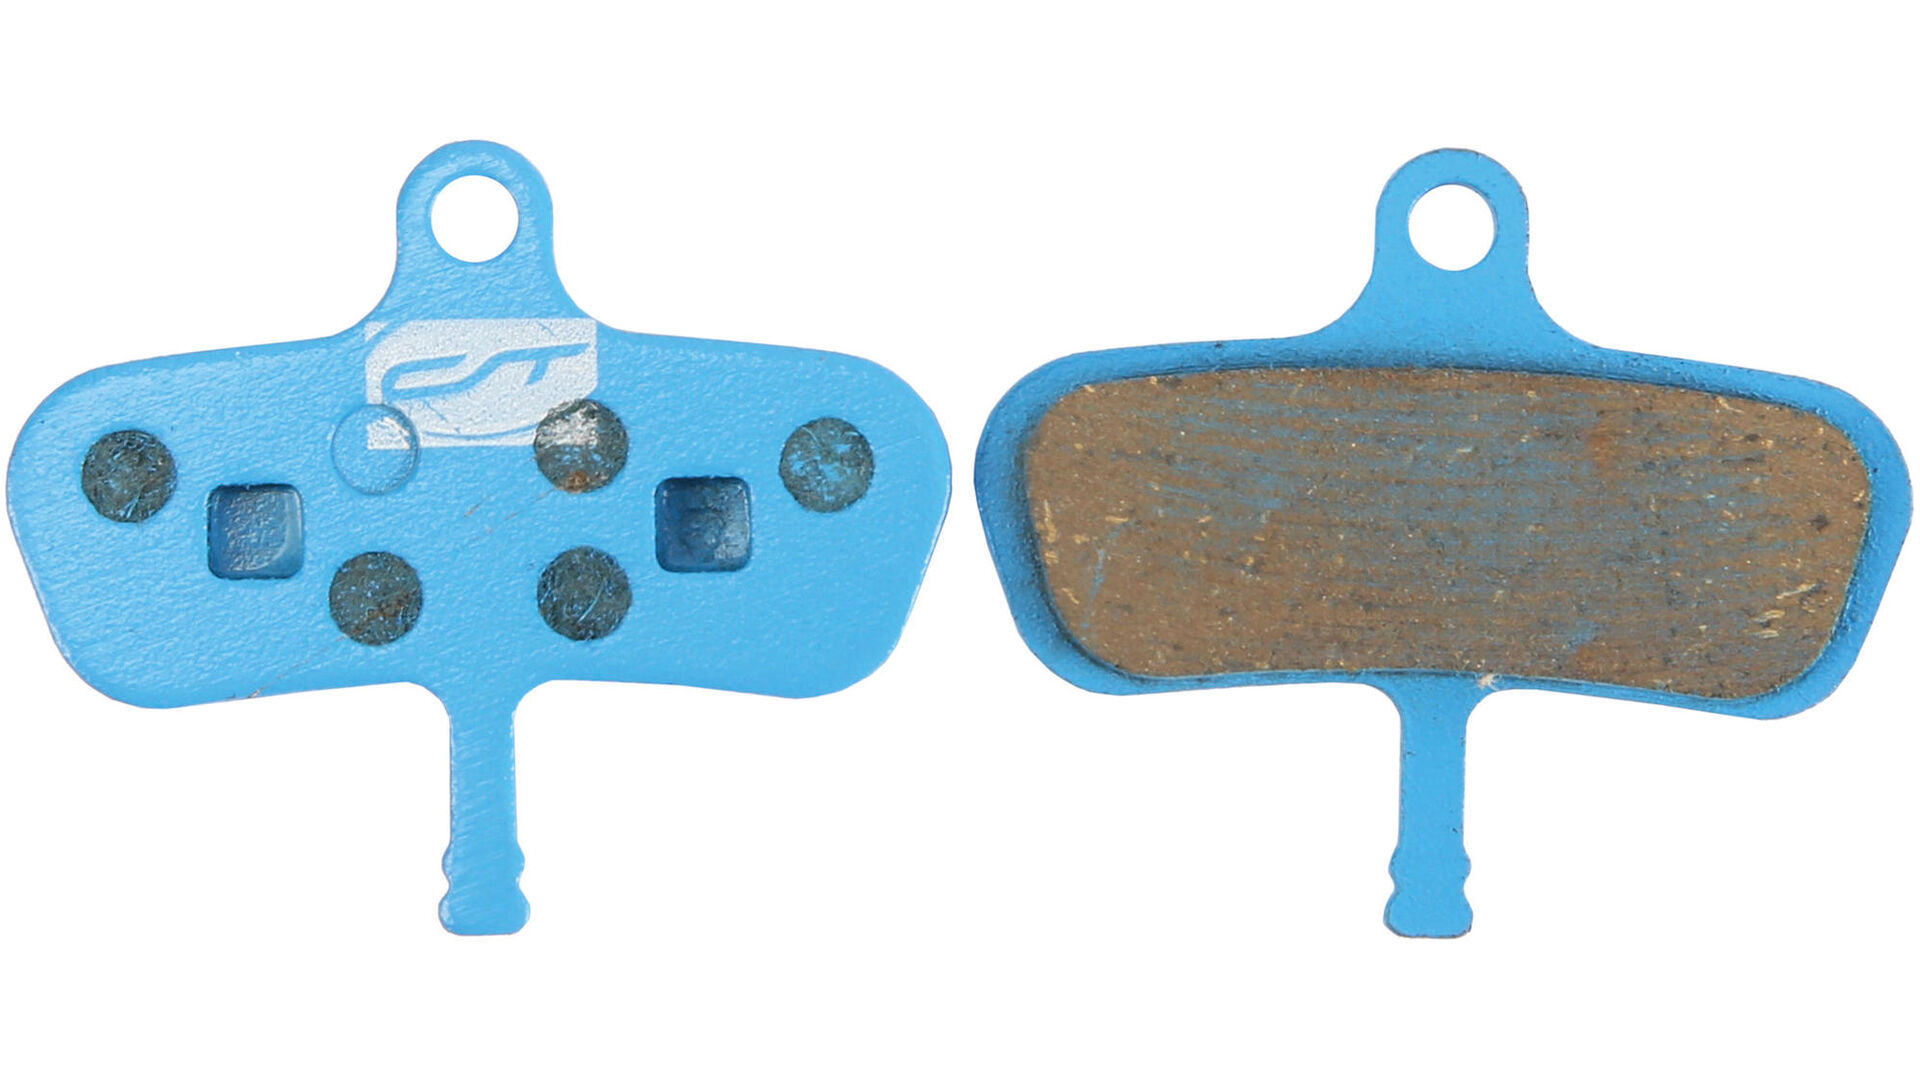
Brake pads are wear and tear parts.Tips for replacing disc and rim brake pads are available here.
What is the contact point?
The contact point is the point at which you notice when pulling the brake lever that the brake pads in the caliper are in contact with the brake rotor. The contact point thus indicates the end of the pull. If you can pull the brake lever up to the handlebar, the contact point is too soft. A hard contact point will cause sudden braking. However, the optimal contact point is subjective and is only reached step by step by trial and error.
Adjusting the contact point on disc brakes

In order to adjust the contact point on disc brakes on many models, the amount of fluid in the brake system is adjusted.Since the brake system must be opened for this, we recommend heading to a bicycle dealer.Some brakes offer the possibility to adjust the contact point by means of a bolt.
Pad wear affects the lever travel!
Pad wear is slightly compensated on hydraulic disc brakes. In the case of mechanical disc brakes, the lever pull becomes larger with increasing wear.
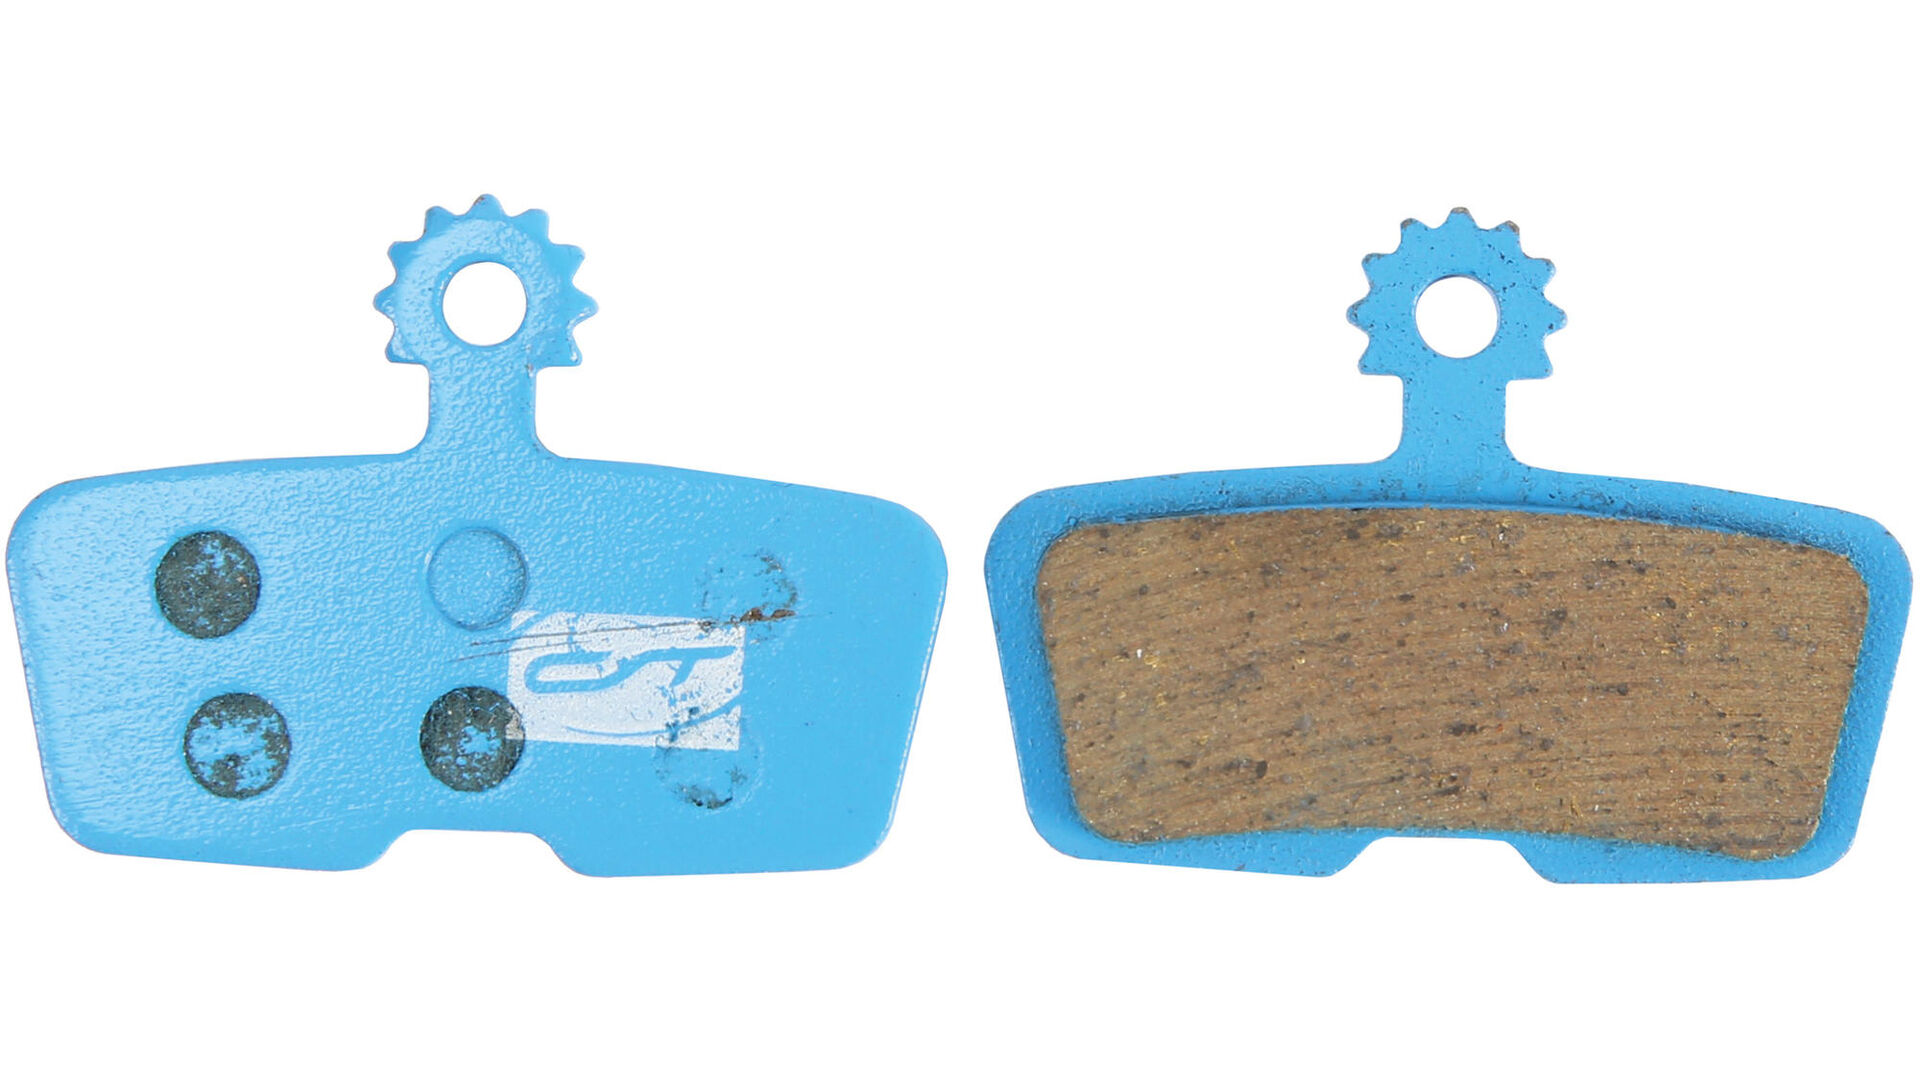
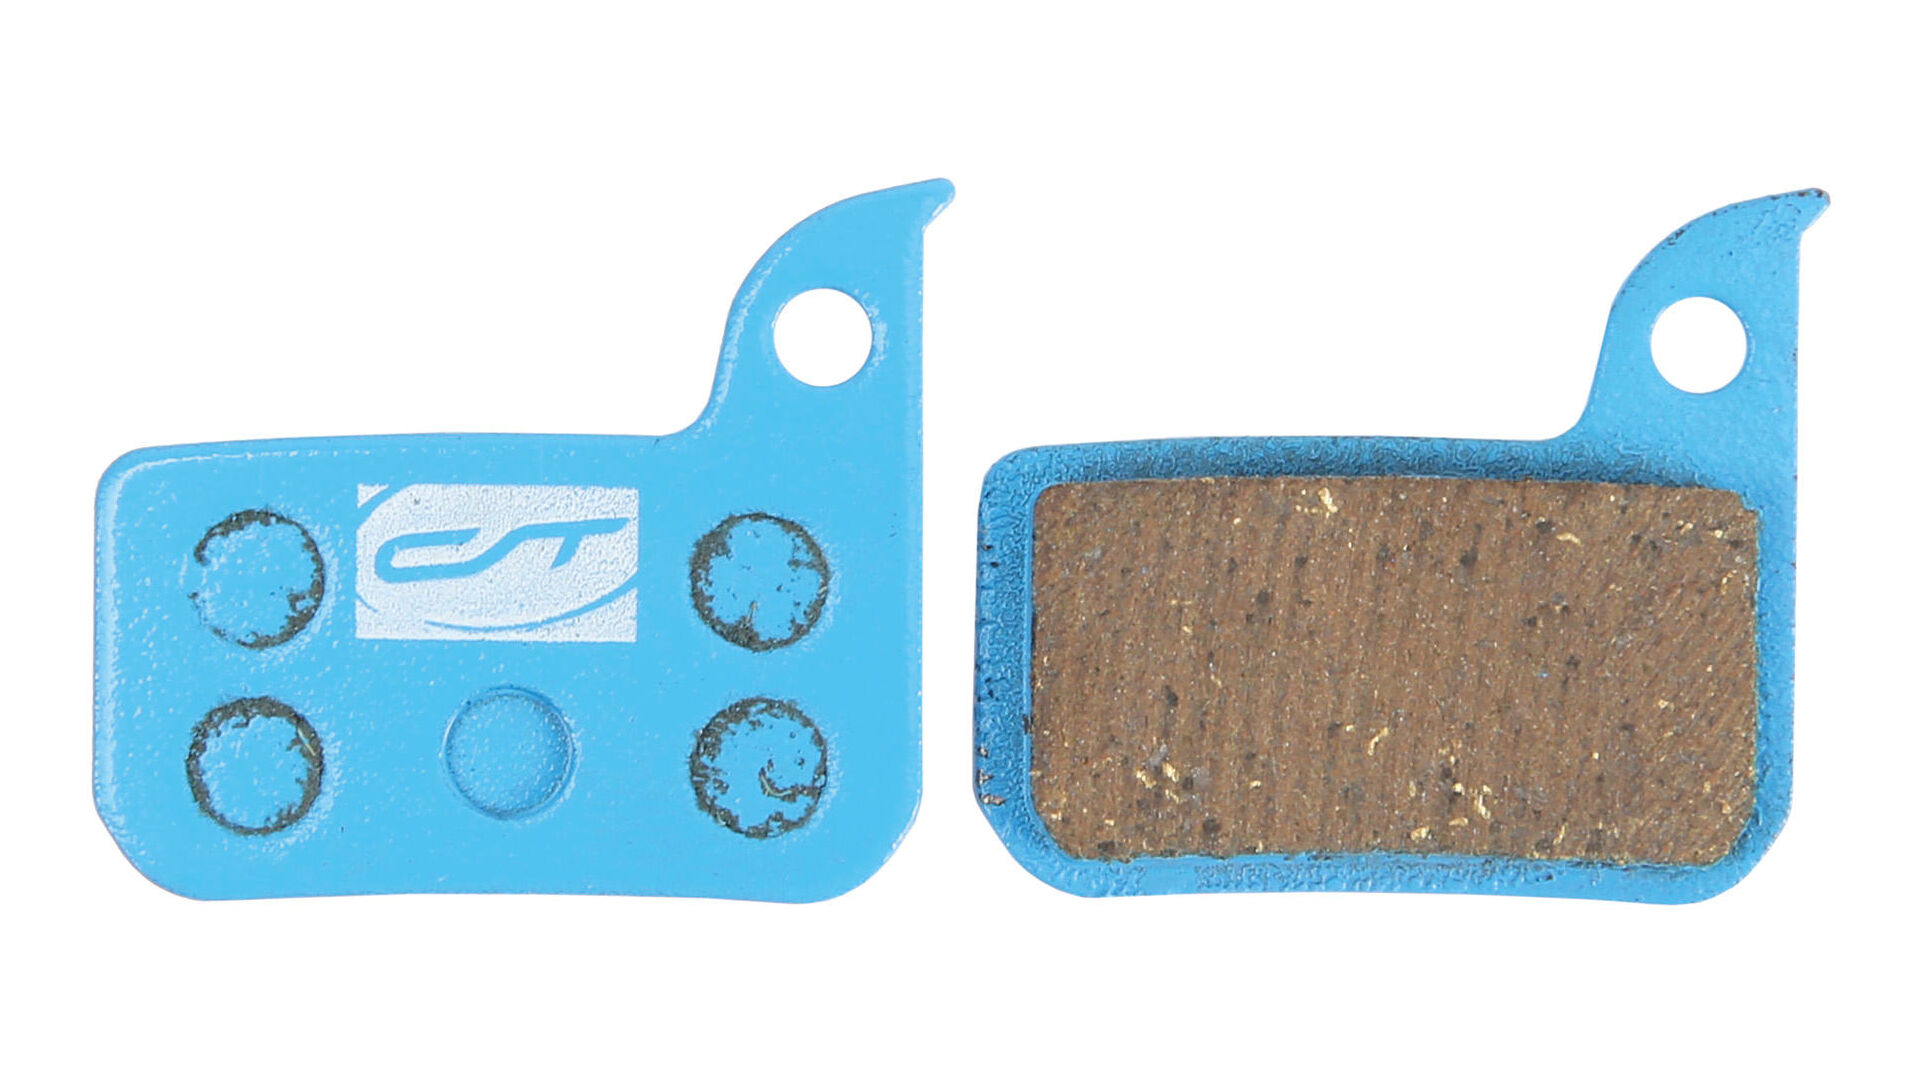
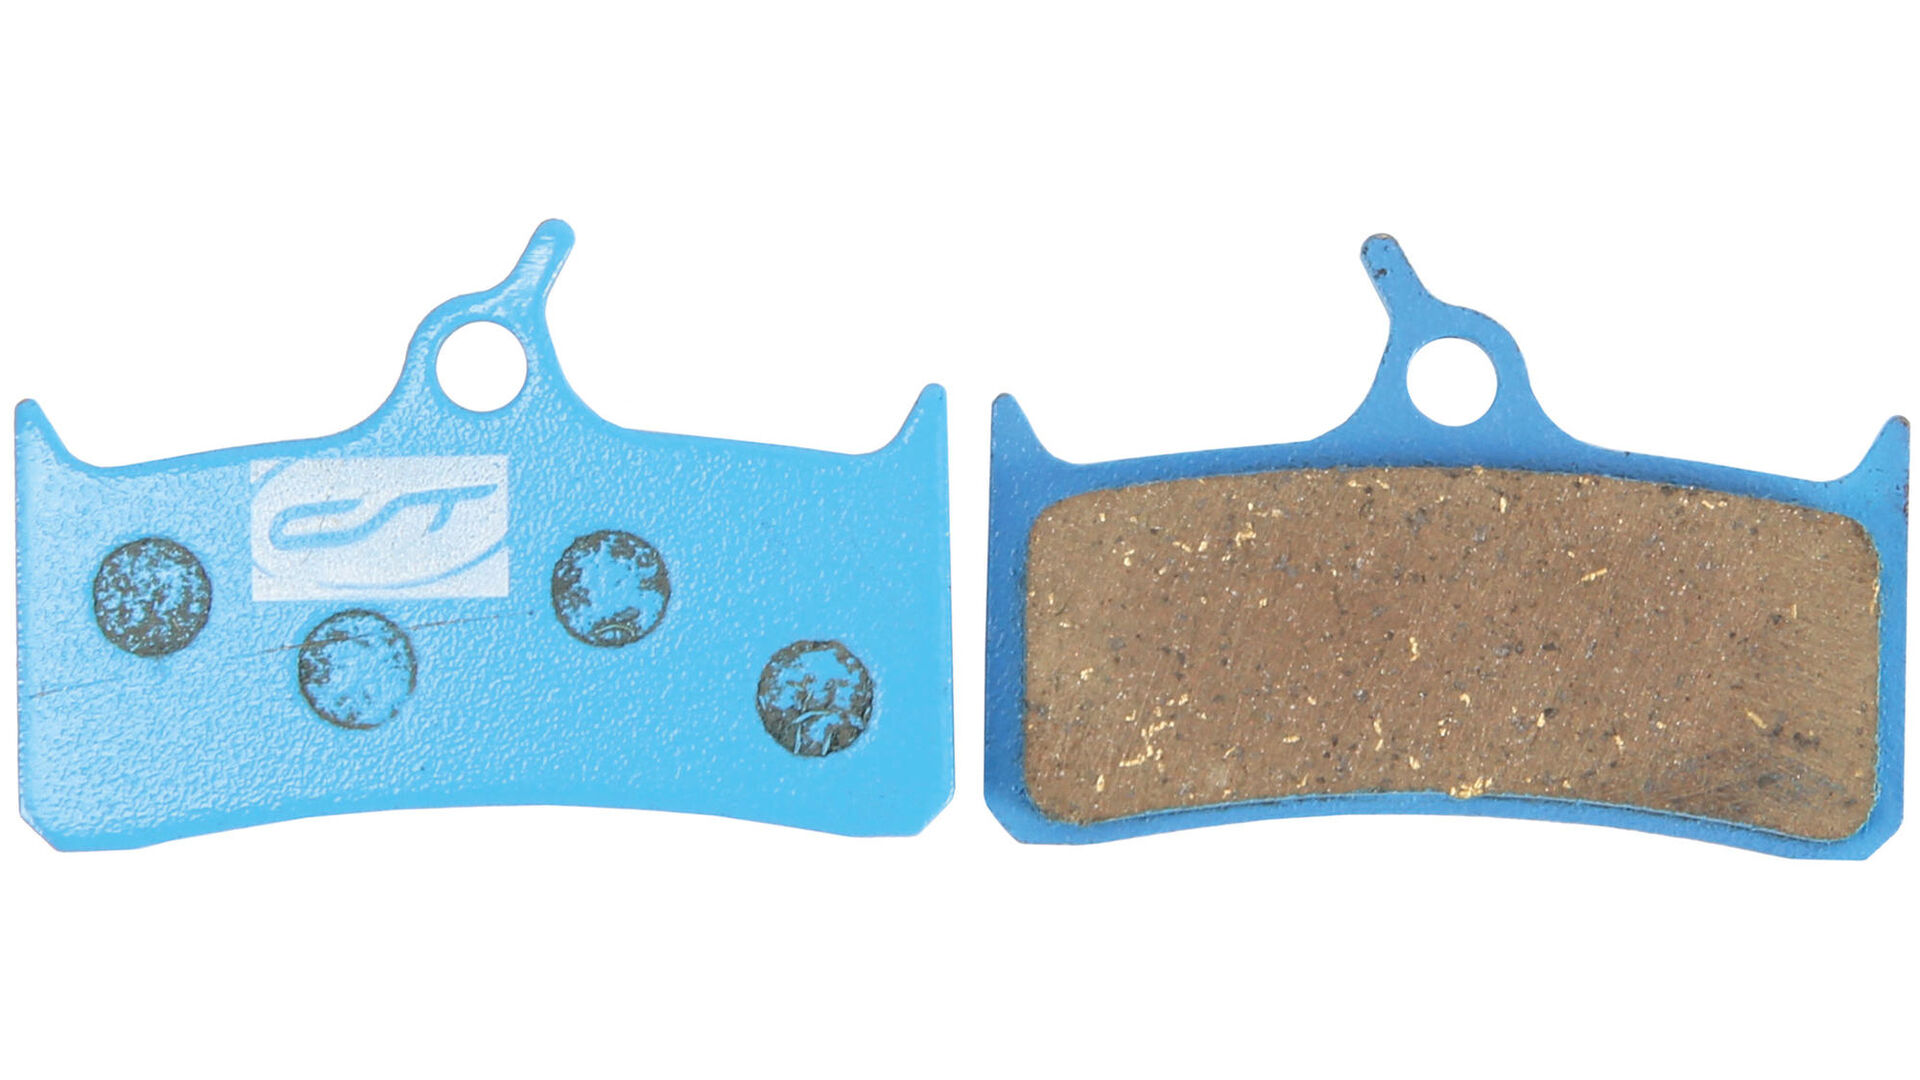
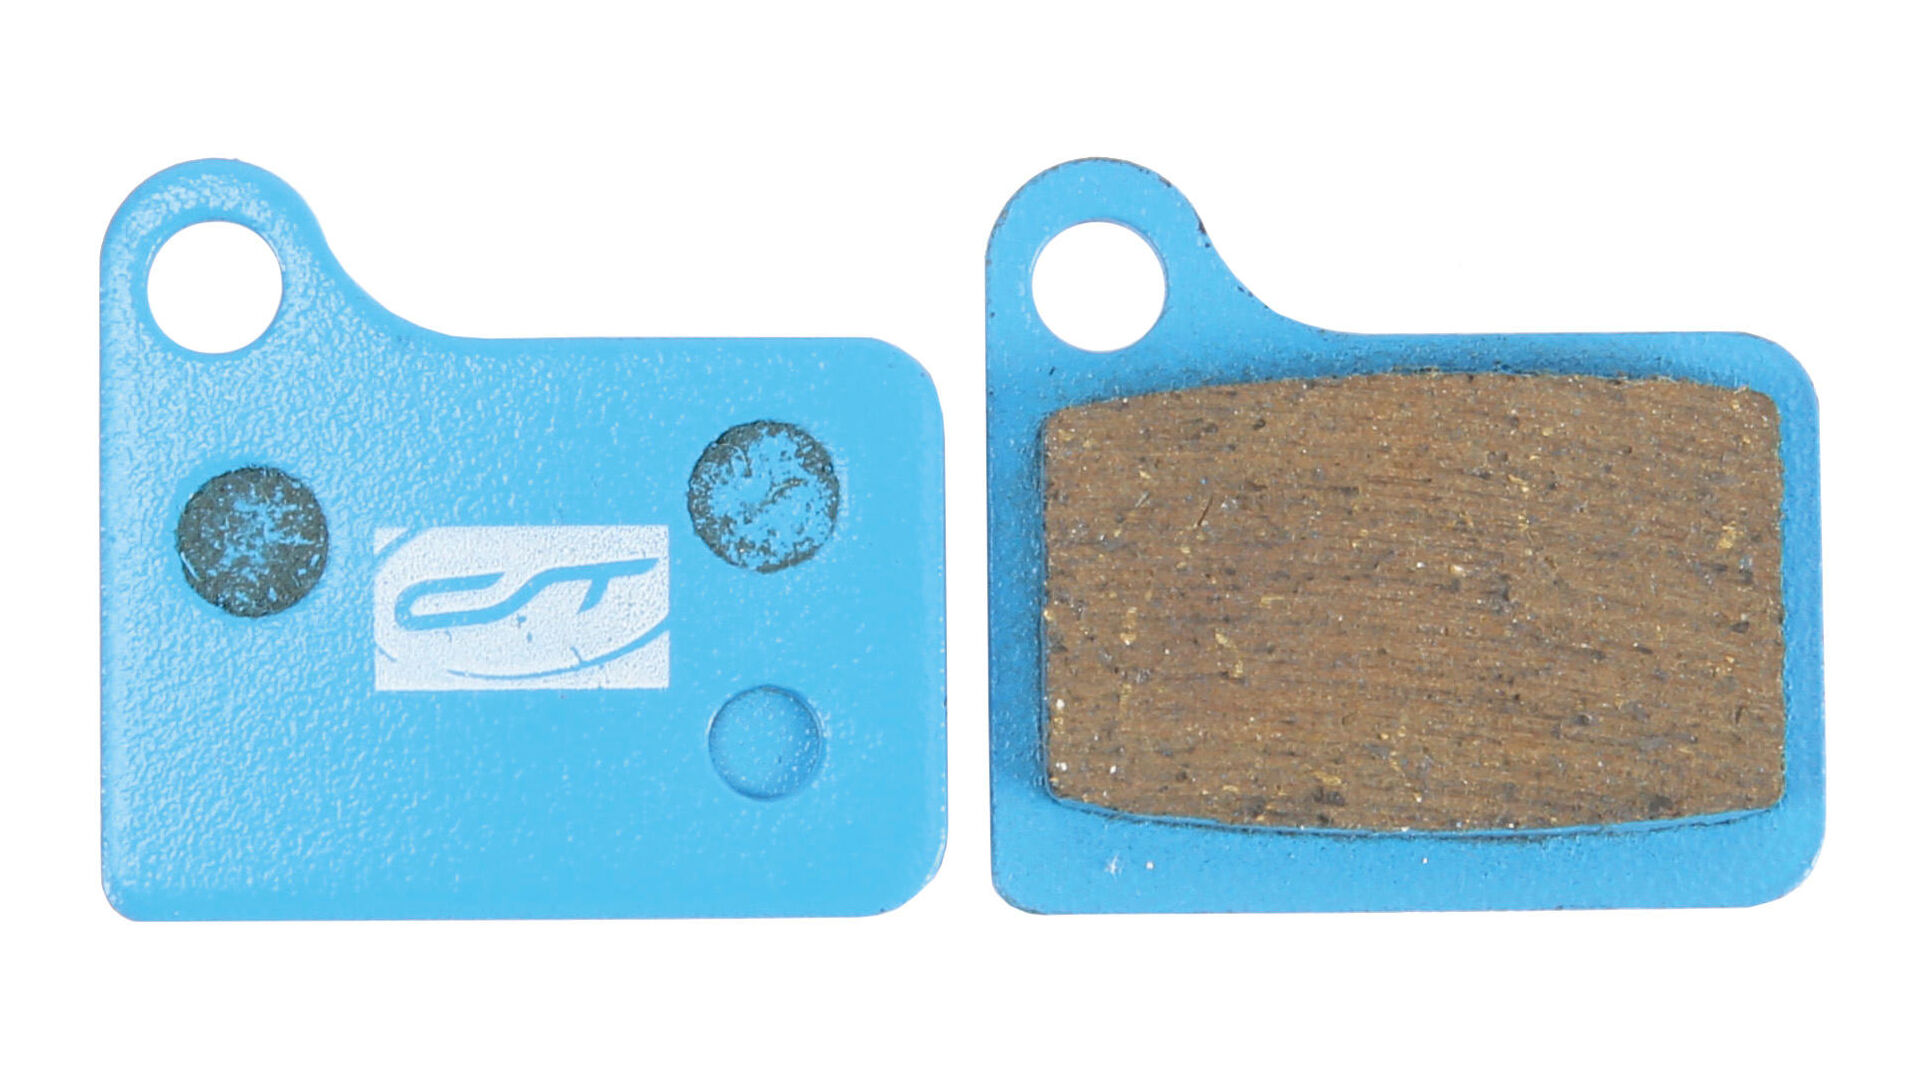
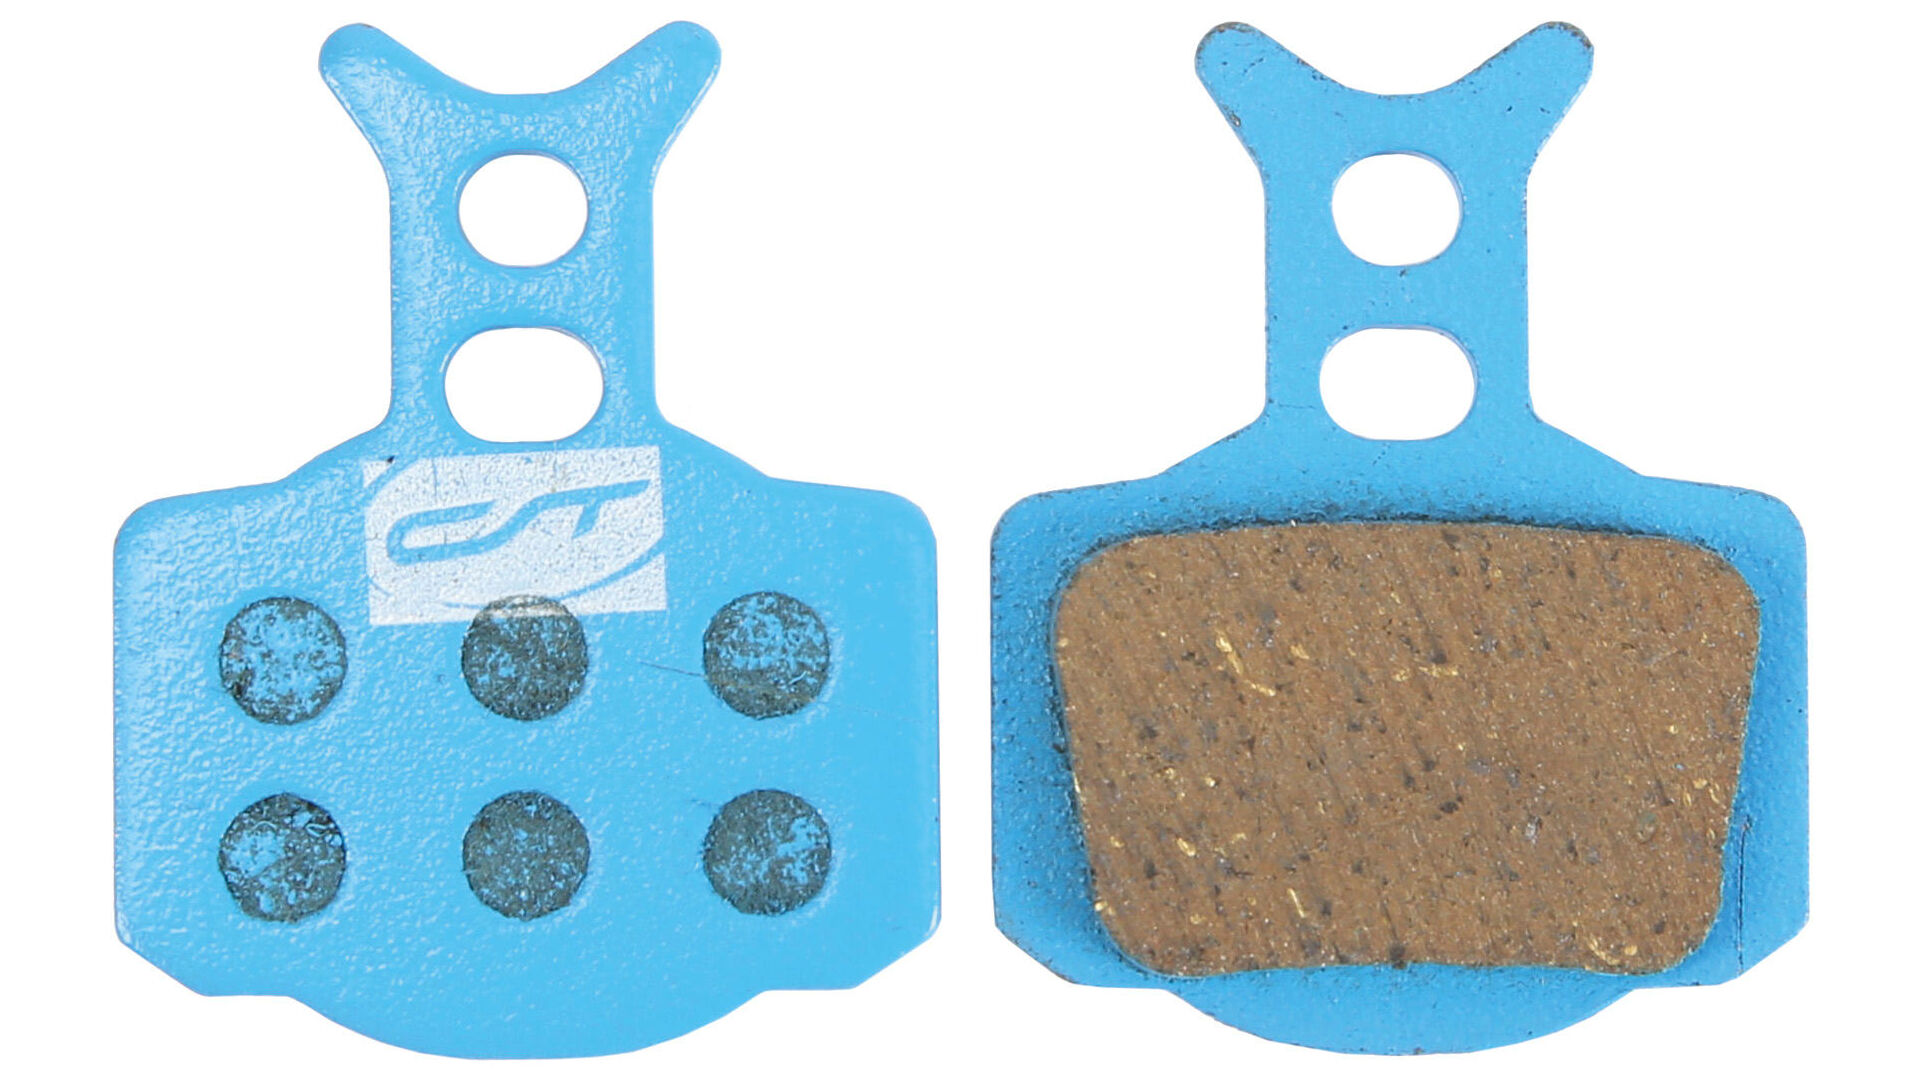
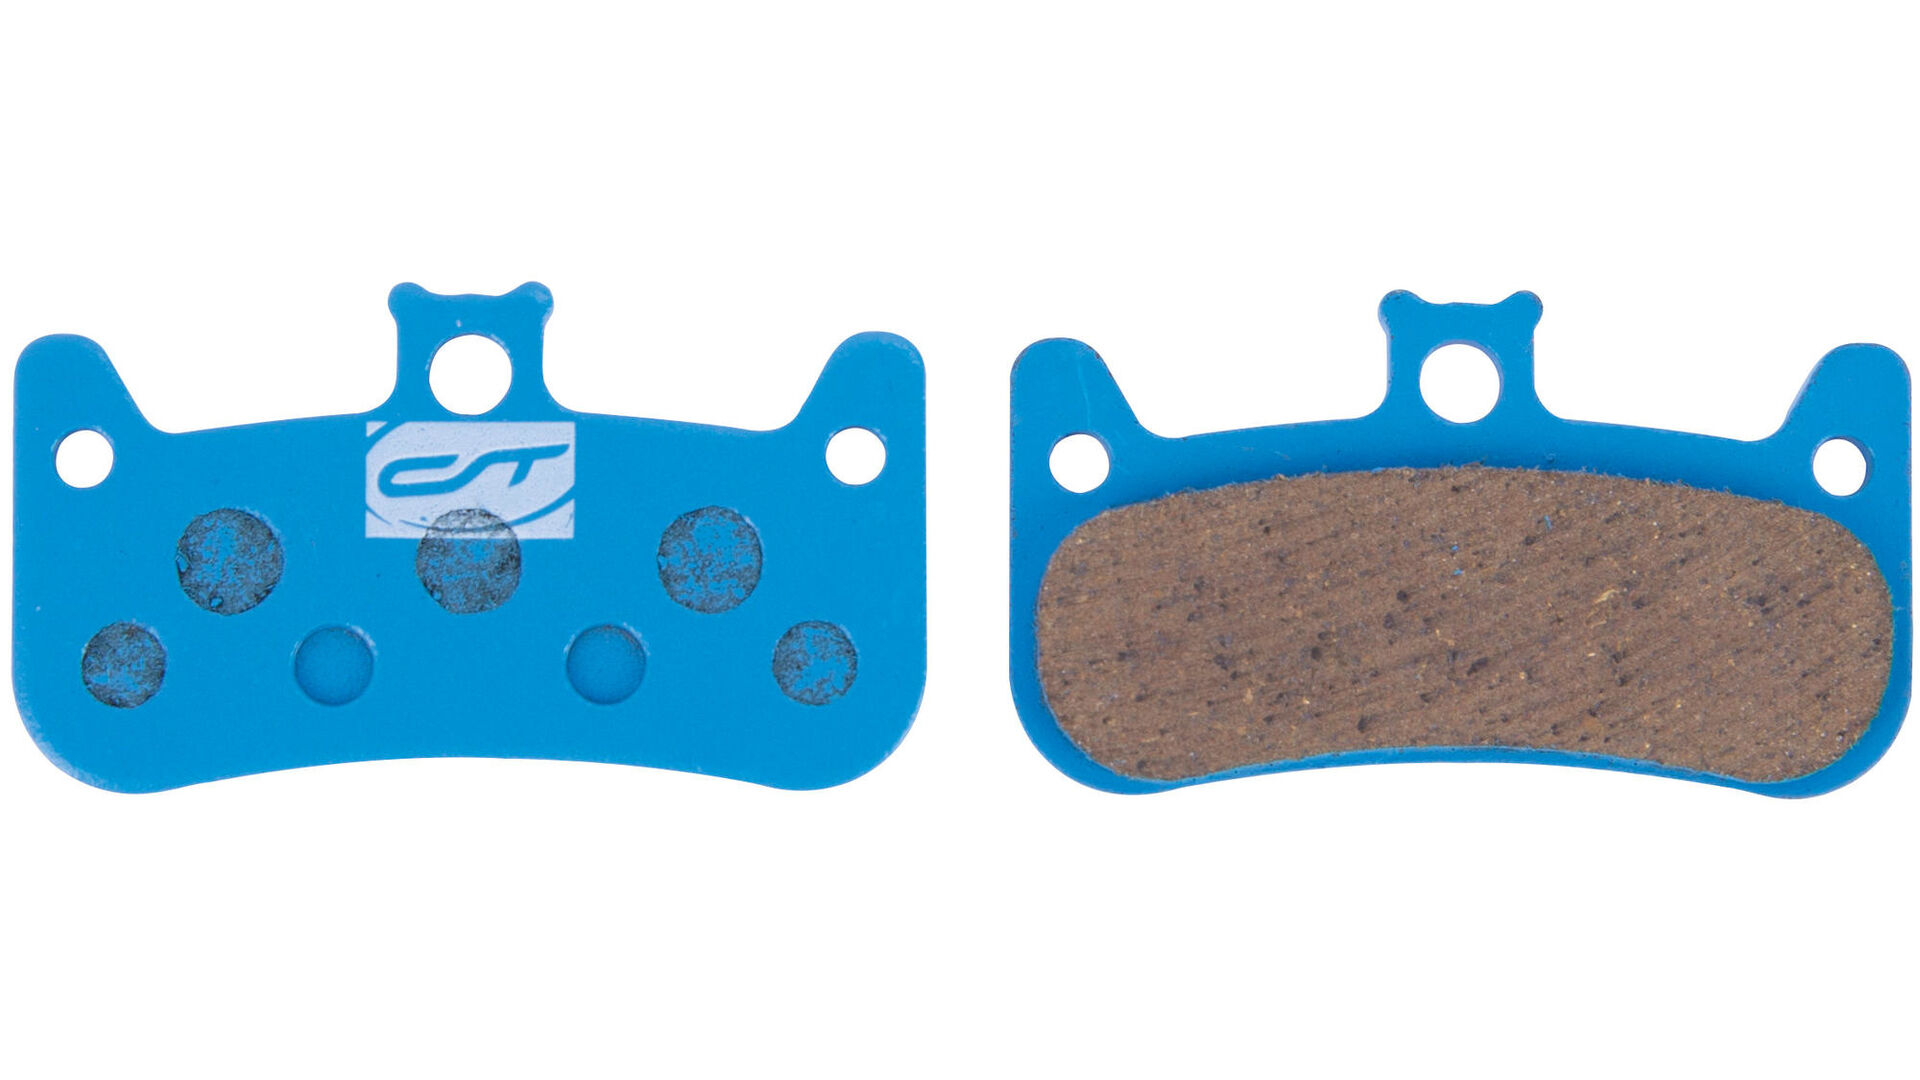
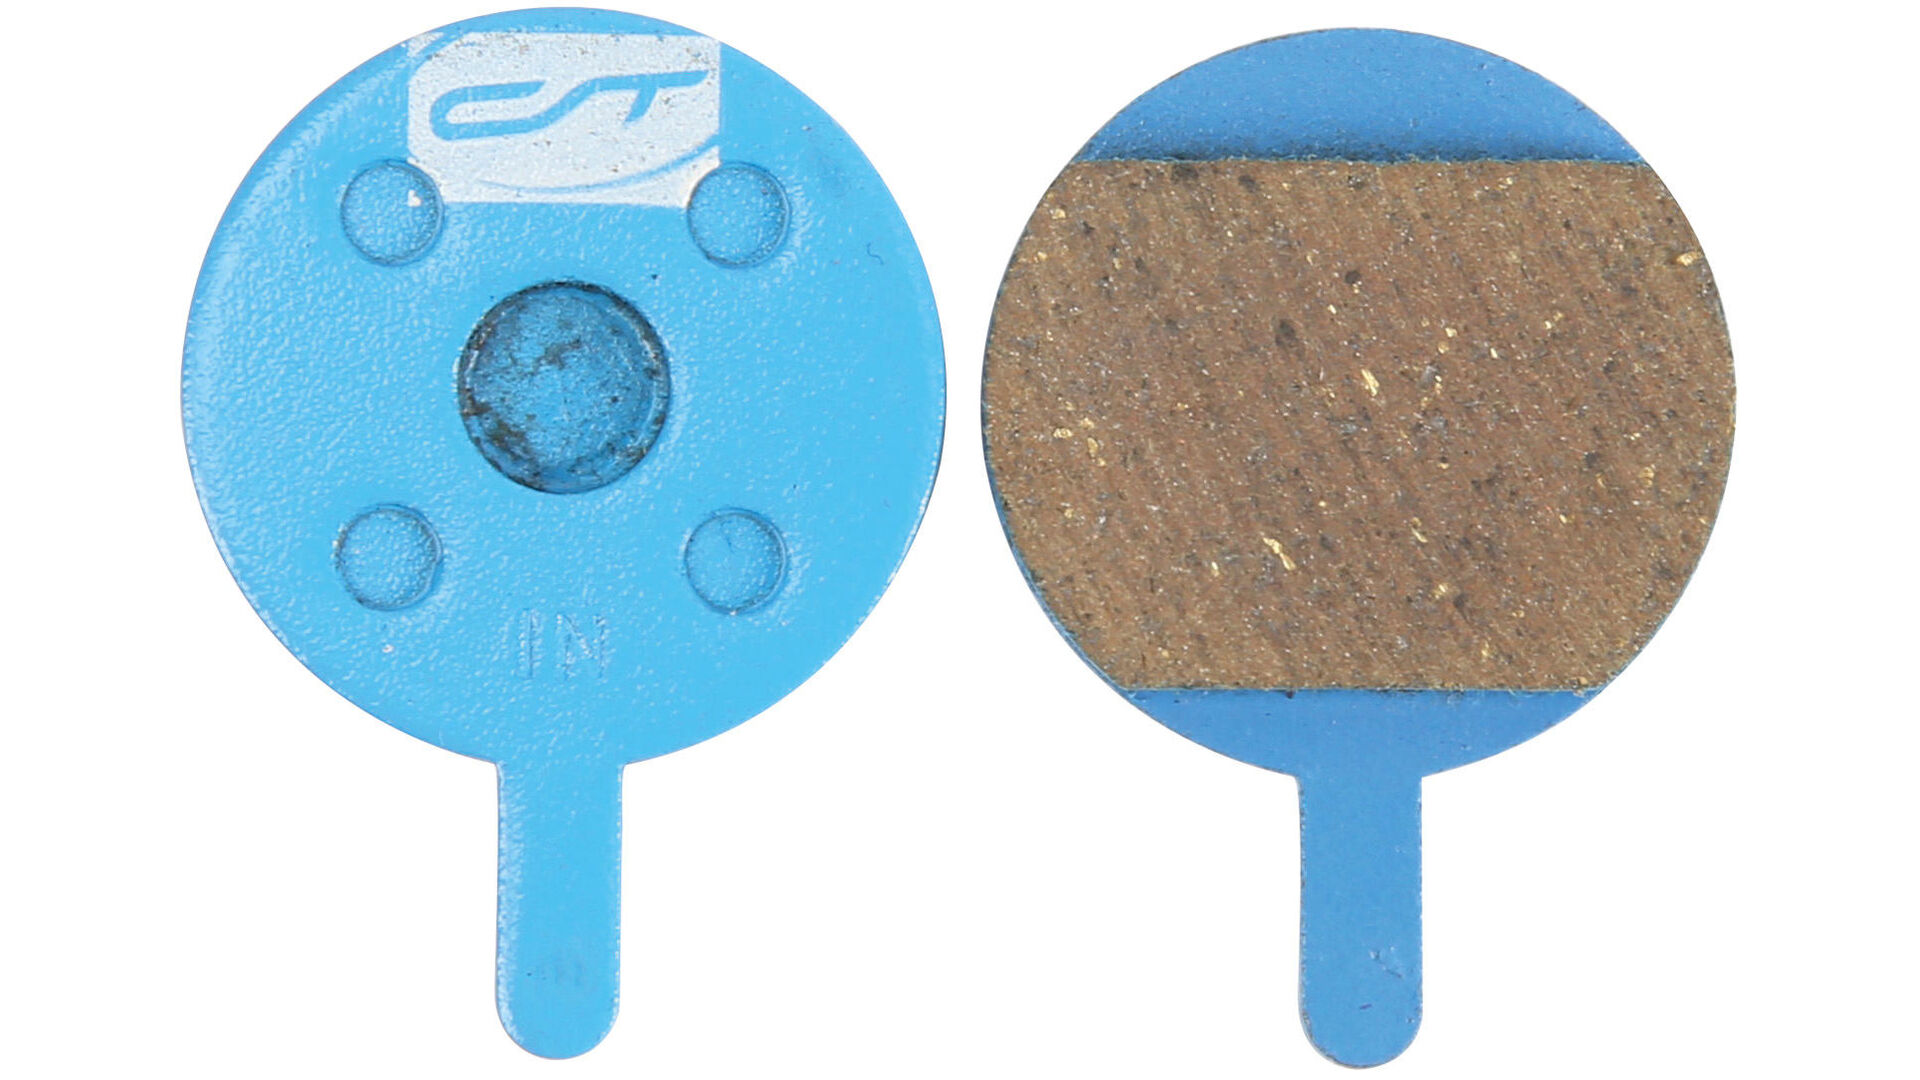
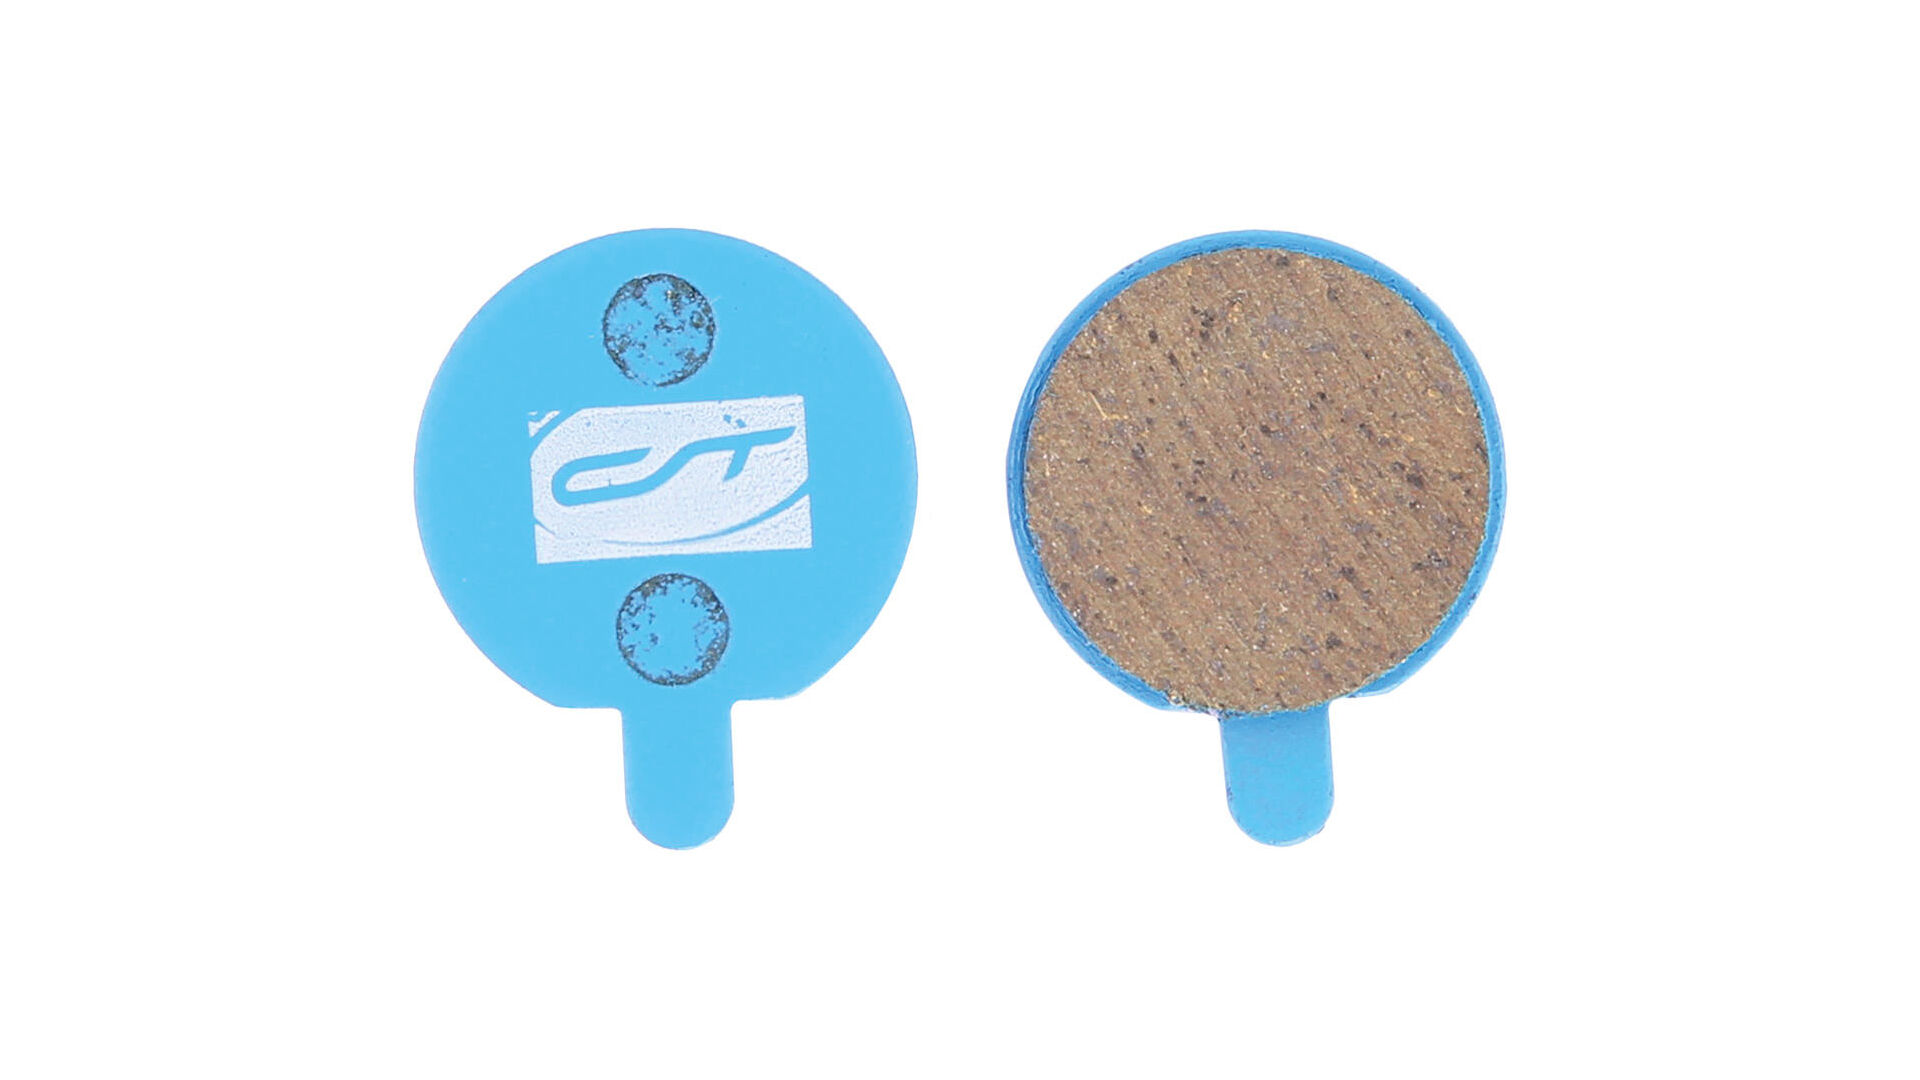
How do you recognise glazed brake pads on a disc brake?
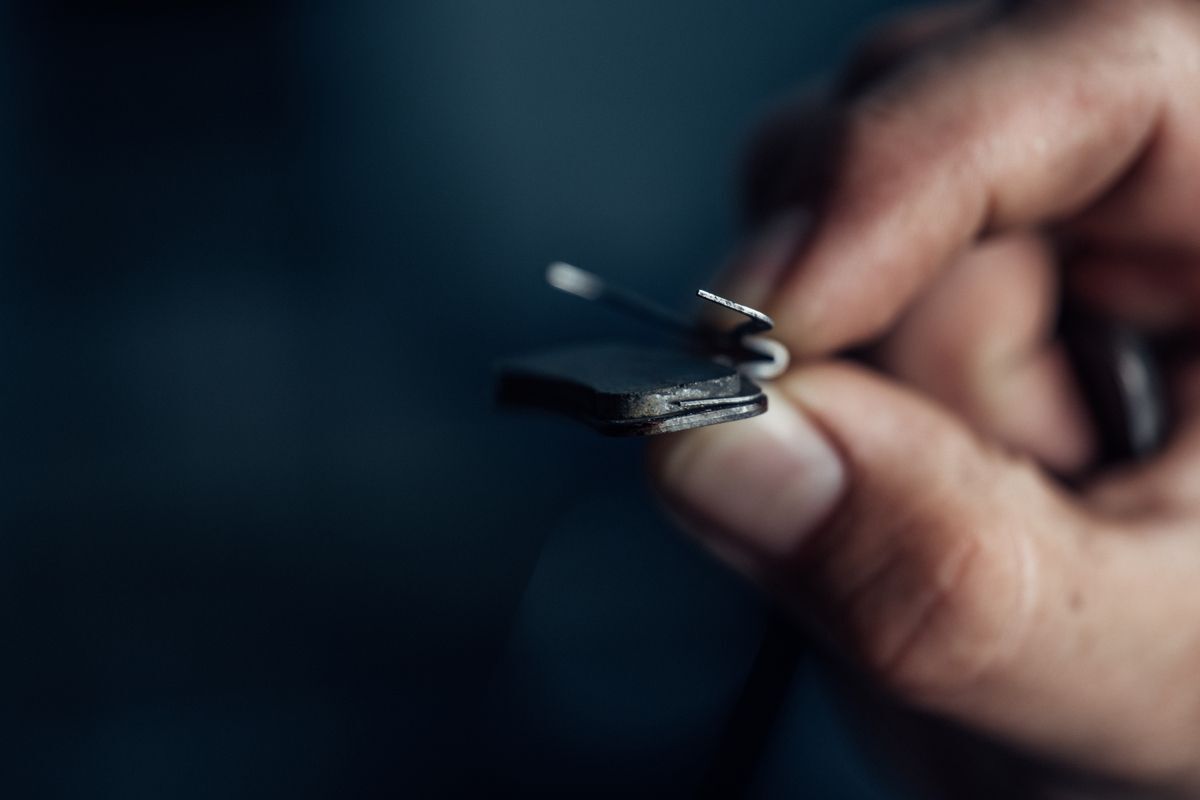
A well-functioning disc brake brakes quietly. Glazed brake pads brake significantly worse. Vibrations that go beyond the usual level also indicate a problem.Inspect the removed brake pads: Do the pads appear polished, smooth – glazed – instead of matte and slightly roughened? Then replace the glazed brake pads immediately! The glazing occurs when the brakes are lightly applied continuously or the brakes have not been broken-in correctly.Better: Strong, short braking.
The breaking-in process for bicycle brake pads
The brake pads must be broken-in as the surfaces of the brake pads are never completely even. Small unevenness that cannot be detected by the naked eye reduces the braking power: When braking with uneven brake pads, only the sharp bumps touch, so the contact surface is quite small. These bumps are removed by braking. The brake pads are then make complete contact with the brake rotor. Braking-in can be achieved by braking several times from high speeds of around 30 km/h. Organic brake pads also need to be hot-braked in order for them to exhaust gas.


FAQ – Questions and answers about adjusting disc brakes
Do I have to adjust my disc brakes several times?
Normally you have to adjust your disc brake once and can then use it for a long time. A disc brake does not normally un-adjust itself and is very low maintenance. Only when the brake pads are changed do the pistons need to be pushed back. The maintenance intervals also depend on the brake fluid used: DOT or mineral oil. DOT fluid needs to be changed regularly as it is hygroscopic, i.e. it attracts and binds water. After a year, it should at least be checked. The intervals at which mineral oil has to be replaced are much higher.
When do I need to adjust a disc brake?
Before each ride, test whether you are satisfied with the brake settings. The optimal contact point of a brake is subjective. At the latest, if you hear a squeaking noise during braking or if the braking performance decreases noticeably, you should check the brakes. Check clearances, material condition, brake levers and hoses. Faulty braking significantly increases the risk of accidents. Regular checks prevent this. The intervals vary according to usage and load.
The contact point varies, do I need to adjust the disc brakes?
A varied contact point often means that air is in the system.It is then necessary to bleed the hydraulic system. Bleeding requires special tools and experience – in case of doubt, ask a bicycle dealer. The varying contact point has nothing to do with the incorrect adjustment.
How do I adjust the lever arm on a disc brake?
Modern disc brakes generate such high braking forces that they only need to be operated with one finger. To make the most of the leverage, the finger should be at the outer end of the lever. In this position, it forms a line with the hand and forearm. The index finger rests with the first finger joint on the brake lever. This allows for optimal lever pull.
Adjusting disc brakes - this is how it works!
Properly adjusted disc brakes are essential to bike safety. Because:Brakes need to be relied on – whether you want to go on long tours or just short rides around the block. Correctly fitted disc brakes give safety and control over braking distance and braking force. Find out what to look for when adjusting disc brakes, what tools you need and how to do it here!
Adjusting disc brake - what you need
Adjusting disc brakes: When the disc brake is rubbing
If the brake is rubbing, the caliper is usually not adjusted correctly. When the brake caliper isn’t straight, the pad and the rotor slightly touch each other. There are two ways to adjust disc brakes so that the pads are only applied when braking. This way the disc brake works without rubbing:
Version 1: Adjusting the disc brake caliper
Only a few manufacturers allow for this version. However, it works without any issues with the majority of brakes:
Step 1: Loosen the two caliper bolts with a suitable Allen key. The caliper can now be moved.
Step 2: Pull the brake lever so that the brake pads are against the brake rotor. Doing this allows the caliper to centre itself.
Step 3: Now, with the brake lever pulled, carefully tighten the caliper bolts again while the brake is applied. A second person is helpful for this, or you can use a strong rubber band to fix the brake lever in place. Carefully tighten the screws alternately.Pay attention to the specified torques!
Step 4: Now relax the brake lever and check the adjustment by turning the wheels. The brake should no longer rub and the pads should not touch the rotor. If the brake still rubs, repeat the above steps again.
Version 2: Adjusting the disc brake caliper by hand
Step 1: To align the caliper, loosen the Allen bolts on the caliper mount until the caliper moves.
Step 2: Thanks to the slotted holes in the caliper, it can be moved horizontally. Slide it so that the brake rotor is centred between the brake pads.
Step 3: Then carefully tighten the bolts again.
Distance between brake rotor and brake pad
To better see the distance between the brake rotor and the brake pads, place a lamp behind the caliper to illuminate it from the back.
Another reason that brake pads rub on the rotor is a bent brake rotor. Depending on how much the rotor is bent, this results in a slight but constant braking while riding: Does the bent rotor make contact with the pads even if the brake lever is not pulled? Straightening the brake rotor is possible with a brake rotor truing tool, but it’s better to ask your bike dealer for a suitable replacement or repair.
What is lever reach?
The lever reach is the distance between the handlebar grip and the brake lever. When adjusting a disc brake, it is important to have the correct lever reach. You can adjust this distance on most brakes. The larger the rider's hands, the larger the lever reach should be. It sounds quite banal, but it is neglected again and again. A correctly adjusted lever reach is essential for comfort when braking.
How do I adjust the lever reach on disc brakes?
Modern disc brakes are usually operated with only one finger.We explain step by step how to adjust the lever reach to suit you.
First, make sure that the horizontal position of the brake handlebar clamp is correct.To make the most of the leverage, the finger should be at the outer end of the lever.In this position, it forms a line with the hand and forearm.
Check the angle of the brake lever:Depending on your riding habits, a more horizontal or angled setting may be necessary, for example, if you are frequently on steep terrain.As mentioned before:The stretched finger, hand and forearm form a line when descending.
Now let’s talk about the actual adjustment of the lever reach:Your index finger should rest on the brake lever so that you can move the first finger joint without any problems.This allows for optimal lever pull.Once the reach is set, we can move on to the contact point.
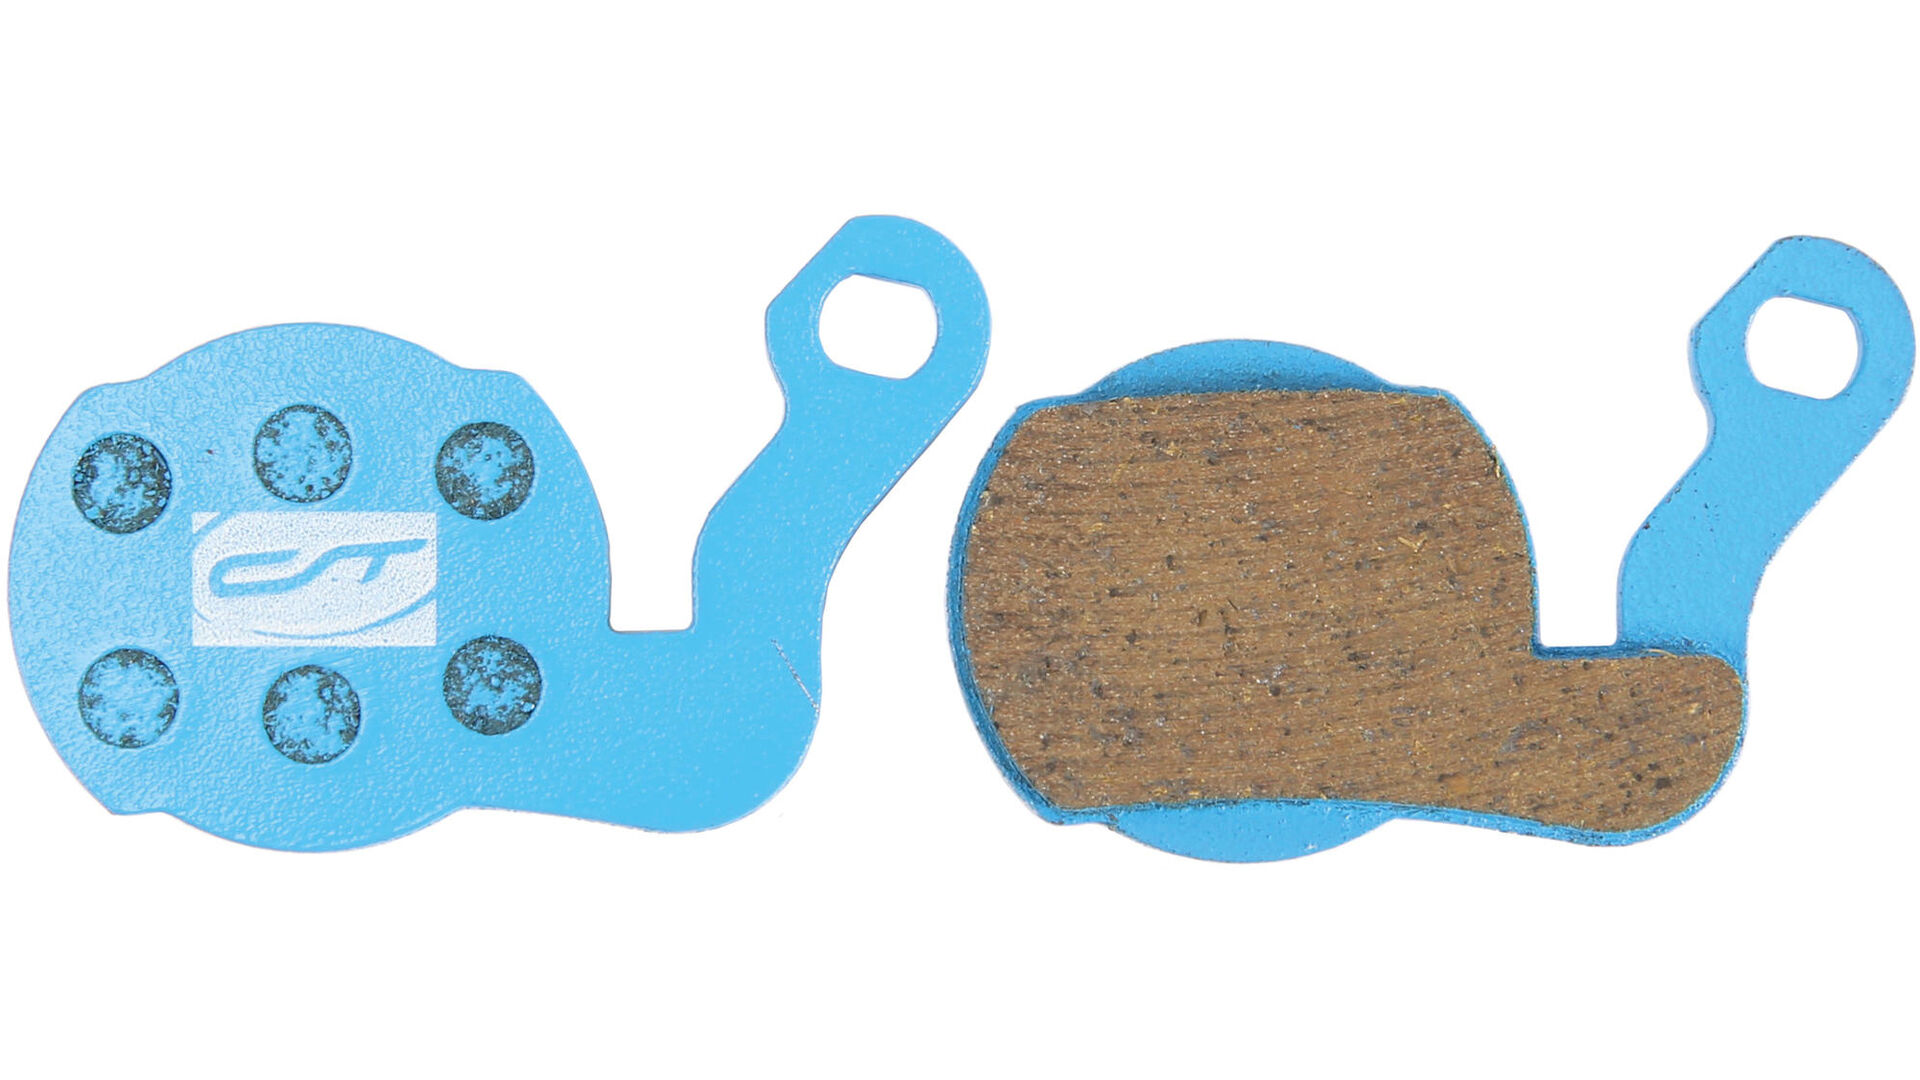
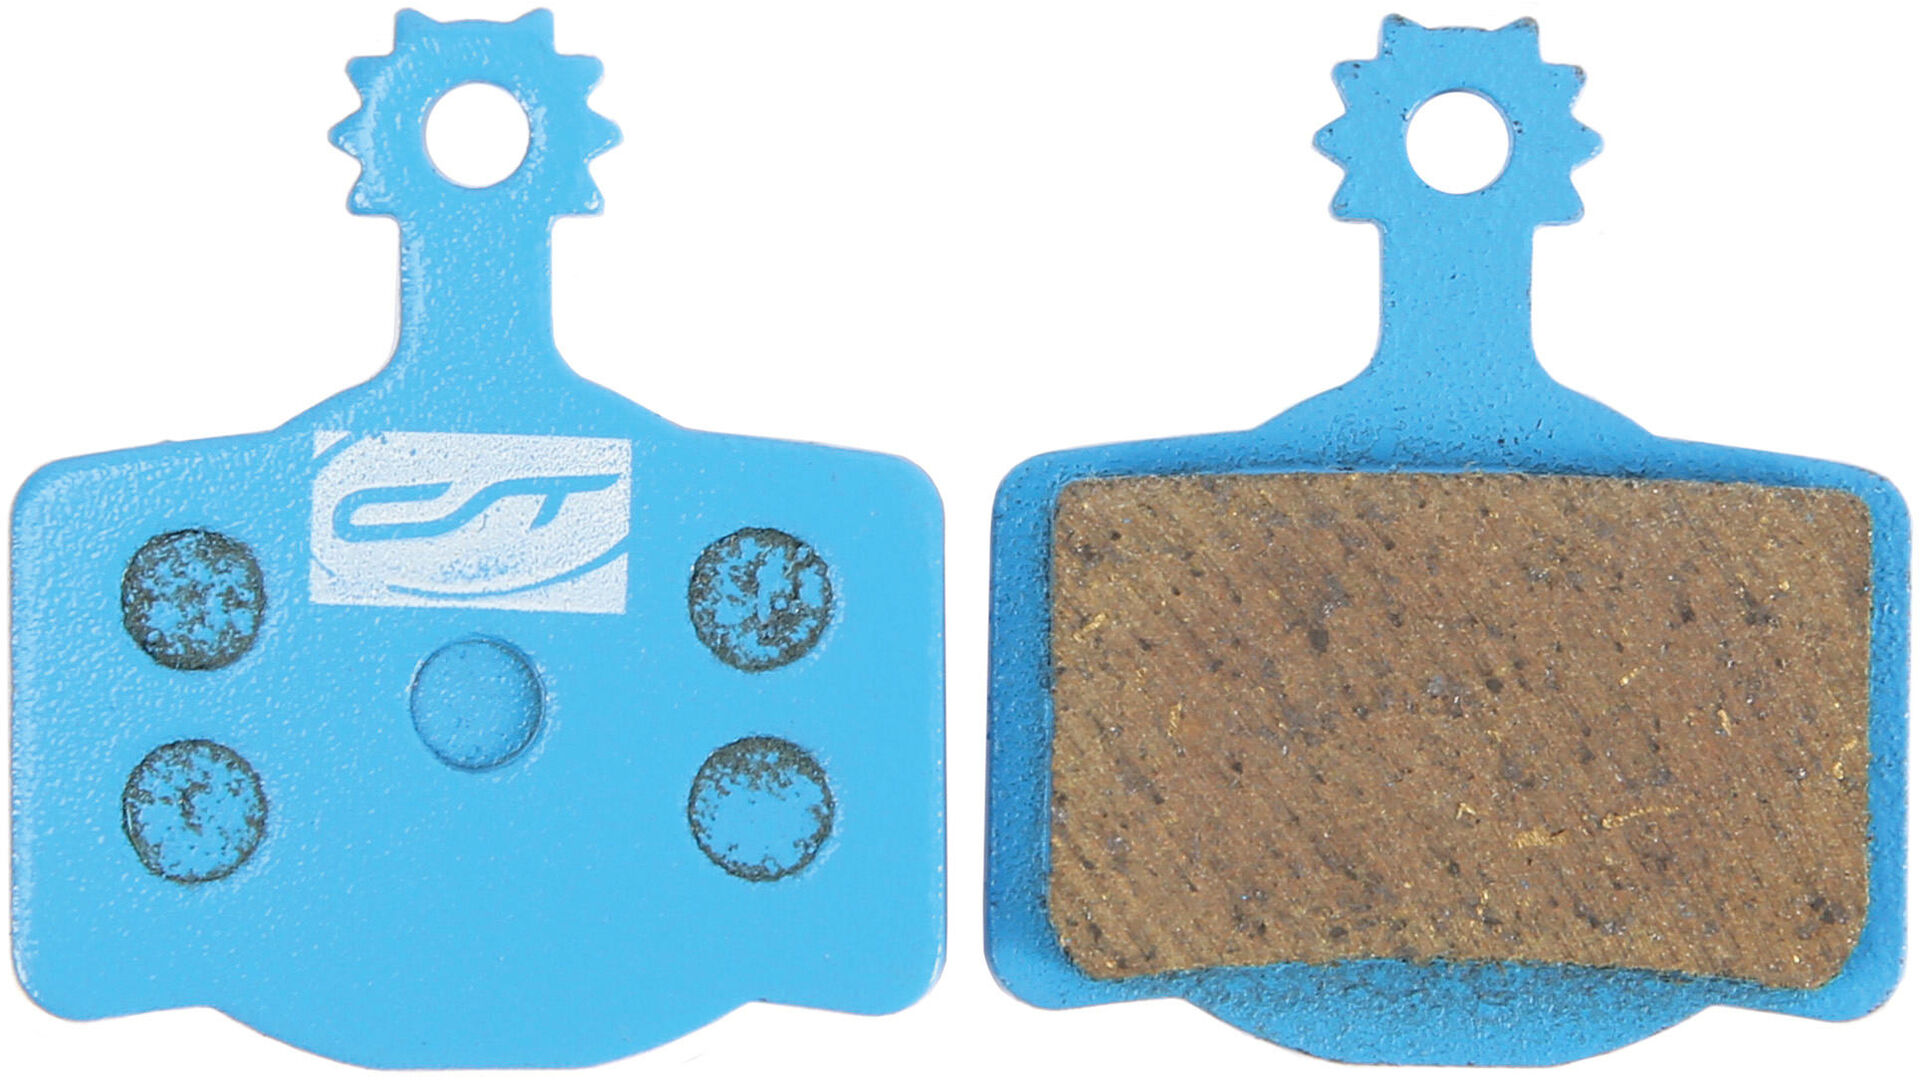
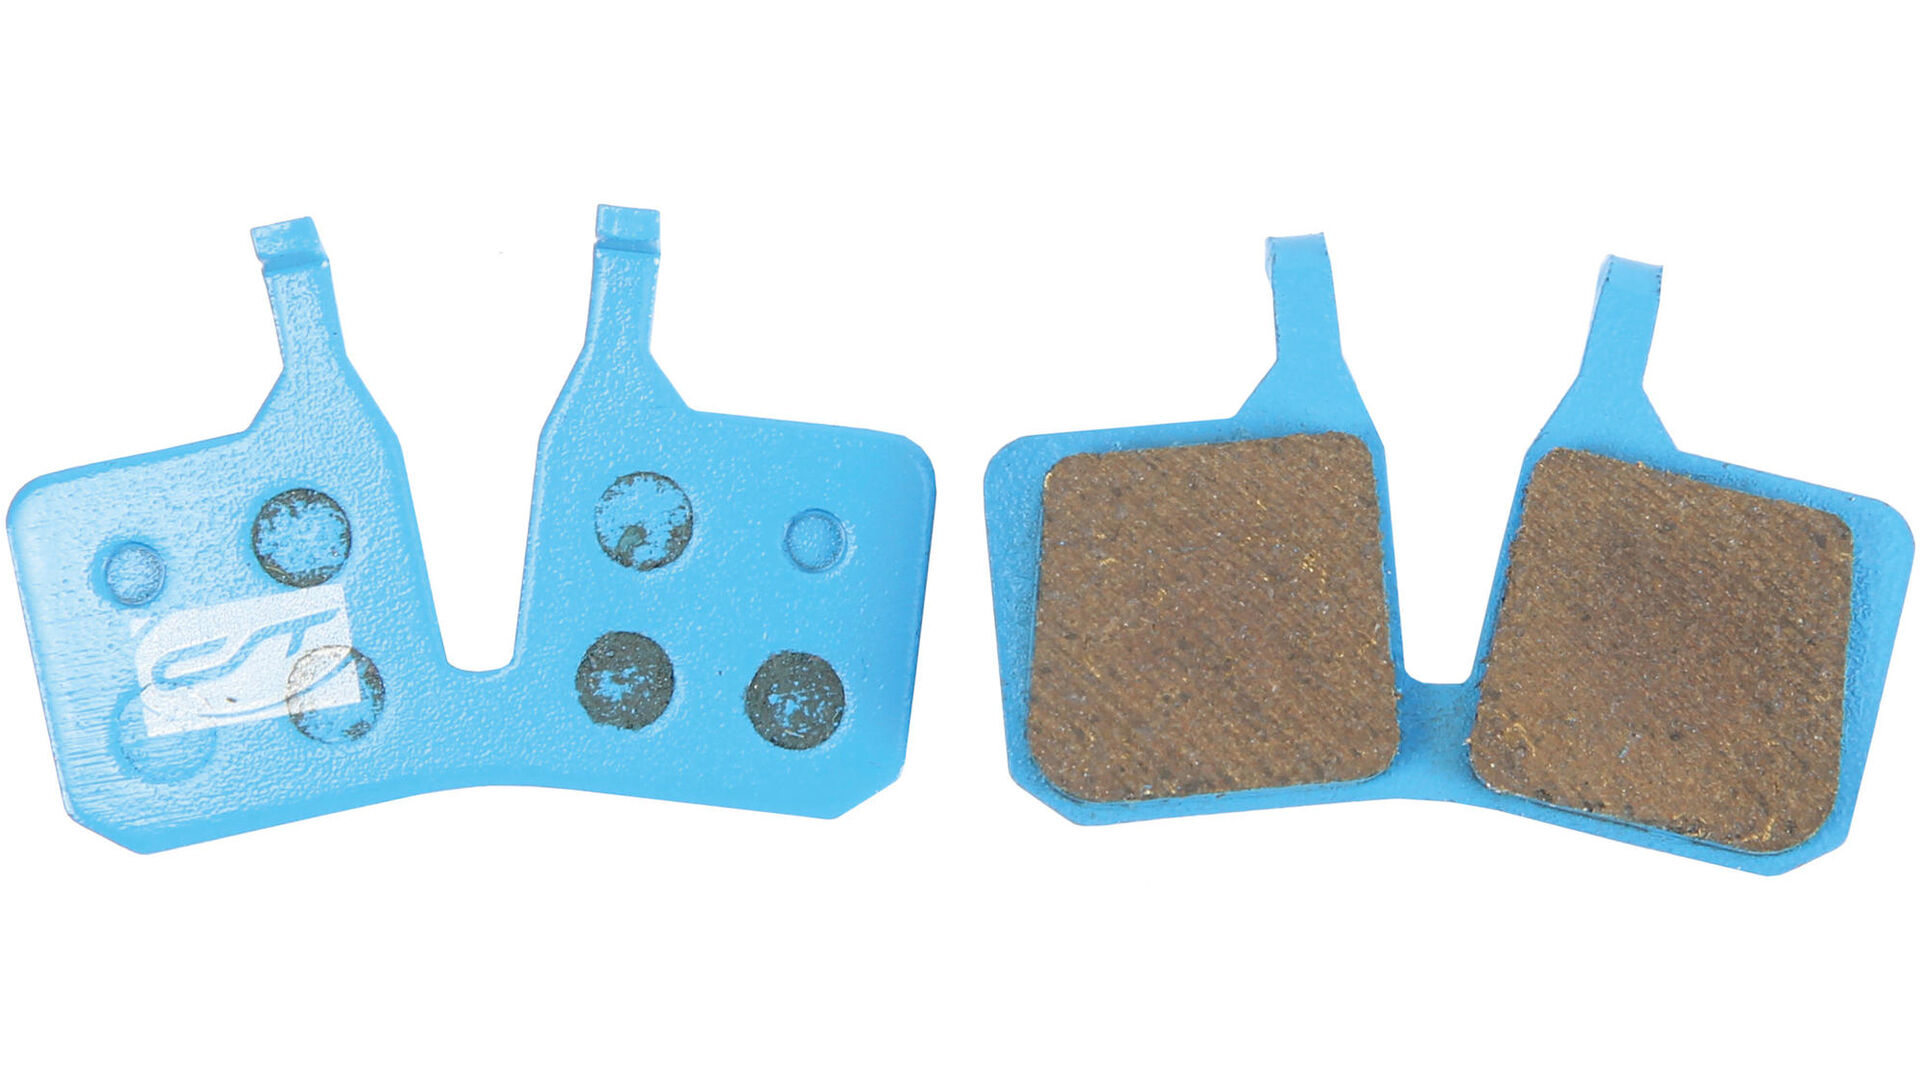
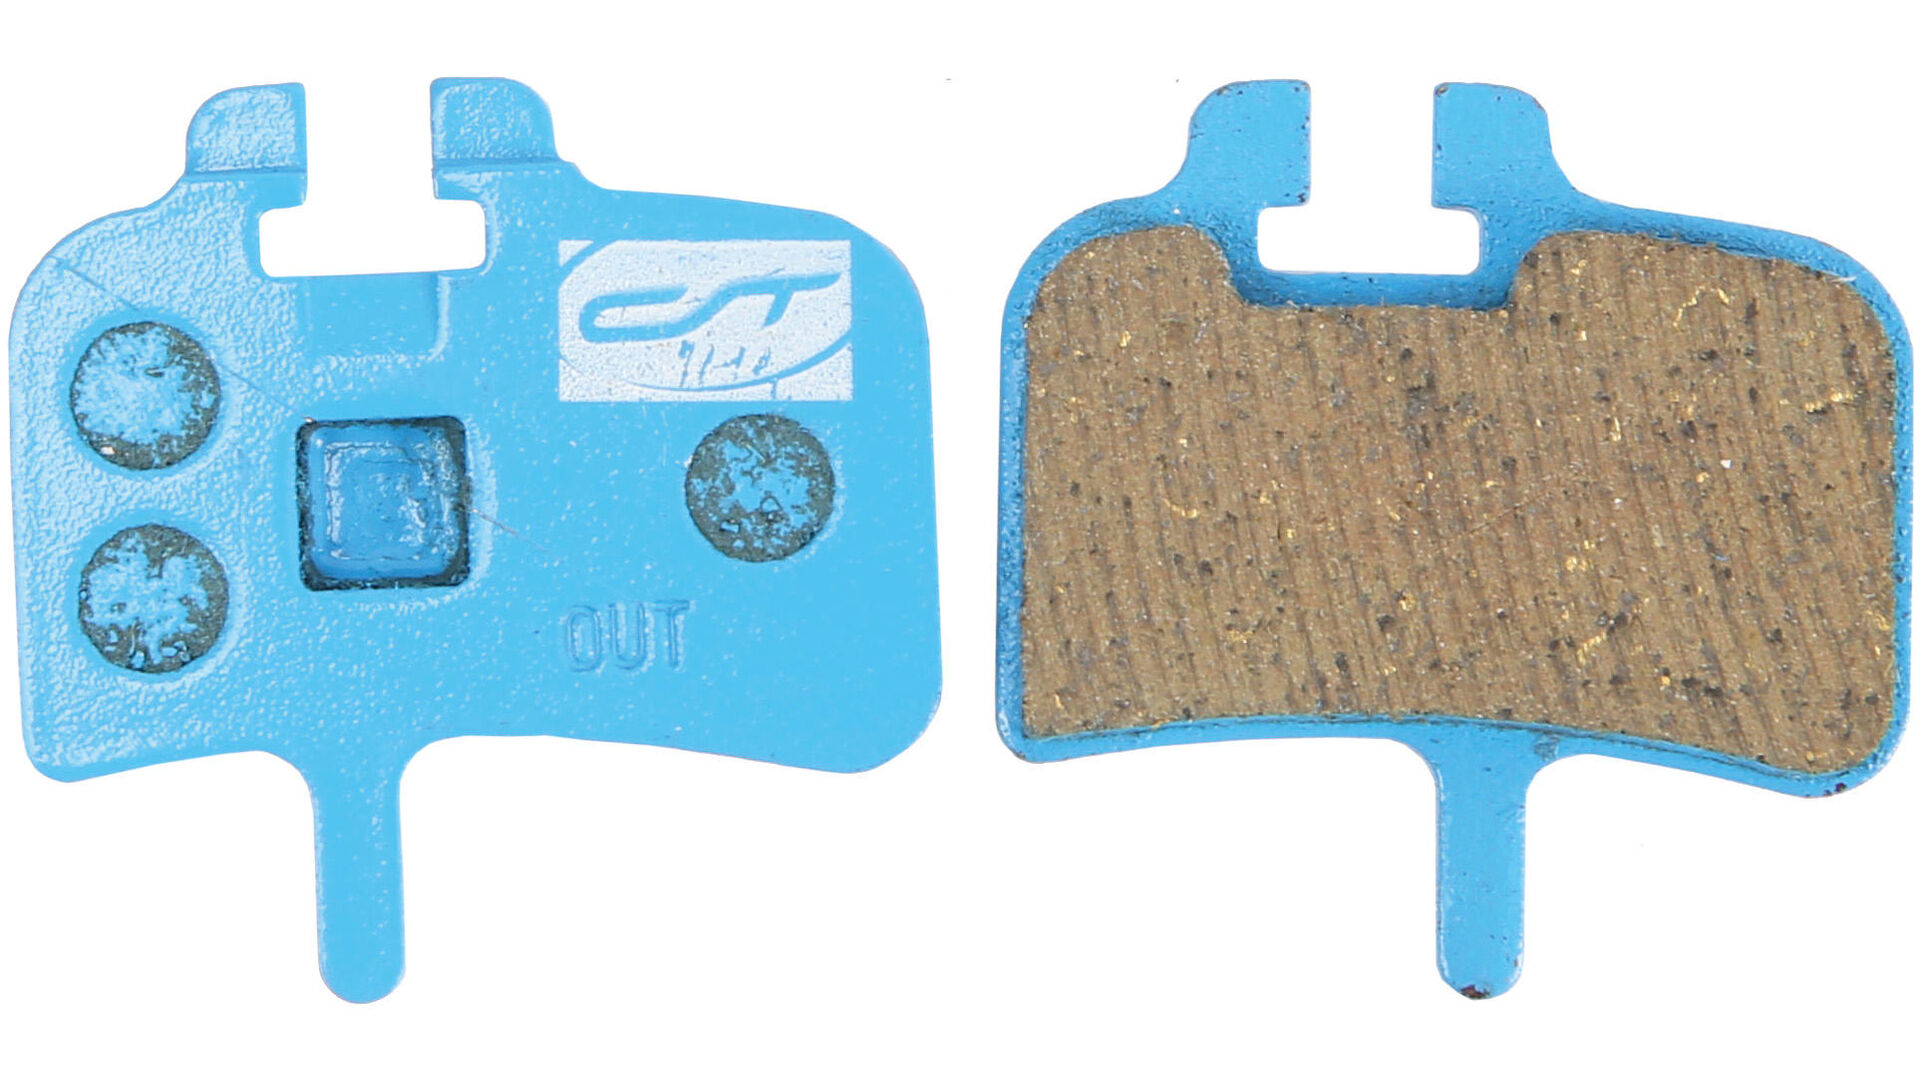
Change brake pads
Brake pads are wear and tear parts.Tips for replacing disc and rim brake pads are available here.
What is the contact point?
The contact point is the point at which you notice when pulling the brake lever that the brake pads in the caliper are in contact with the brake rotor. The contact point thus indicates the end of the pull. If you can pull the brake lever up to the handlebar, the contact point is too soft. A hard contact point will cause sudden braking. However, the optimal contact point is subjective and is only reached step by step by trial and error.
Adjusting the contact point on disc brakes
In order to adjust the contact point on disc brakes on many models, the amount of fluid in the brake system is adjusted.Since the brake system must be opened for this, we recommend heading to a bicycle dealer.Some brakes offer the possibility to adjust the contact point by means of a bolt.
Pad wear affects the lever travel!
Pad wear is slightly compensated on hydraulic disc brakes. In the case of mechanical disc brakes, the lever pull becomes larger with increasing wear.
How do you recognise glazed brake pads on a disc brake?
A well-functioning disc brake brakes quietly. Glazed brake pads brake significantly worse. Vibrations that go beyond the usual level also indicate a problem.Inspect the removed brake pads: Do the pads appear polished, smooth – glazed – instead of matte and slightly roughened? Then replace the glazed brake pads immediately! The glazing occurs when the brakes are lightly applied continuously or the brakes have not been broken-in correctly.Better: Strong, short braking.
The breaking-in process for bicycle brake pads
The brake pads must be broken-in as the surfaces of the brake pads are never completely even. Small unevenness that cannot be detected by the naked eye reduces the braking power: When braking with uneven brake pads, only the sharp bumps touch, so the contact surface is quite small. These bumps are removed by braking. The brake pads are then make complete contact with the brake rotor. Braking-in can be achieved by braking several times from high speeds of around 30 km/h. Organic brake pads also need to be hot-braked in order for them to exhaust gas.
FAQ – Questions and answers about adjusting disc brakes
Do I have to adjust my disc brakes several times?
Normally you have to adjust your disc brake once and can then use it for a long time. A disc brake does not normally un-adjust itself and is very low maintenance. Only when the brake pads are changed do the pistons need to be pushed back. The maintenance intervals also depend on the brake fluid used: DOT or mineral oil. DOT fluid needs to be changed regularly as it is hygroscopic, i.e. it attracts and binds water. After a year, it should at least be checked. The intervals at which mineral oil has to be replaced are much higher.
When do I need to adjust a disc brake?
Before each ride, test whether you are satisfied with the brake settings. The optimal contact point of a brake is subjective. At the latest, if you hear a squeaking noise during braking or if the braking performance decreases noticeably, you should check the brakes. Check clearances, material condition, brake levers and hoses. Faulty braking significantly increases the risk of accidents. Regular checks prevent this. The intervals vary according to usage and load.
The contact point varies, do I need to adjust the disc brakes?
A varied contact point often means that air is in the system.It is then necessary to bleed the hydraulic system. Bleeding requires special tools and experience – in case of doubt, ask a bicycle dealer. The varying contact point has nothing to do with the incorrect adjustment.
How do I adjust the lever arm on a disc brake?
Modern disc brakes generate such high braking forces that they only need to be operated with one finger. To make the most of the leverage, the finger should be at the outer end of the lever. In this position, it forms a line with the hand and forearm. The index finger rests with the first finger joint on the brake lever. This allows for optimal lever pull.